The Conversation (0)
Sign Up
**all paints can be replaced by polish**
First things first, (I'm the realest) these nails although complicated looking, are not. The only thing complicated is the concept.
Don't get worried and think you need to restart just because you made a small mistake, nobody is going to hold your hand up to the painting and say "you put that yellow dot in the wrong place"
Begin with a reference picture, and decide how you want to divide the picture among the nails

~~
![This is how I divided mine (four sections for four nails [the thumb will be the same as the ring finger {the third panel}])](https://guides.brit.co/media-library/this-is-how-i-divided-mine-four-sections-for-four-nails-the-thumb-will-be-the-same-as-the-ring-finger-the-third-panel.jpg?id=23649034&width=980)
This is how I divided mine (four sections for four nails [the thumb will be the same as the ring finger {the third panel}])
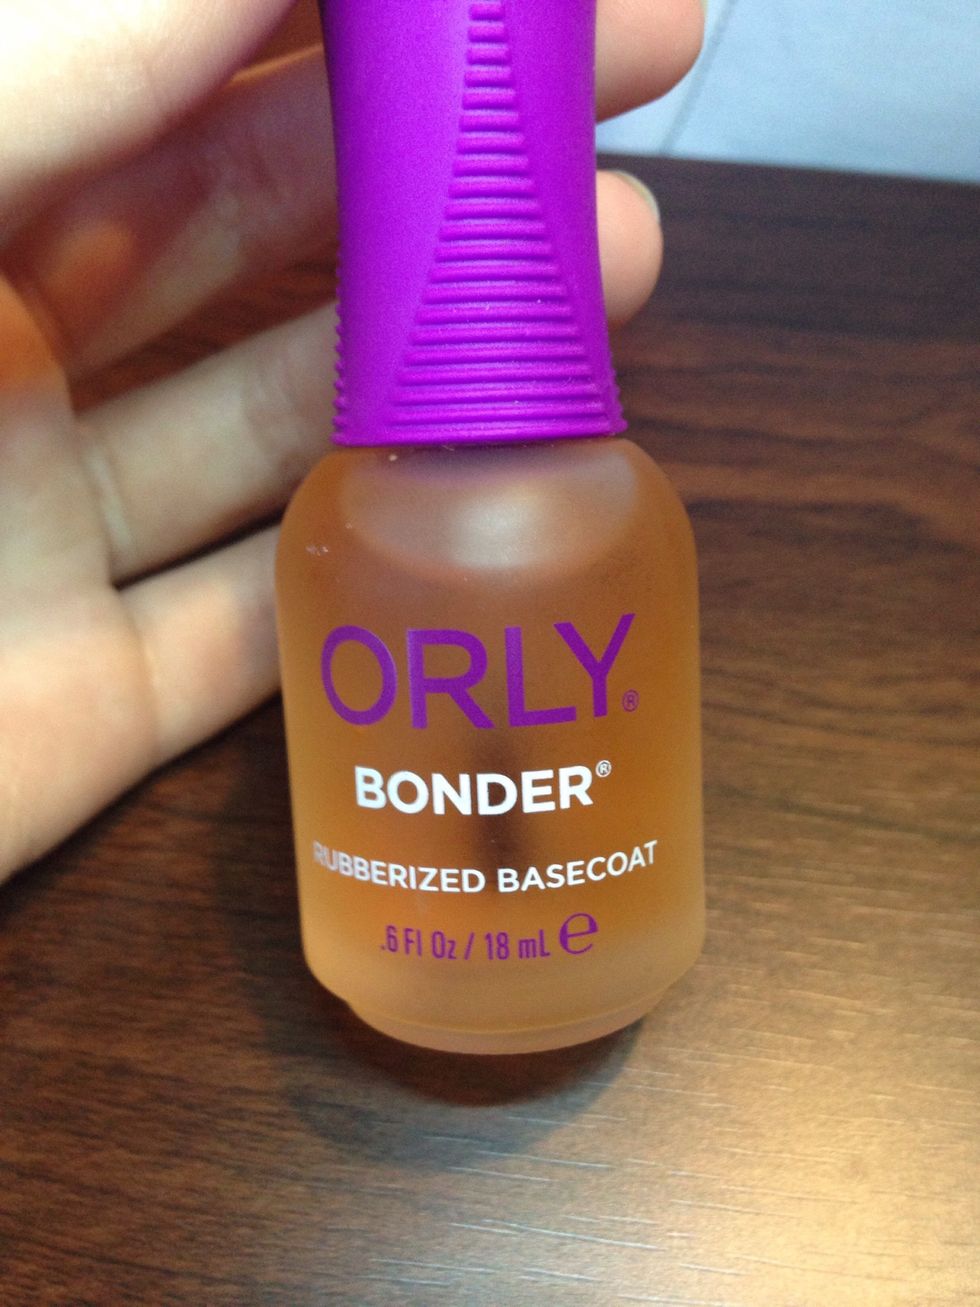
Start with a base coat
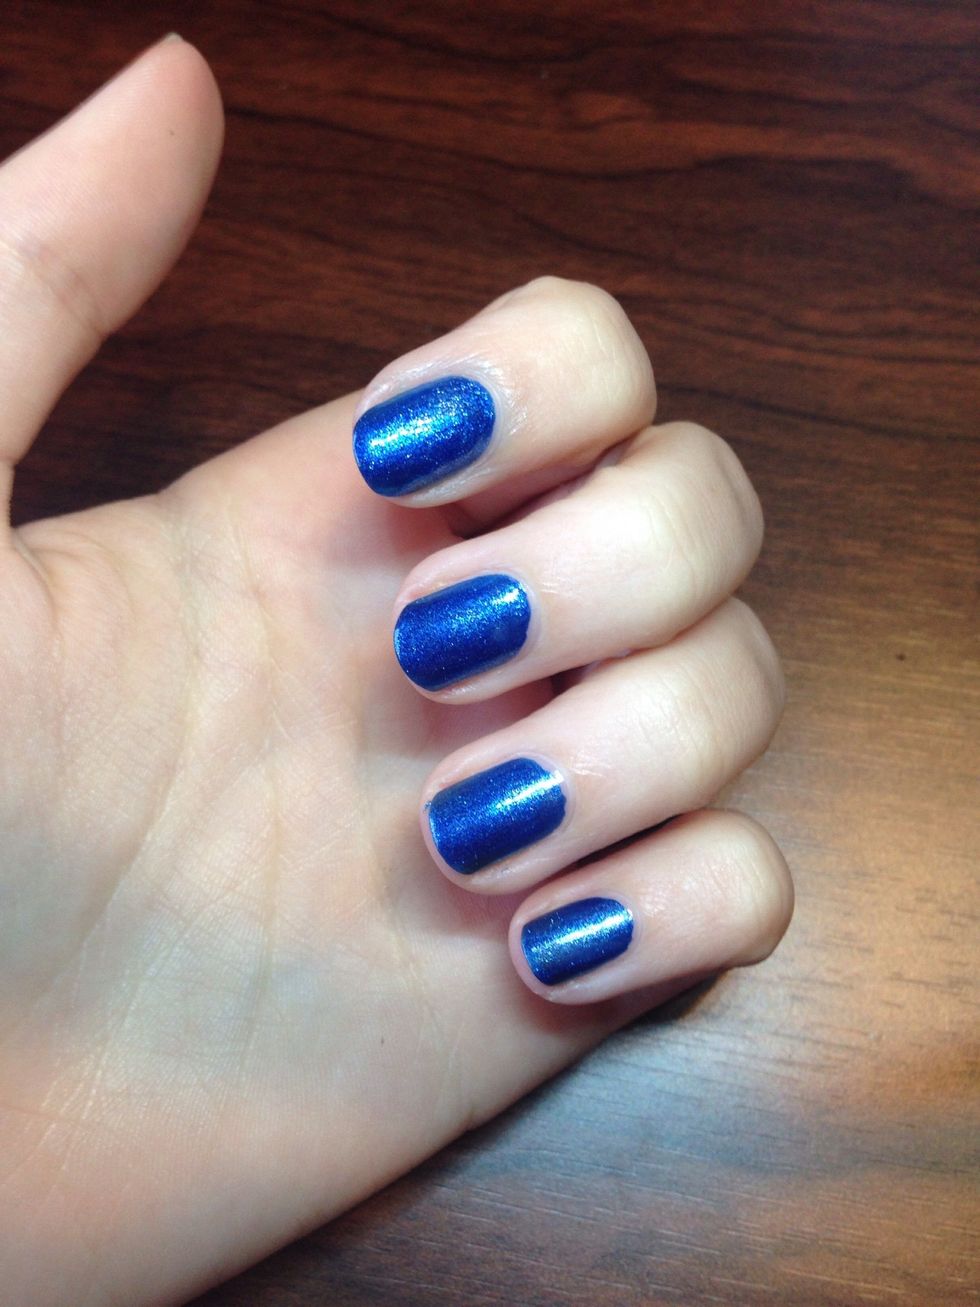
Then paint your nails blue
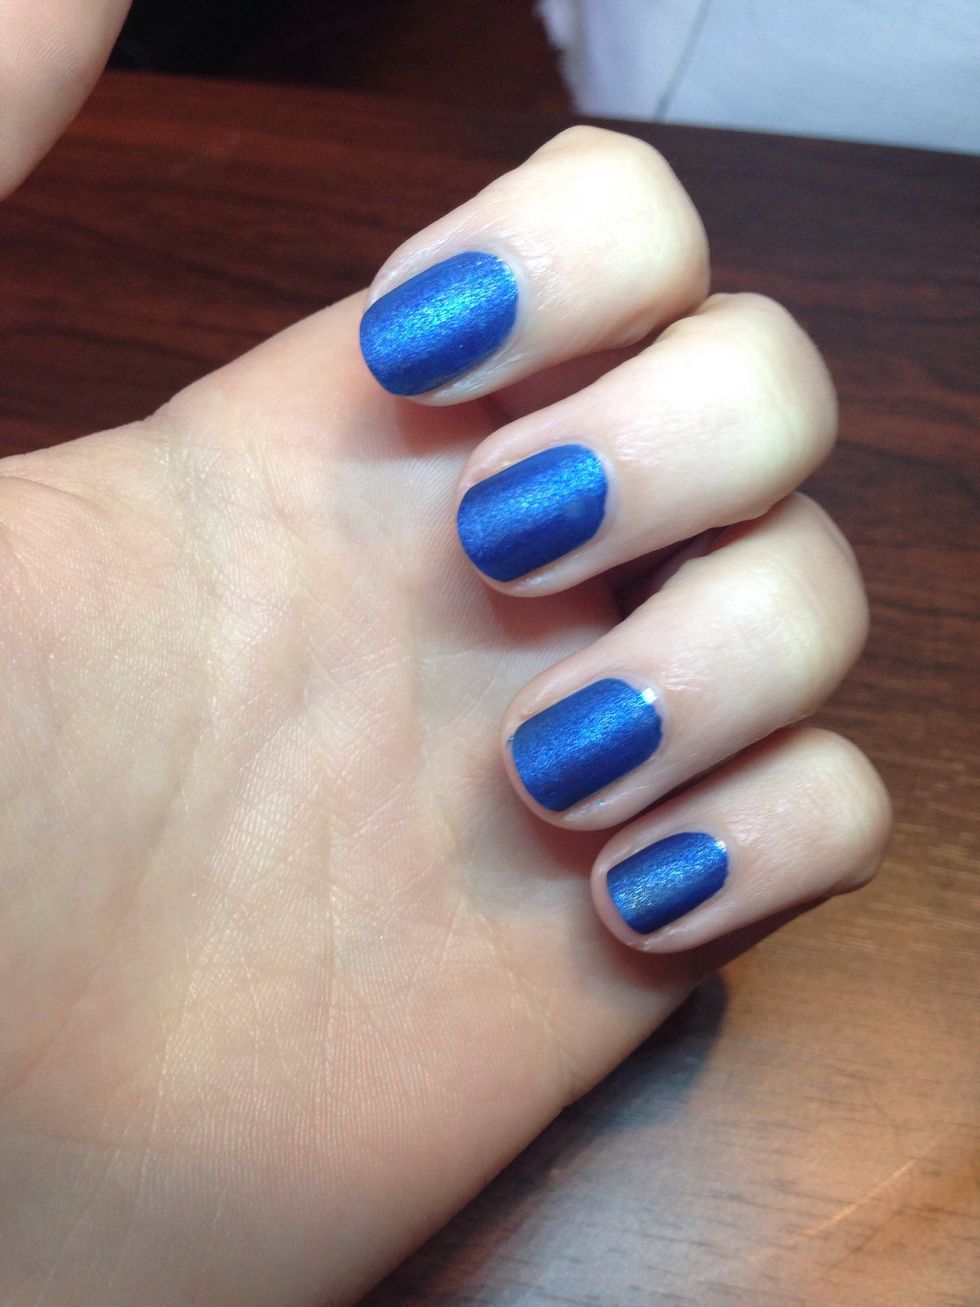
*optional* I added a matte top coat to help with the acrylic paint, but you don't have to especially if you're using regular polish
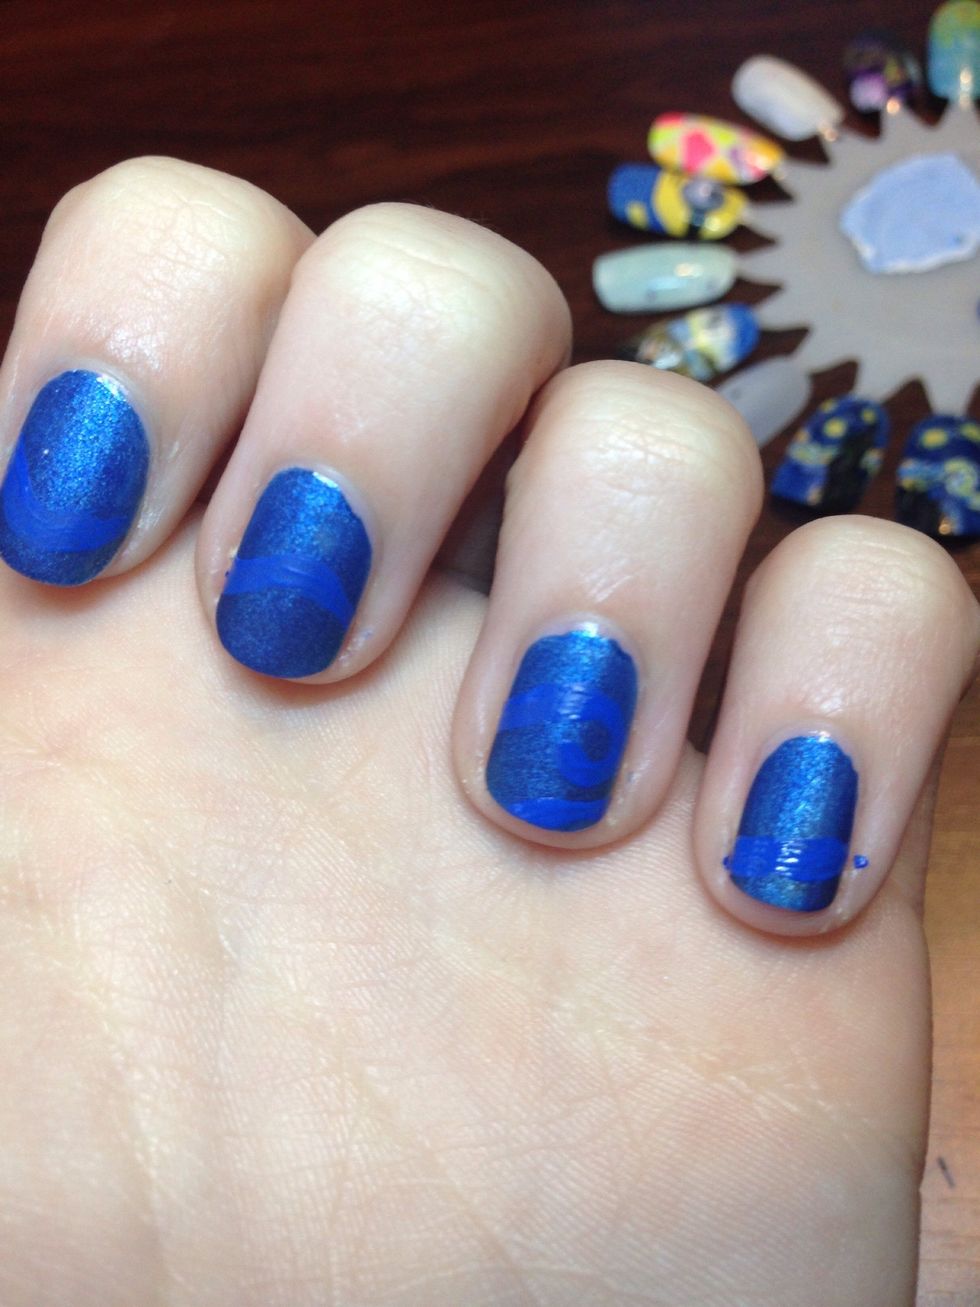
Then using blue acrylic paint, I paint wavy lines across all four nails (making it look like they connect)
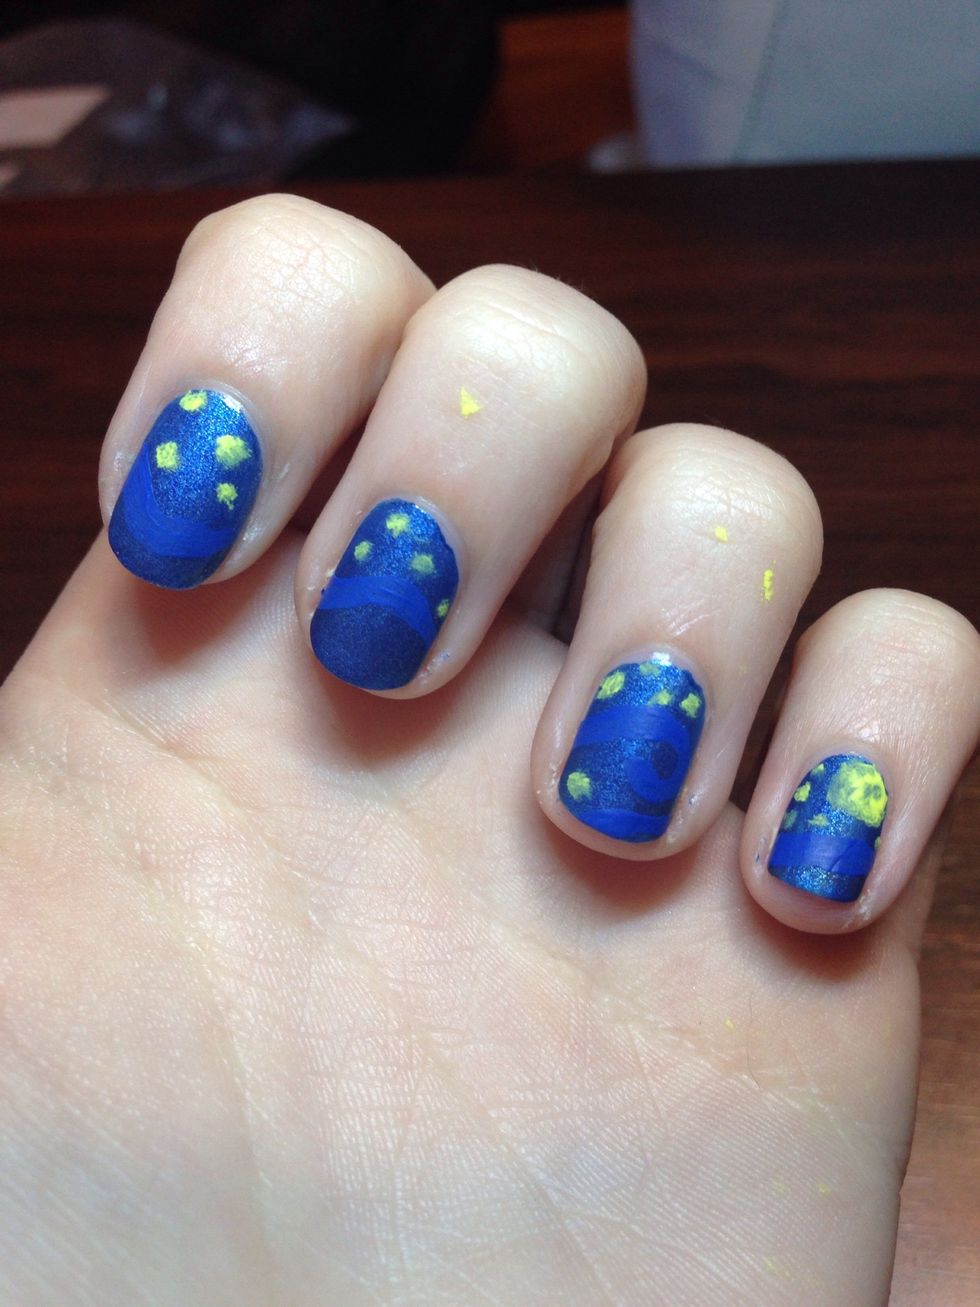
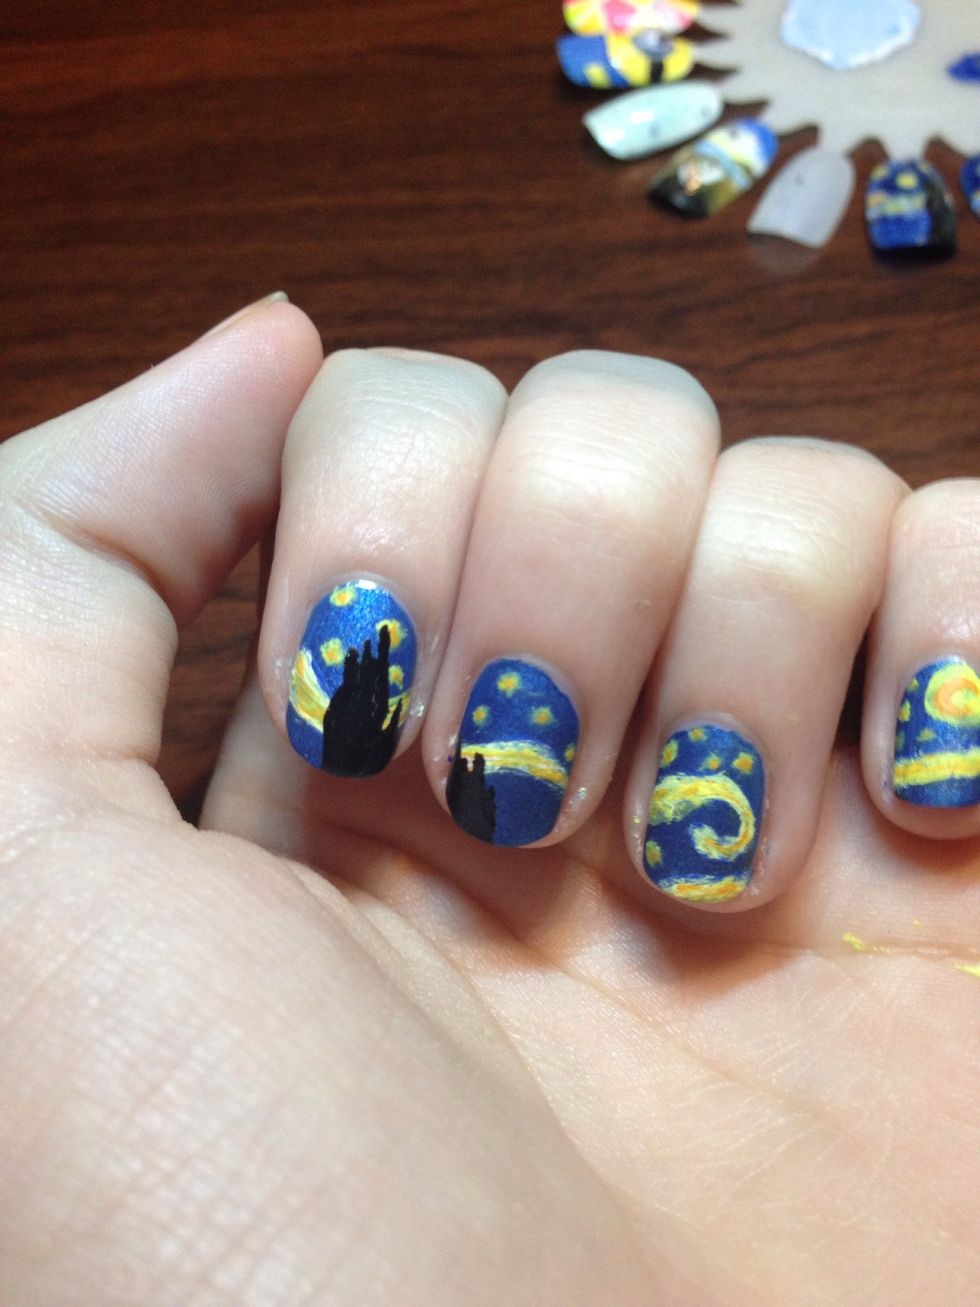
Then I put yellow dots for the stars (one large one on my pinky for the moon) using a stippling motion, to make it look less like a definite dot
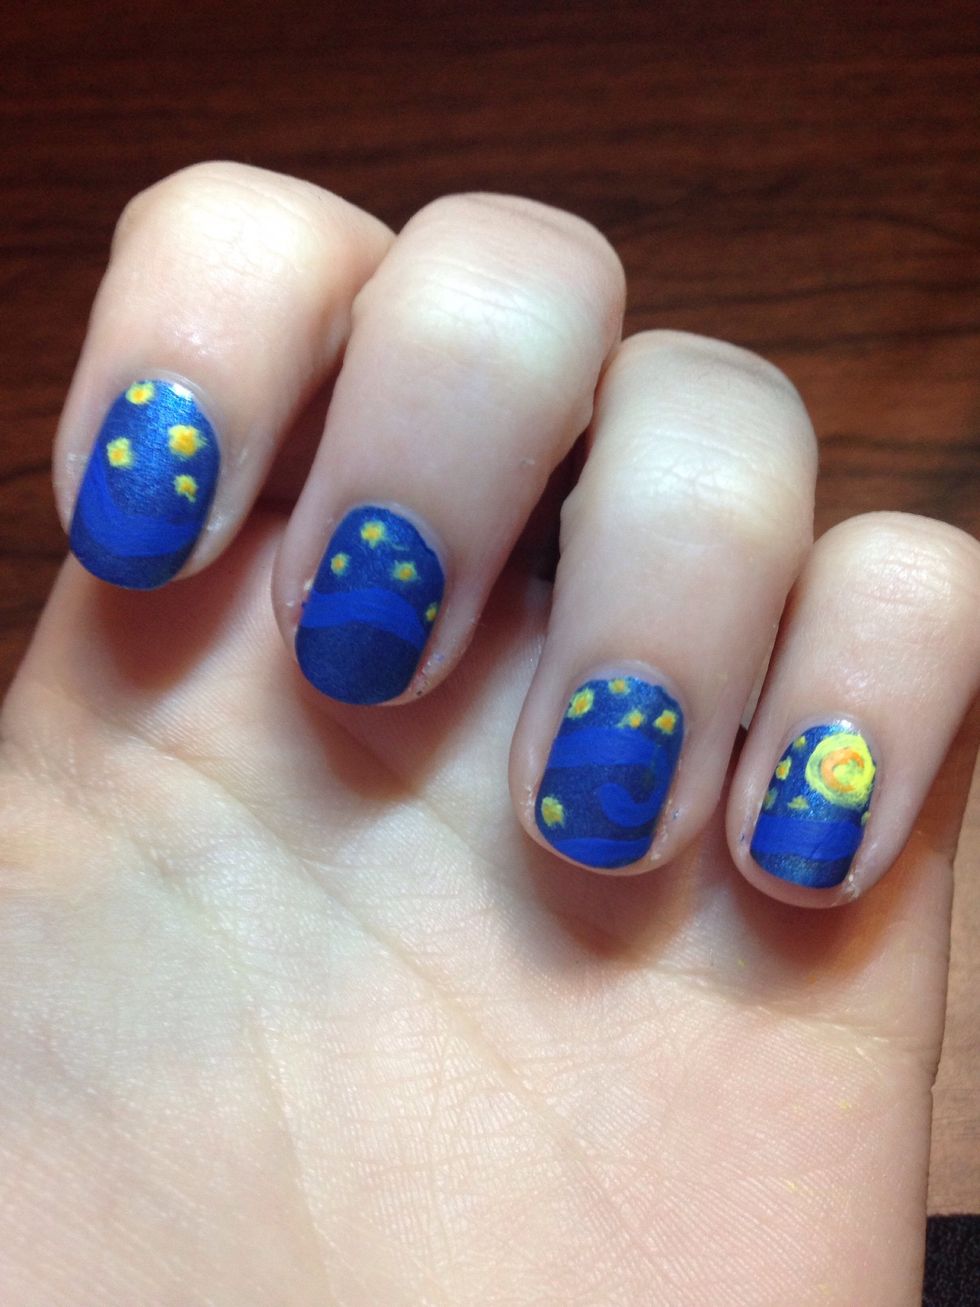
Then on the large yellow spot I add a orange moon. Then small orange dots on the smaller yellow circles for stars (also stippled)
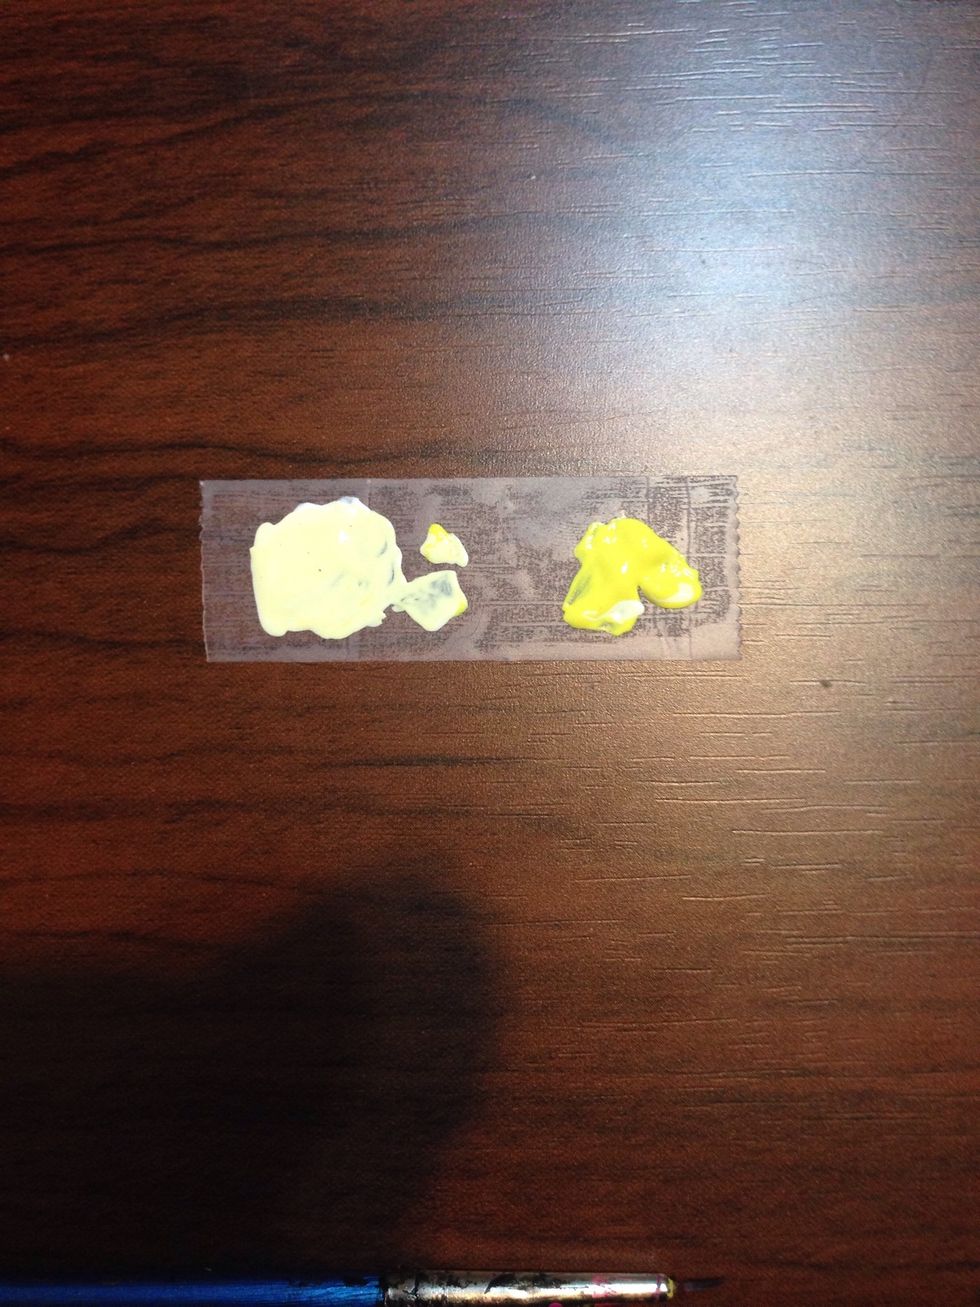
To make a more pastel color, I mixed white and yellow for the light waves
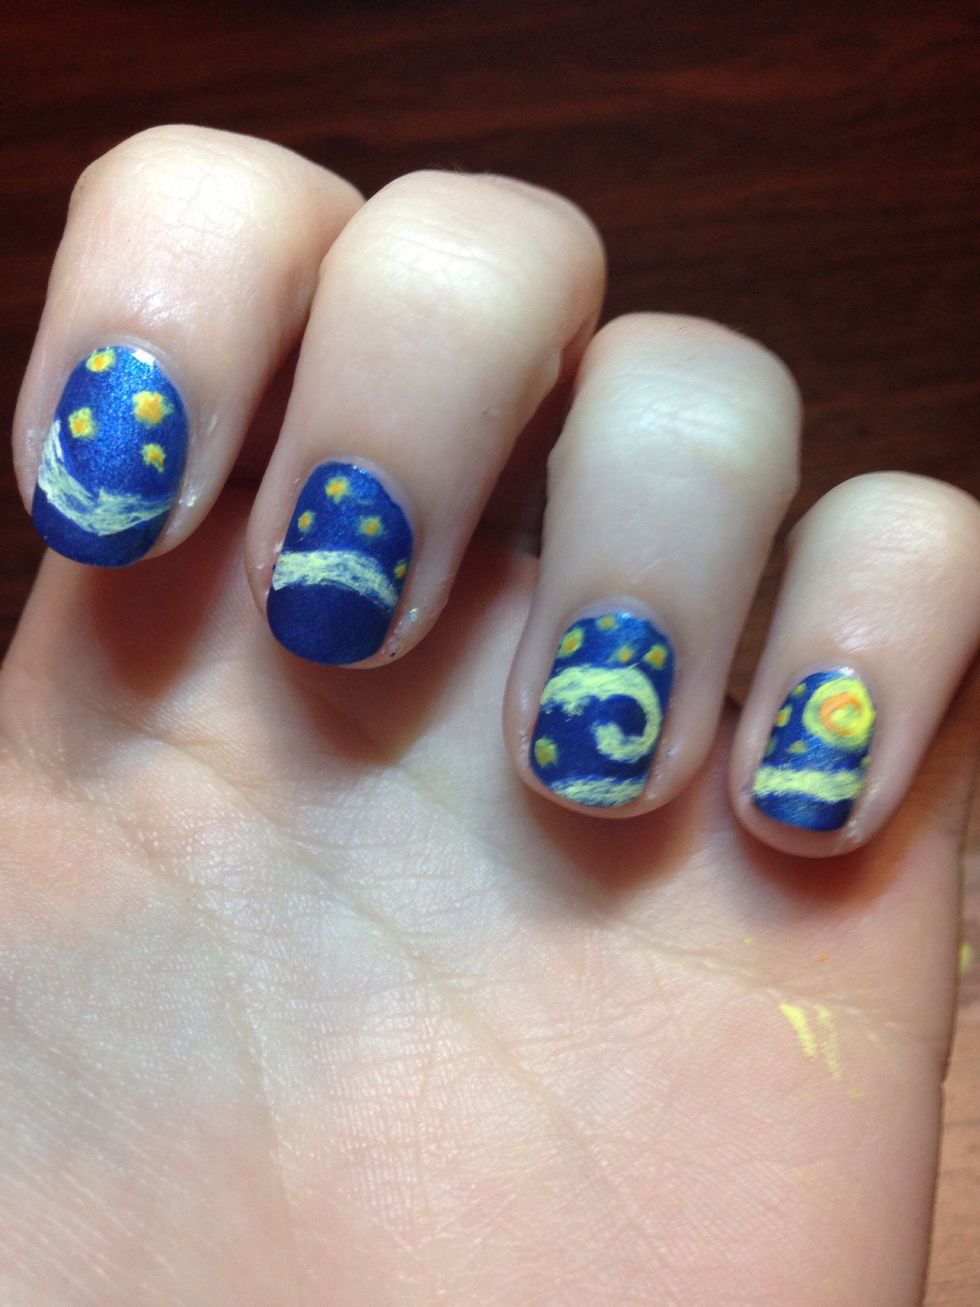
Keep in mind we aren't going for particularly neat work, so cover the original blue waved lines with the yellow and orange color

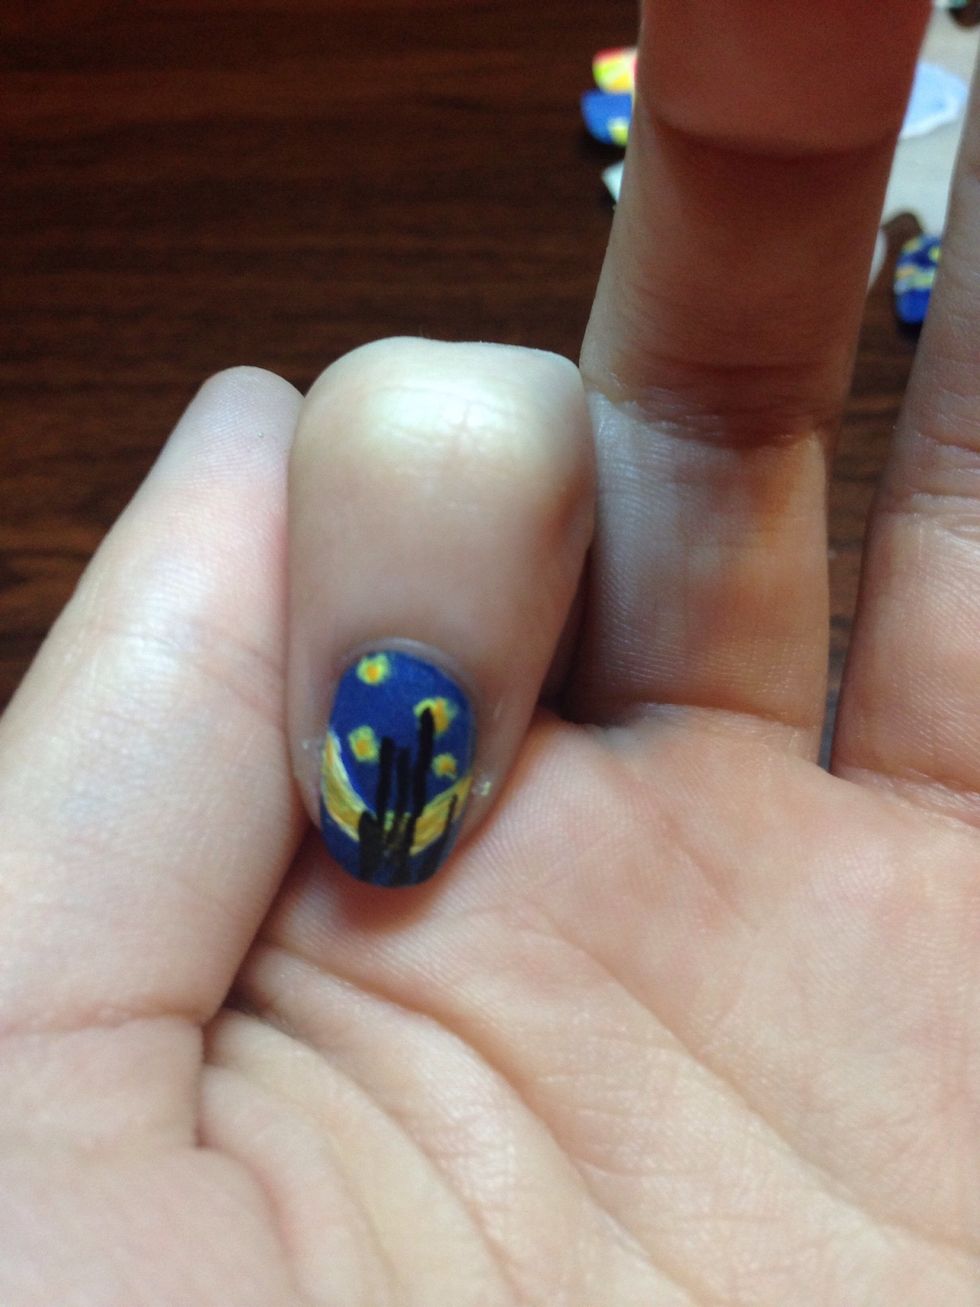
Then, for the rock form start with 3-5 black lines of varying length
Then connect and fill in. Also make a smaller rocky forrmation on the index finger using the same process
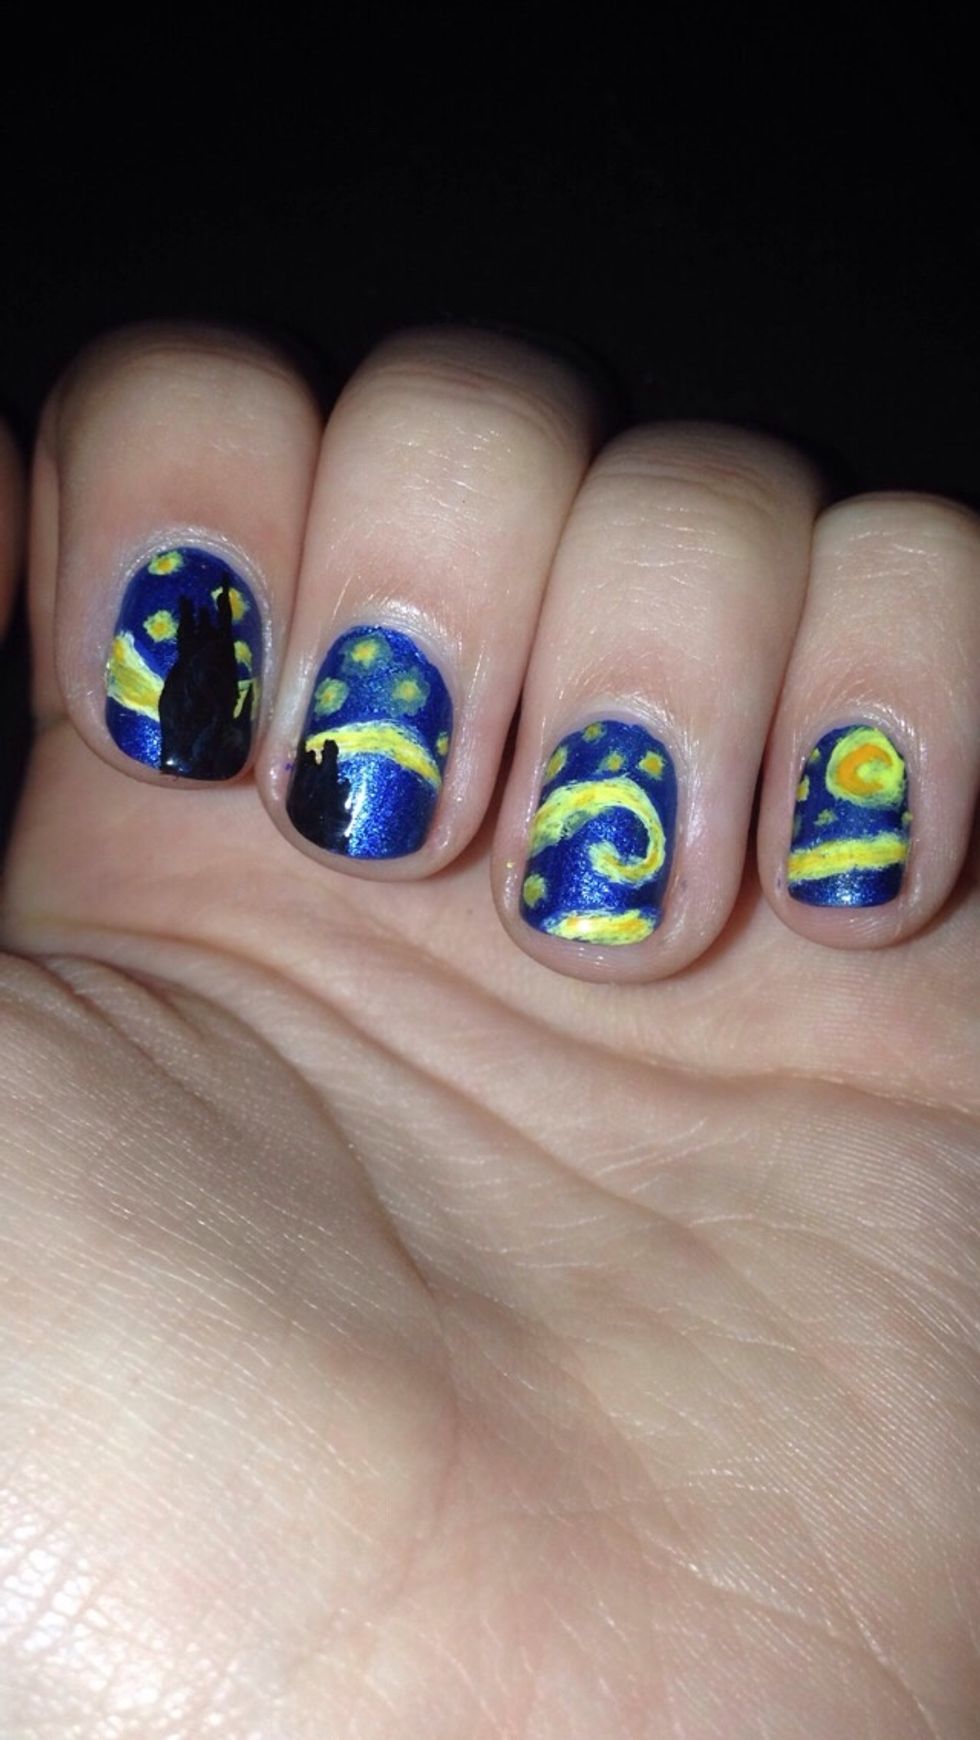
Add a top coat and you're finished