The Conversation (0)
Sign Up
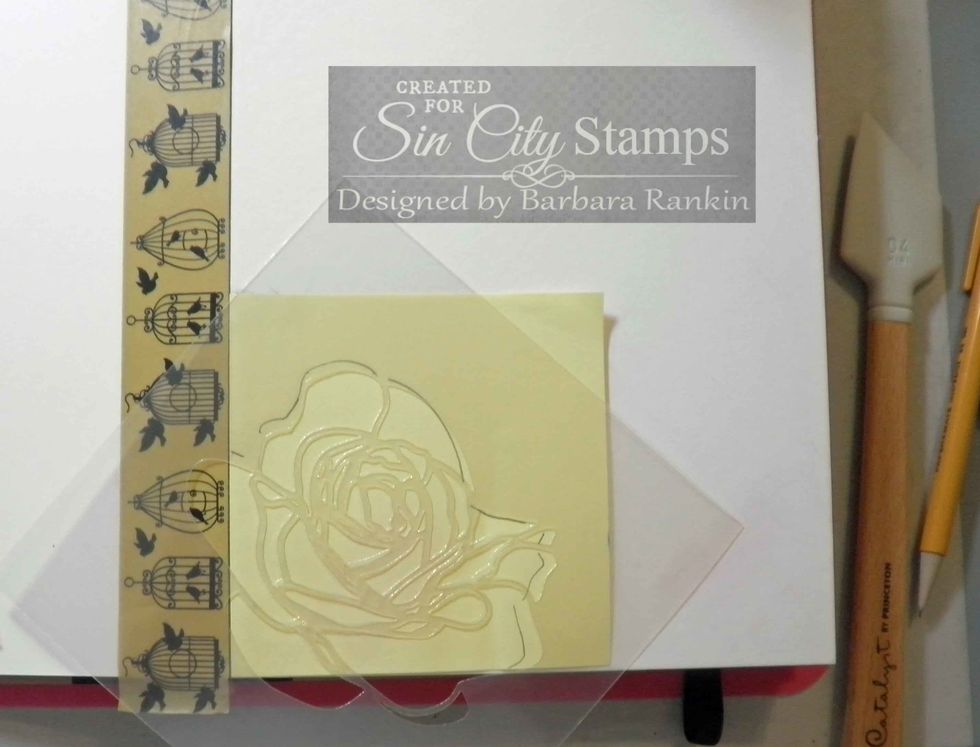
Place strip of washi tape along left edge of cover page. Lay post-it note along edge, trace rose stencil edge and cut out to make a mask.
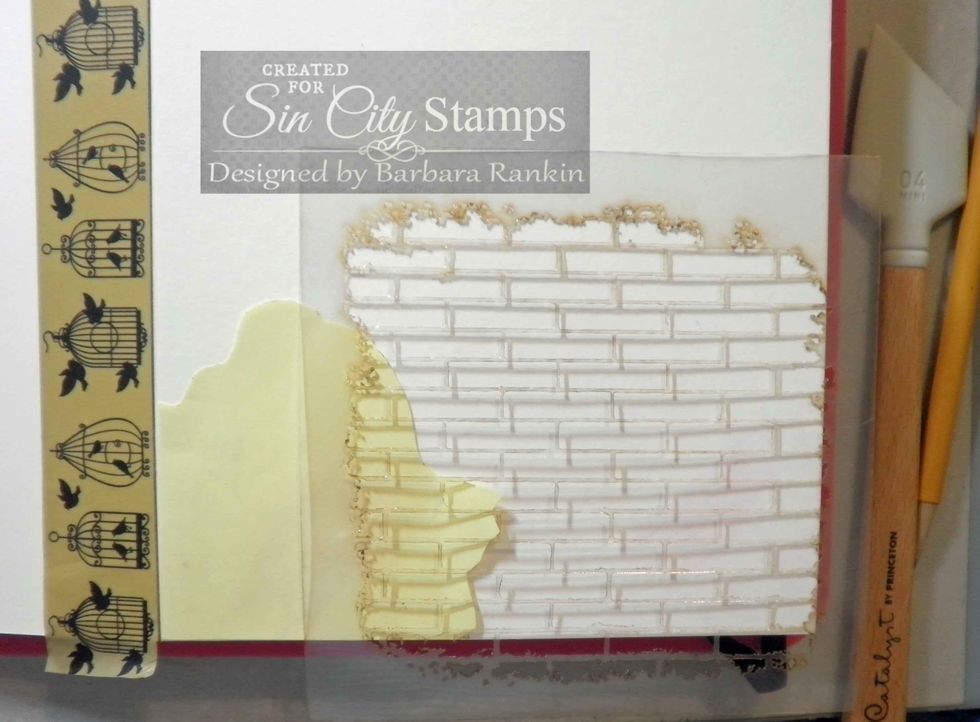
Lay brick stencil over rose mask and apply light molding paste through bricks with spatula.
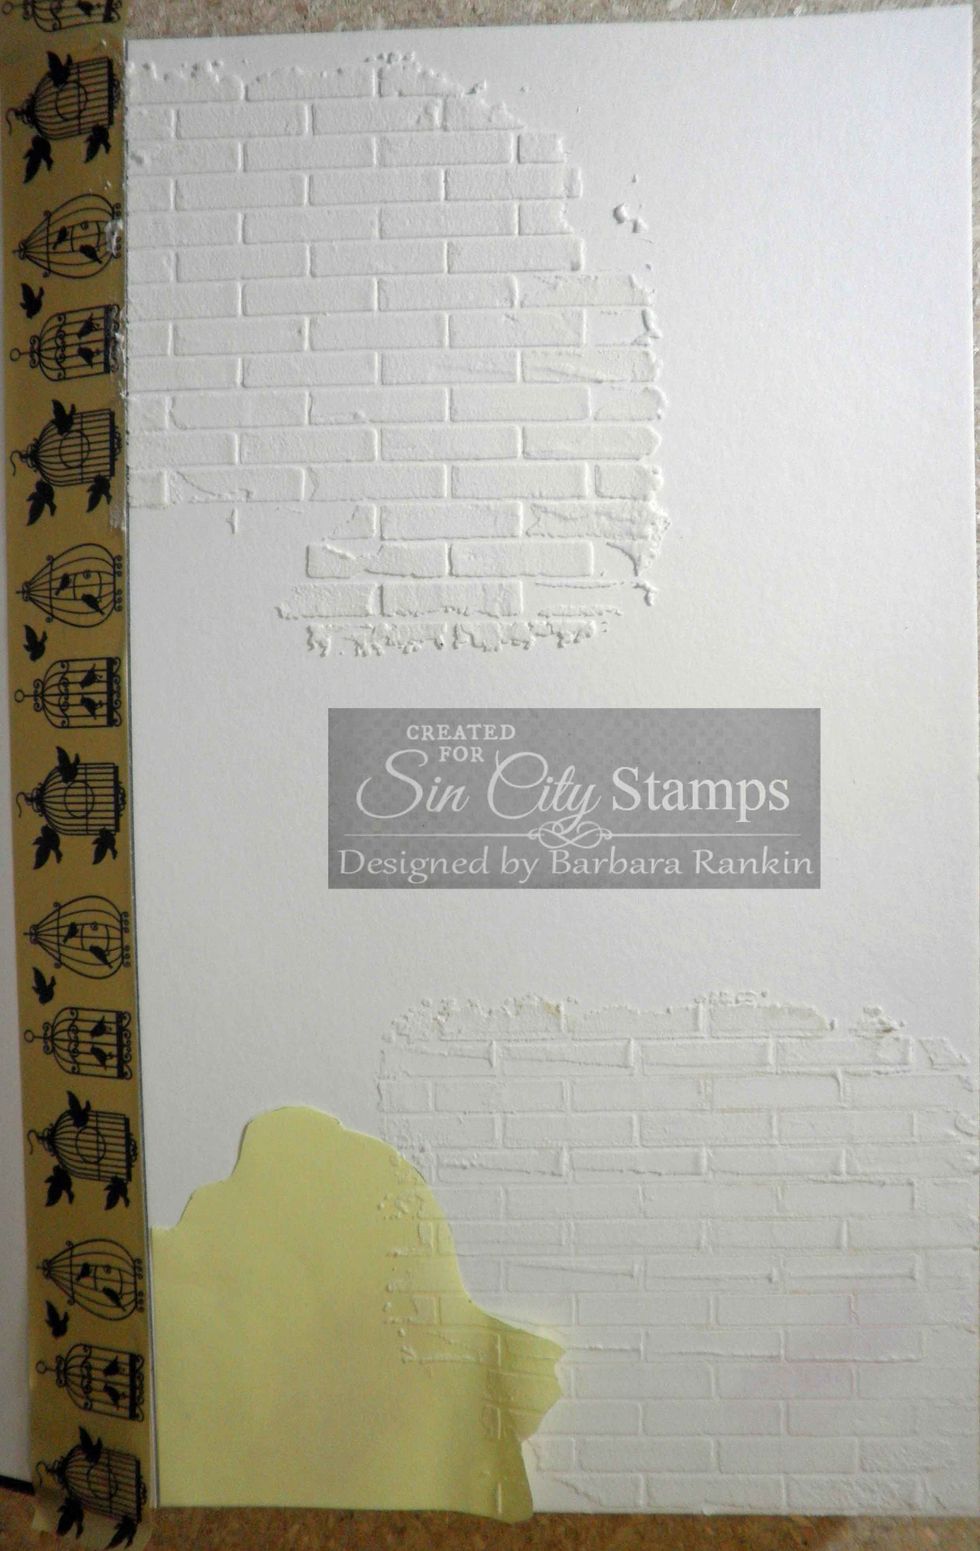
Remove stencil and apply more molding paste through brick stencil at top left.
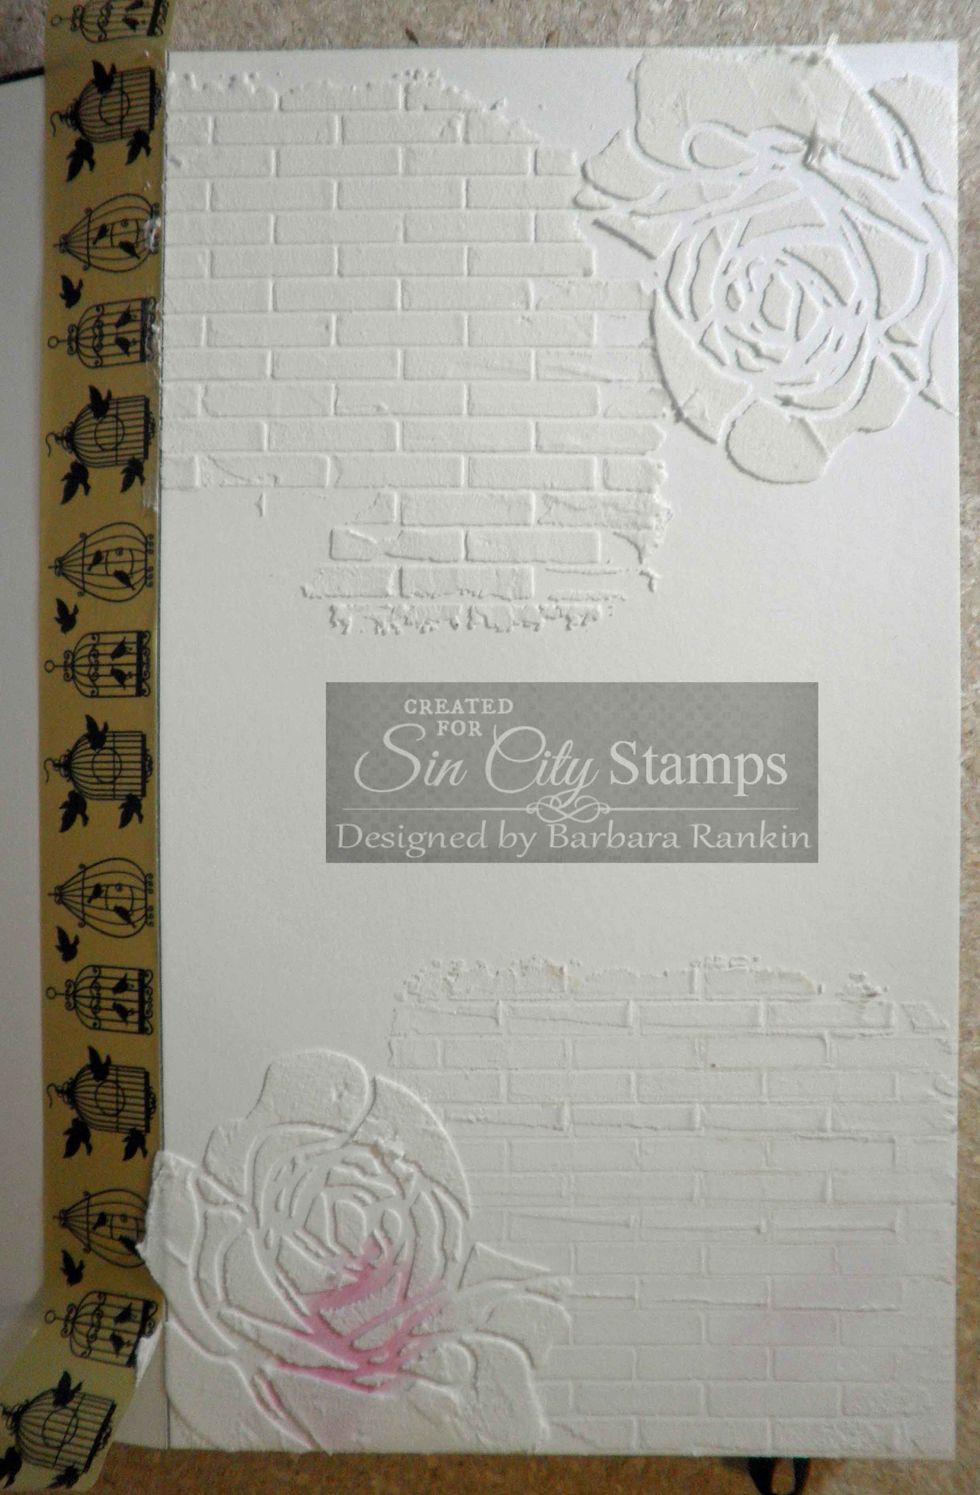
Remove rose mask, align rose stencil and apply light molding paste at bottom left and upper right, as shown. I did not use a mask for the upper right rose but simply moved it around to fit the space.
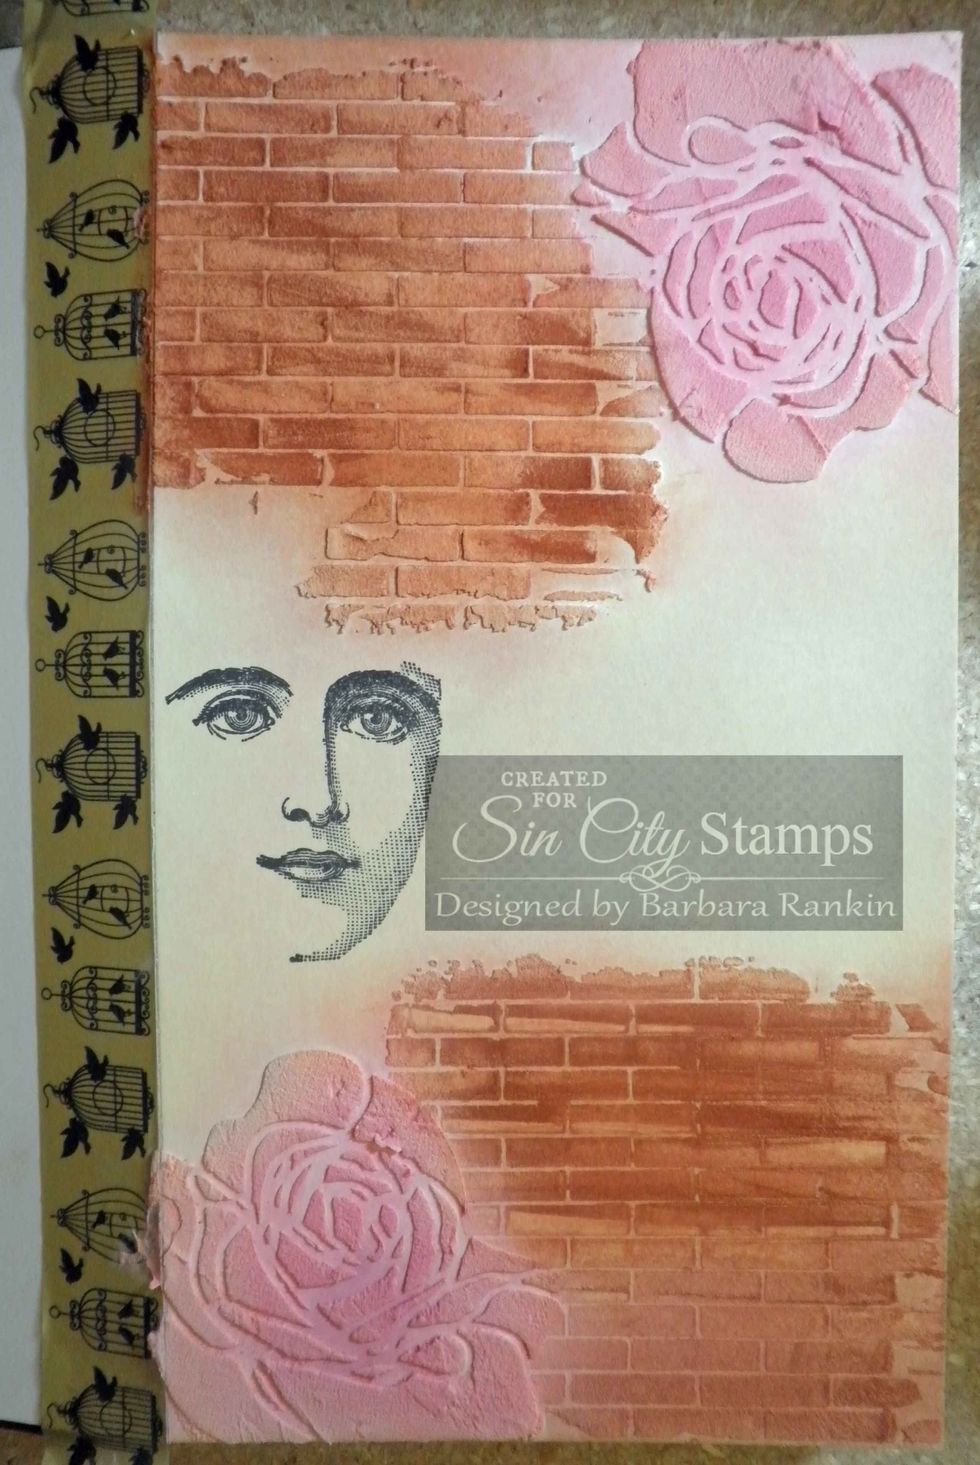
Add color to journal page with Pan Pastels Burnt Sienna (bricks), Permanent Red Tint and Magenta (roses), Hansa Yellow Tint & Ultramarine Blue Tint (background). Stamp face with black ink, as shown.
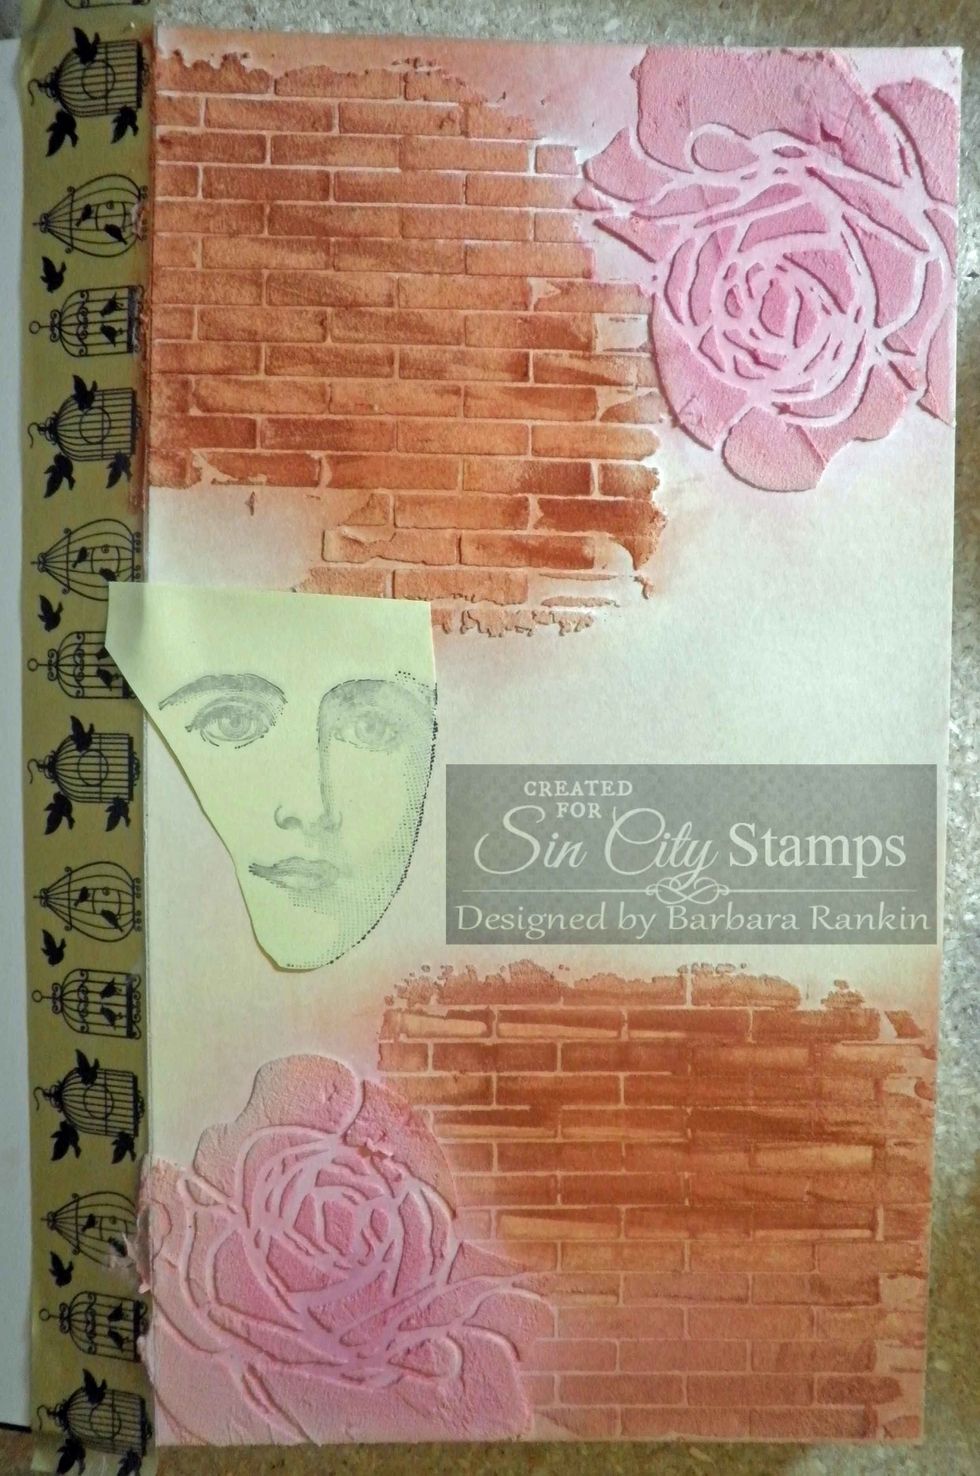
Stamp face onto post it note and cut around image to make another mask. Place over stamped face on journal page. This will protect face image in next step.
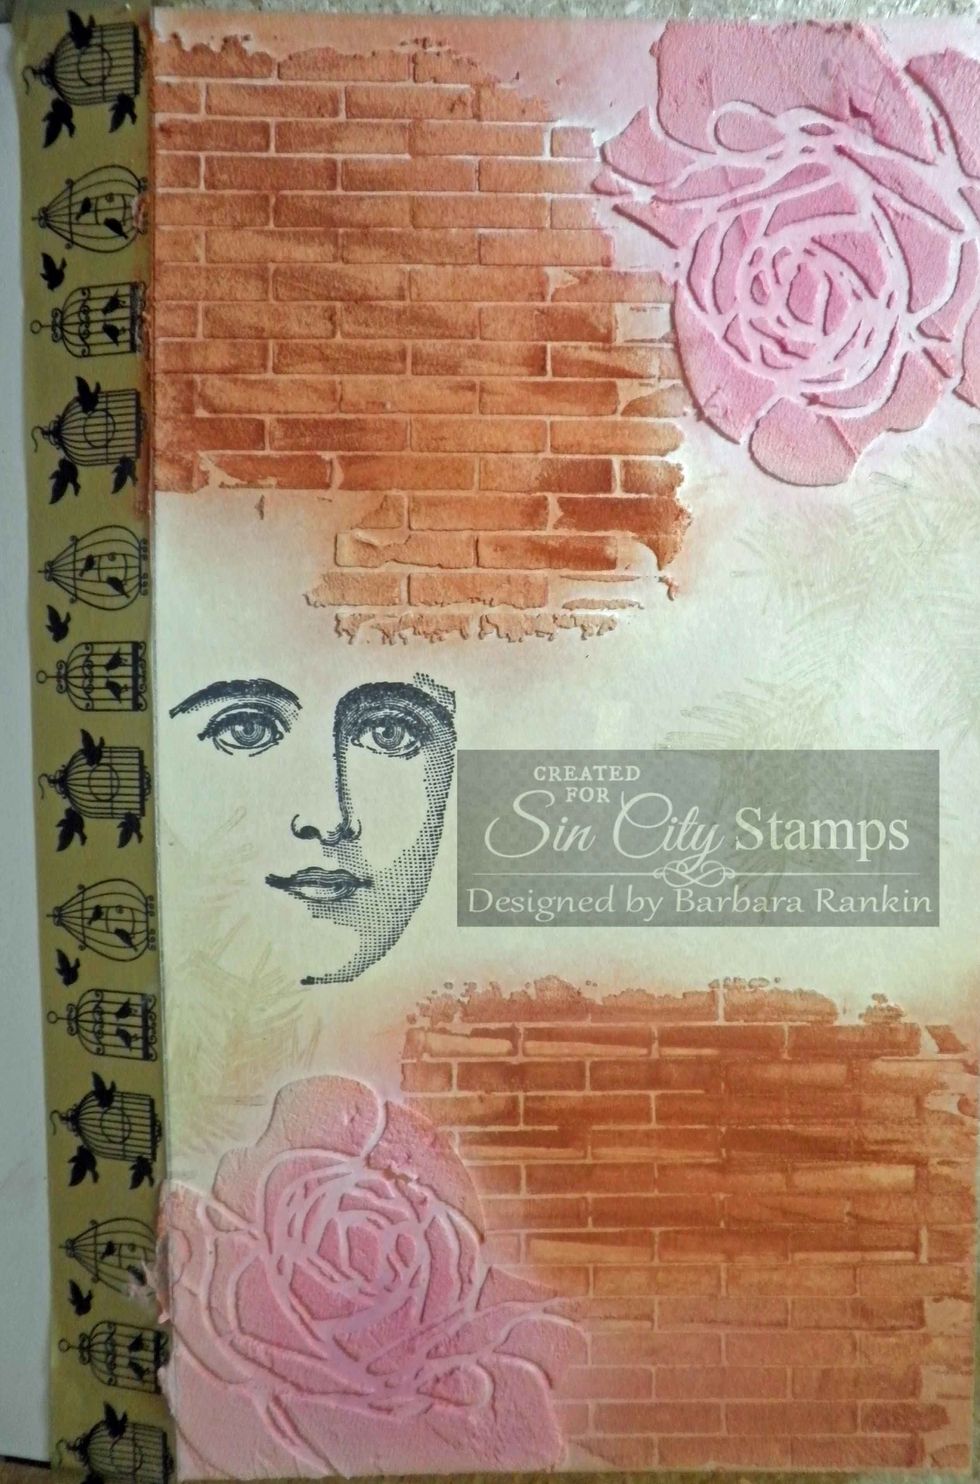
Cover rose at bottom with rose mask. Stamp pine bough onto page, as shown, using Versamark ink. Do the same with the rose at the top, and stamp over the bricks as well.
Using Softt sponge, lightly apply Permanent Green over the stamped pine bough images. The Versamark ink will grab the Pan Pastels.
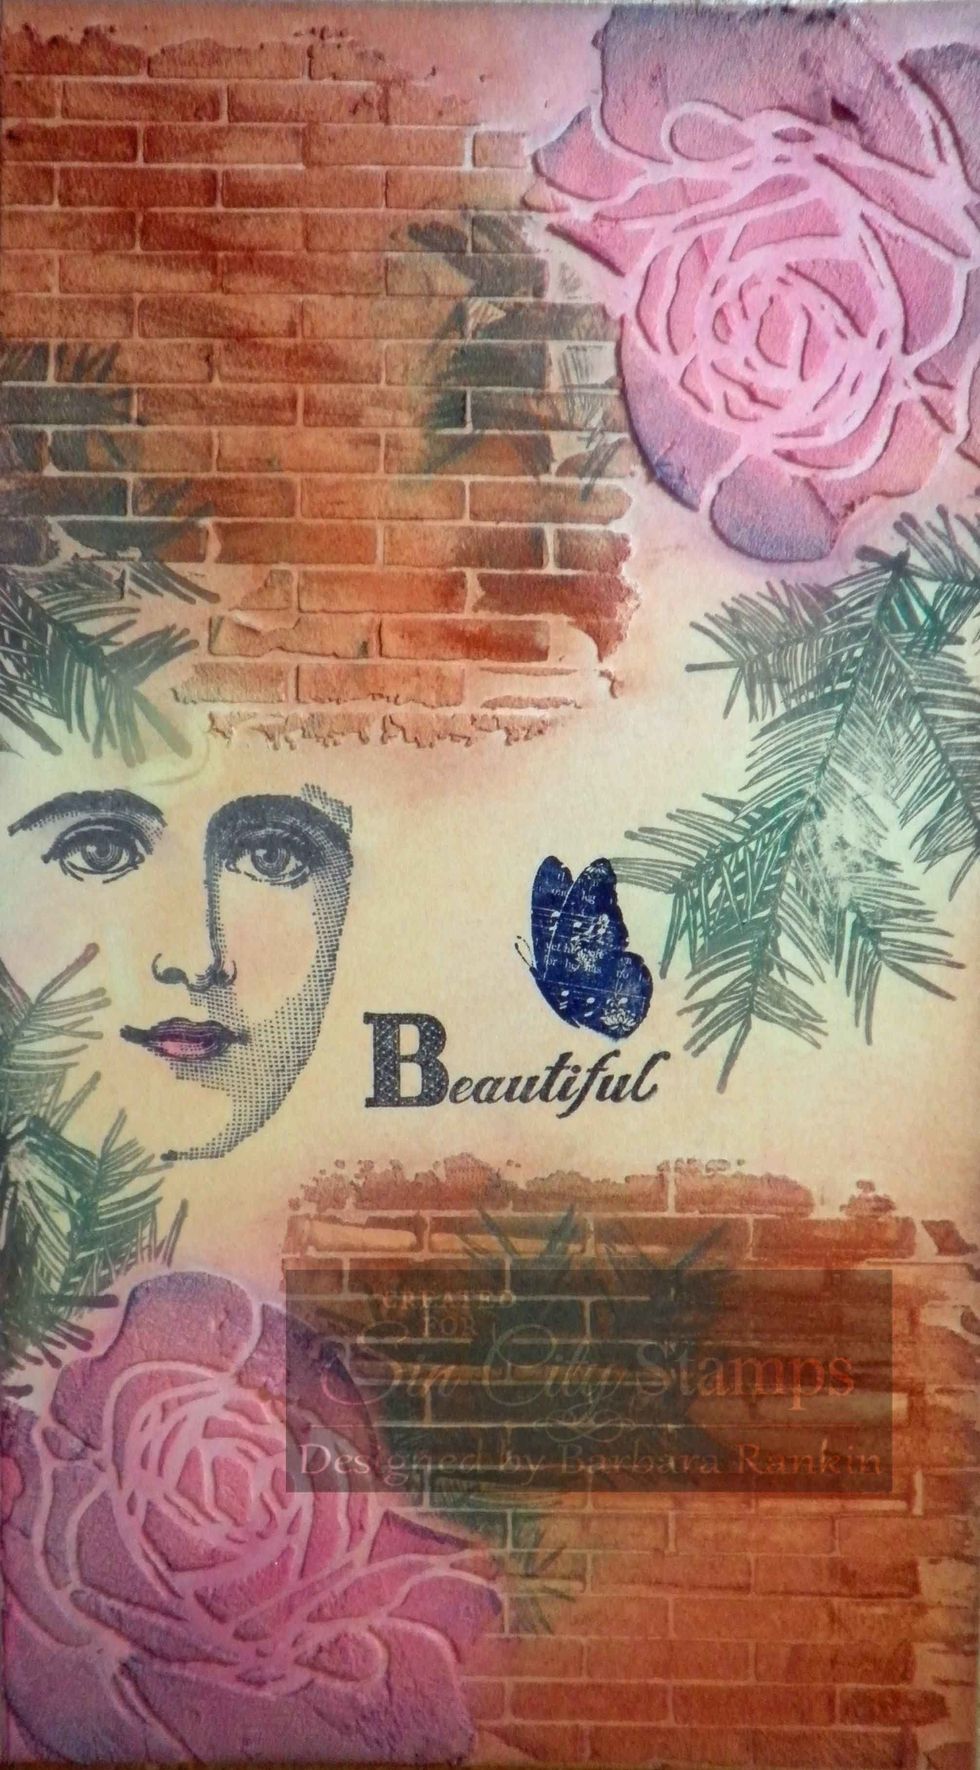
Stamp "Beautiful" from SCS Halloween Bingo stamp set with black ink pad, as shown. Stamp butterfly from SCS Love of Butterflies set with Midnight Blue Stazon ink pad.
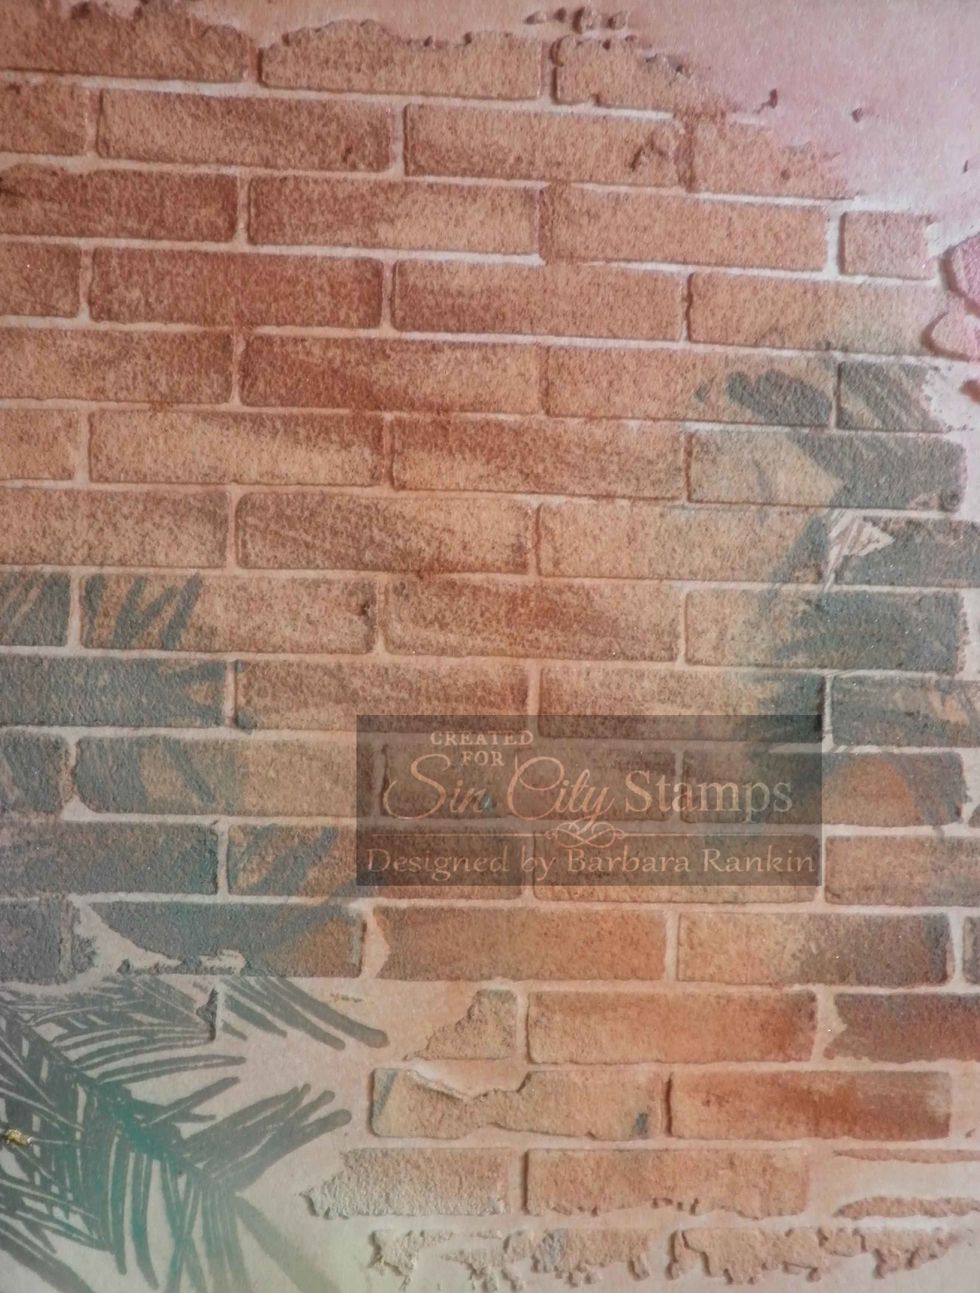
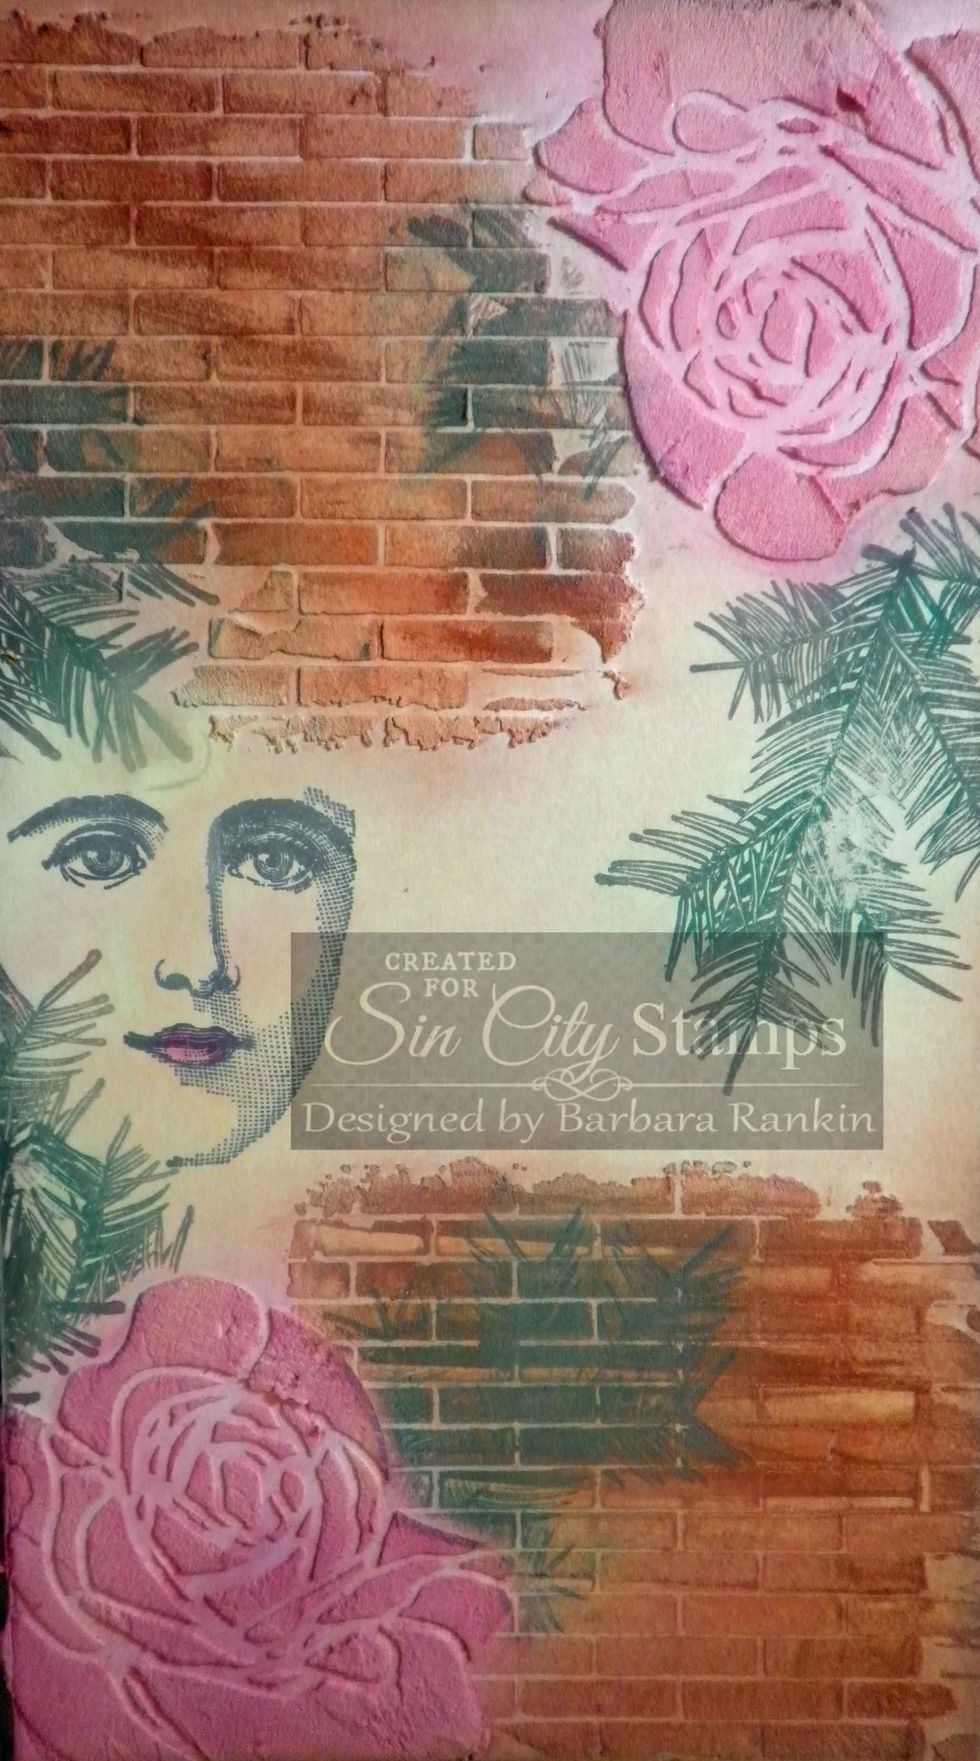
Close-up of stamped pine bough over brick stenciled areas.
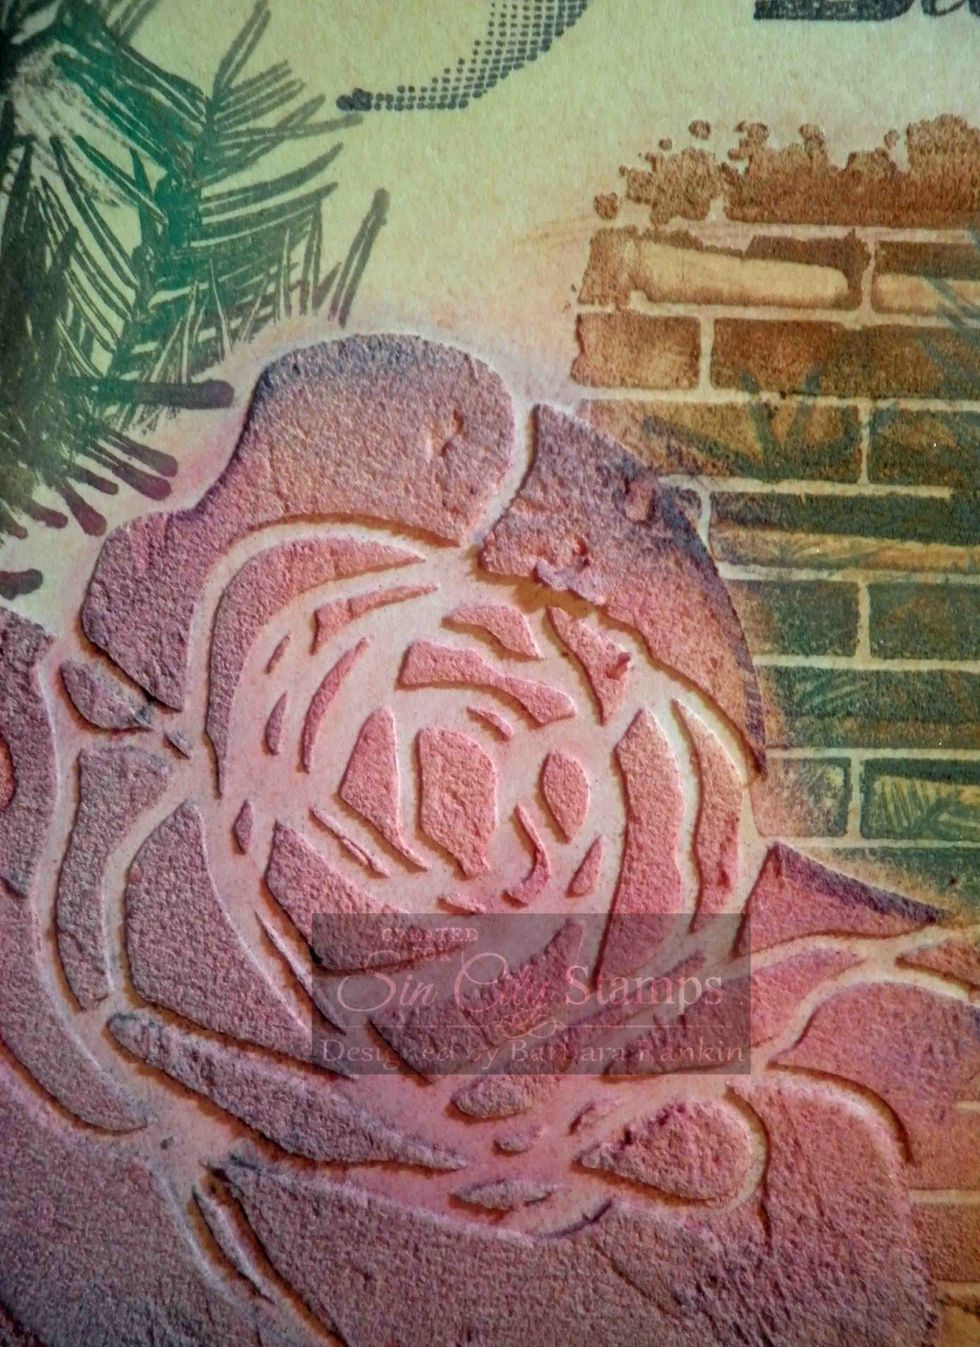
Close-up of rose showing color variations and blending with the Pan Pastels.
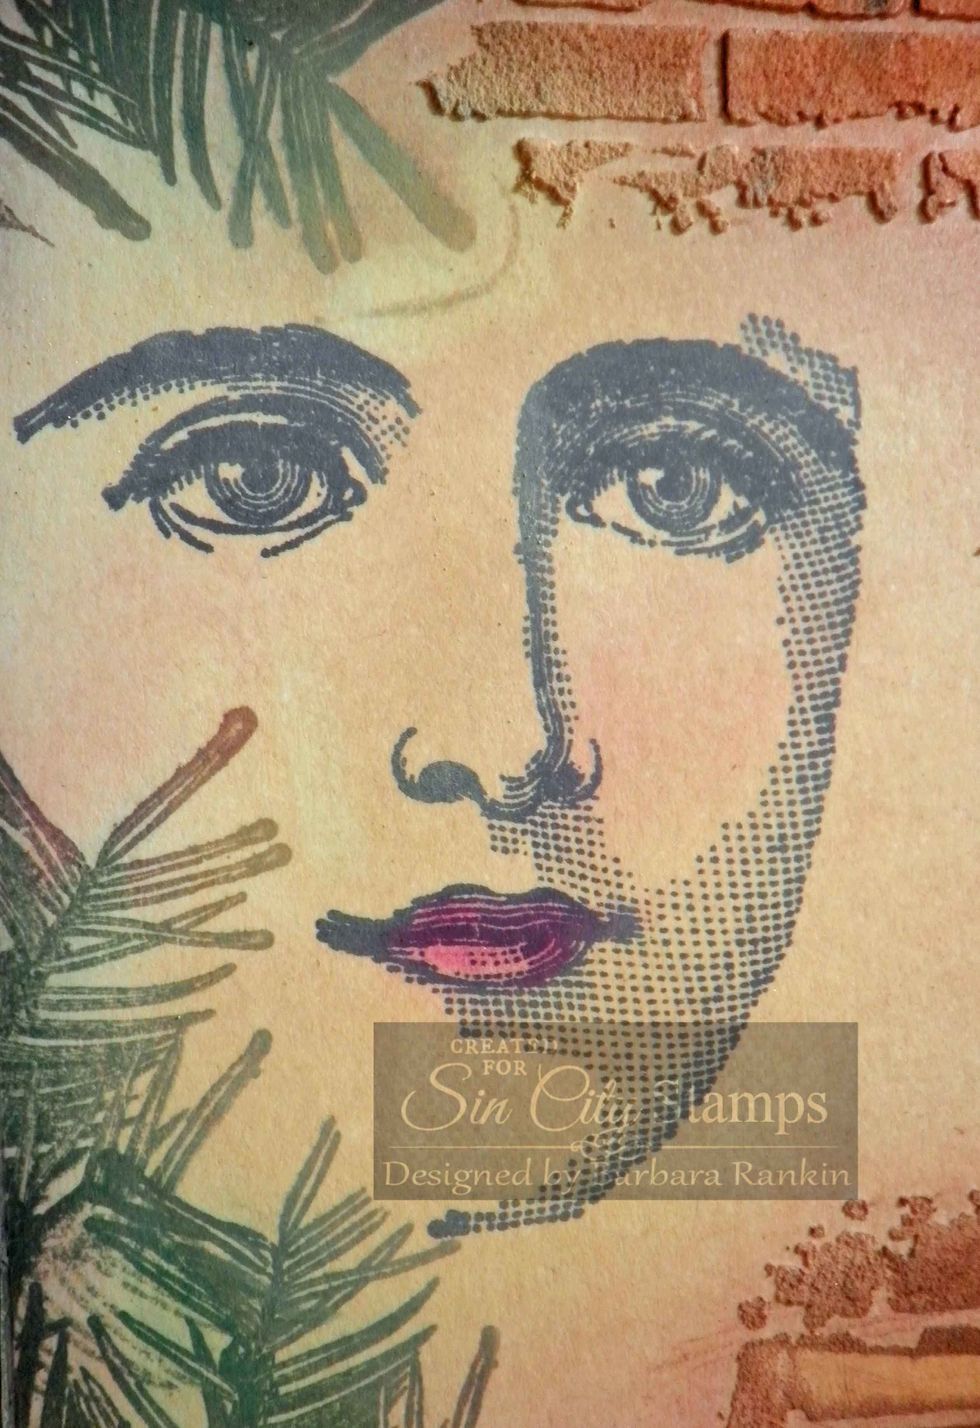
A little extra Pan Pastels colors added to the stamped beautiful face image.
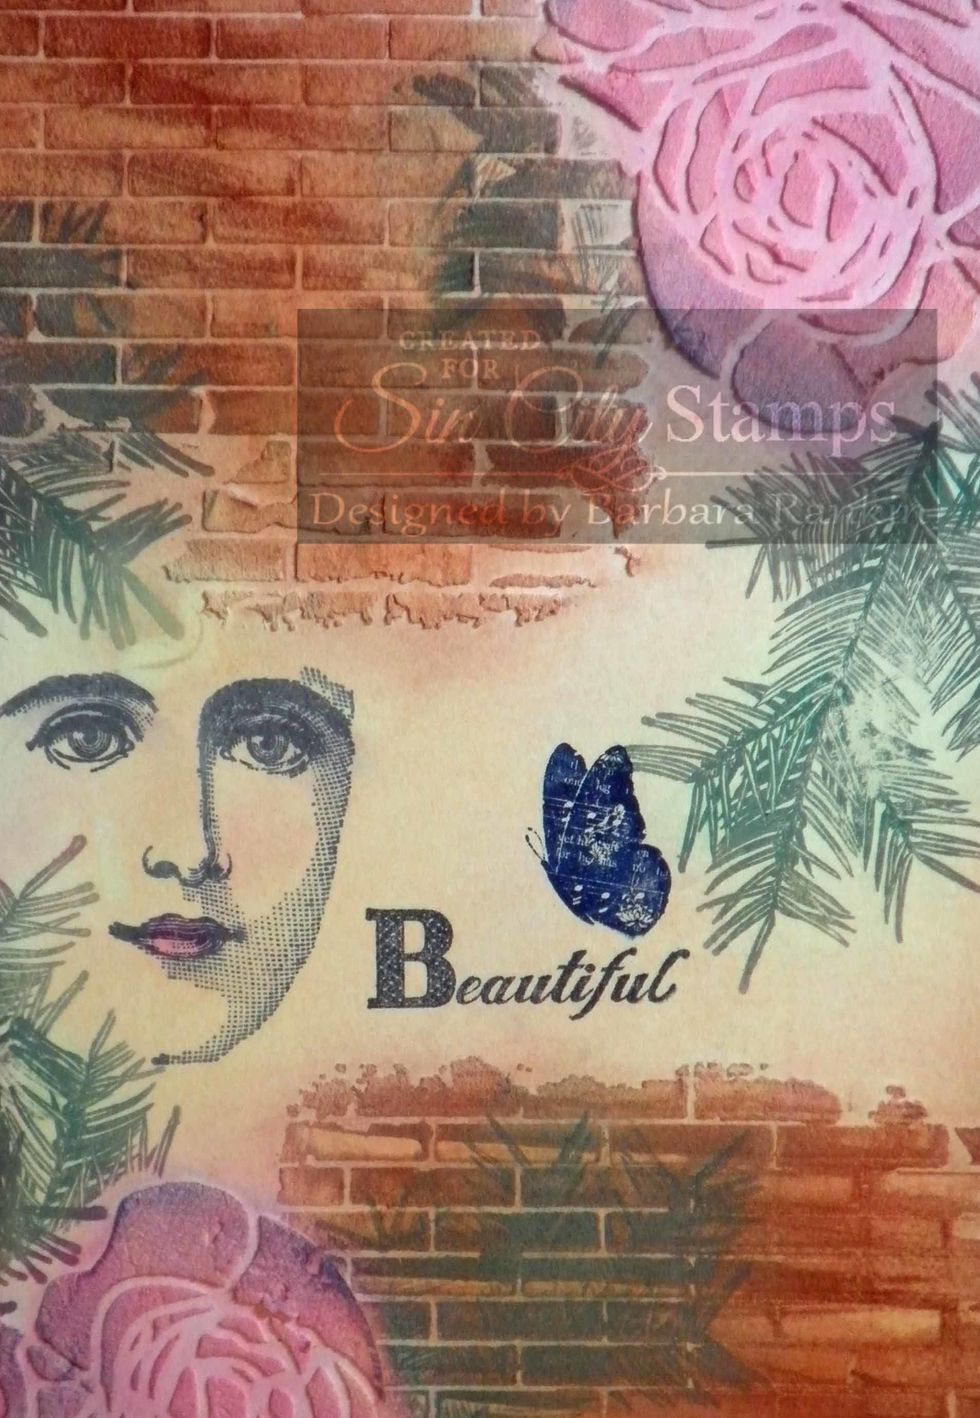
Since I stamped my butterfly in that dark blue, I needed to bring in a bit more dark blue in another area, so I darkened the corners of both roses with Pan Pastels Ultramarine Blue.
Please visit Sin City Stamps at www.sincitystamps.com for your stamps and Pan Pastels at http://www.panpastel.com Thanks for stopping by and please give me a thumbs up by clicking the like button.