The Conversation (0)
Sign Up
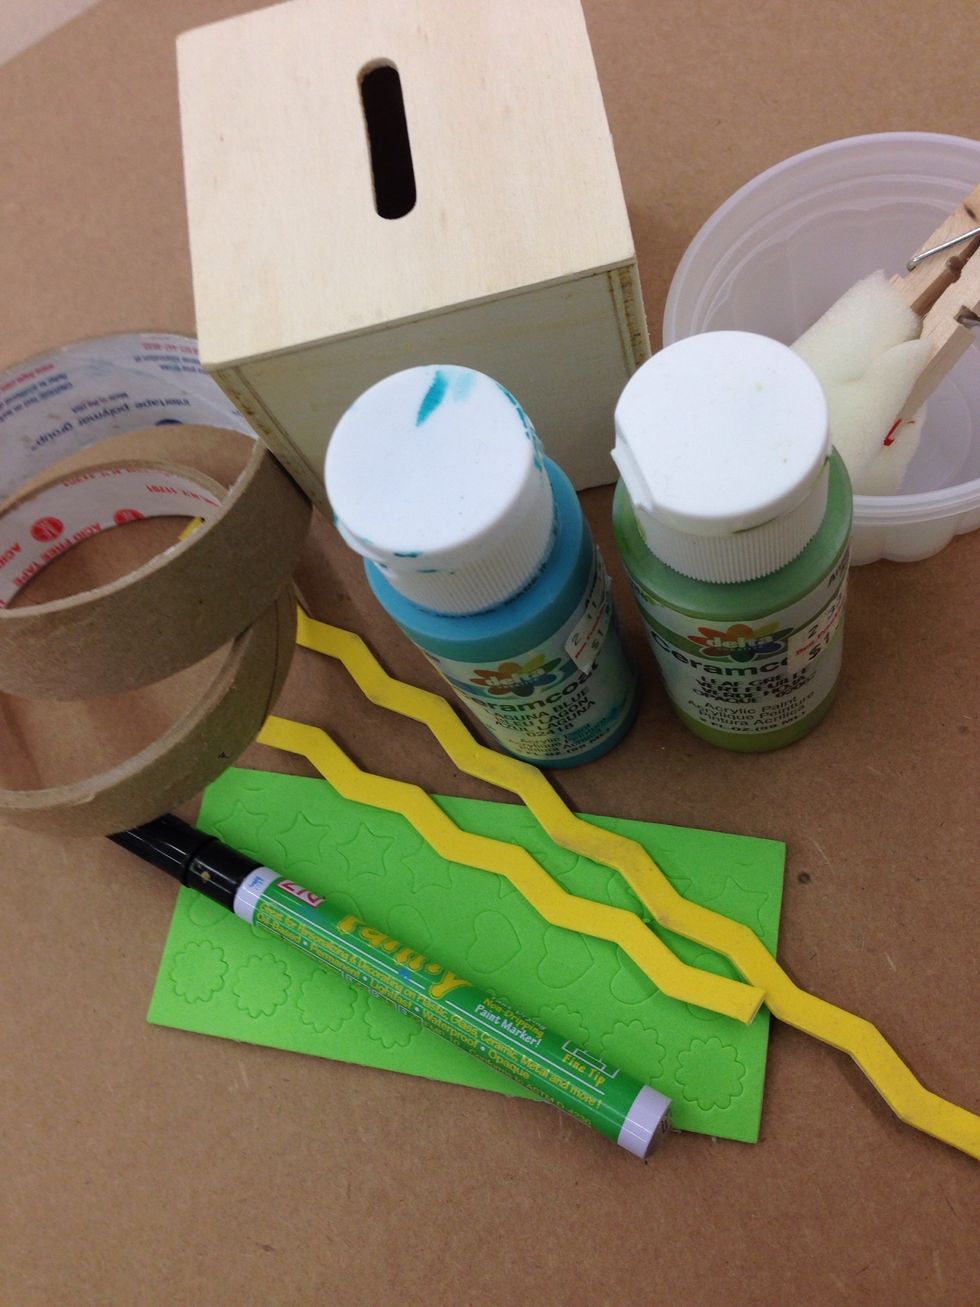
These are the supplies you will need to stamp your bank.
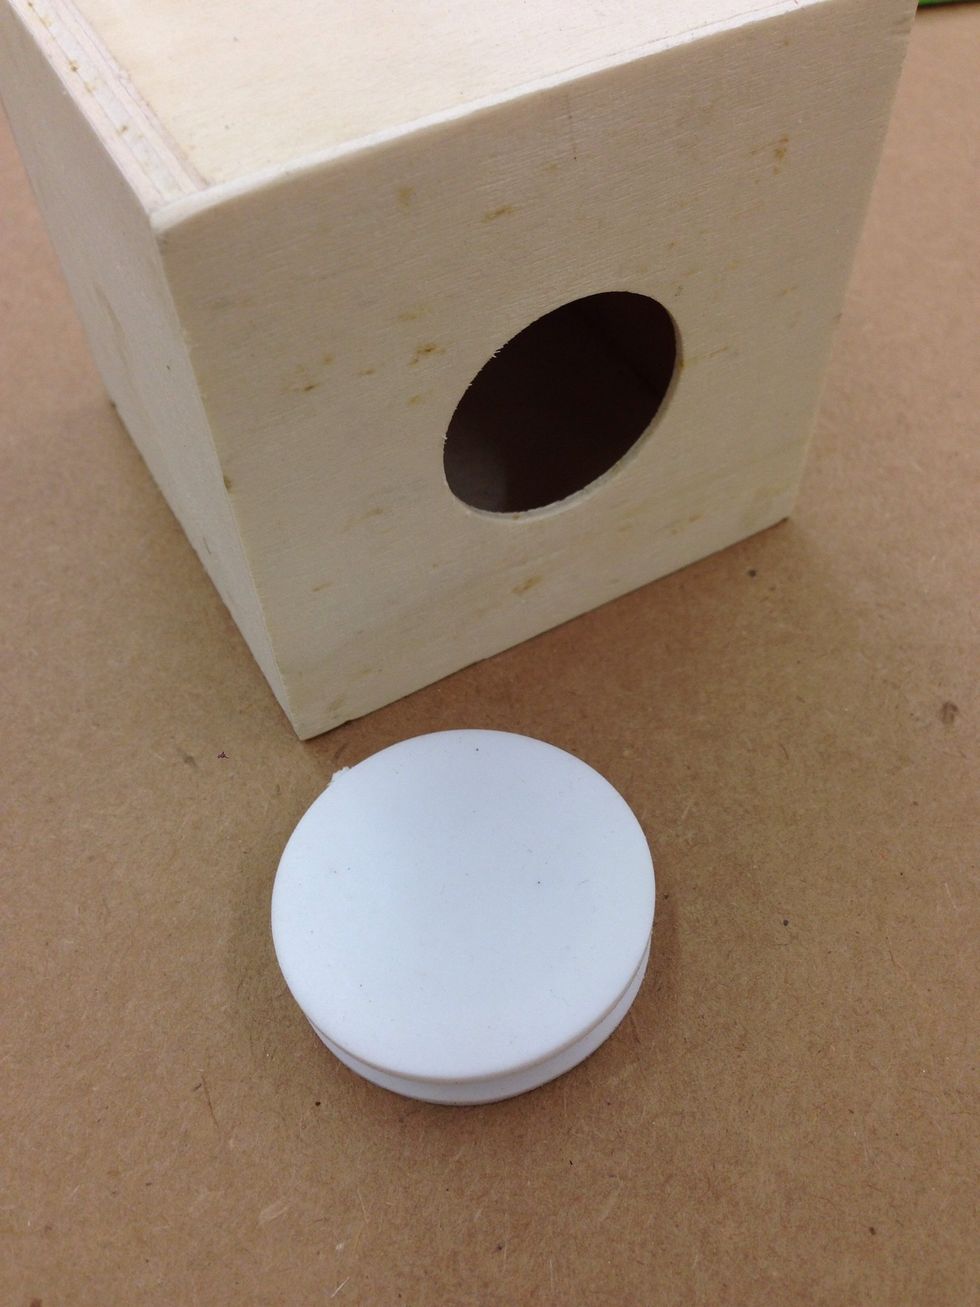
Remove the stopper from the bottom of the bank. Don't lose it!
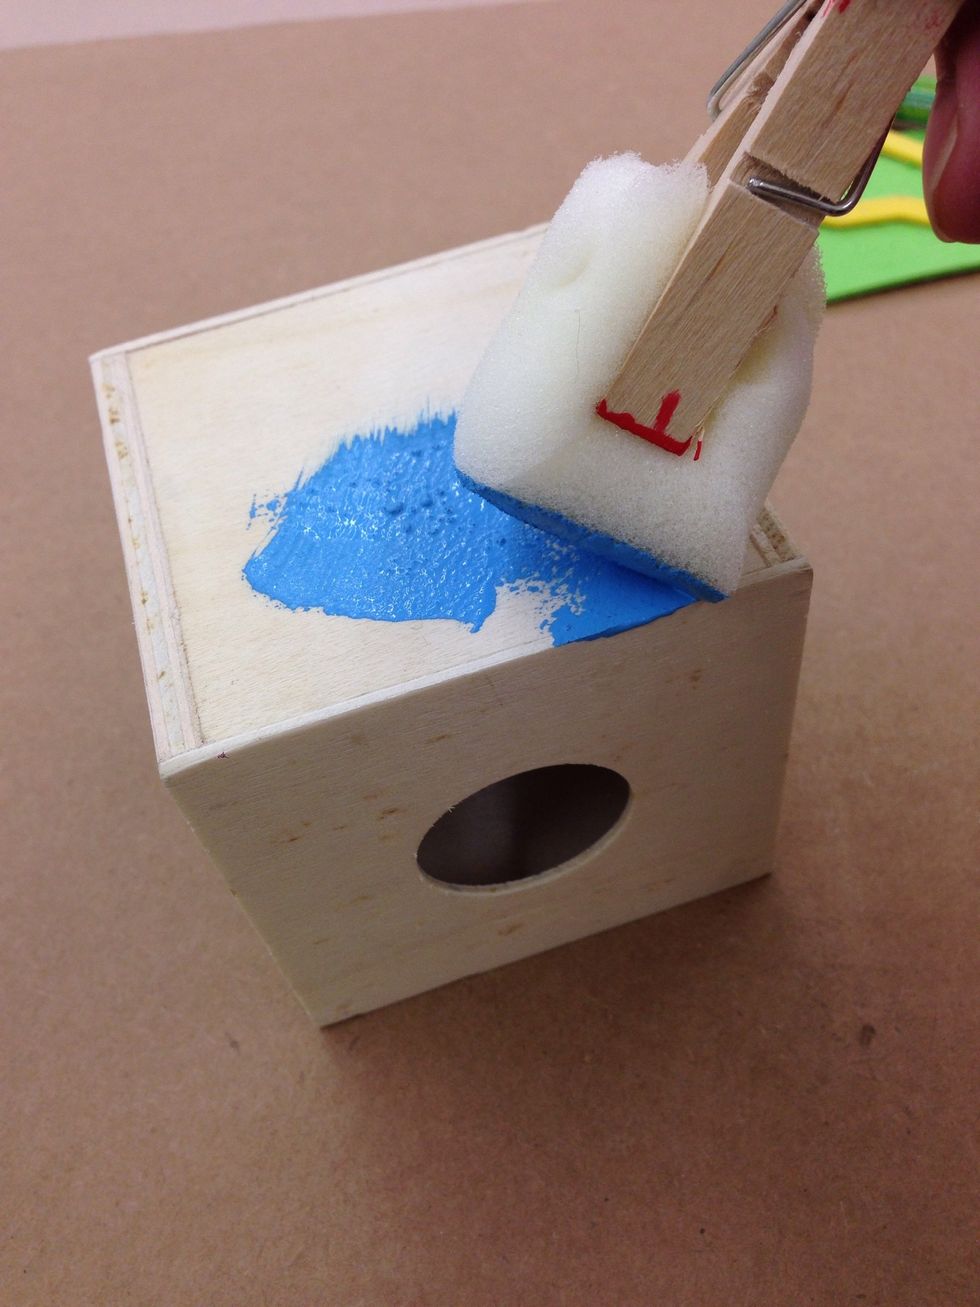
Clip a small piece of foam into your clothes pin and paint the entire bank. Set it aside to dry.
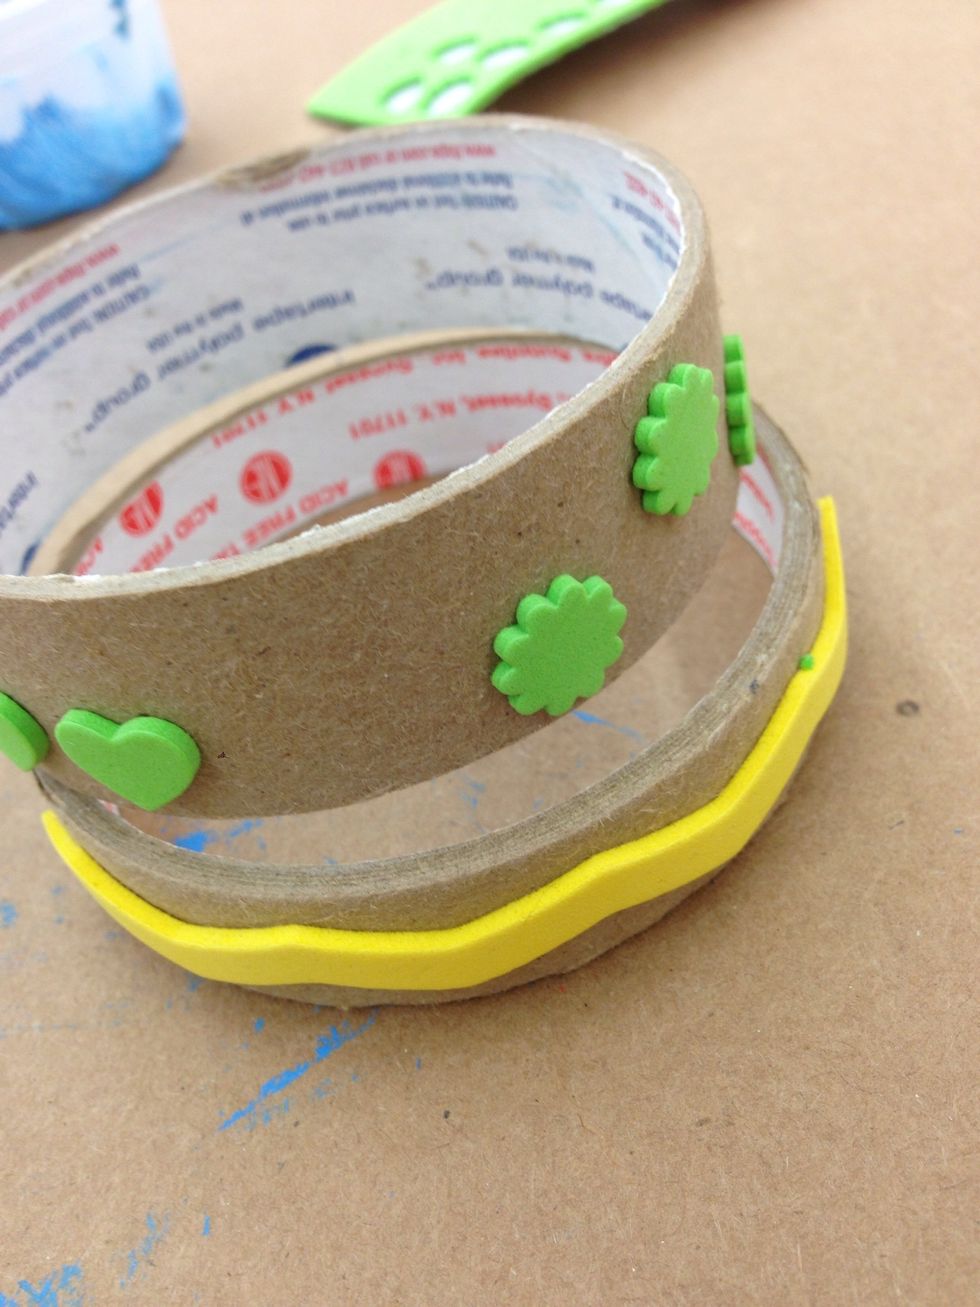
You could use any arrangement of foam stickers for your stamps.
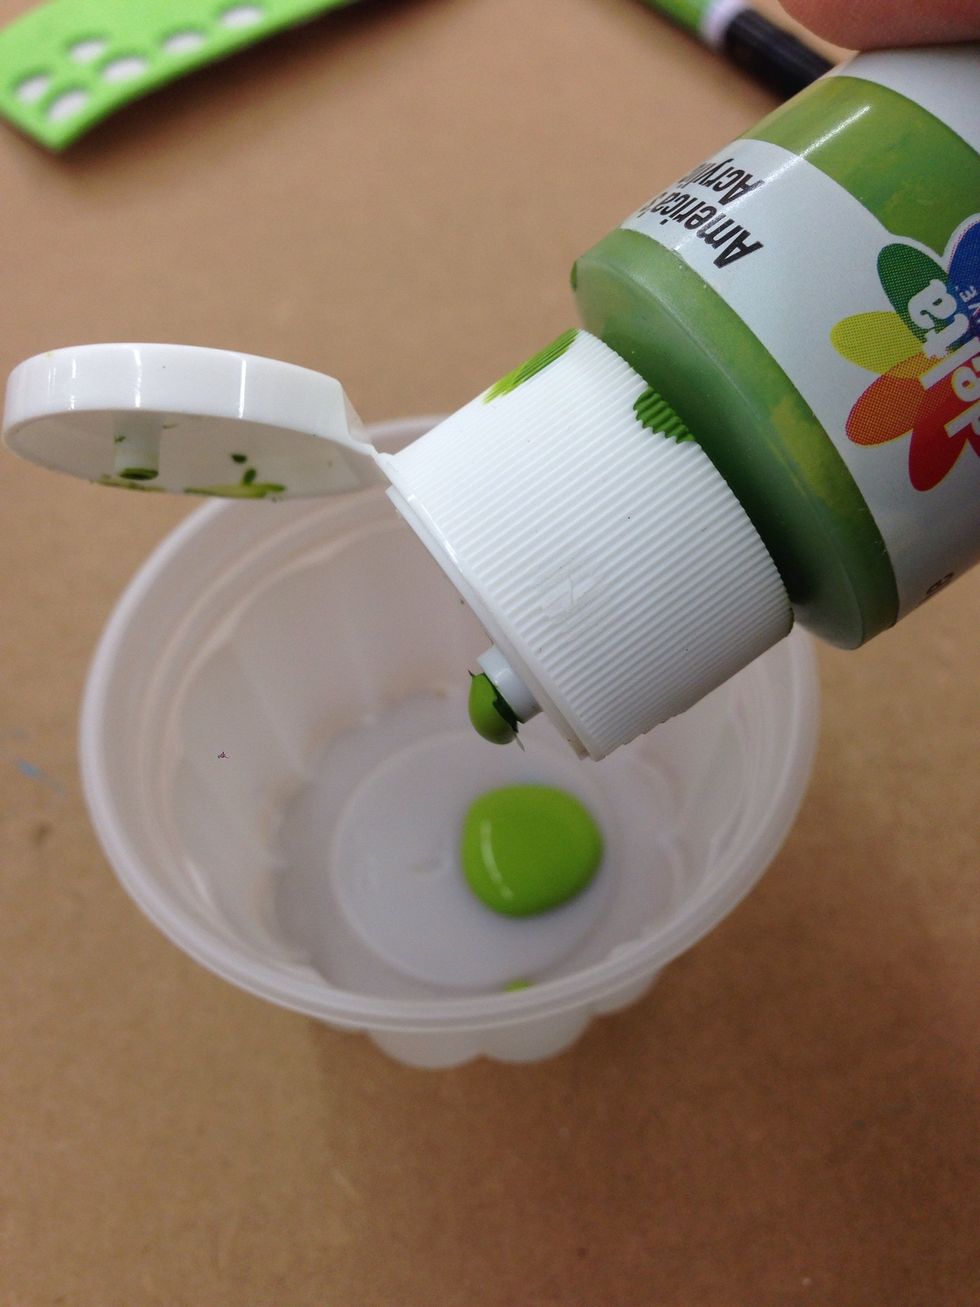
Put a small amount of paint in your paint dish. You won't need very much for the stamping process.
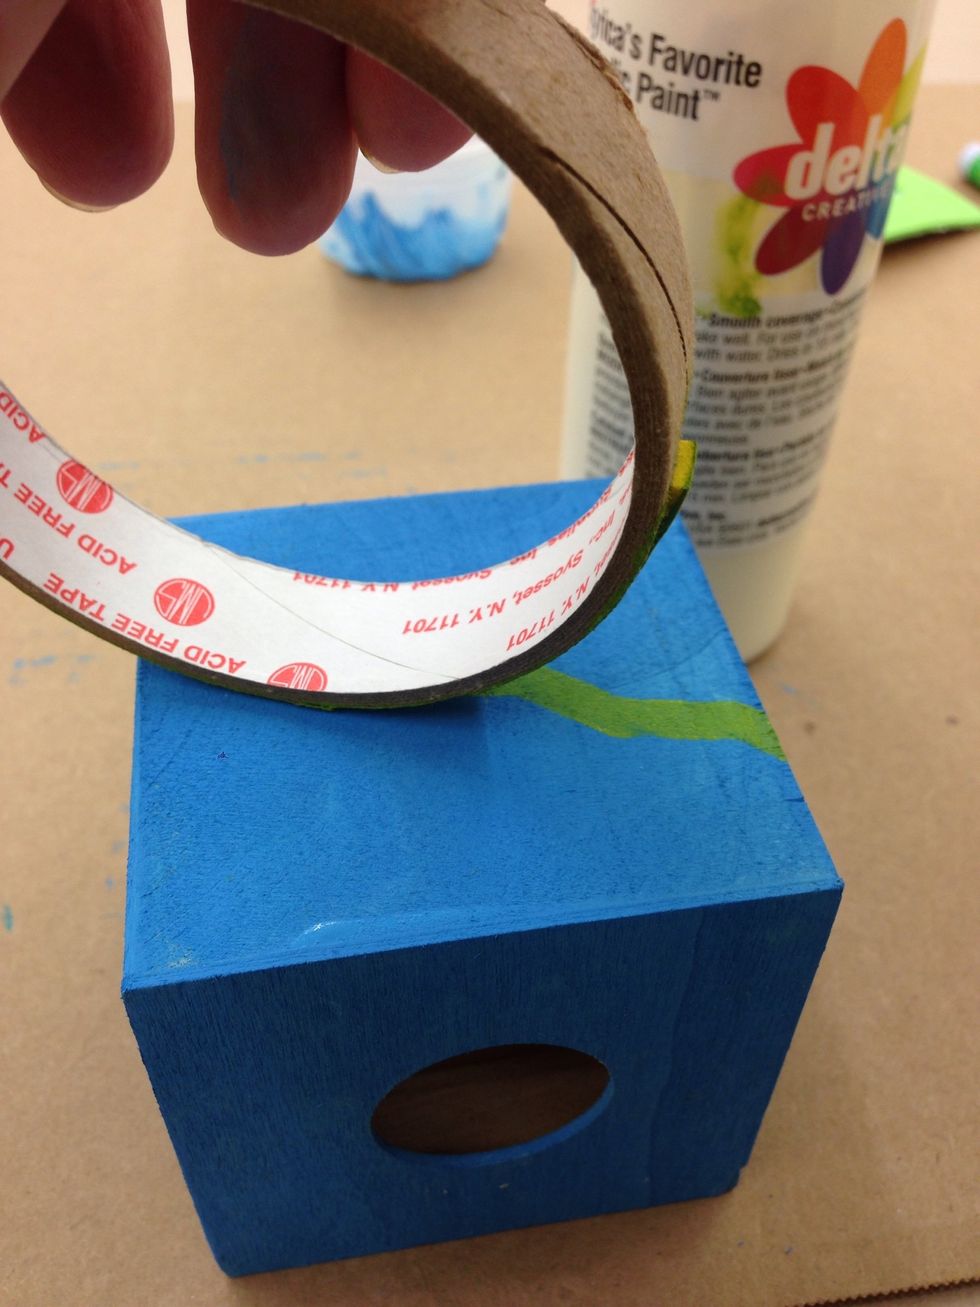
Roll the stamp along the side of the bank to apply the paint. If you plan to use the stamp more than one time on your bank you will need to apply more paint to the stamp each time.
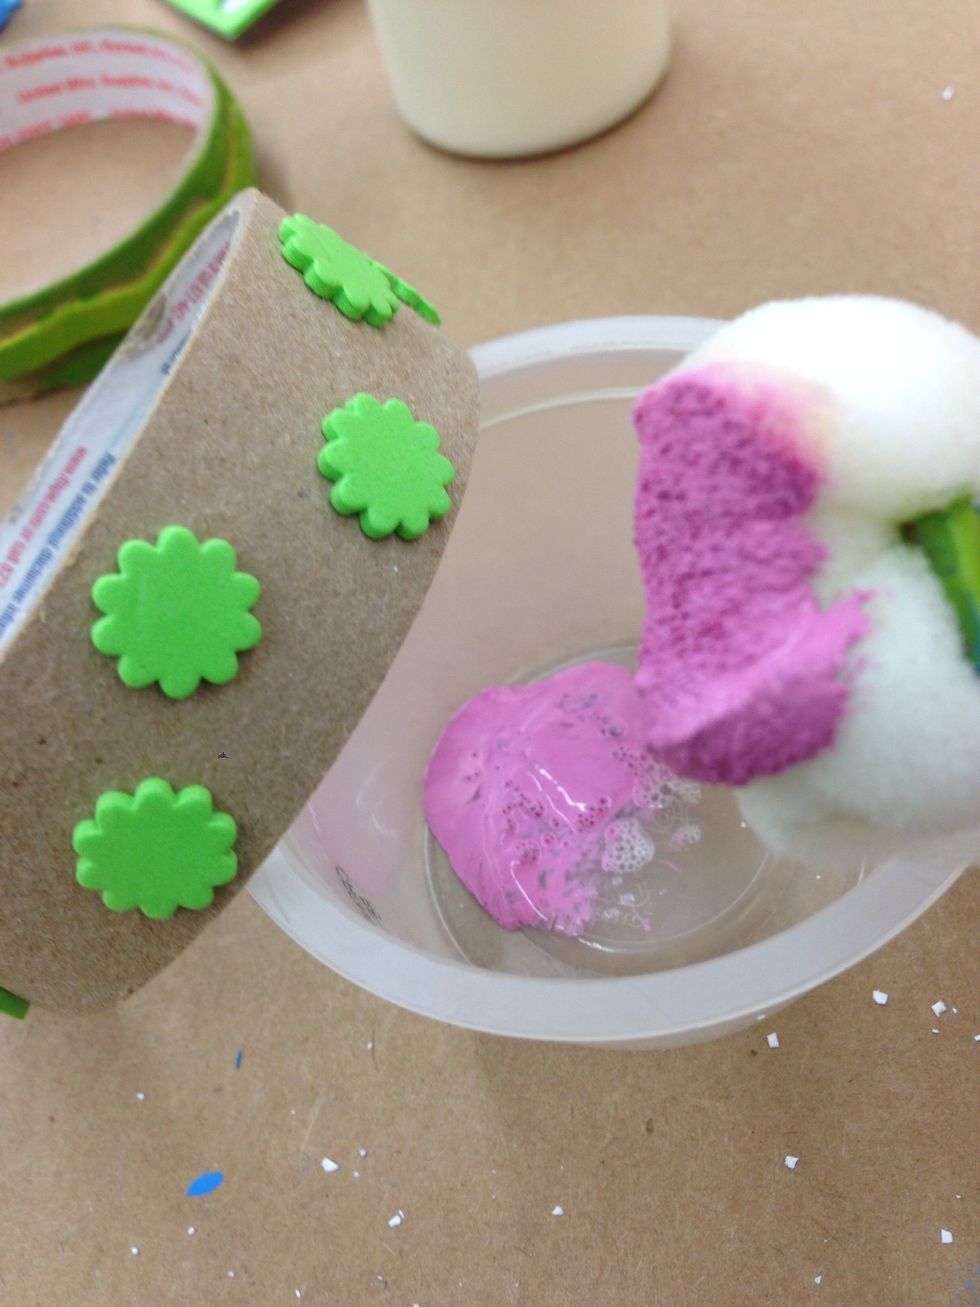
Each time you add a new stamp you will use a new paint cup and a new piece of foam.
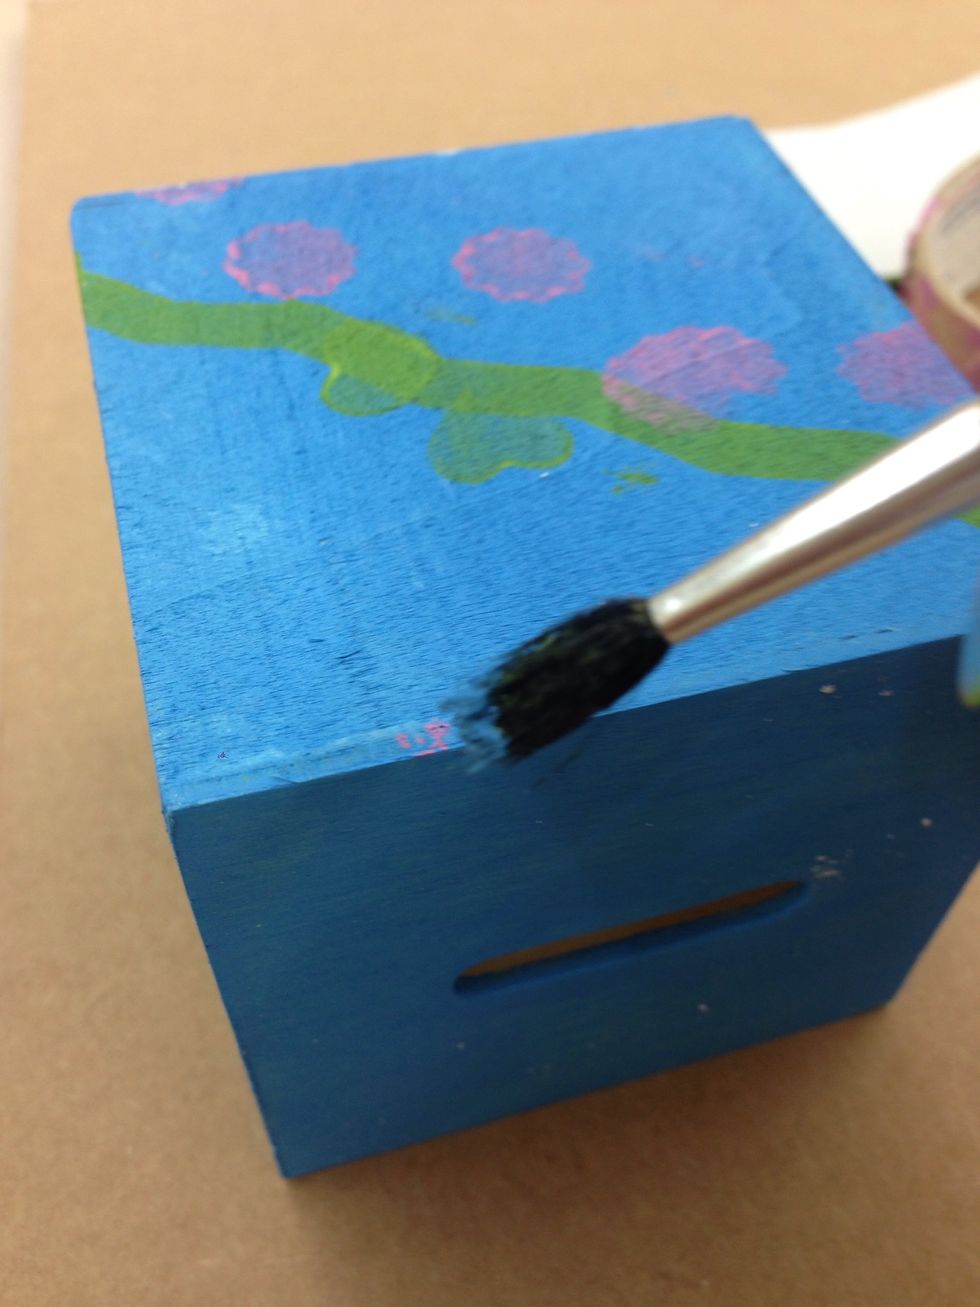
Touch up any paint boo-boos with a tiny bit of paint on your paintbrush.
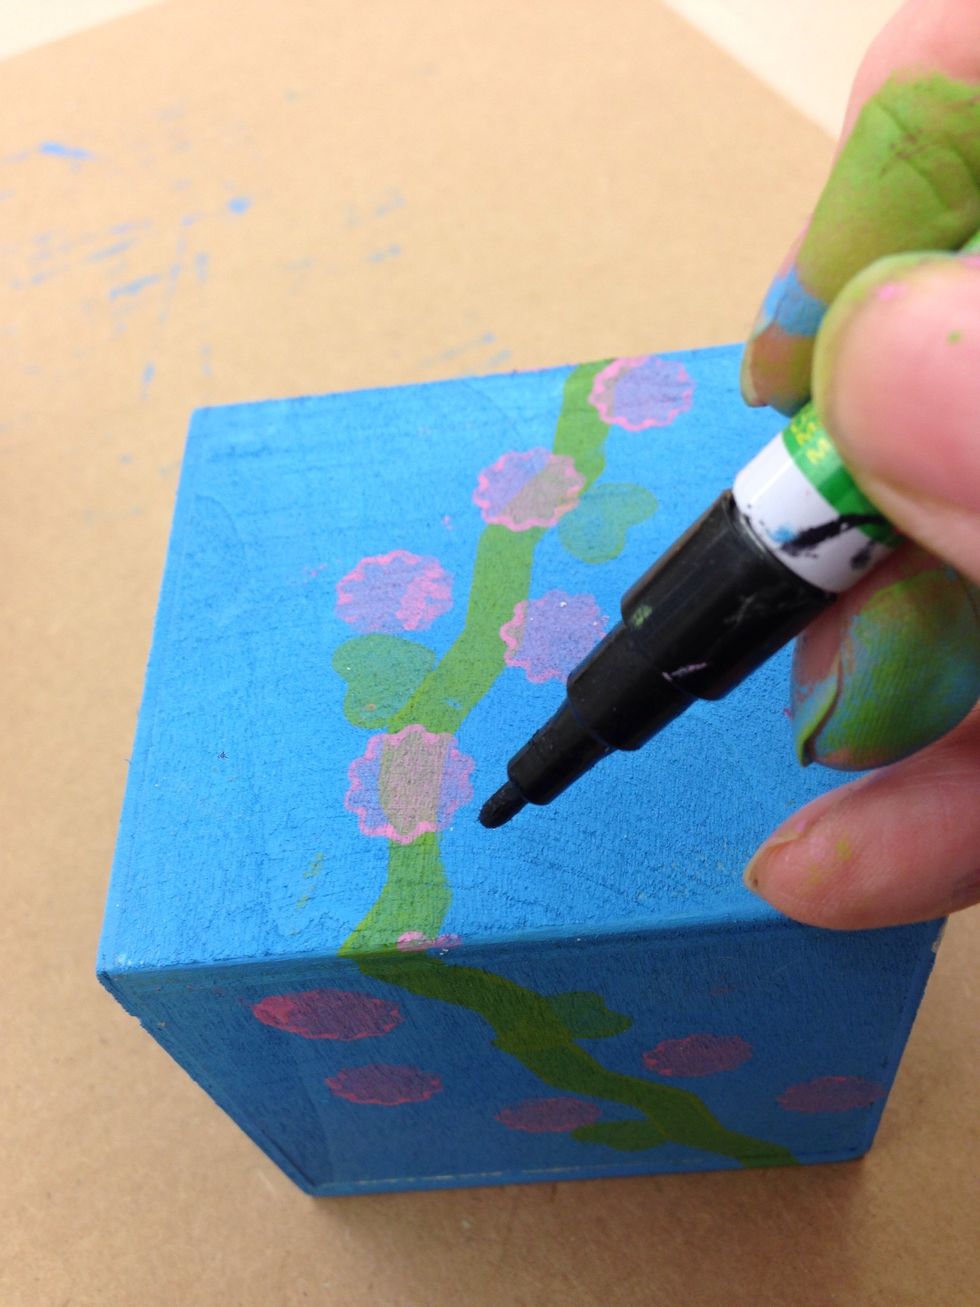
When you're done stamping your bank, use the paint pen to add details and your name!
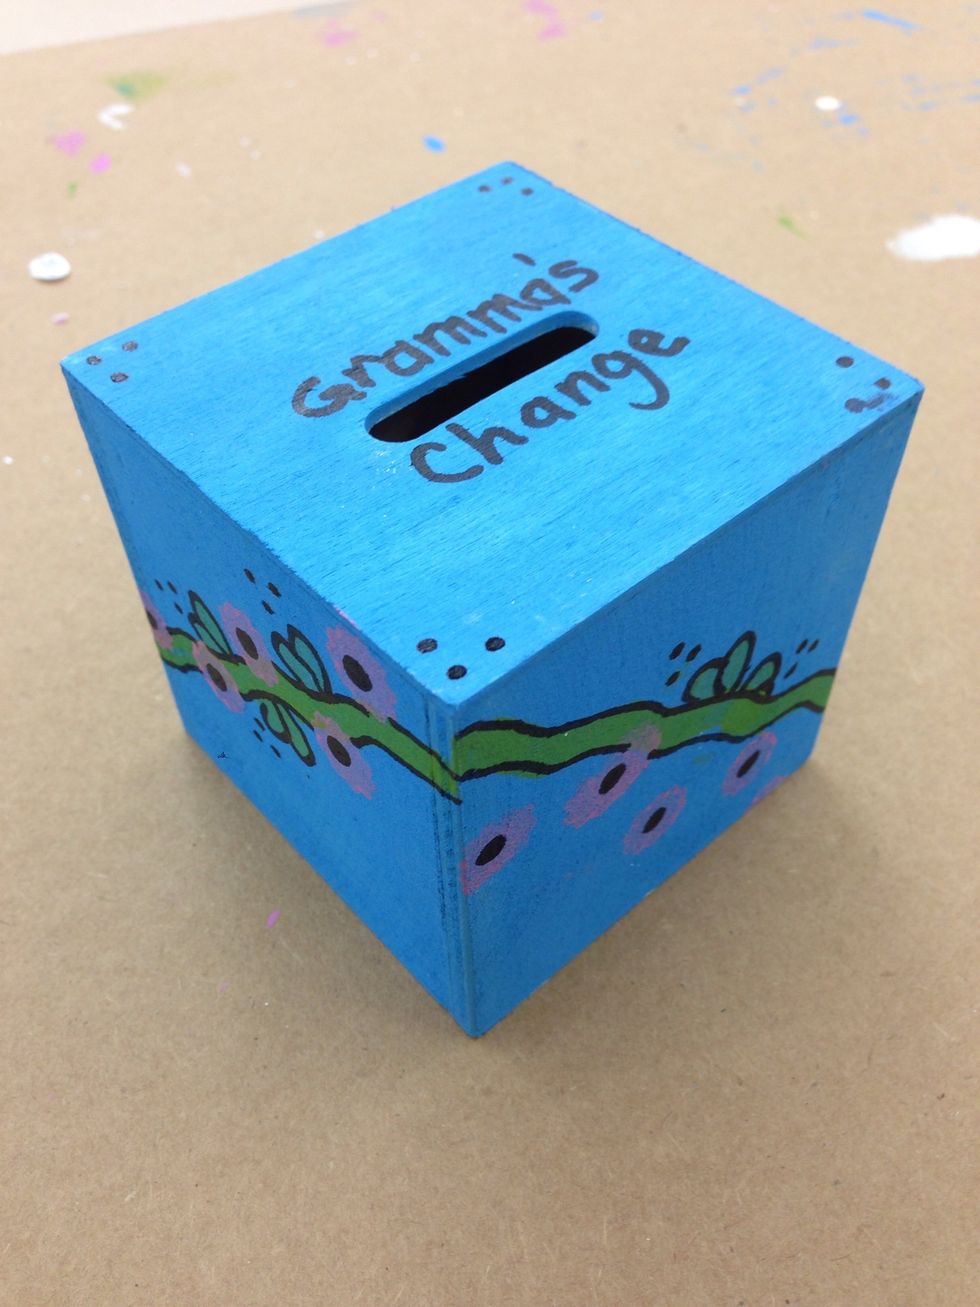
Now you're ready to start saving some change!
We hope you enjoyed this Staycation Crafts for Kids Project! Please share a photo of your Stamp A Bank on our Facebook page: goo.gl/gOJ1Kv