The Conversation (0)
Sign Up
Open up photoshop
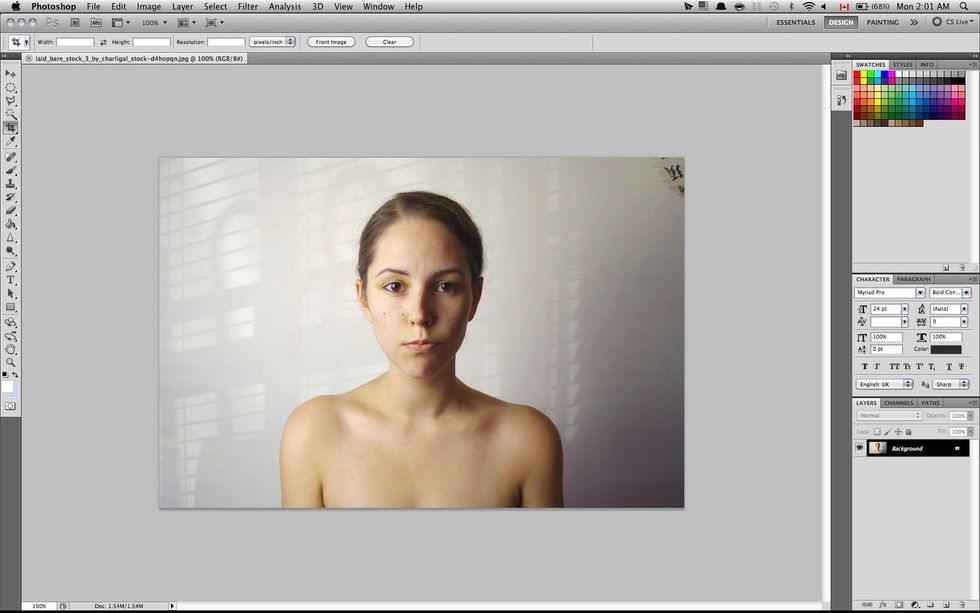
Find a photo you'd like to use. I found a beautiful stock from http://charligal-stock.deviantart.com
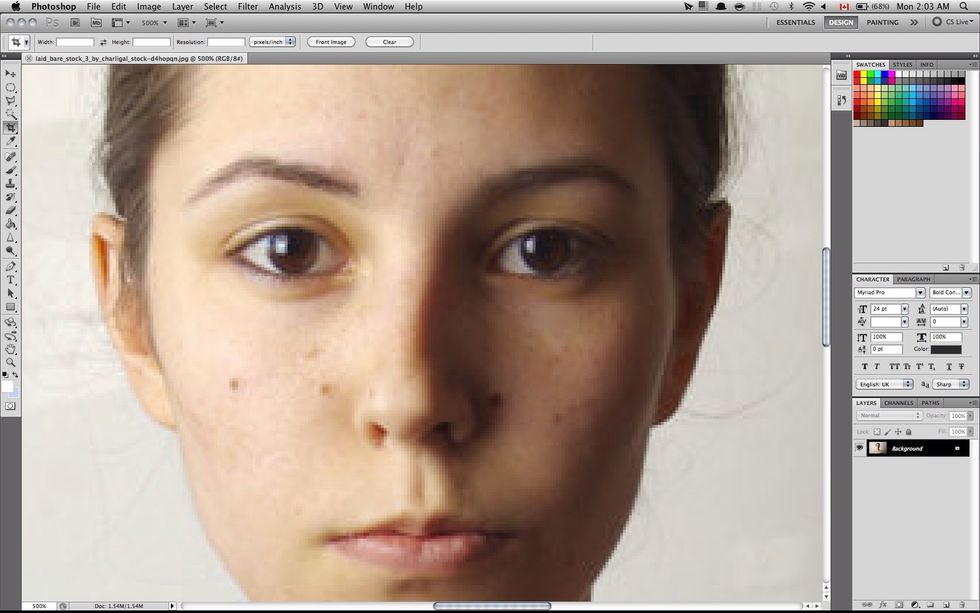
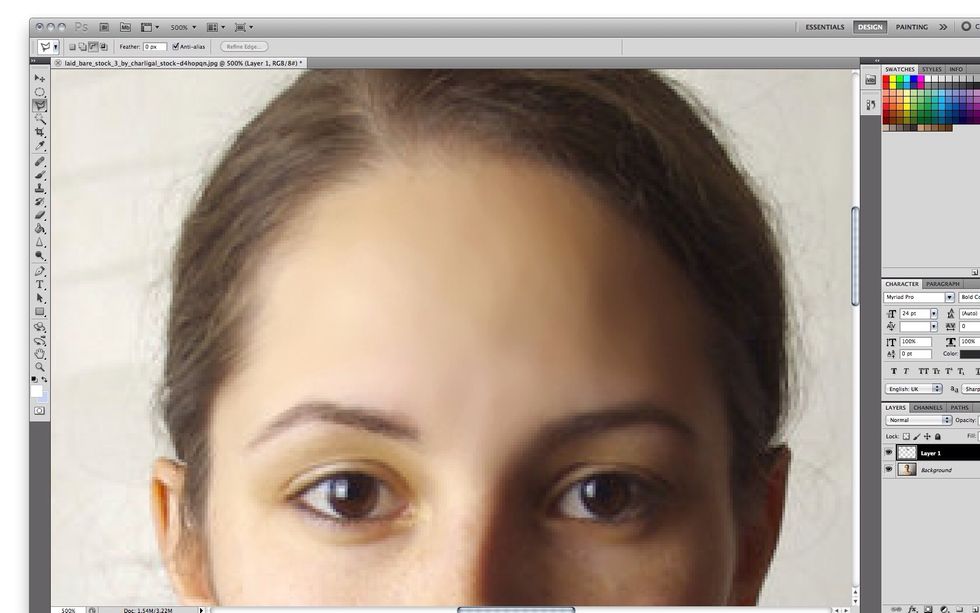
We want to find the imperfections that we want to get rid of. What I do is zoom in using CTRL+ + (CMD+ + on Mac) so I can see everything clearly.
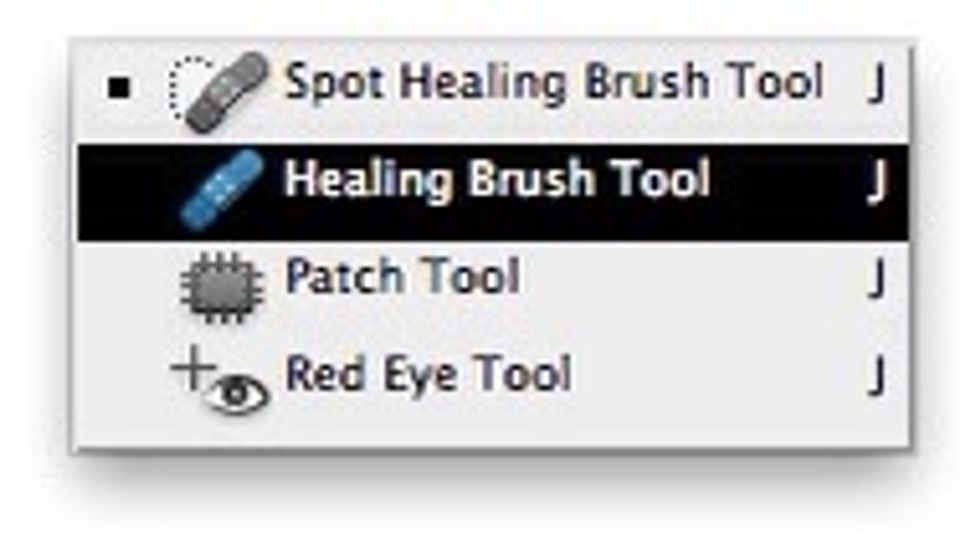
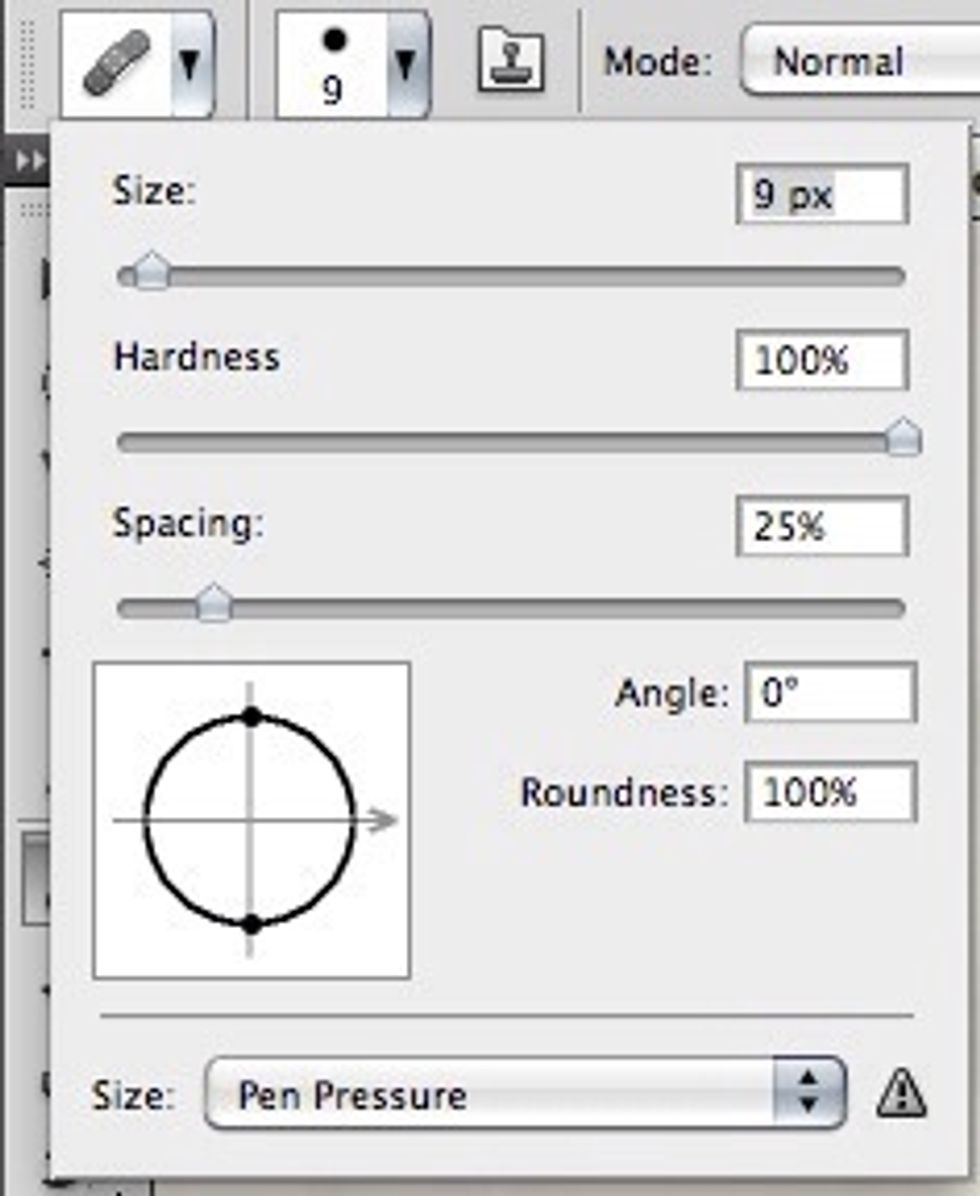
Grab your healing brush from the tool bar. It looks like a bandaid!

Next, find a spot you want to use as your source. This will be what we cover the blemishes with, so choose a nice clear and smooth spot. With your brush selected alt+click the spot to save source.
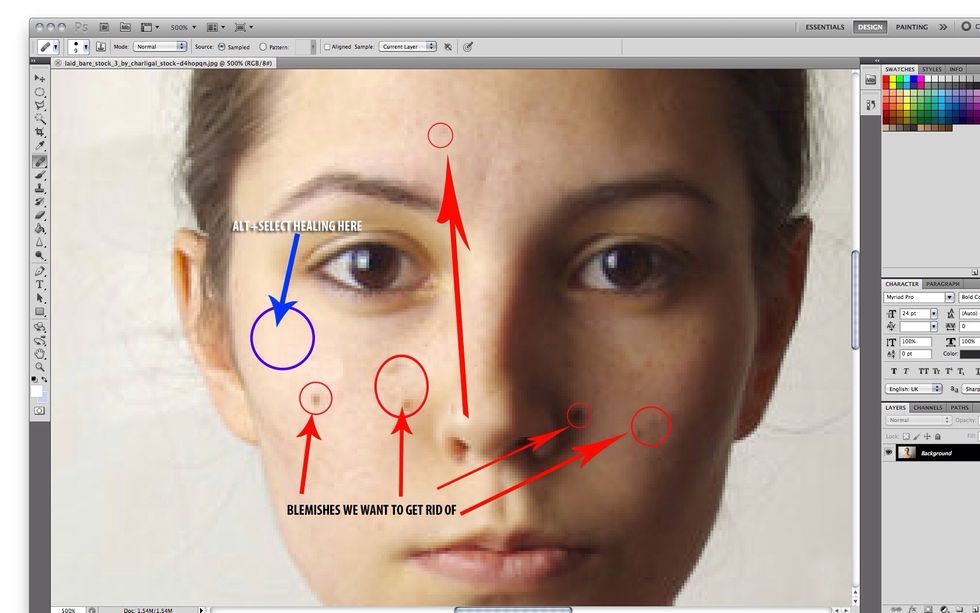
Now go over the blemishes you want to get rid of and click!
I keep my brush smaller as to not get rid of too much material! Only the blemish!

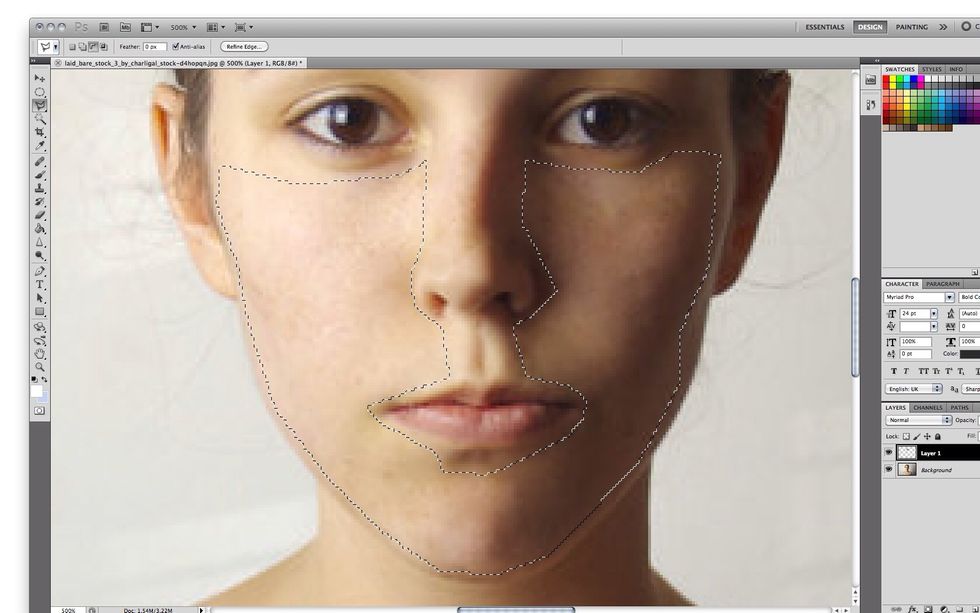
Next grab your polygon lasso tool
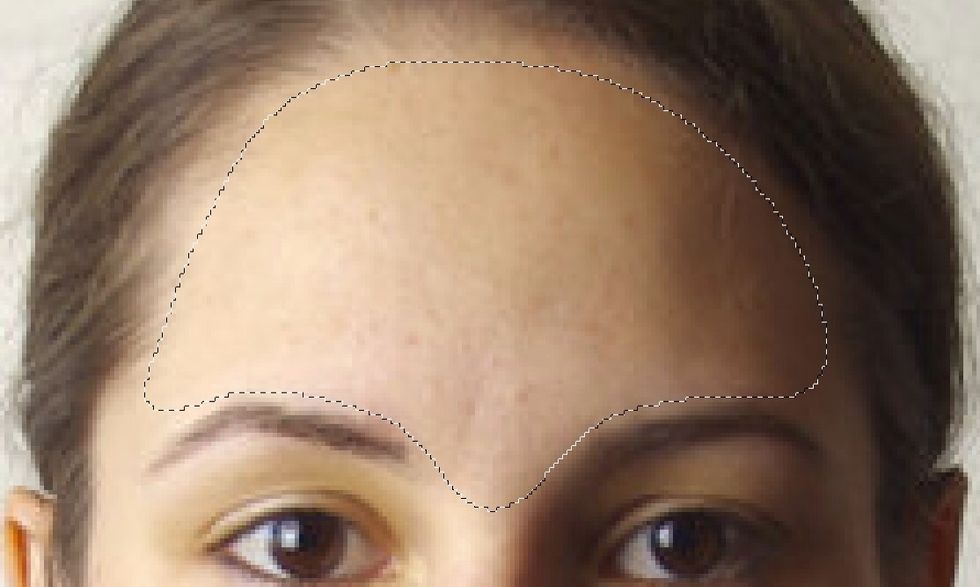
Next we are going to get rid of extra pores and smooth out the skin!! So select an area with the lasso tool which you want to smooth over. Like above
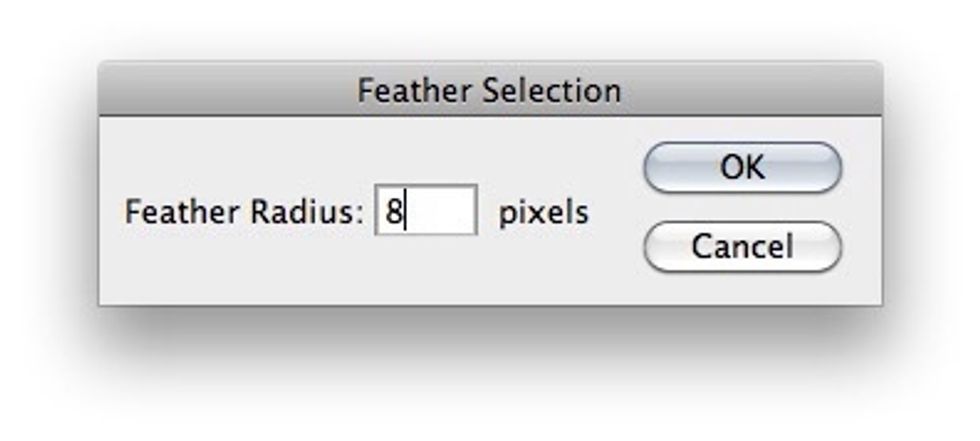
Right click the selection and go to "Feather Selection". I chose 8 for a radius here. It will work for you too but feel free to take artistic liberties.
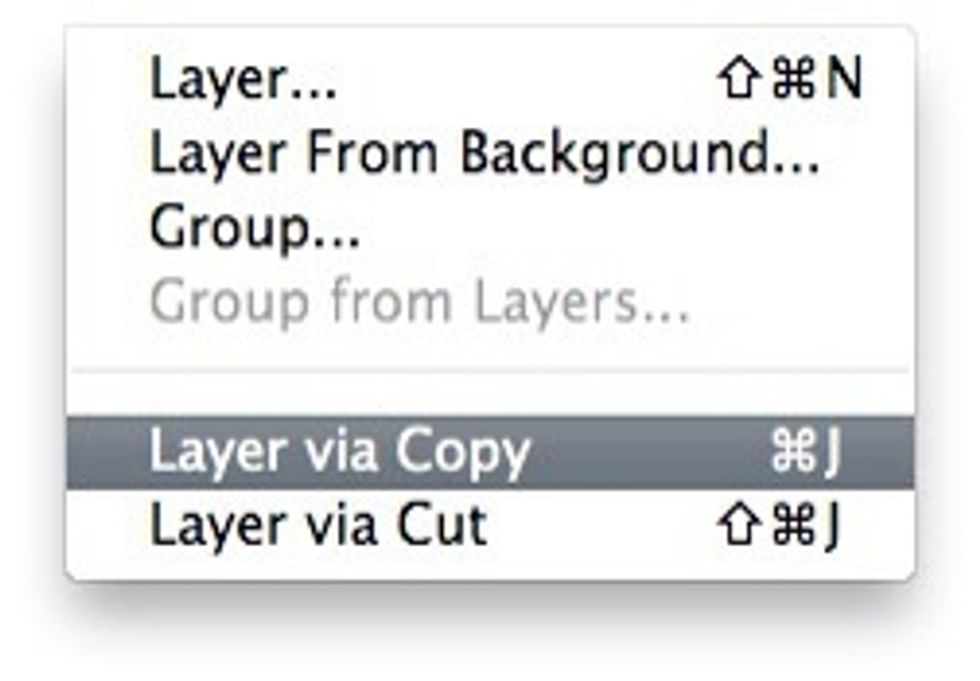
After you have feathered, create the selection on a new layer. Do this by going to layer>New>layer via copy. Like above
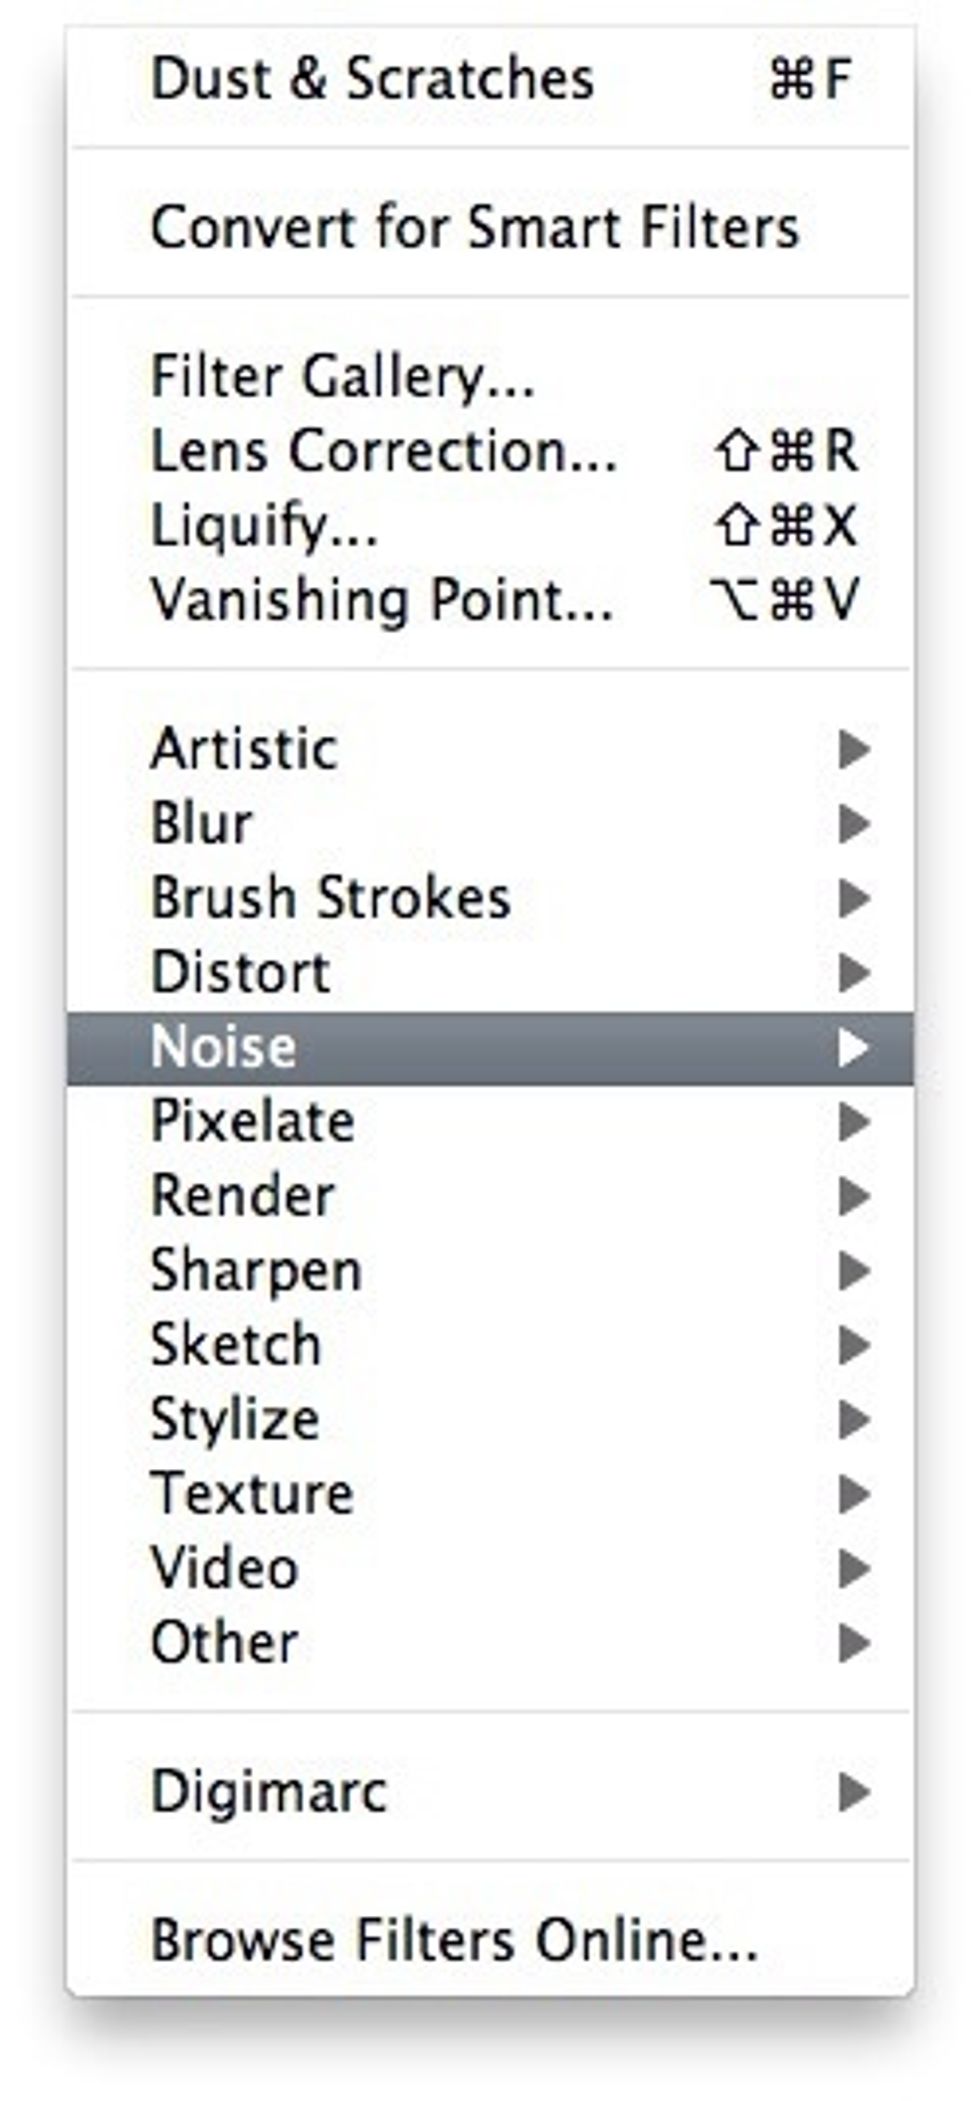
A new layer should be on your layer palette now. Now to smooth. Go to Filter>Noise
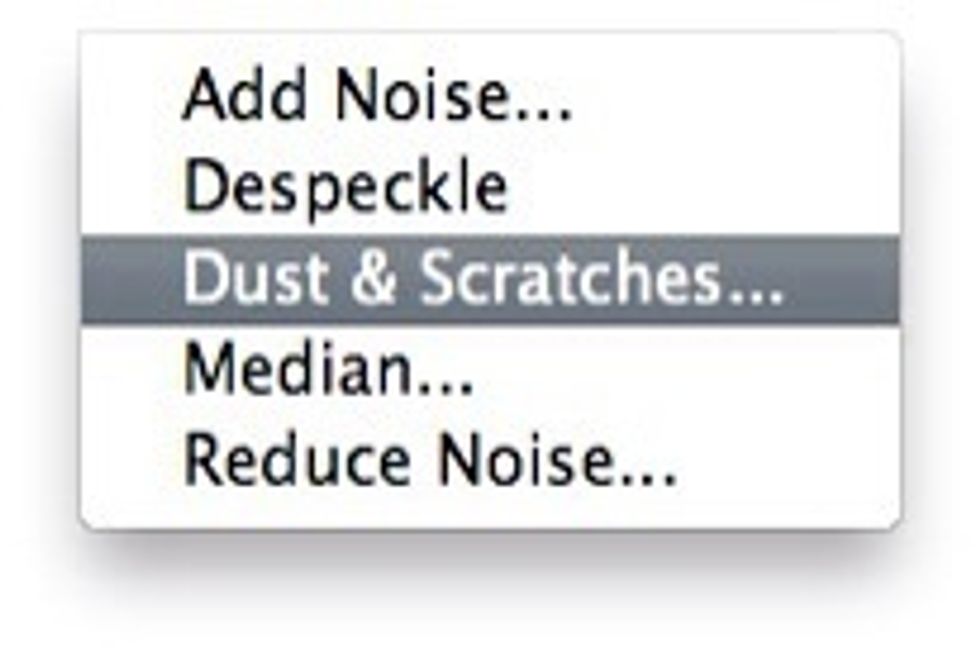
Then choose dust & scratches.
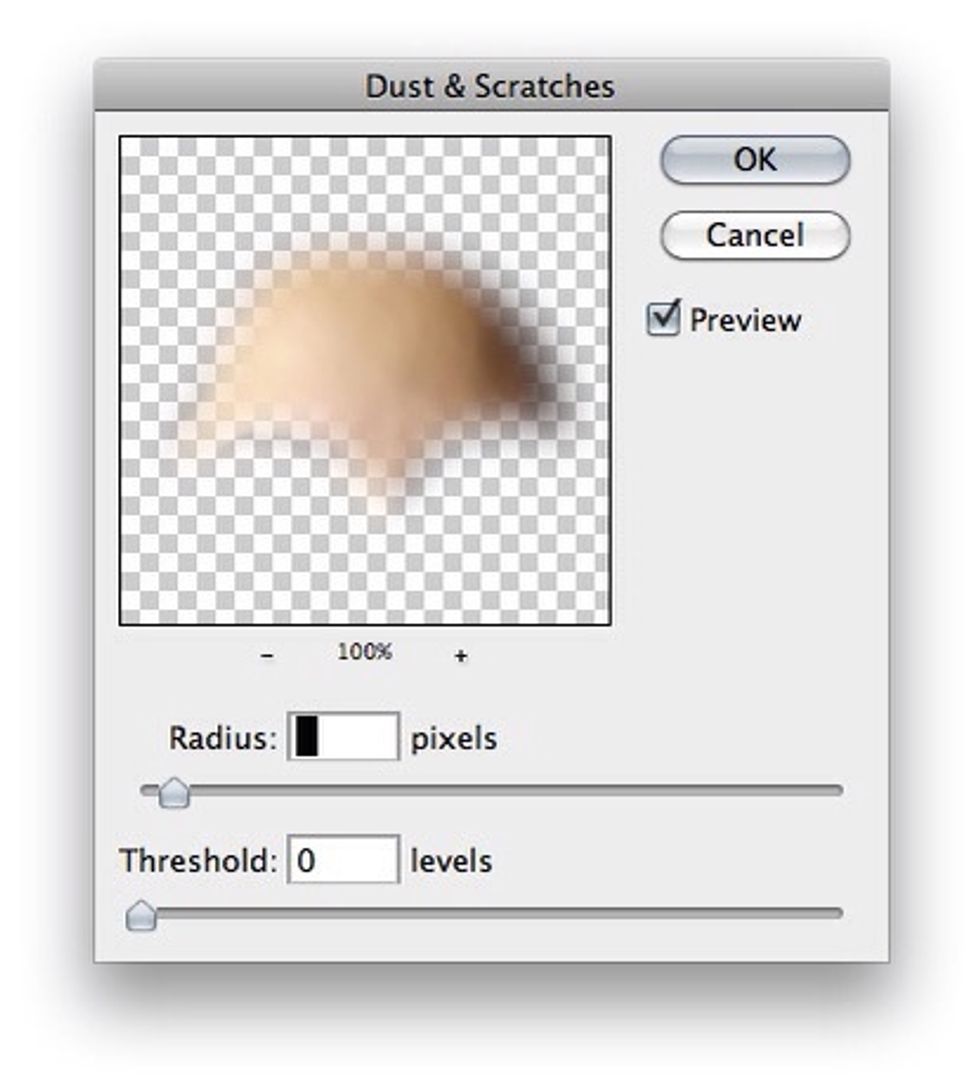
This is what I used for settings. Sorry for the black highlight, but I kept my threshold at 0 and I had my radius at 10. But again, you can judge how smooth you want your selection
Finished the forehead. Look how smooth it came out!
Now to do the same for the cheeks.
Use the same steps from the forehead for the cheeks. Nothing can change.
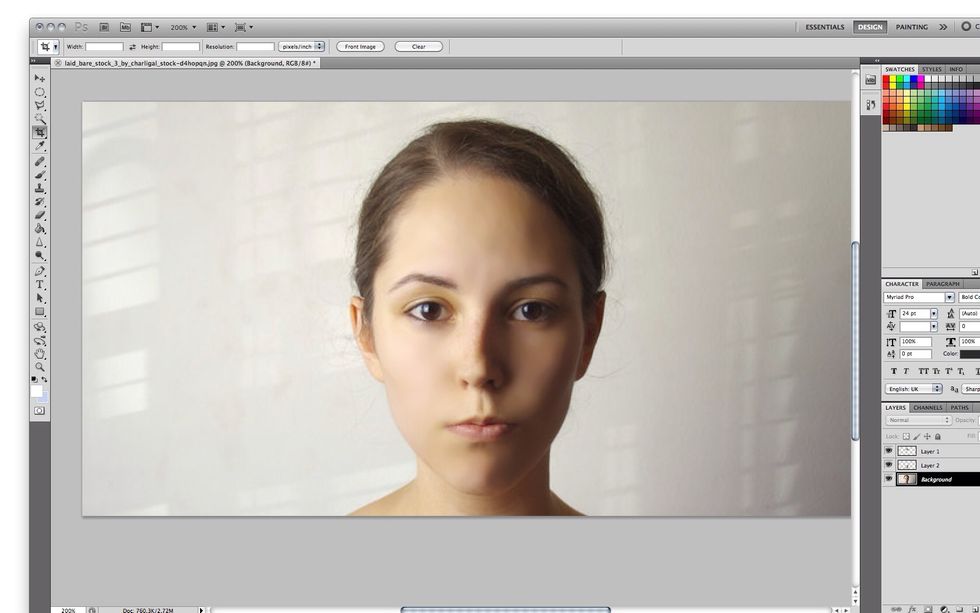
And voila. Nice and smooth skin without blemishes, pores, or freckles. However, I liked the freckles on her nose so I kept them.

Before and after comparison. Big difference.

After I did some of my own adjustments from previous guides I've done.
Remember everyone is beautiful. But this is for the times you'd like to get that extra umph in your photos. Please feel free to message for tutorials you'd like to see or if you want something done!