STEPS
INGREDIENTS
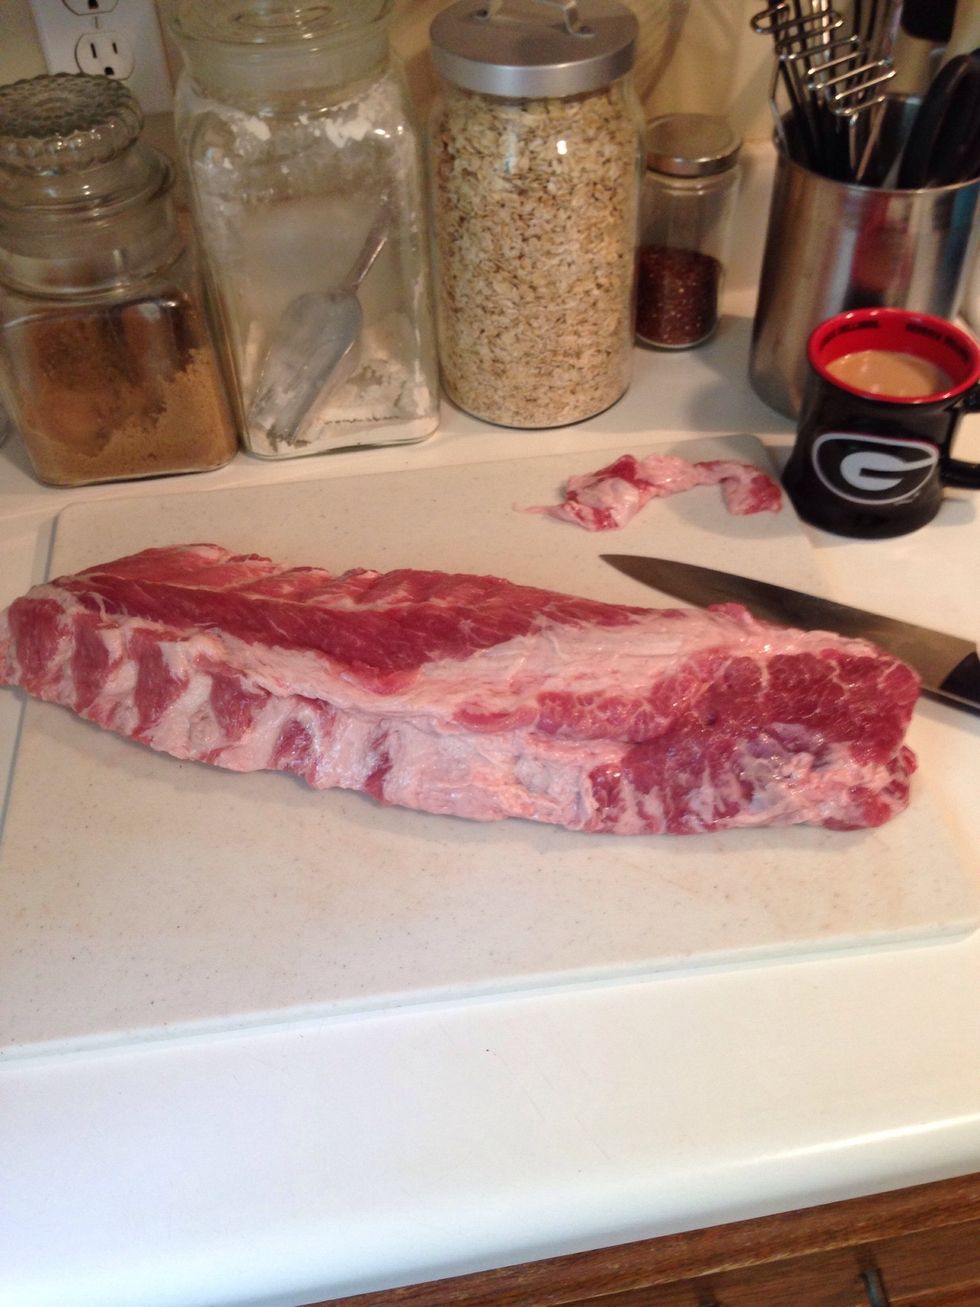
Get your ribs out and pat dry with paper towels. See the cup of coffee? I do the first few steps the morning of. That way the dry rub has time to set in. I also trim a little, but that's optional.
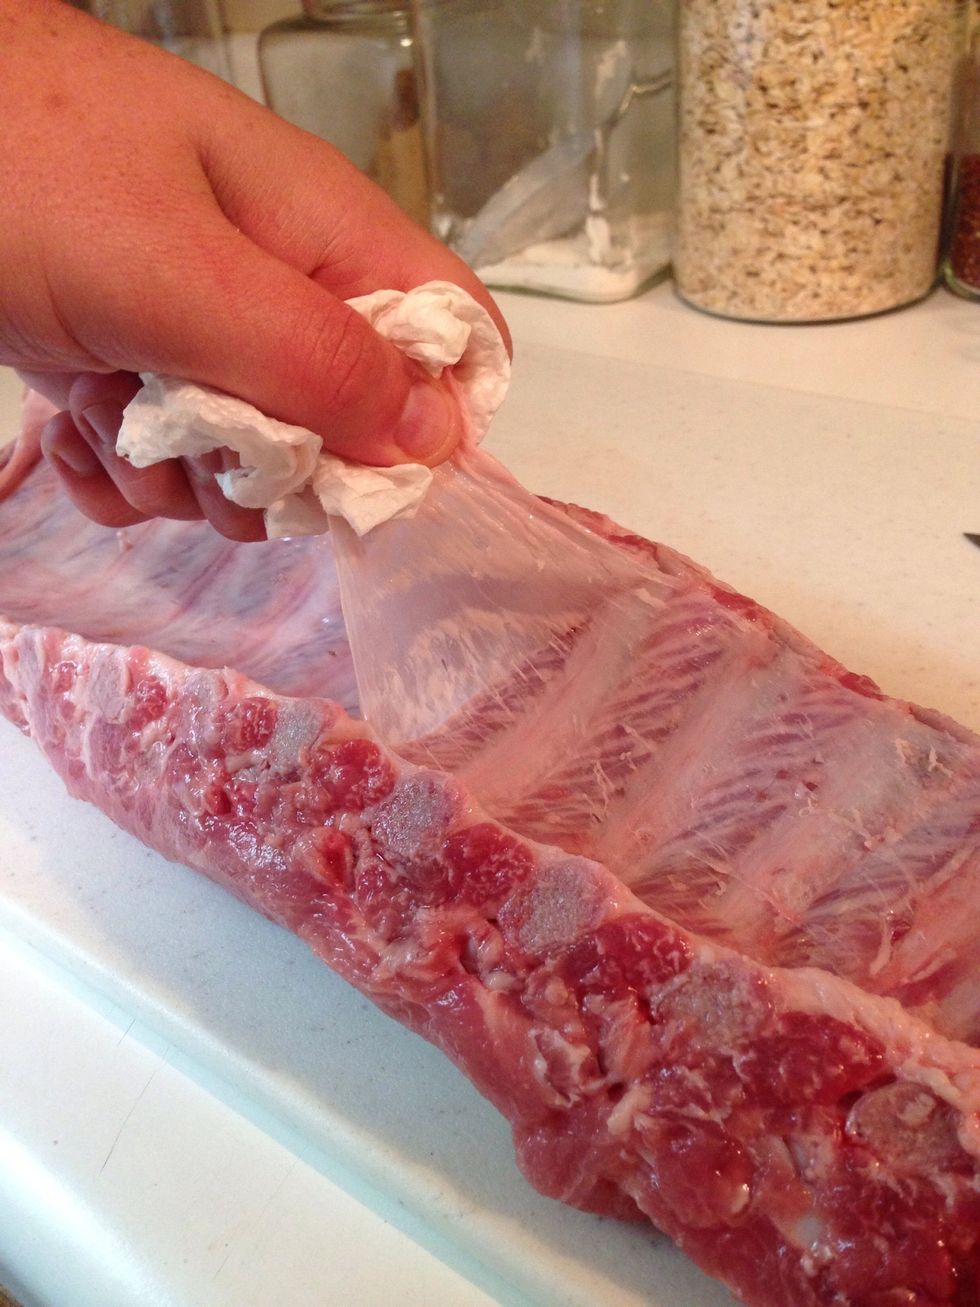
On the back side, there is a thin membrane. We'll need to remove it. Take a knife, make a small cut under the membrane at the end to get it started, then use a paper towel to grip it and just pull.
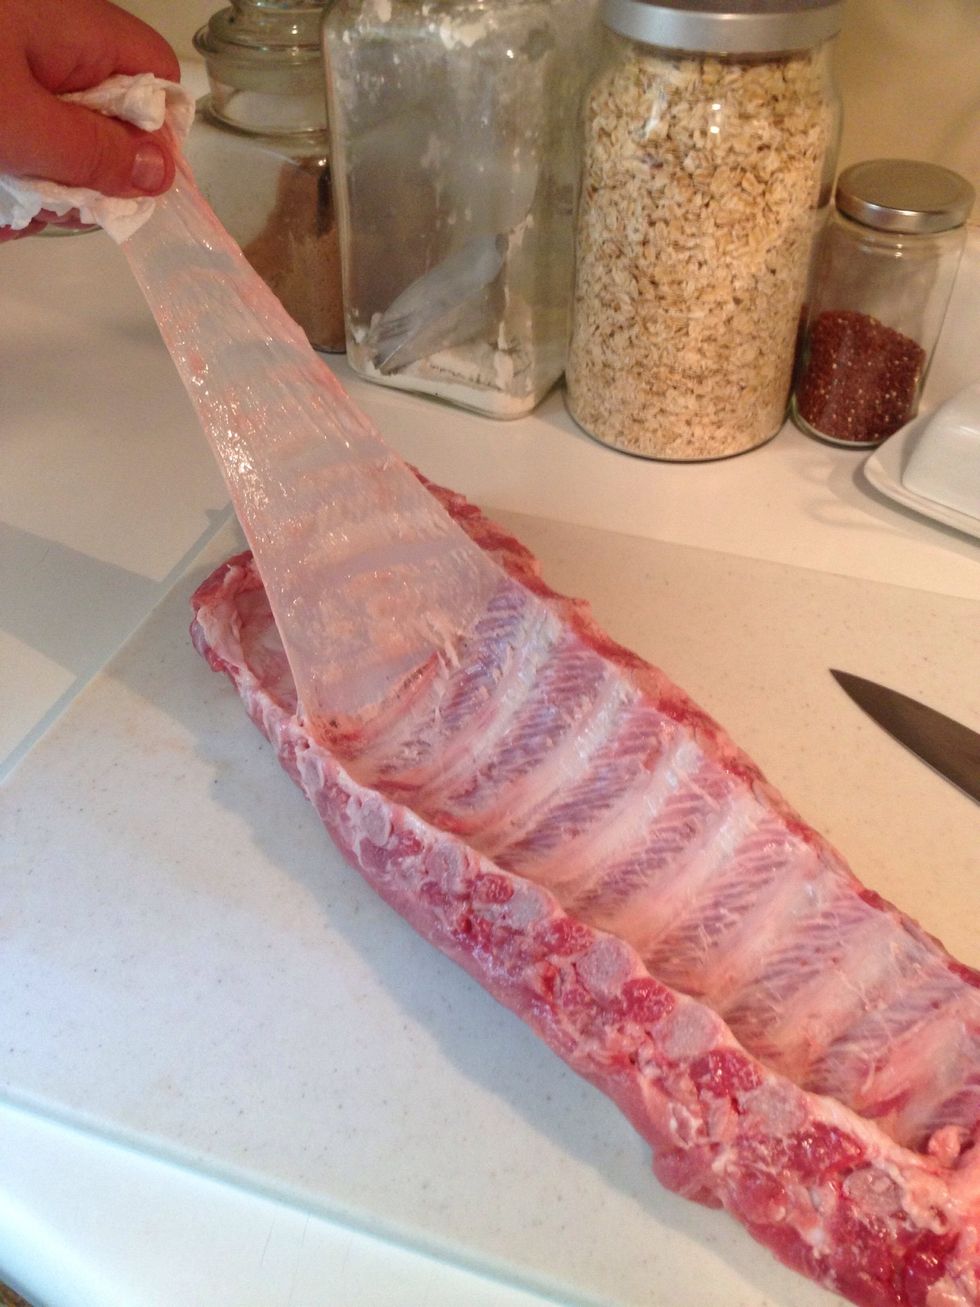
The paper towel helps it not slip out of your fingers, and as you can see, it will pull all the way off if you did it right. If it breaks, just start pulling again.
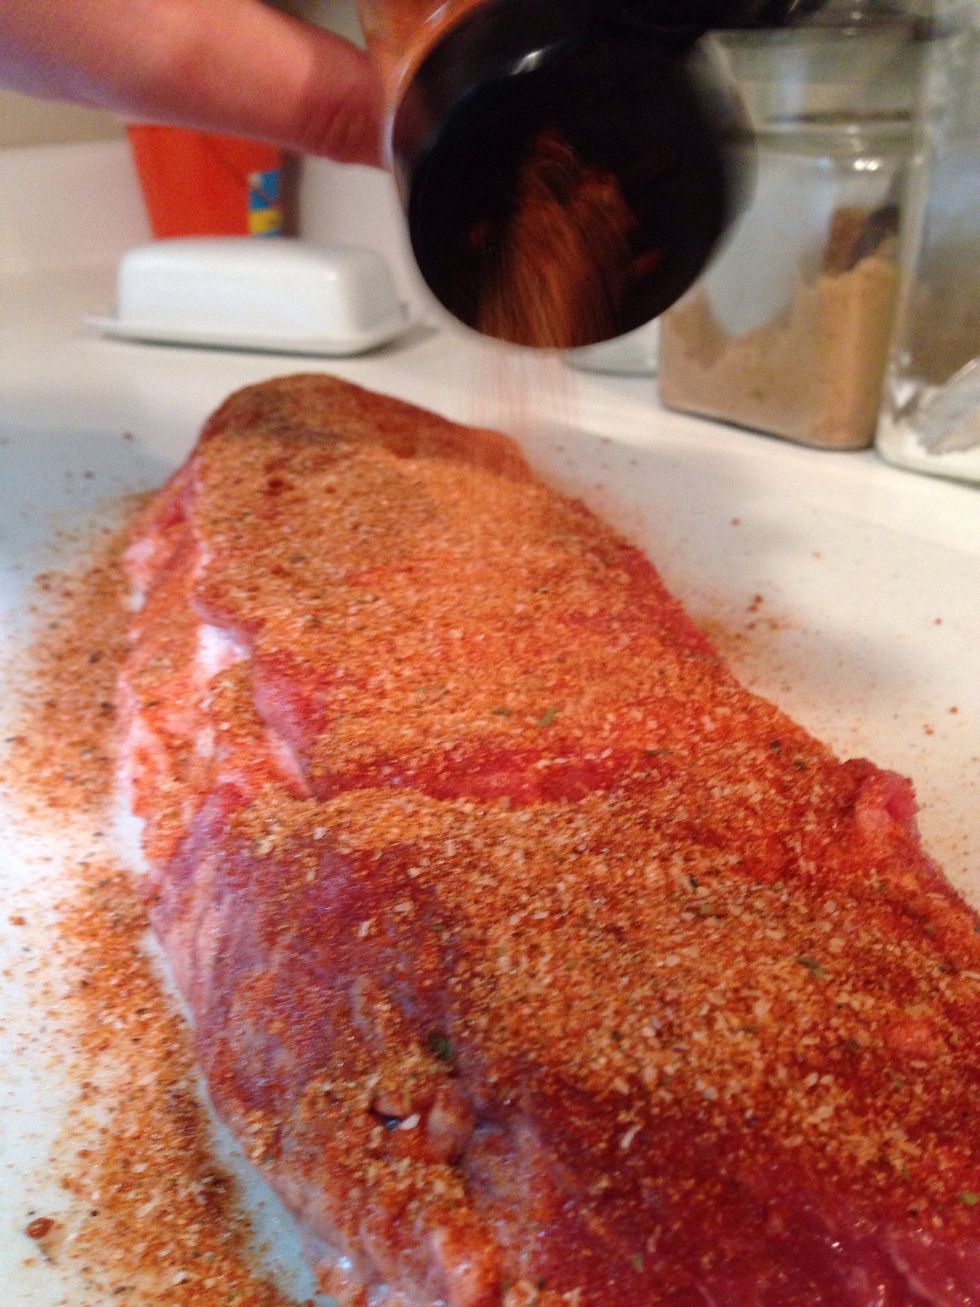
Now for the dry rub. Generously coat all exposed surfaces with dry rub and pat in with your hands.
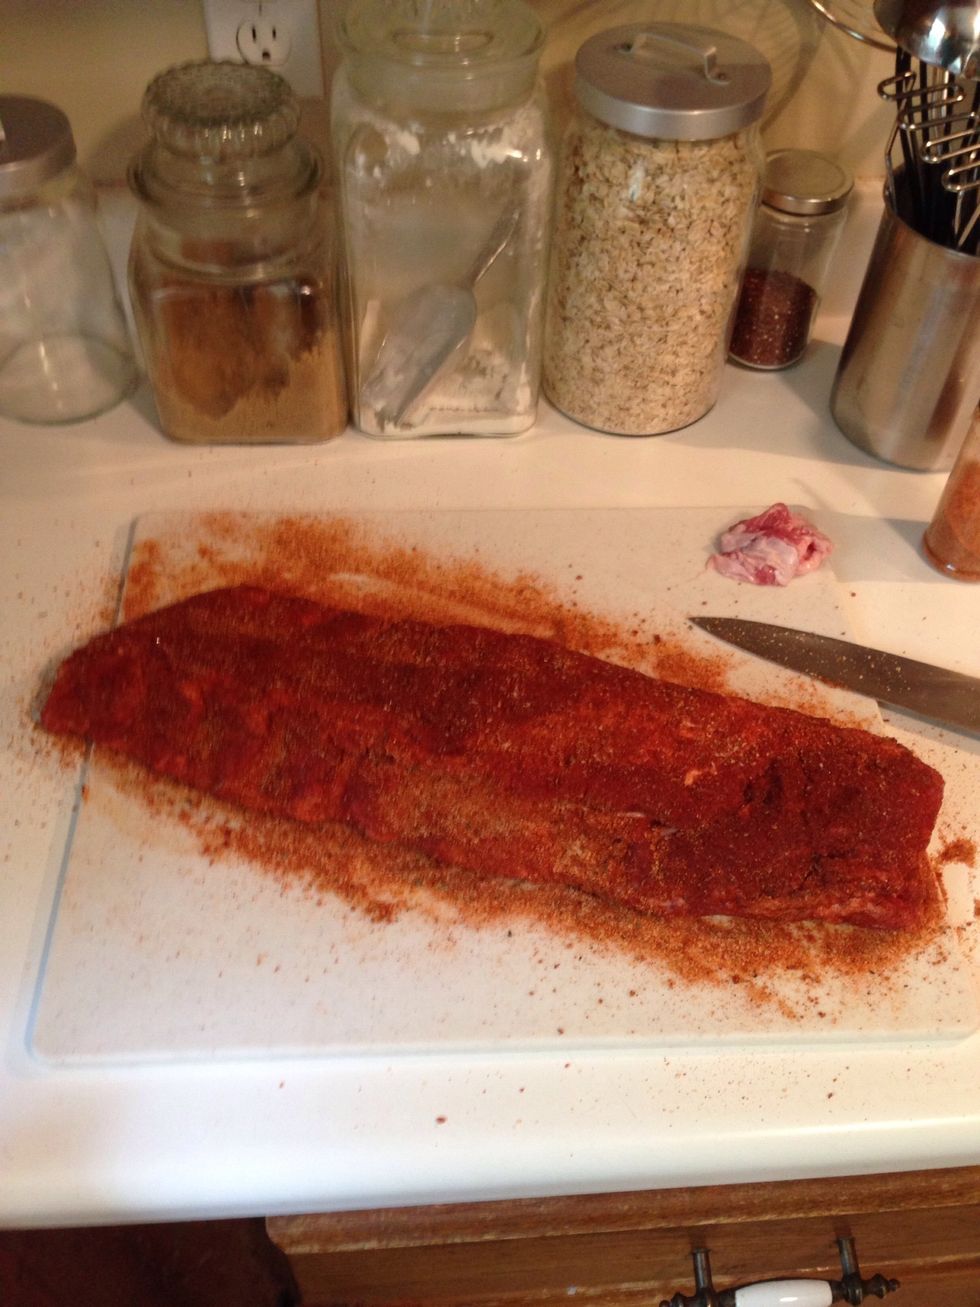
Don't forget the ends, underside, and edges. The WHOLE rack should be coated with dry rub. This will give us a beautiful crust later, which will help deliver a great flavor.

Once the ribs are completely coated, place on a baking tray or aluminum pan
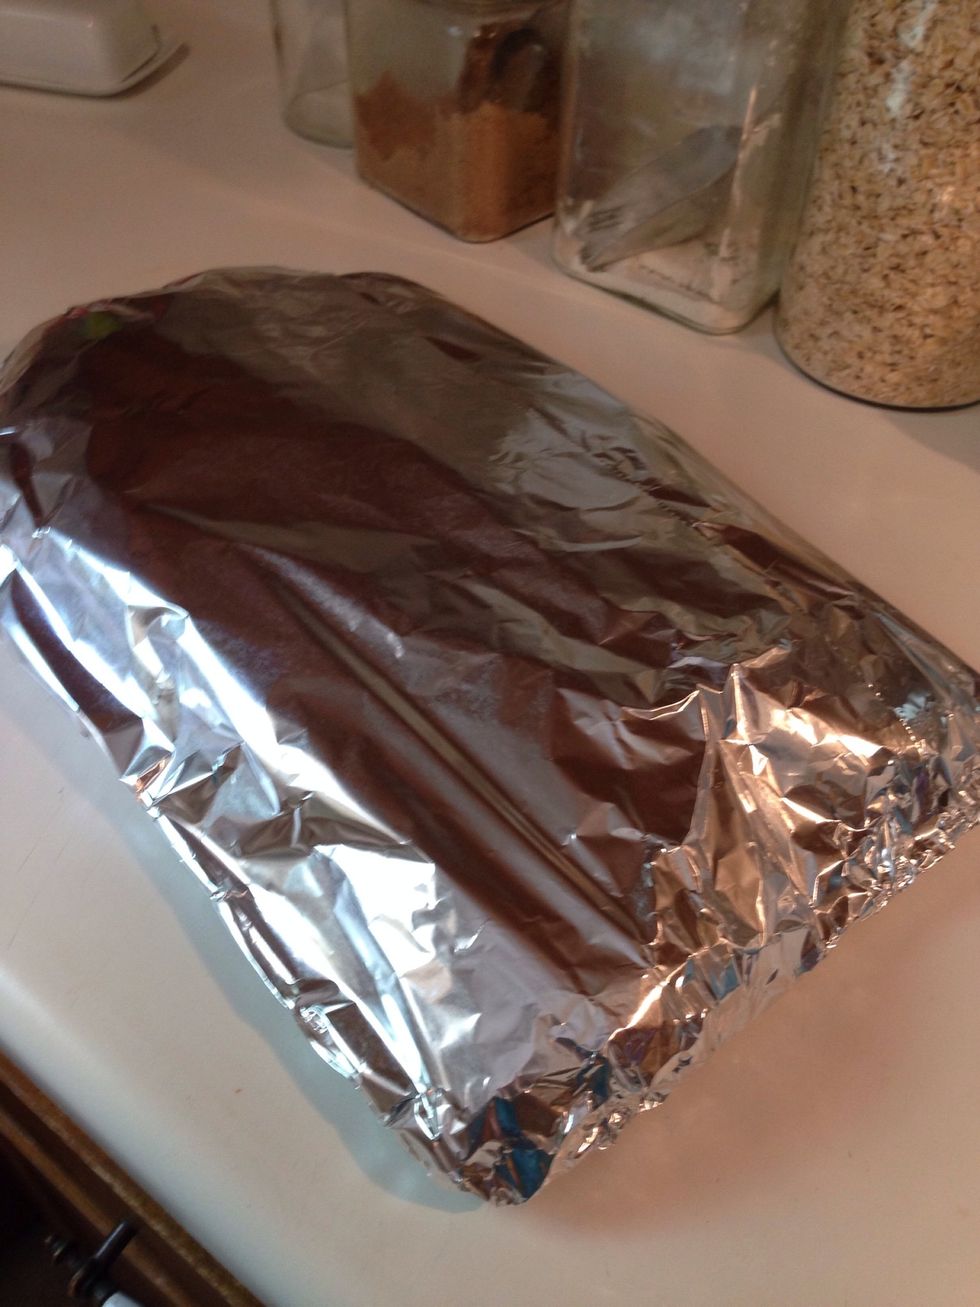
Then wrap in foil and put in the fridge. Let the ribs sit for a couple of hours to allow the dry rub to set in.
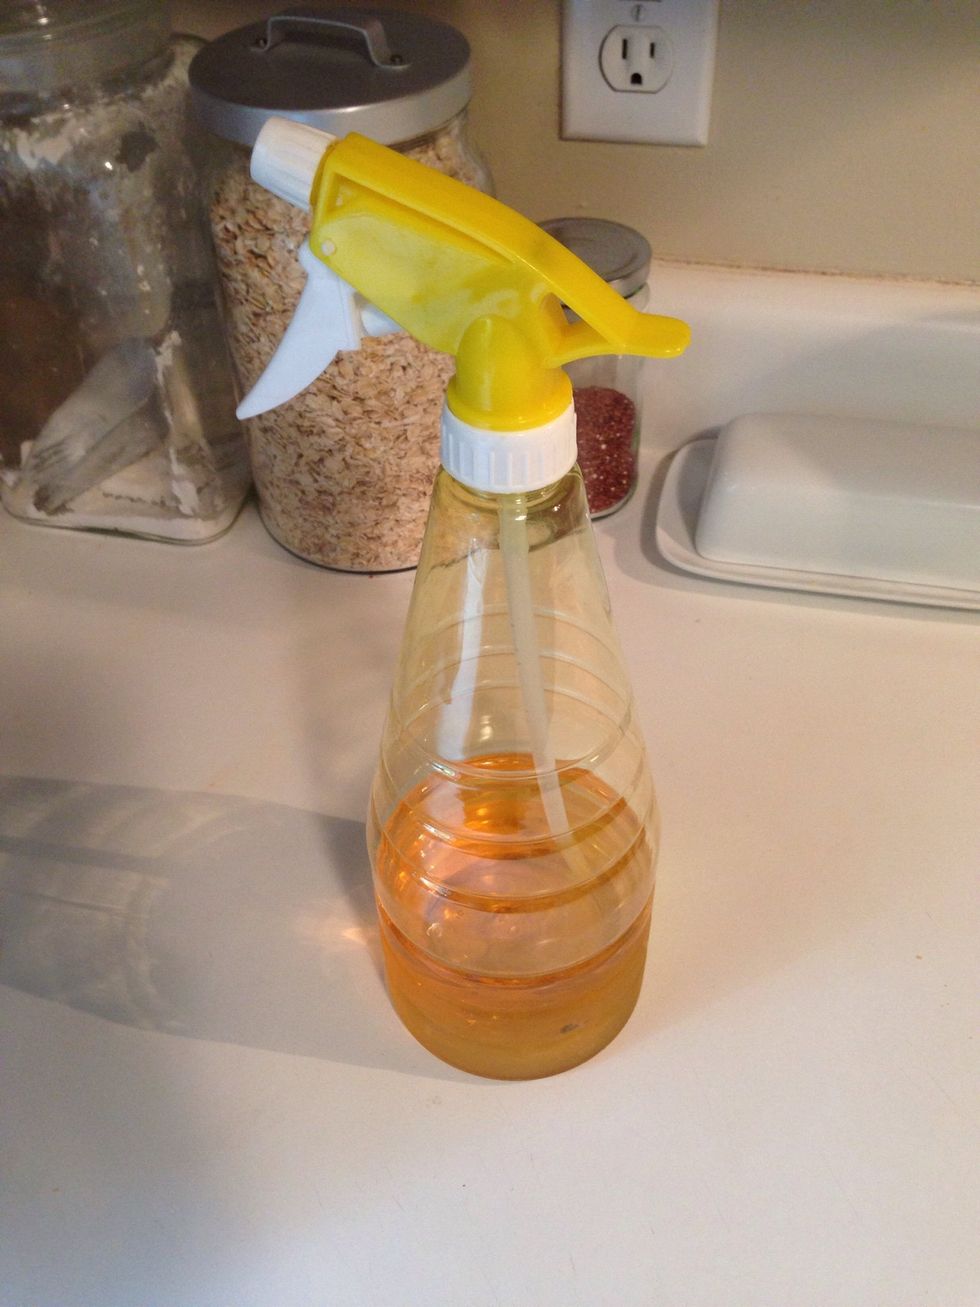
Set aside about a cup of apple juice in a spray bottle. We'll set this aside and come back to it later. {**Please make sure you are not using a spray bottle that has ever held dangerous chemicals.}
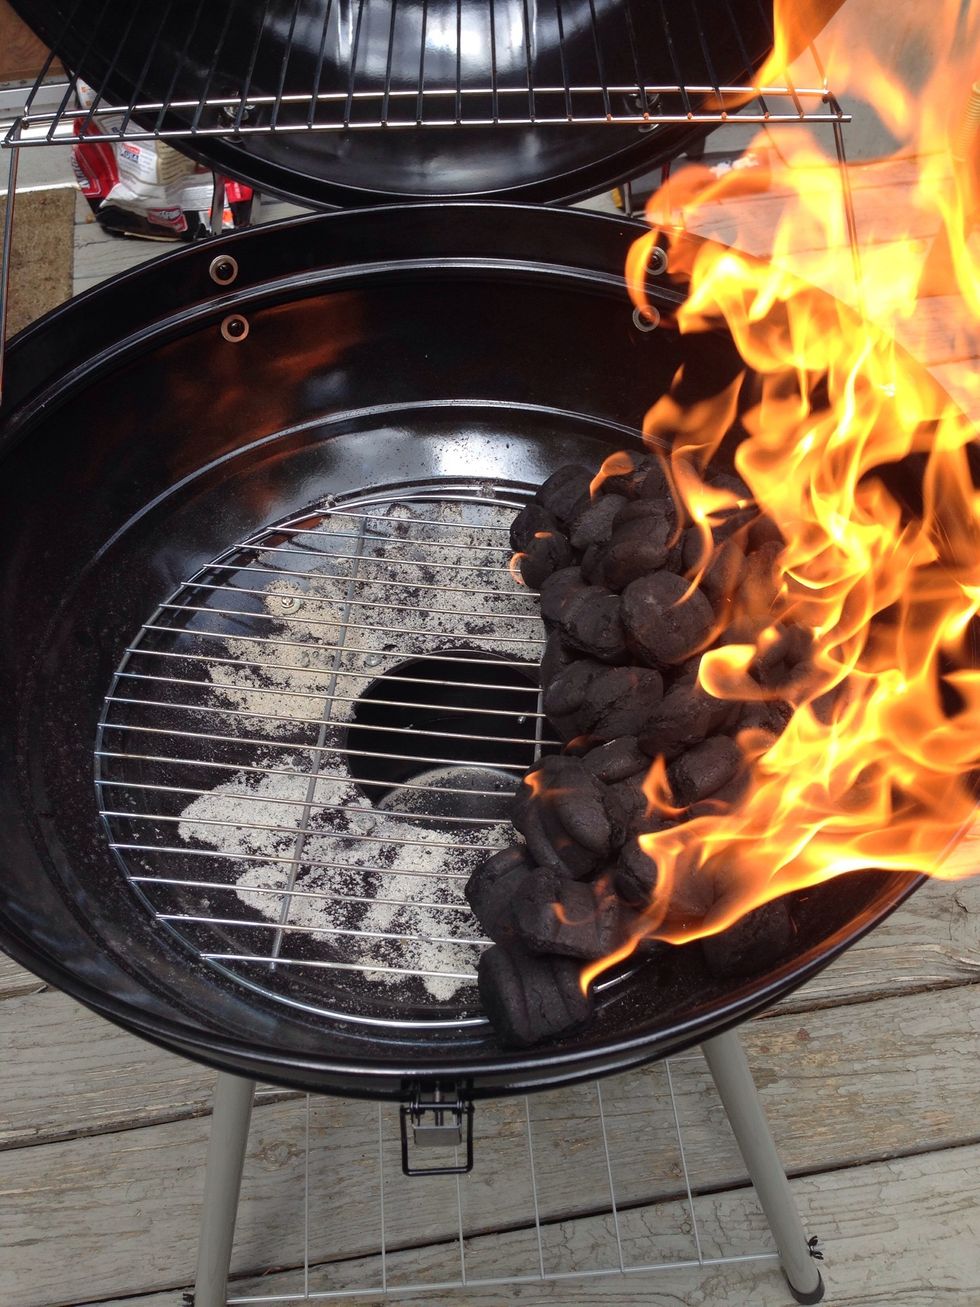
Here's the trick with smoking: indirect heat. When you're using a smaller grill (mine is 24" across), only place charcoal and/or wood chips on one side of the grill.
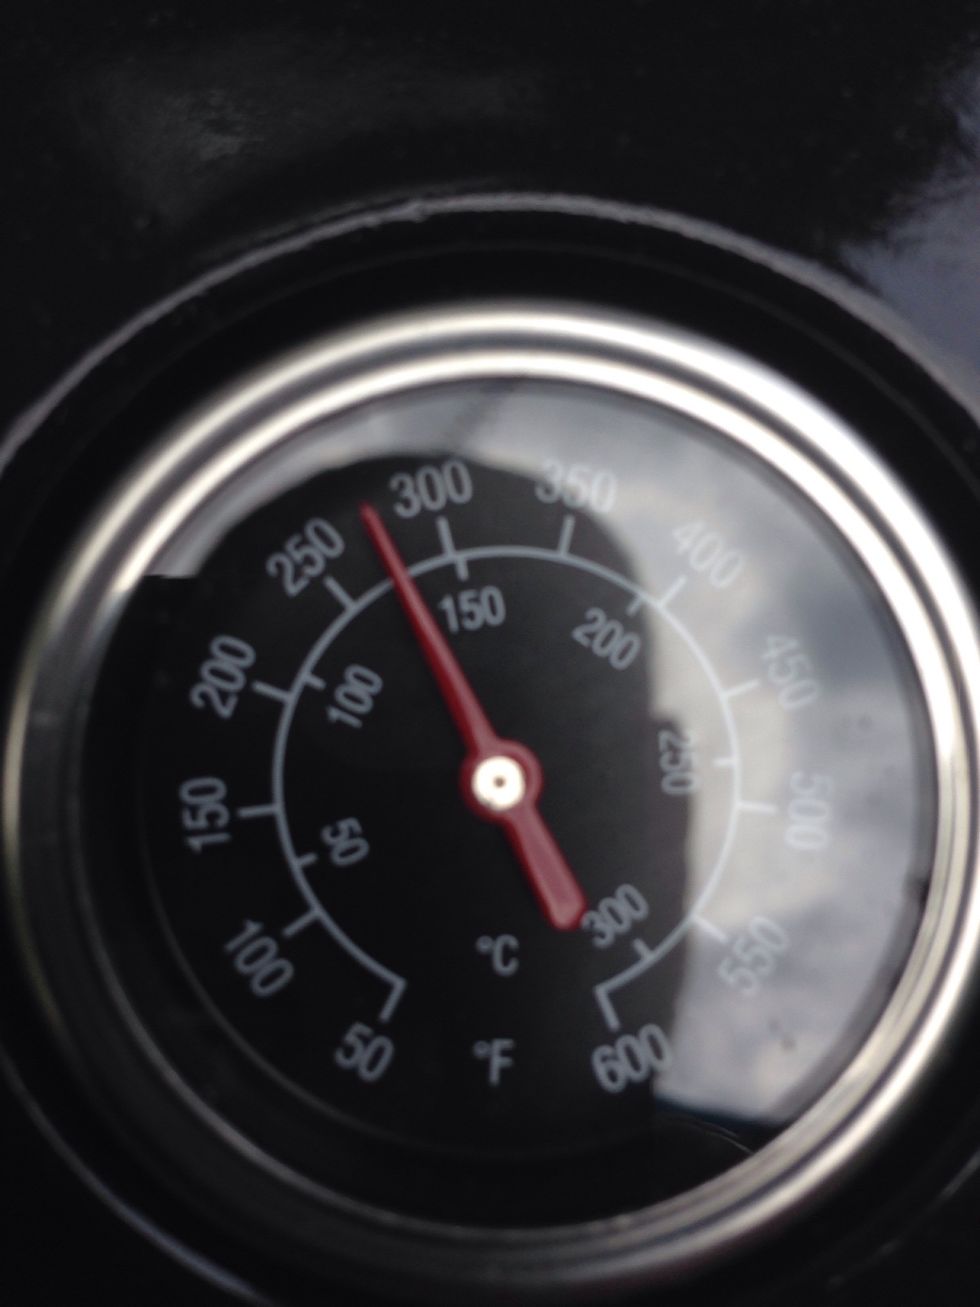
When you get your coals to somewhere between 250-300 F, you're ready. It could take about 45 min to an hour to get them down to this temp. You want to maintain this heat throughout.
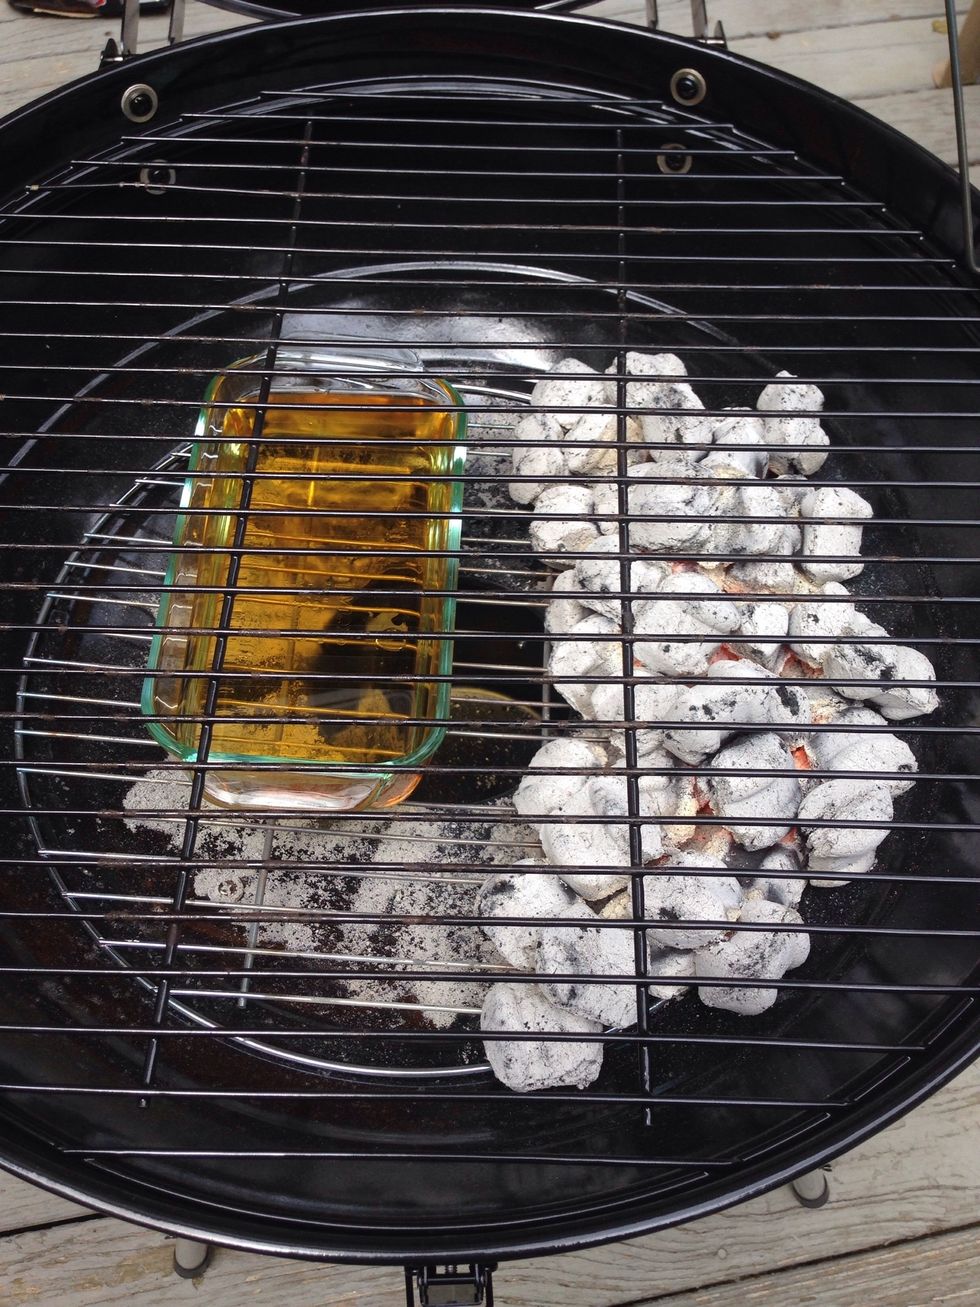
Here's a pro-tip: fill a small Pyrex dish with apple juice and set it across from your coals. The steam from the apple juice will help flavor the ribs... and it will be delicious!
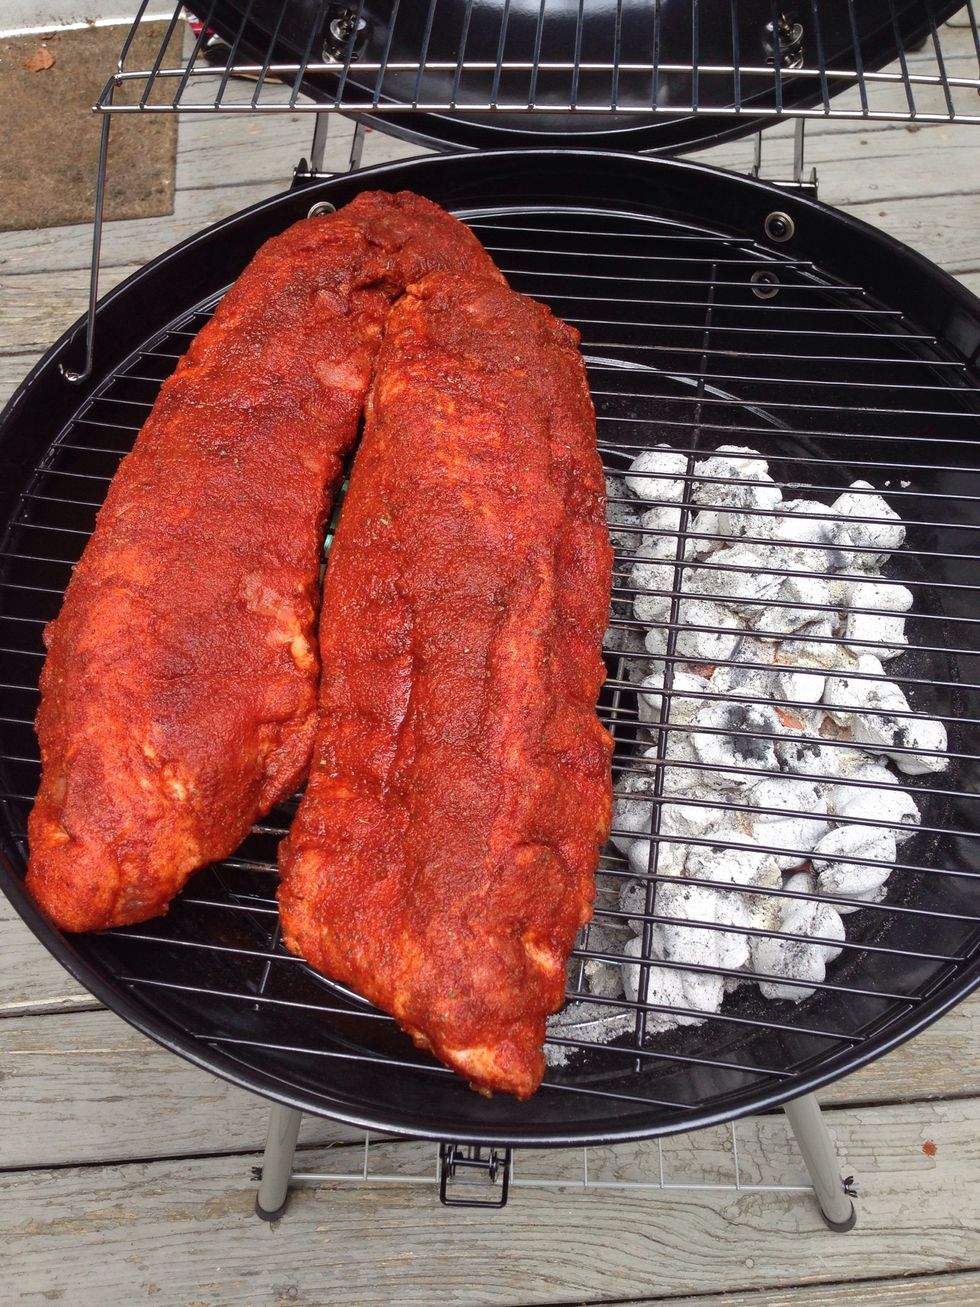
Put your ribs on the half of the grill opposite the coals. Now, close the grill, walk away, and don't come back for an hour and a half. Seriously. Leave. And don't come back. For 90 minutes.
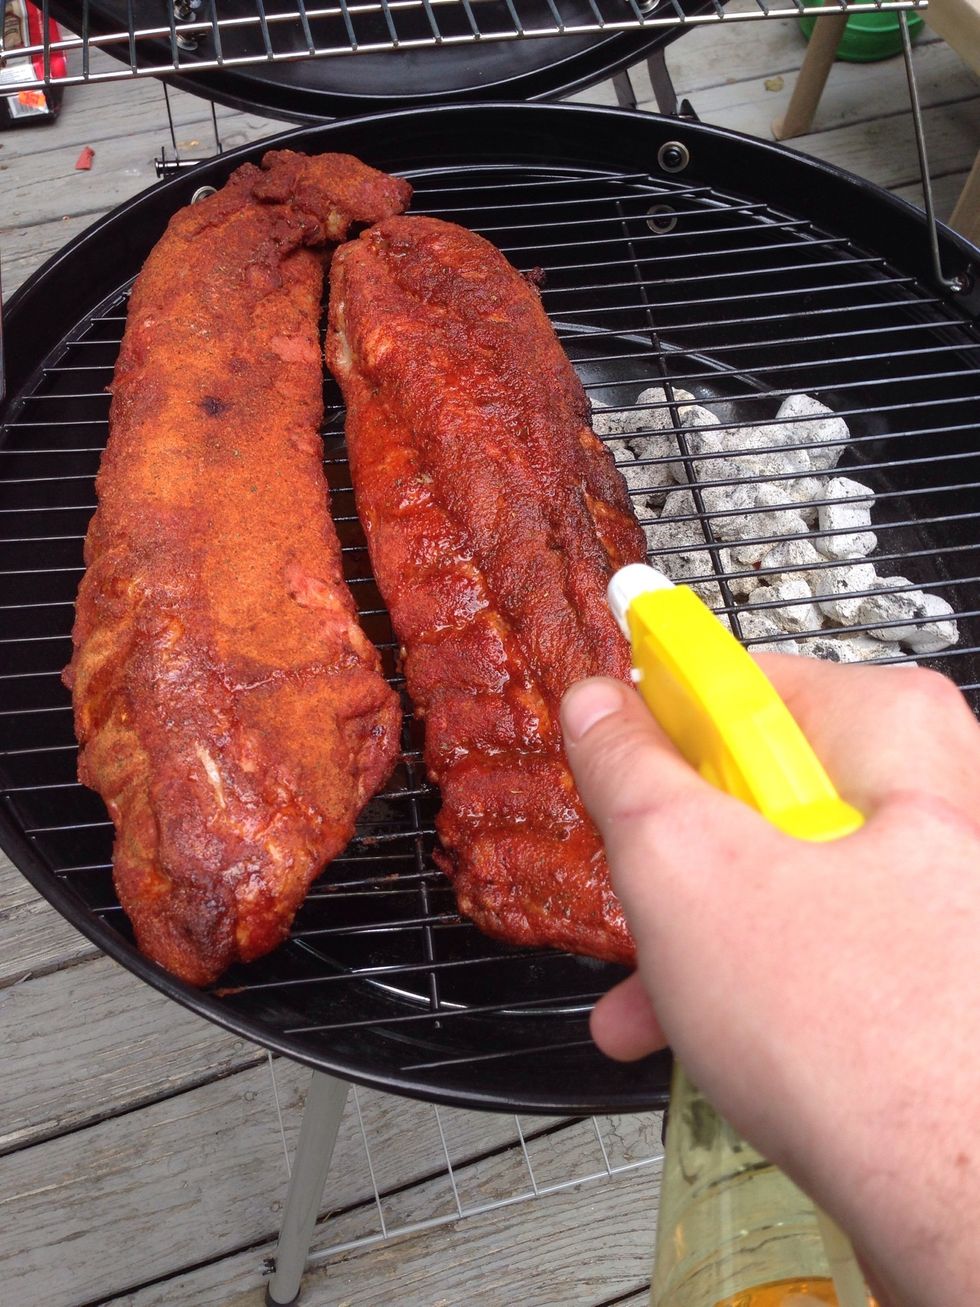
Ok, so it's been 90 minutes since you opened the grill, right? Ok, good. Now spray the ribs down with some apple juice for flavor and to help keep the meat moist.

And while you've got the grill open again, go ahead and put some pats of butter on. About 2 tablespoons total for each rib is enough. Just let it melt and it will help keep your meet moist and juicy.
Close the grill again. Repeat steps 13 & 14 again in 30 minutes. And then again in 30 more.

After another 30 minutes (90 min total since the first time we re-opened the grill) we're going to move into a foil wrap. Lay out some brown sugar, honey, and butter on enough foil to wrap each rack.
I used my own homemade brown sugar. Want to know how to make your own? Go check out my other guides.
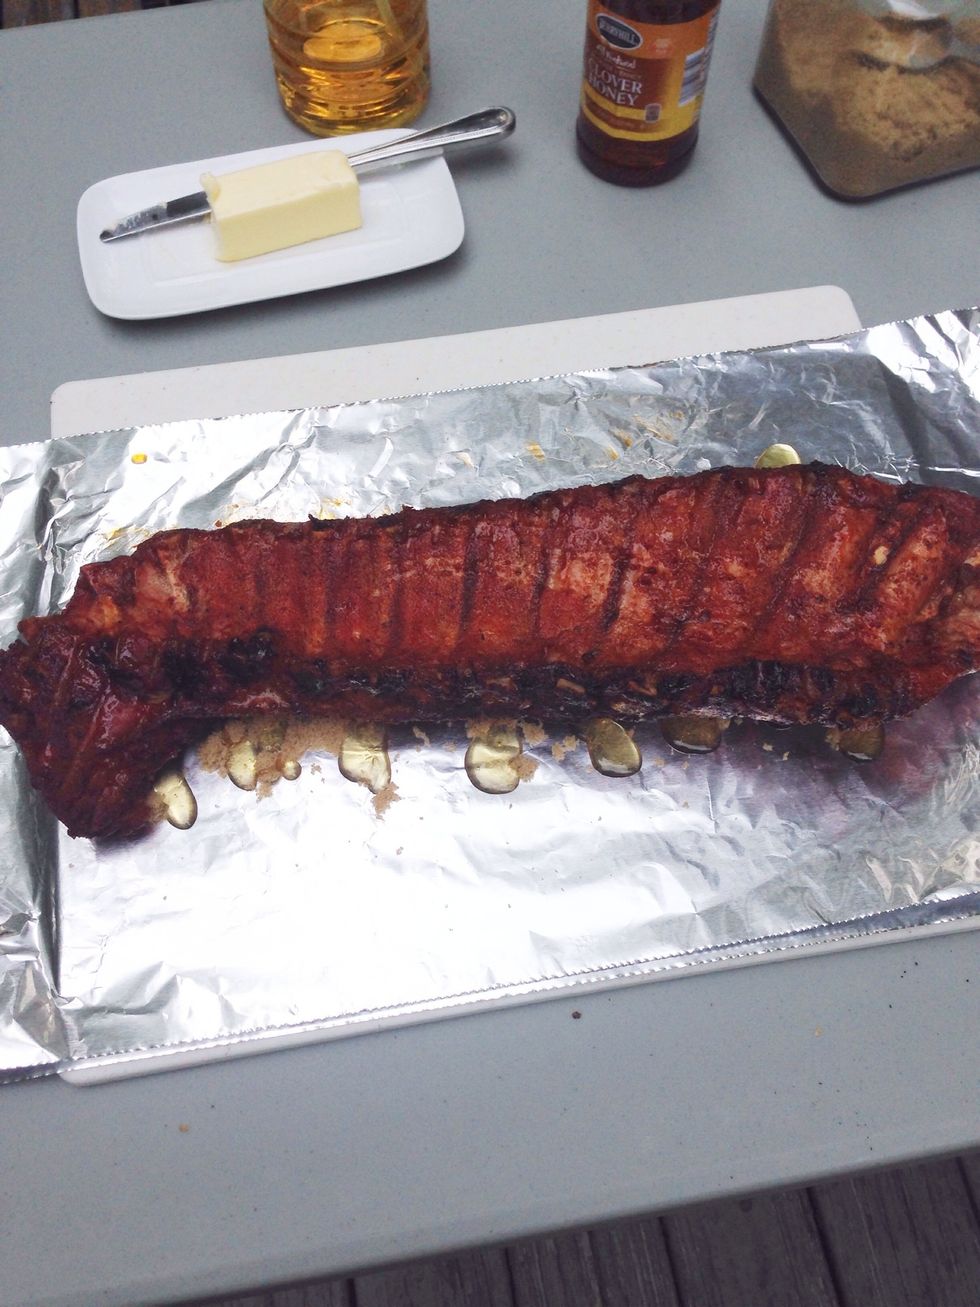
Put the meaty side down, and then wrap the ribs up very well.
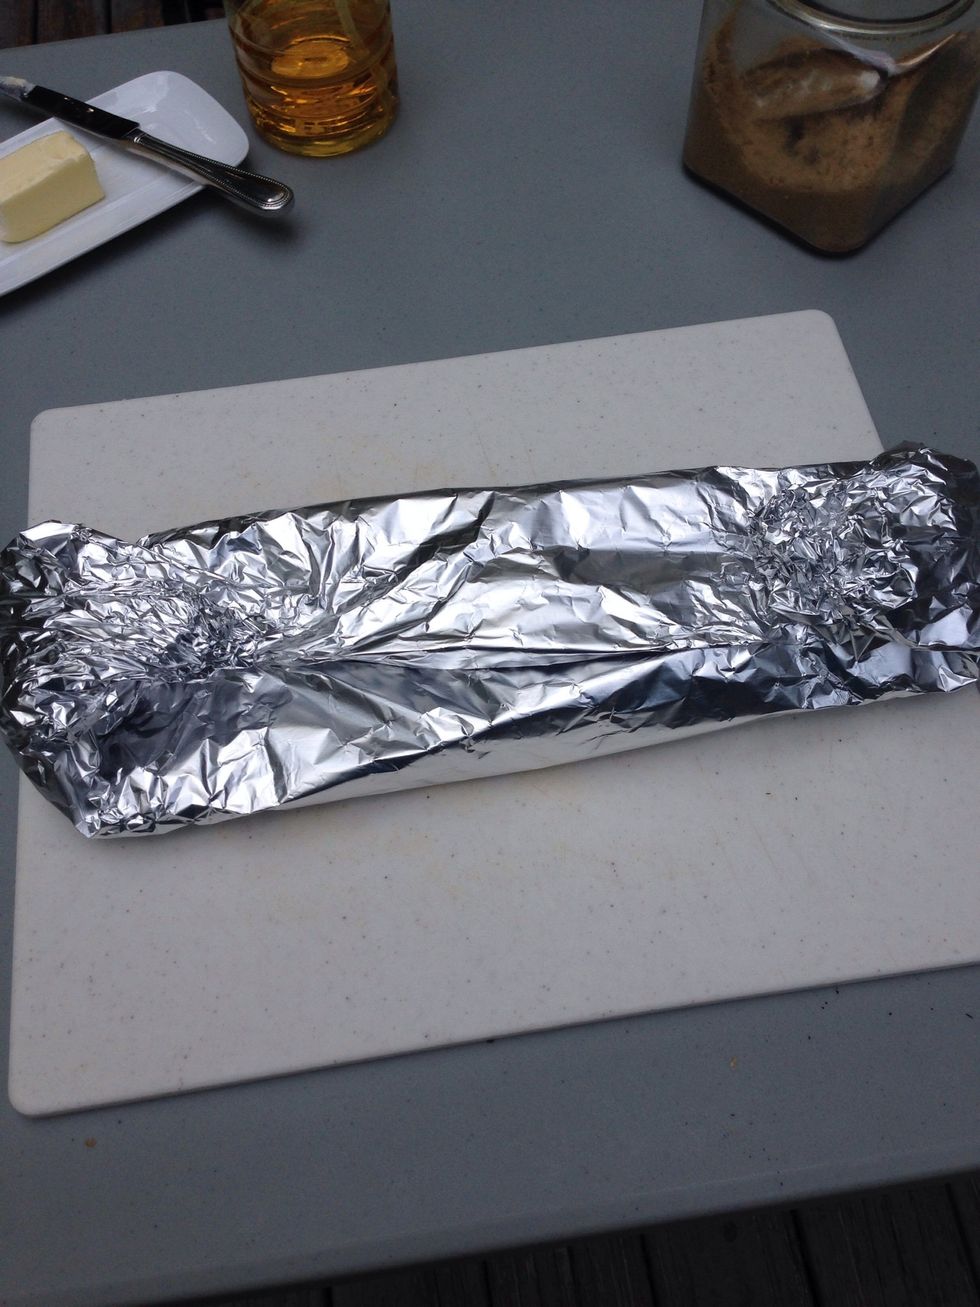
Notice how I rolled the foil, then wrapped up the sides to create a seam on top. Keep the seam-side up when you return to the grill.
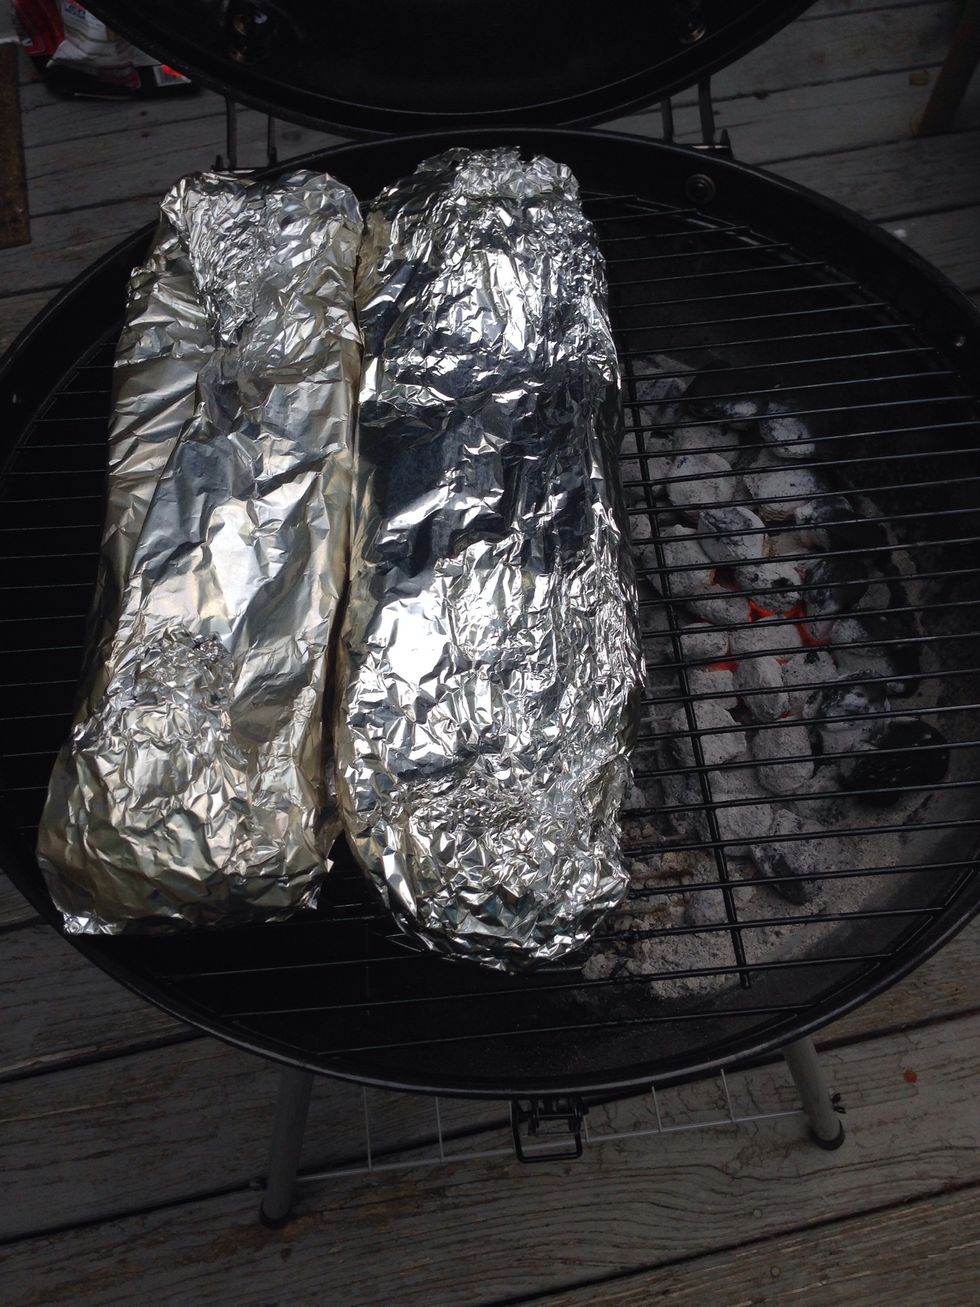
Keeping the seams up makes sure that nothing leaks out into the grill. Keep the ribs off direct heat. You don't want to burn those suckers up. We're going to let them cook like this for another hour.

After an hour wrapped, remove the ribs from foil and return to the grill top. Be careful here, because by now, the meat is very tender. Slather with BBQ sauce every 10-15 minutes for another 45 min.
I also have a guide for BBQ sauce. It would taste great on these ribs. Go check it out!
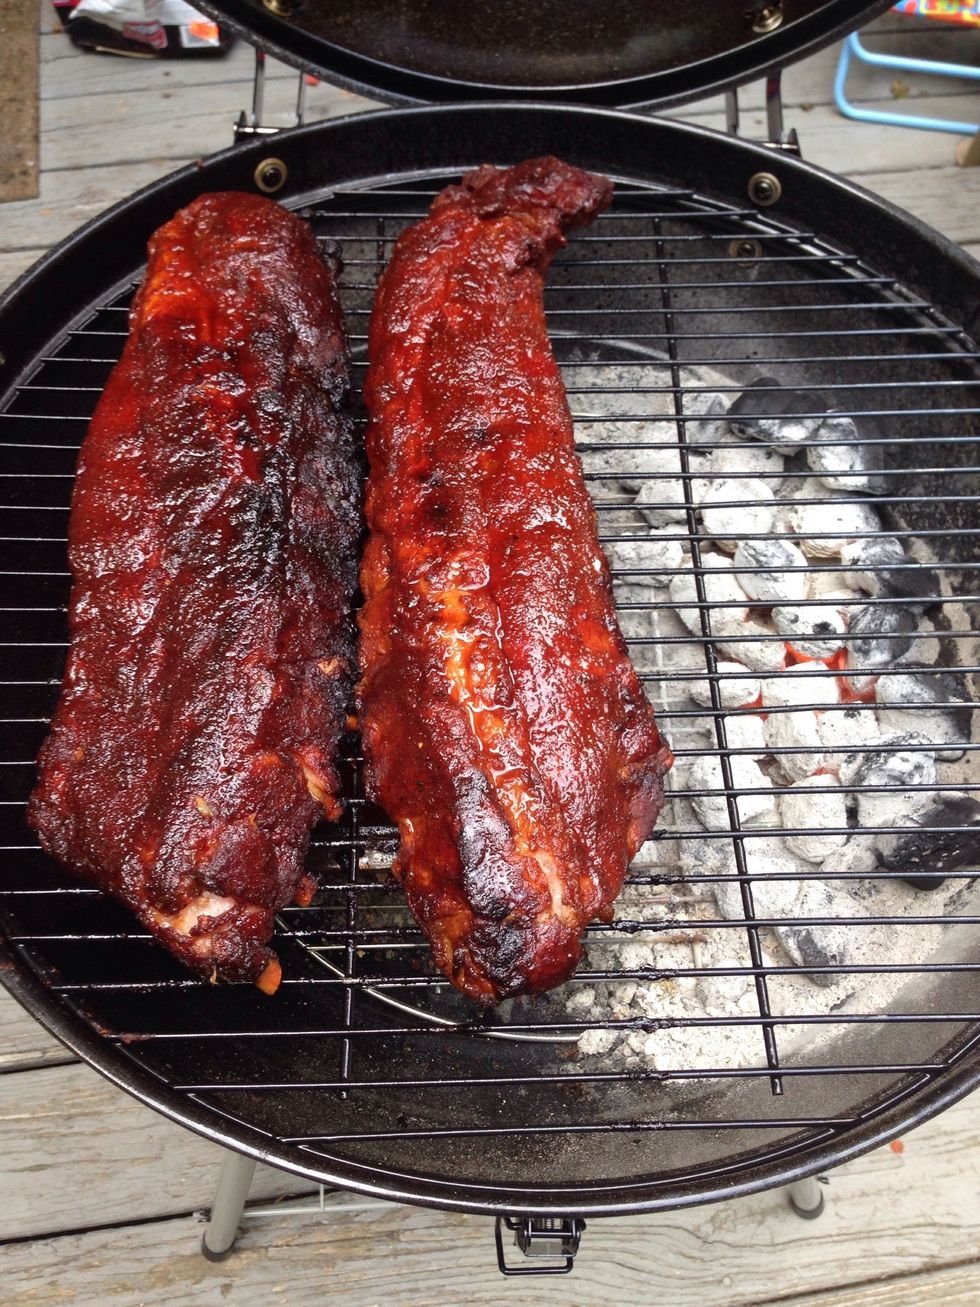
After you've applied BBQ sauce a few times, the ribs will begin to develop a nice, sticky exterior. And now, you're ready to take the ribs off the grill. Let sit for 20-30 min.
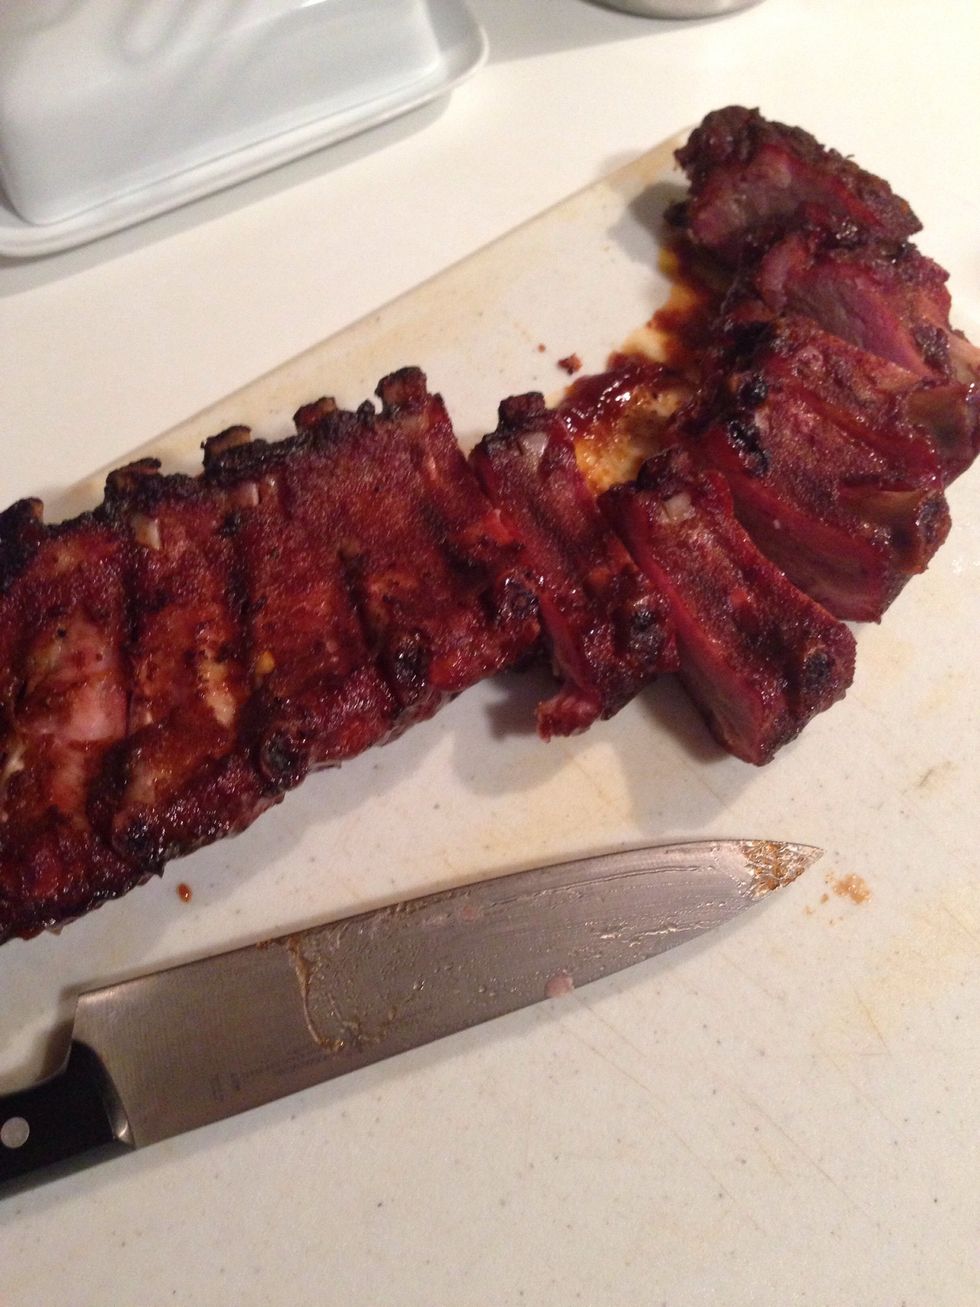
Time to slice. Make sure you're using a nice sharp knife. I like to flip my ribs upside down when slicing so I can see the bone better.
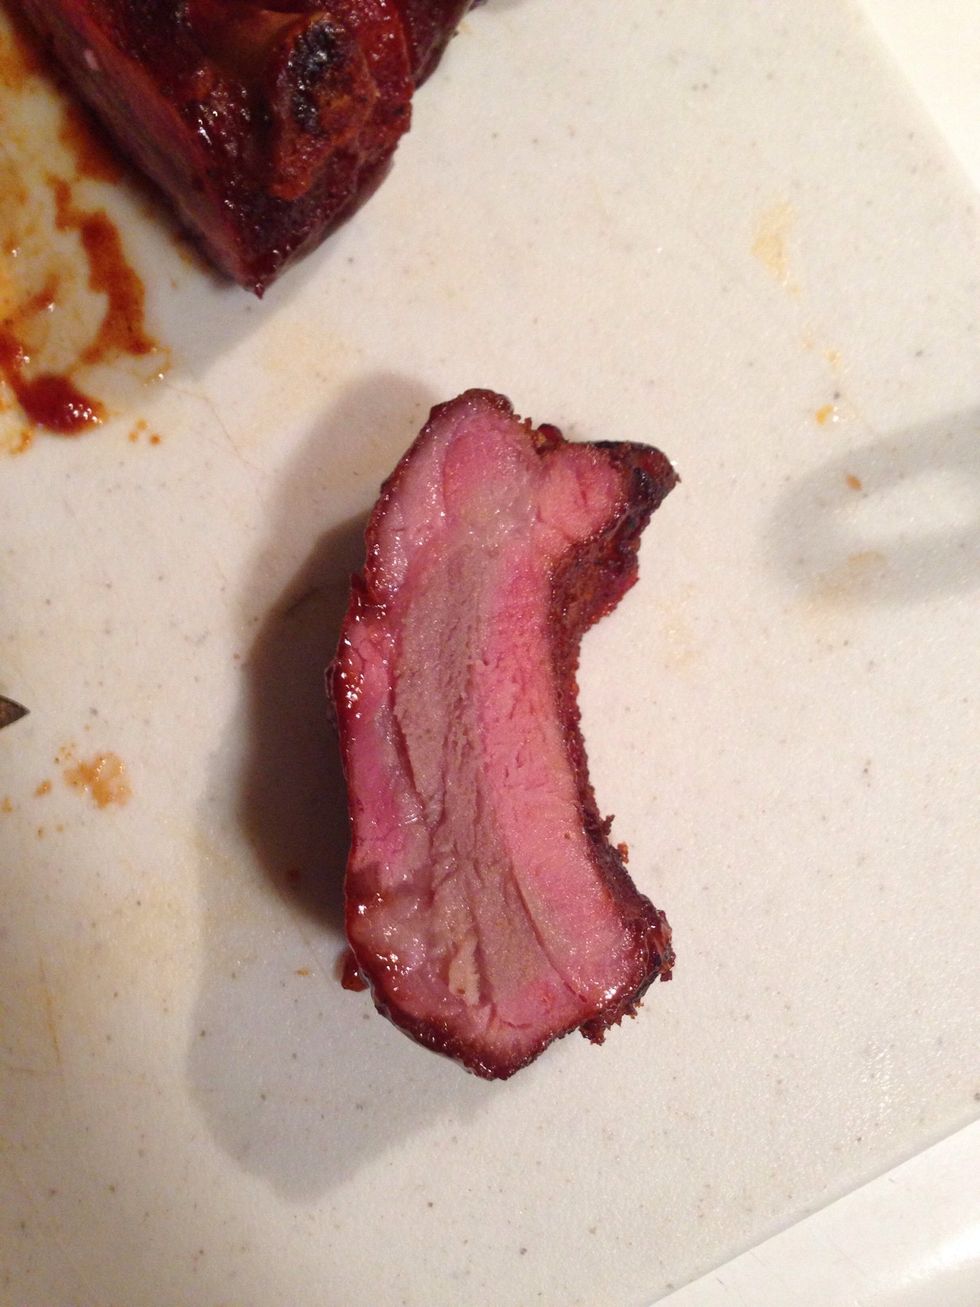
That pink ring is what you want to see. It's called the "smoke ring" and it means your meat has been soaking up all those delicious flavors.
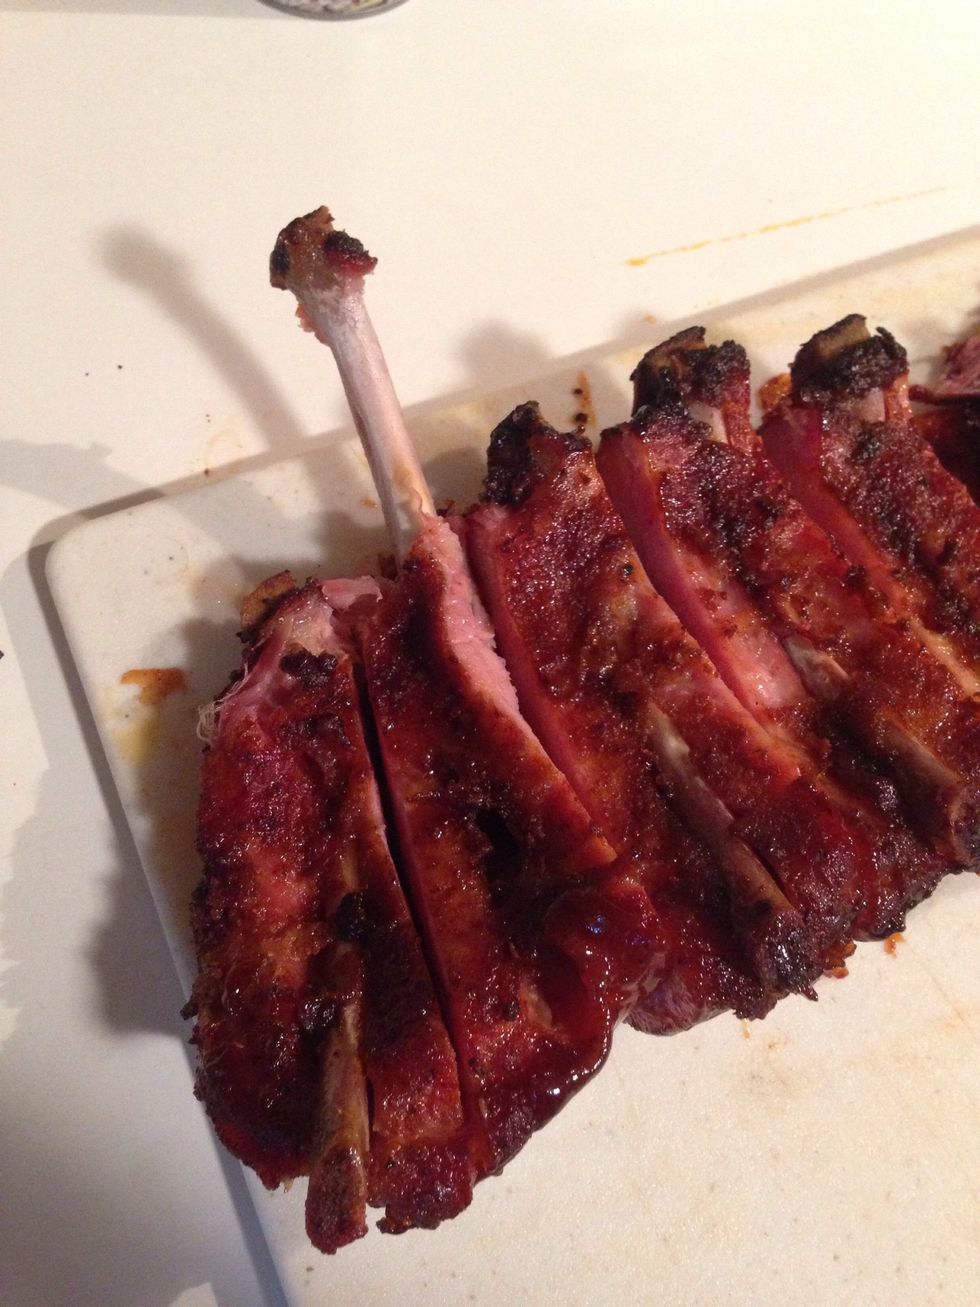
Ok, so now I'm just showing off. When you can pull the bone straight out and it's clean, you know your meat is going to be extra tender.
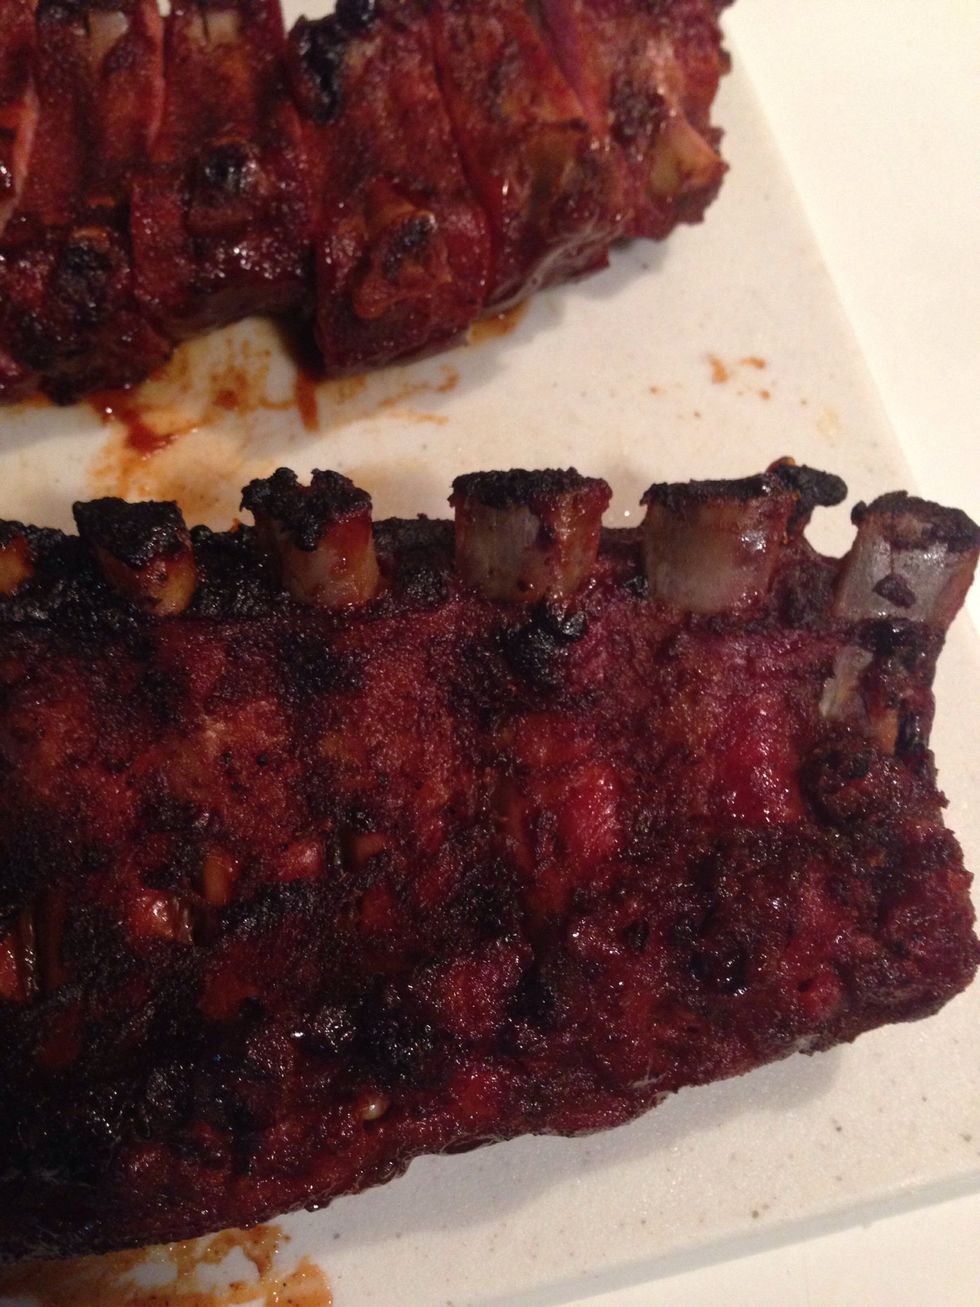
Also, here is another pro-tip. One of the ways you can tell the meat is done is when the meat starts pulling away from the bone. When you see exposed bone tips, you can be assured you're ready.
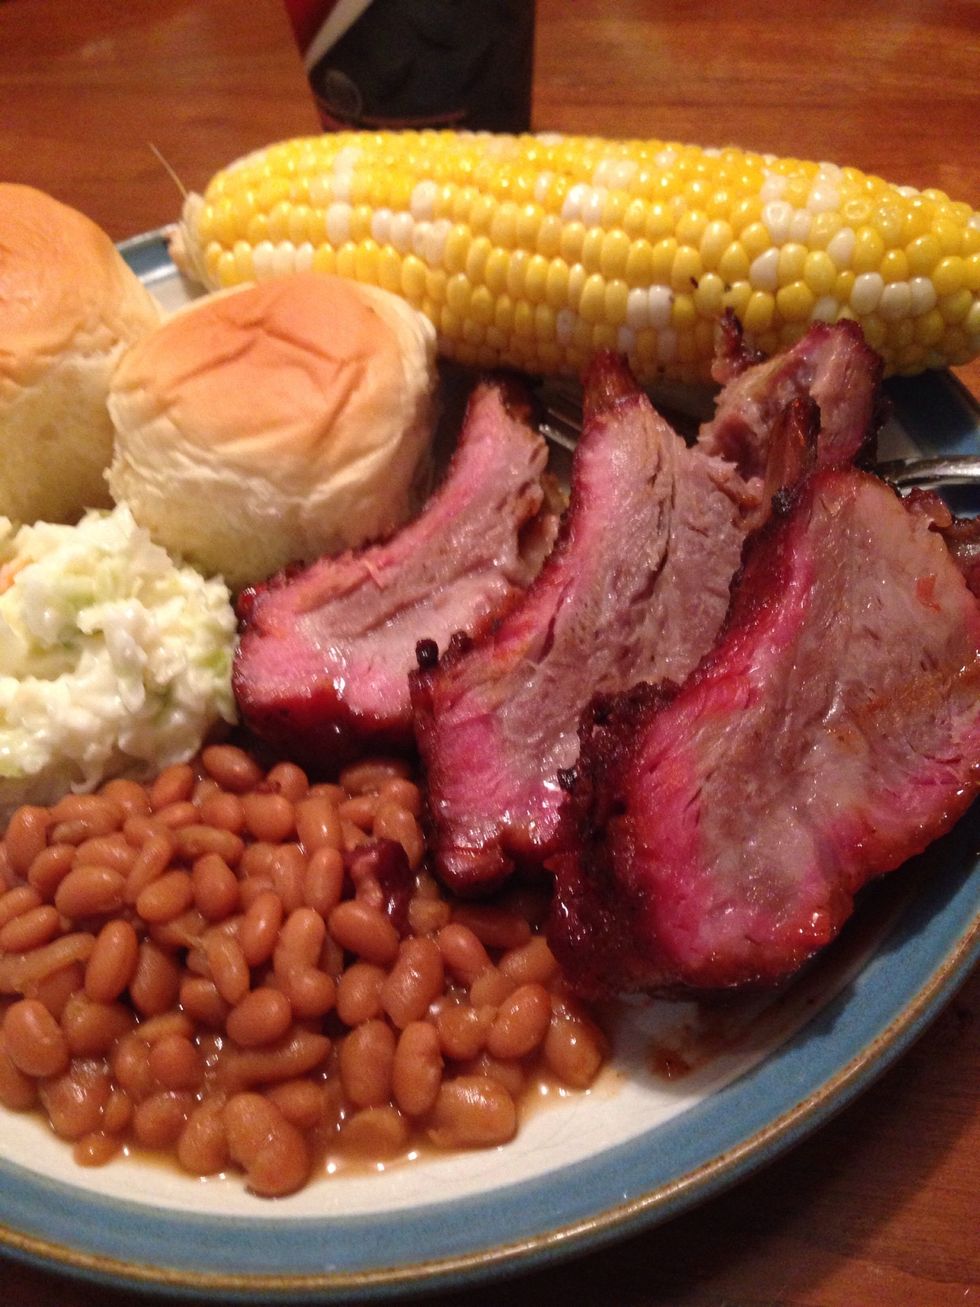
Make yourself a great plate of food and enjoy!
If you enjoyed this guide, make sure to click "like." While you're here, check out my other guides. Got a great idea for a guide? Send me a message. Now go enjoy those ribs! :)
- Baby back ribs
- Dry rub of your choice
- BBQ sauce of your choice
- Apple juice
- Butter
- Brown sugar
- Honey
- Foil
Ben Niemann
IT professional living in the Raleigh/Durham area. I love to cook, I love DIY, and I love to entertain. I hope you enjoy my guides!
Wake Forest, North Carolina
The Conversation (0)
Sign Up