The Conversation (0)
Sign Up

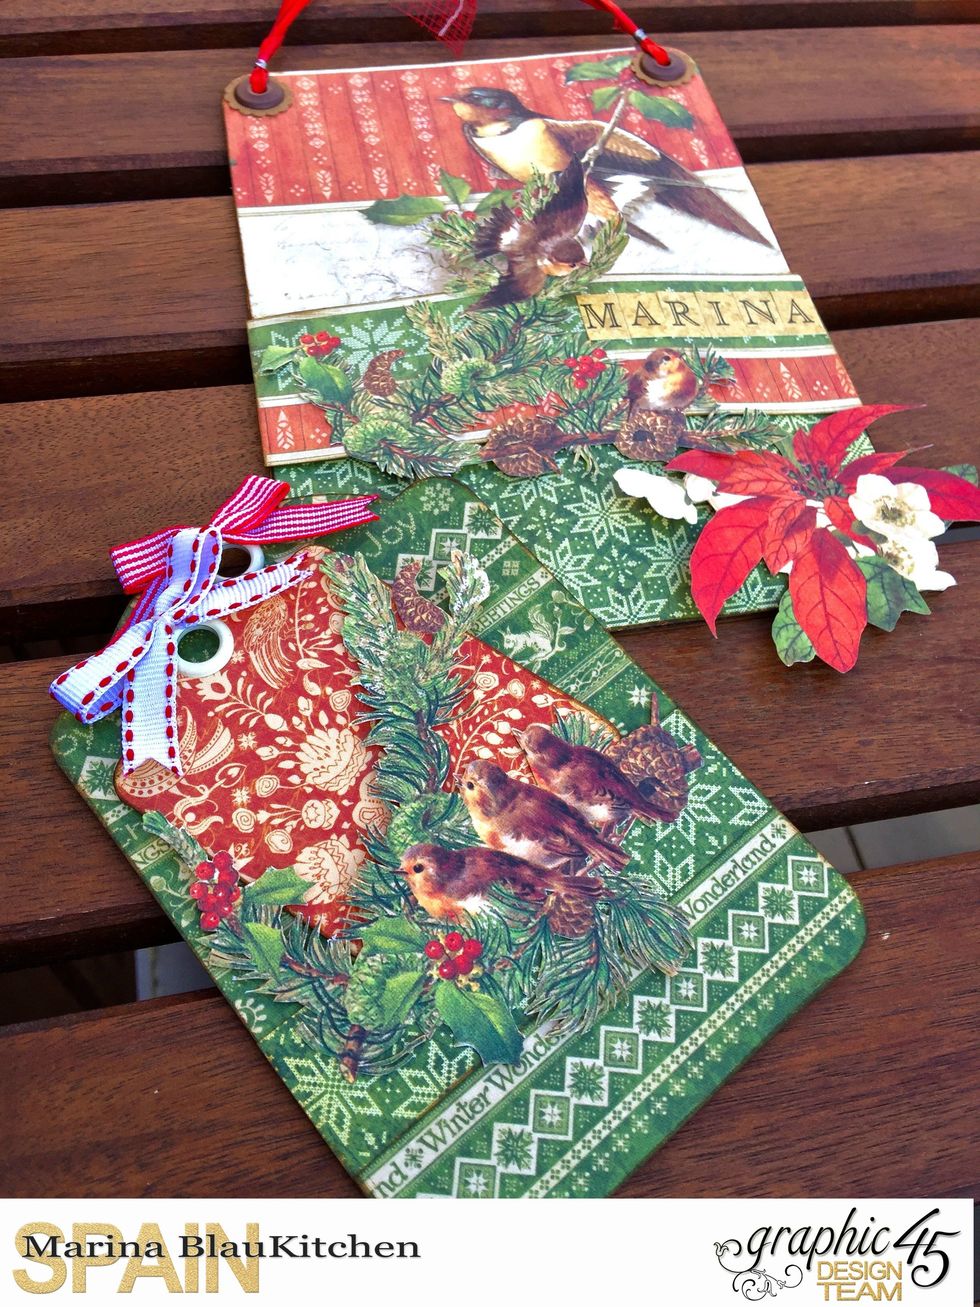
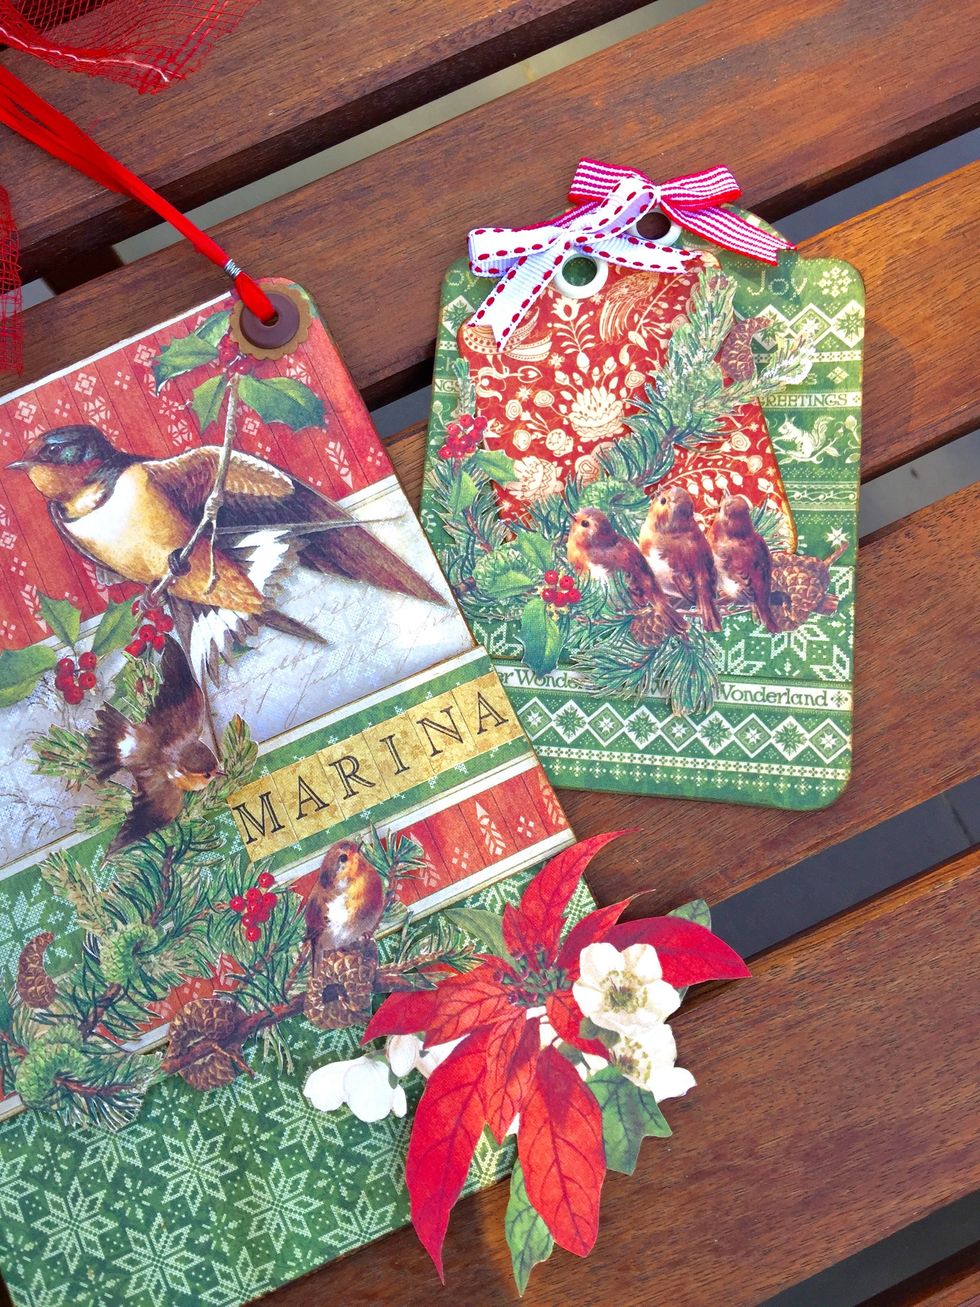
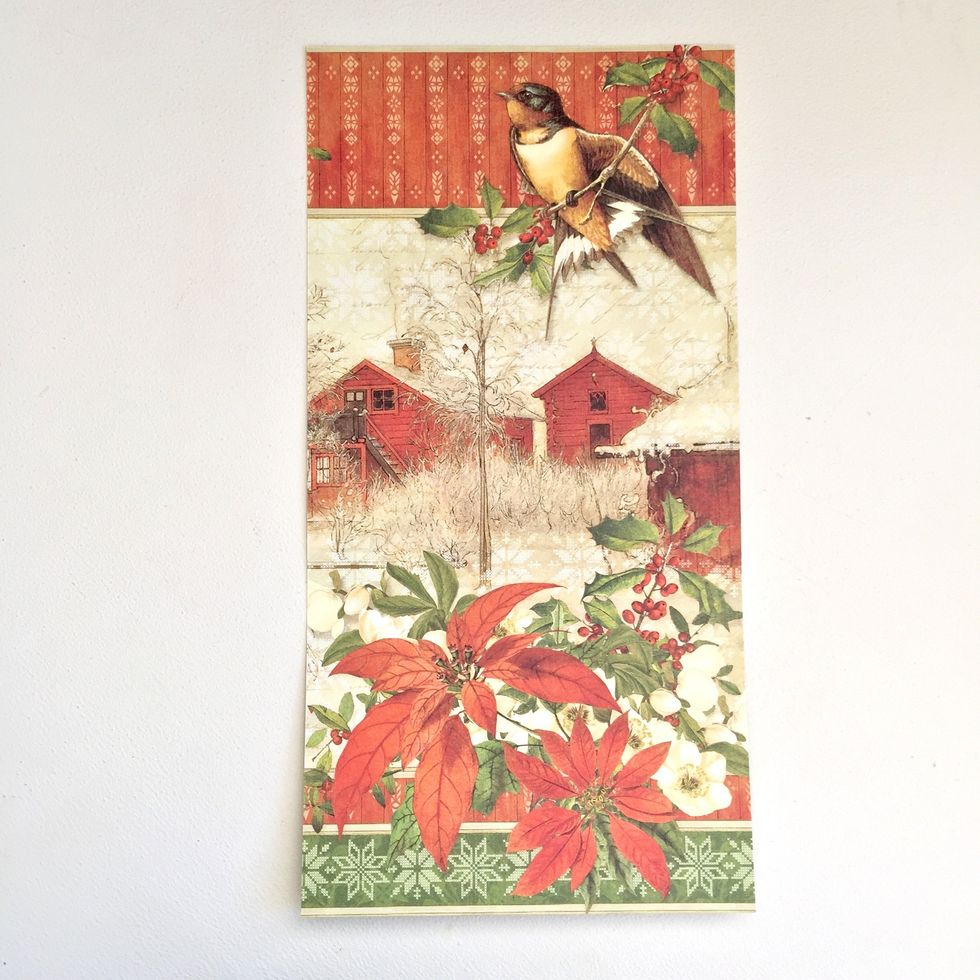
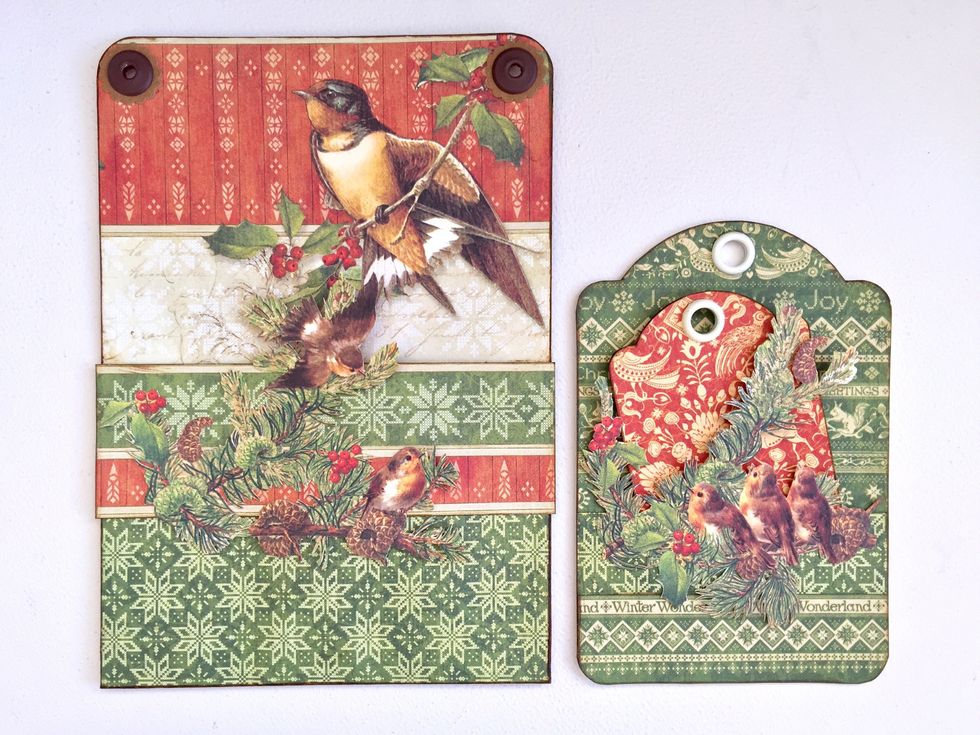
This is Winter Wonderland signature page.
Cut it at 8"
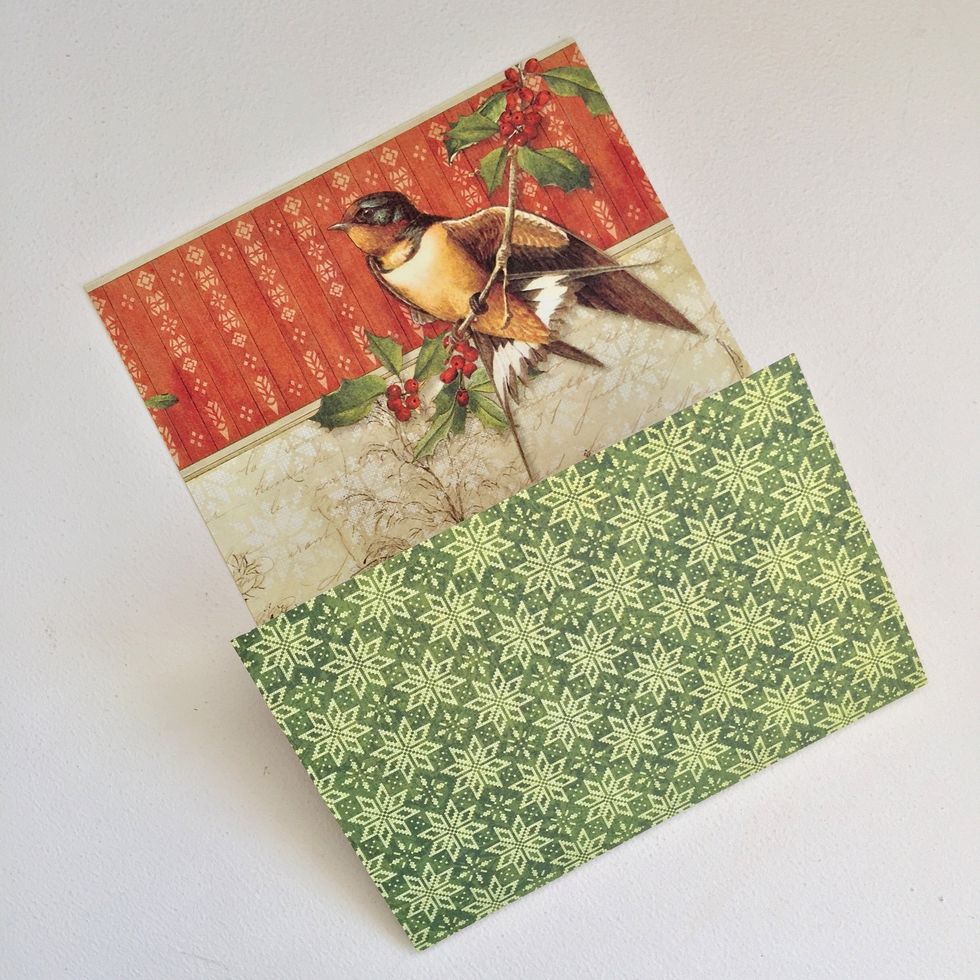
Fold at 8"

Score at 1/4" on both sides. Create two flaps and cut the excess as shown.
Cut them in angle.
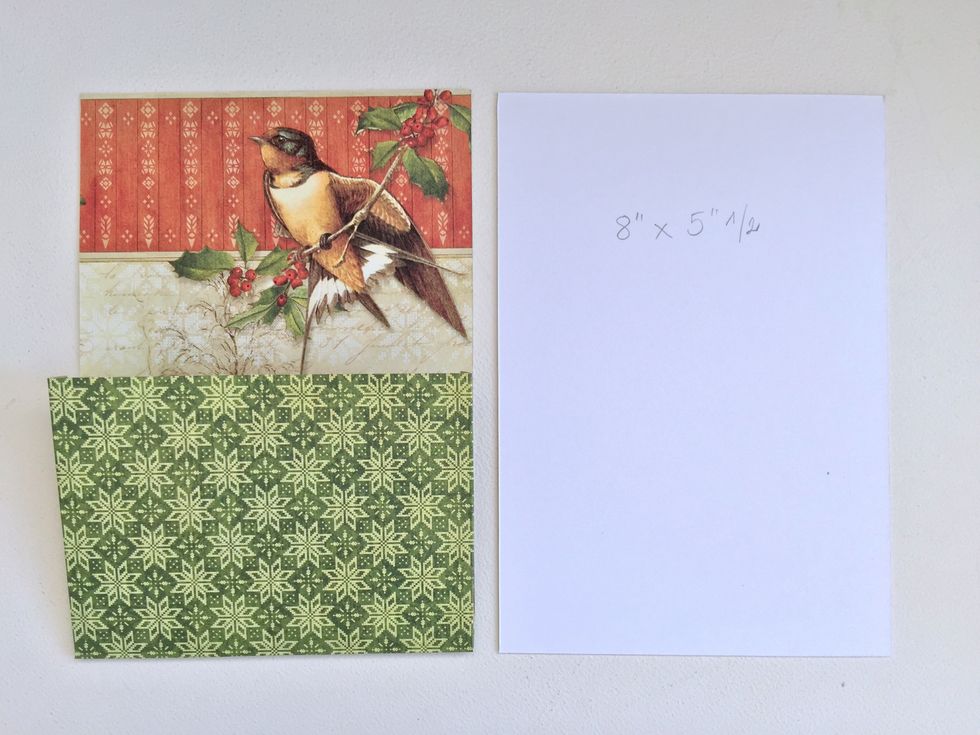
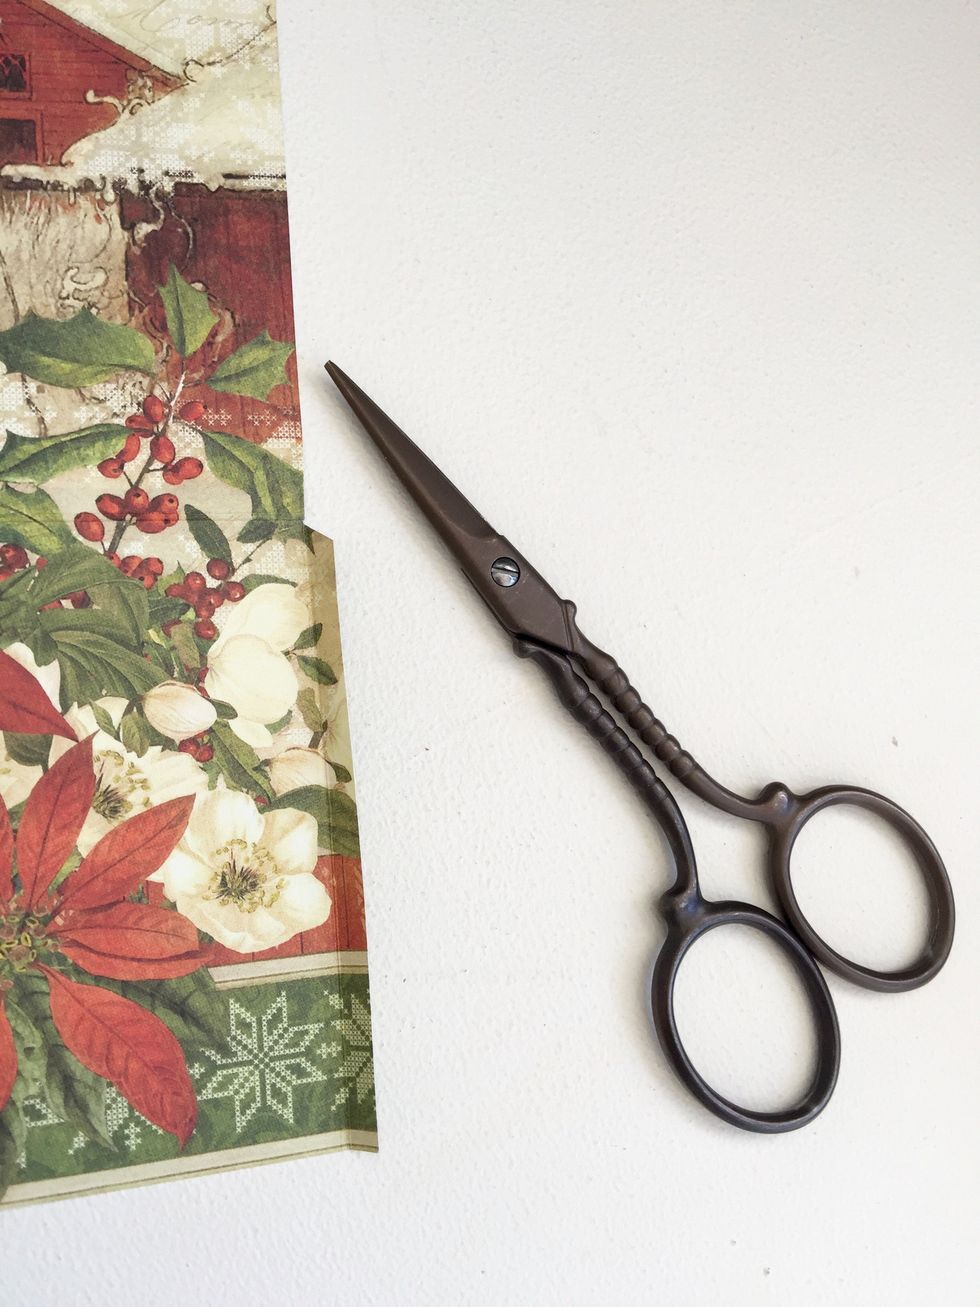
Cut a cardboard of 8" x 5"1/2"
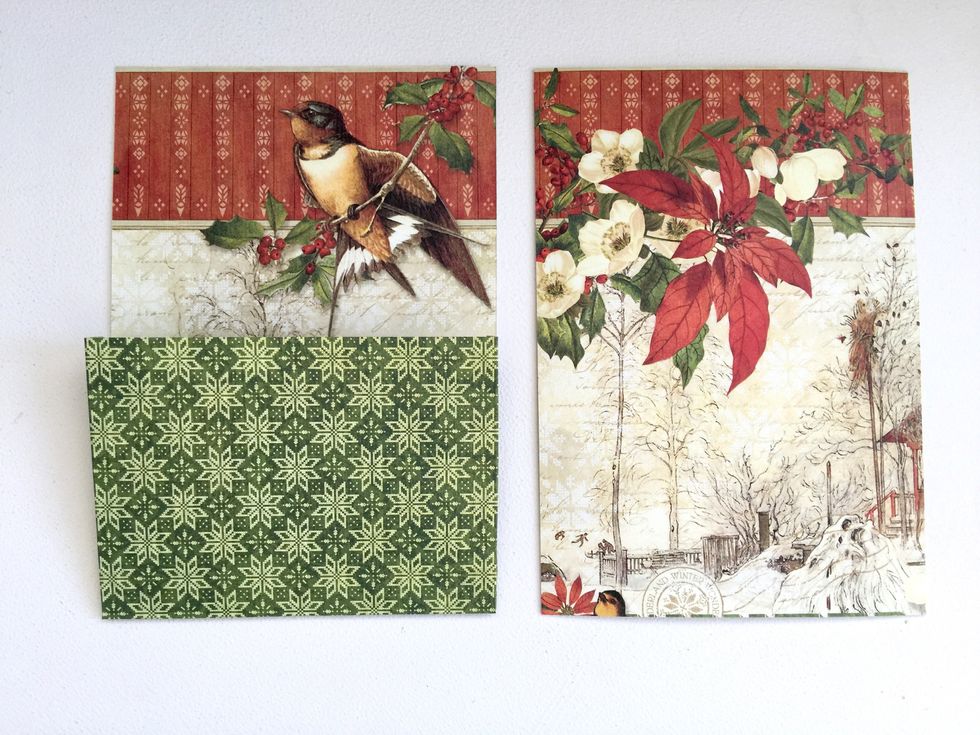
Cover the cardboard back with decorated paper. It is the one on the right.
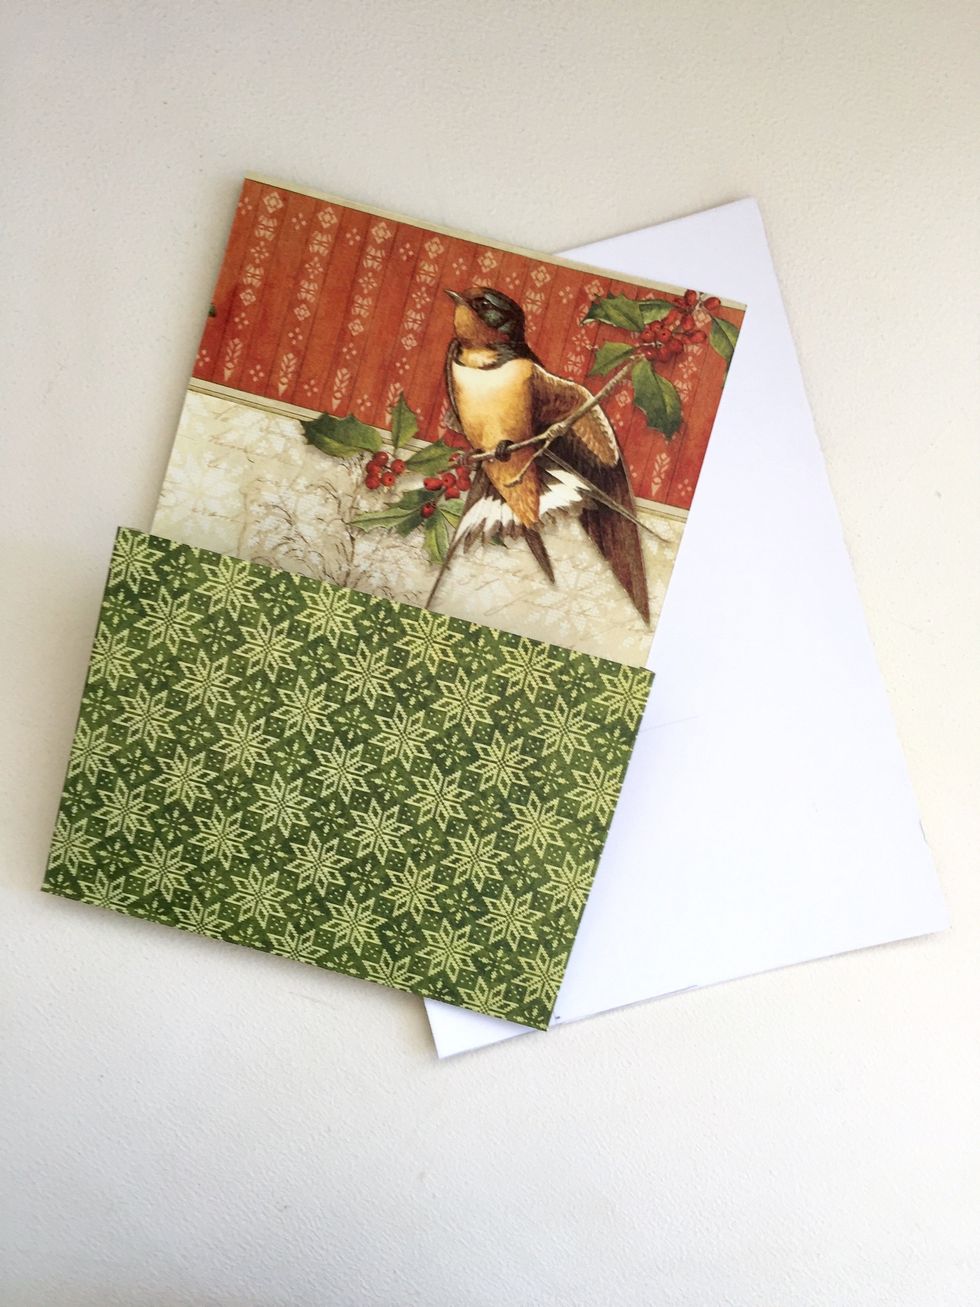
Glue this paper with the pocket on the other side of the cardboard.
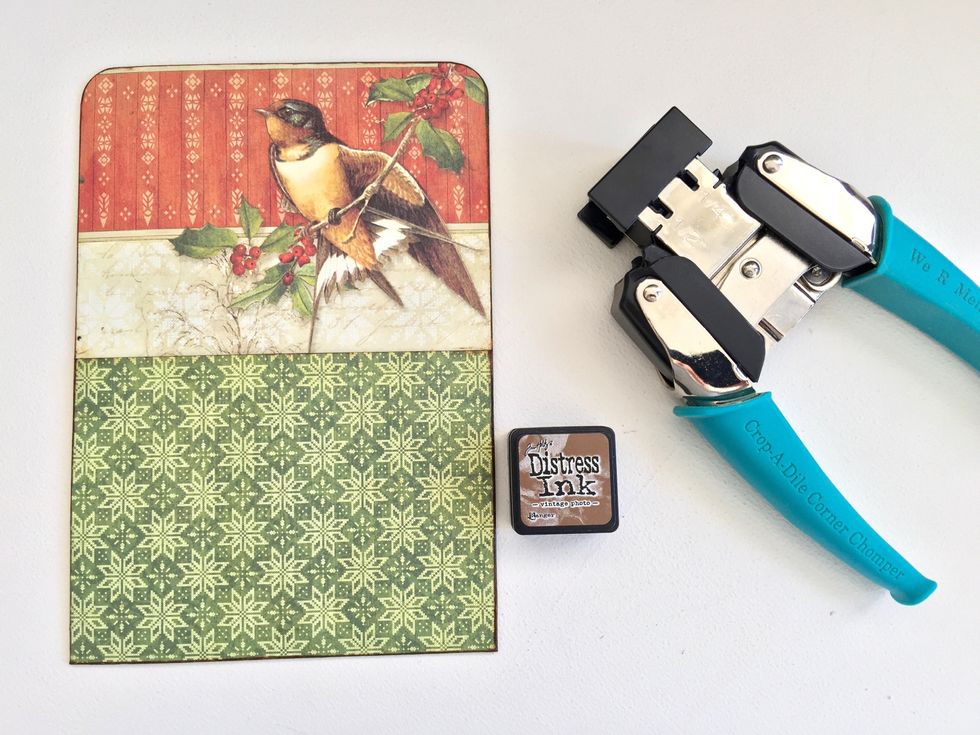
Round upper corners and ink edges.
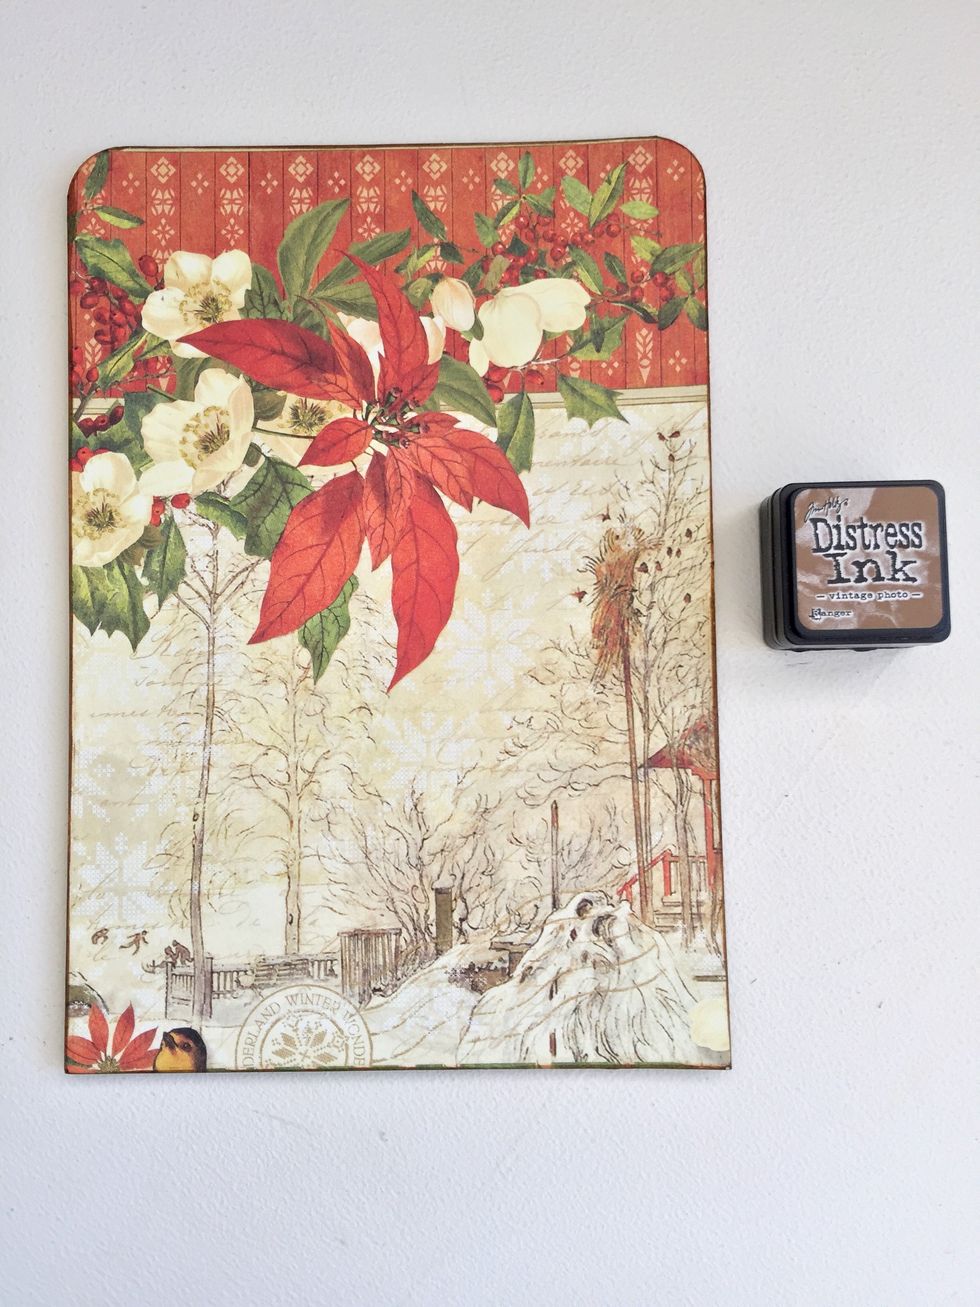
Also ink edges on the back
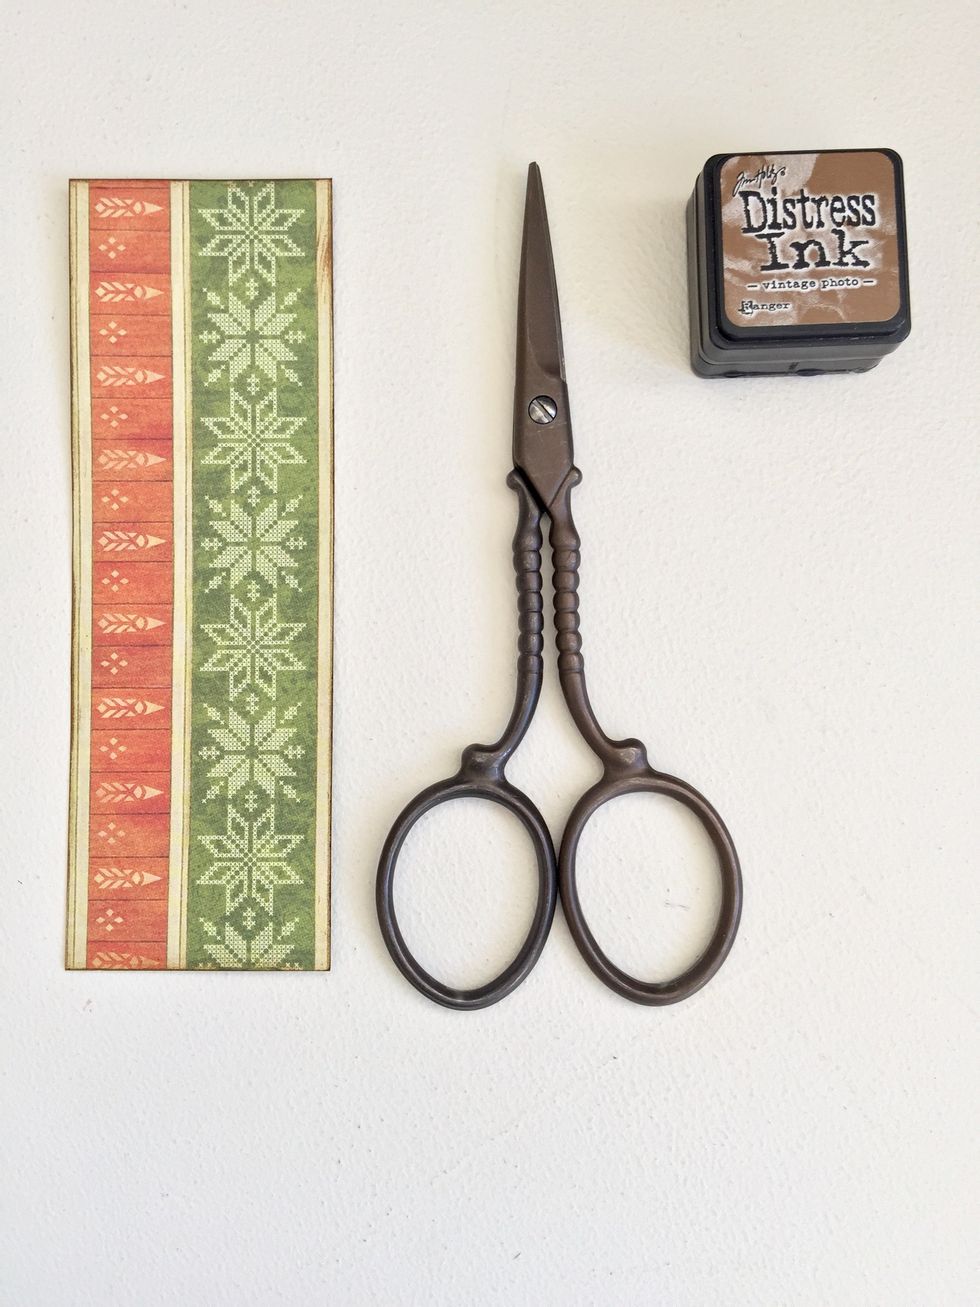
Cut a stream of paper and ink edges.
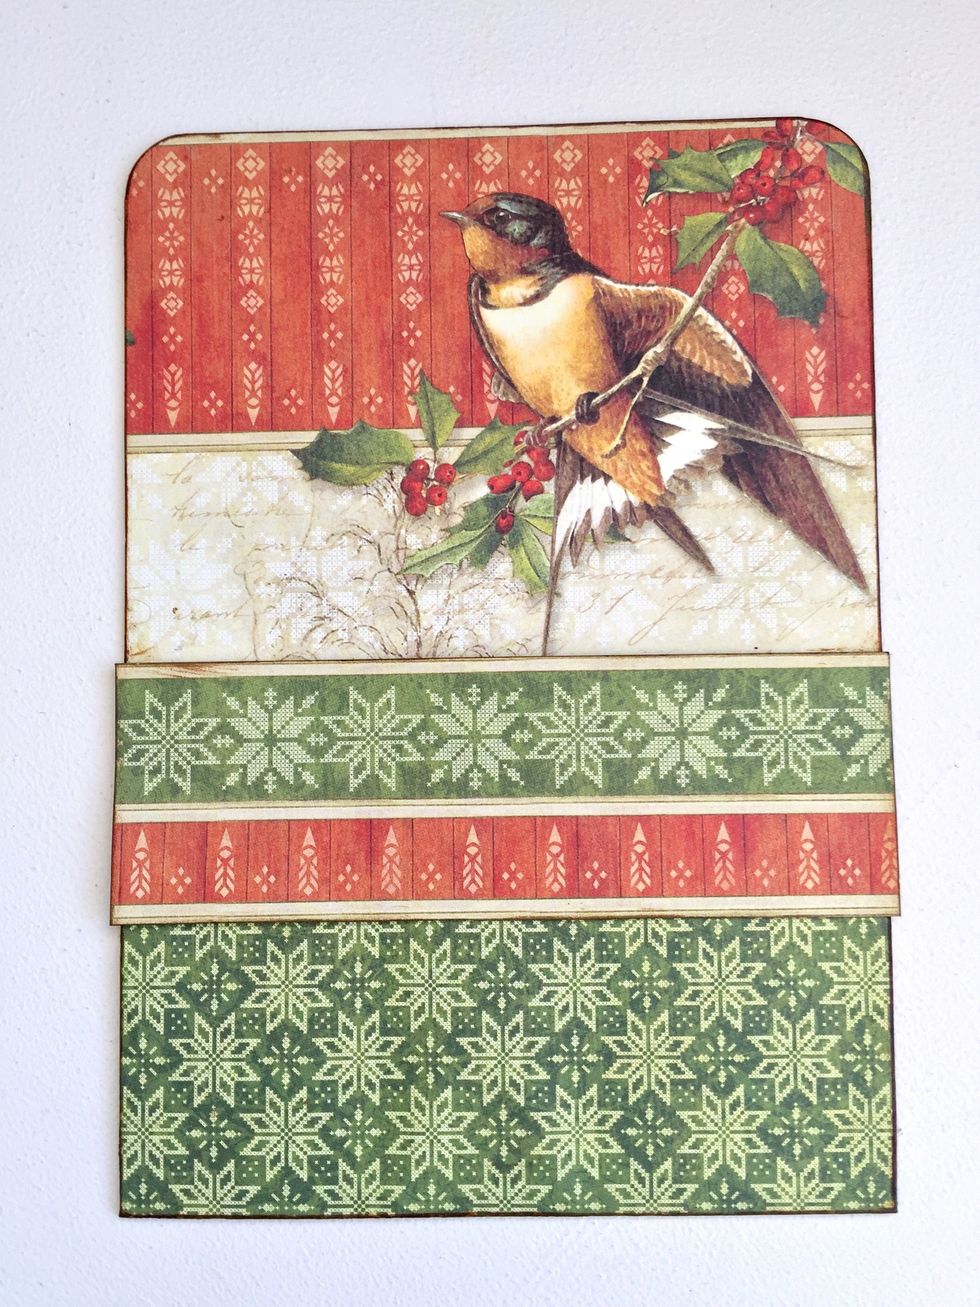
Glue on the upper side of the pocket.
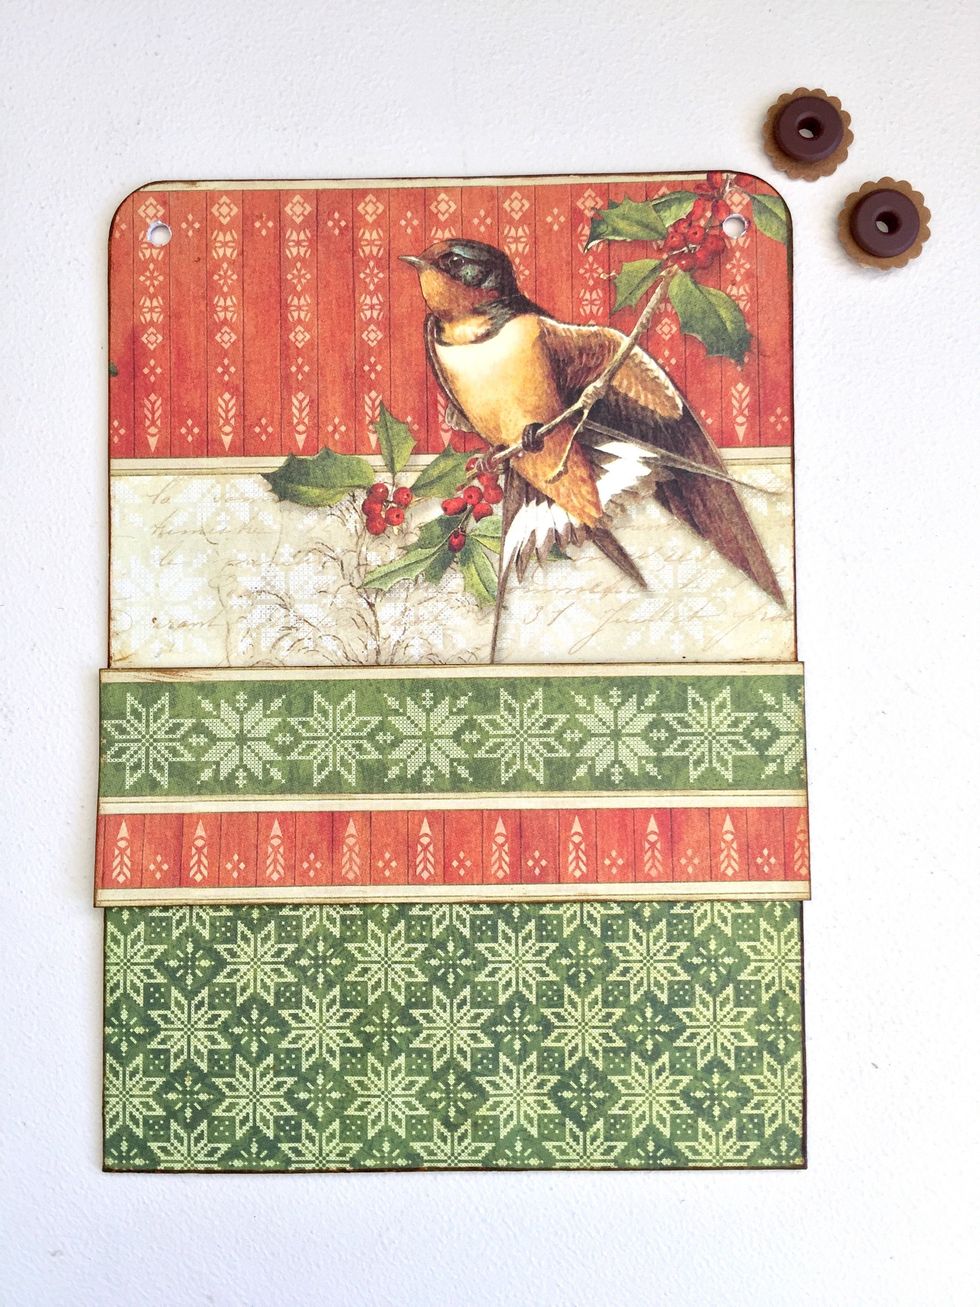
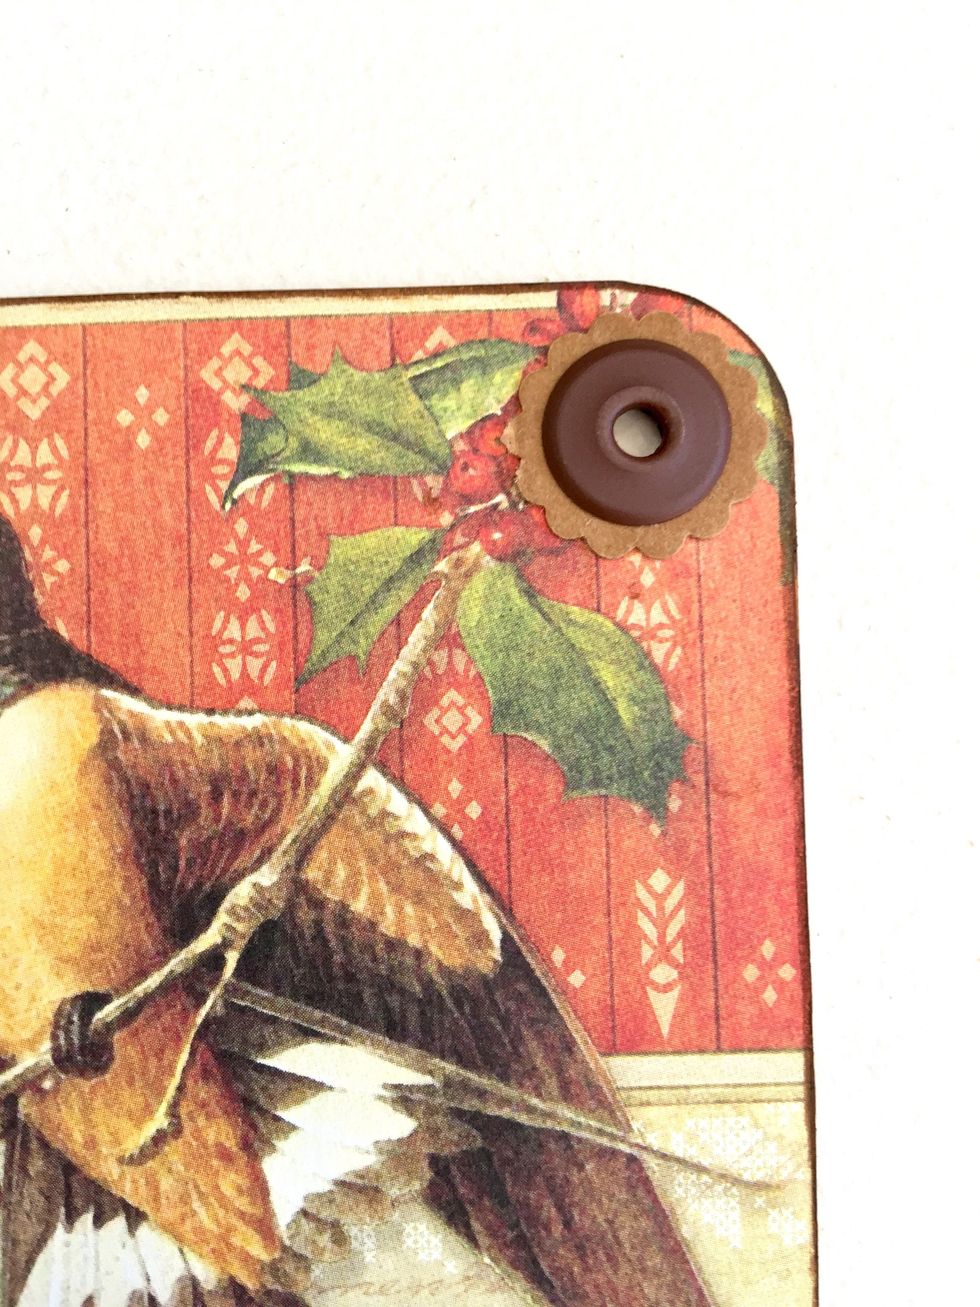
Make holes and put eyelets.
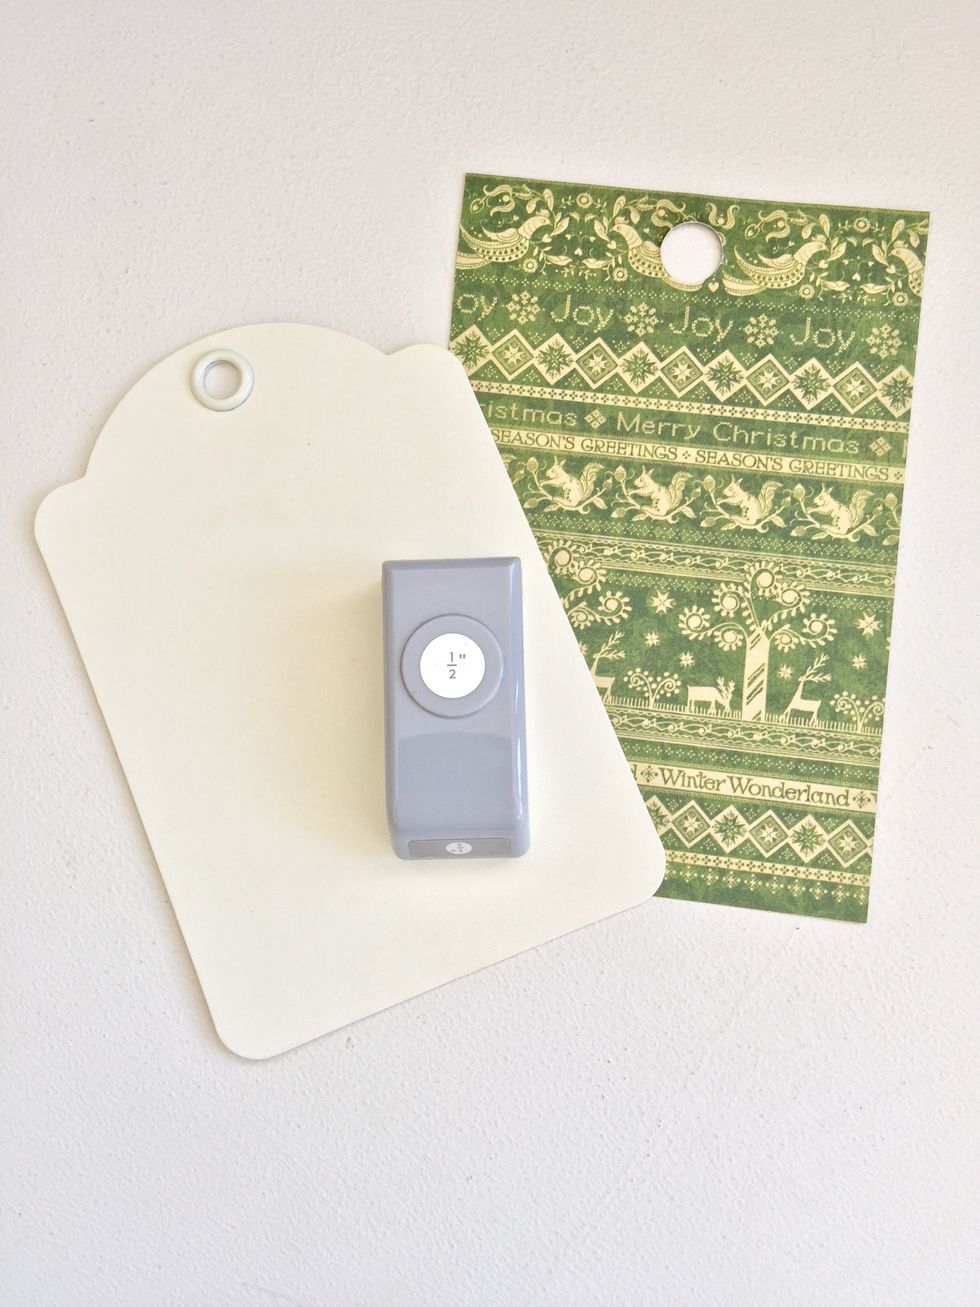
Before cover and glue paper on the tags, punch a 1/2" hole.

Glue the paper, cut the excess and ink edges.
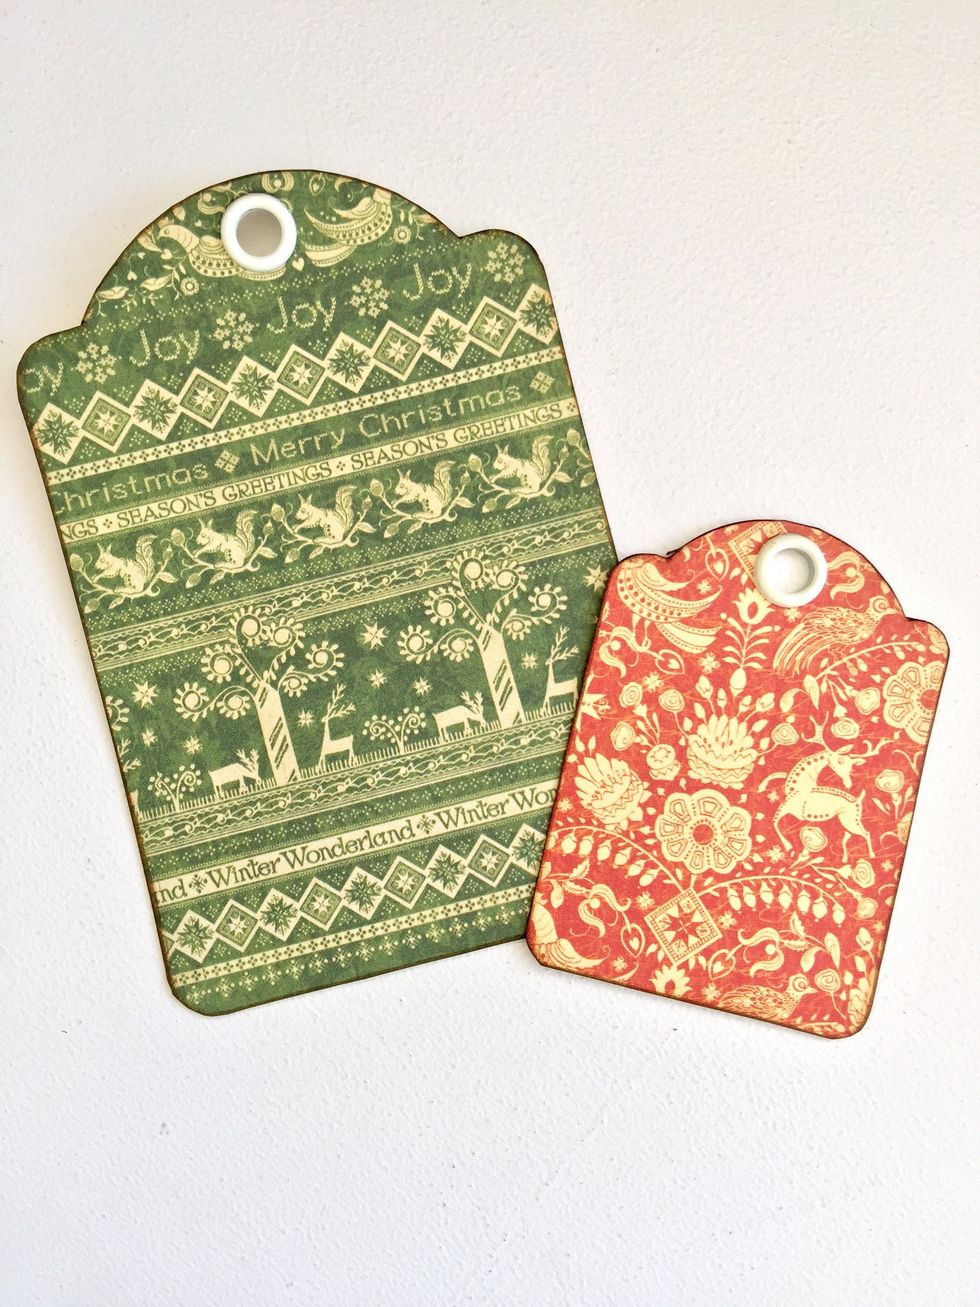
Do the same process with the little tag.

Cut a stream and ink.
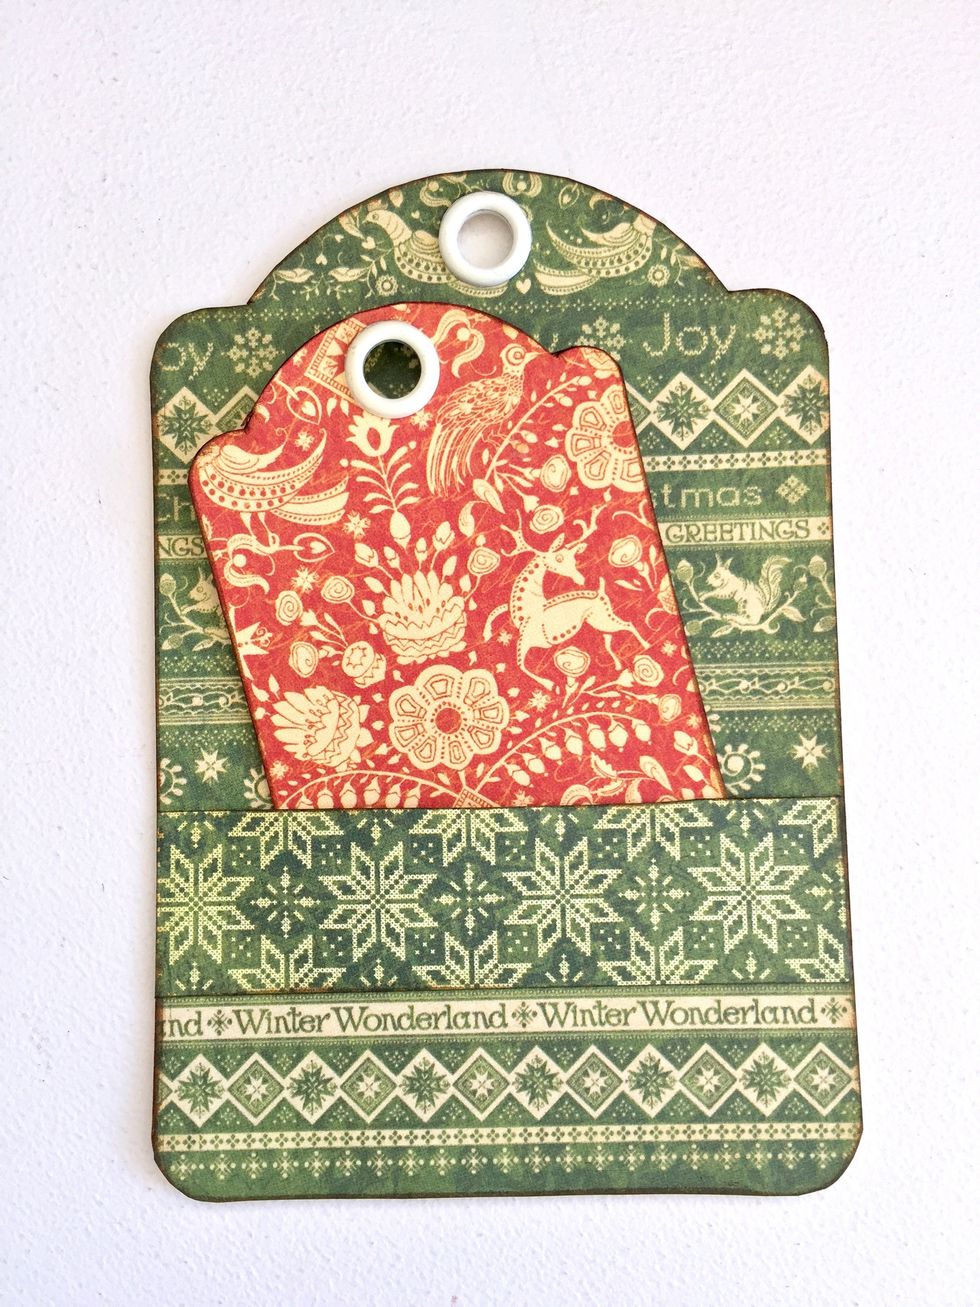
Glue as a pocket on the big tag.

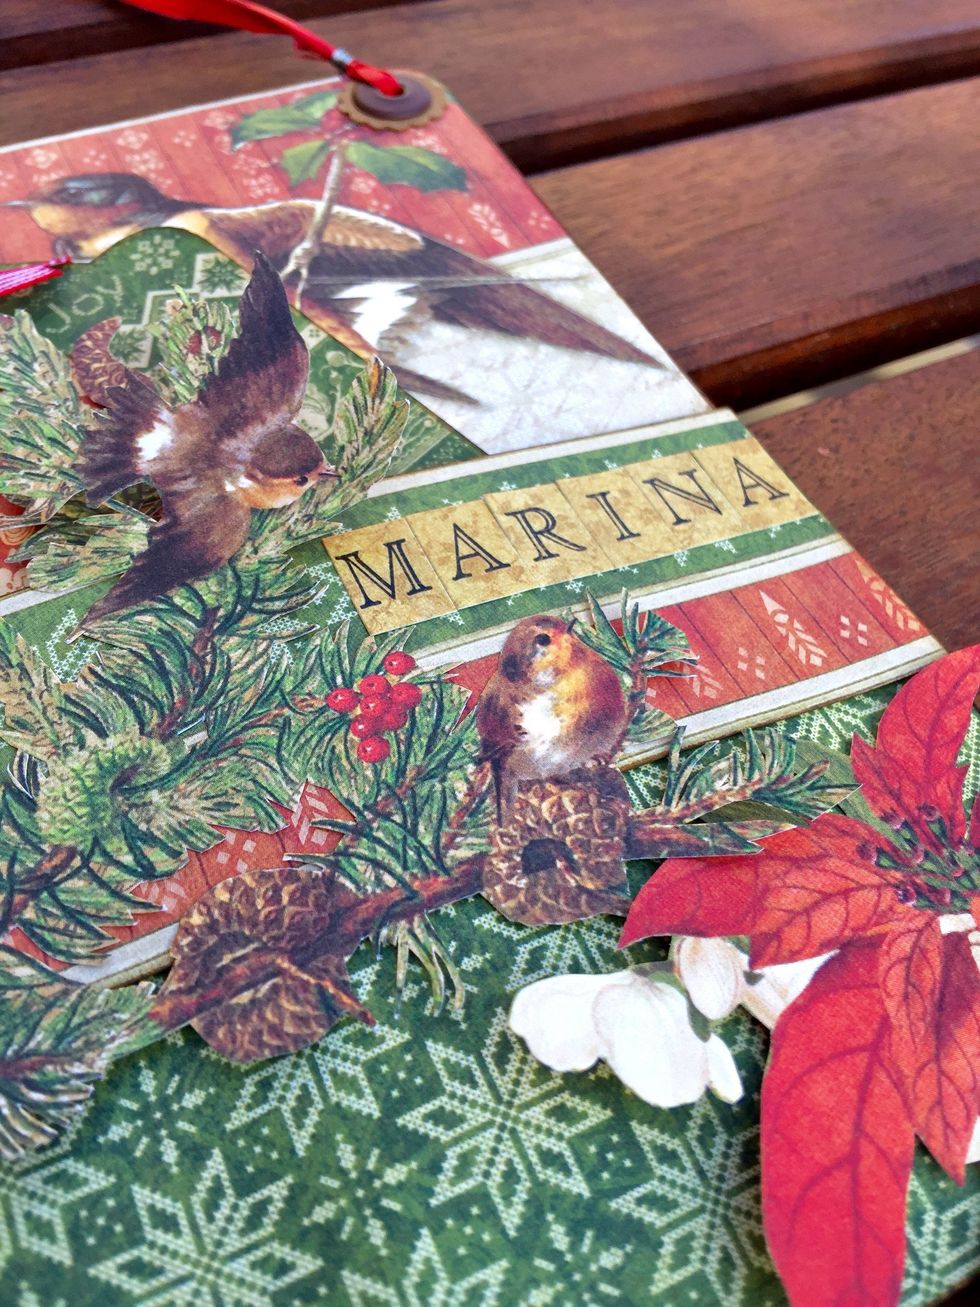
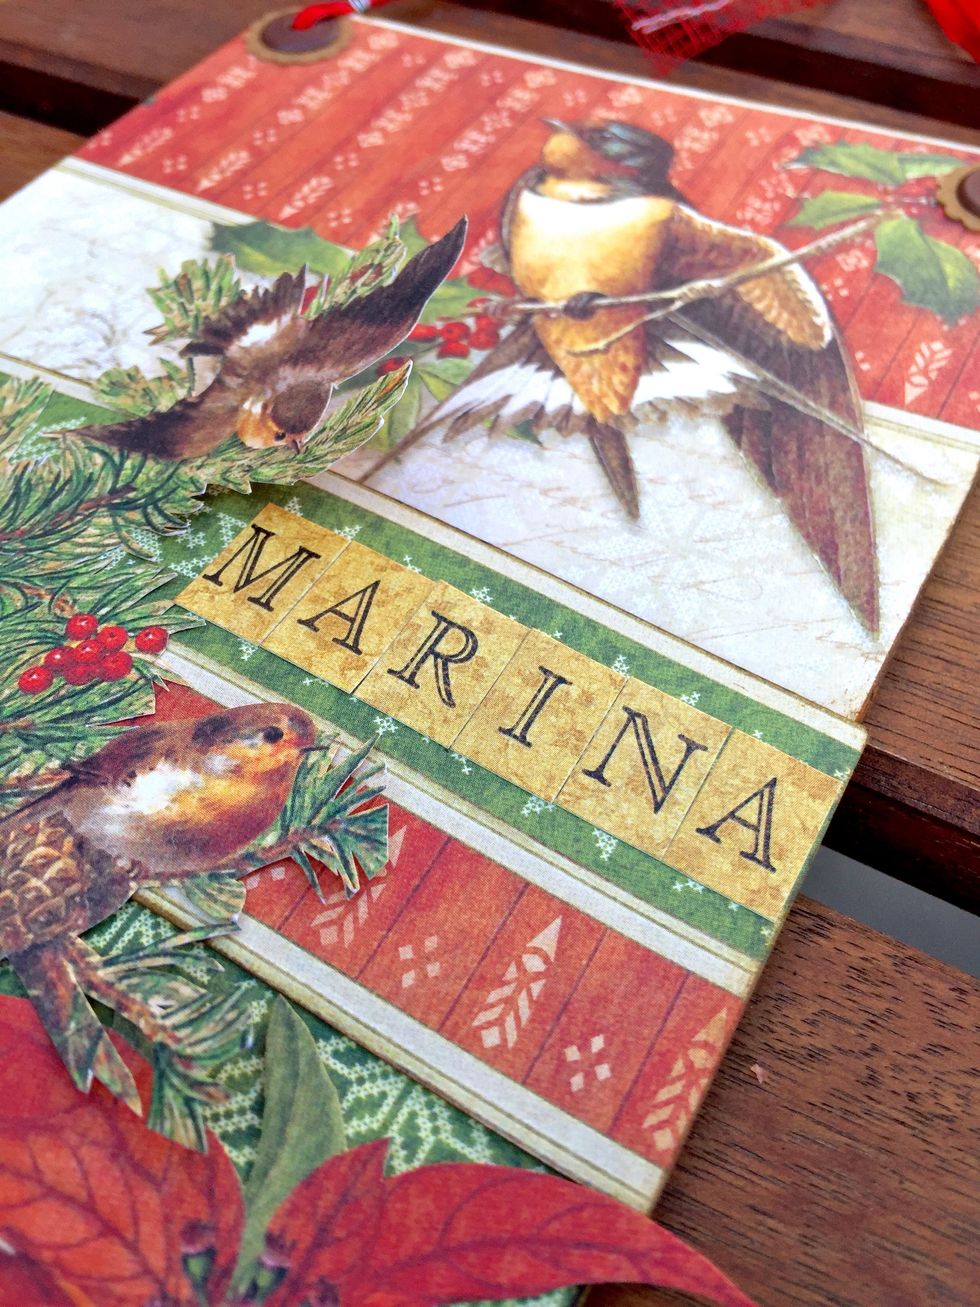
Just decorate!
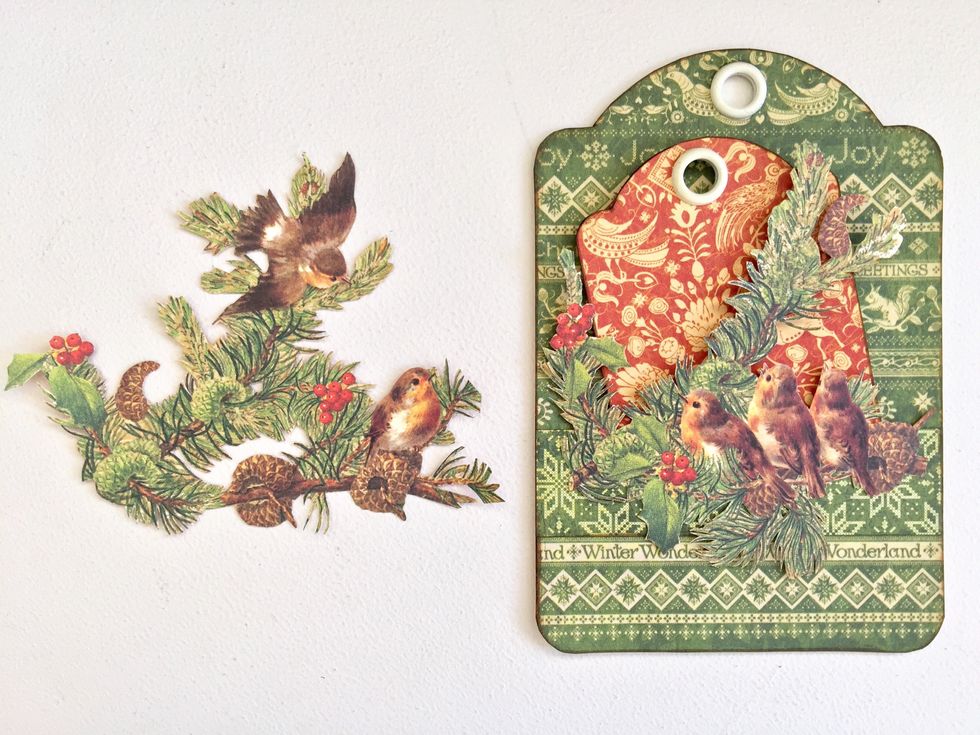
Fussy cut some designs and glue on the project.
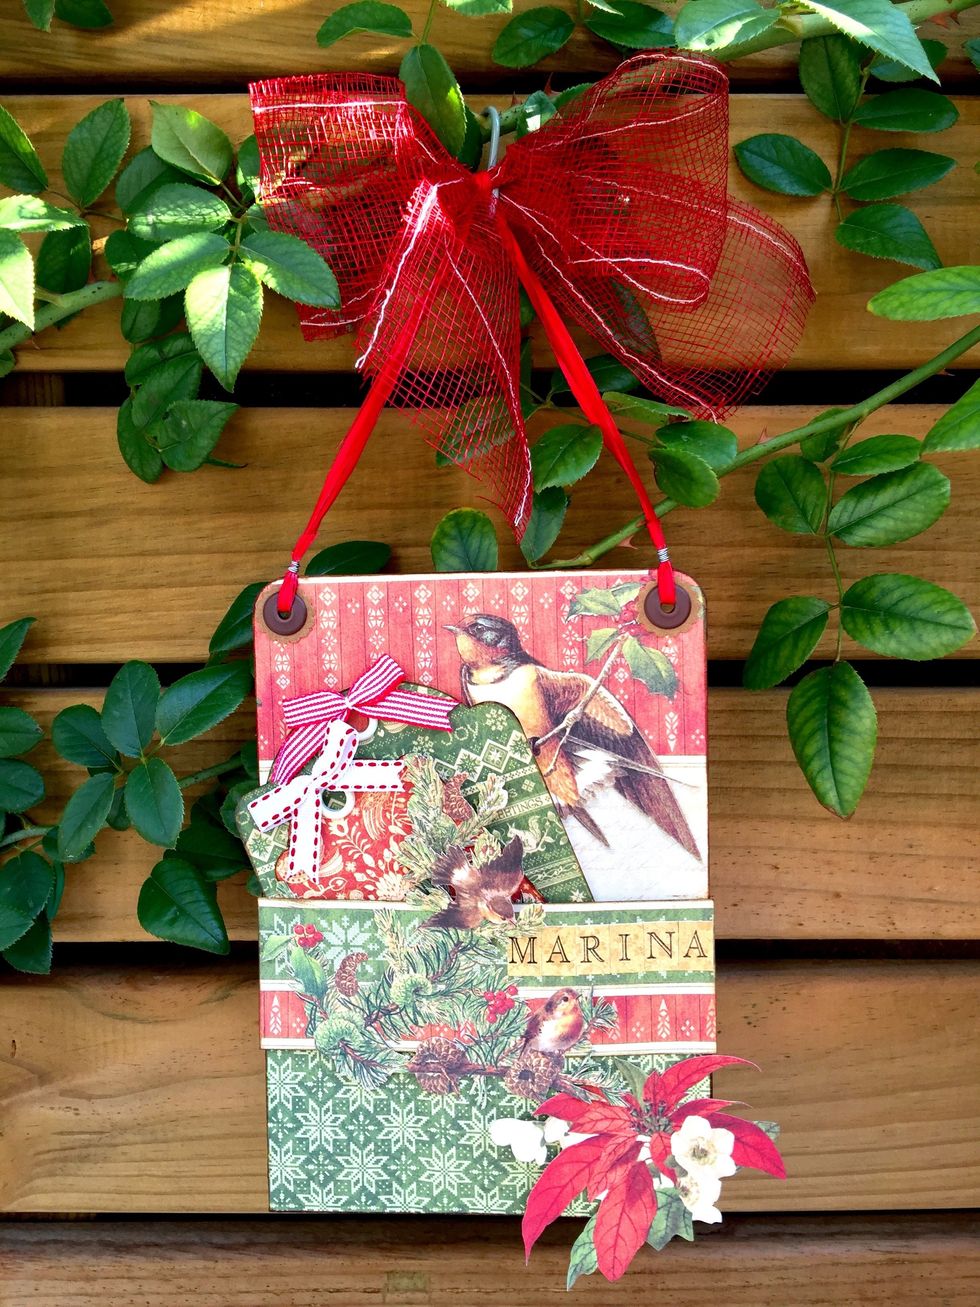
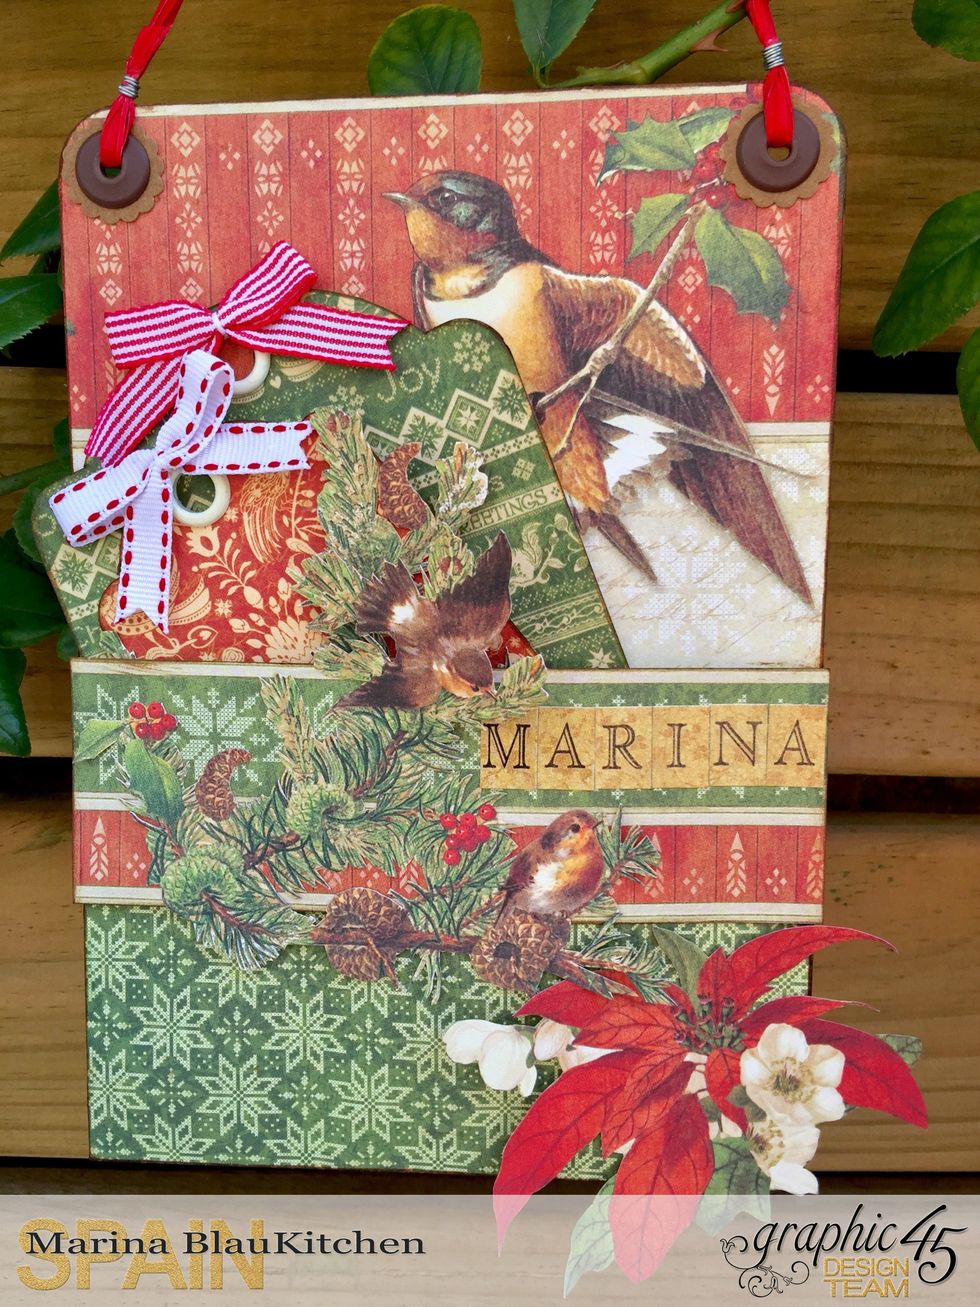
You can add your name!