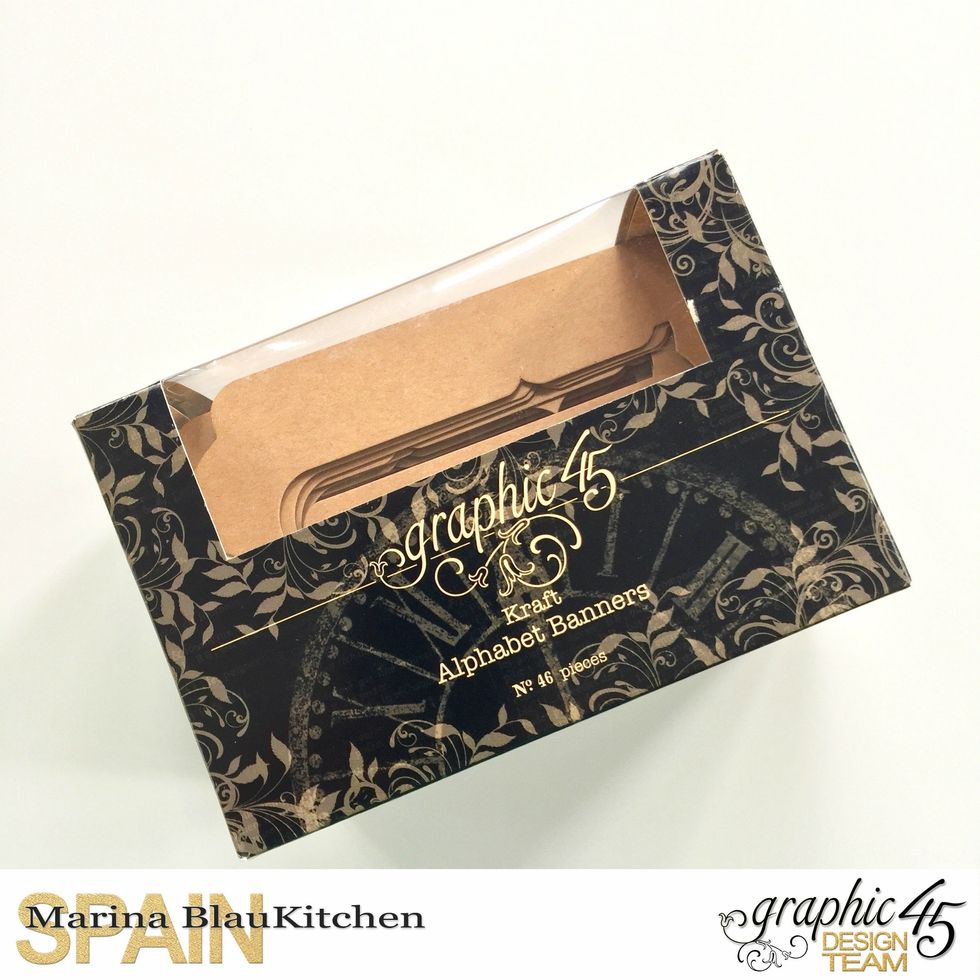
You will need this fabulous staple, Alpha-Banner Tags. These ones are kraft color but you can find them too the ivory ones.

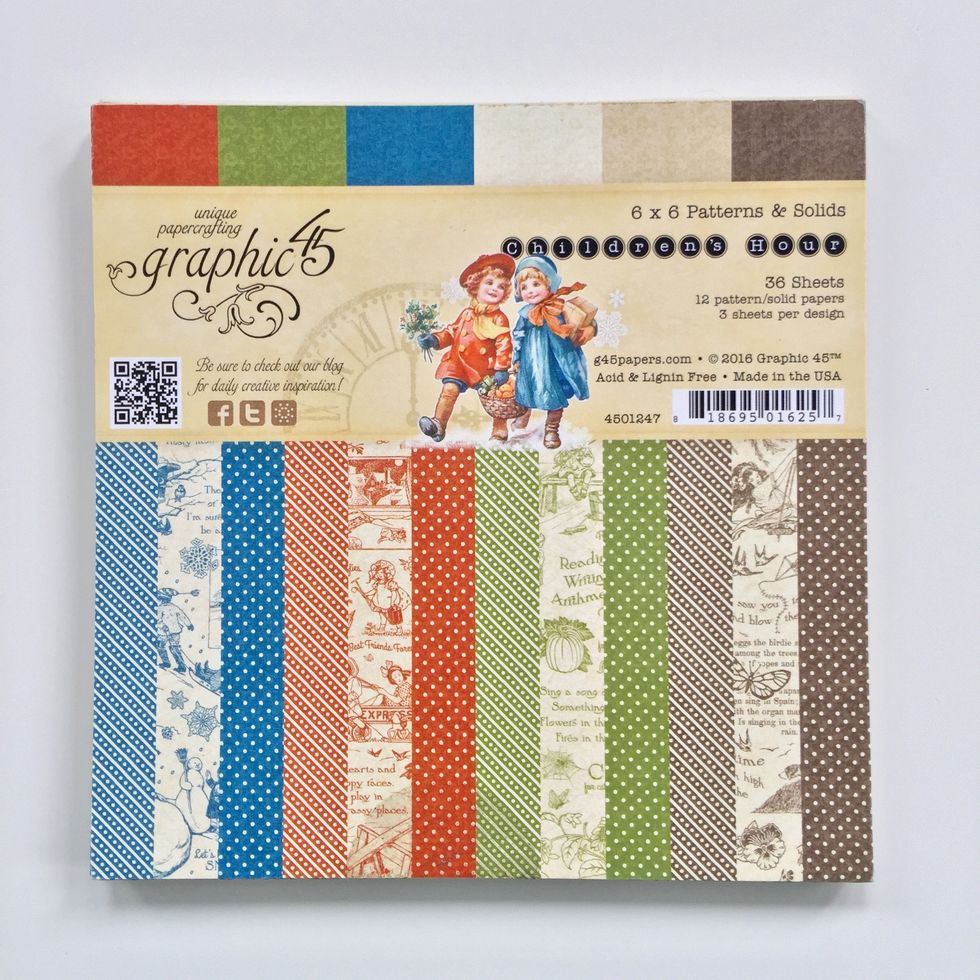
And this is the 6"x6" Children's Hour Patterns&Solids Pad.
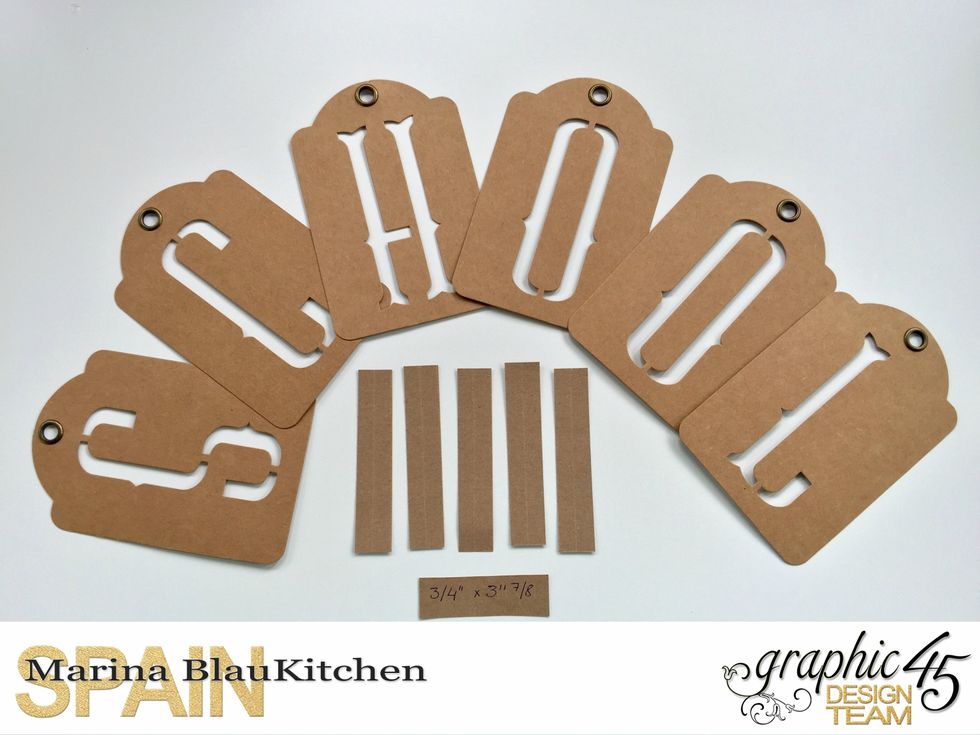
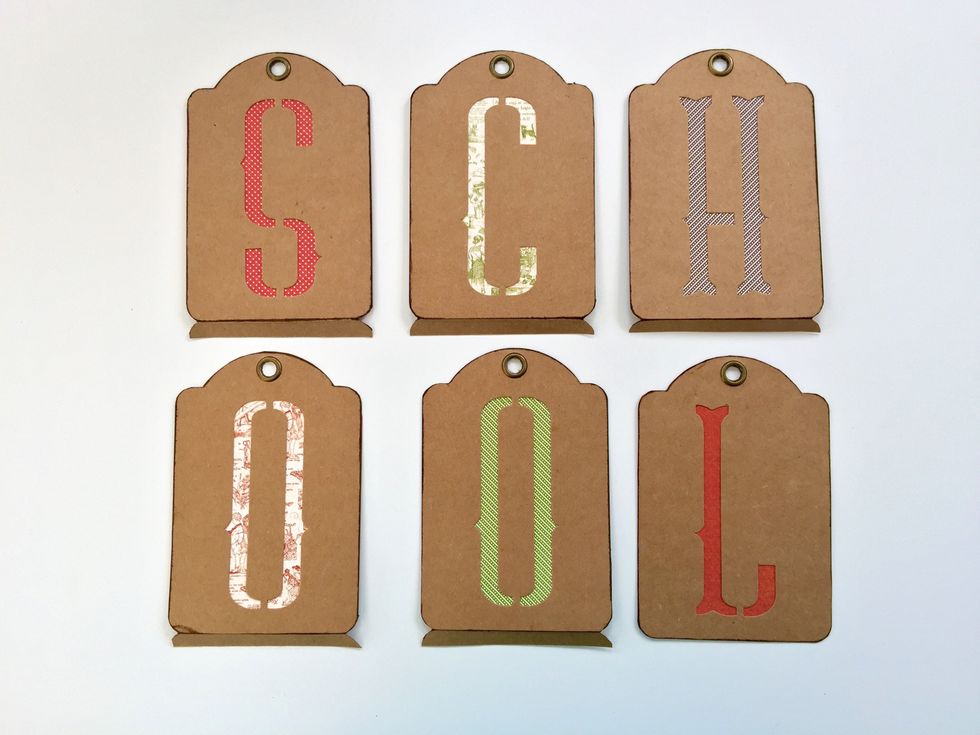
You can select the word you like for your own project. I choose these ones: SCHOOL. Make five stripes of 3/4" x 3" 7/8" and fold them in half.

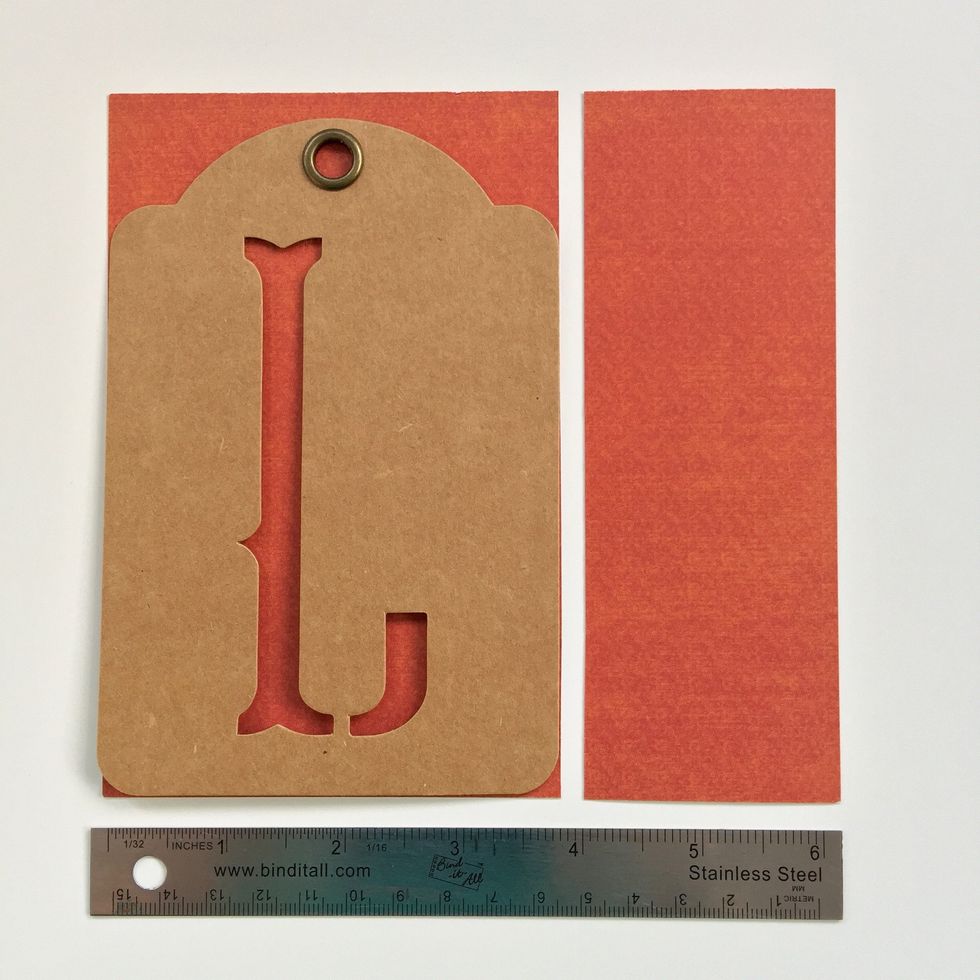
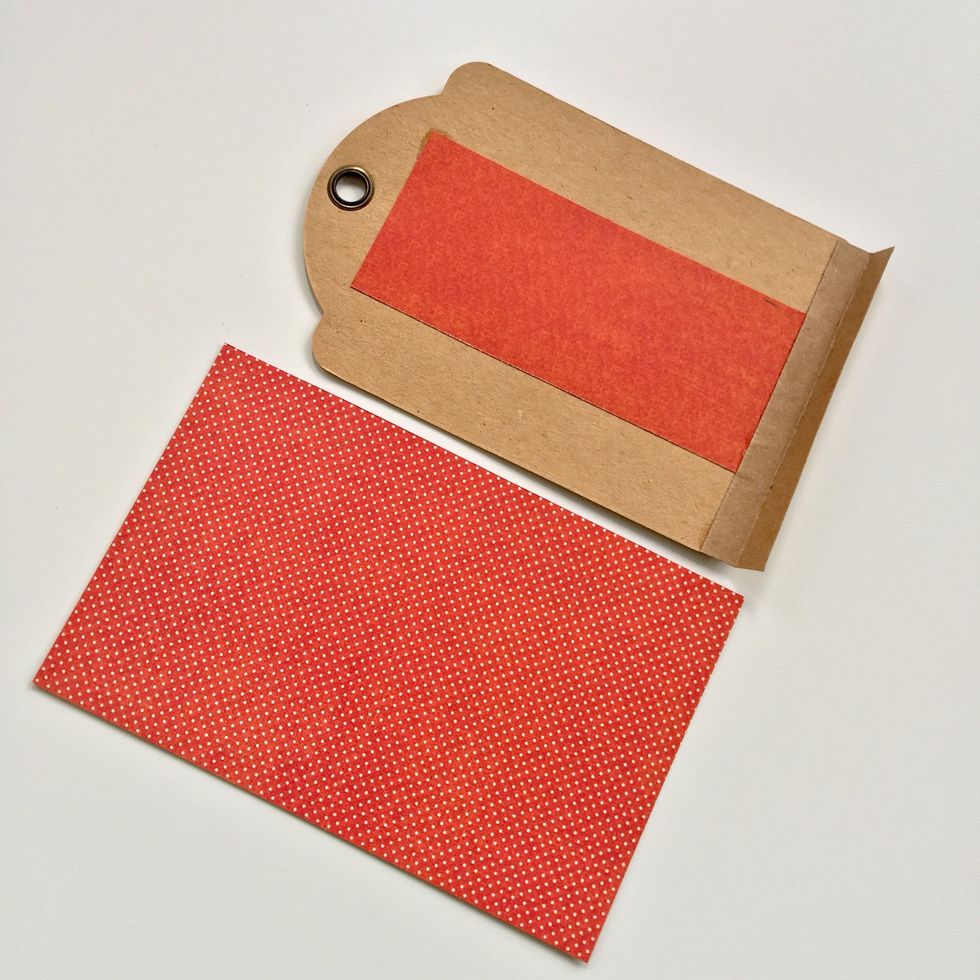
Cut each decorated paper by measuring the width of the tag.
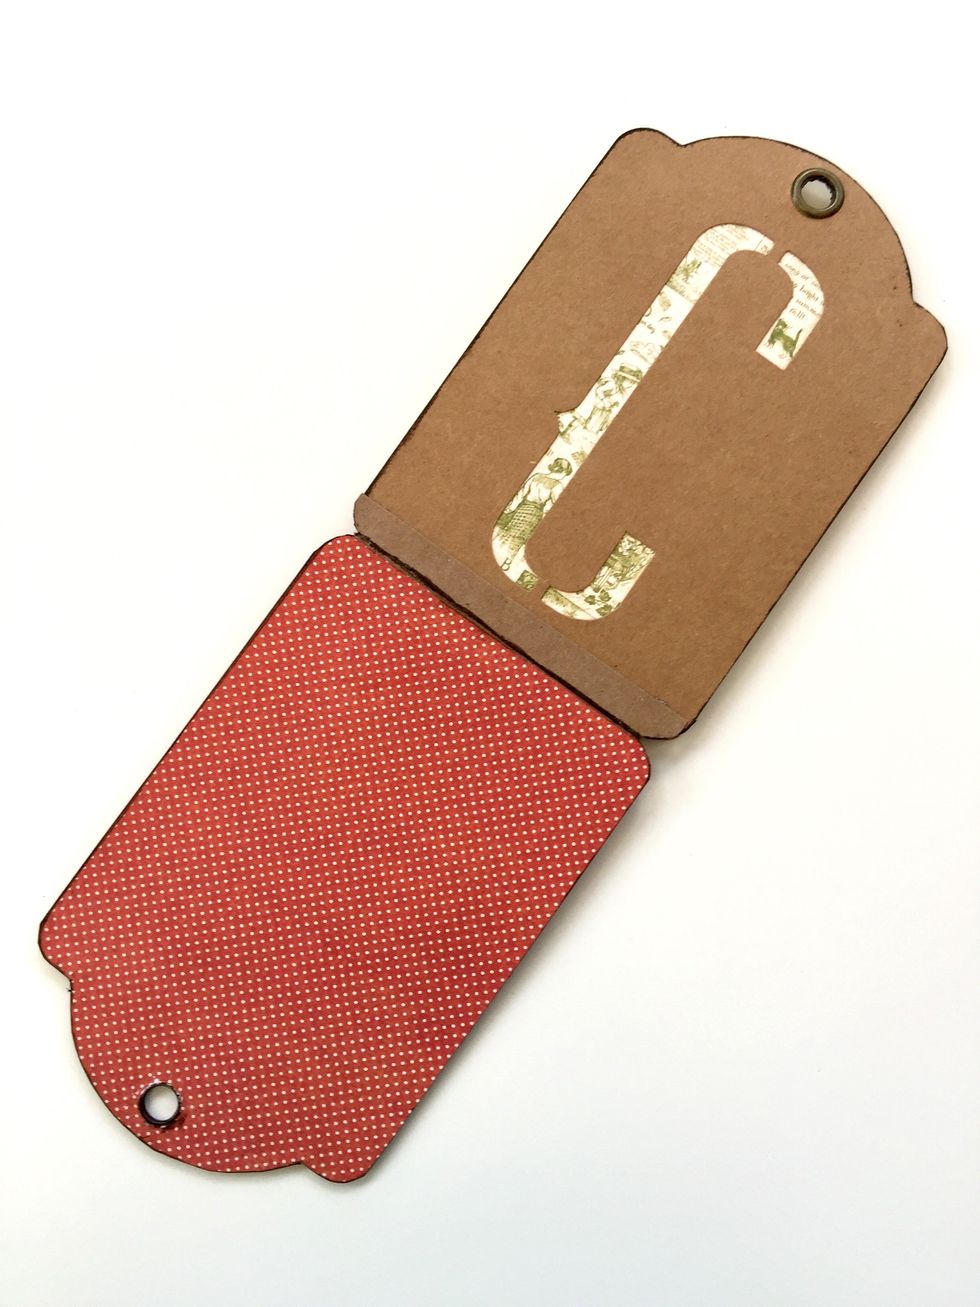
The narrower piece will serve to cover the punched letter on its back.
Glue the paper from behind.

Repeat the same on each of the Alpha-Banner Tags.
Before attaching the paper to the back of each label, stick the small paper strip as shown in the image.
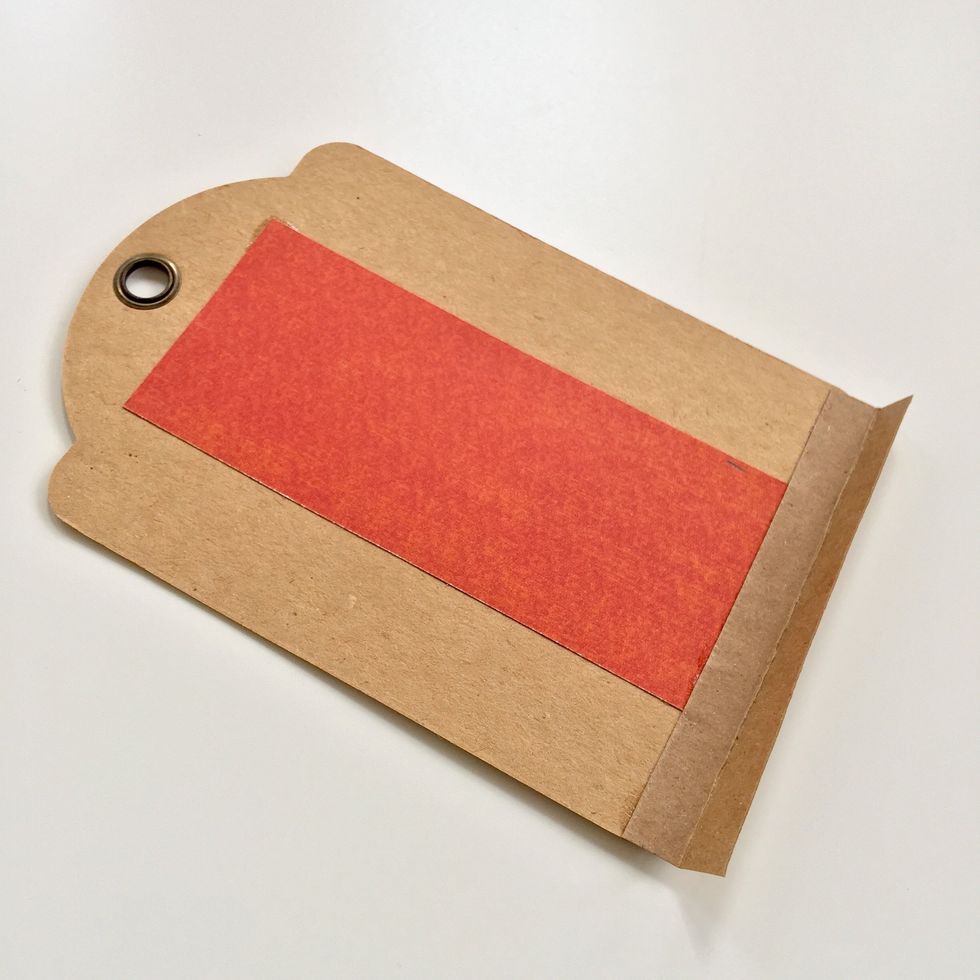
Glue the paper on the tag starting from the fold of the tab.
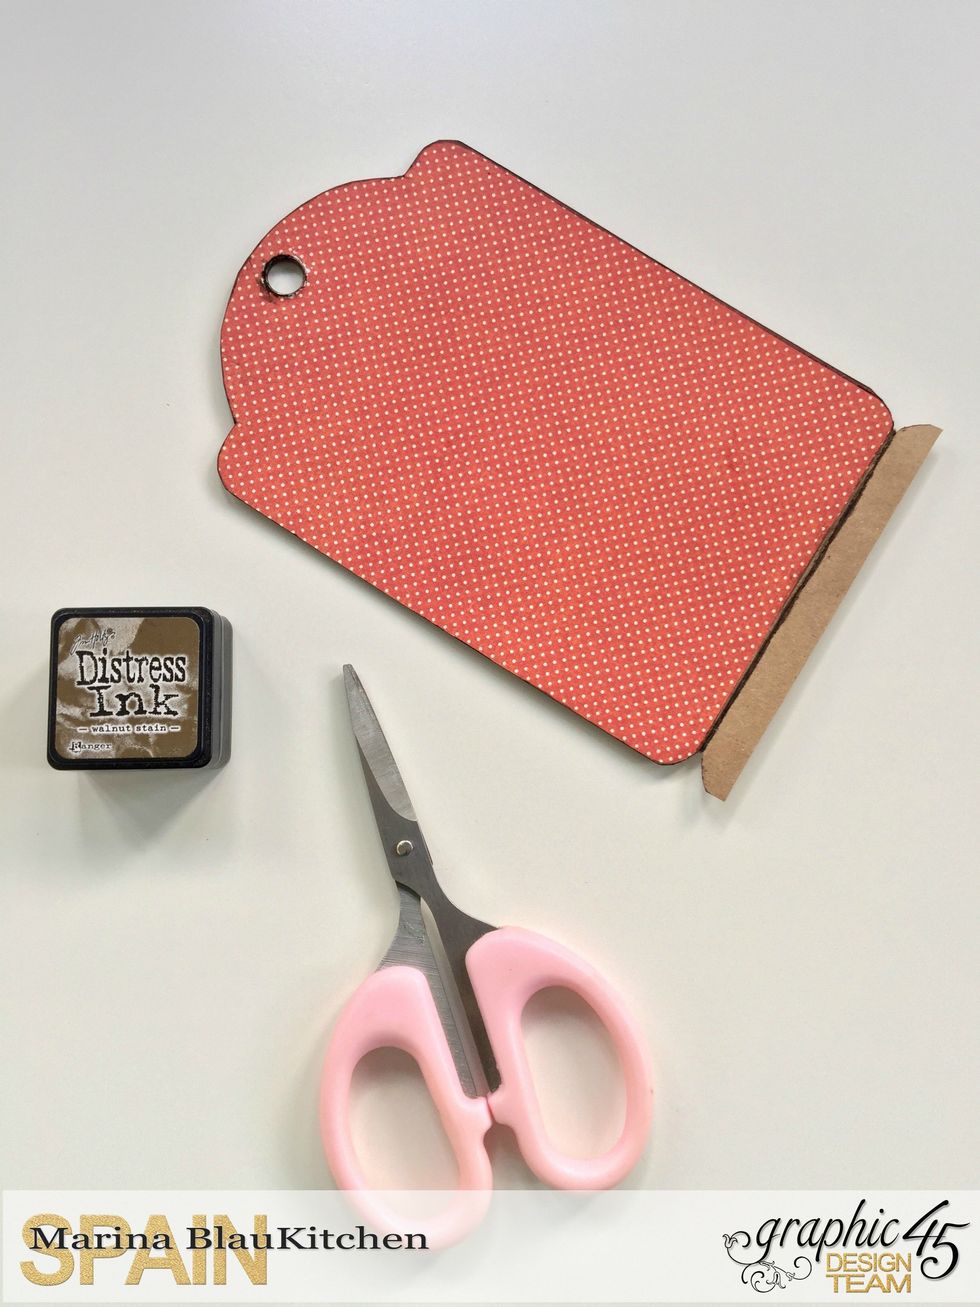
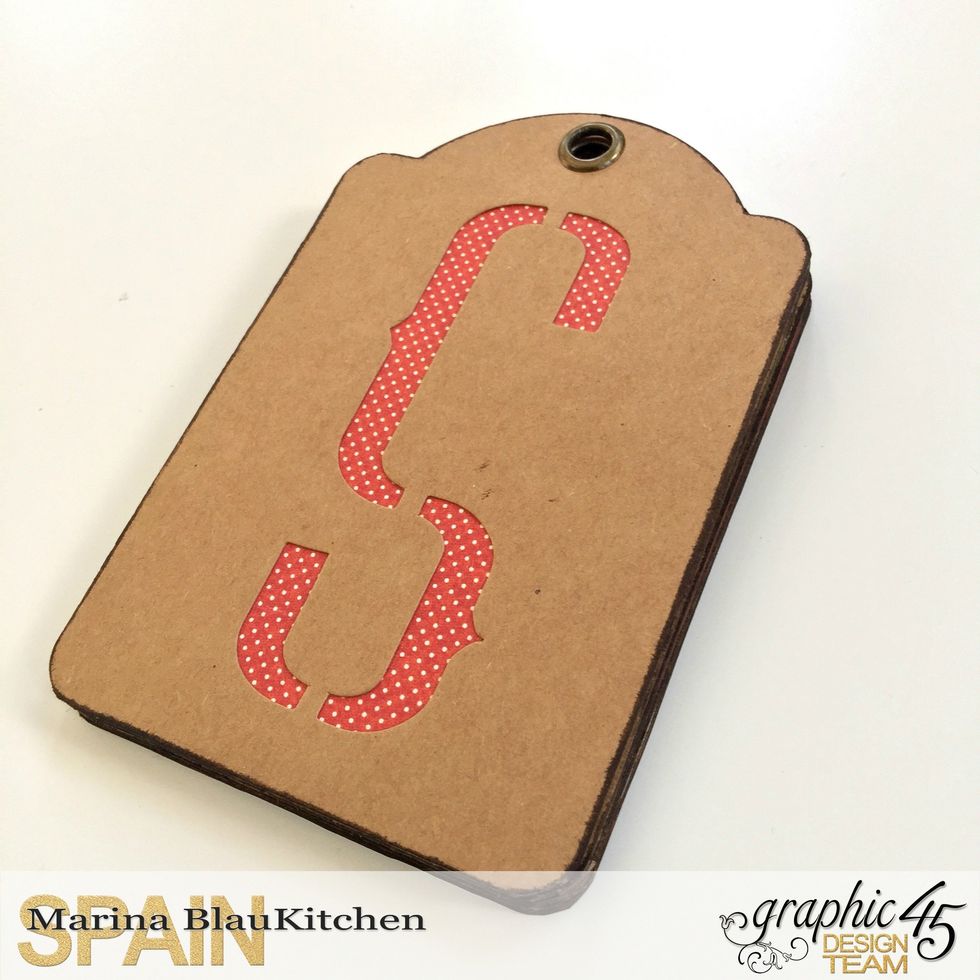
Trim excess paper and ink the edges.

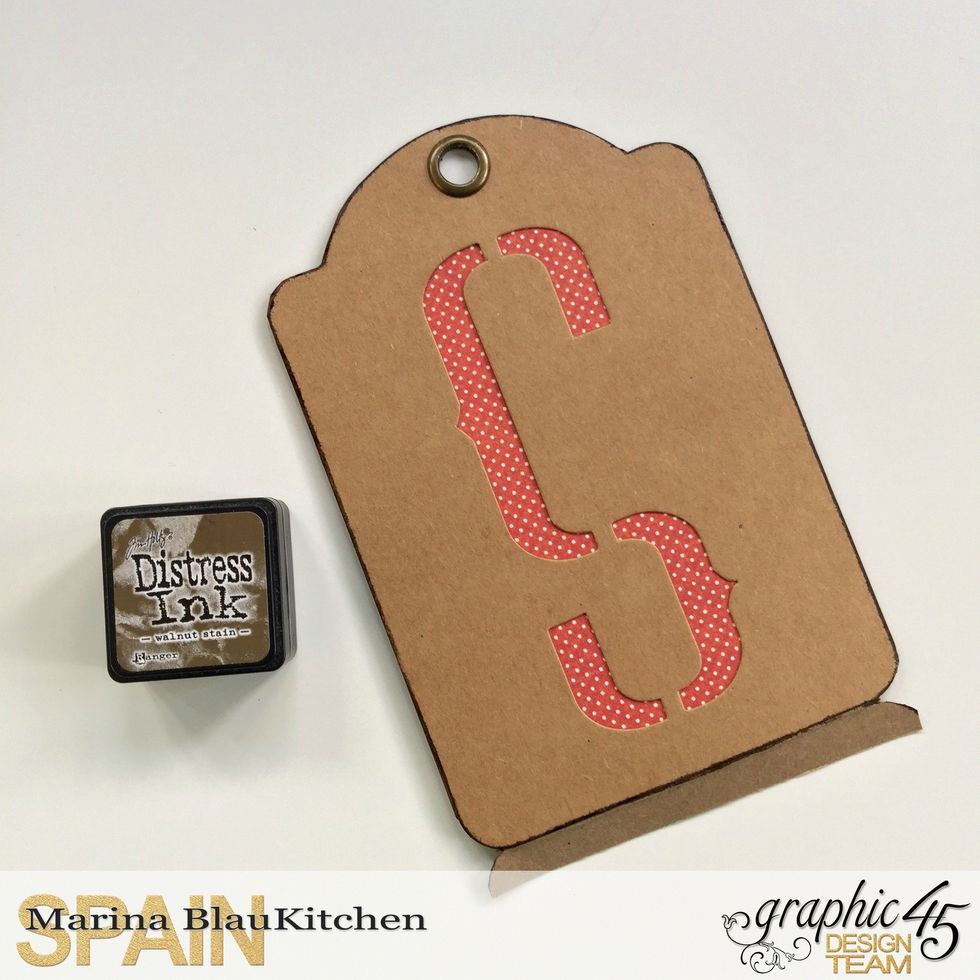
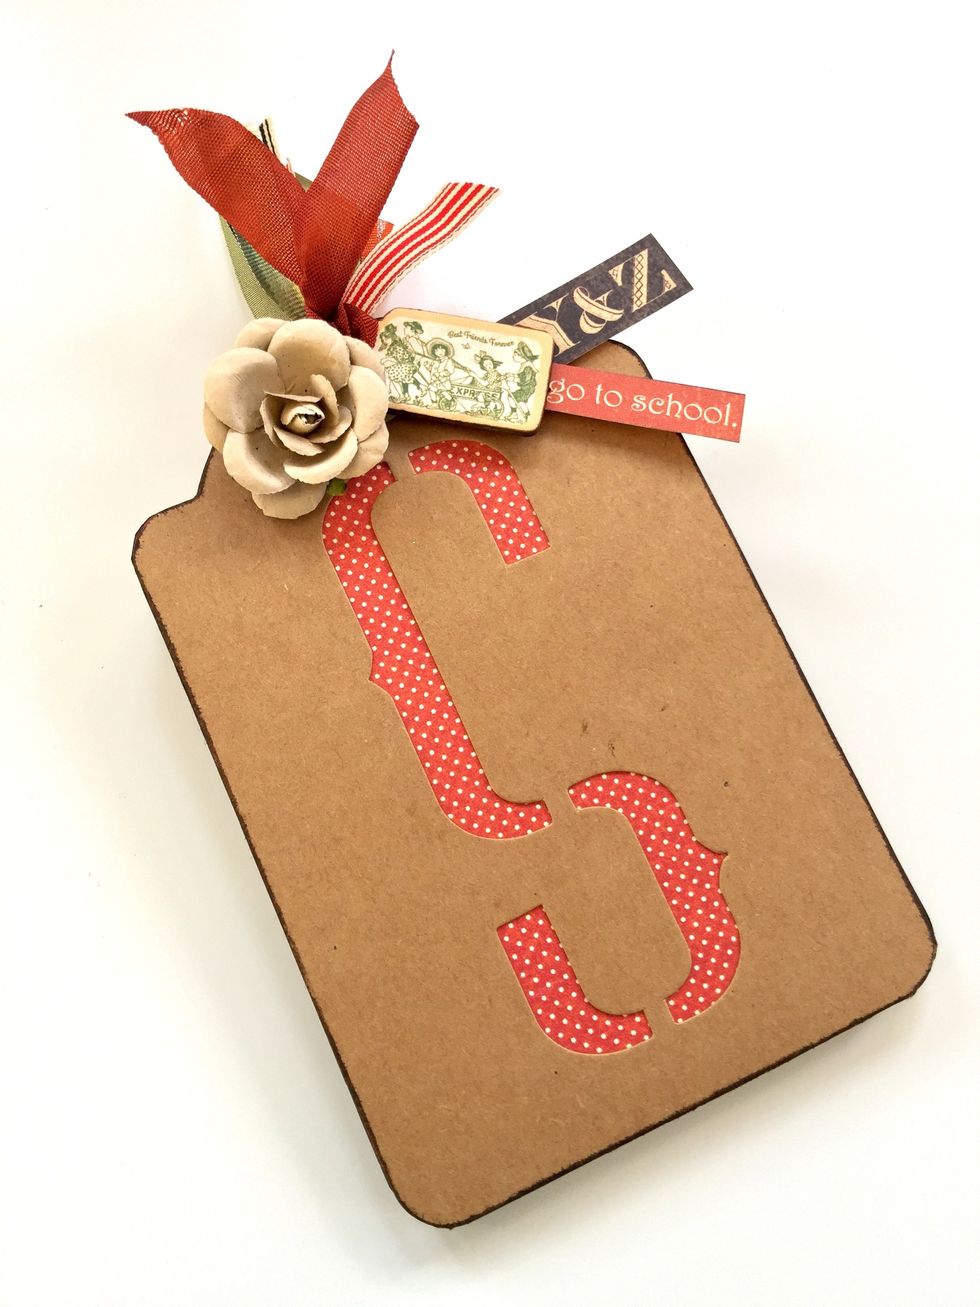
That's how each letter will be.
Here we have all the tags separately.

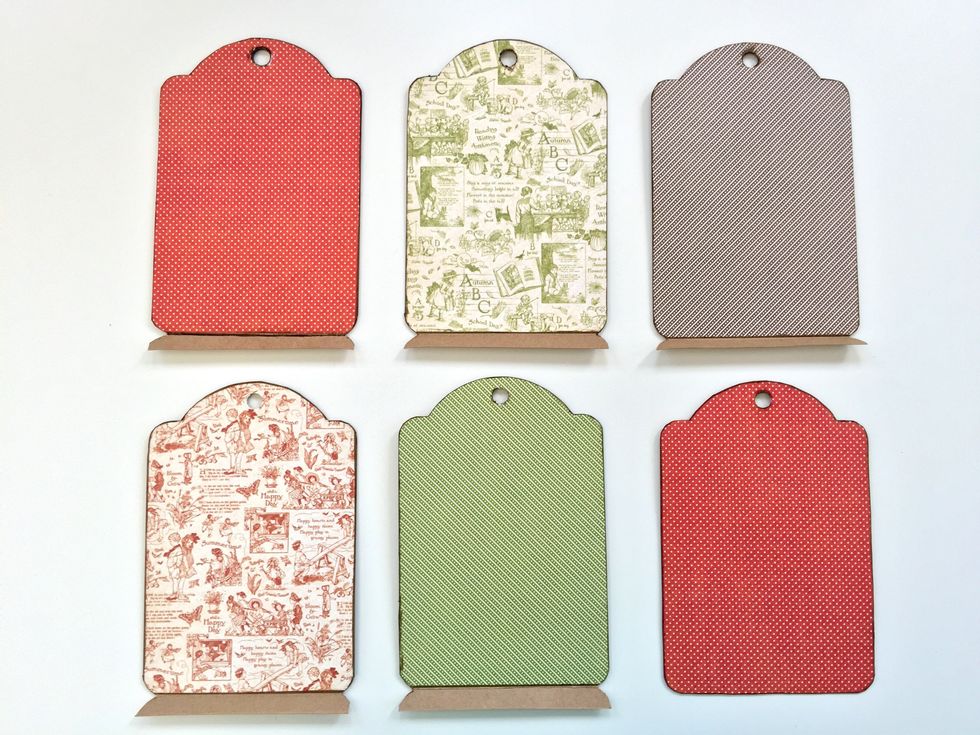
And here we have the back of them.
To attach a tag to the next one we will paste the small flap to the next letter.

We continue to stick each tag until we complete the word that will form the mini album.
Do not forget to ink the edges of each tag.
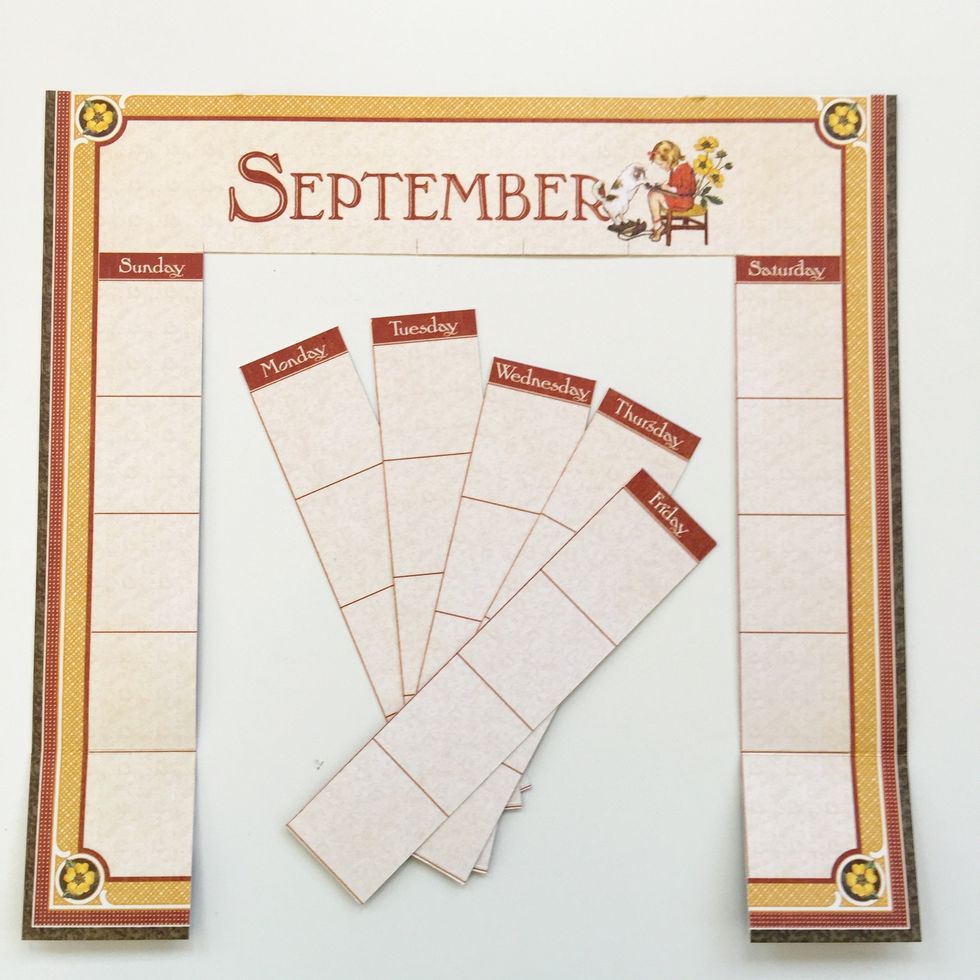
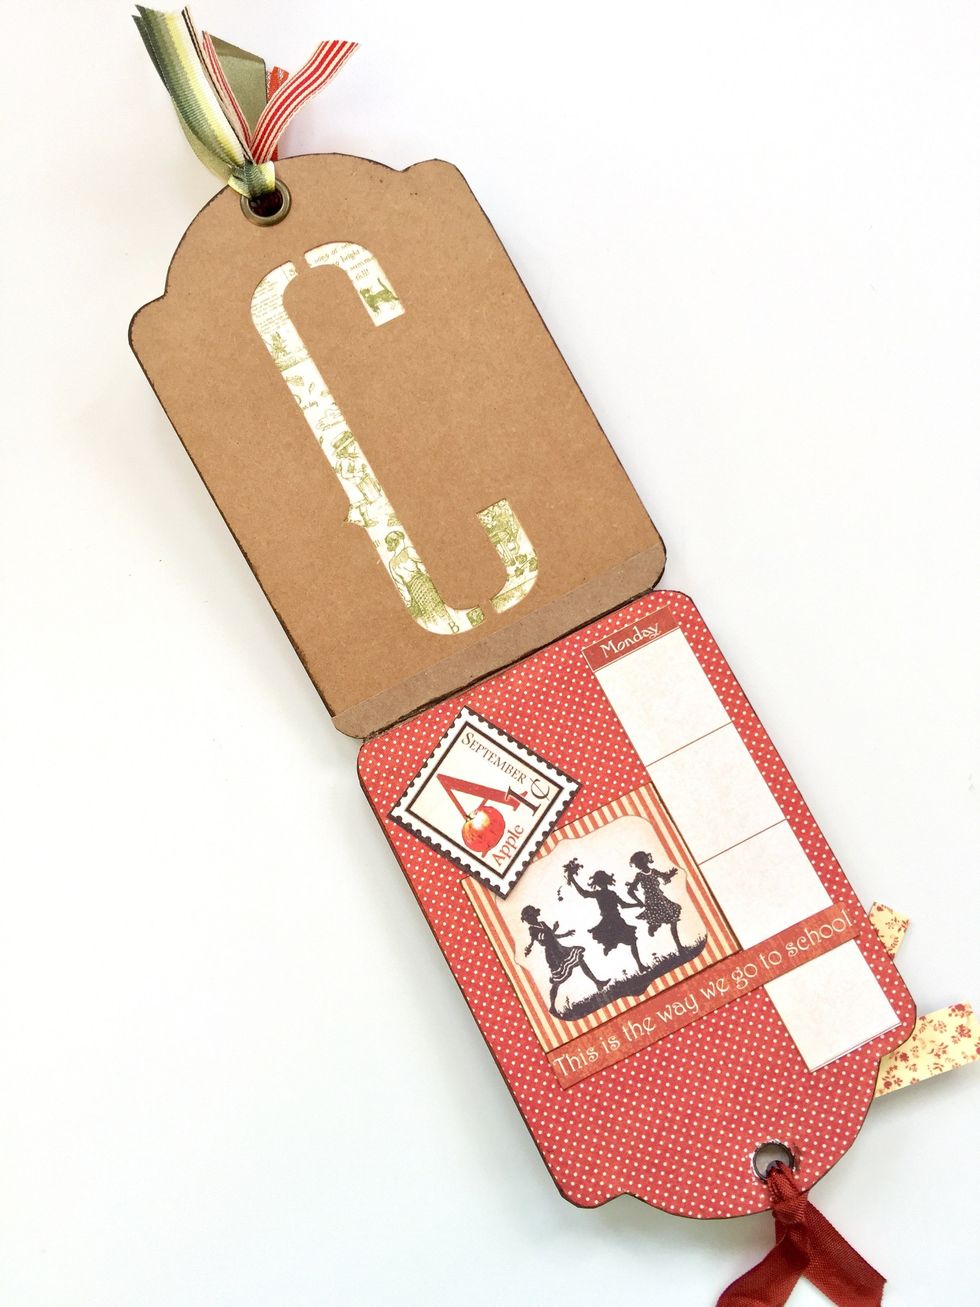
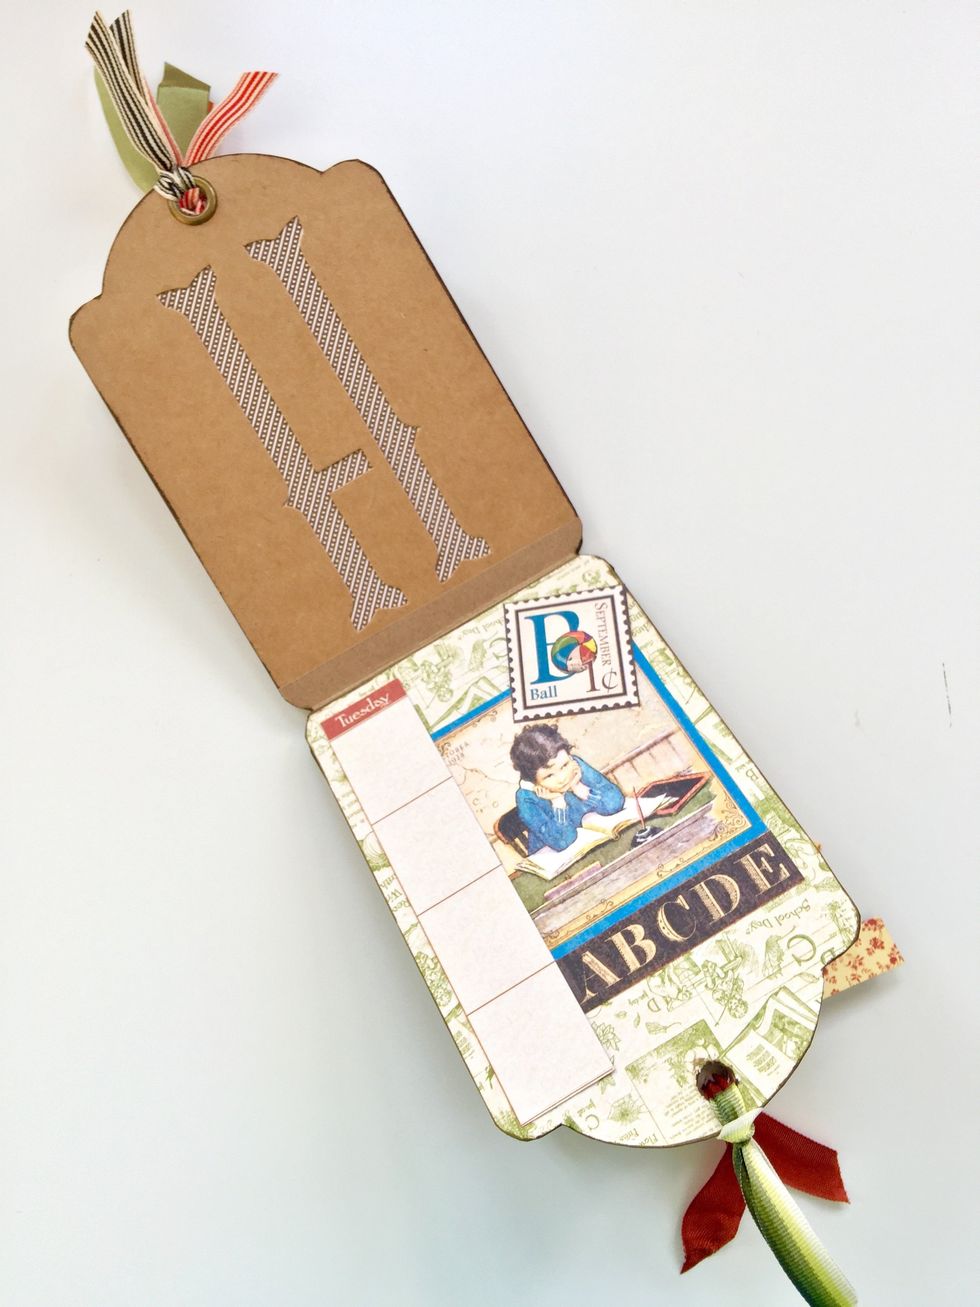
To decorate the interior I used the page corresponding to September of the Calendar Pad. I cut it as you see it in the picture, so I have five days of a week. I also added some cuts in each tag.
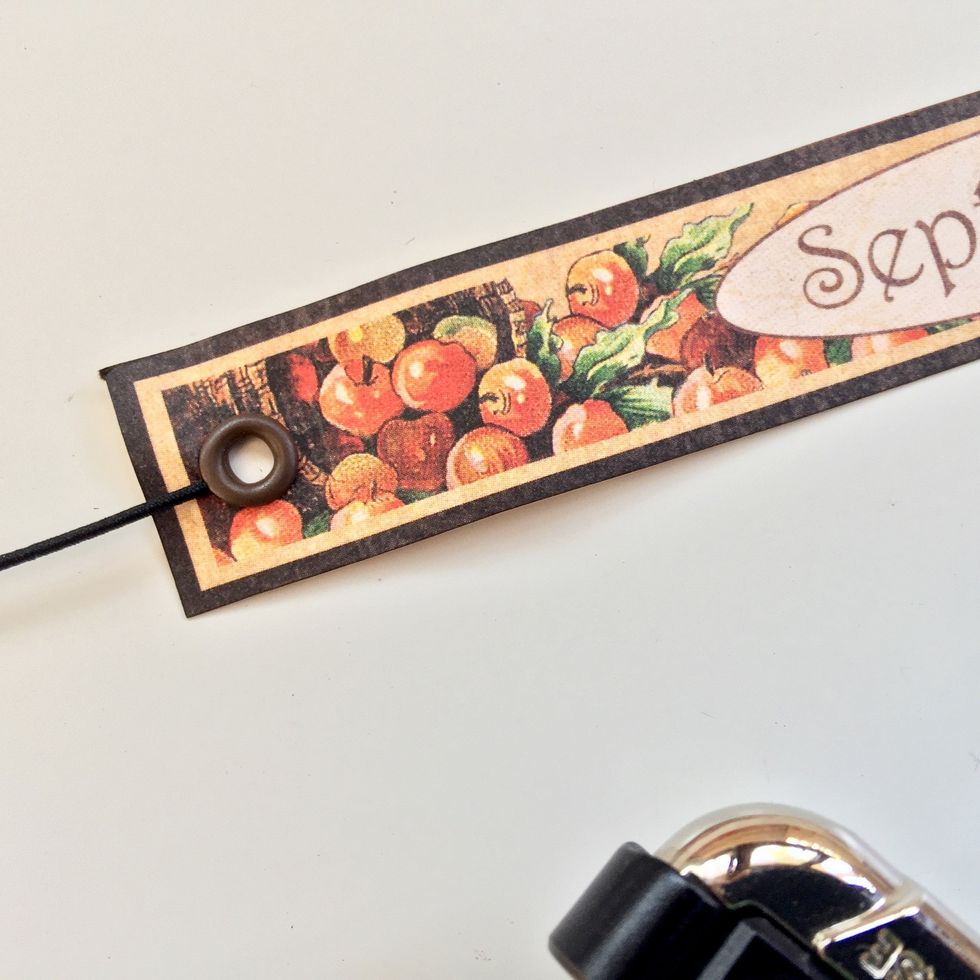
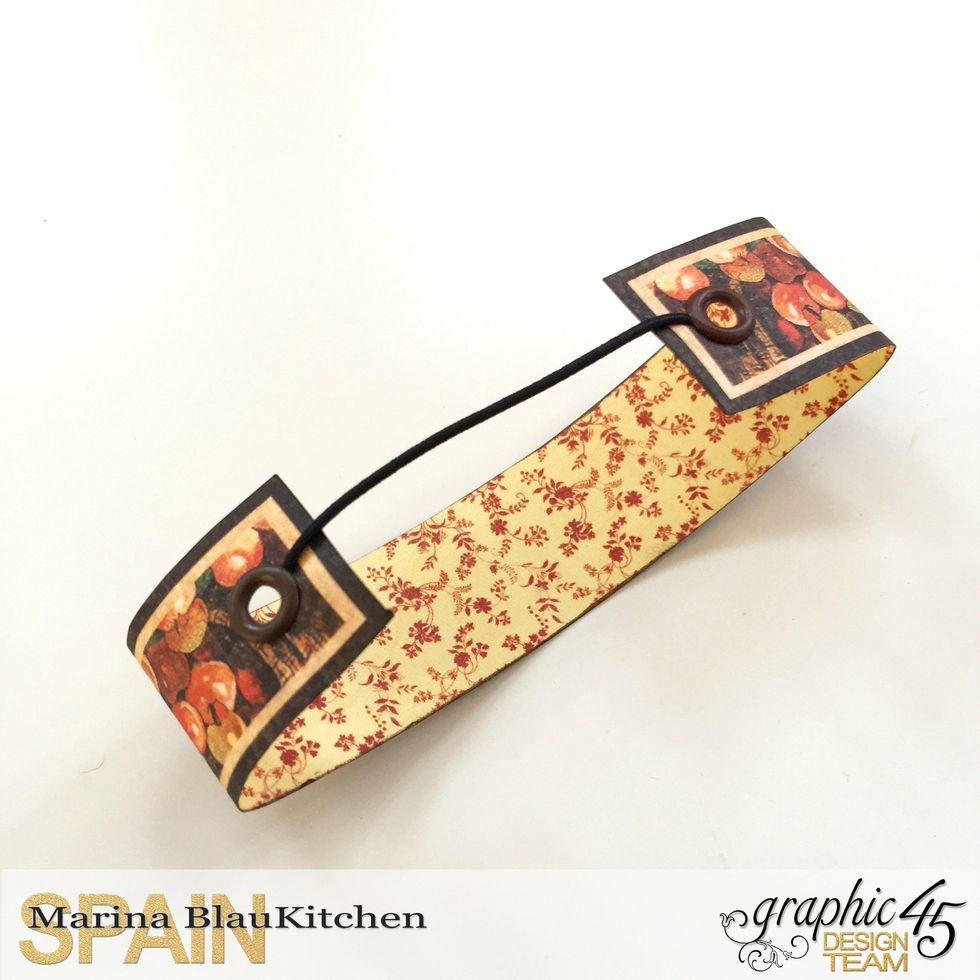
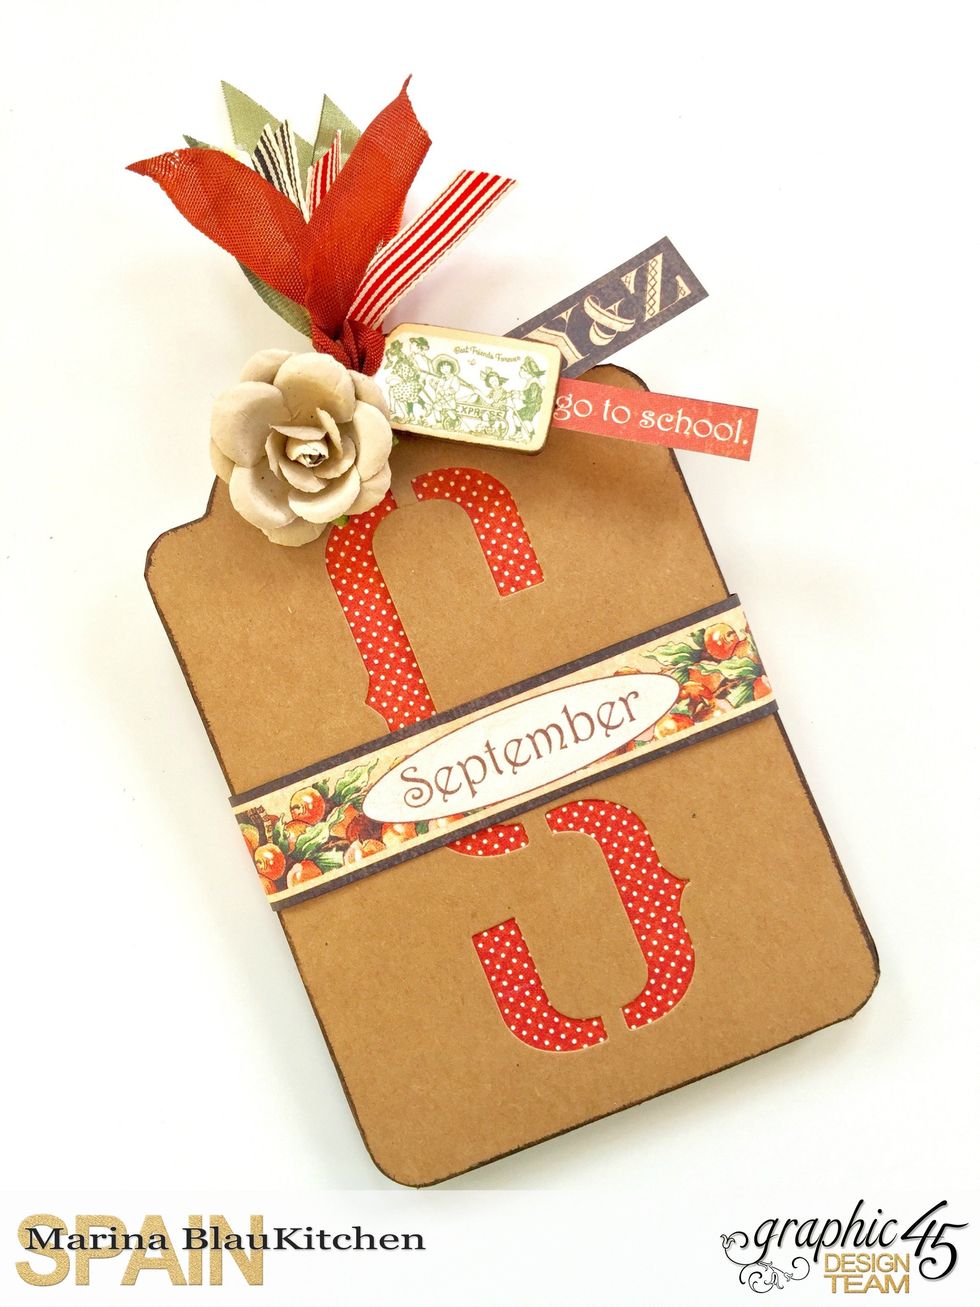
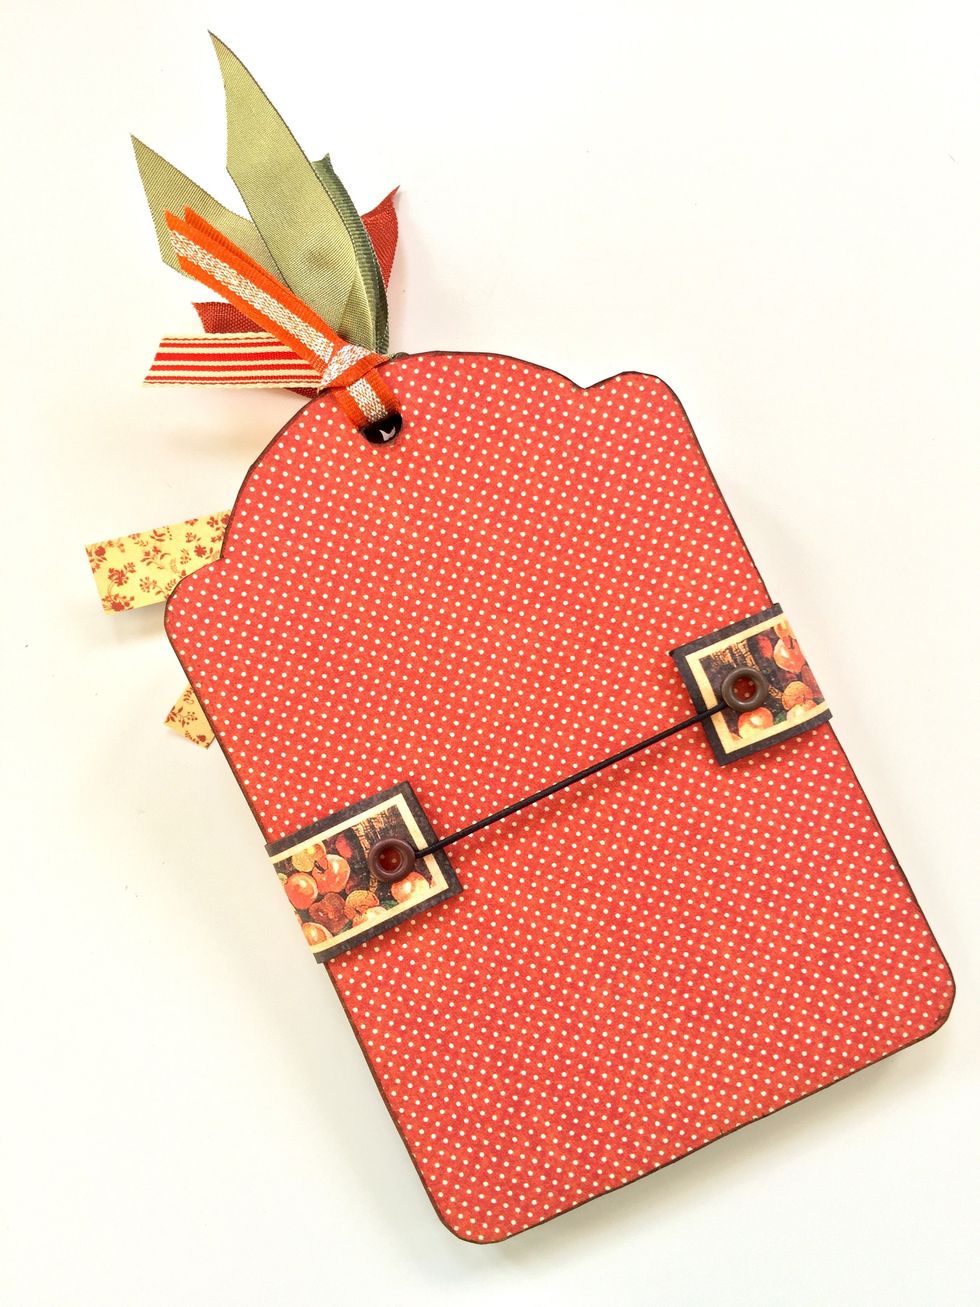
With this strip of paper, two eyelets and a piece of elastic string I created a band to keep the mini album closed.
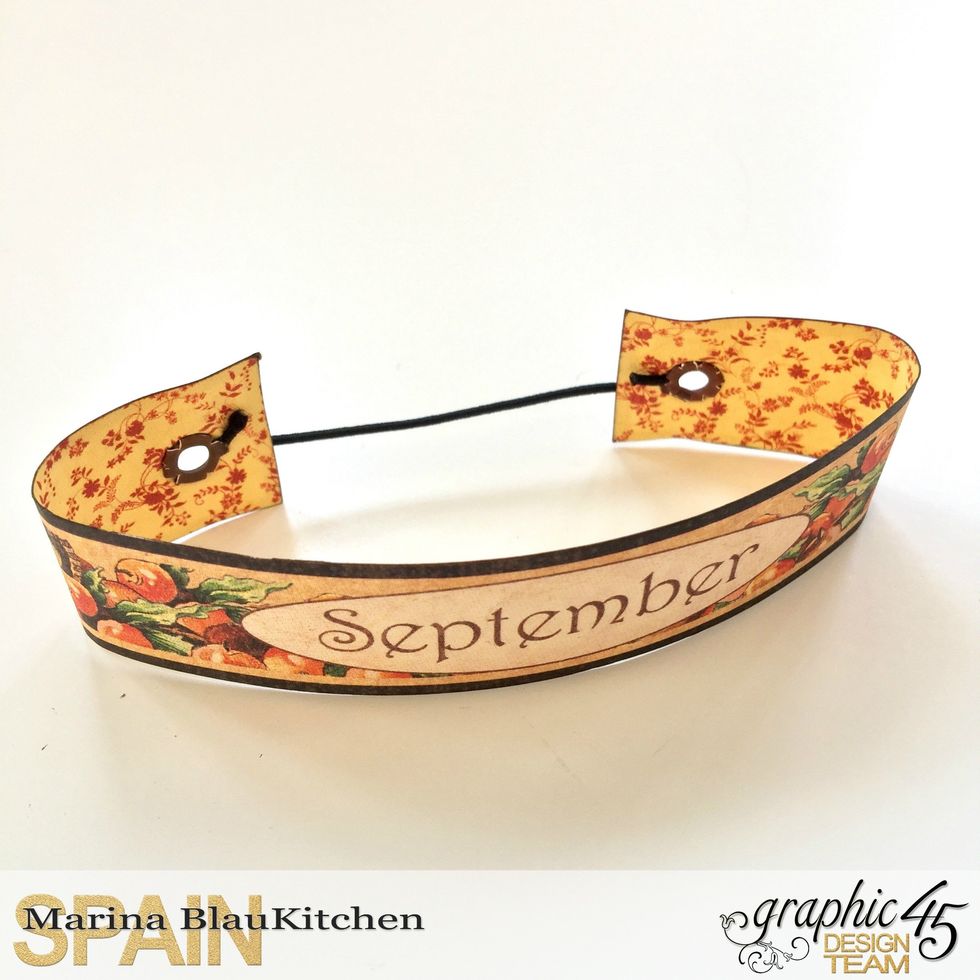
Put two eyelets, one at each end of the band. We take the eyelet to fasten the elastic string.
It looks like a bracelet.
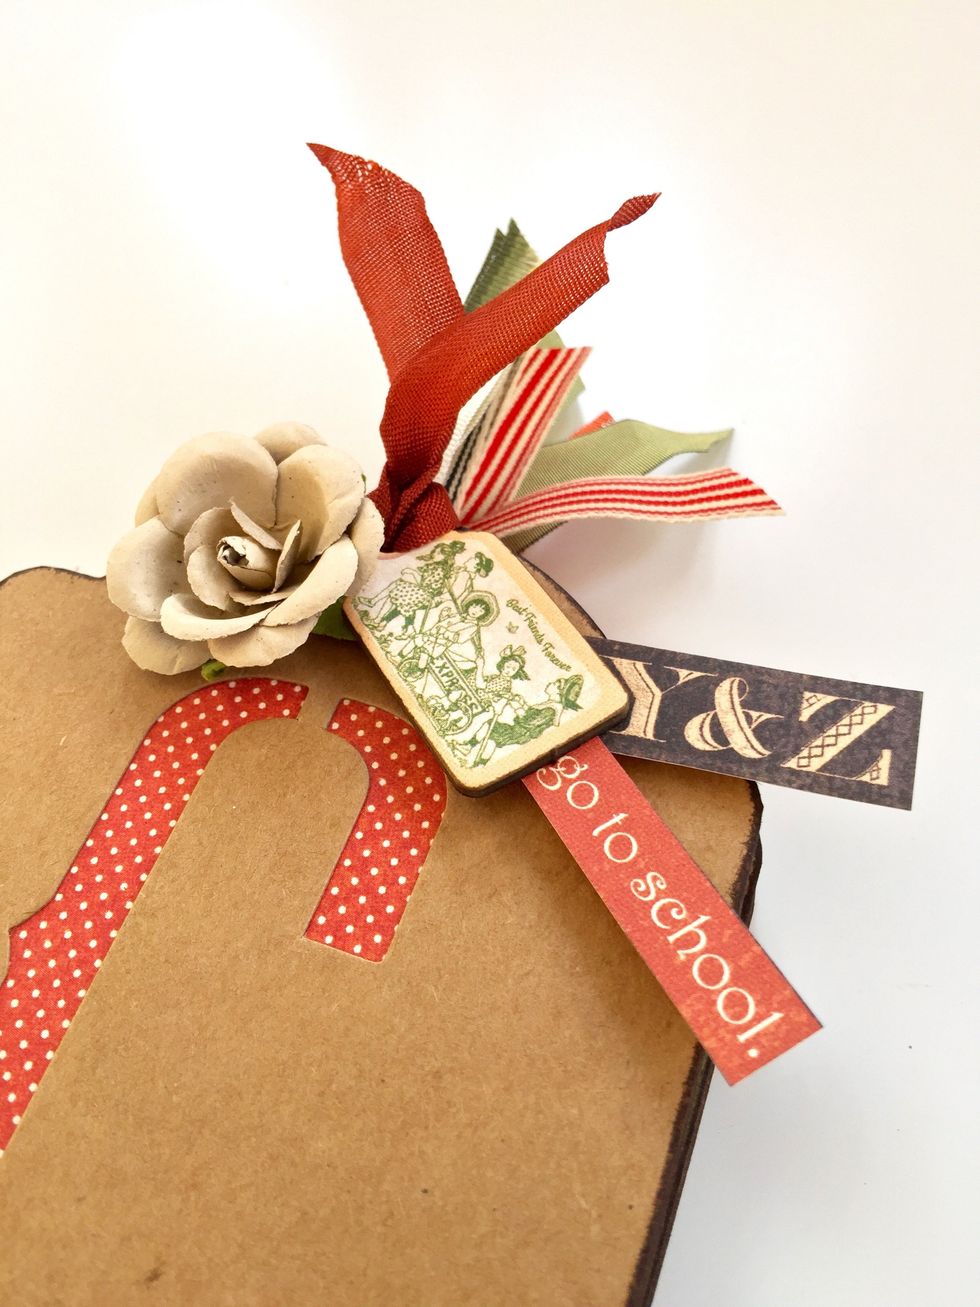
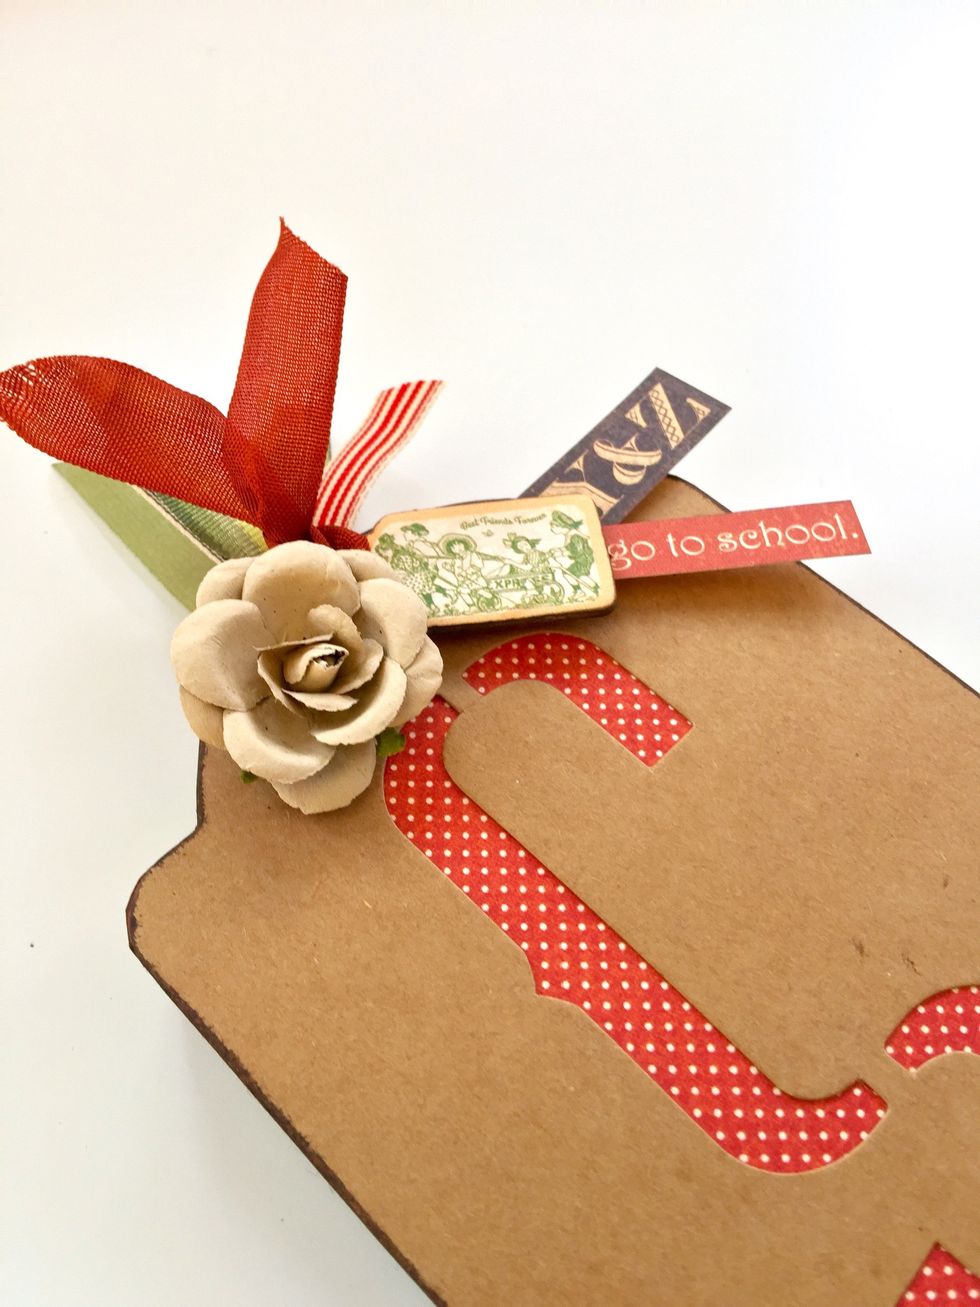
We add some flowers, a chipboard, some ribbon and some decorated strips and placed the band. Now we will see the interior decoration.
This is the back side of the album.
First page decoration.
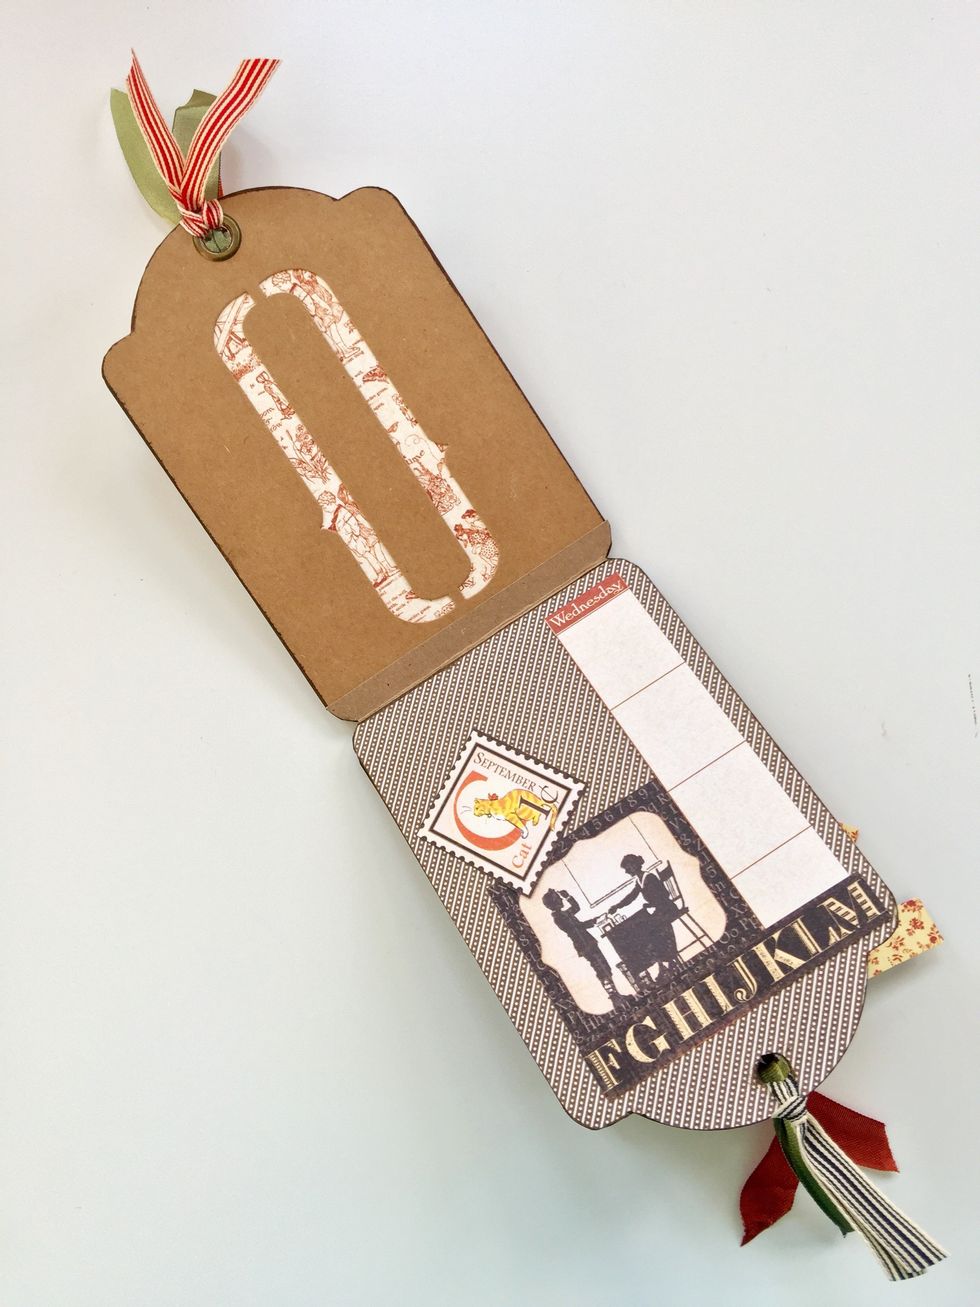
Second page.
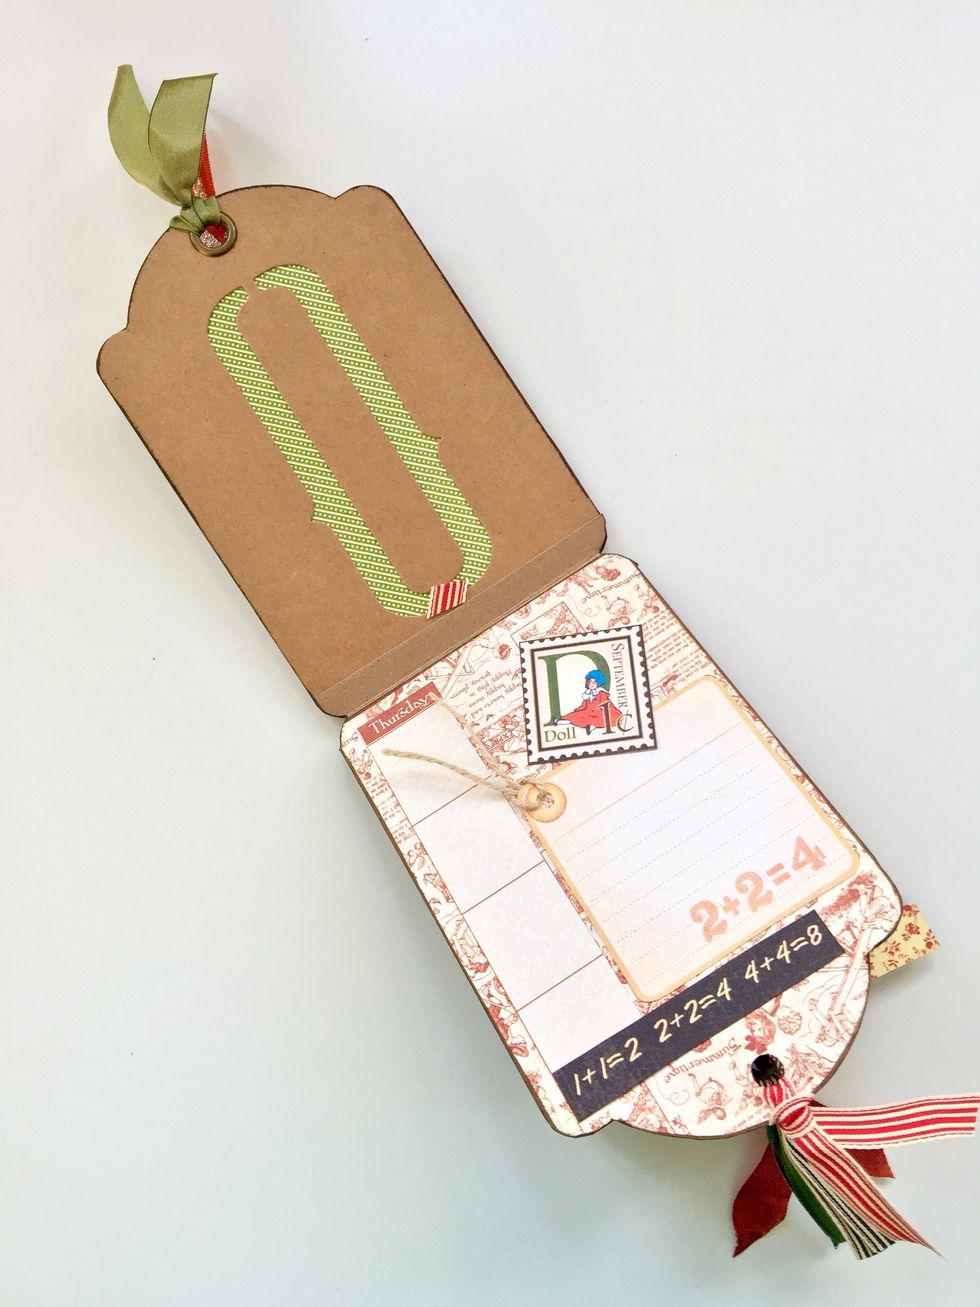
Third page.
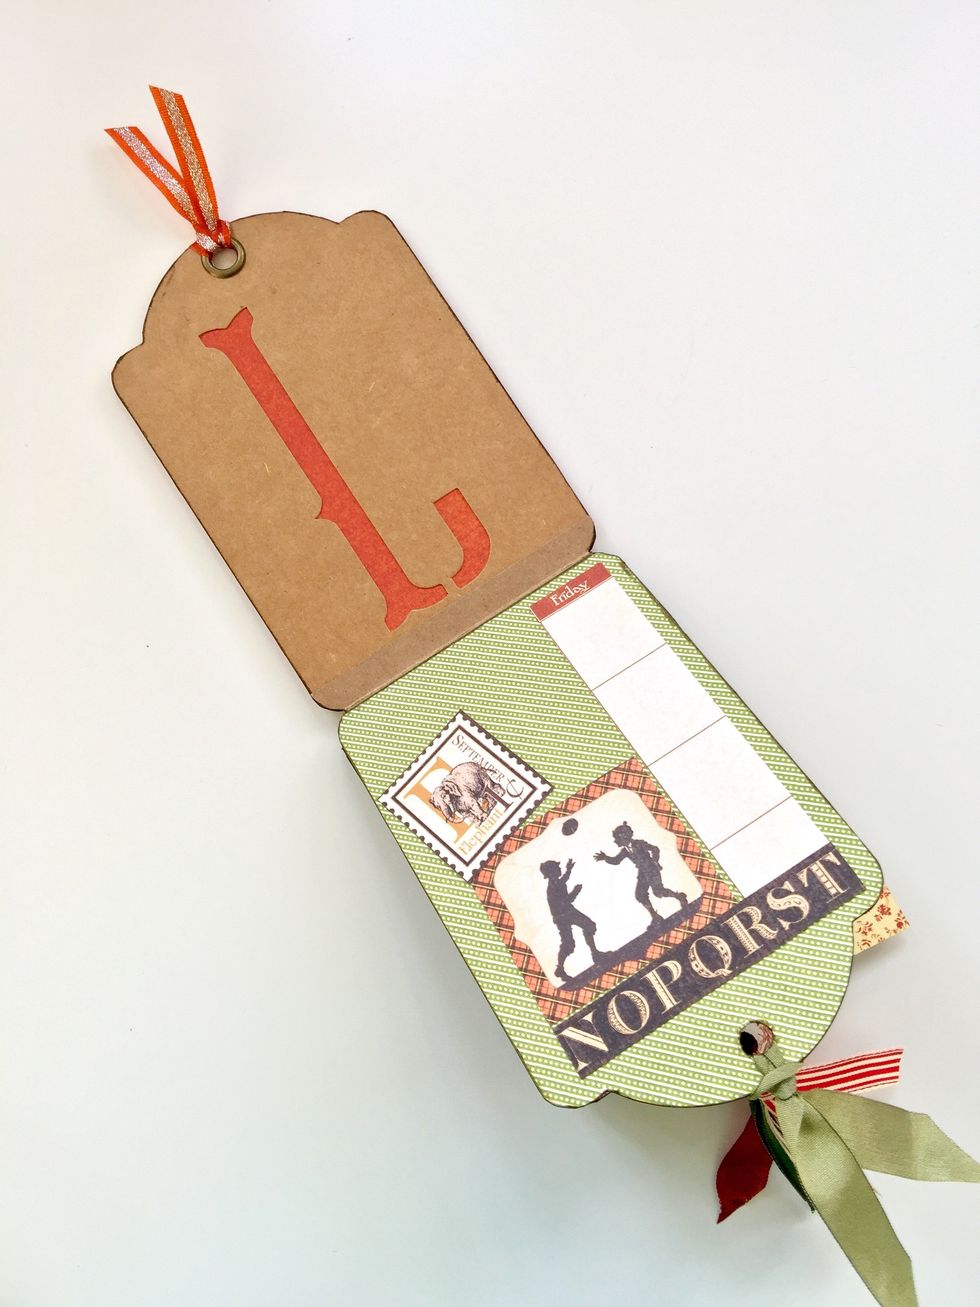
Fourth page.
And finally the fifth page.
I hope you like it!
- 1.0 #4501270 Alphabet Bannerd Kraft
- 1.0 #4501247 Children's Hour Patterns&Solids 8x8 pad
- 1.0 #4501250 Chindren's Hour Calendar Pad 8x8
- 1.0 #4501470 Place in Time DCE