The Conversation (0)
Sign Up

Use 8x8" Fairie Dust signature page to create a wonderful tag.
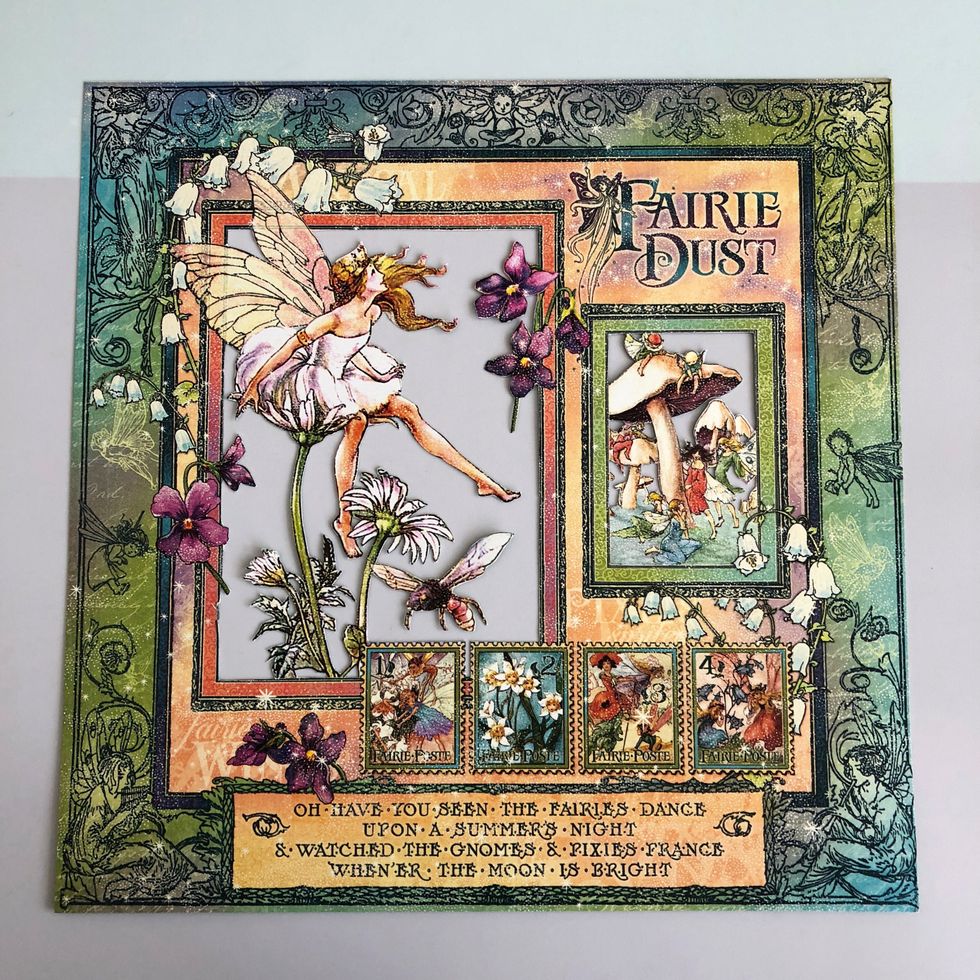
Fussy cut as shown

Cover the tag with this paper or another one of your choice from 8x8" Fairie Dust collection pad

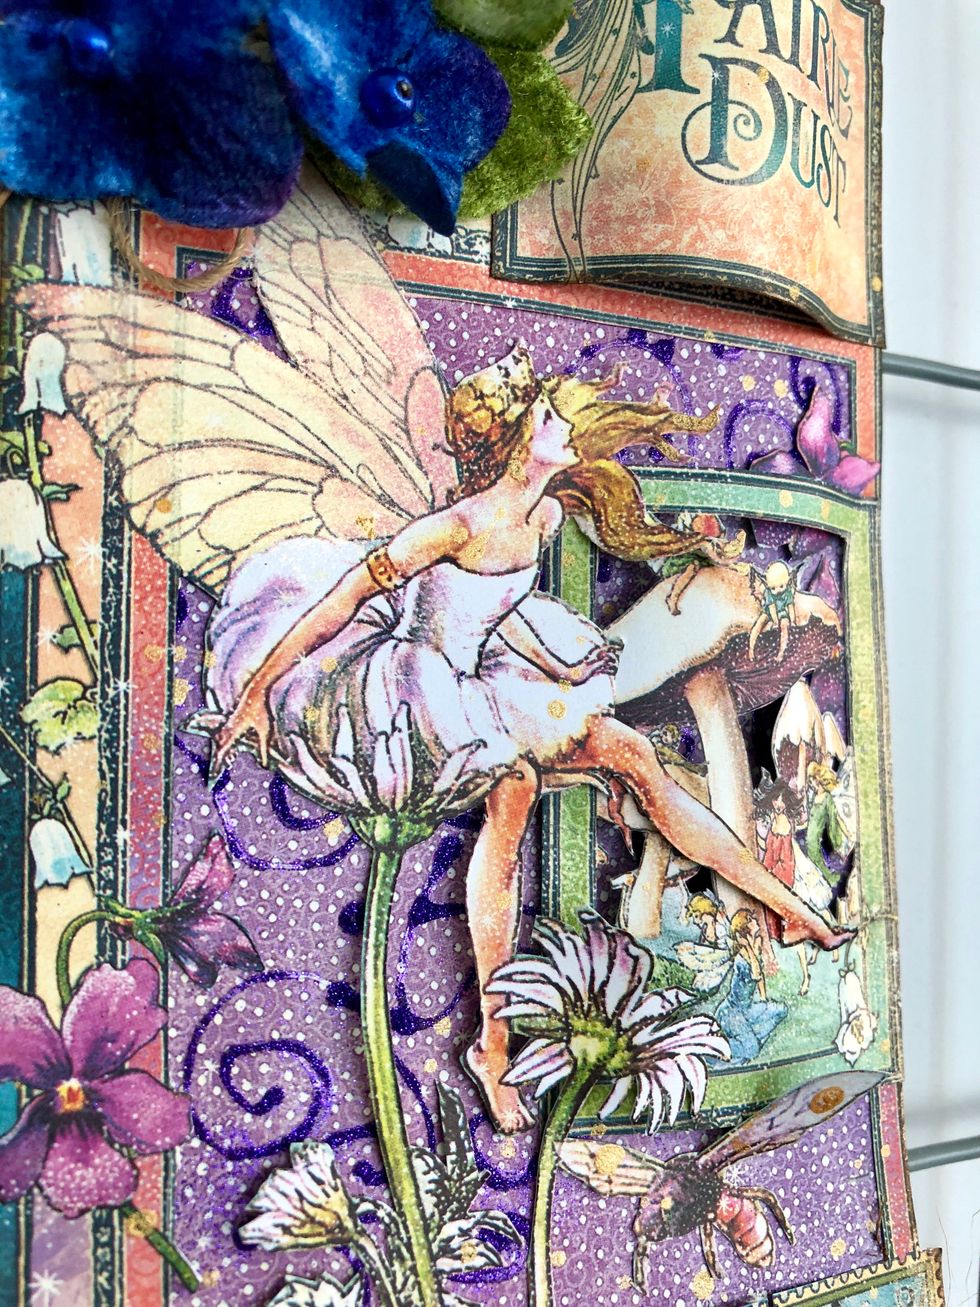
Use Glossy Accent to create some fine lines that we are going to cover with glitter powder

Remove excess powder and let it dry
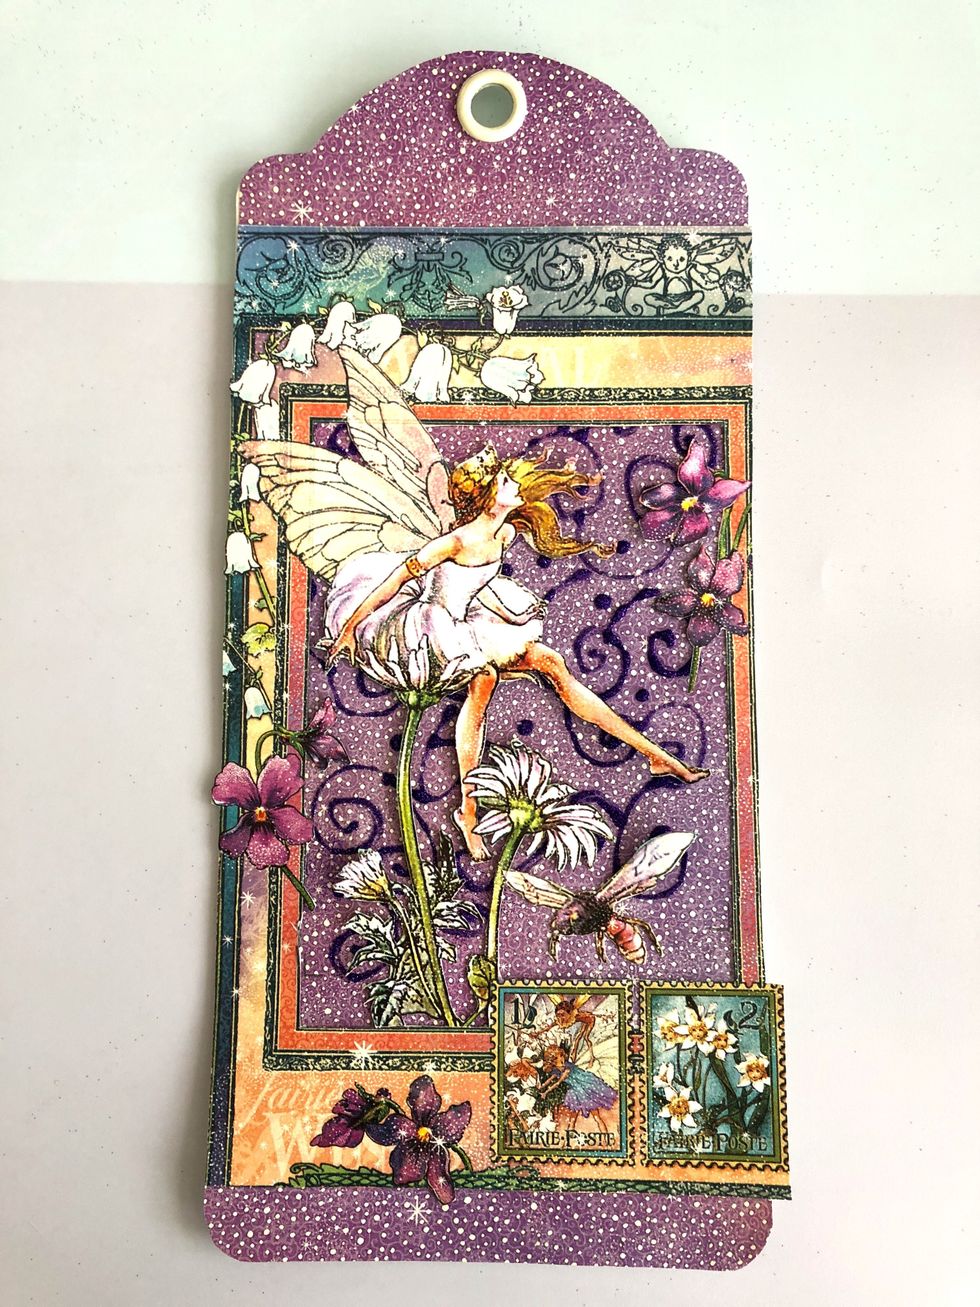
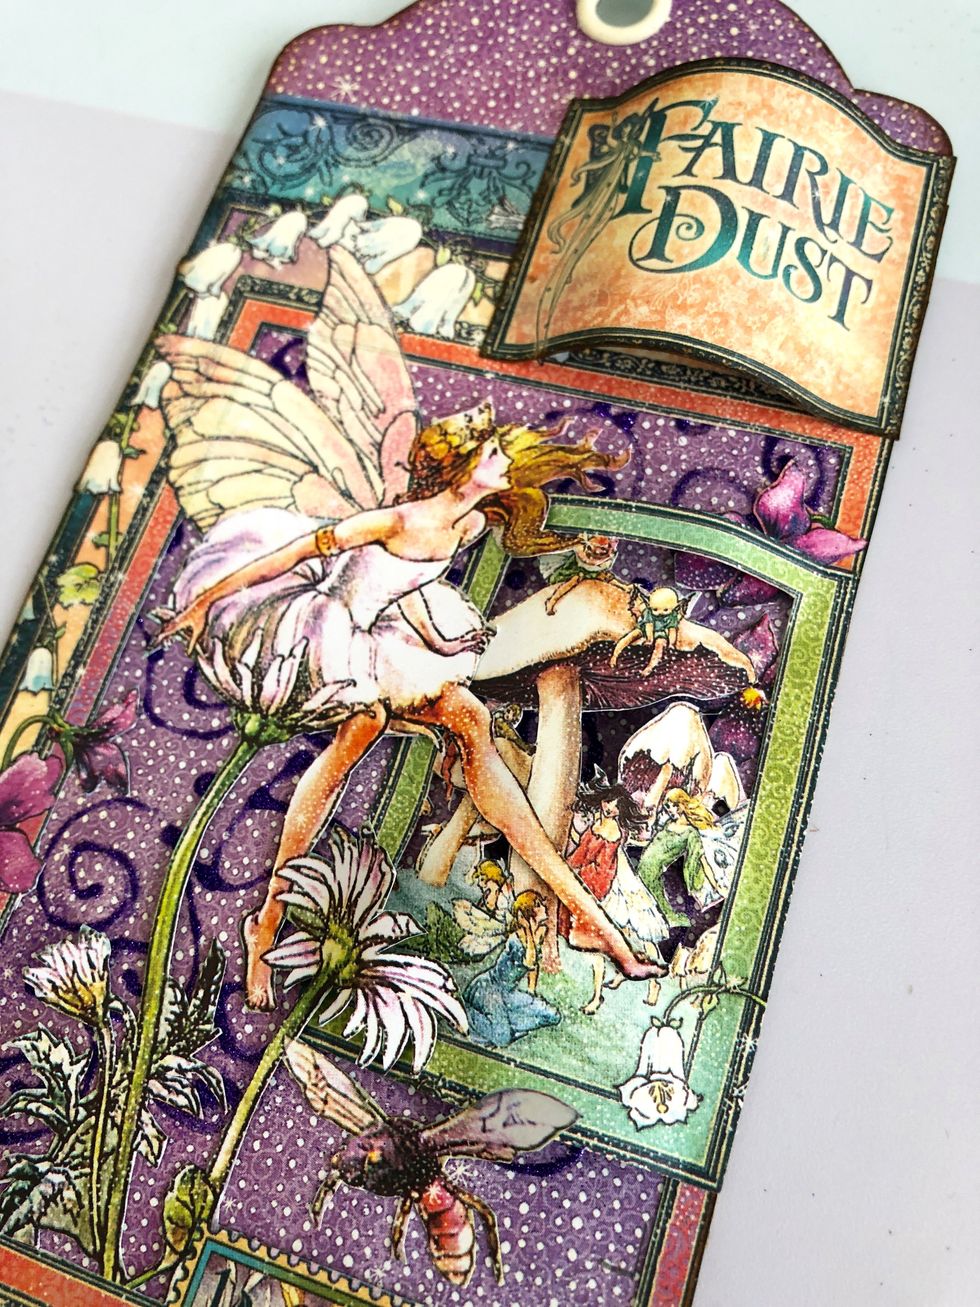
Cut appart this piece of paper and glue on the tag.
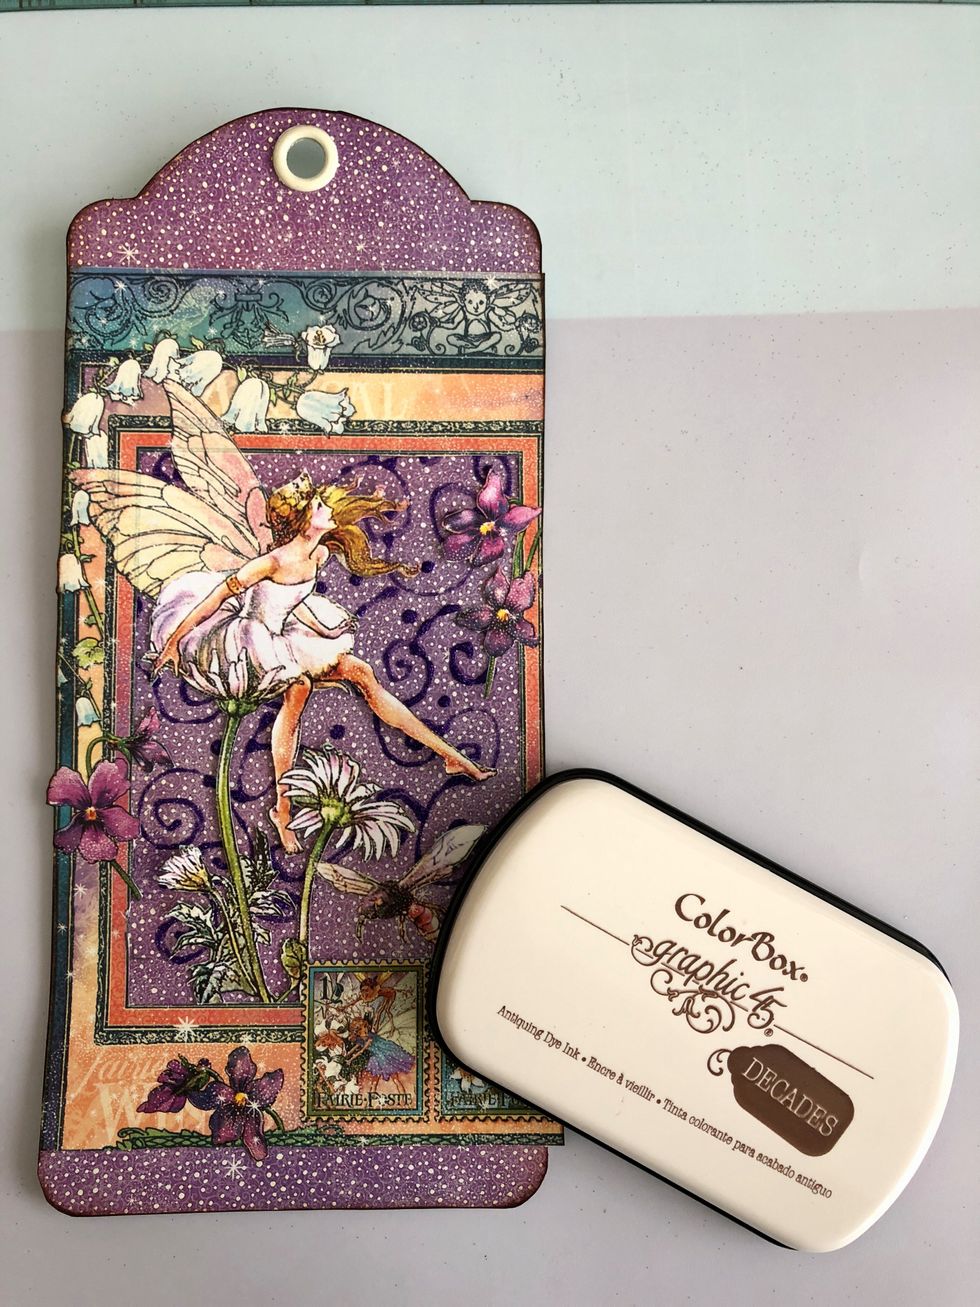
Ink edges with Graphic 45 Color Box Decades ink pad. This one is Dark Cashemere color.
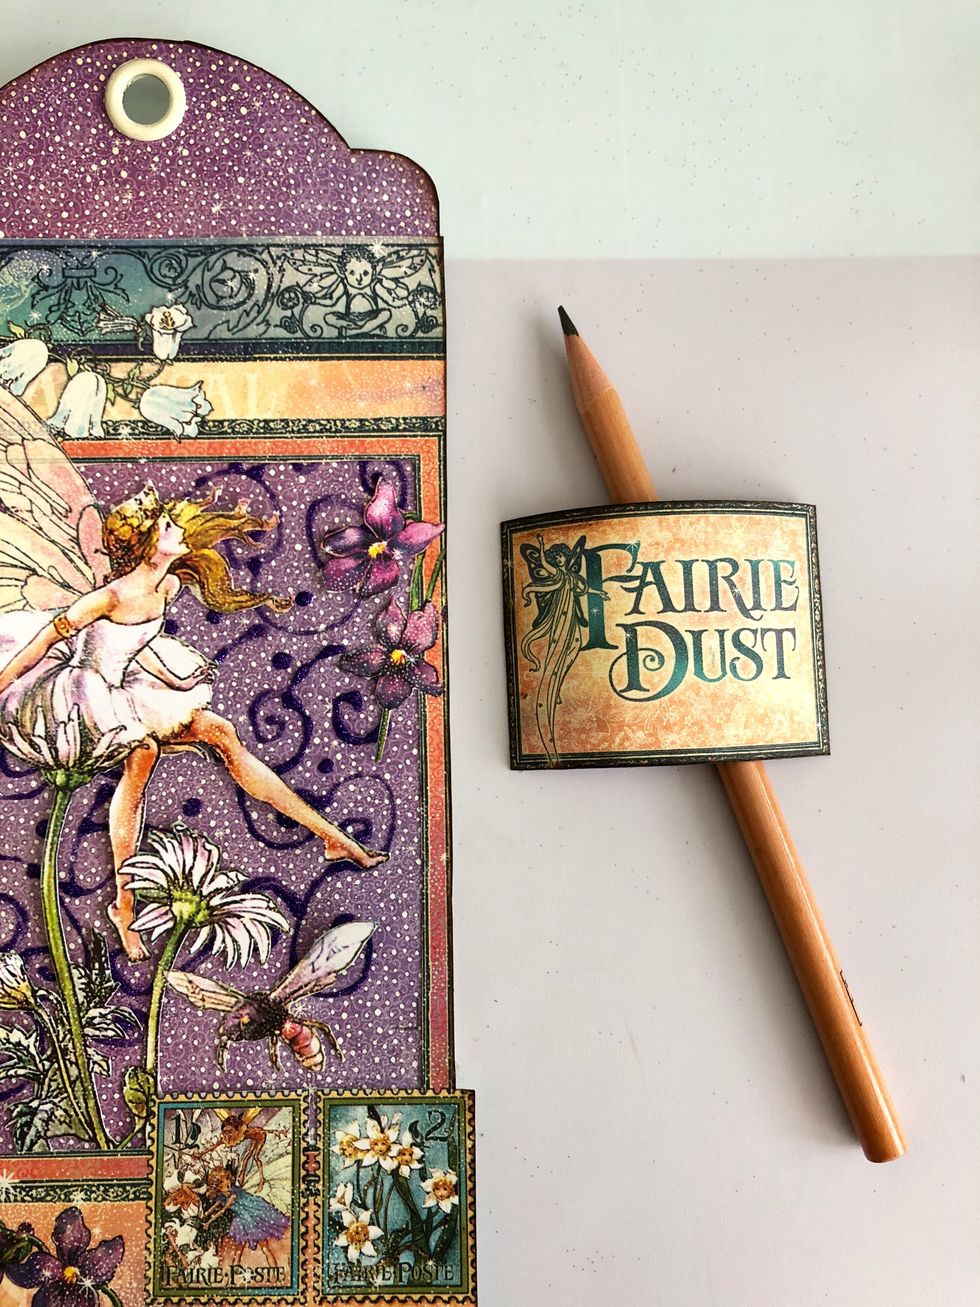
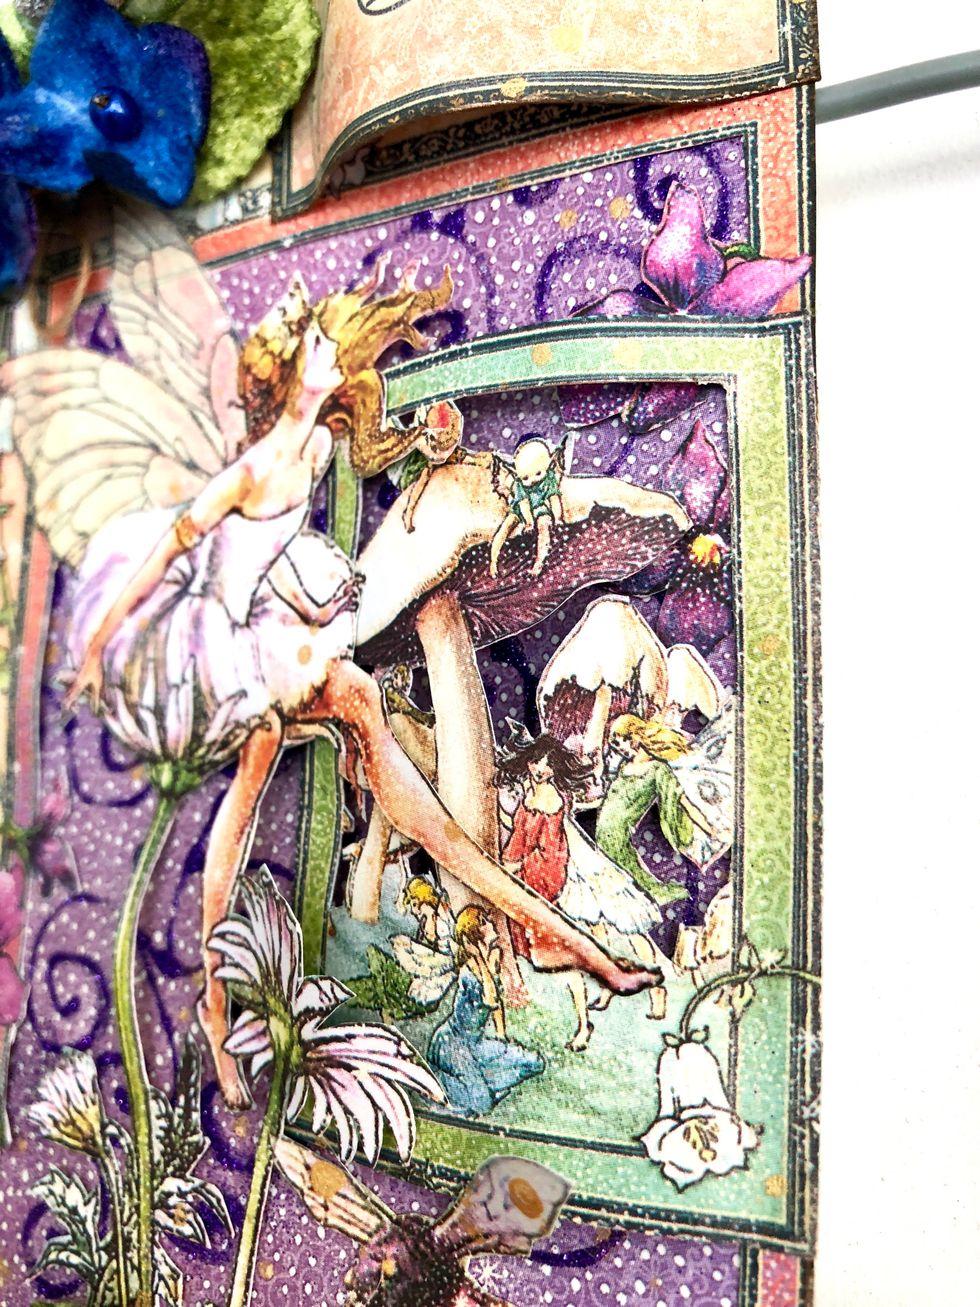
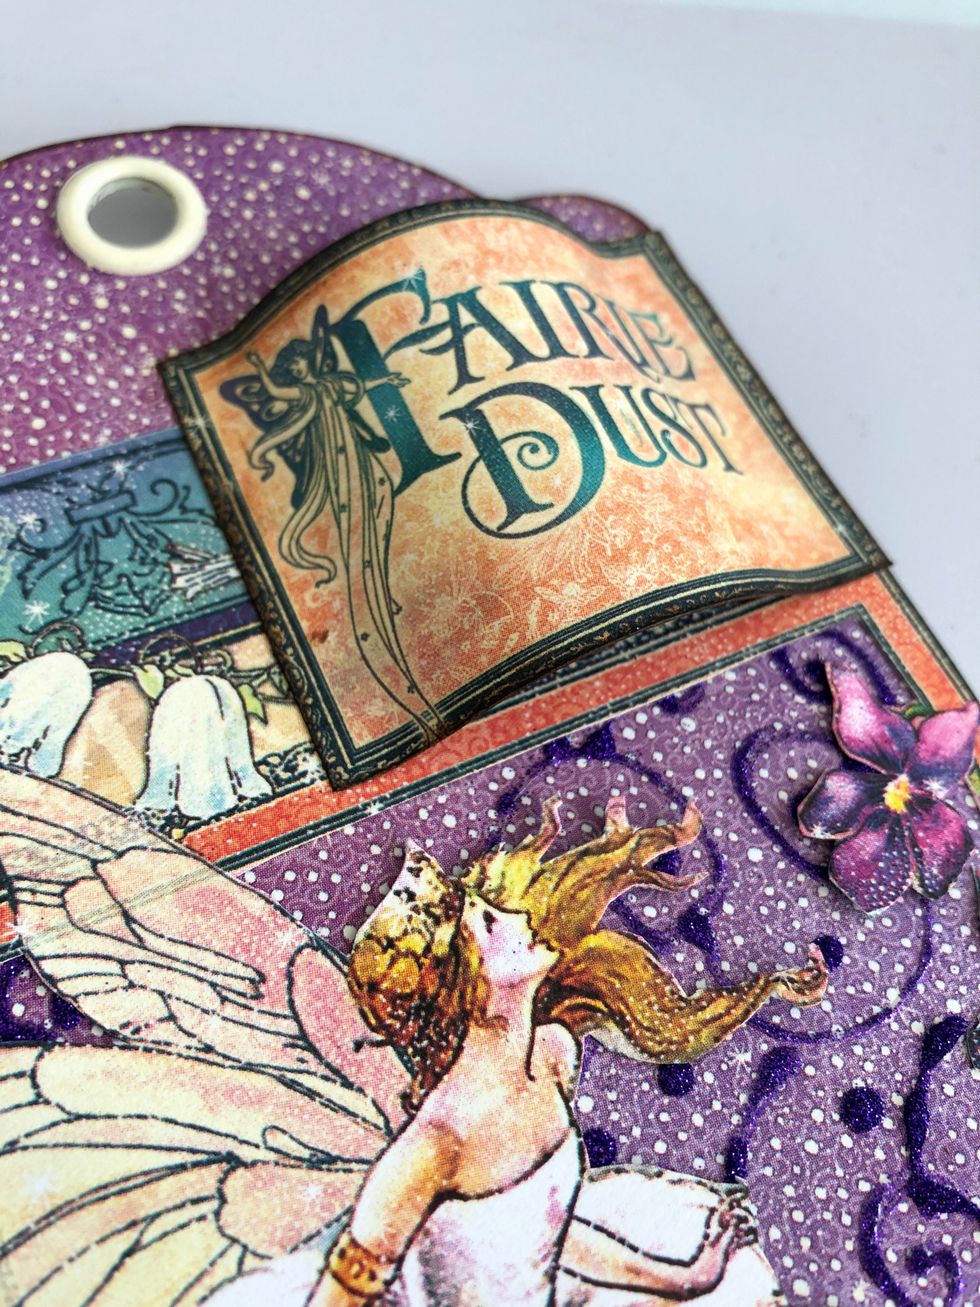
Curl this piece of paper to give it some volume and glue on the upper right side.
Stick only on two sides with double sided tape.
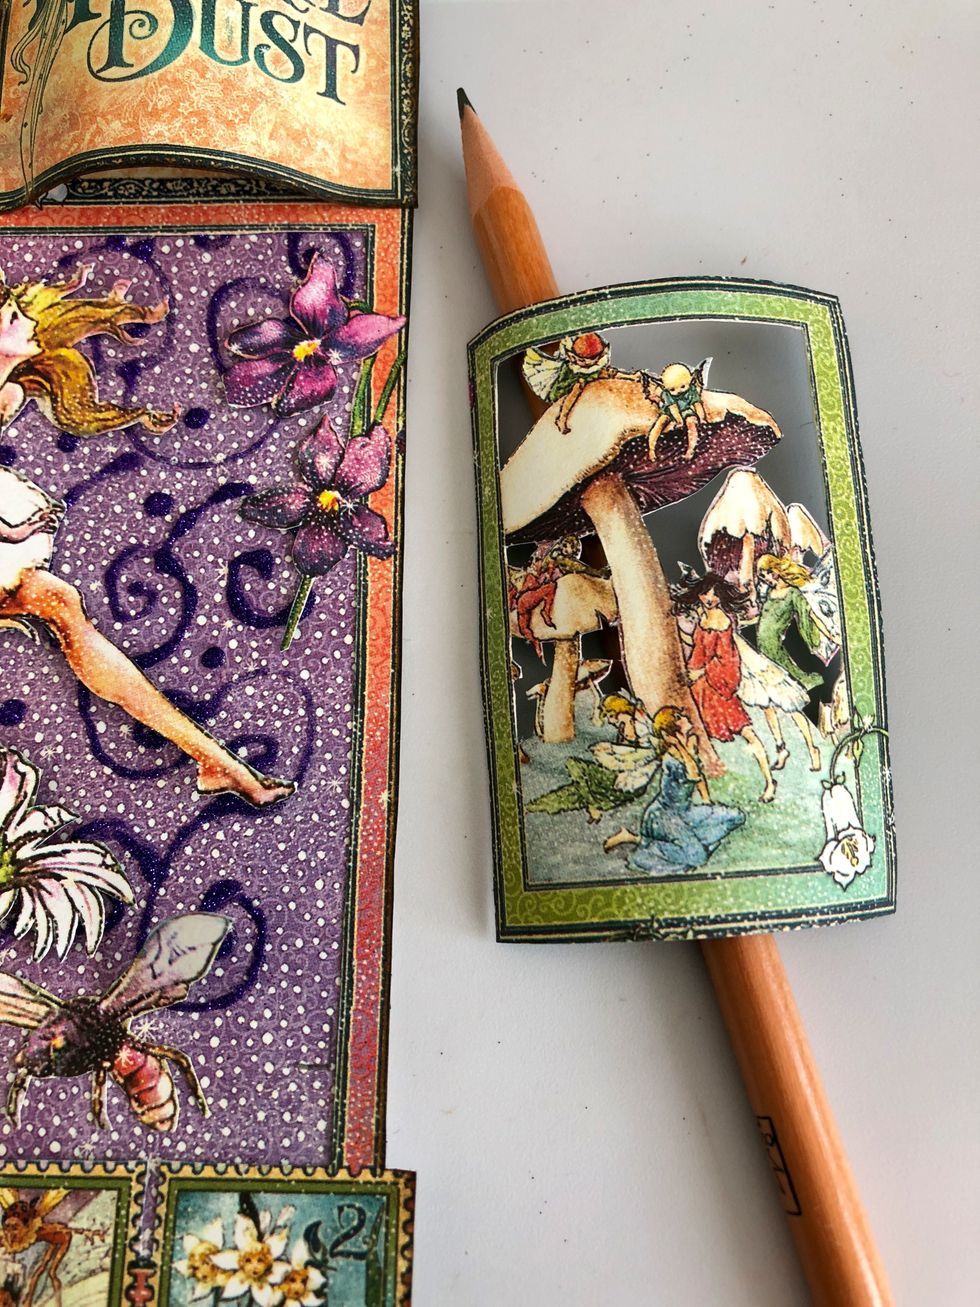
Curl this one too.
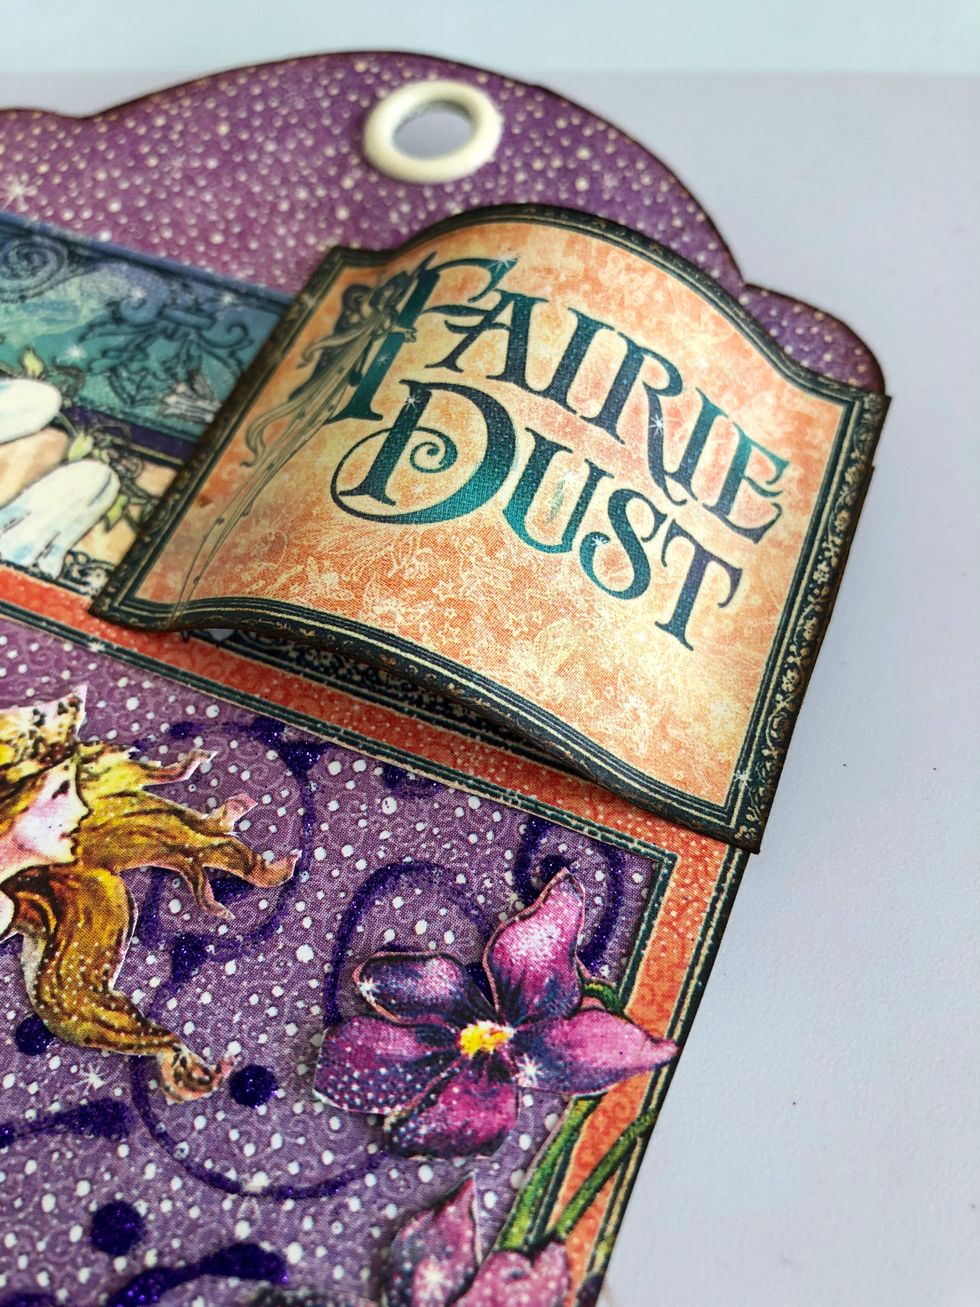
Glue on the tag as shown

Apply with your fingers some Opal Magic Wax
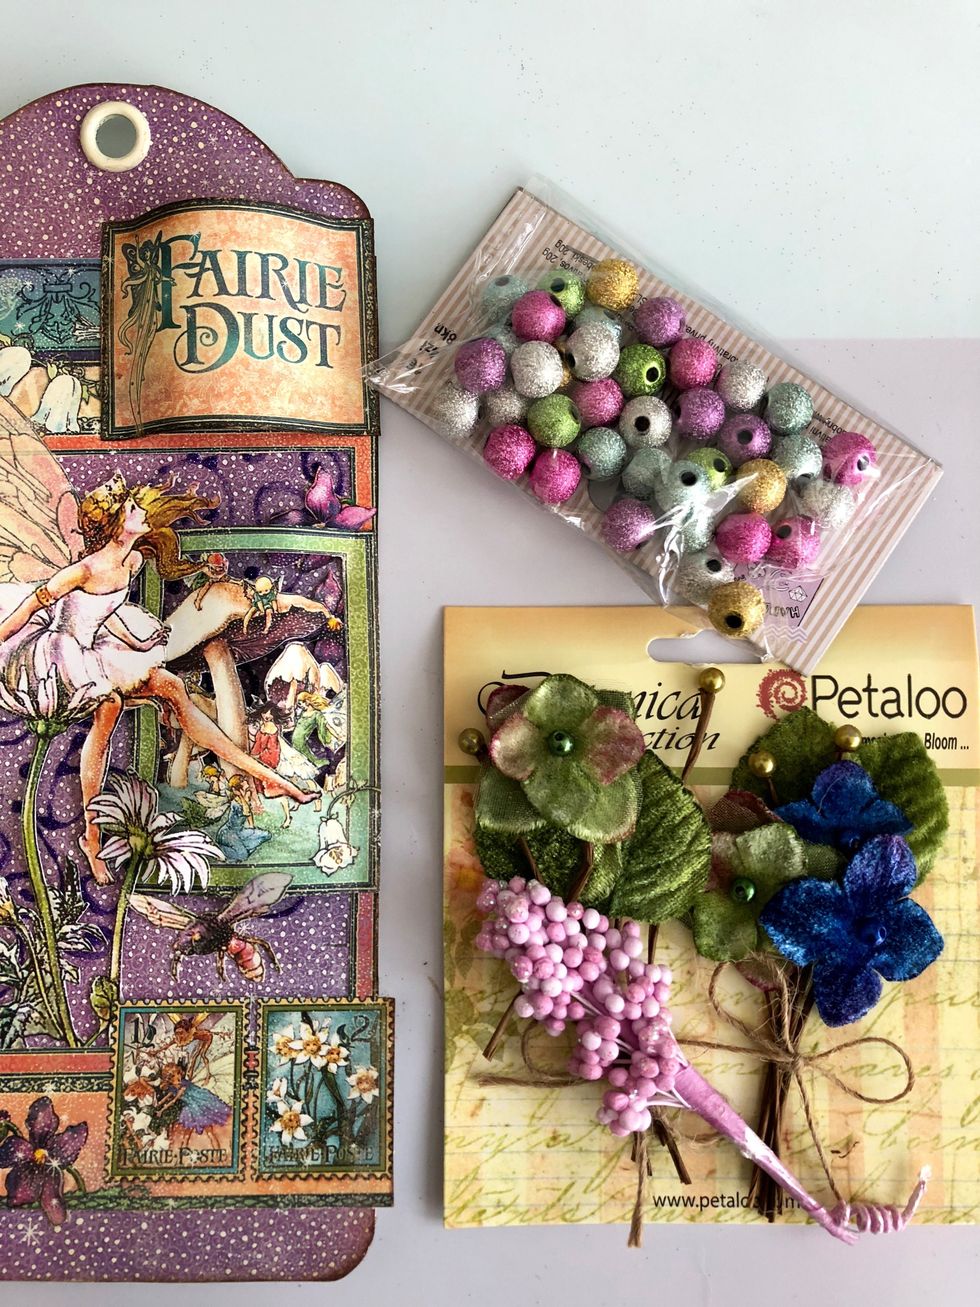
Add some embellishments as flowers or color beads
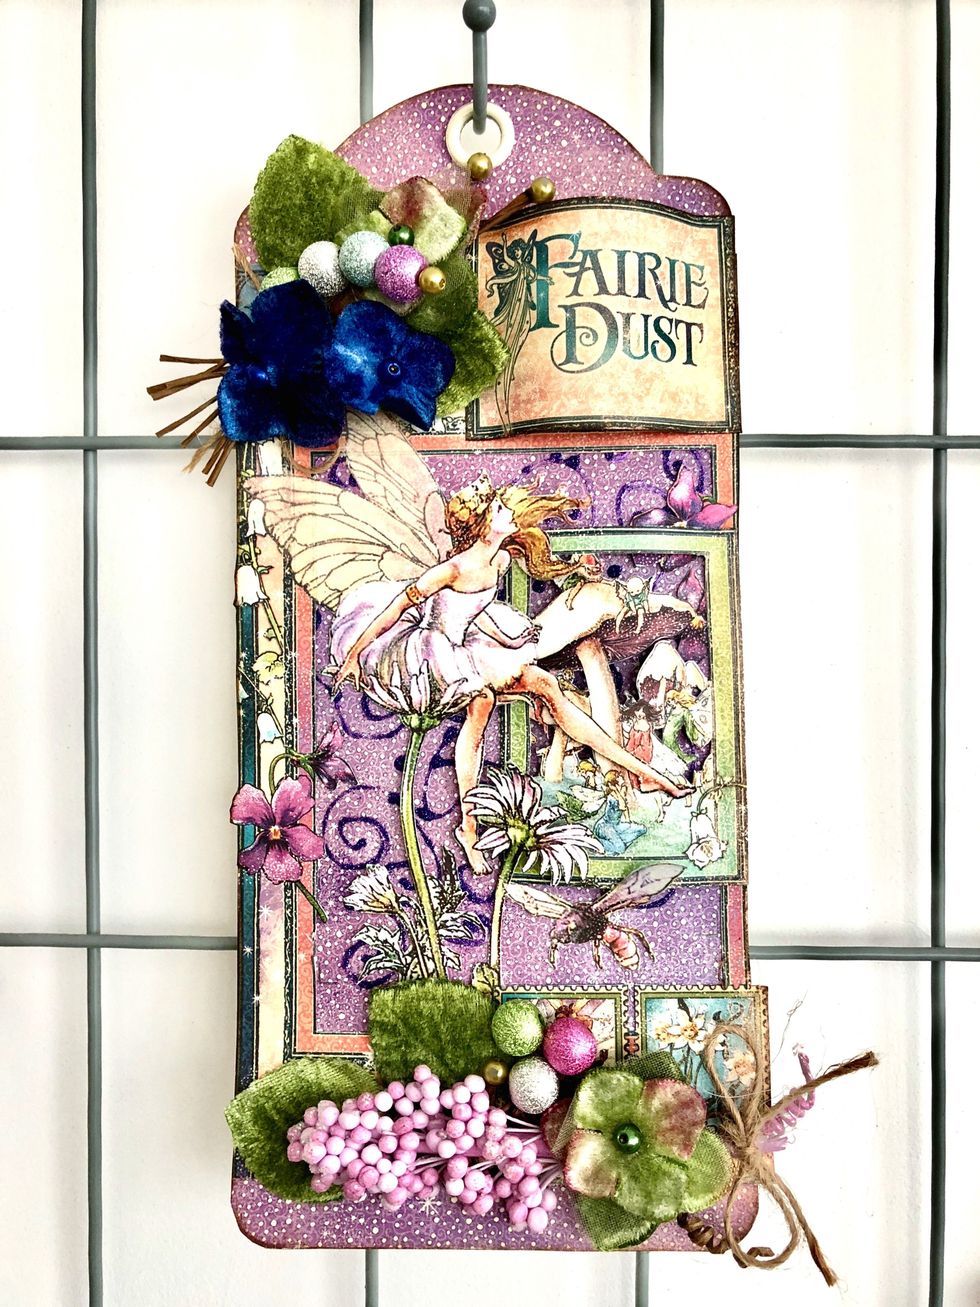
And it's finished!