The Conversation (0)
Sign Up
must have loud music
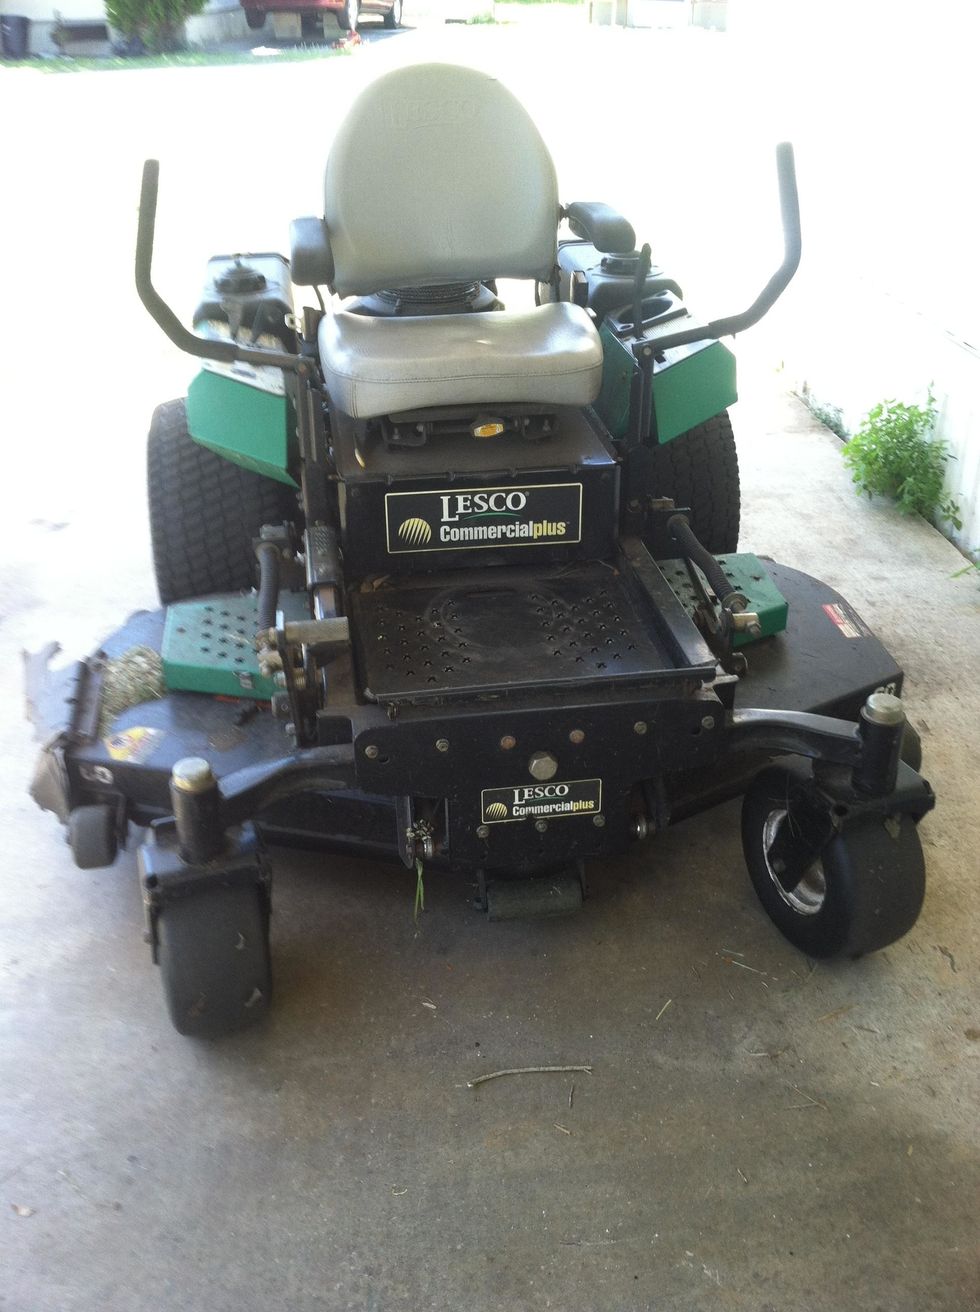
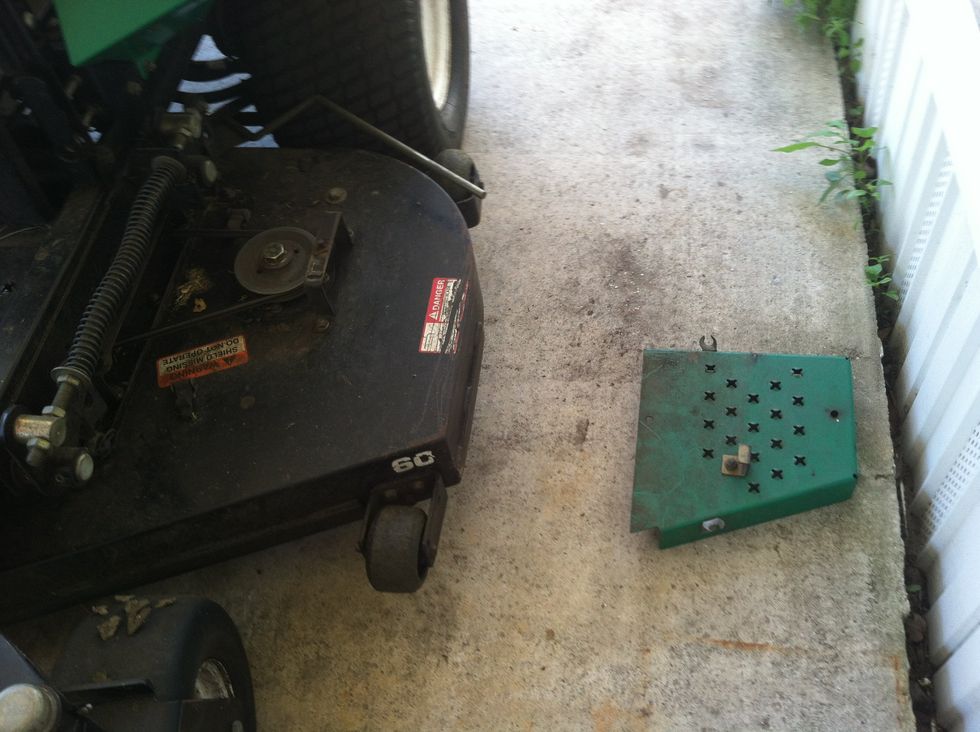
Find a mower with dull blades.Mine happens to be a commercial mower, but it's easy to scale down these steps for homeowner mowers

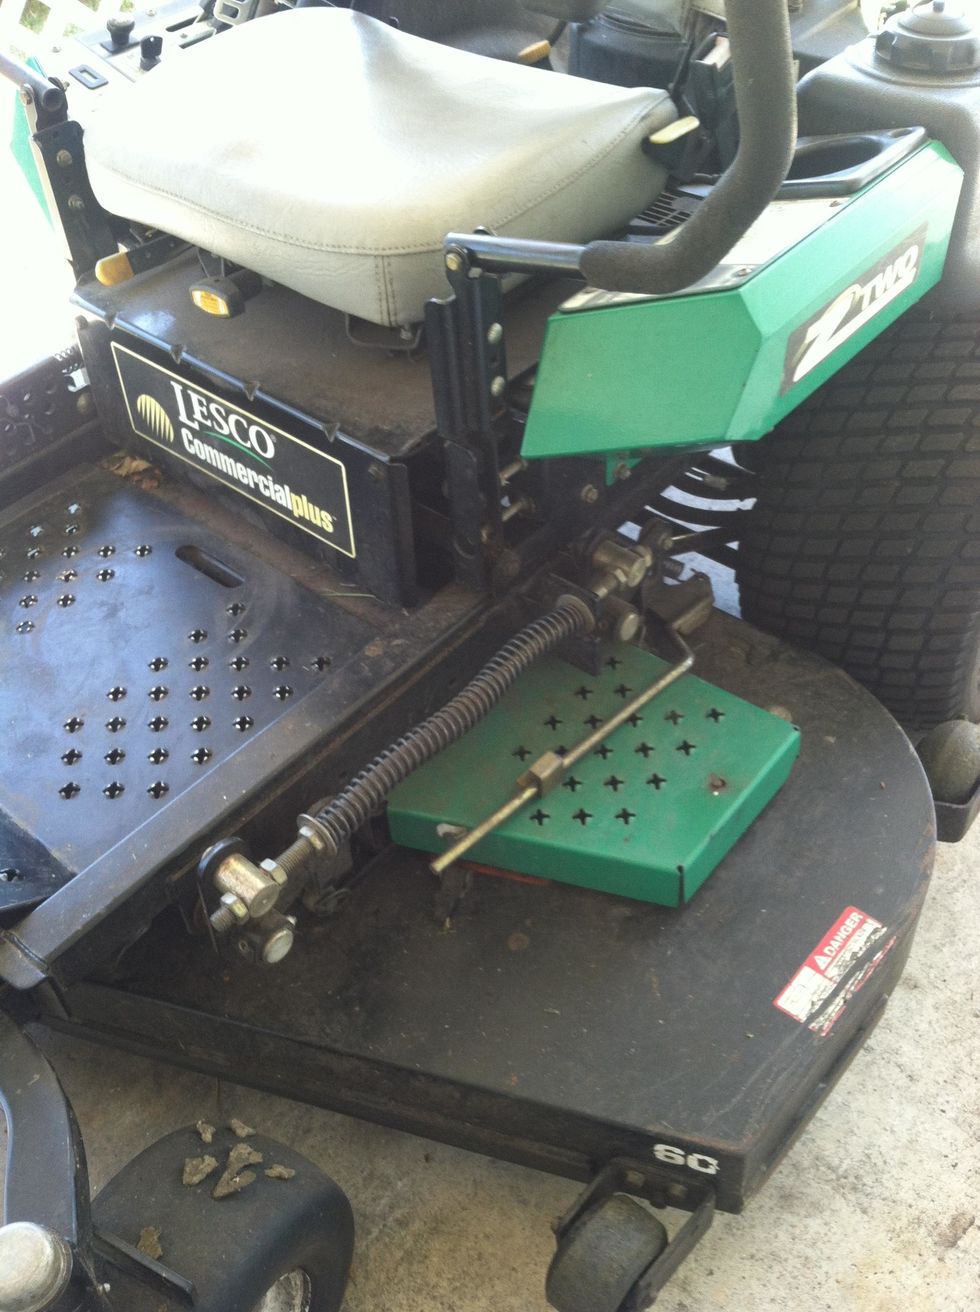
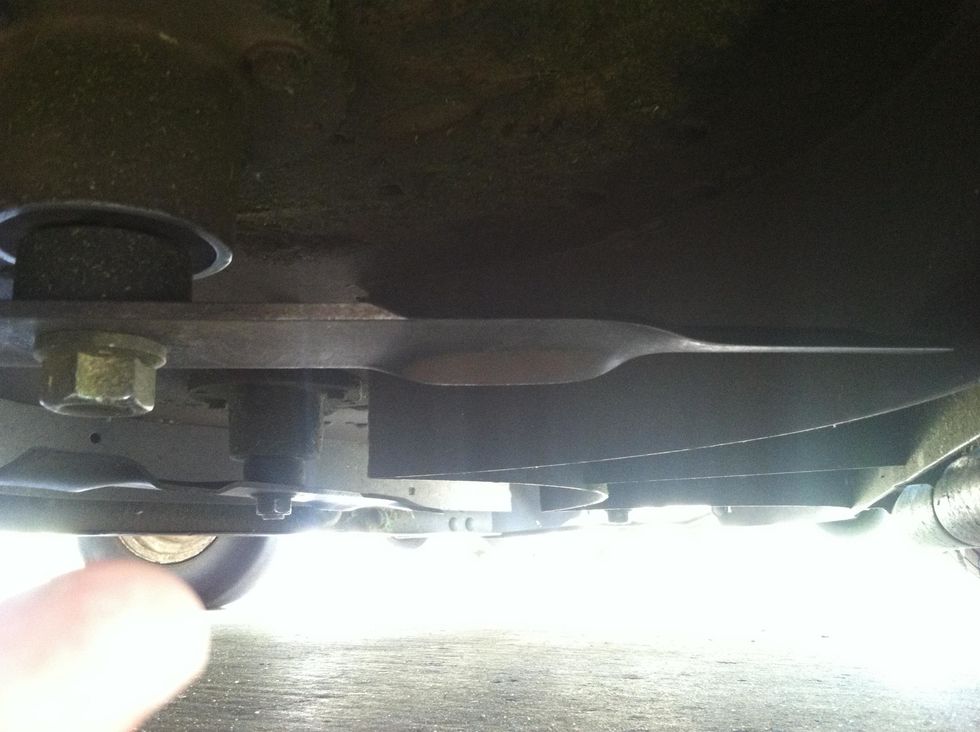
locate safety coverings, these need to be removed to access the bolt head
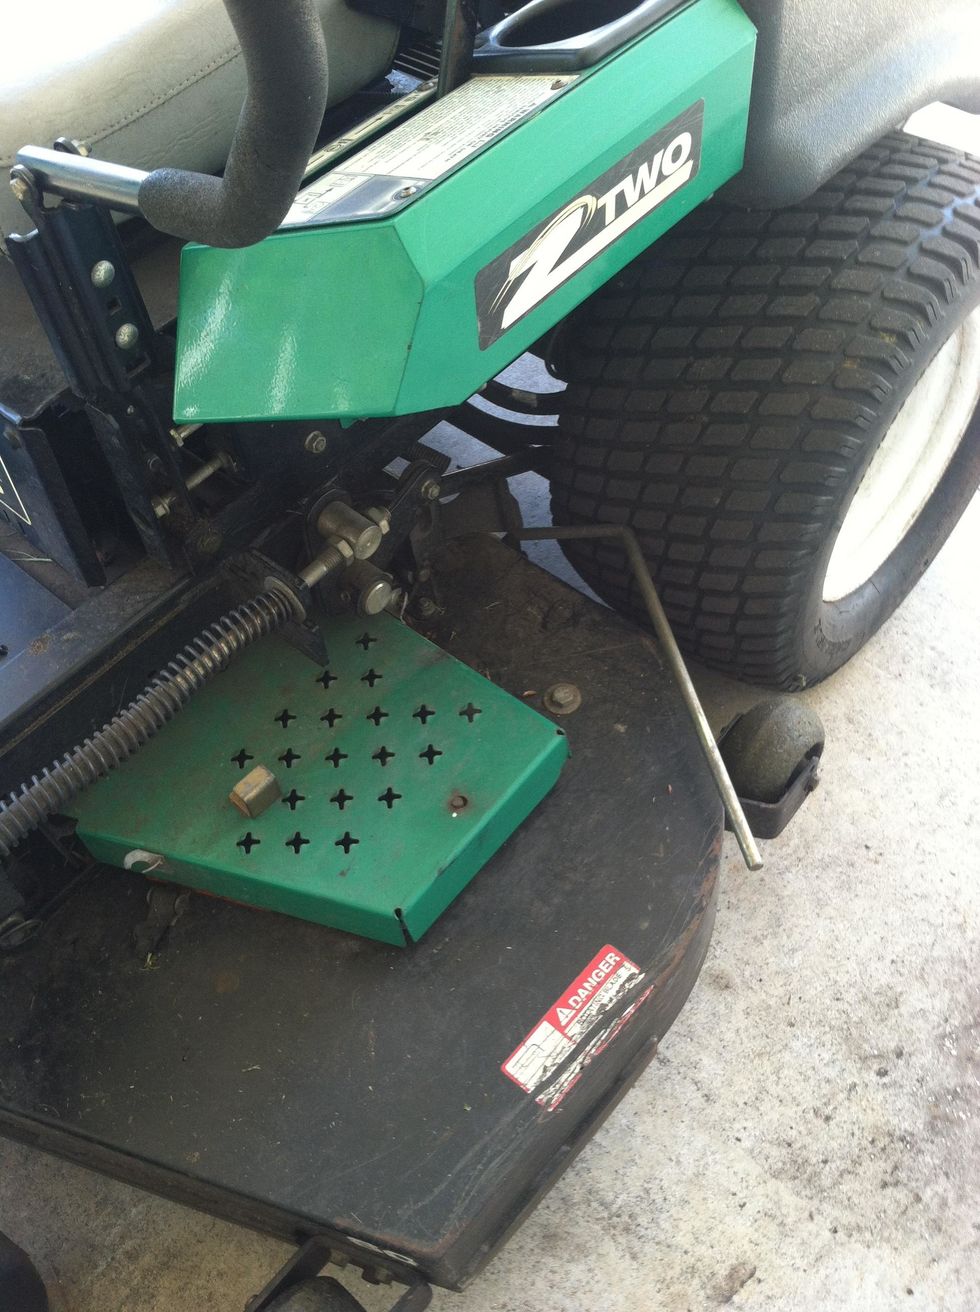
safety covering on the other side. On this particular machine, note the spring loaded bar being held by the metal clip, that is the belt tensioner for the blade belt, it needs to be released.
tensioner released
safety shroud removed
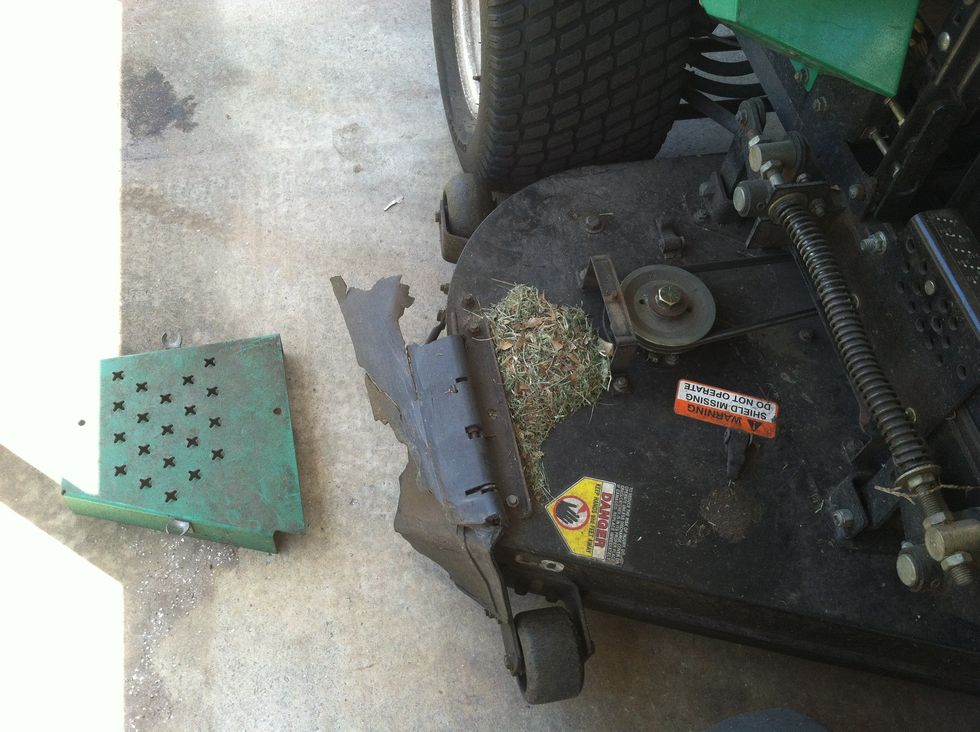
safety shroud removed
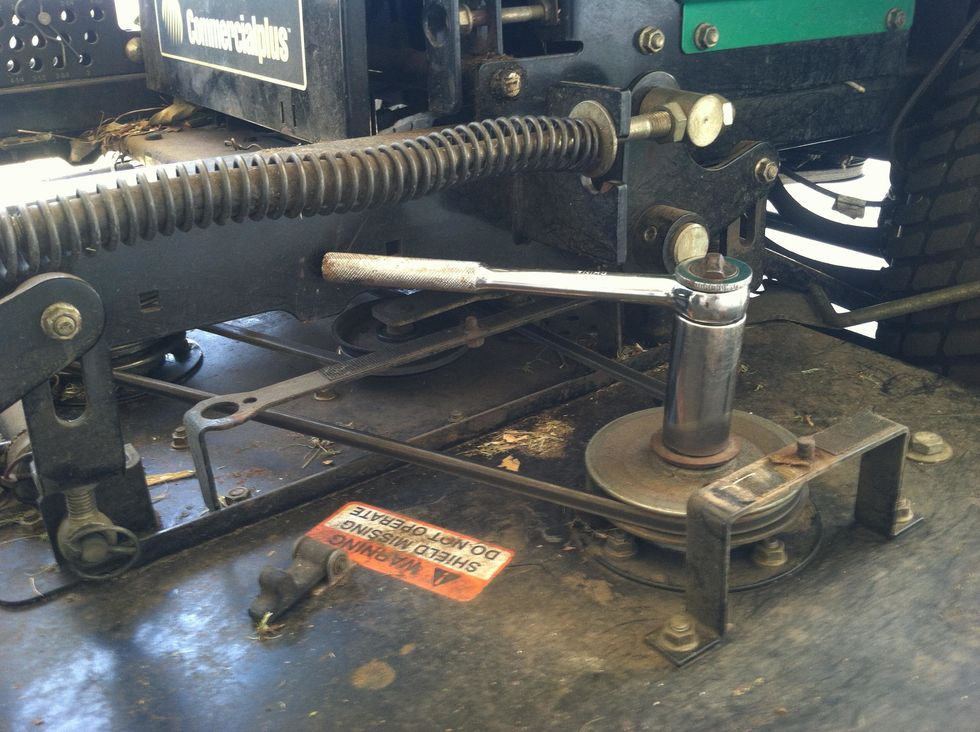
This mower has spindles that have a bolt through them with the blade held on the bottom of the bolt, to remove, you must have the top of the bolt held stationary
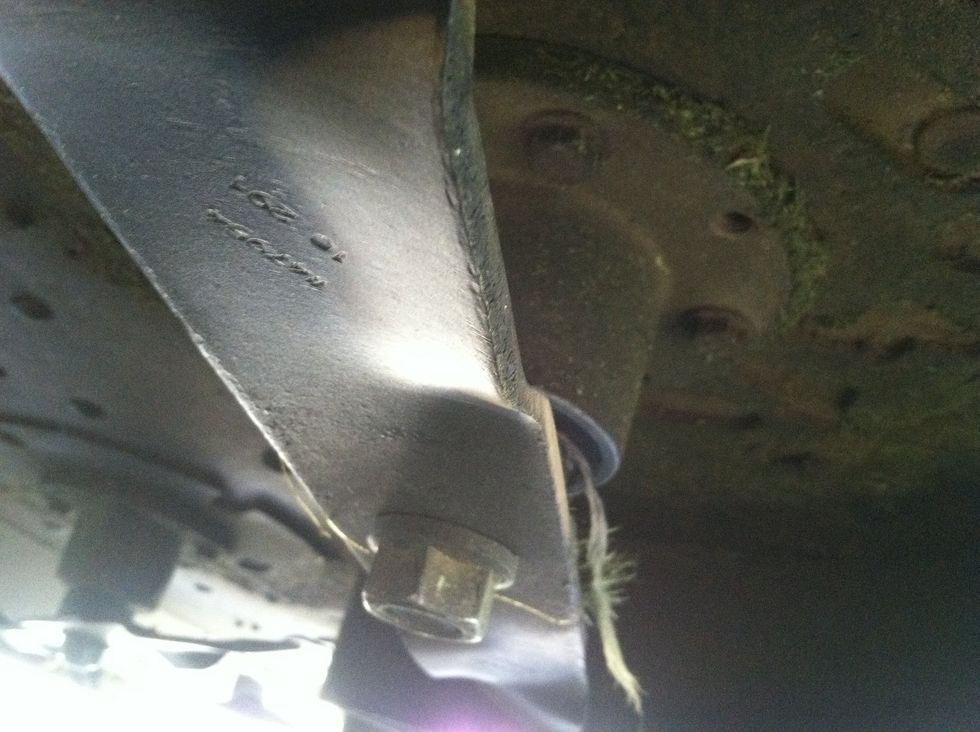
This is the bottom of the bolt, not a great picture, but the item at the bottom left center location is the nut that holds the blade in place
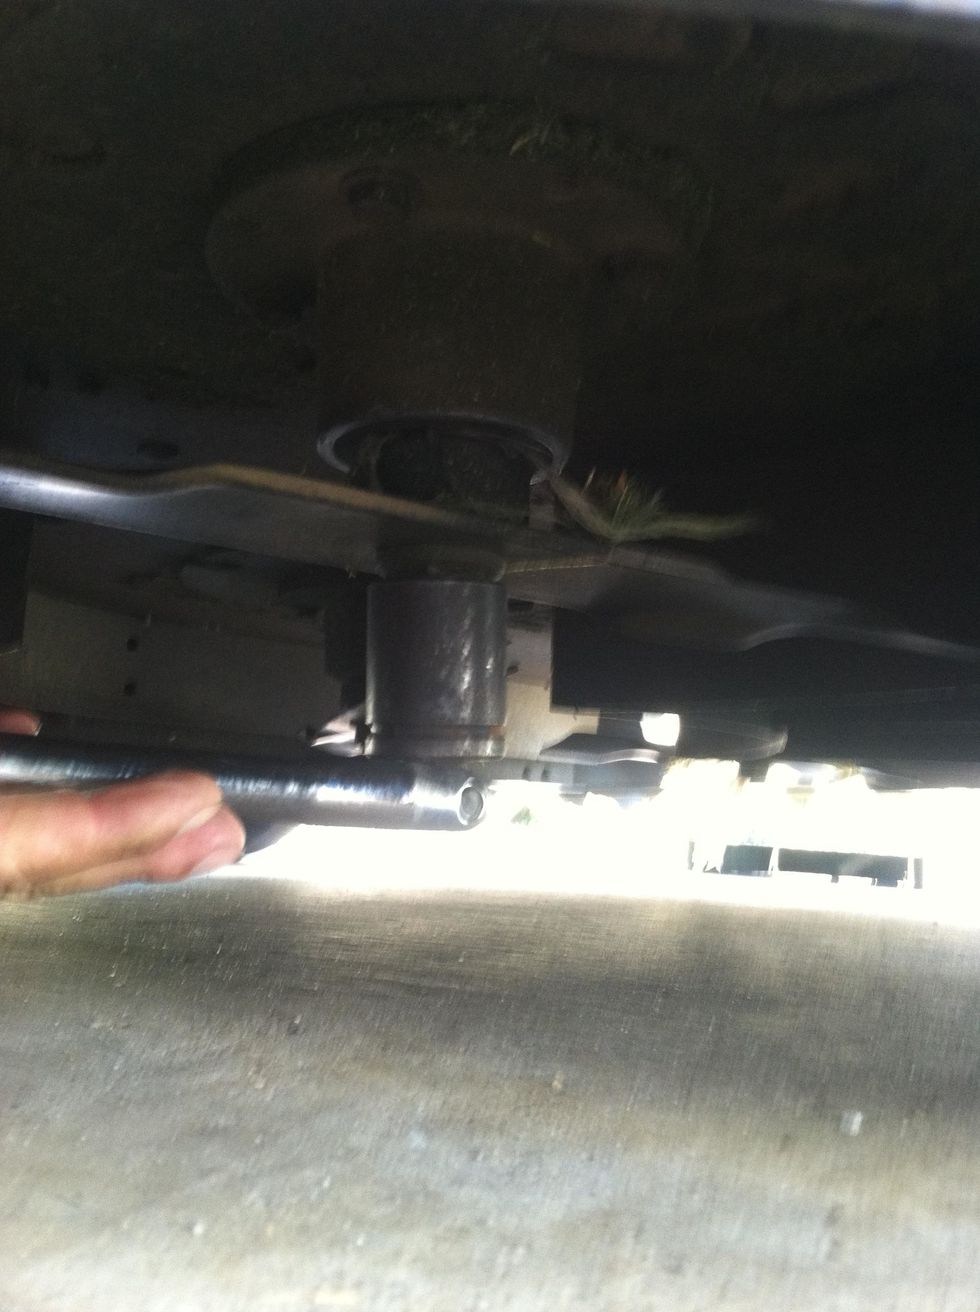
This is a breaker bar on that bottom nut, sometimes even this is not enough to free the nut, in which case====>>>
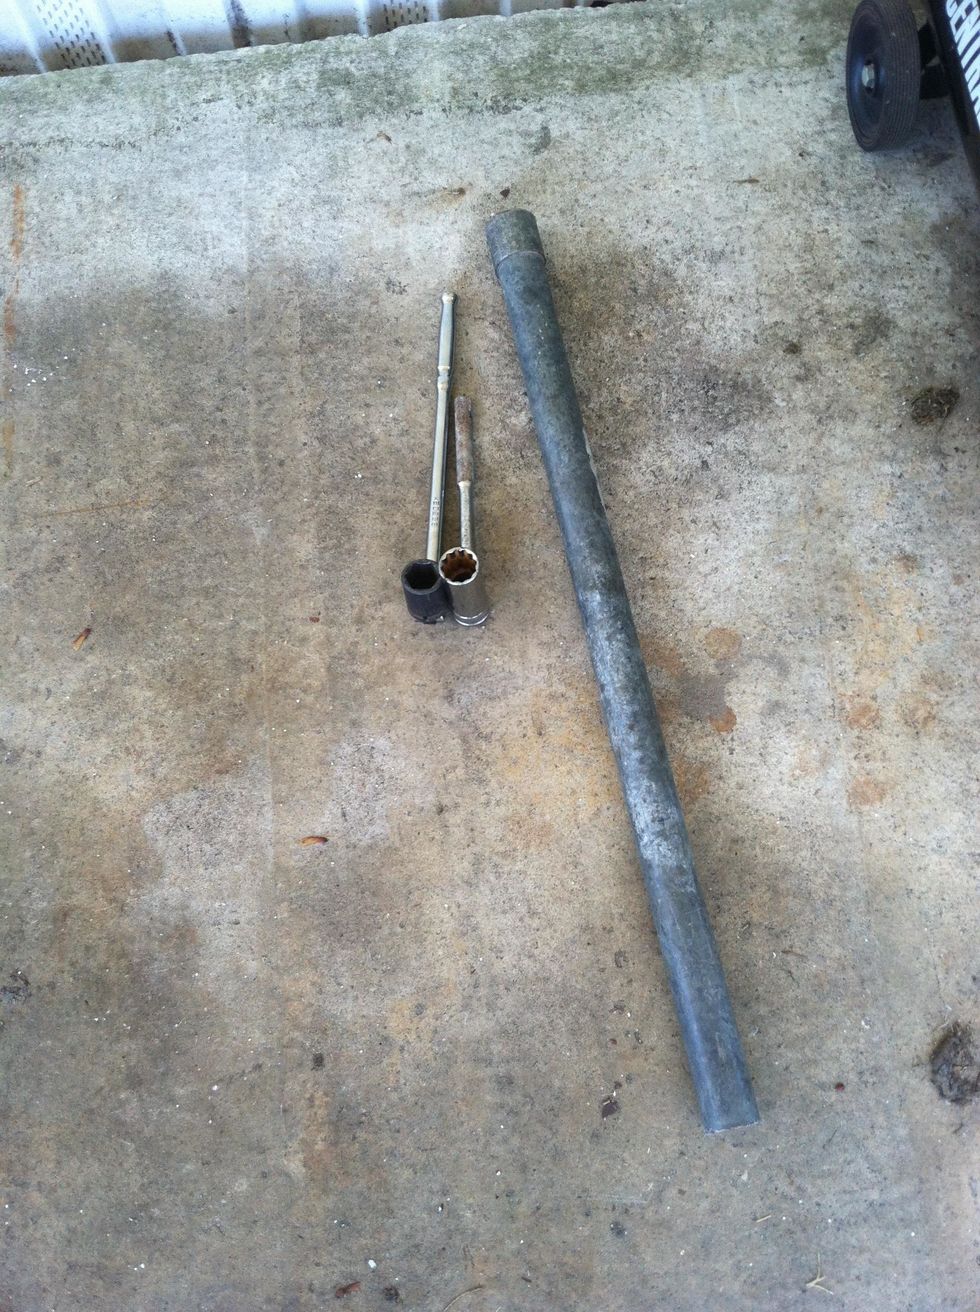
If the nut is resisting, say in a firm voice, "stop resisting" and use the pipe. Slide the pipe over the breaker bar handle and this will give you extra leverage on the nut. DON'T DO THIS ON A RATCHET
once loose, you can usually twist off
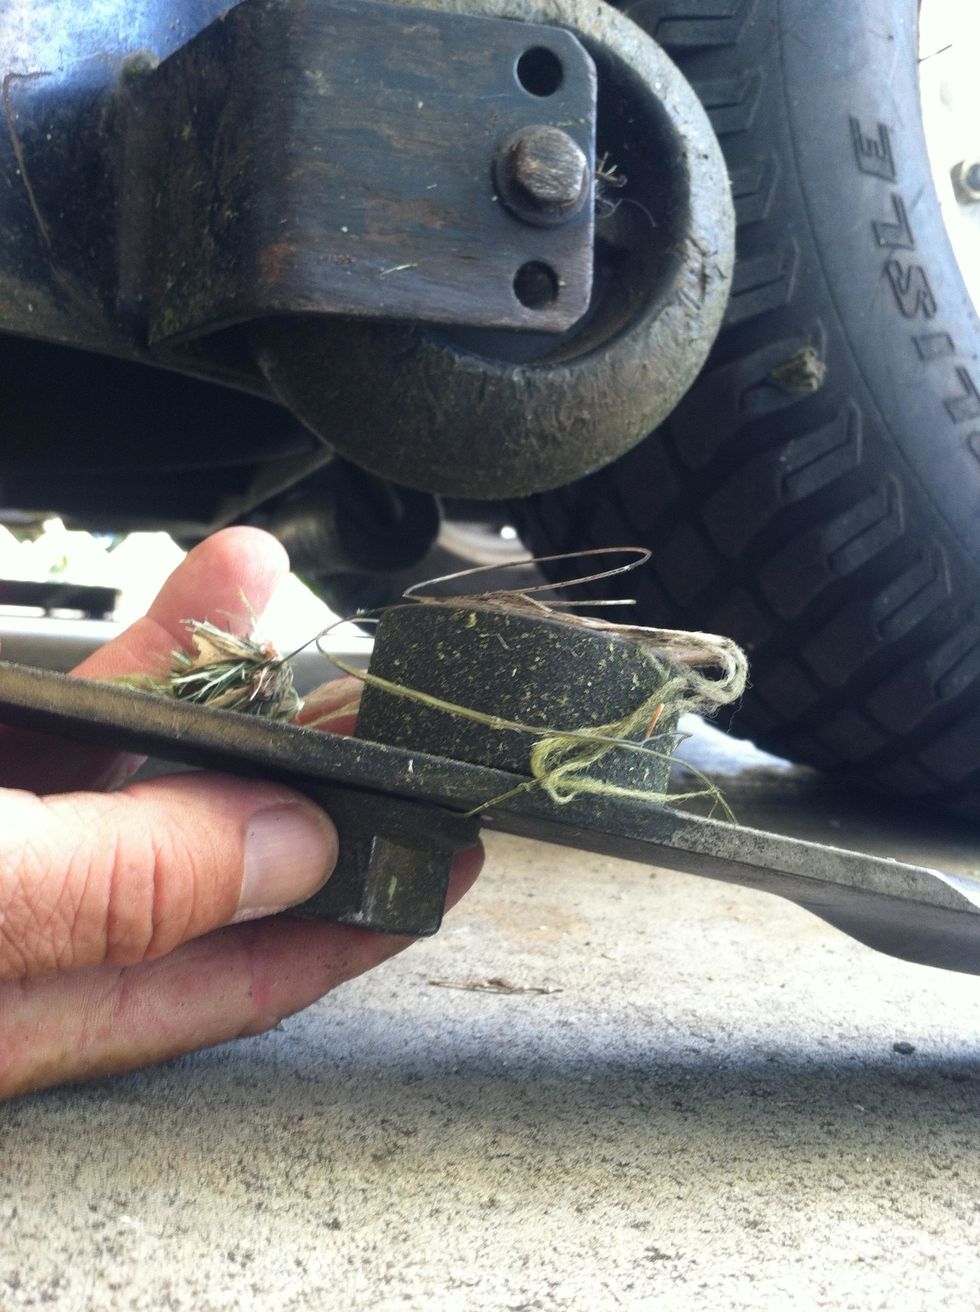
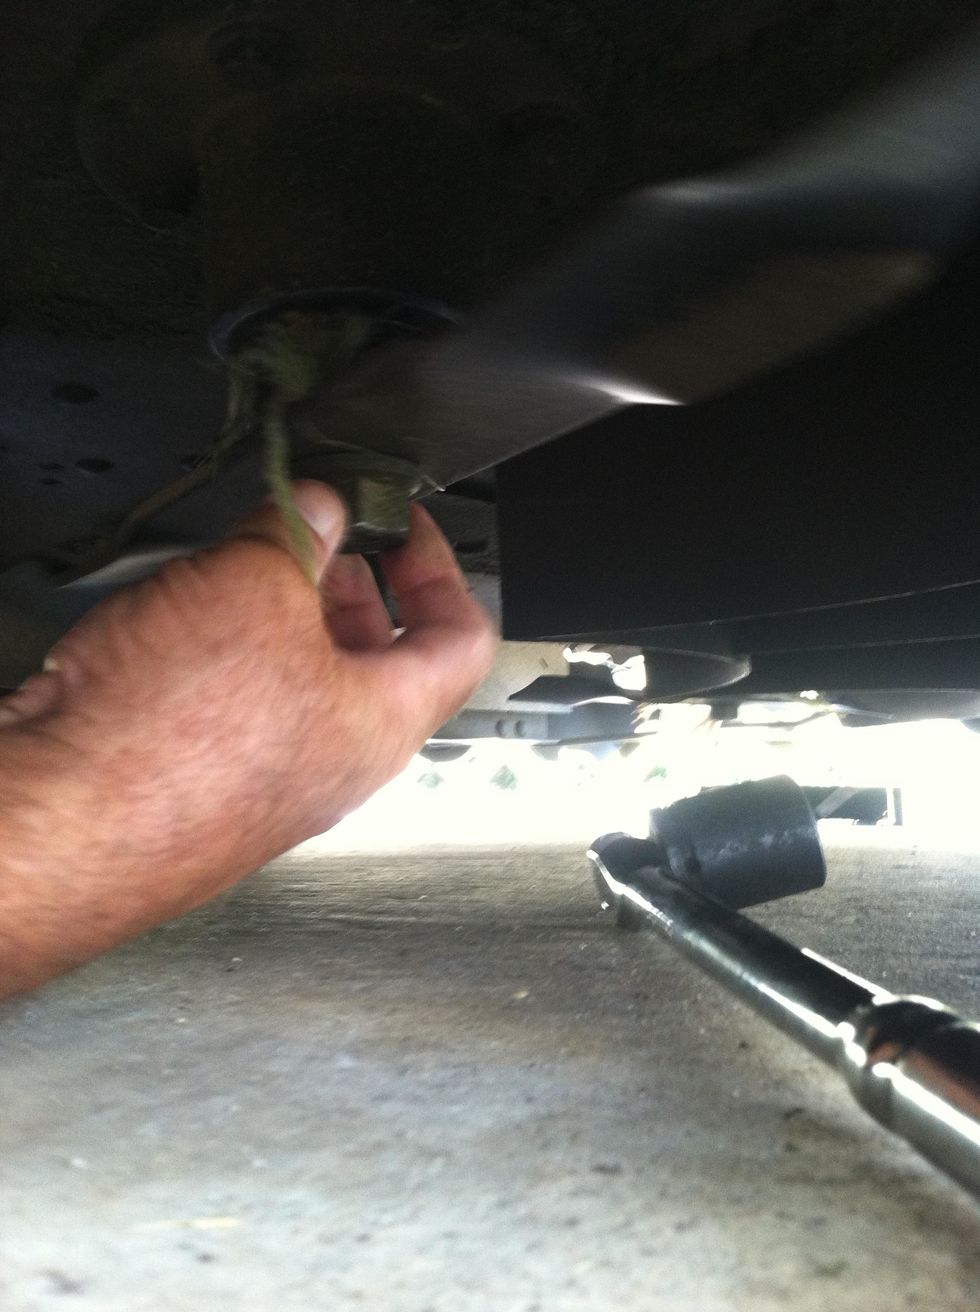
clean any junk wound around blades and spindle. NOTE the locations of spacers and washers, take a picture if you may forget, they GOTTA go back the same way. note which side of the blade is UP

check for bent blades, don't waste your time sharpening a bent blade unless you really don't care what the grass looks like as long as its cut. in this picture the blade on the bottom is junk
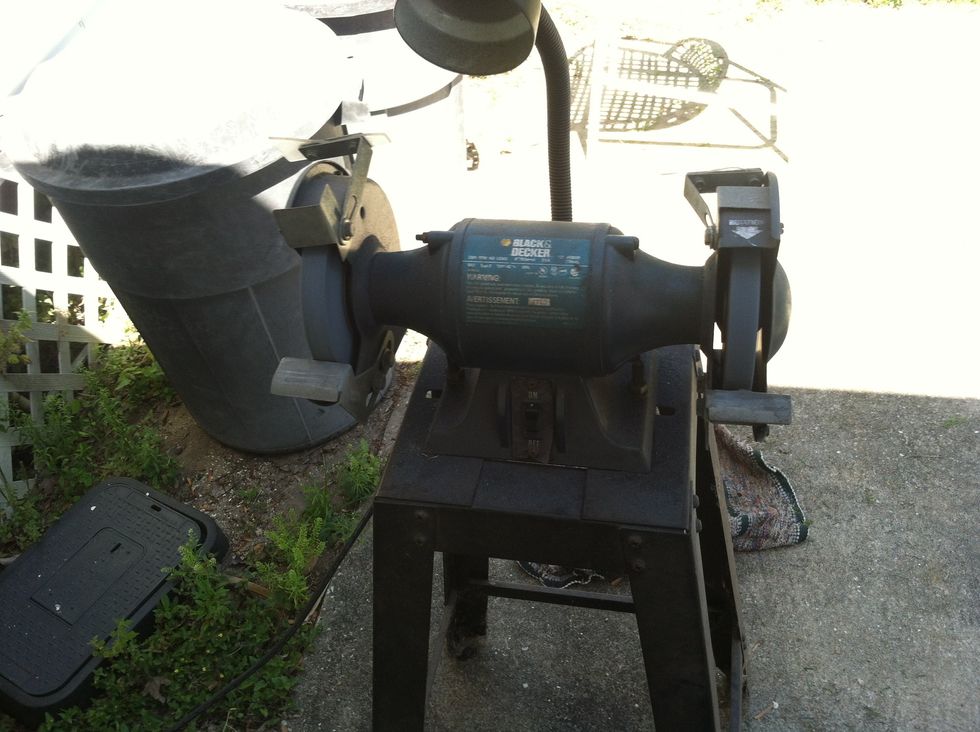
fire up the grinder. from here on SAFETY GLASSES are mandatory, watch where your sleeves are too, this grinder has 2 rotating wheels, they remove metal or flesh with equal aplomb
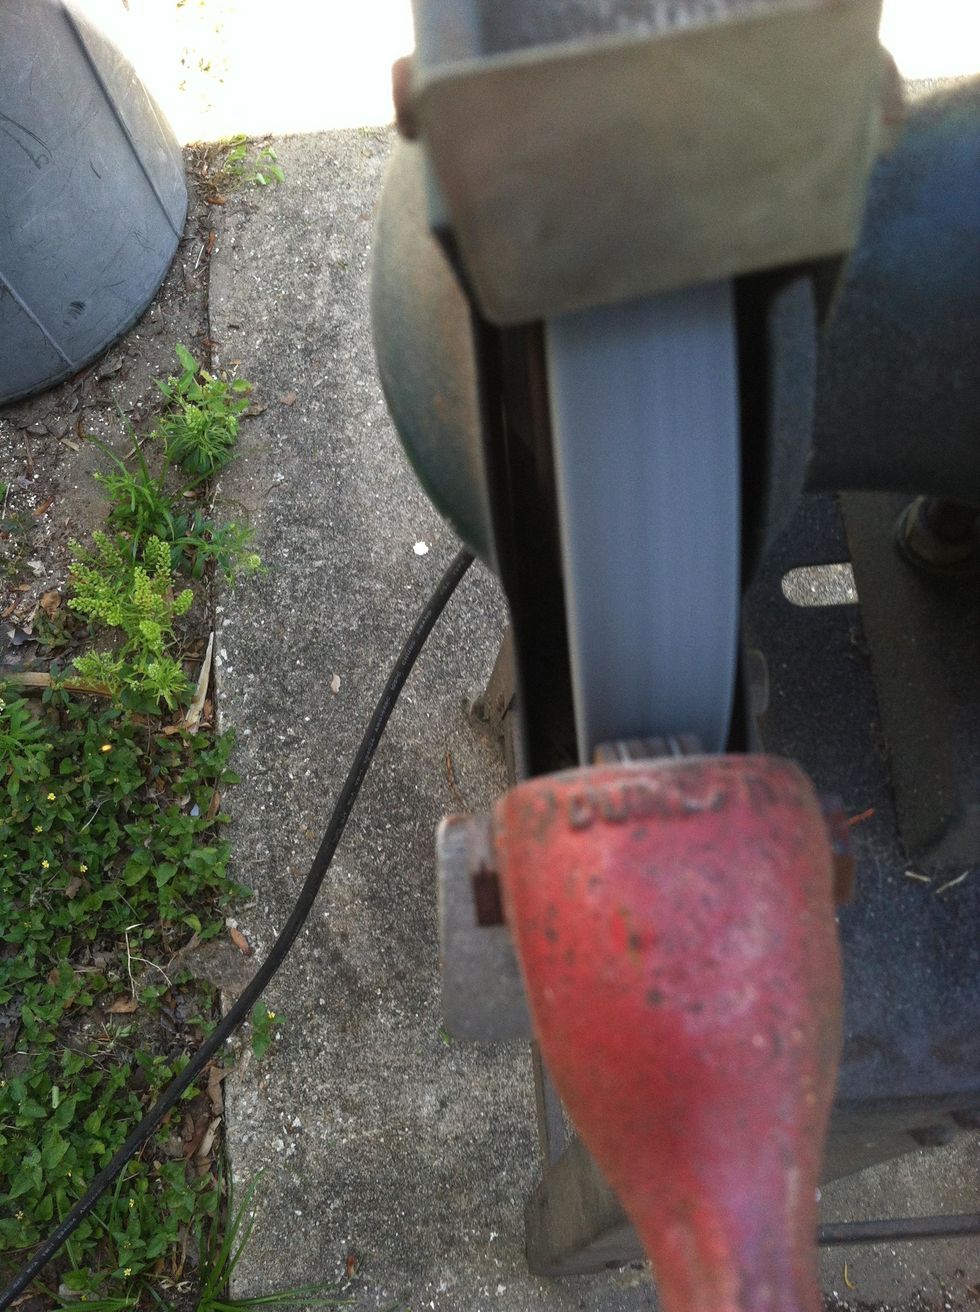
dressing the wheel before using, this cleans debris off the wheel and evens the wheels surface
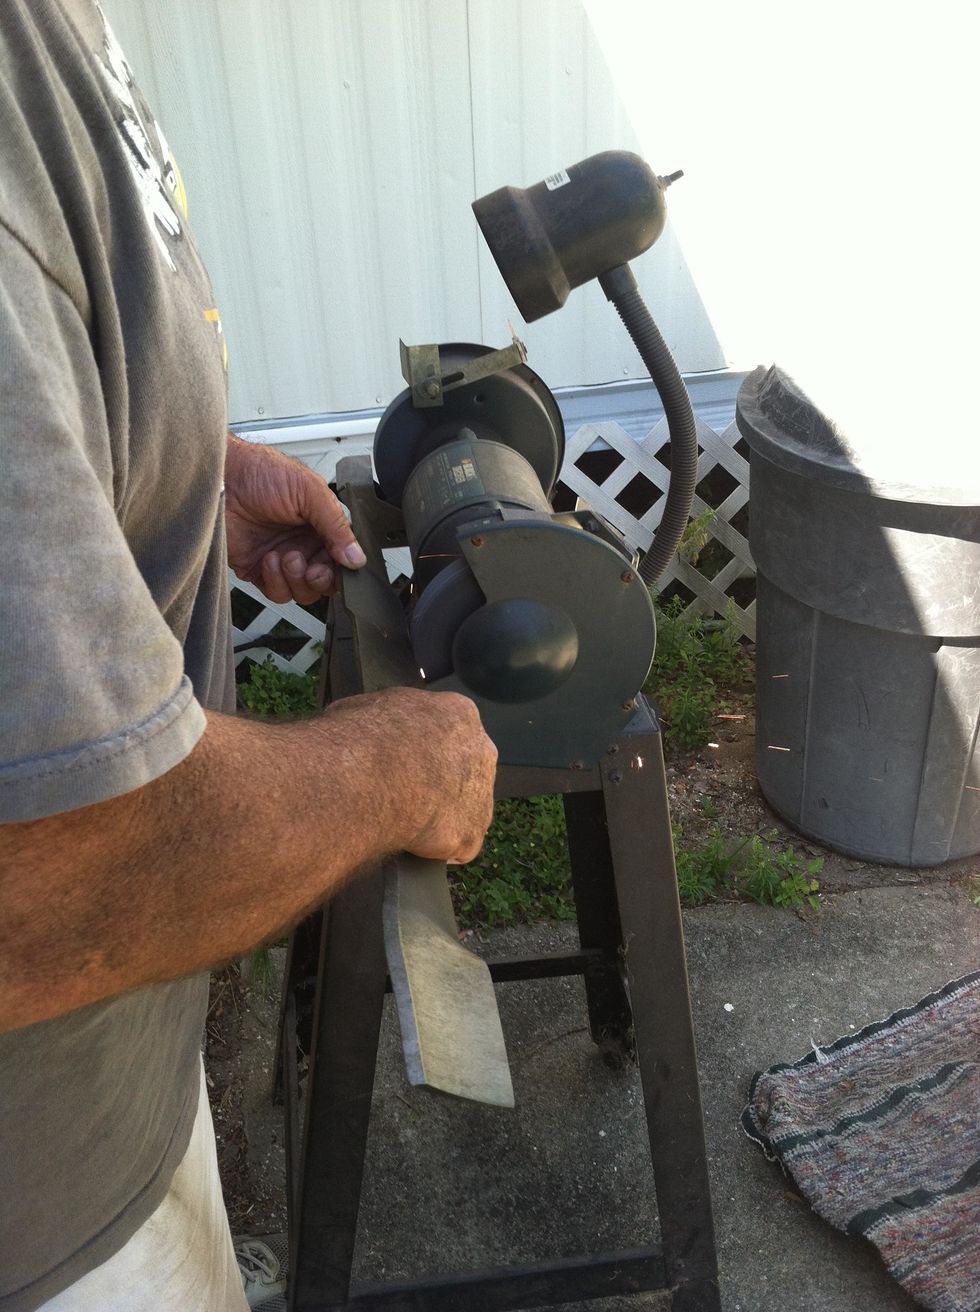
choose an angle to cut at and try to stick close, if you're doing this by hand and eye, you'll always have some variation, but its still relatively easy to get a consistent bite on the blade
I'm going from the center of the blade to the end of the blade, one side at a time, the cutting edge of the blade is contacting the wheel through this entire process

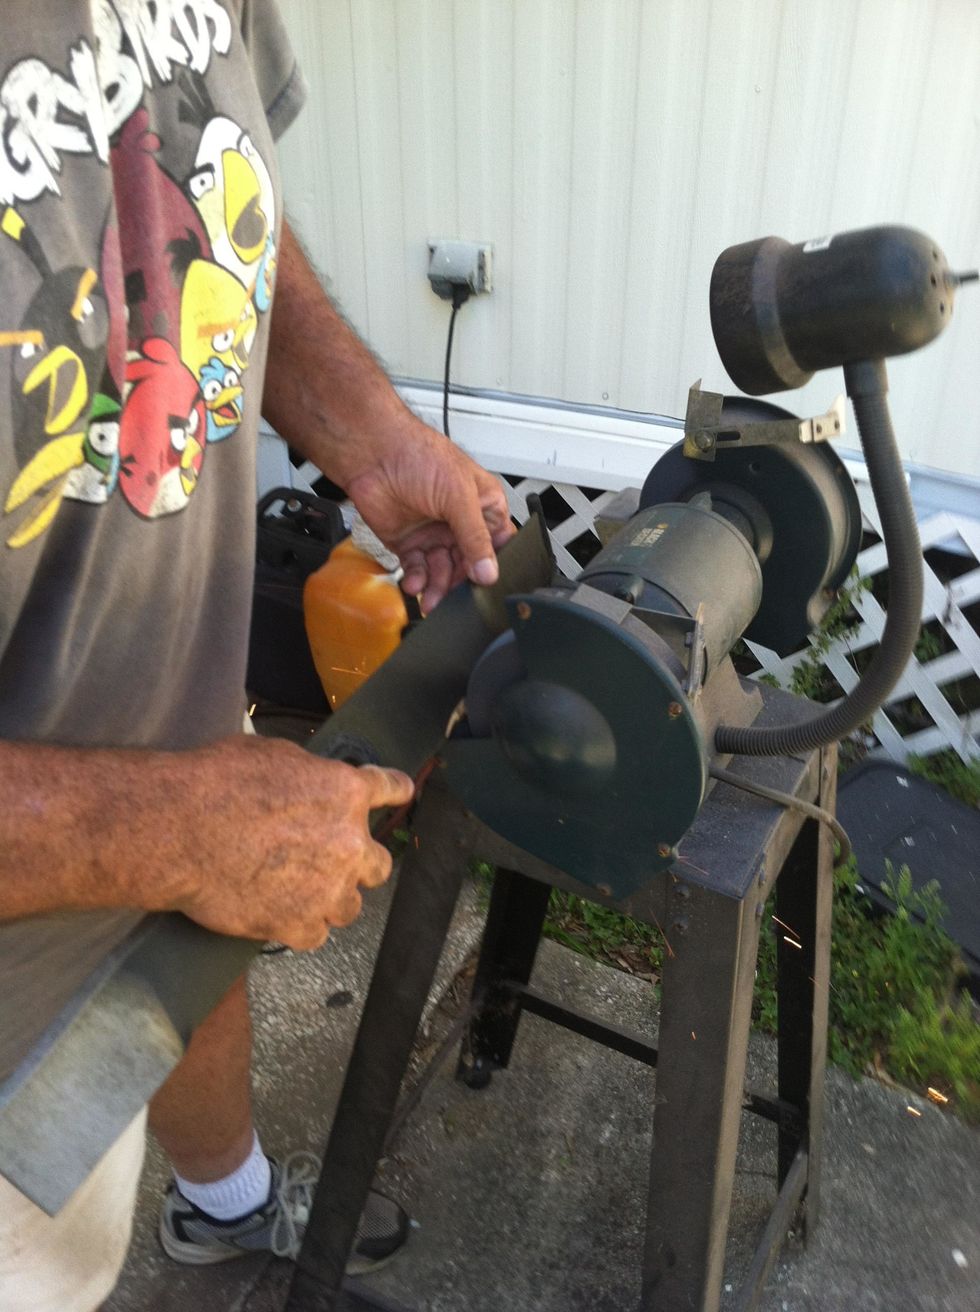
this is the end of the stroke, notice the shiny cutting surface, it usually takes 20-30 strokes to get a good edge on the blade
after the blades are done, they should be balanced, they spin at high speed, so a little off balance can mess up a lot of things, of course when I made this guide, I couldn't find my balance
the balance looks like a conical terraced sorta pyramid metal thing, they're cheap and largely available at hardware stores
replace blades on mower. This is also a very good time to grease all those grease fittings and use spray lube on all those moving parts without fittings, check belts for wear, if you have belts