The Conversation (0)
Sign Up

Get the free Seesaw app (see circle). Search Seesaw Inc. for fast results.
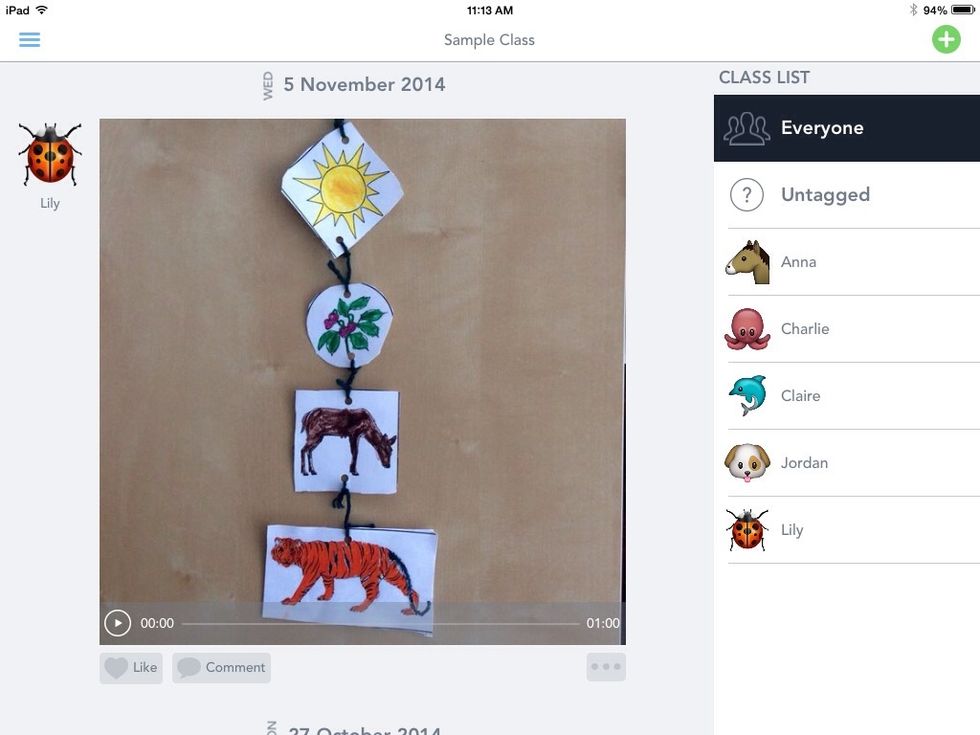
Use the Sample Class to help you navigate the app and see how it might work for you. You see student creations in the middle and student names on the side.
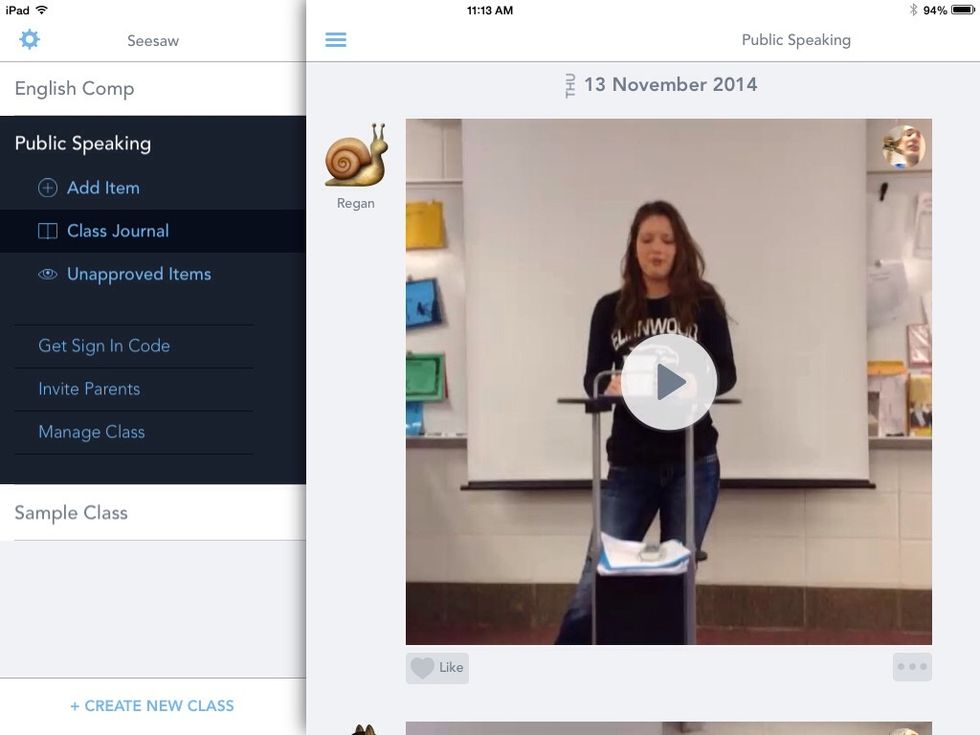
Click Create New Class to make your own. Here is my Public Speaking class that I created. See some of the options at left.
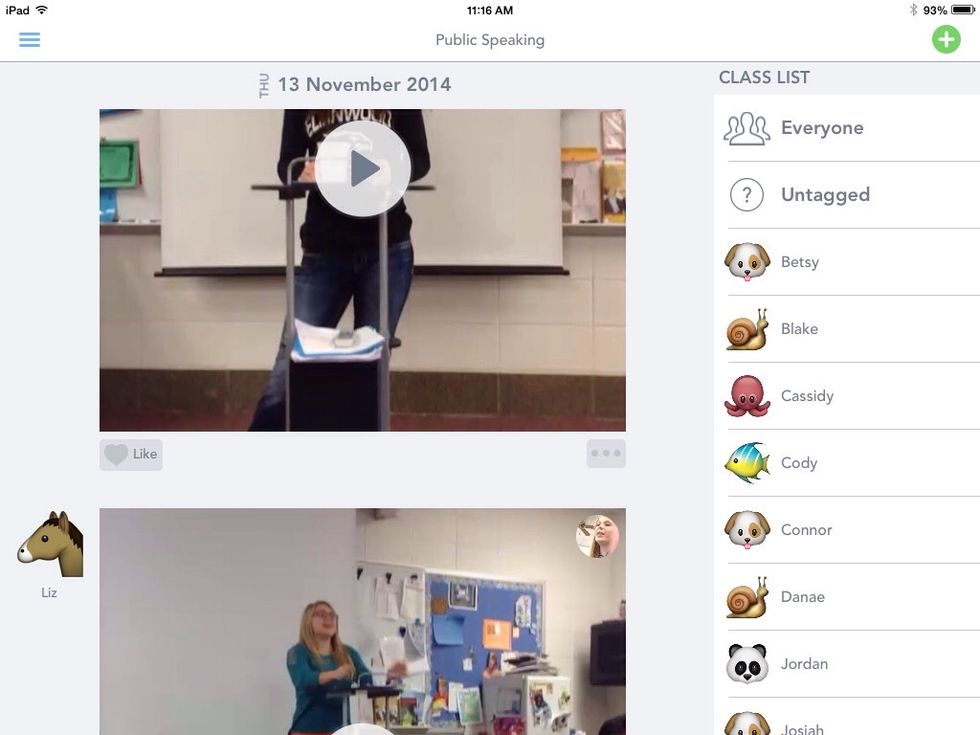
This is what my class 'journal' looks like. (This would be called a 'library' in ThreeRing and I also think of it as a 'stream.')
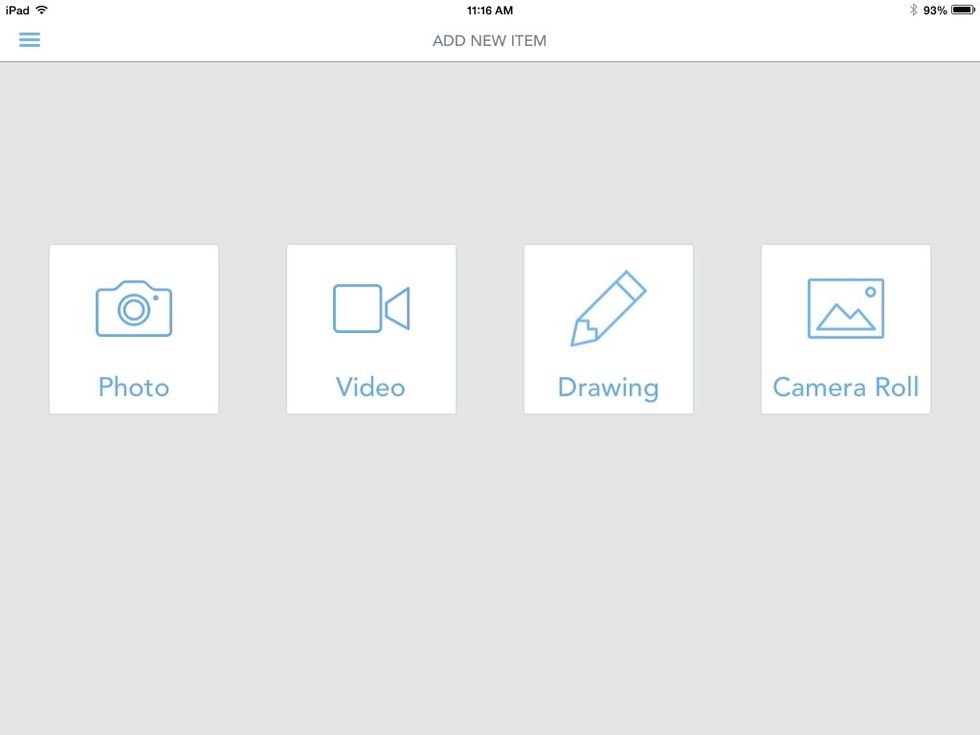
Notice how many different ways students' can upload their creations! Any item created in another app can be uploaded here as long as it's in the camera roll.
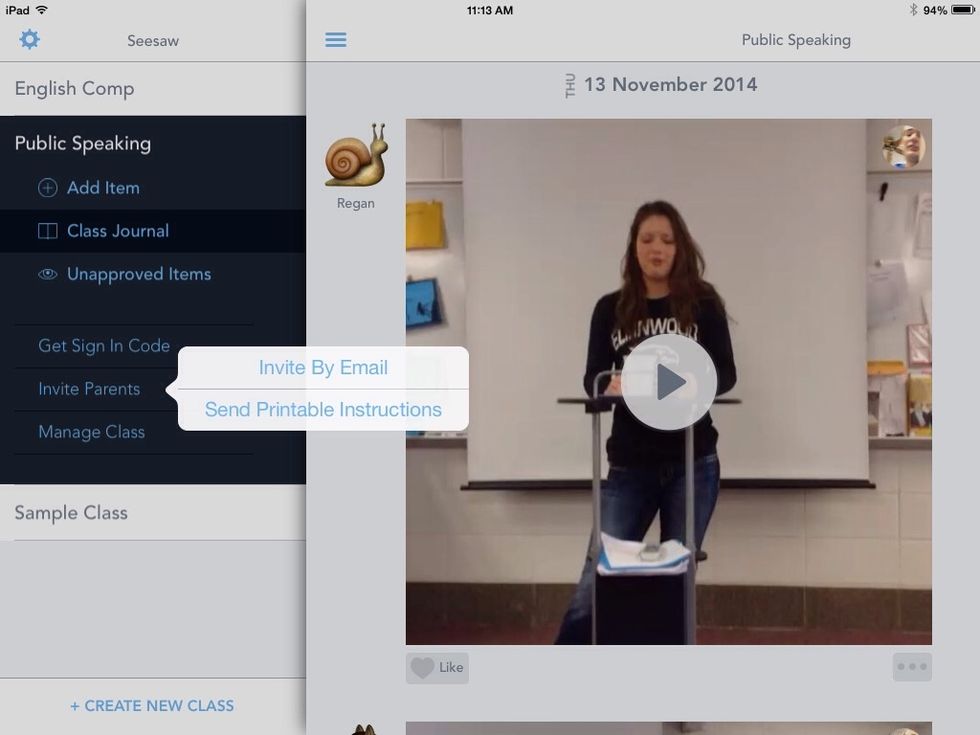
I can invite parents this way.
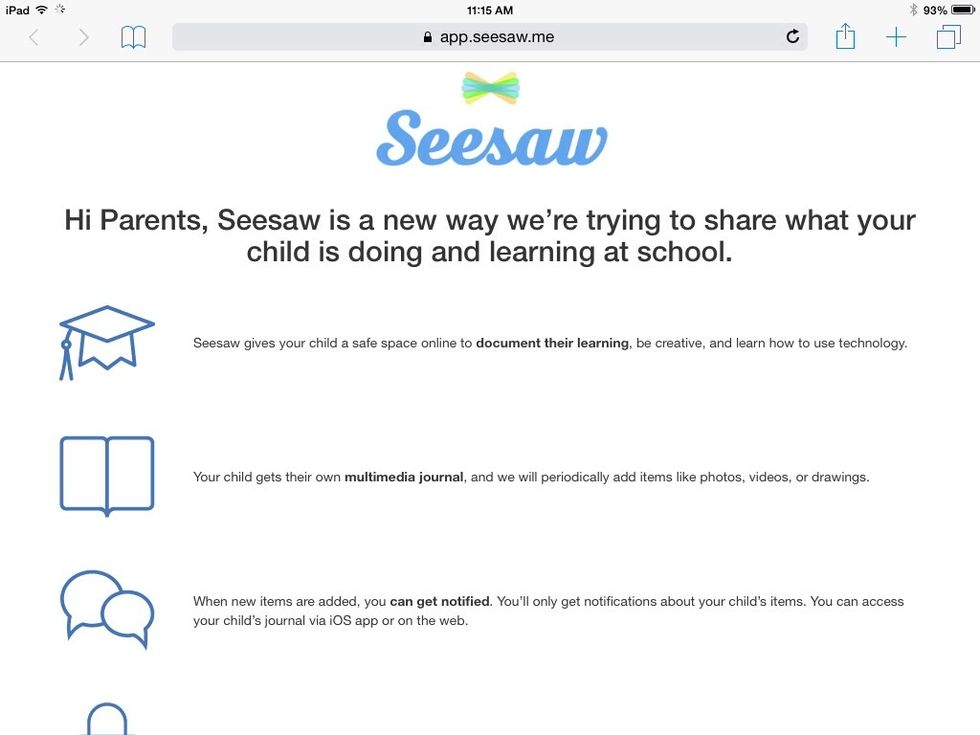
I can print this explanation from my computer or e-mail it to parents.
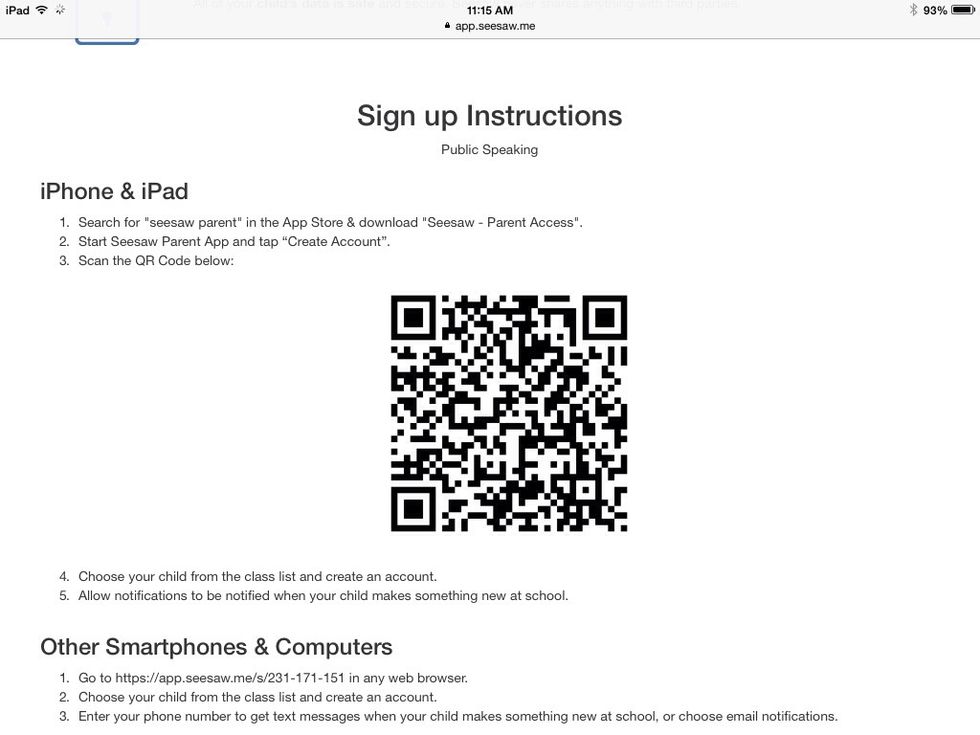
I can give them these instructions for how to join.
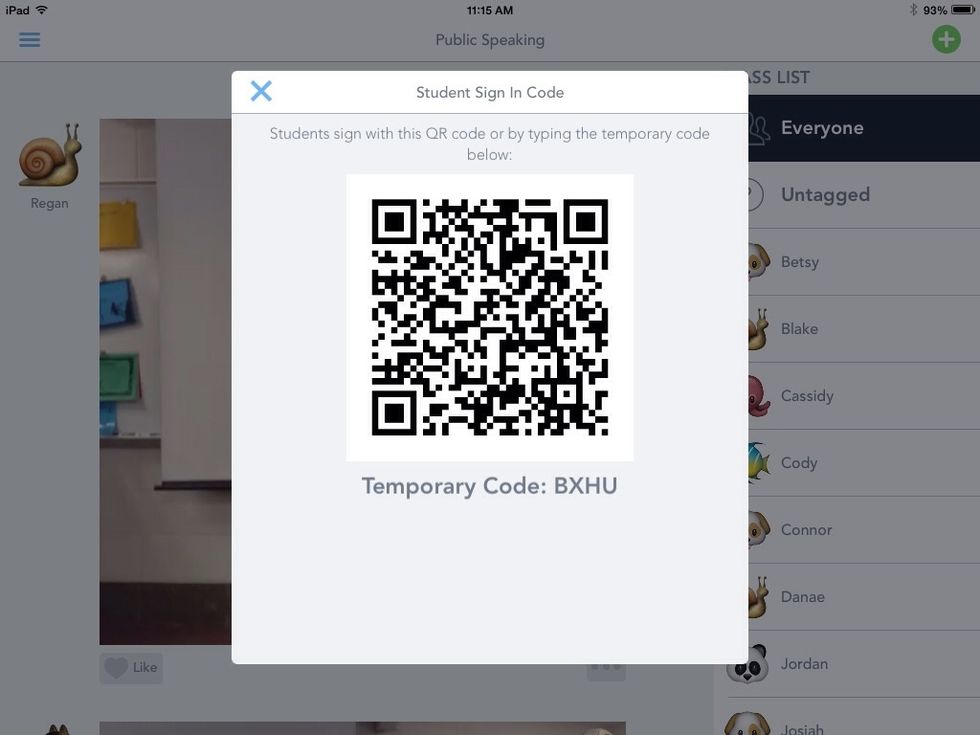
Here is how students can sign up.

Here are some of the options for how I can manage my class. Add students manually by clicking Manage Students.
Let me know if I can help you as you begin to share and show student creations using Seesaw!