The Conversation (0)
Sign Up
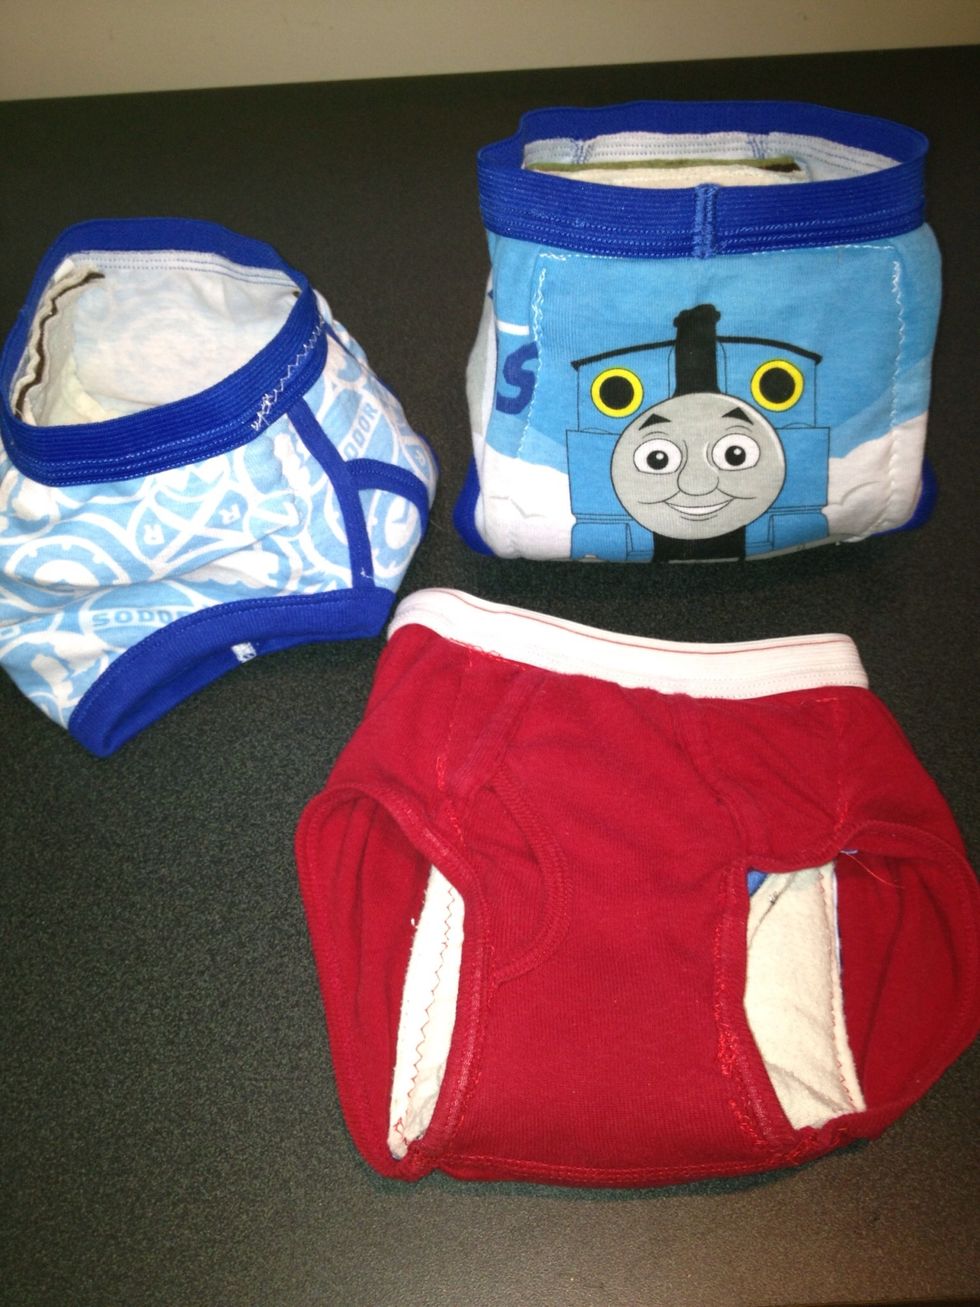
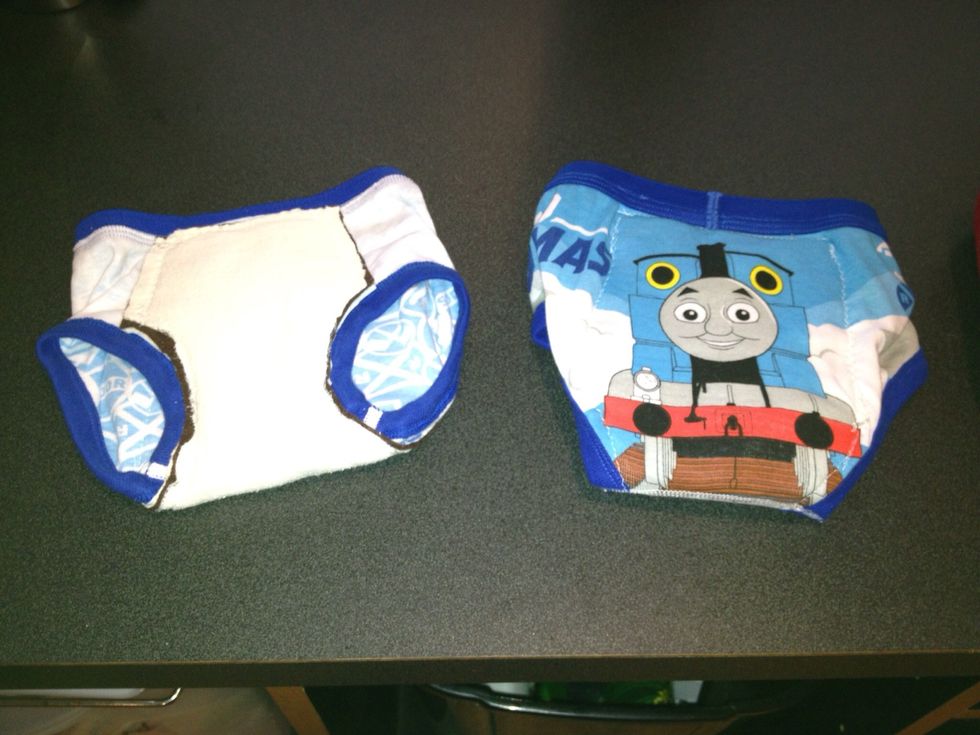
These aren't going to win any beauty contest, but they get the job done!
PUL fabric is available at Hobby Lobby, Joann Fabrics, & other sewing stores. It provides a water proof barrier. It can be pricey but you don't need much. Mine was $12.99p/y . I had a 40% off coupon.
I bought half a yard of PUL and it only cost me $4. I had all my other supplies already. Shop for your absorbent fabrics in the scrap bin section of your store. You don't need much for this project.

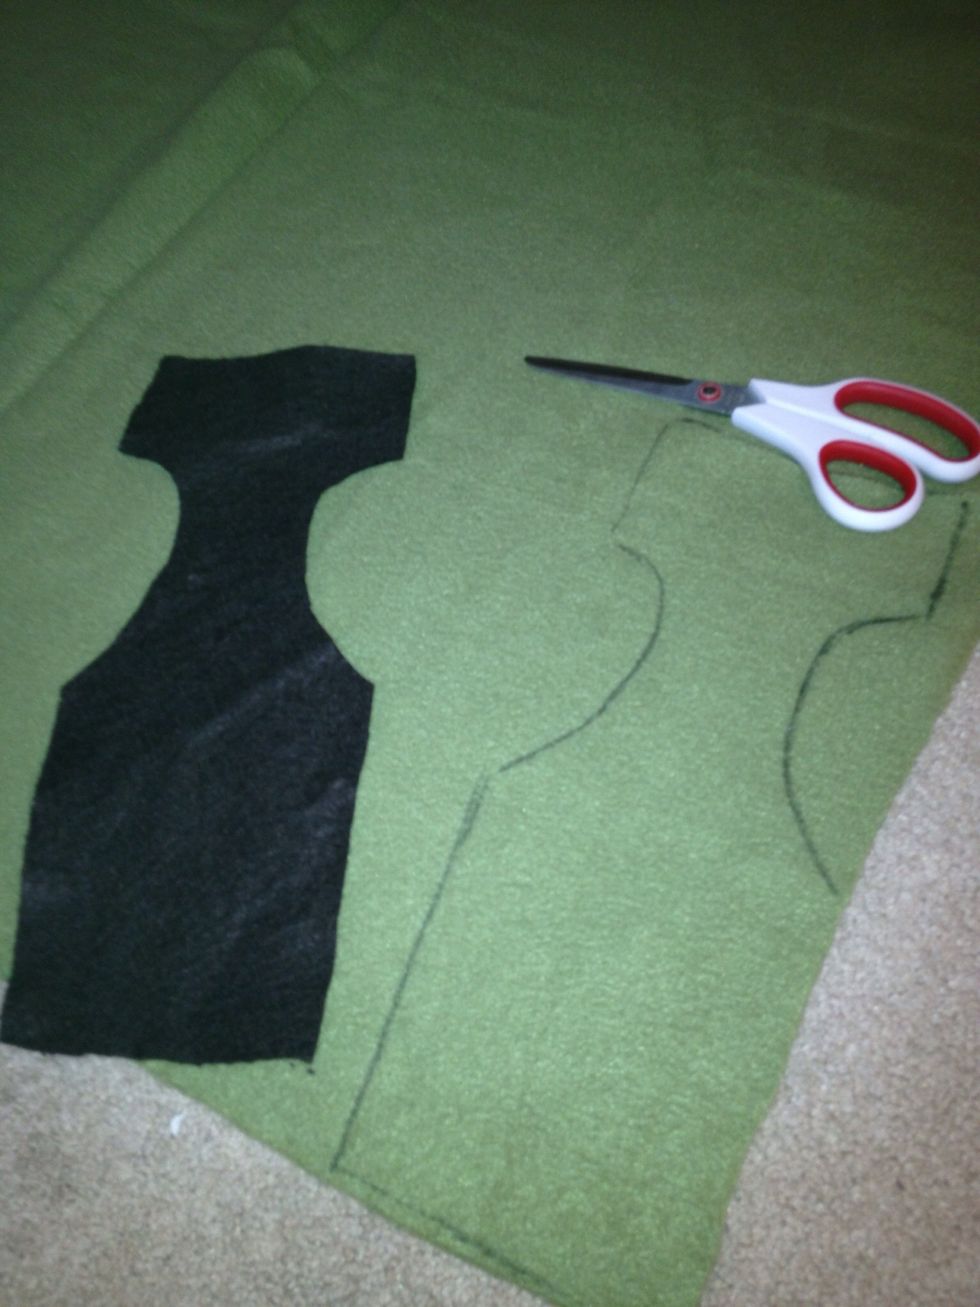
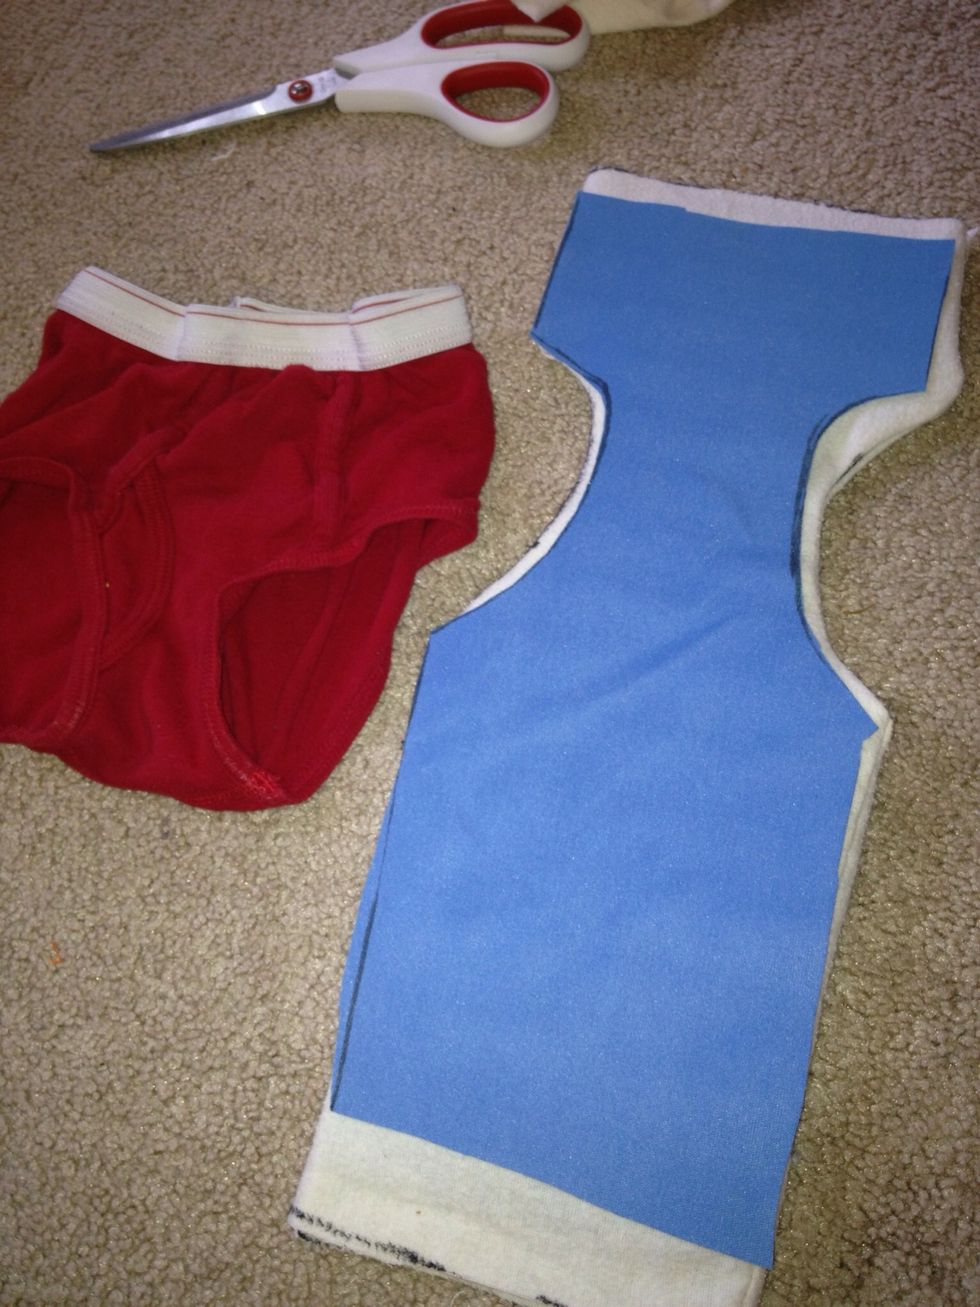
Get wax paper & lay it over the underwear to make a pattern.Trace over the front, middle & rear section- inside the seam. Cut your pattern out. I fold mine lengthwise & cut once- makes pattern even.

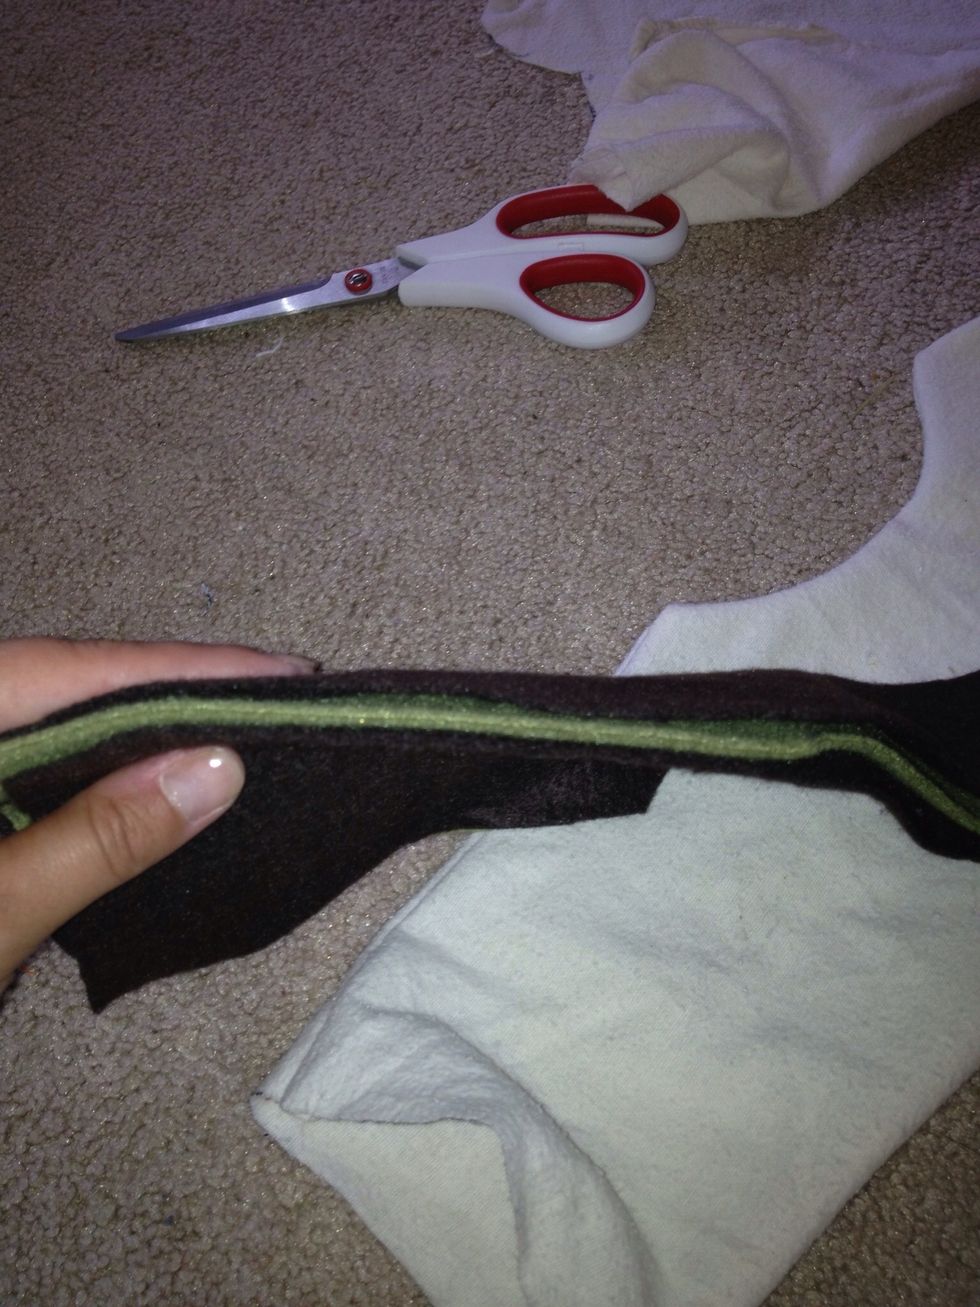
Use your pattern to cut out the layers of absorbent materials. This layer is felt, left over from another project.
My next layer was fleece. Those 'ShamWow!' cloths work great for liners too.
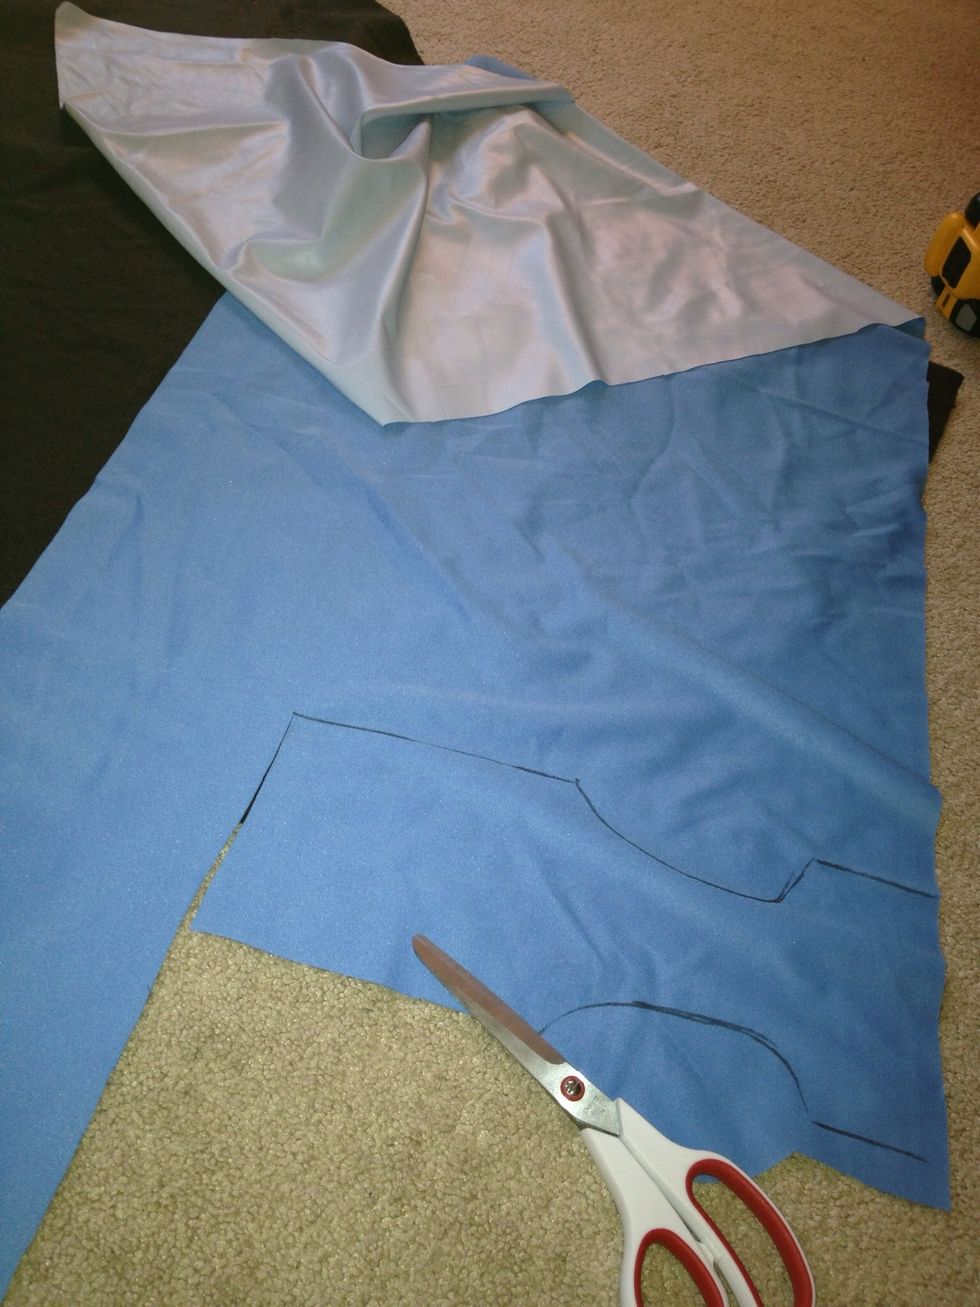
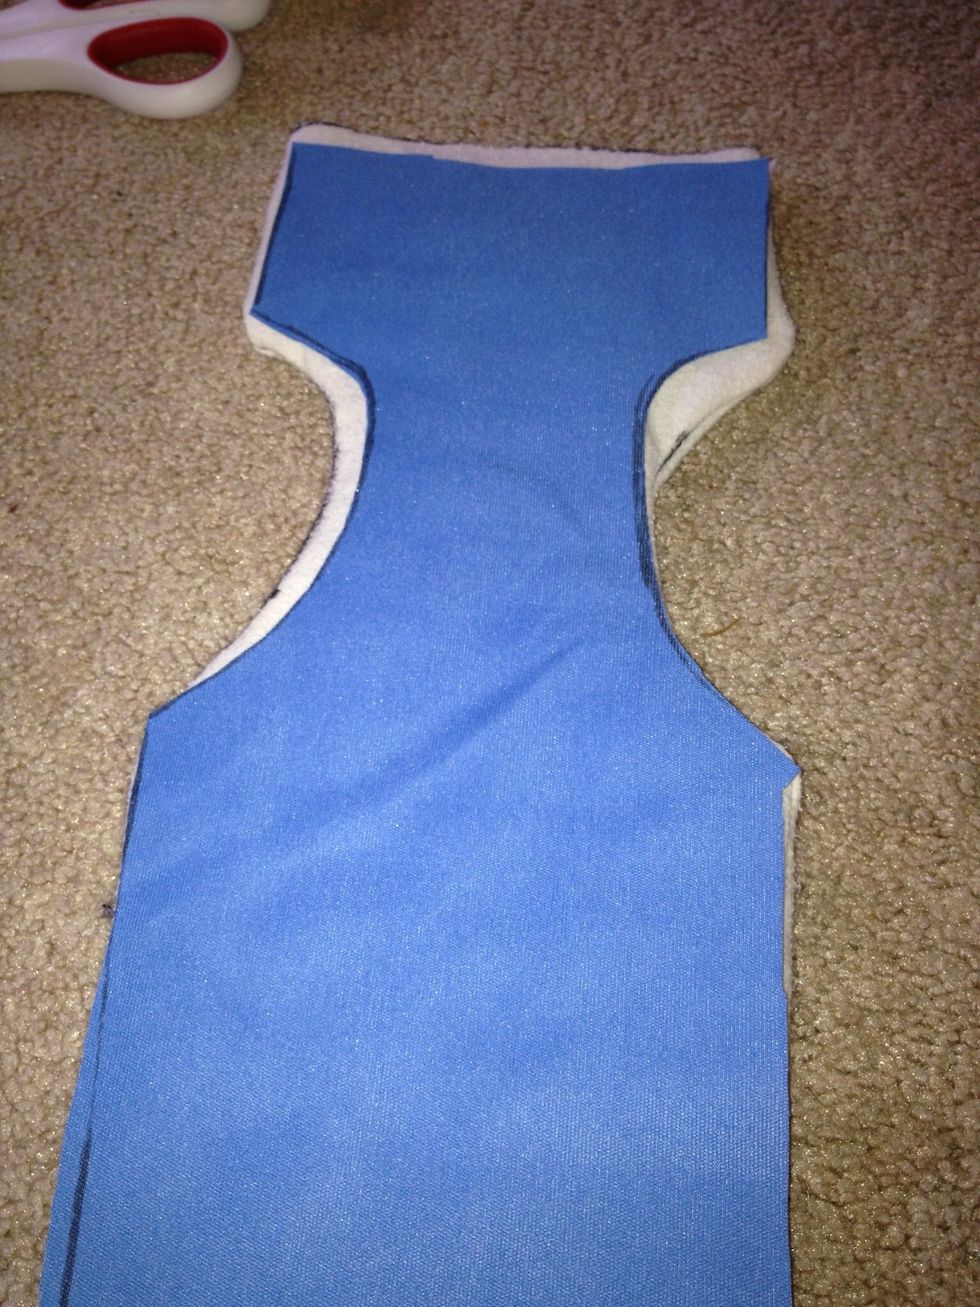
This is the PUL. See how it has two sides? The white plasticky feeling side should be the back, or against the area of wetness. Fiber side is the finished side, blue in this case.

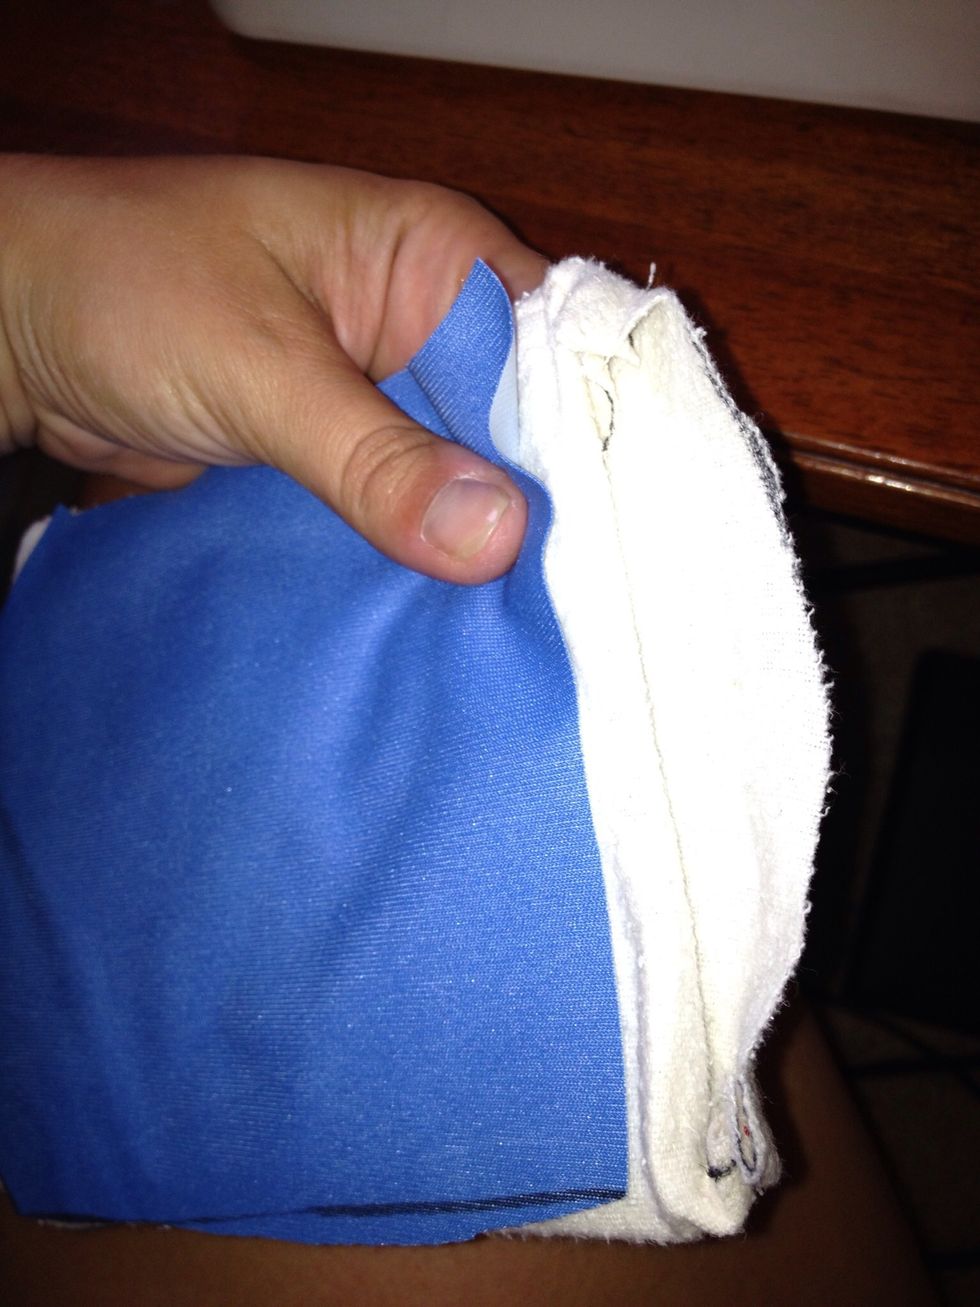
This was a new step for me. I cut out two oversized pieces of flannel pattern and sewed up the long edges leaving the ends open. You don't HAVE to do it this way. I was trying to make this pair 👉
more finished looking. You can cut the flannel exactly the same as the rest of the layers and stack them just as you would the rest. I did that on my other pairs.
On this pair it looks less finished b/c you can see all the layers. I didn't sew the white layer as a sleeve for the rest of the pairs that I made. It's preference. Do it how it's easiest for you.
Stack your layers up, insert into your flannel sleeve if you choose to do it that way.
Remember, we want the kid to know they've wet themselves, so don't make it too thick. Unless your kid is a super pee-er... In that case, go nuts.😉

Should have cut the PUL last and made it larger than my sleeve. It still works, but learn from my mistake and cut that layer larger.
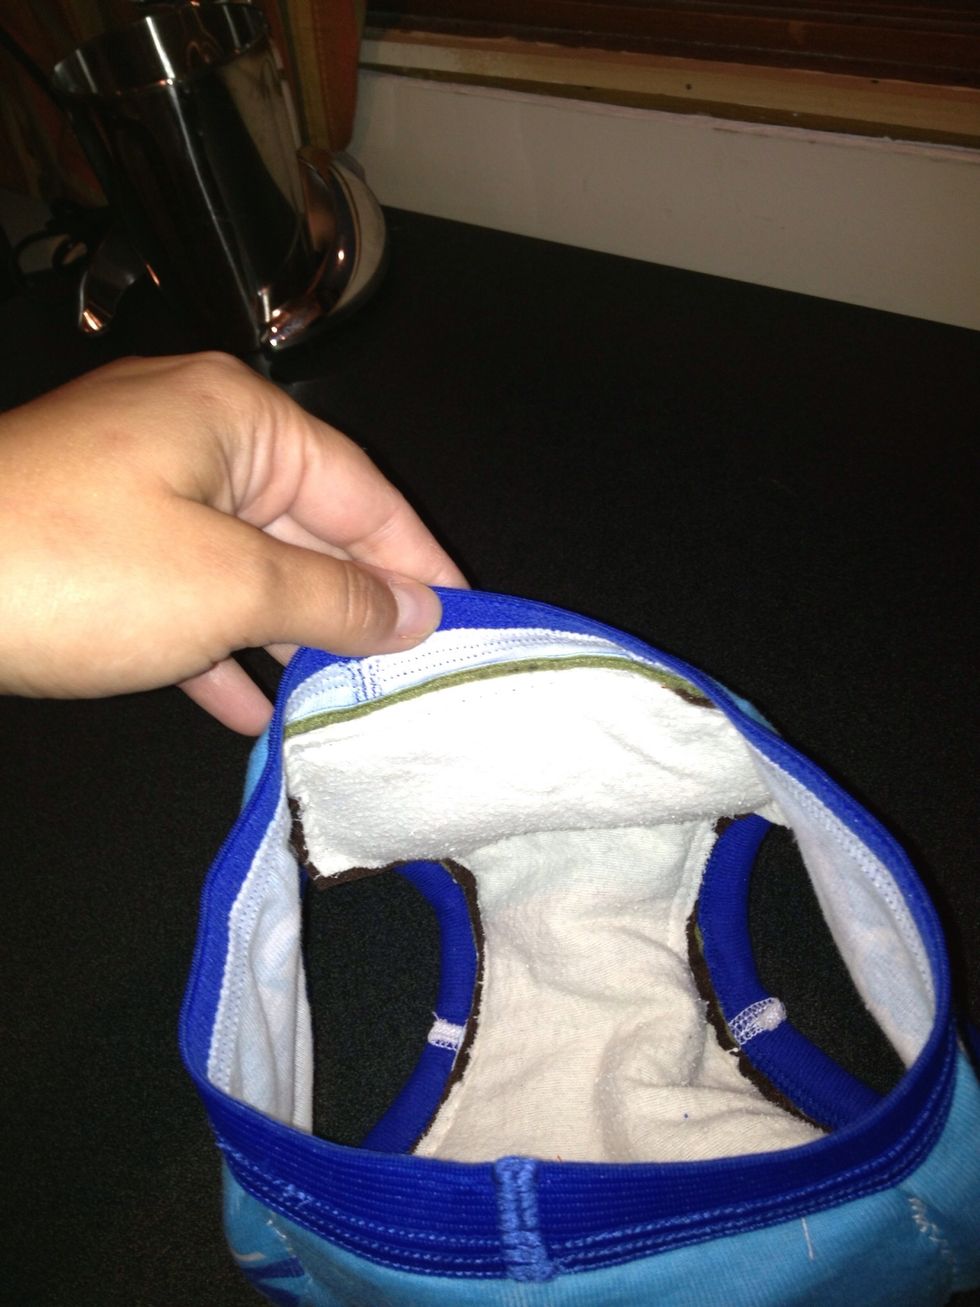
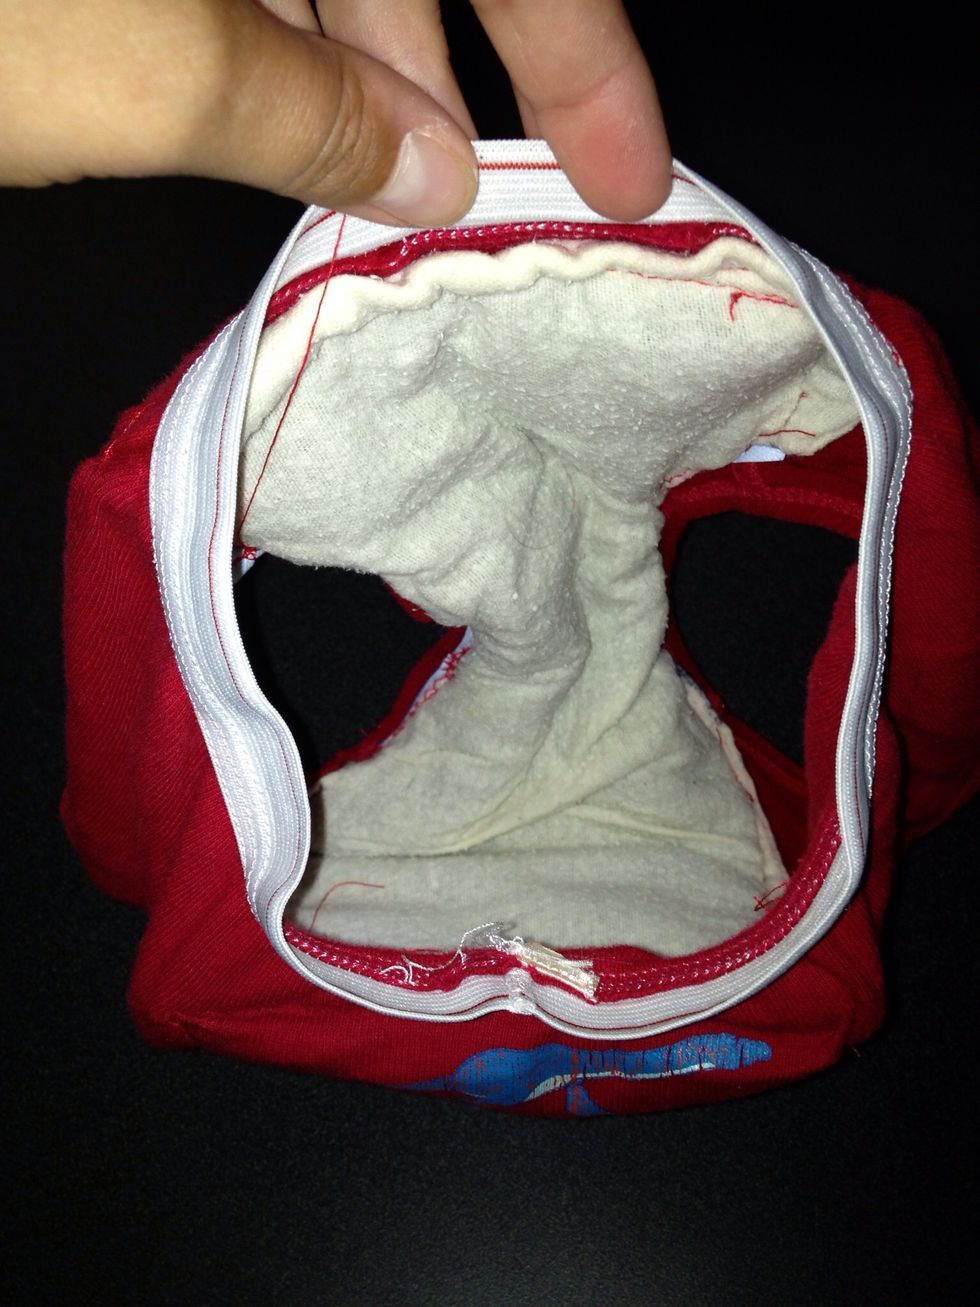
The liner goes inside the underwear. The finished side of the PUL against the inside of underwear, then the absorbent layers ( in the flannel sleeve) behind the plasticky side of the PUL.
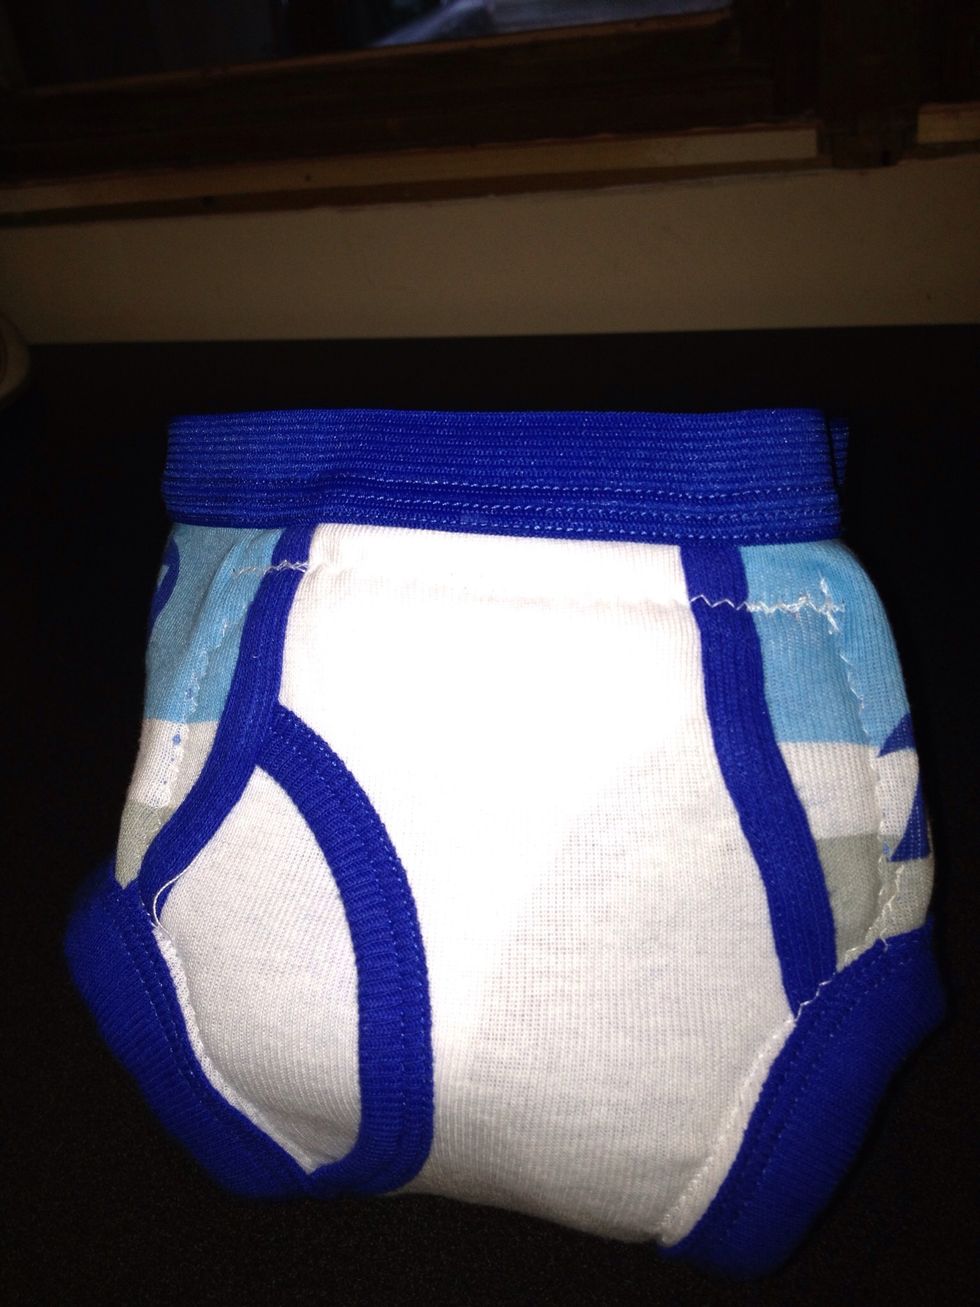
I wanted to hide the multi colored inner layers on this pair, so I trimmed the inside layers and folded the white layer over and onto the PUL.

Sew it in place. I'm a novice at sewing and using my machine - I never set the tension right. I'm still learning. 😊
I finished both ends of the absorbent liner that way, then I started sewing it into the underwear. 🙌STOP! Make sure you have the correct side of liner against the underwear!
I'm just making these for my son so I don't need them to be perfect, I just want them to work- so as I sewed them I flipped back and forth between doing it inside out and right side out.
Make sure that as you sew your liner near the leg holes that you leave enough distance there that the leg holes are snug(ish) around the toddler's leg. You don't want any icky stuff escaping!
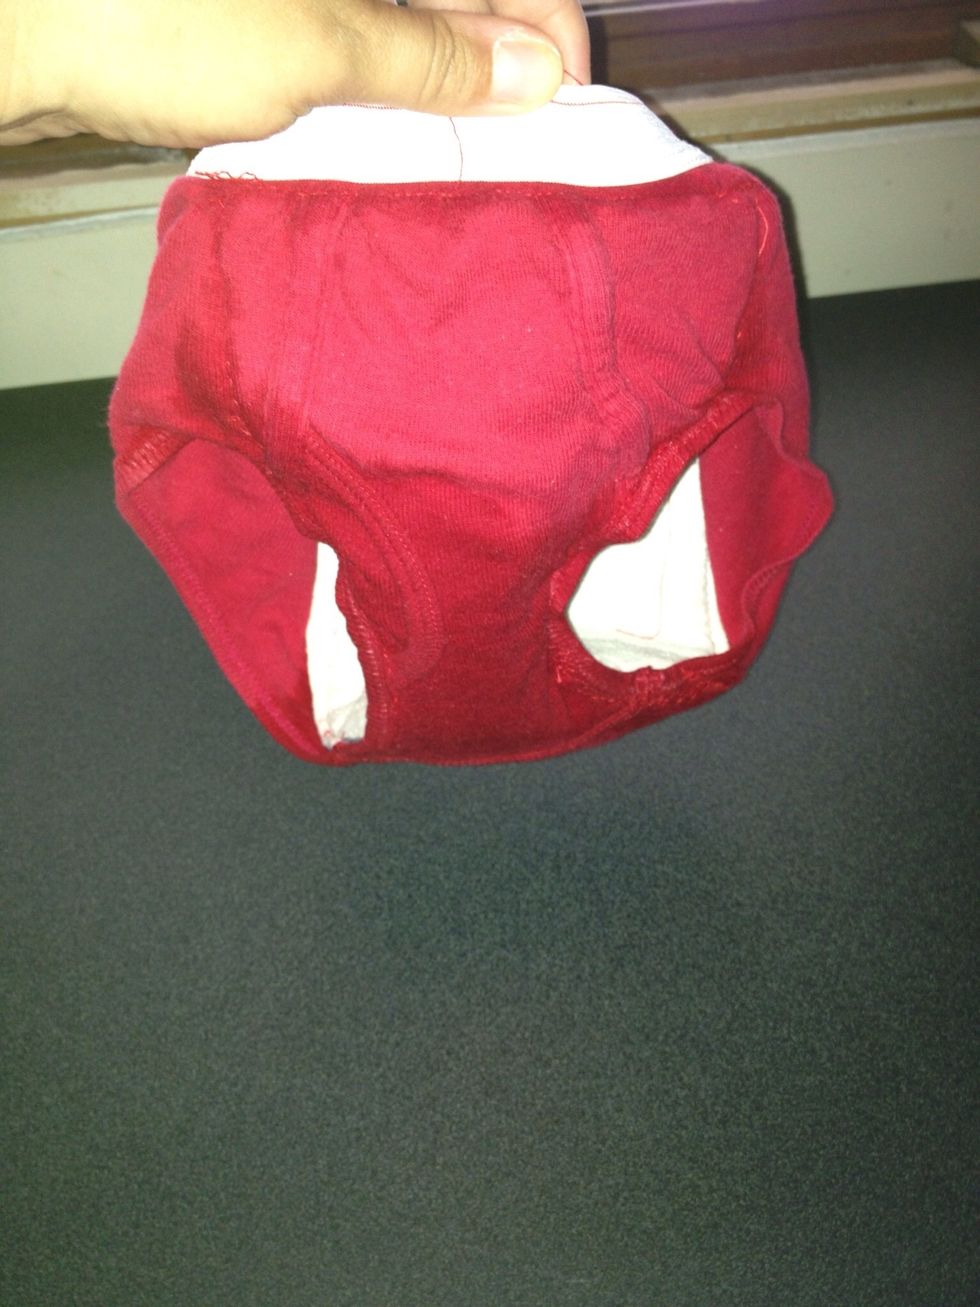
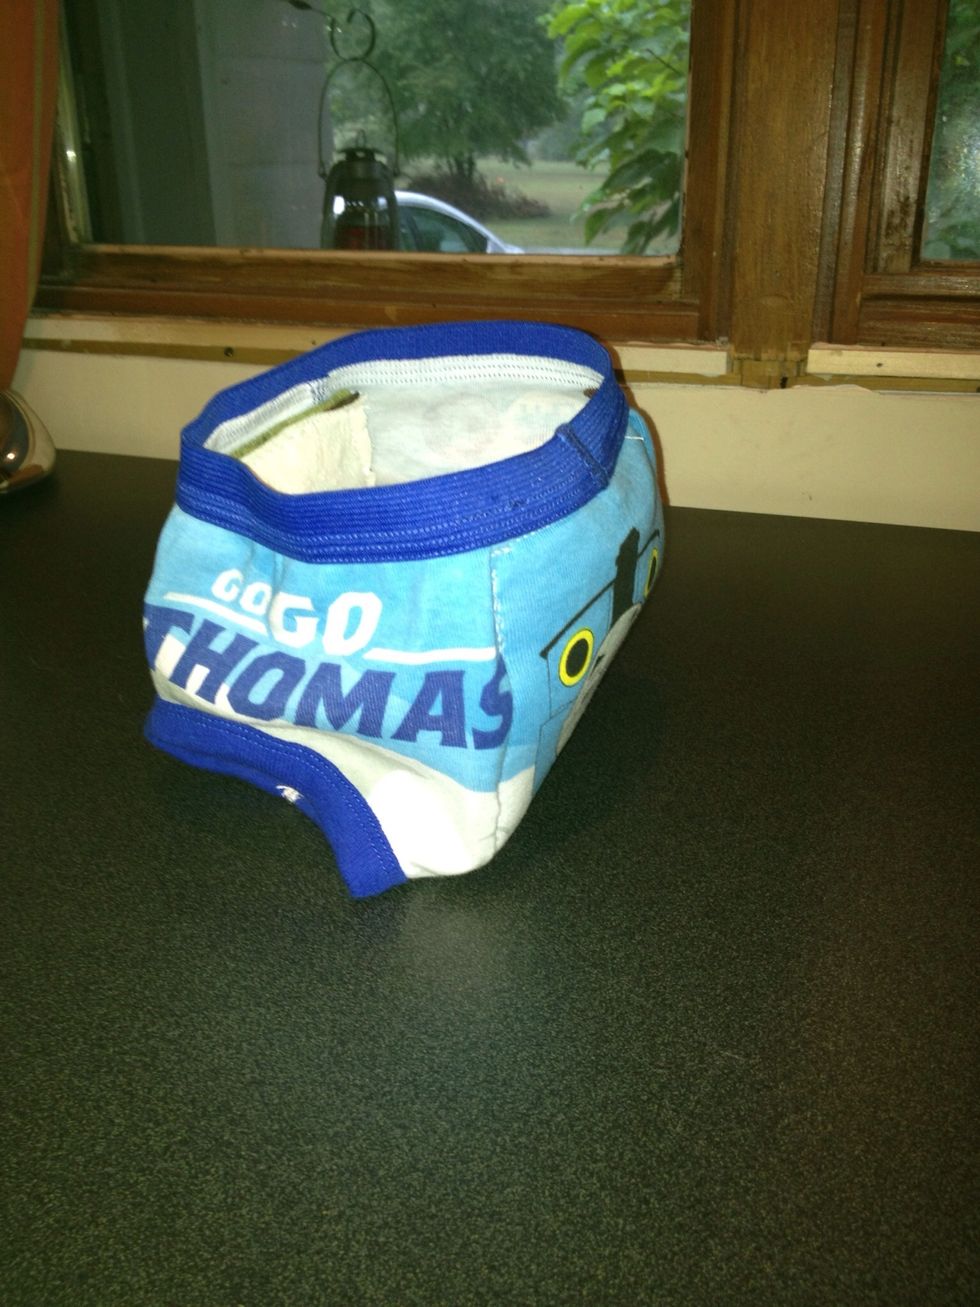
The kid make a MASSIVE pee in these, and it really stayed in! I was impressed! It did start to leak out after about 30 minutes because there was so much & we were out of the house.
This is gross- I know- but it shows how much pee is in these things. Hardly any leaked out after time. For a homemade solution these work amazingly well.
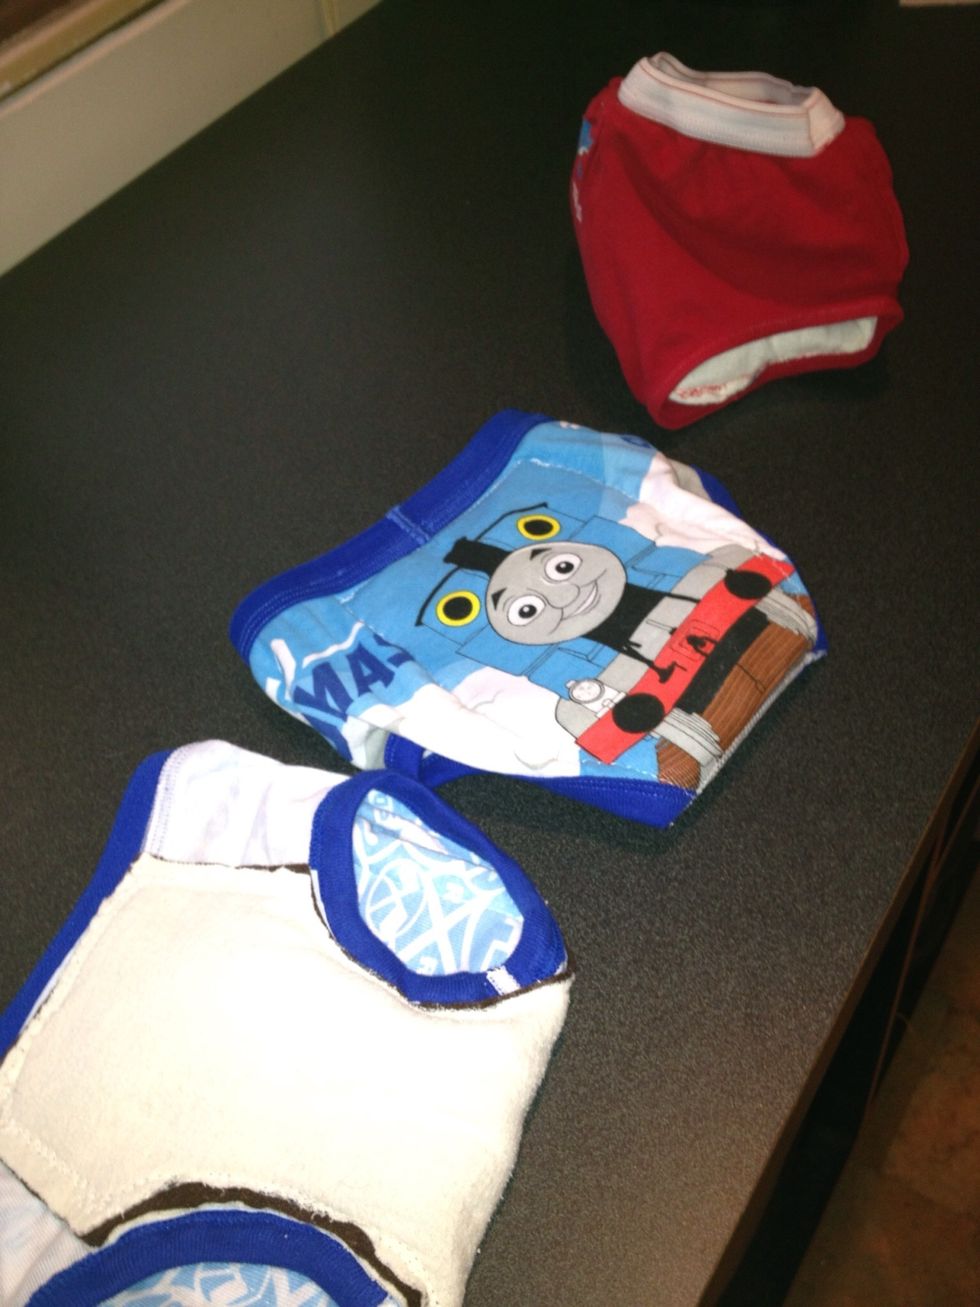
You can do this on Gerber training pants too- just add the PUL fabric to the outside. Don't be afraid to experiment and see what works for you. Here are tons of tips on the Internet! Happy sewing!