The Conversation (0)
Sign Up
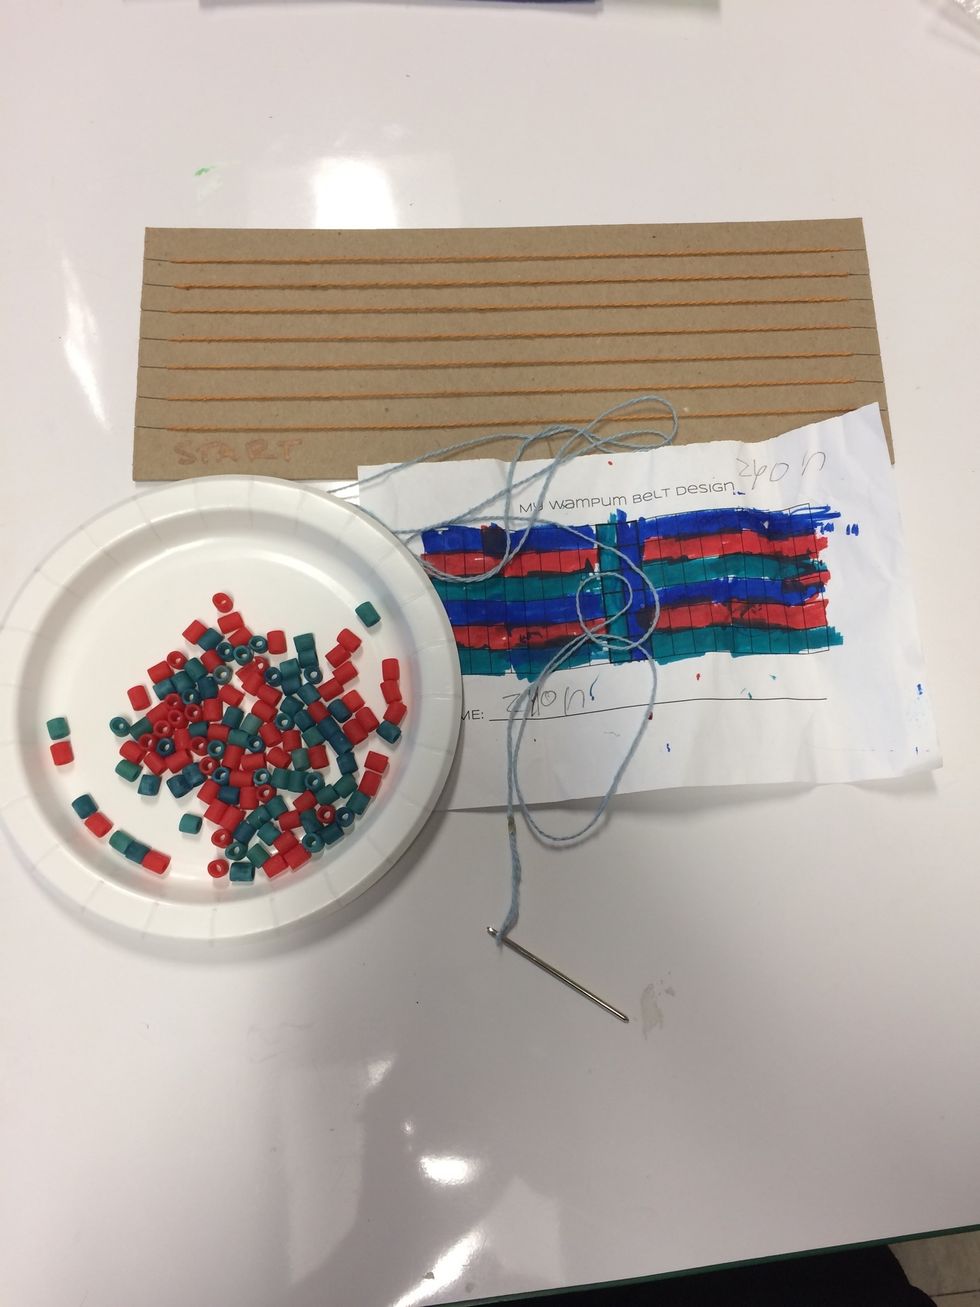
Gather your supplies. Pour your beads carefully in your plate for easy access.
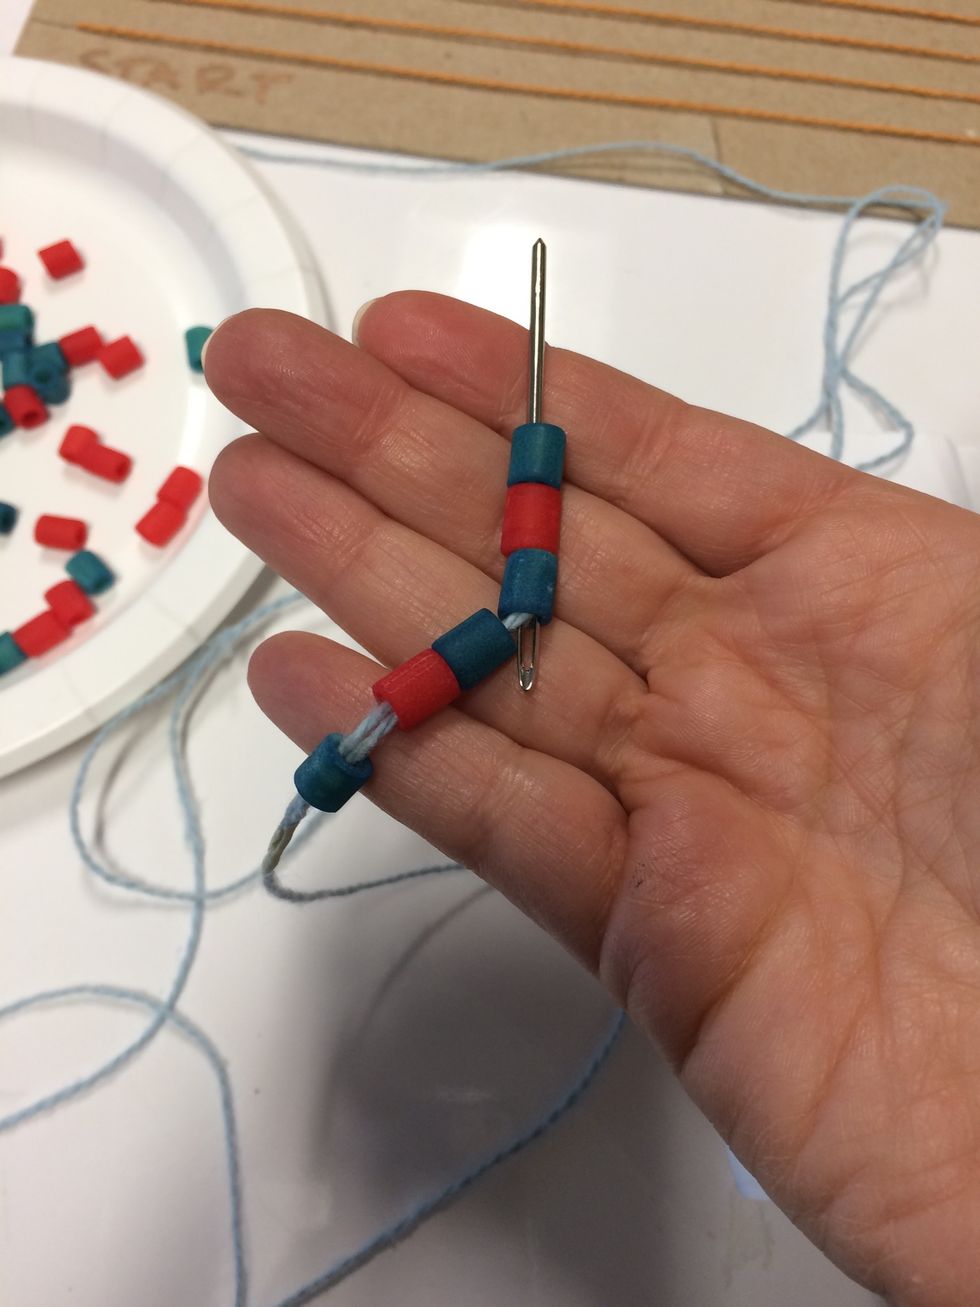
Starting at the bottom, stack your colored beads from the first column on your needle.
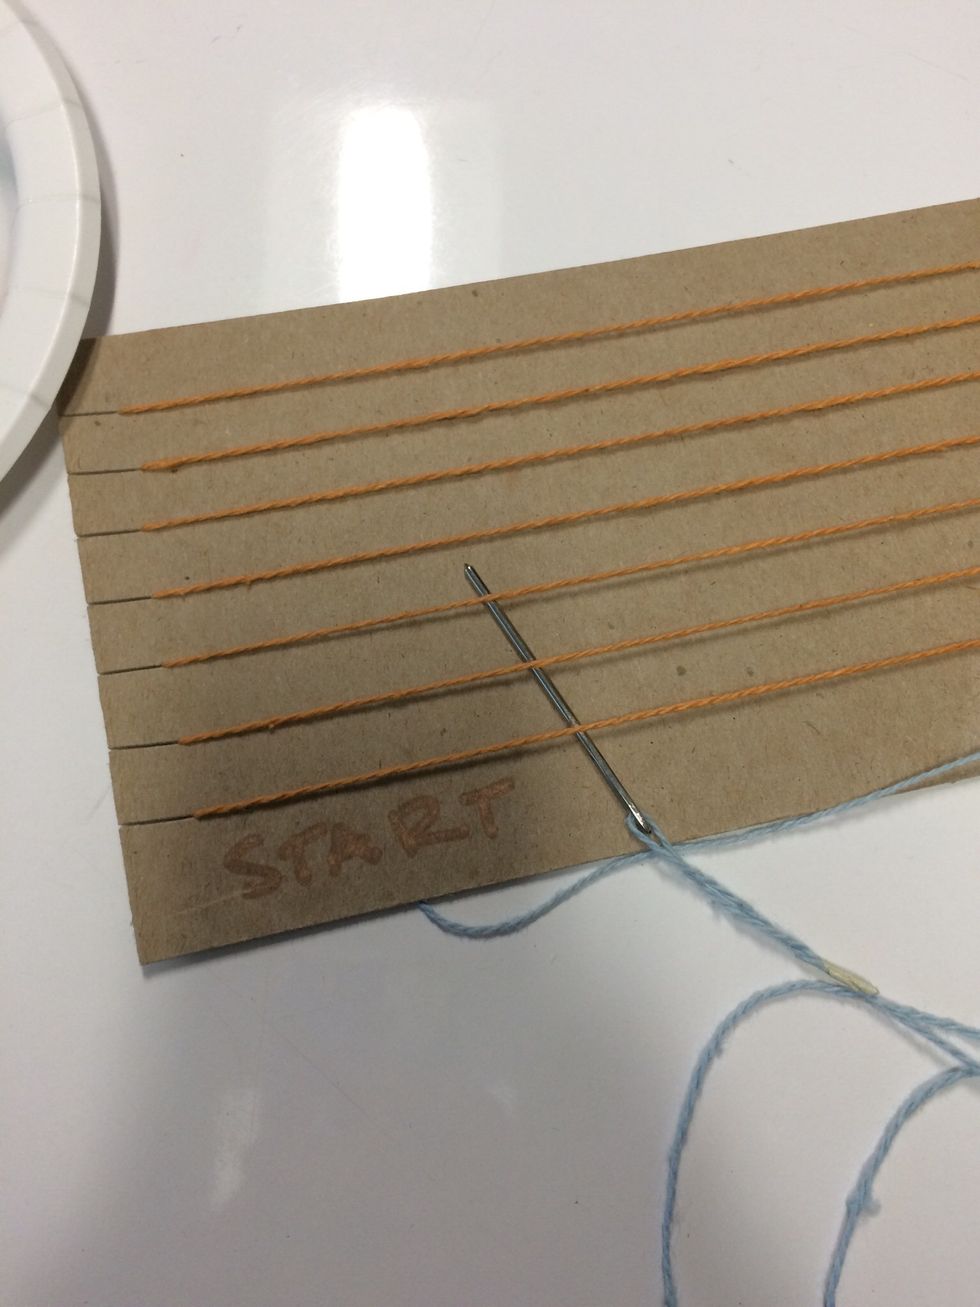
Pull your needle and beads UNDER the strings of your loom.

Place beads in their own rows.
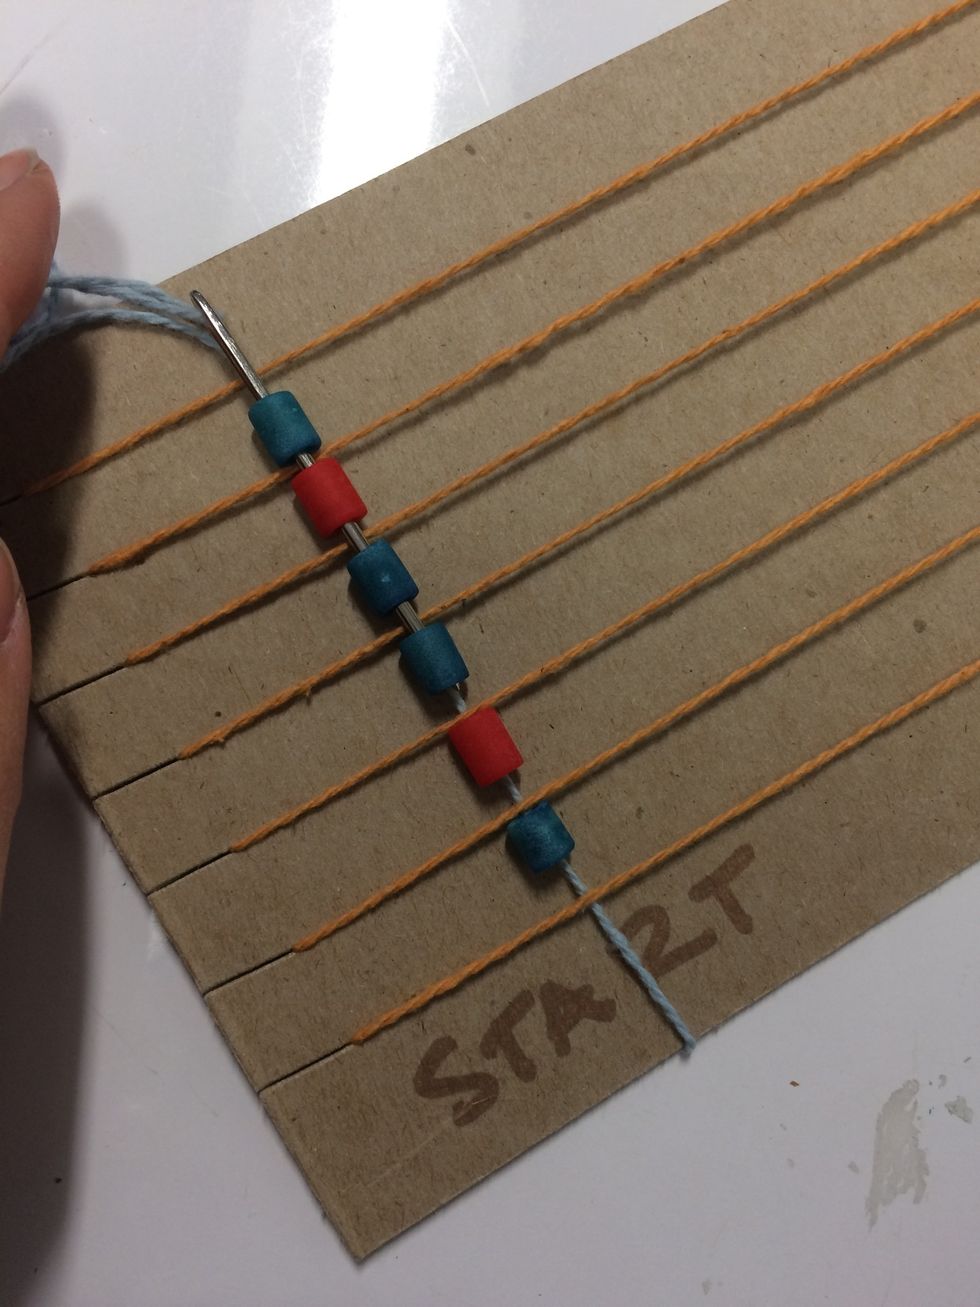
Use your needle and put it through the beads back towards start. Make sure to keep the needle on top of the orange thread.
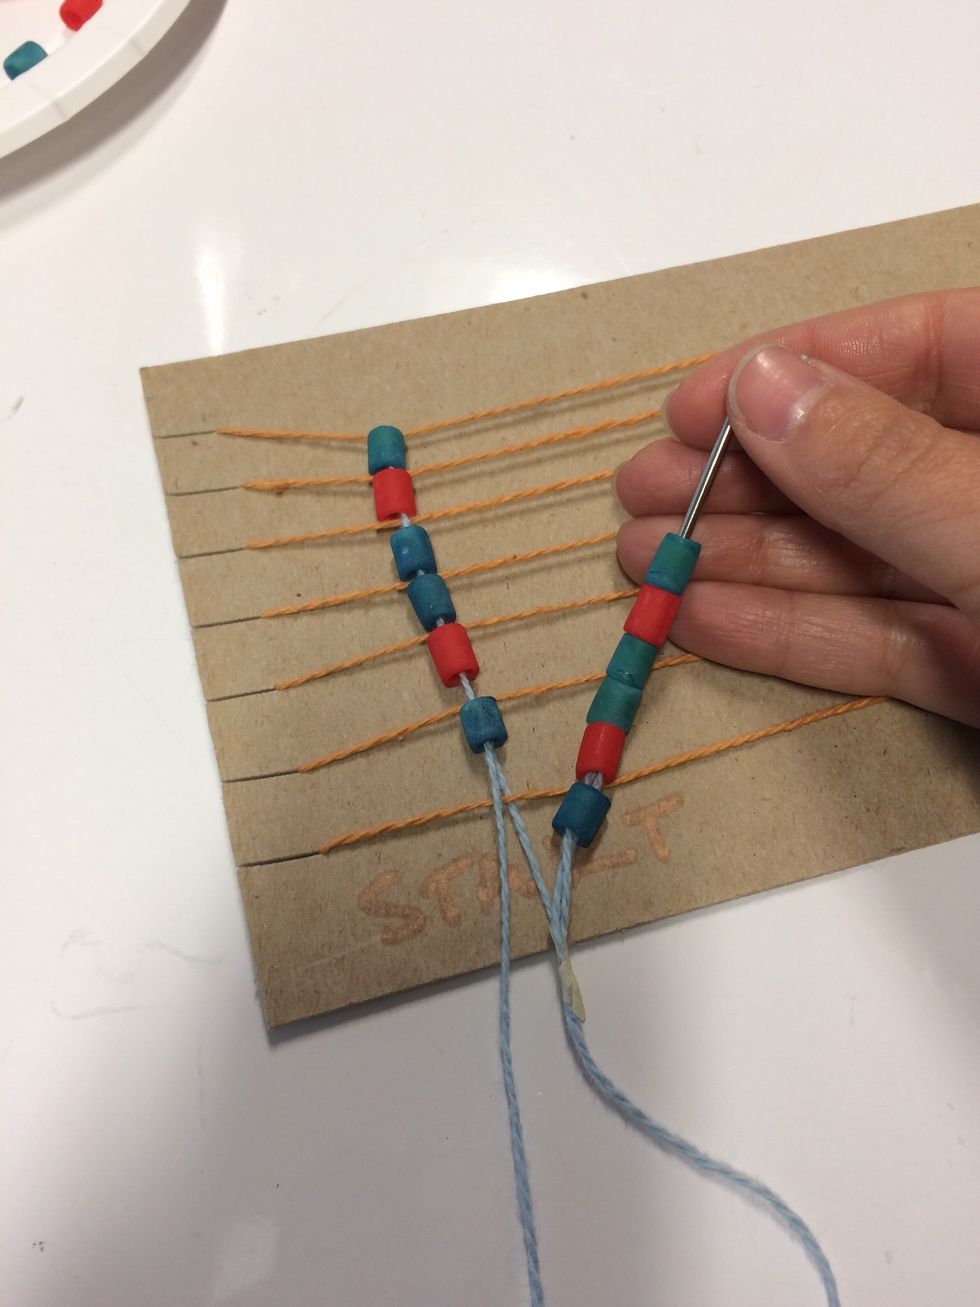
Load the beads for the next column on your needle and repeat previous steps.

Continue until your Wampum cuff is complete.
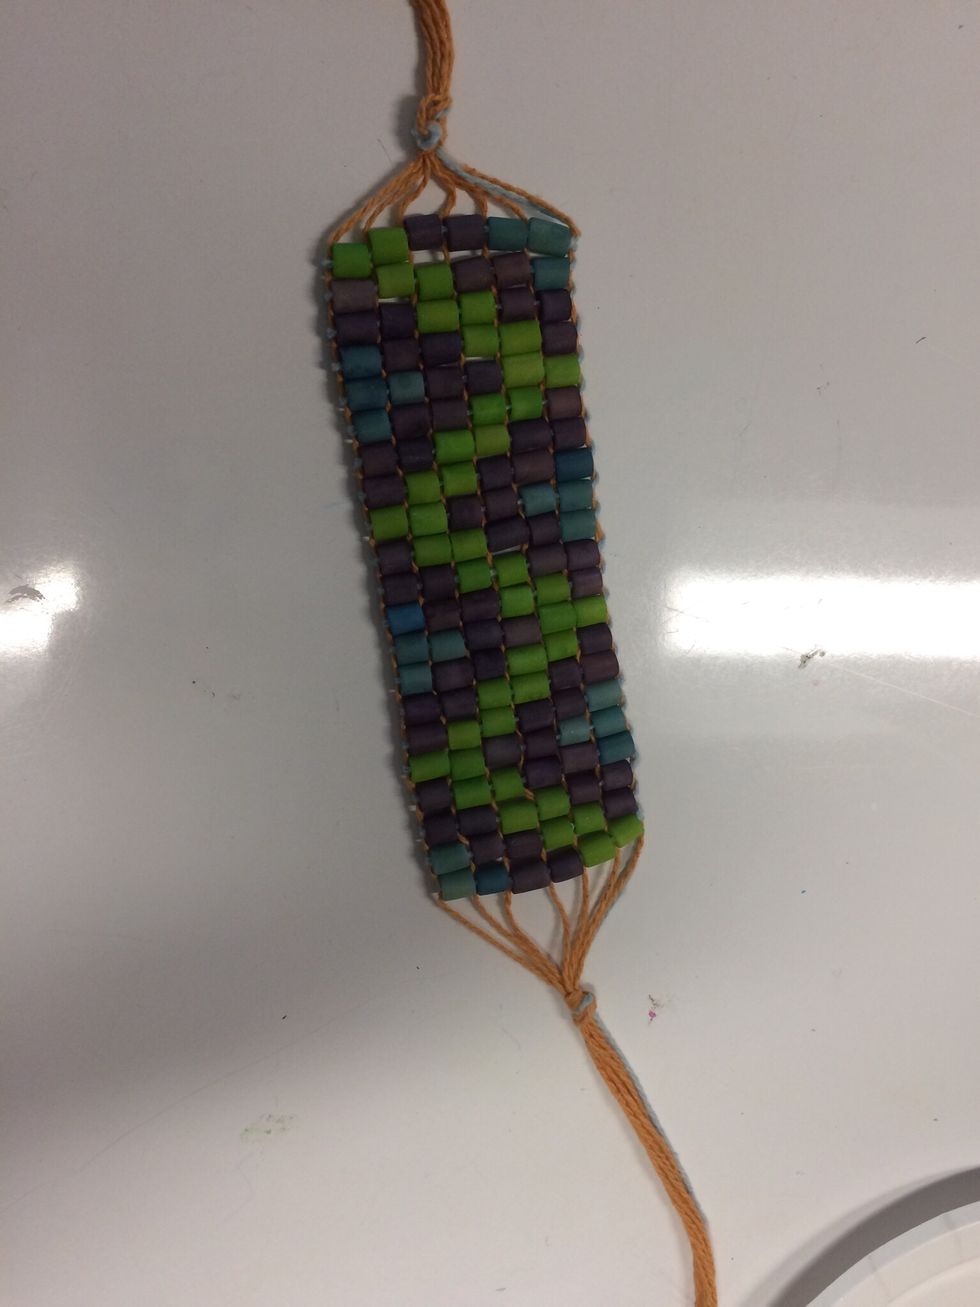
Tie ends and wear your Wampum inspired cuff proudly.