The Conversation (0)
Sign Up

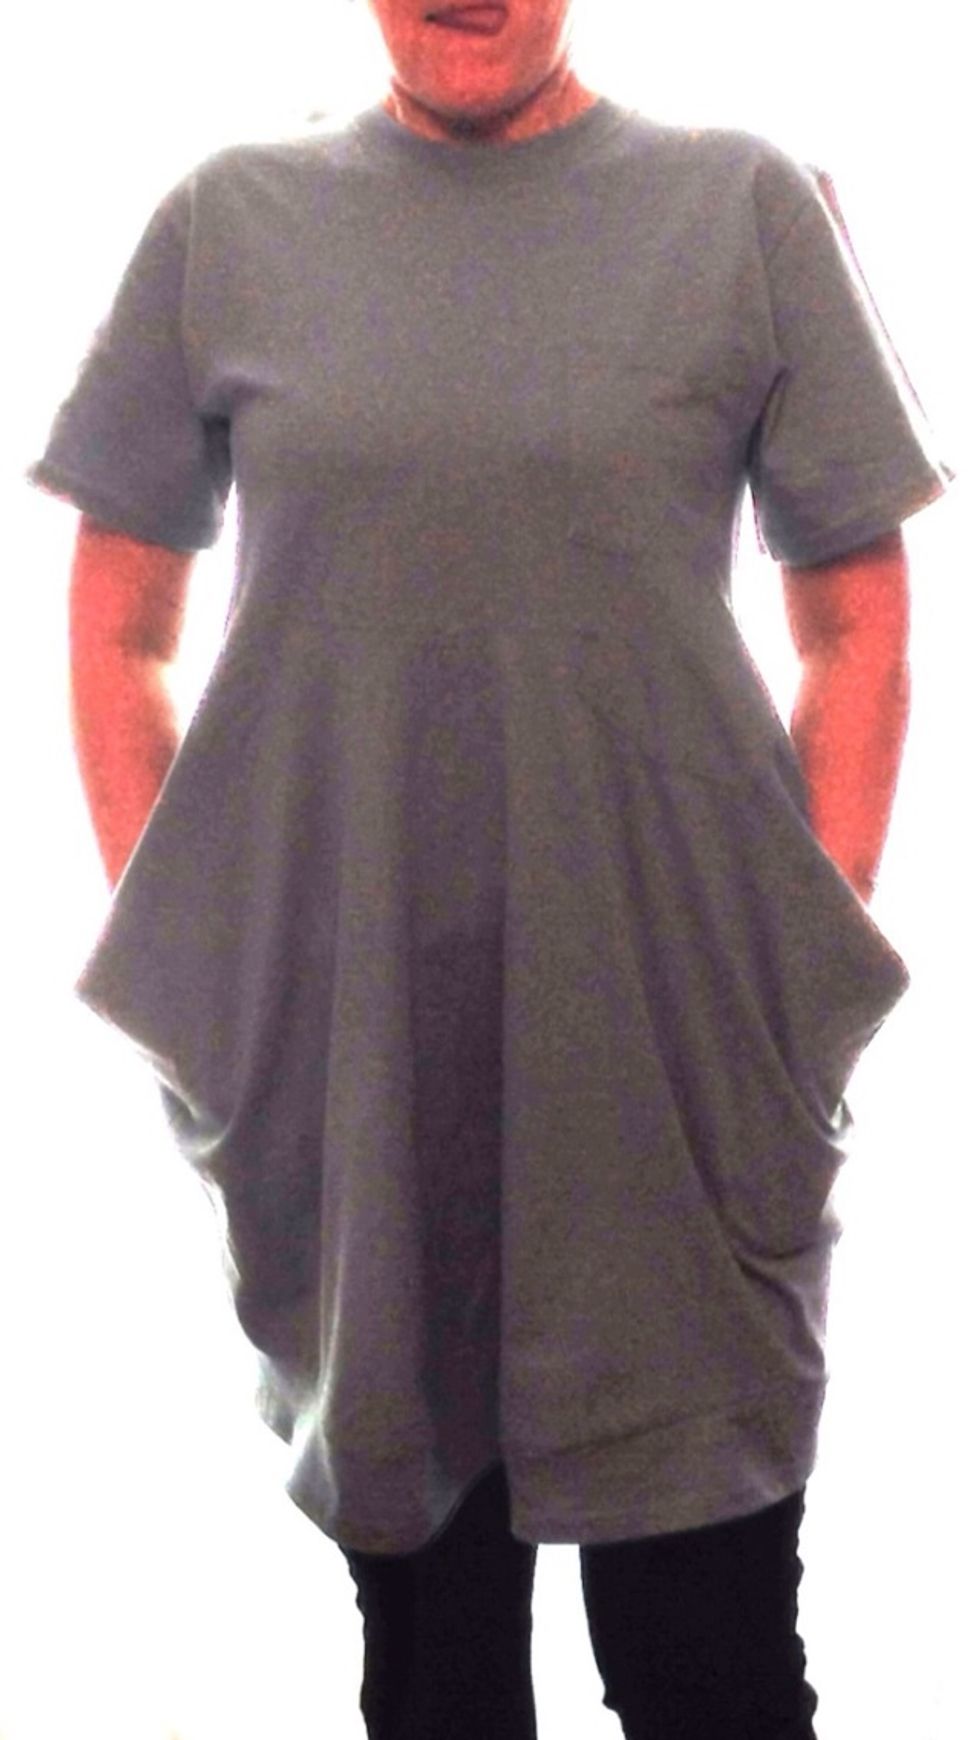
Simple, fast, and fun to wear.
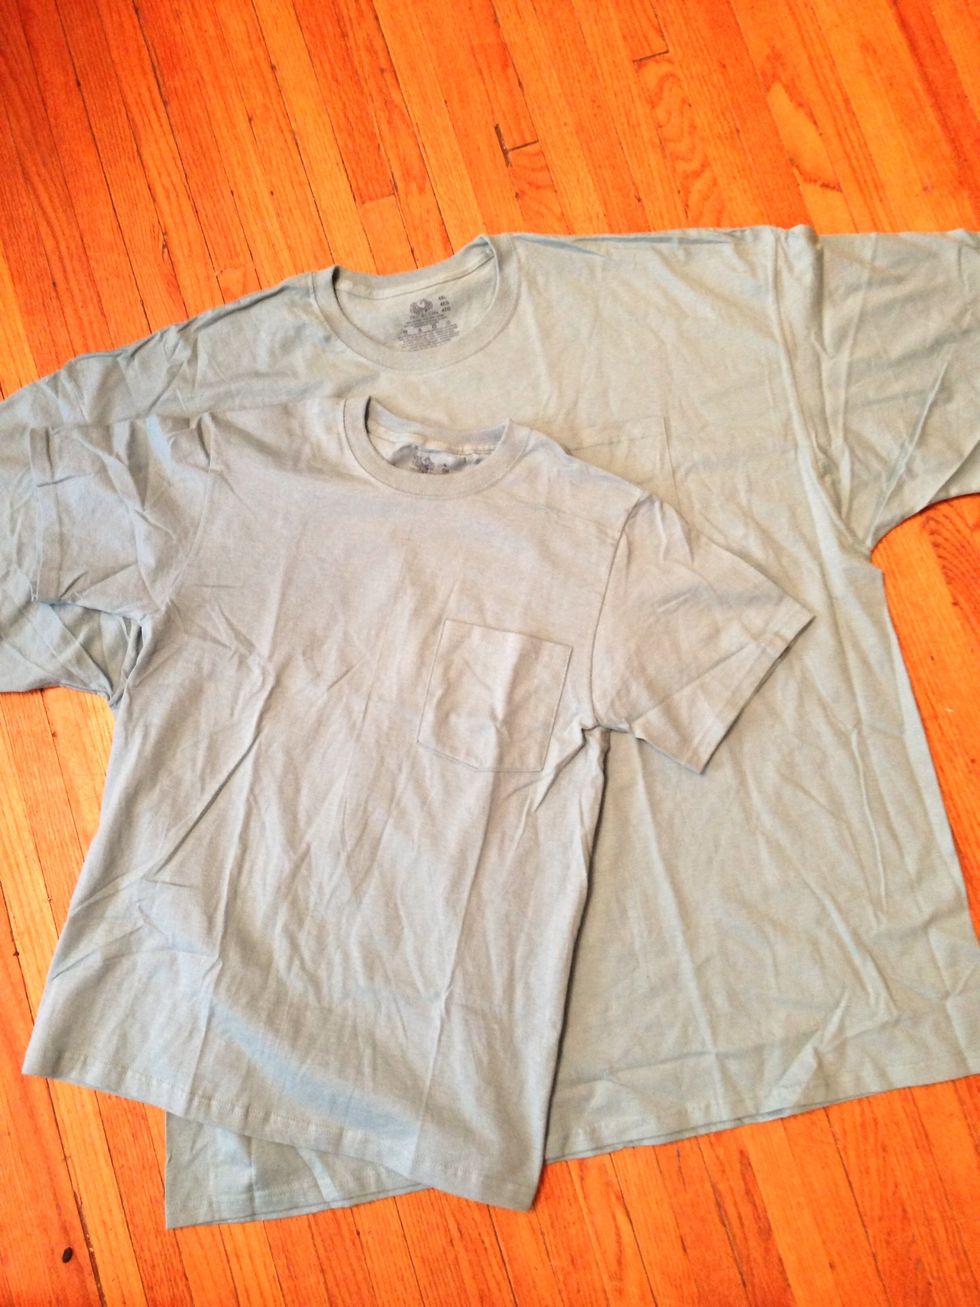
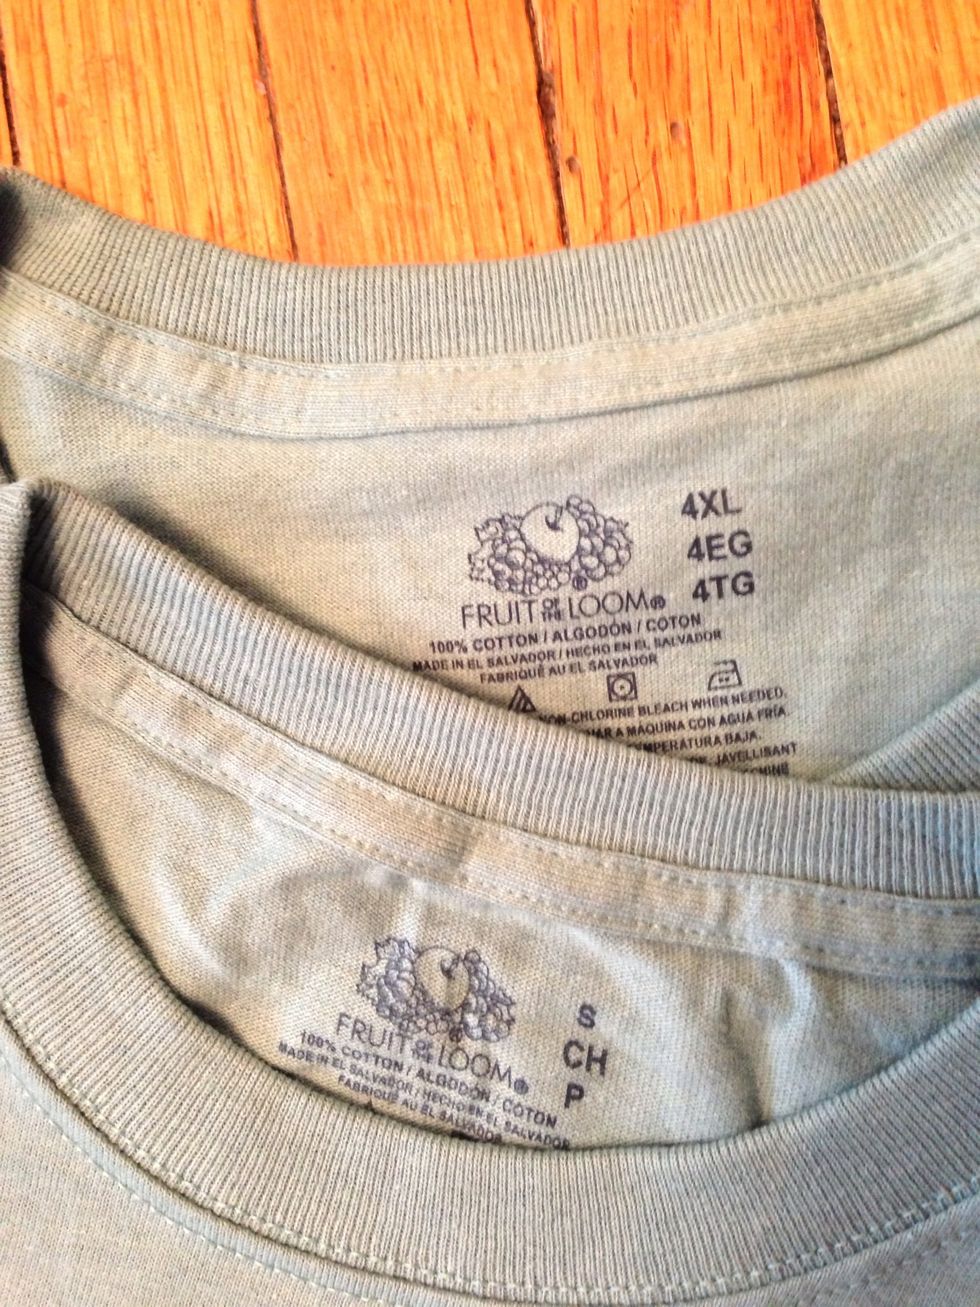
Pick 2 T's for this project. These are sizes S and a 4XL. The smaller T should fit your shoulders nicely.
I used new, matching T-shirts, but you get points for creativity! Mis-matched, or printed T's, most weights...it all works.
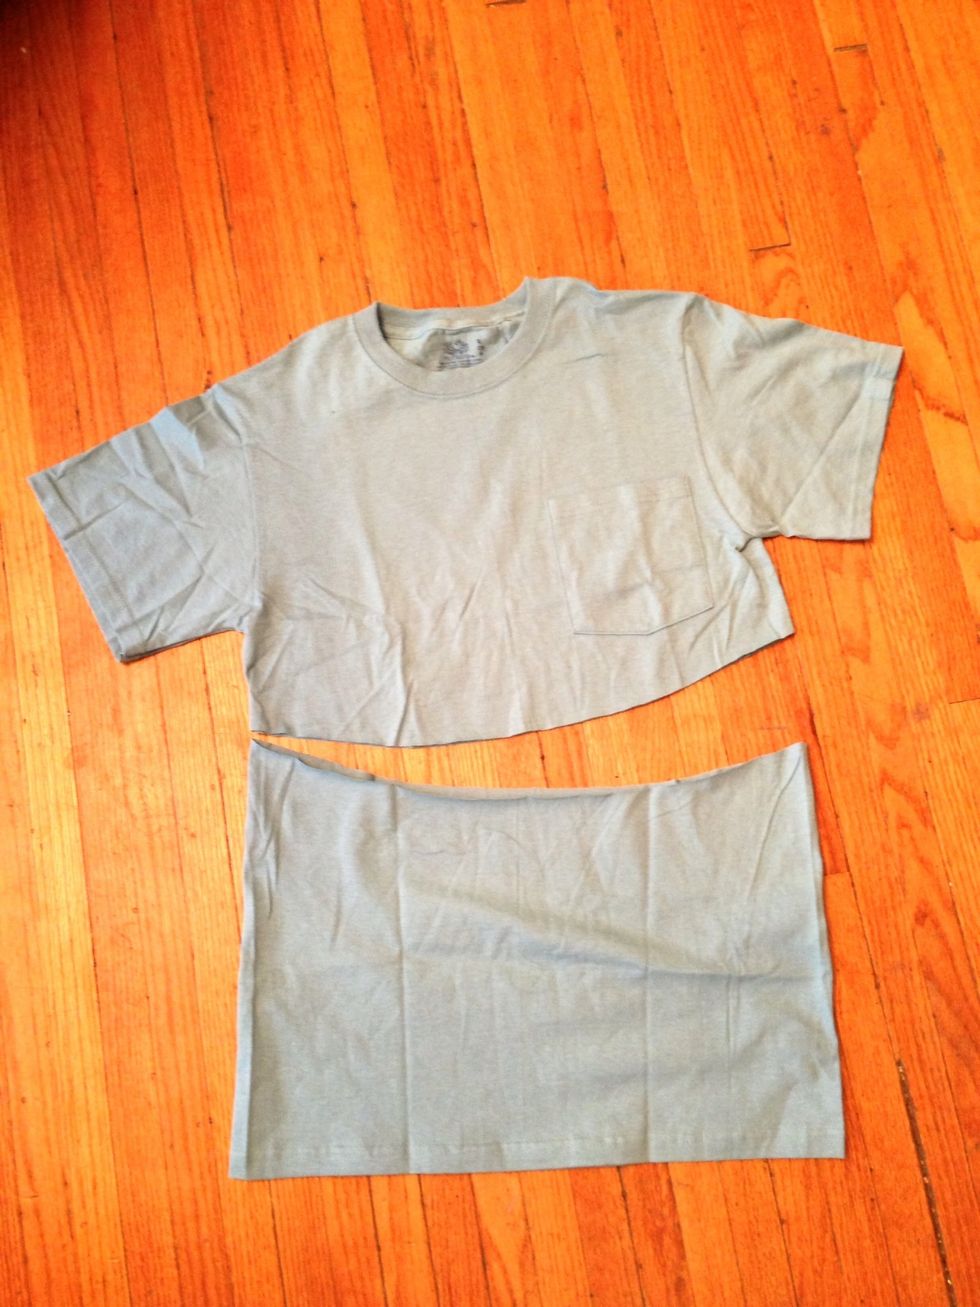
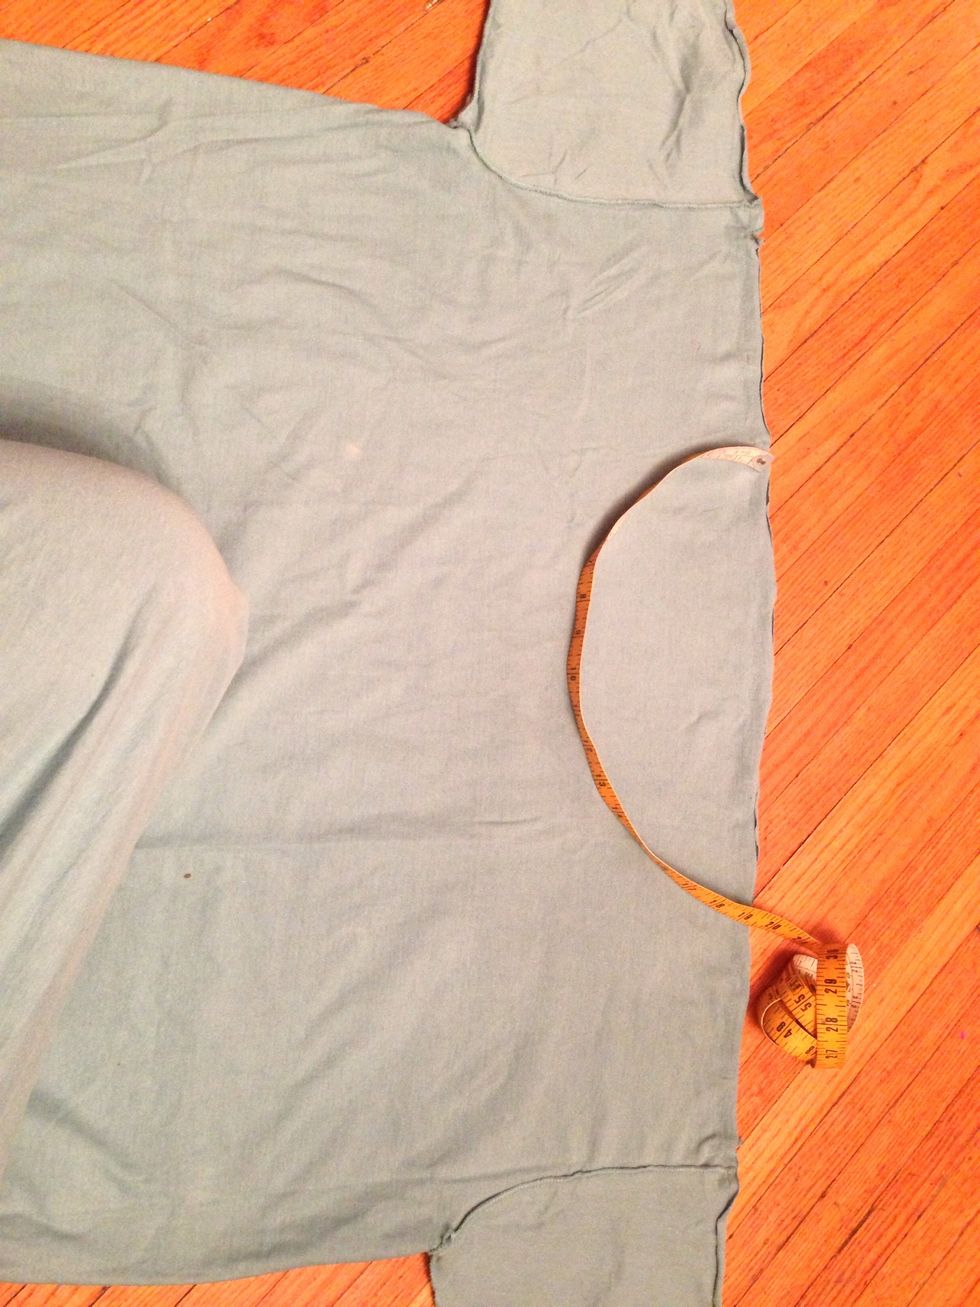
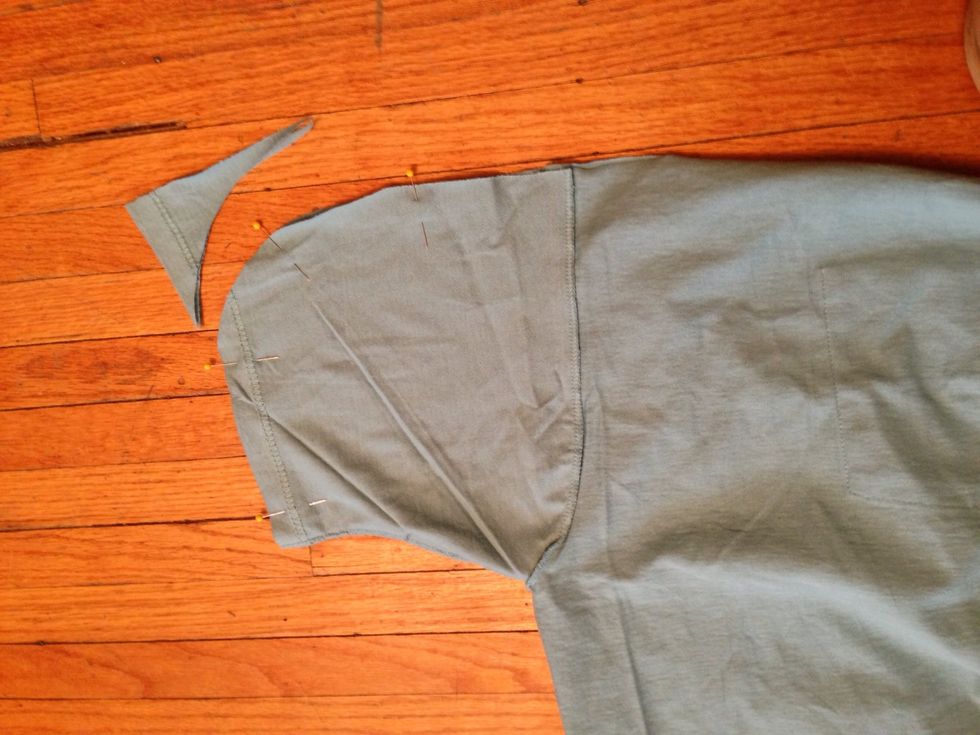
On the smaller T-shirt, cut a curved line under the breast pocket, or so the bottom of the curve hits about 2 inches below your sternum when you have the shirt on.
Hint: cut while the T-shirt is folded in half lengthwise so the left and right sides will be the same.
Without adjustment, the bust will cause the hem to rise in front. So, bring the sides together and trim a wedge out of the back, tapering to the sides as shown.
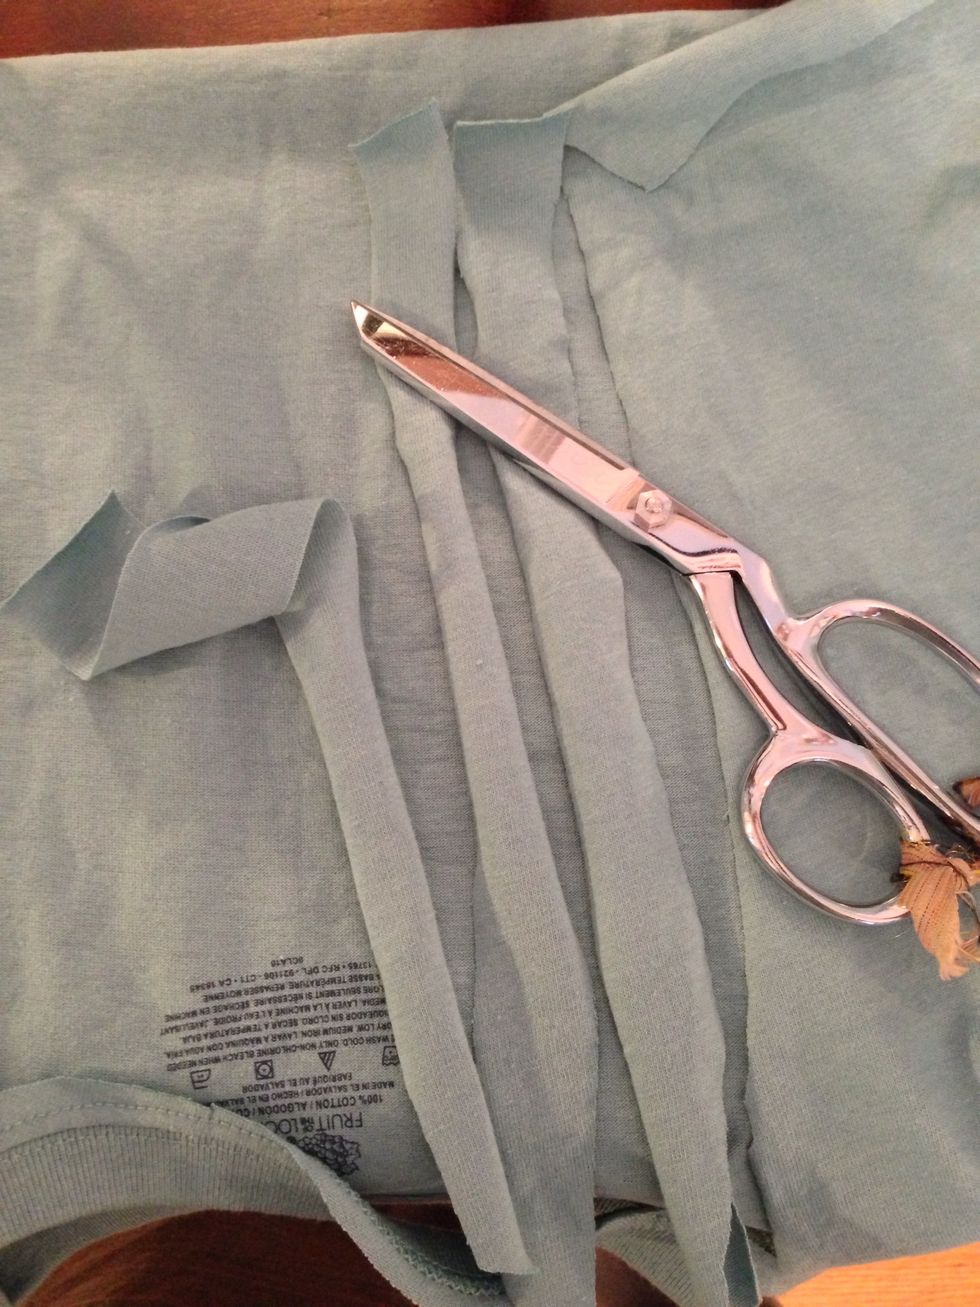
Cut enough 1" strips from what you cut off the smaller T to equal the width of the bottom of your smaller T-shirt.
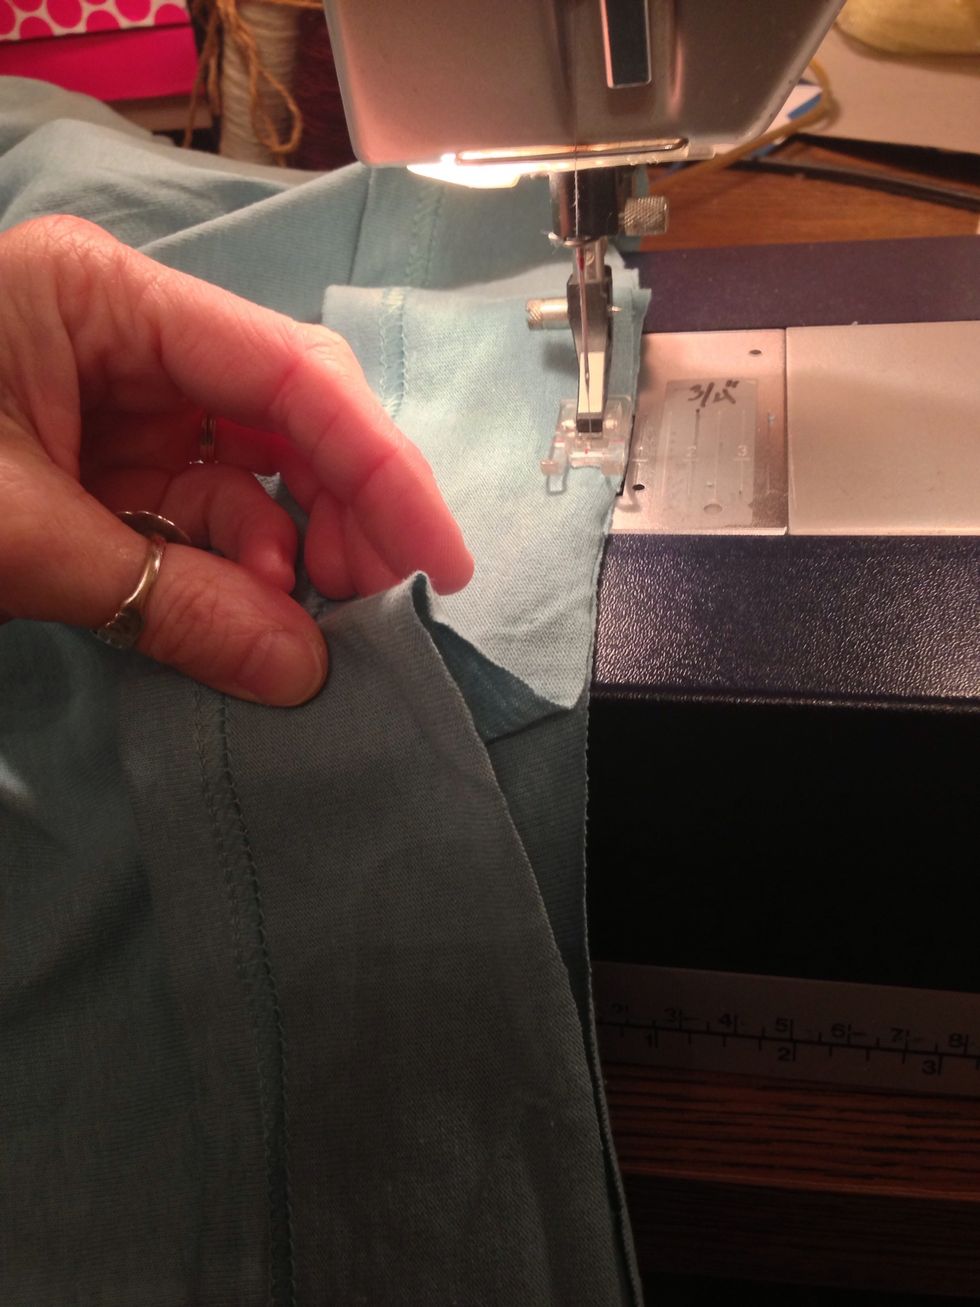
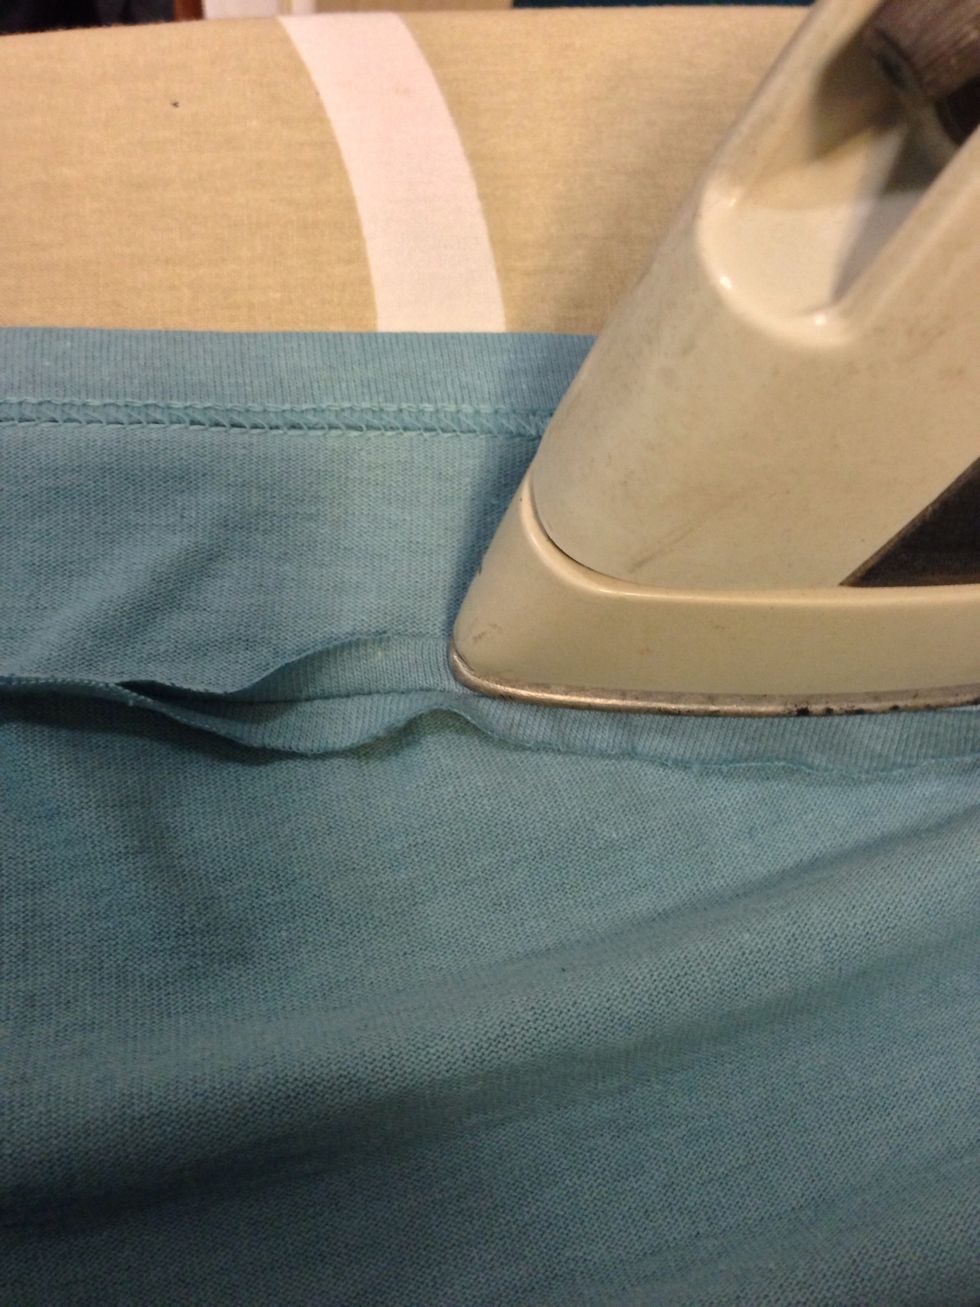
Use a straight stitch. Sew along the raw edge of the smaller T, wrong side facing up, at an even seam allowance, inserting a 1" strip as you sew...
Pull slightly on the strip as you sew. You don't want to gather, you just want to stabilize, and control the stretch. Overlap a new strip when one comes to the end.
Measure the front of your stabilized smaller T.
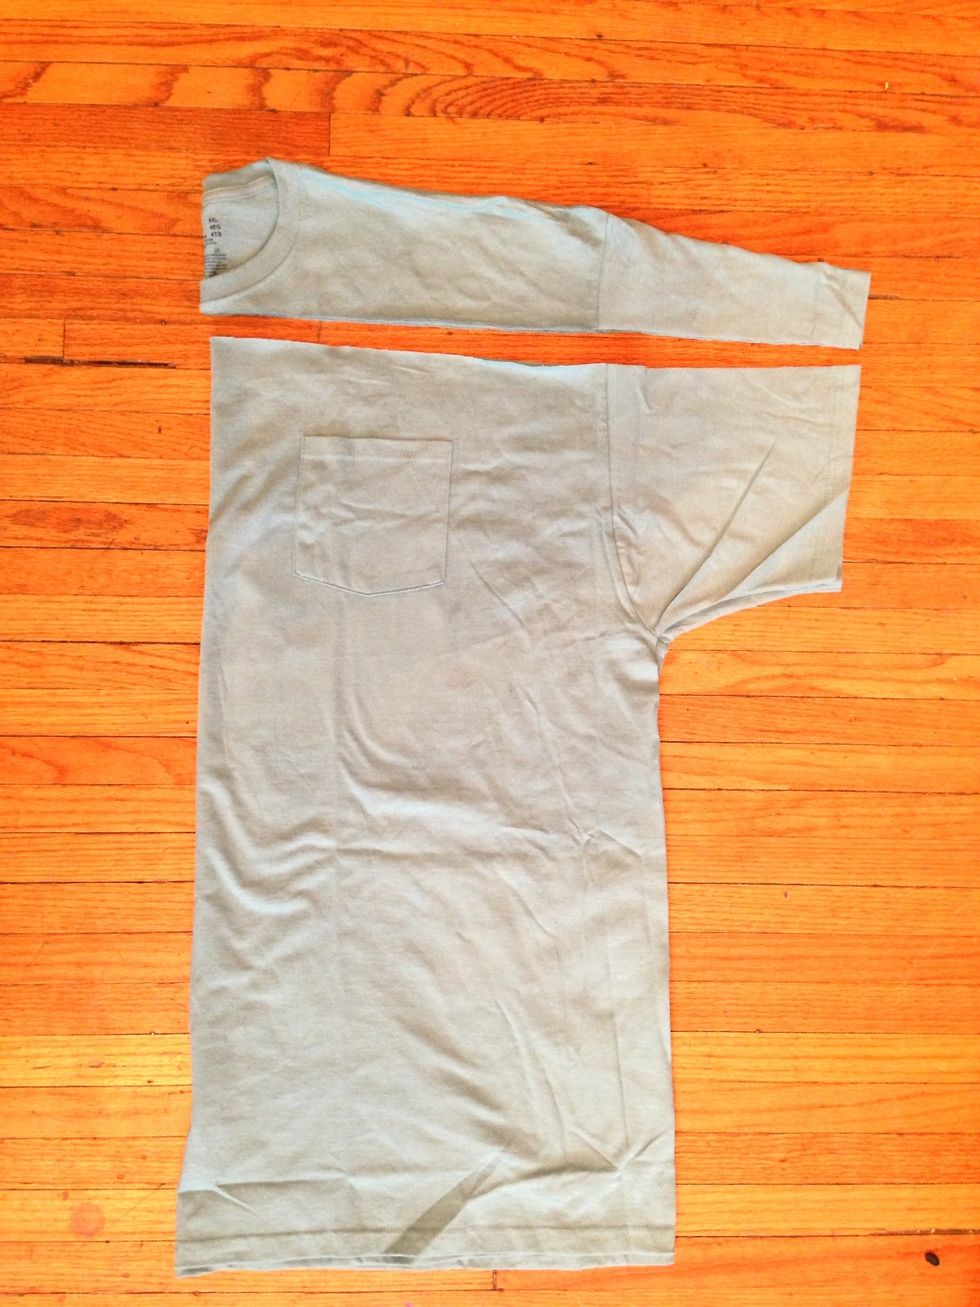
On the larger T-shirt cut straight across under the neck ribbing.
Use this measurement to rough out a curve on the raw edge of your larger T. Mark the beginning, and the depth of the curve, making sure it is centered between the sleeve seams.
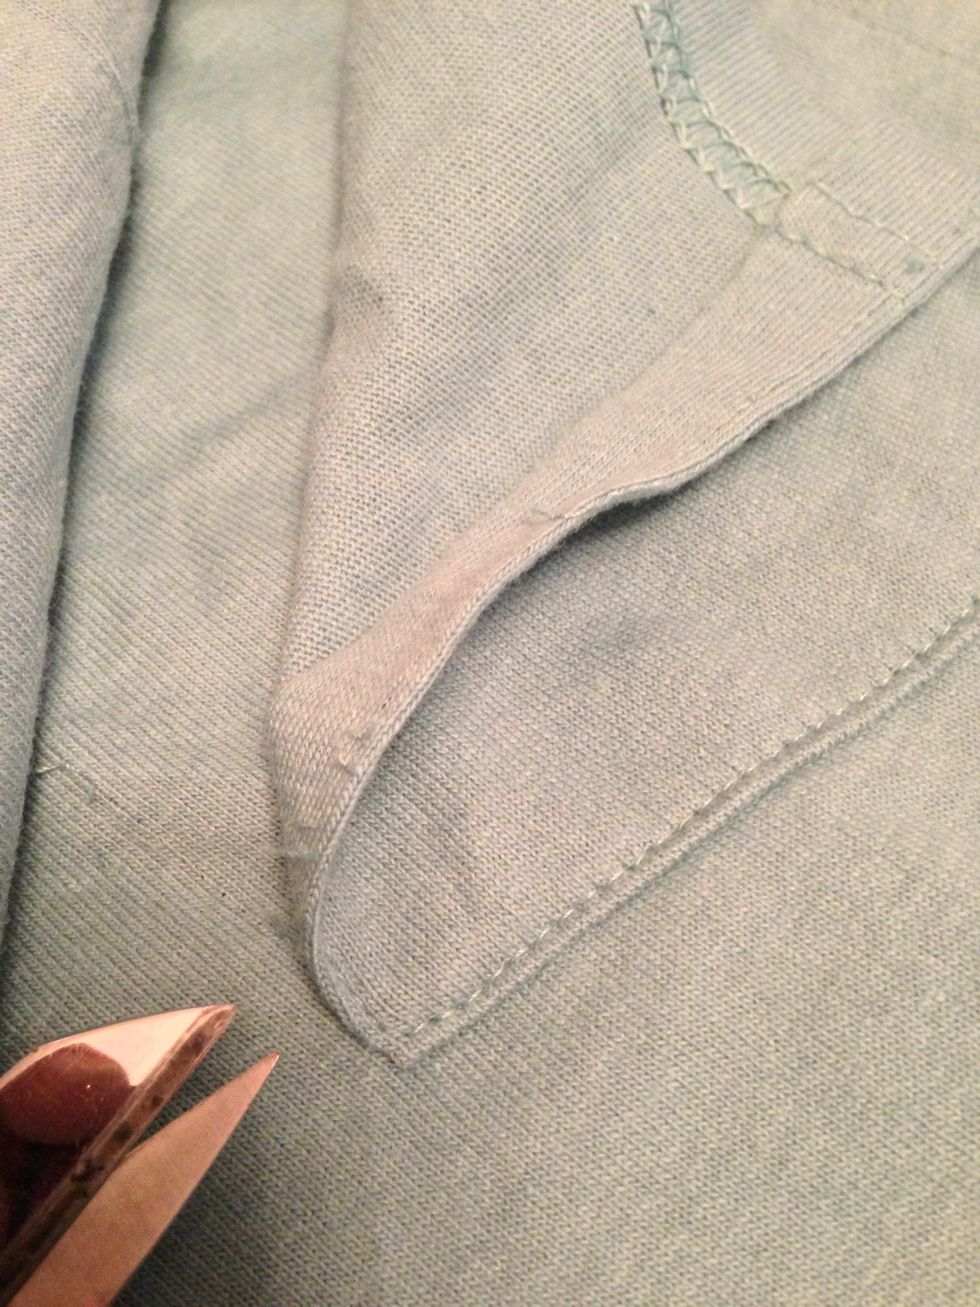
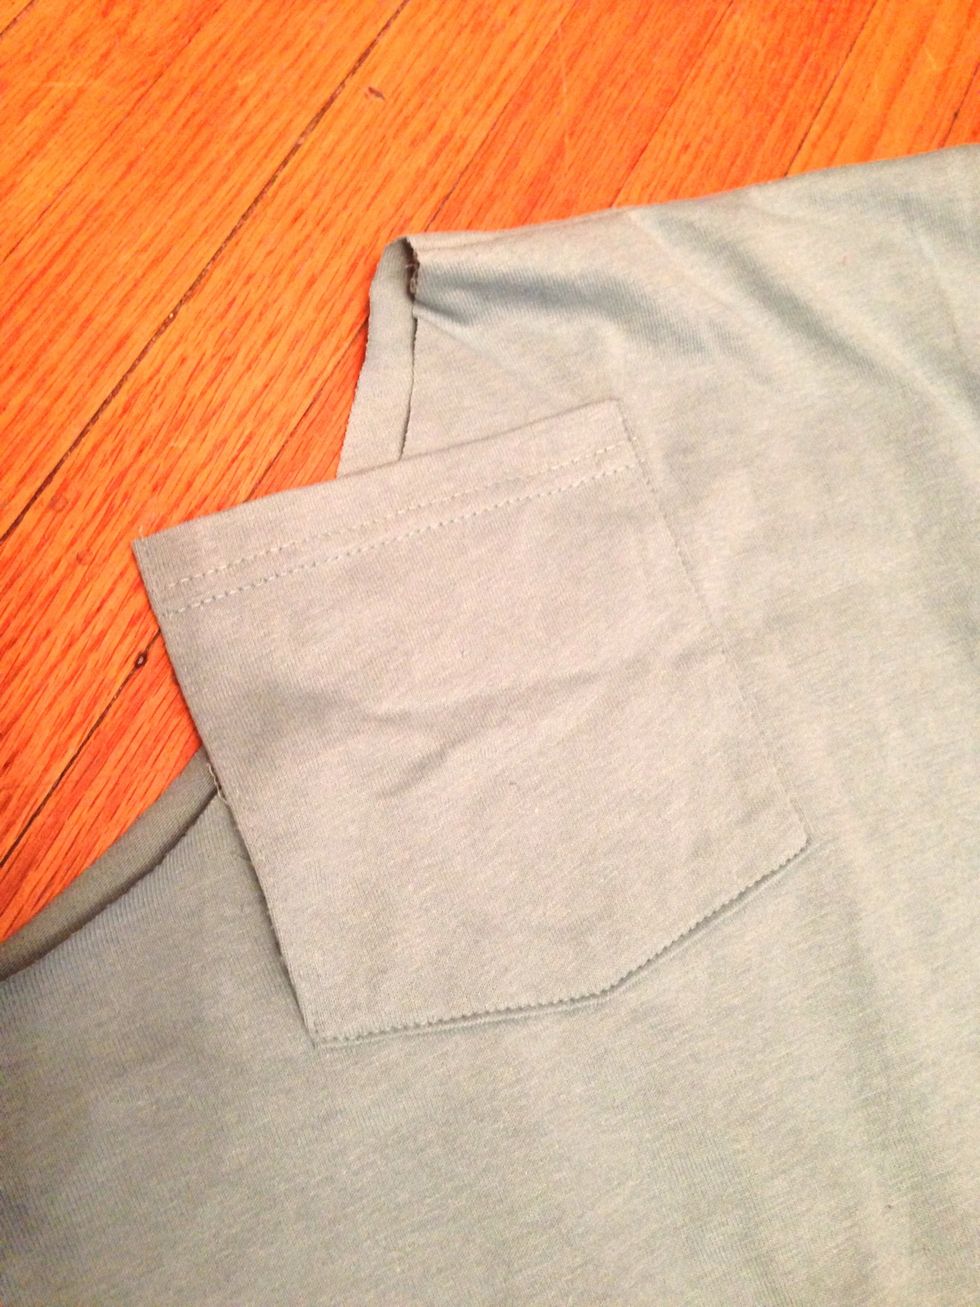
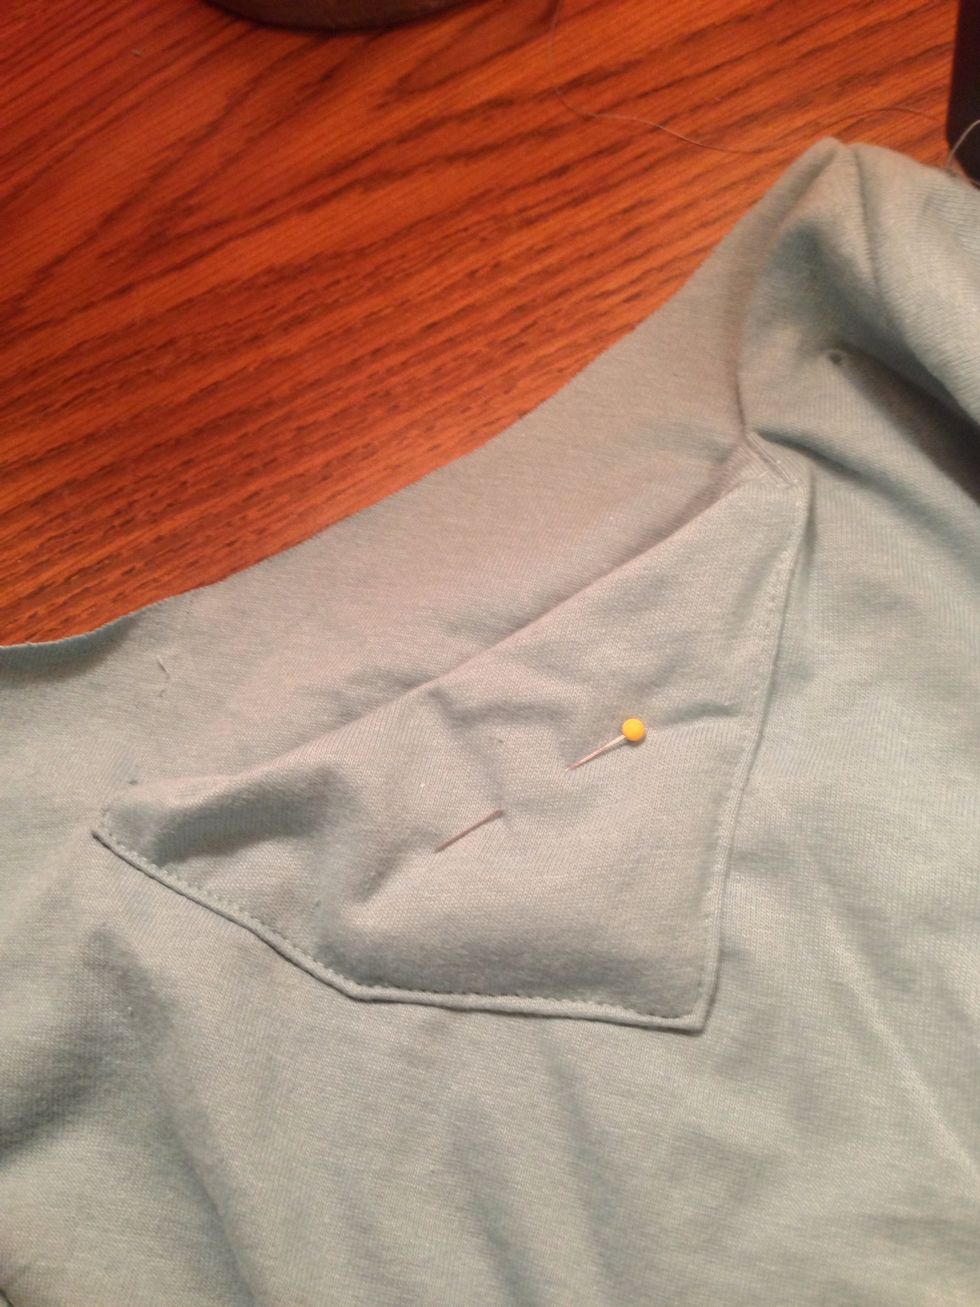
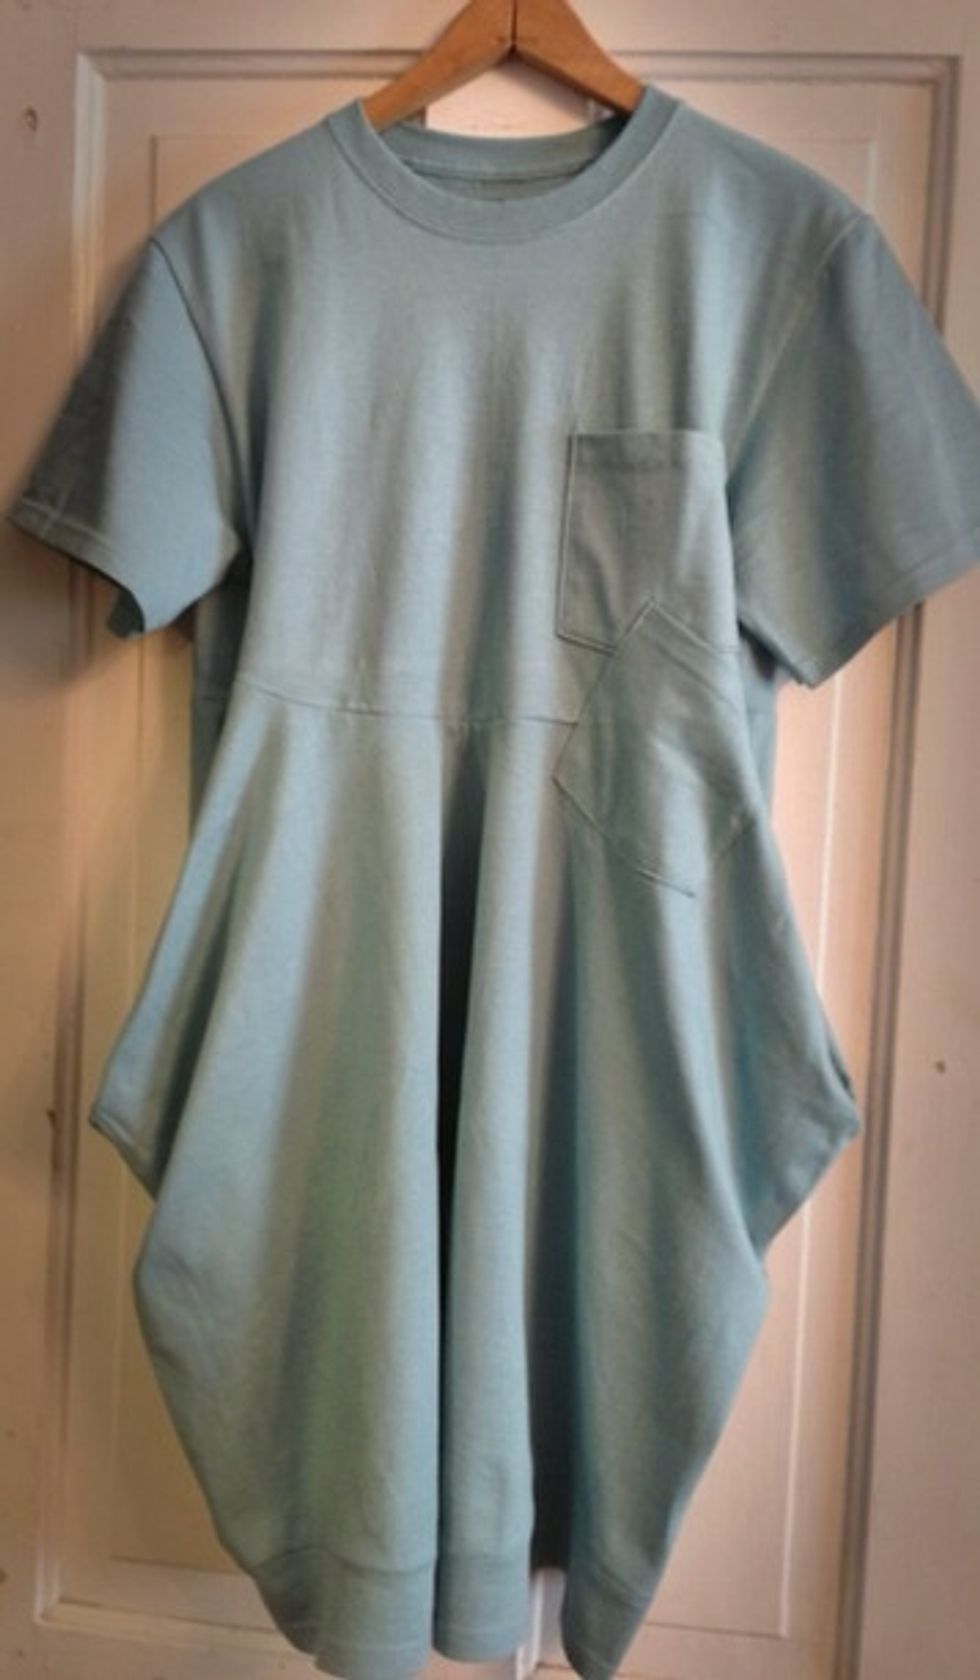
If your larger T-shirt has a pocket, carefully remove the pocket where it might be cut off by the curve.
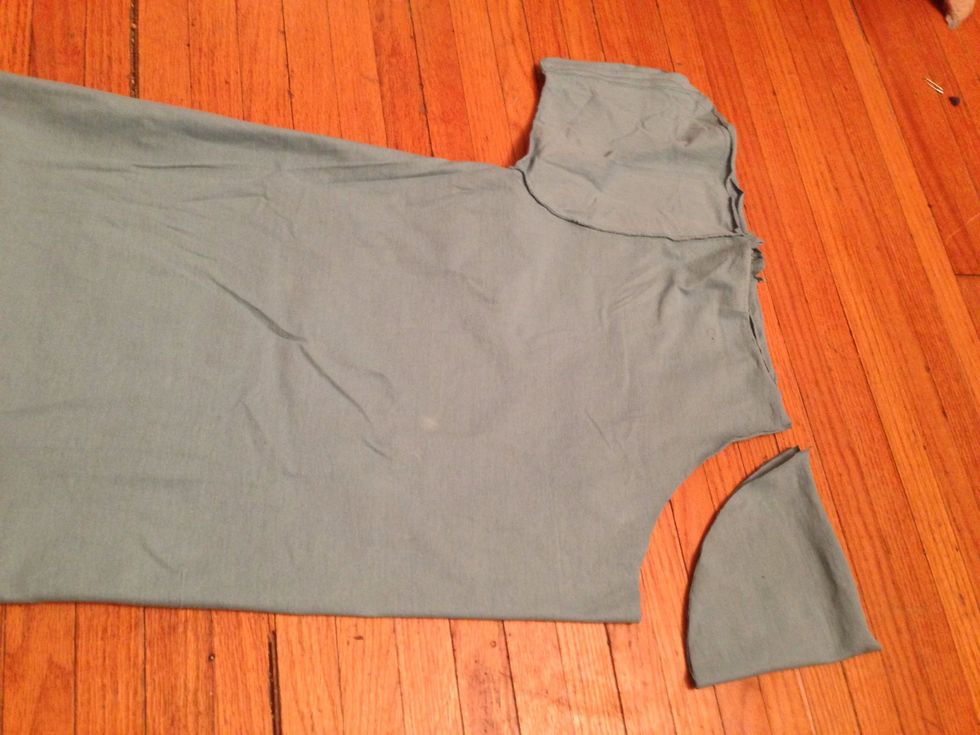
Fold the Larger T-shirt in half and cut out the curve.
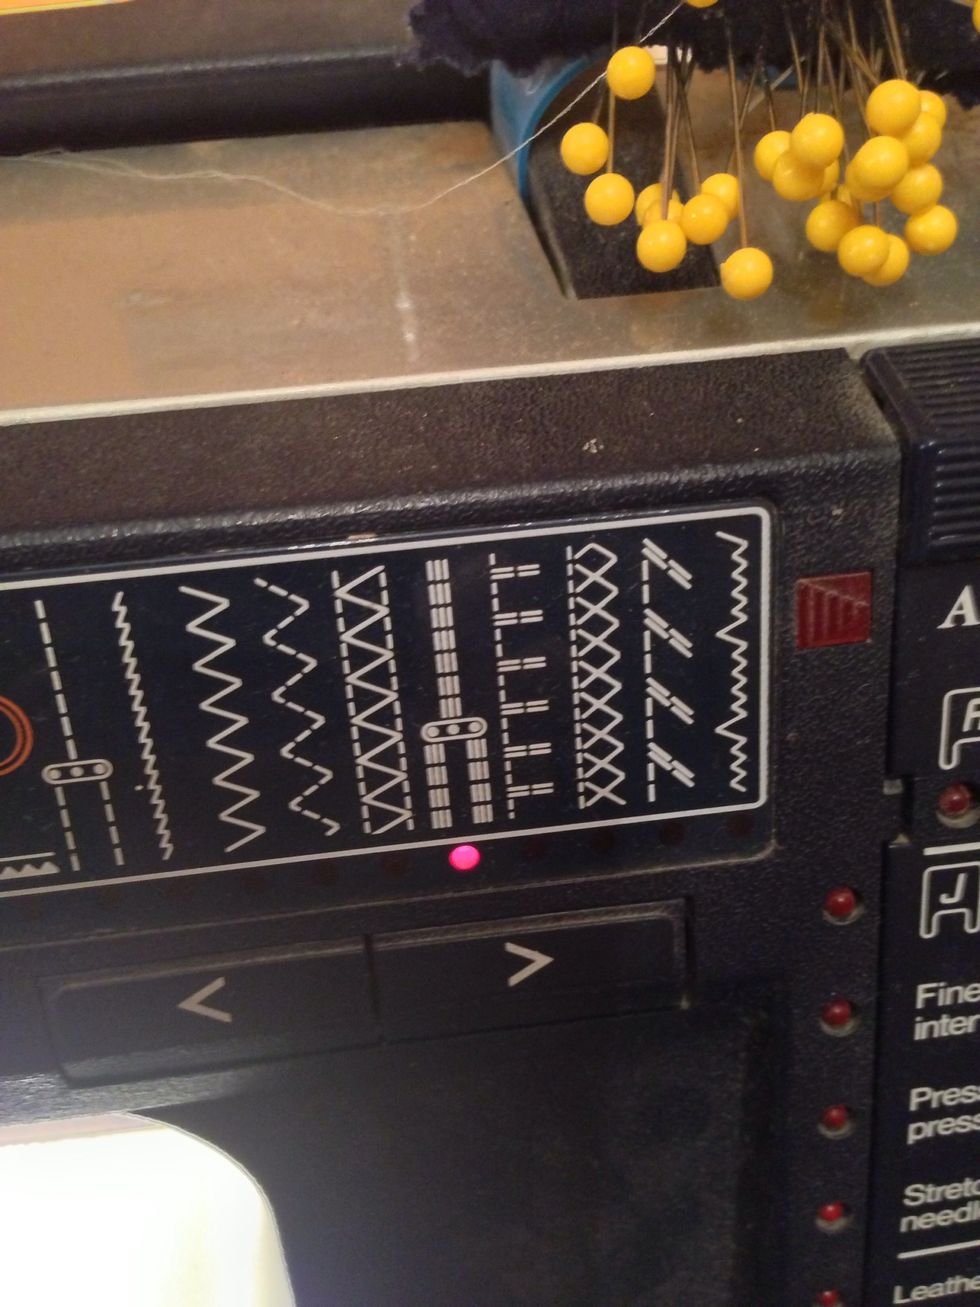
Use a straight stretch stitch for the next seam.
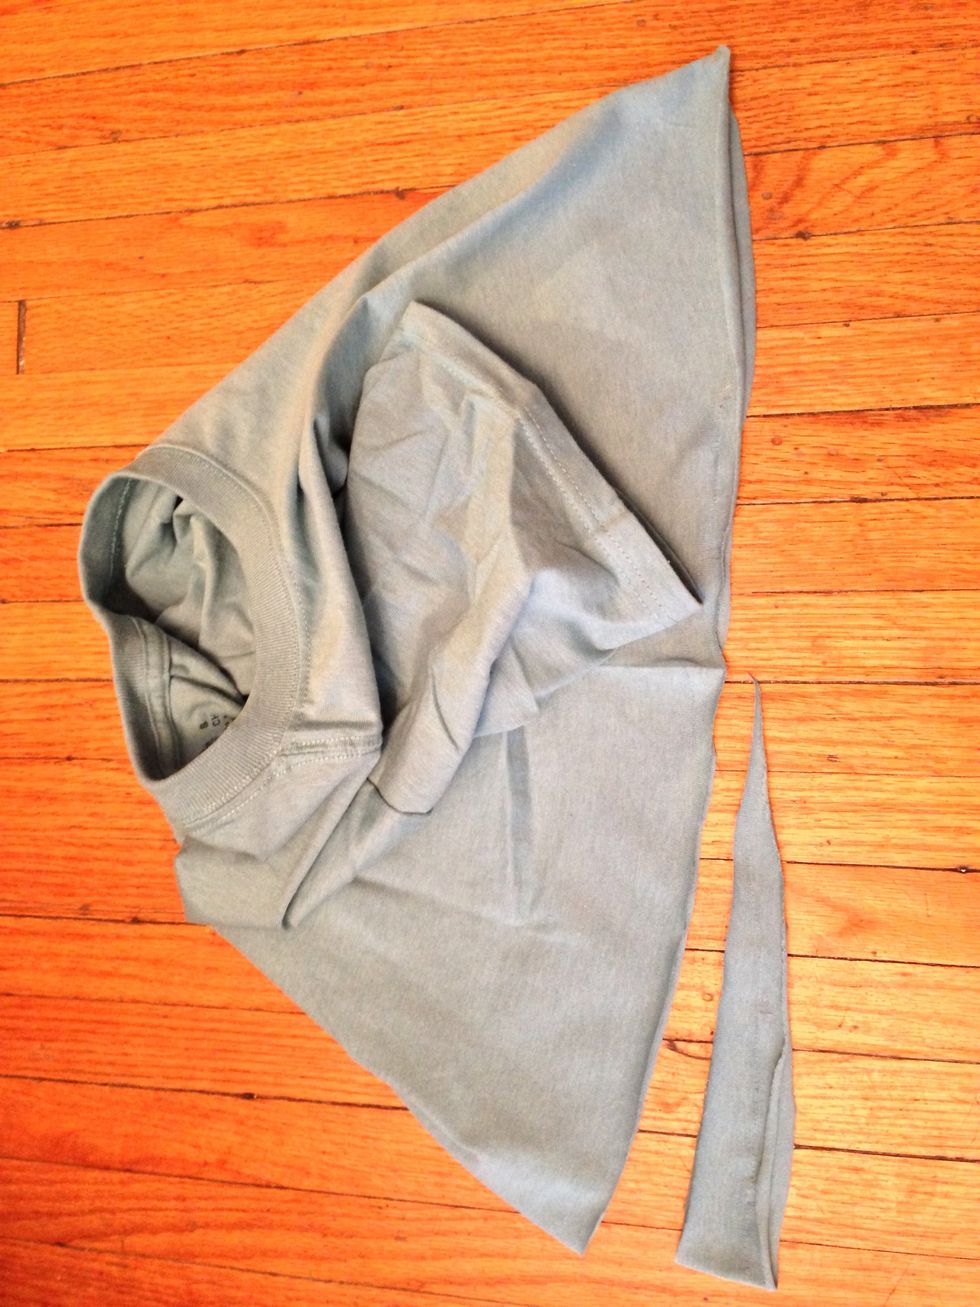
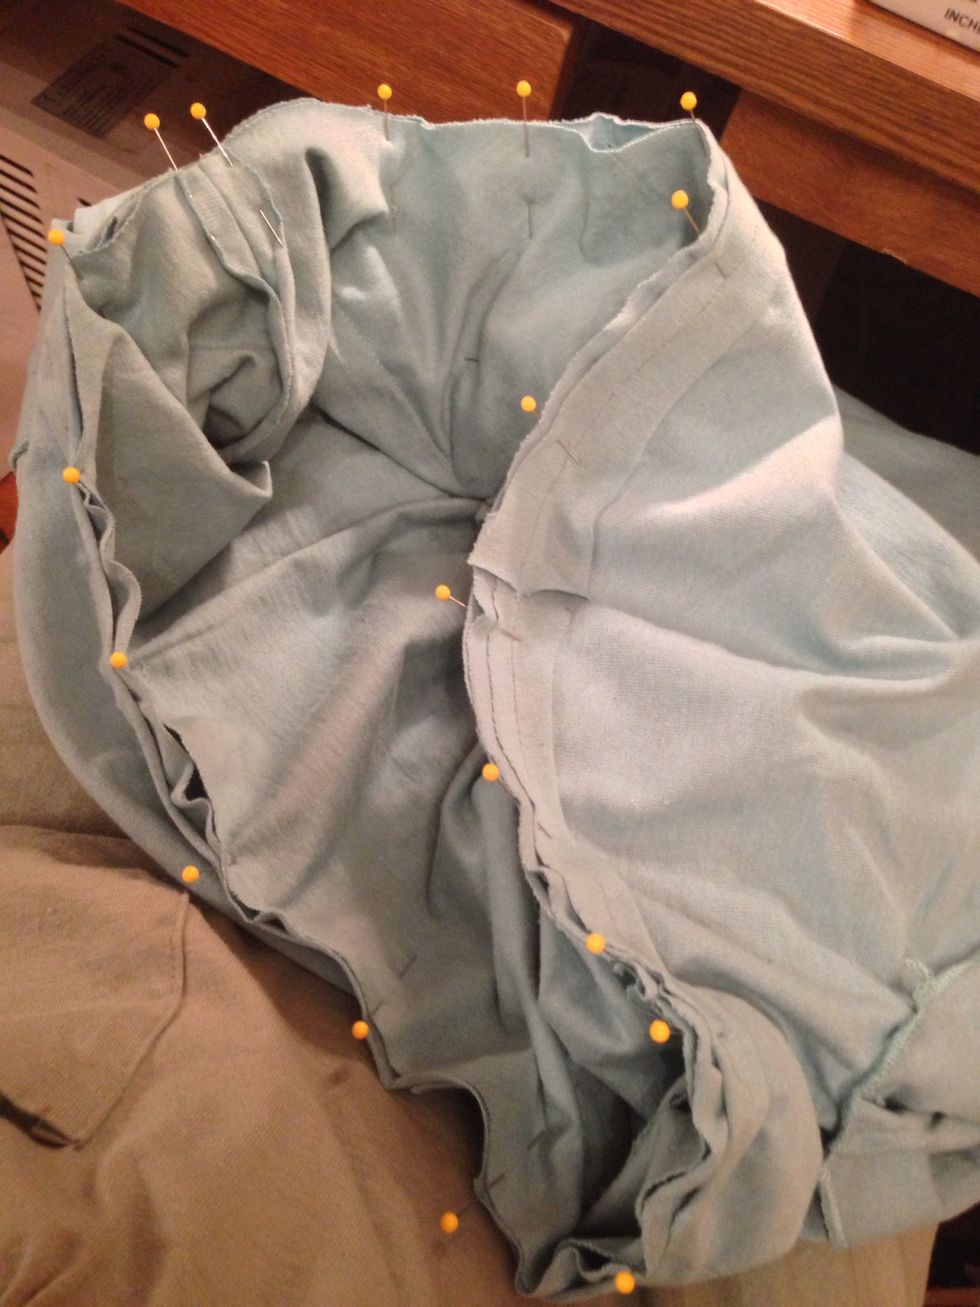
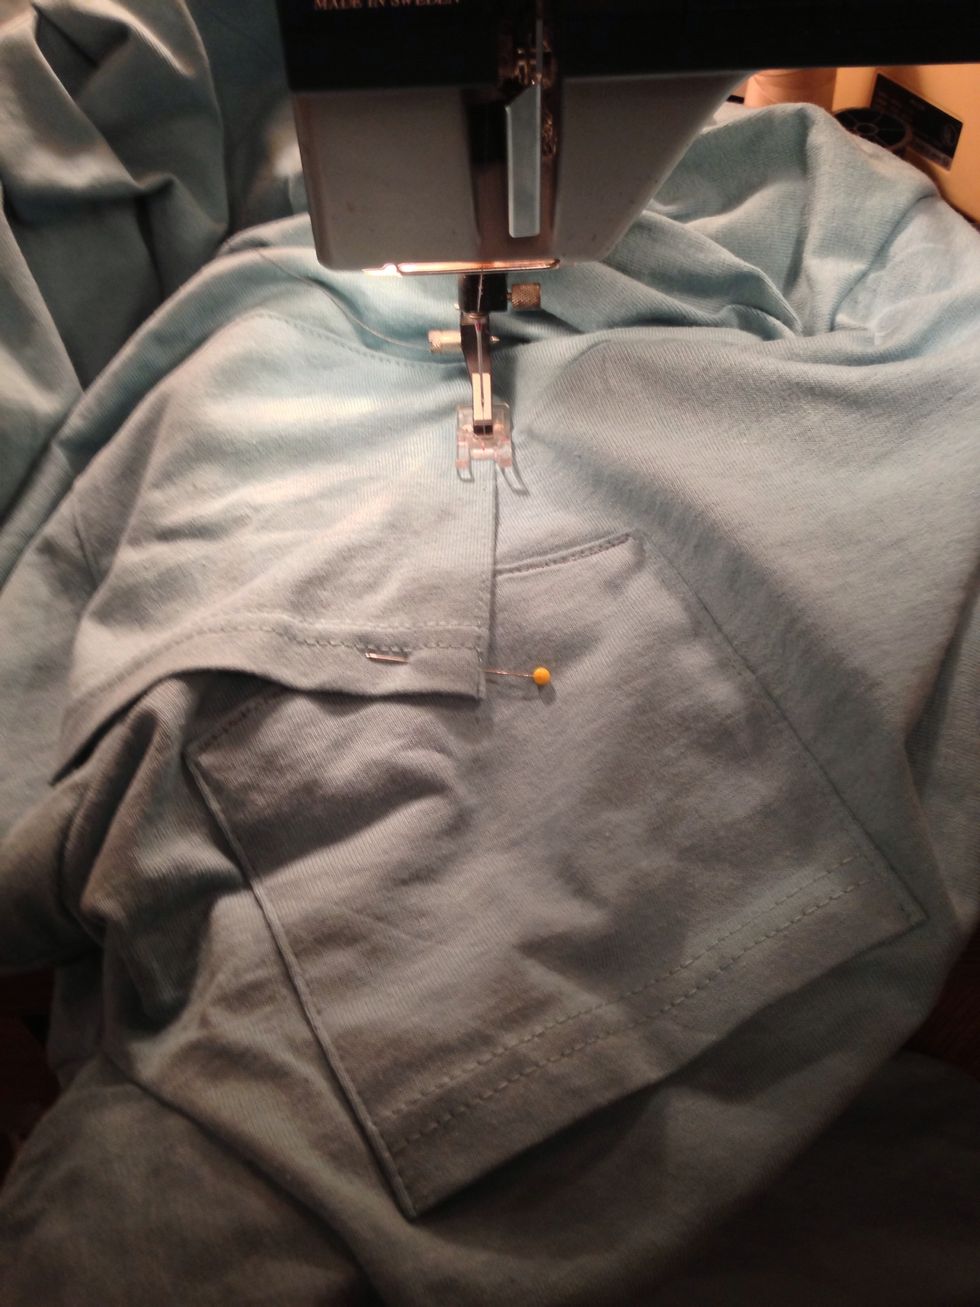
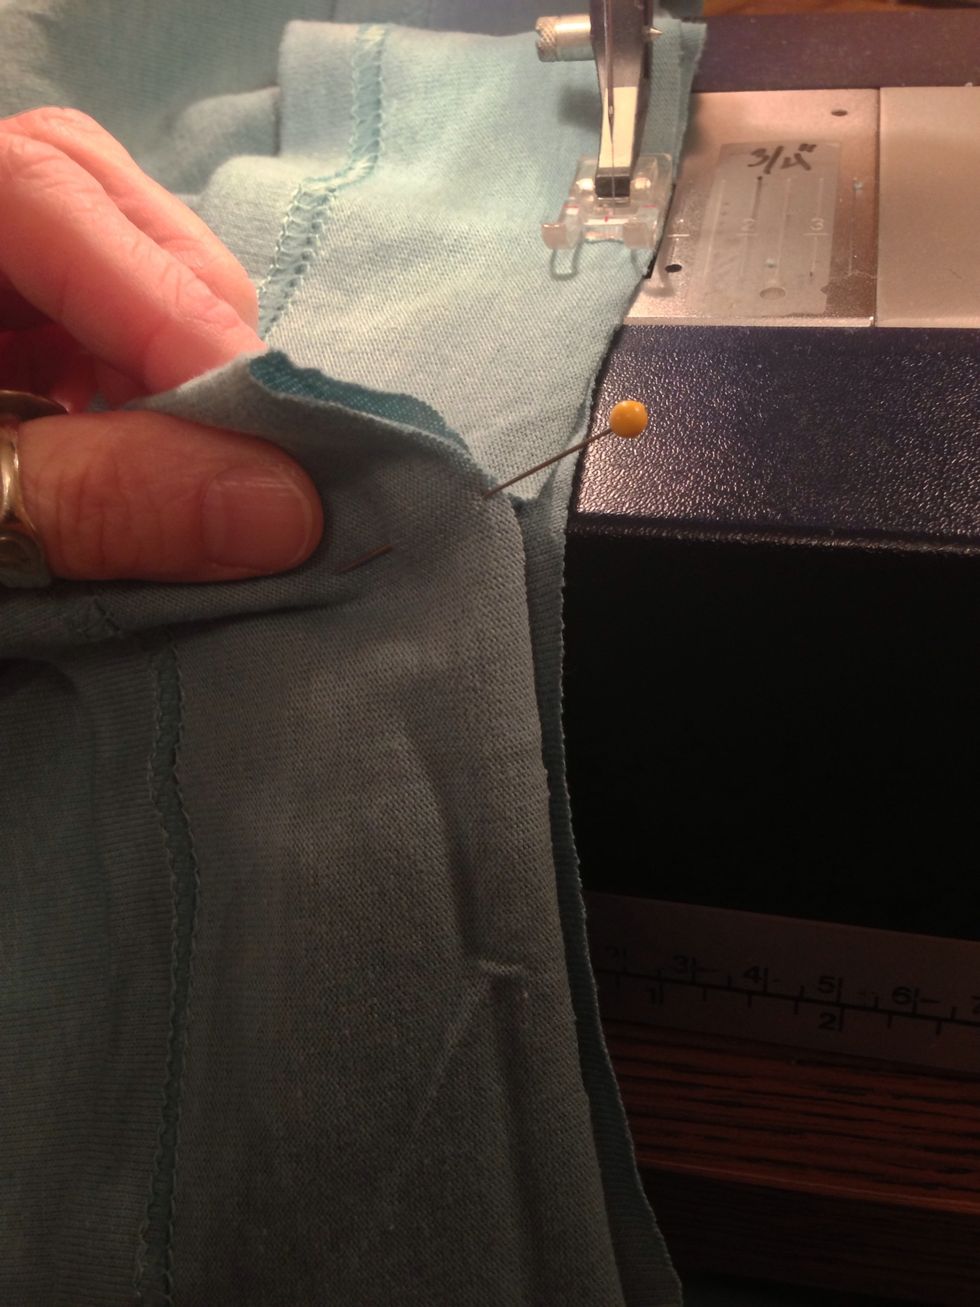
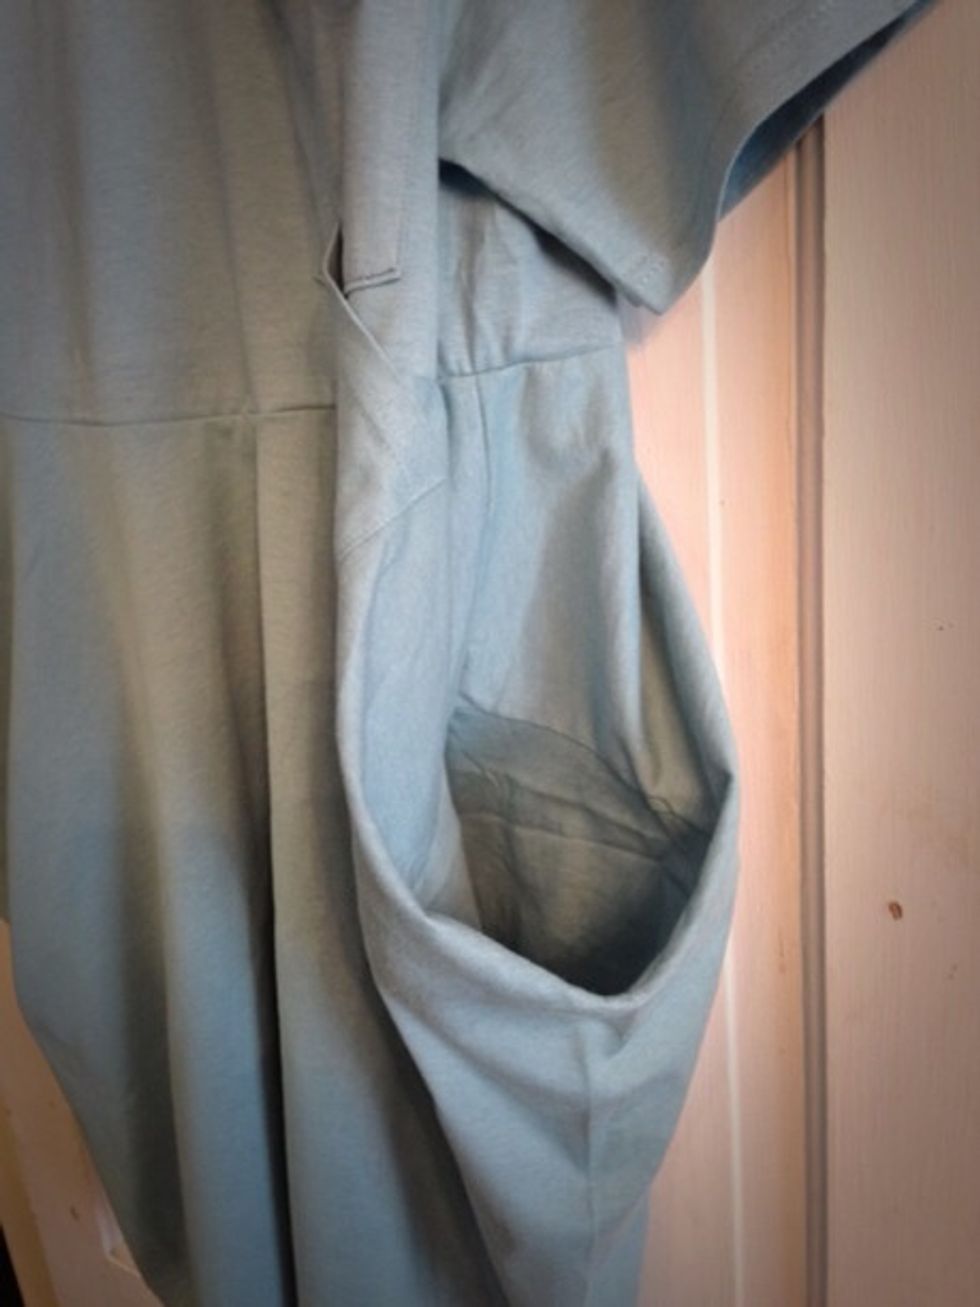
Turn inside-out. Round the top sleeve corners. The sleeves will become side pockets! Pin.
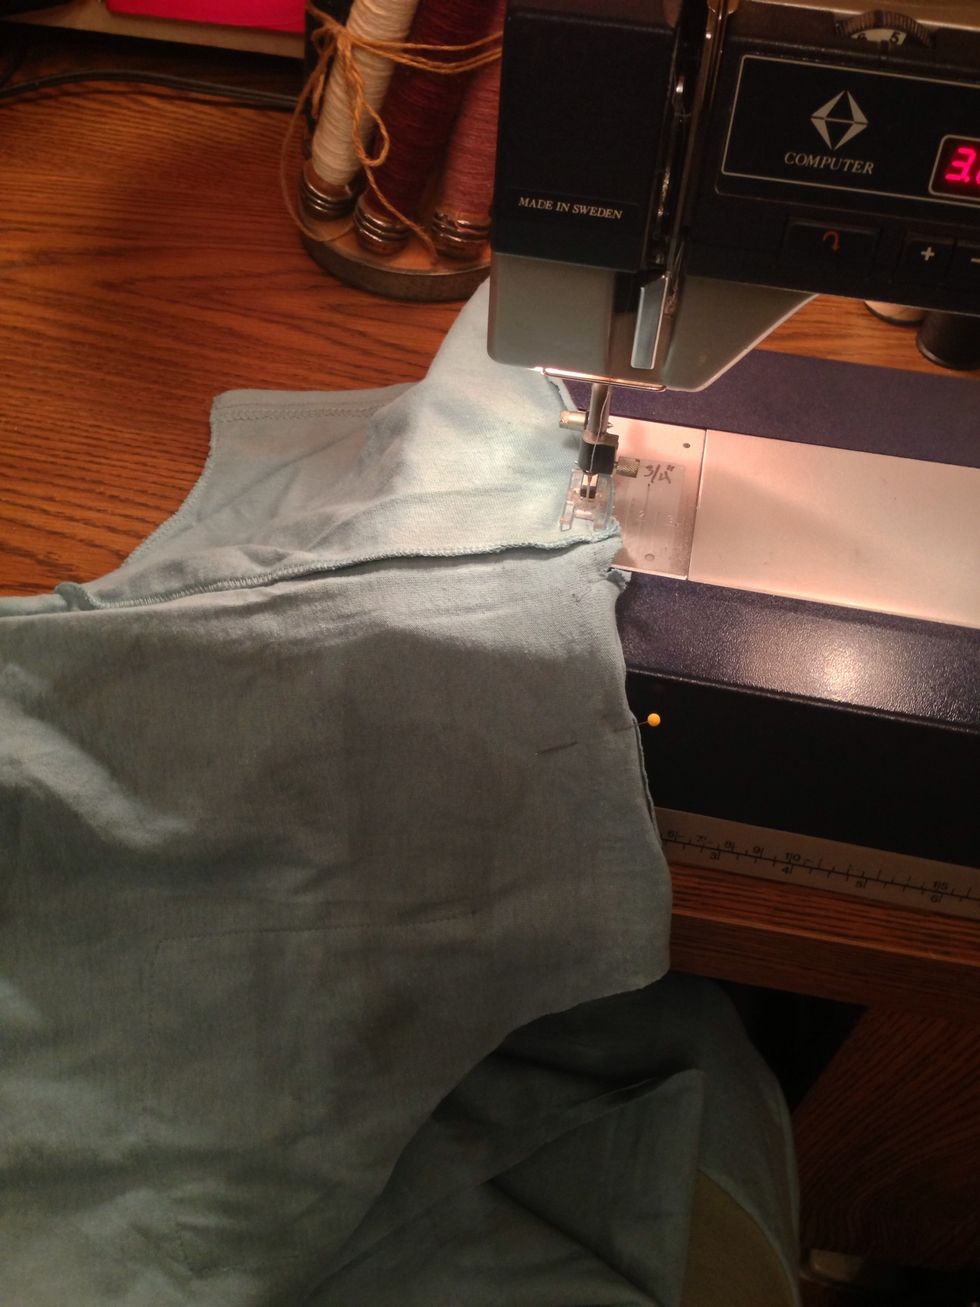
Stitch around the trimmed sleeve to the centered curve.

You don't need to back-tack a stretch straight stitch.

For speed and maximum pocket depth, I did not trim the sleeve hems.

Here's where we're going: spread the curve to meet the stabilized hem.
The loose pocket needs to be pinned out of the way.
This will work.
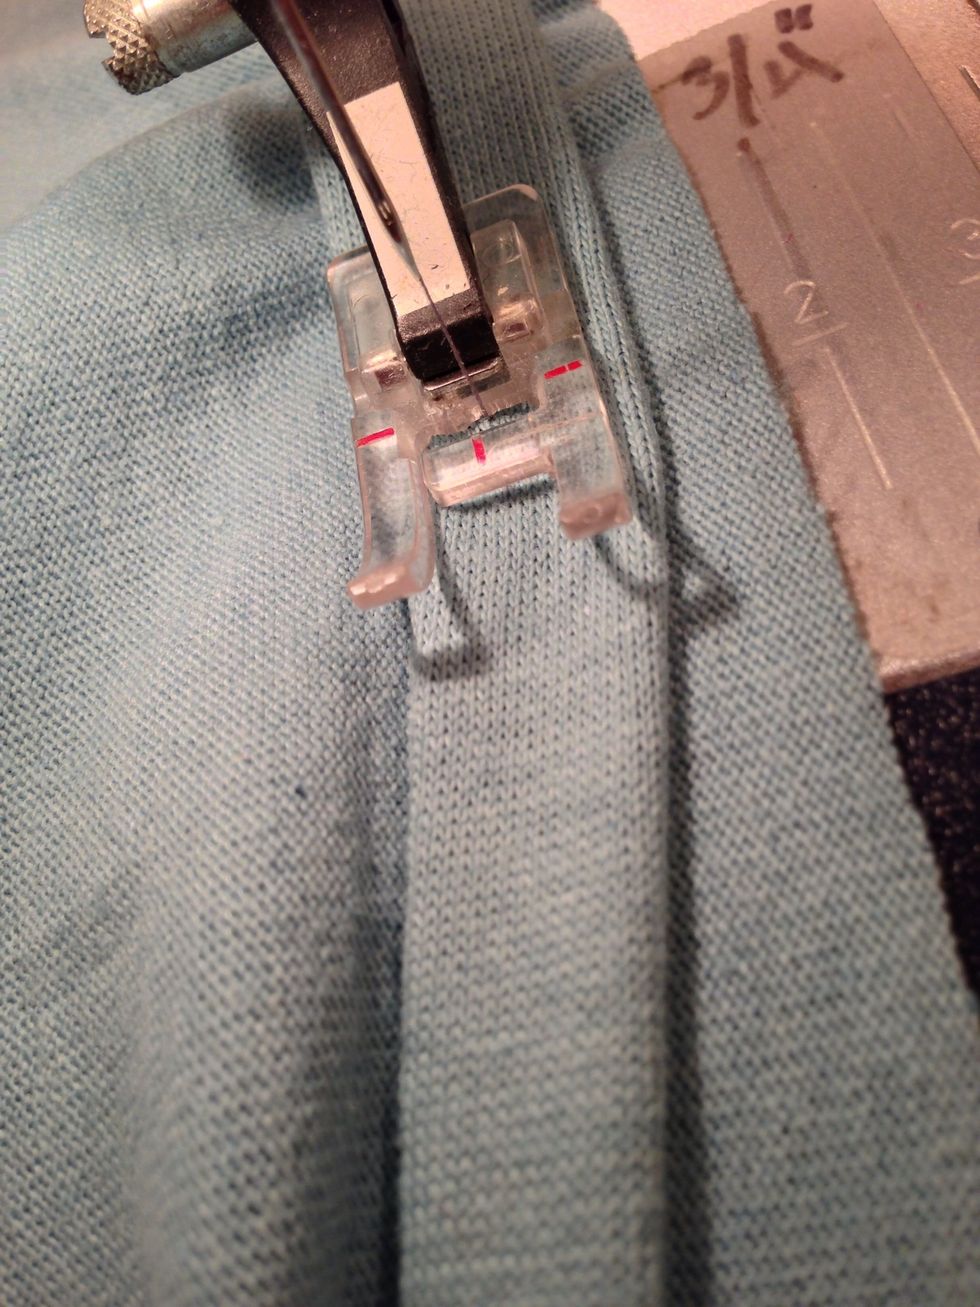
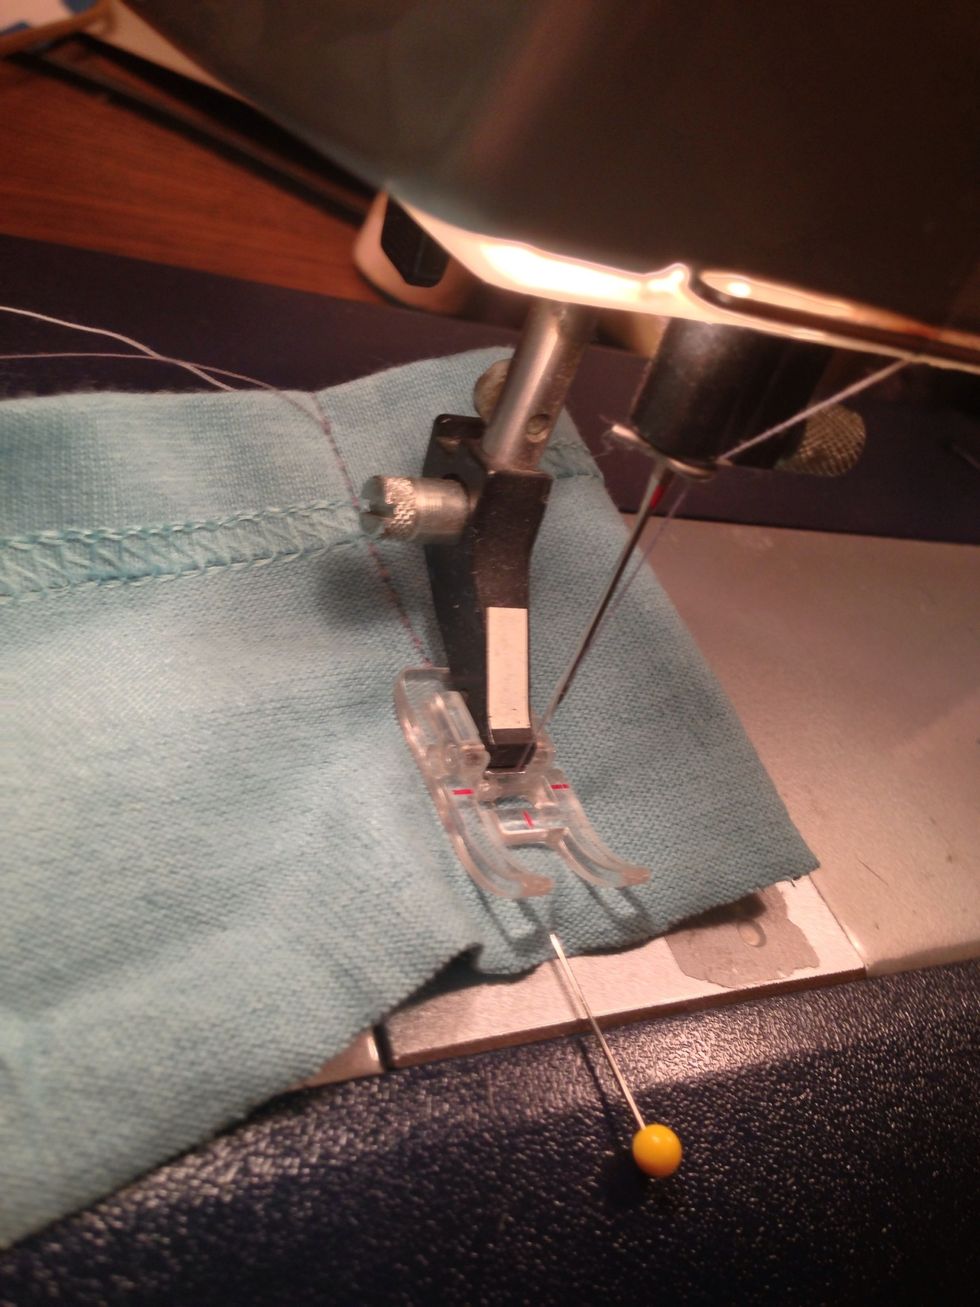
Pin and stitch with a straight stitch. Stretch only enough to prevent gathers.
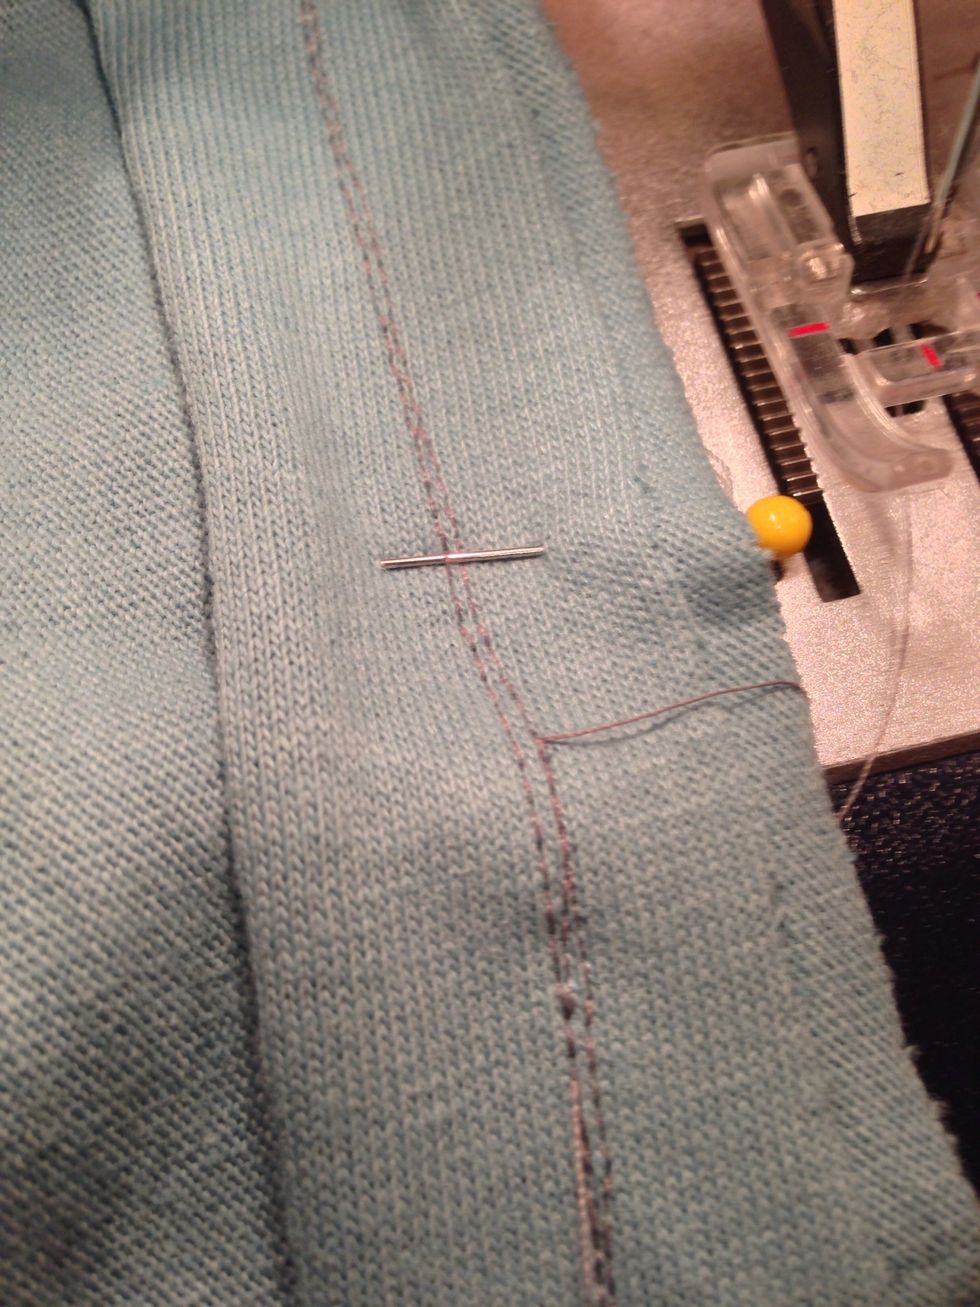
Stitch just to the left of the inch-strip stitching so you won't see those stitches from the right side.
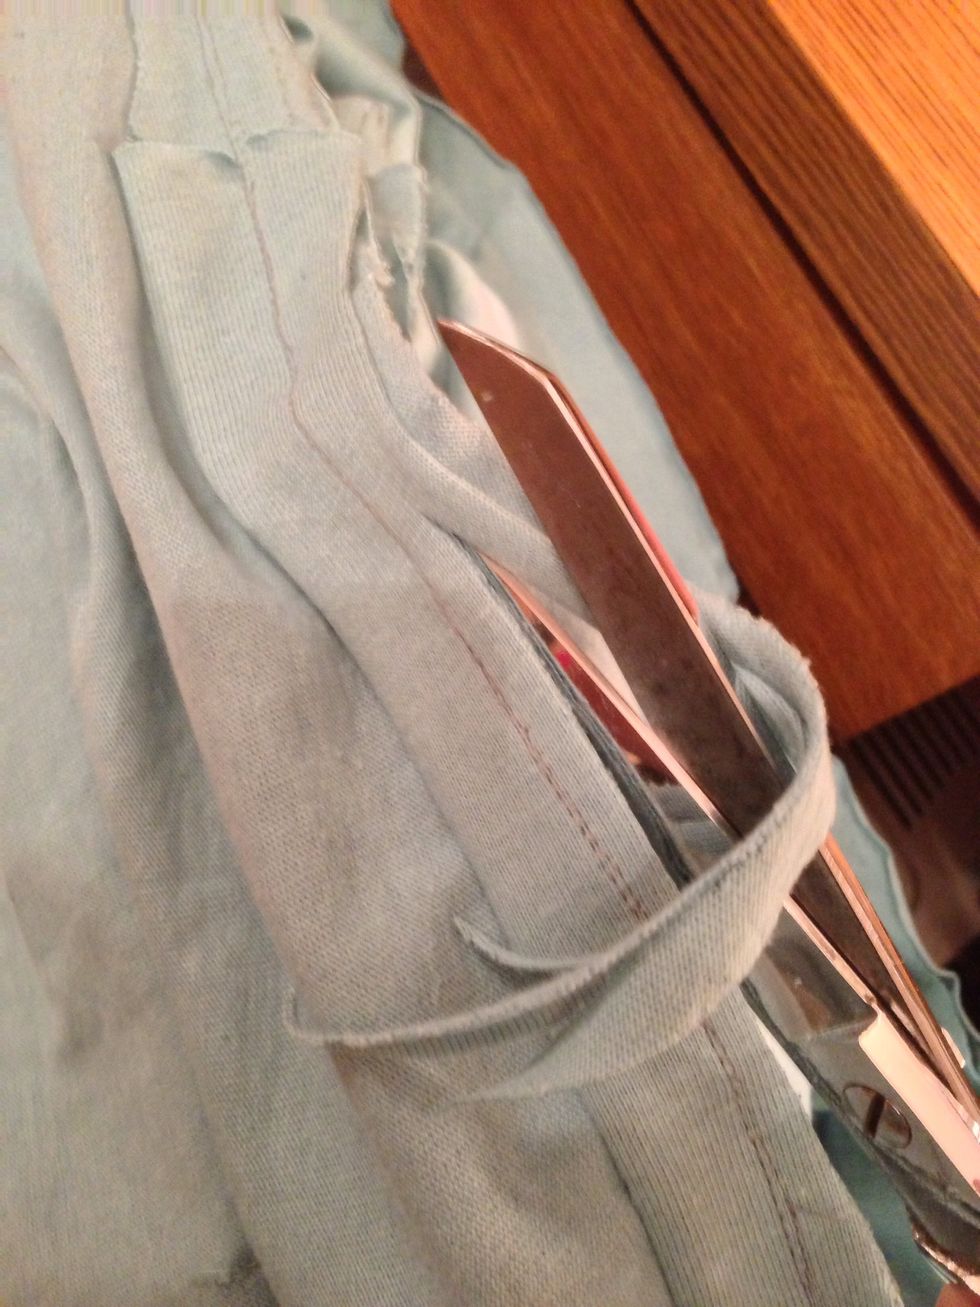
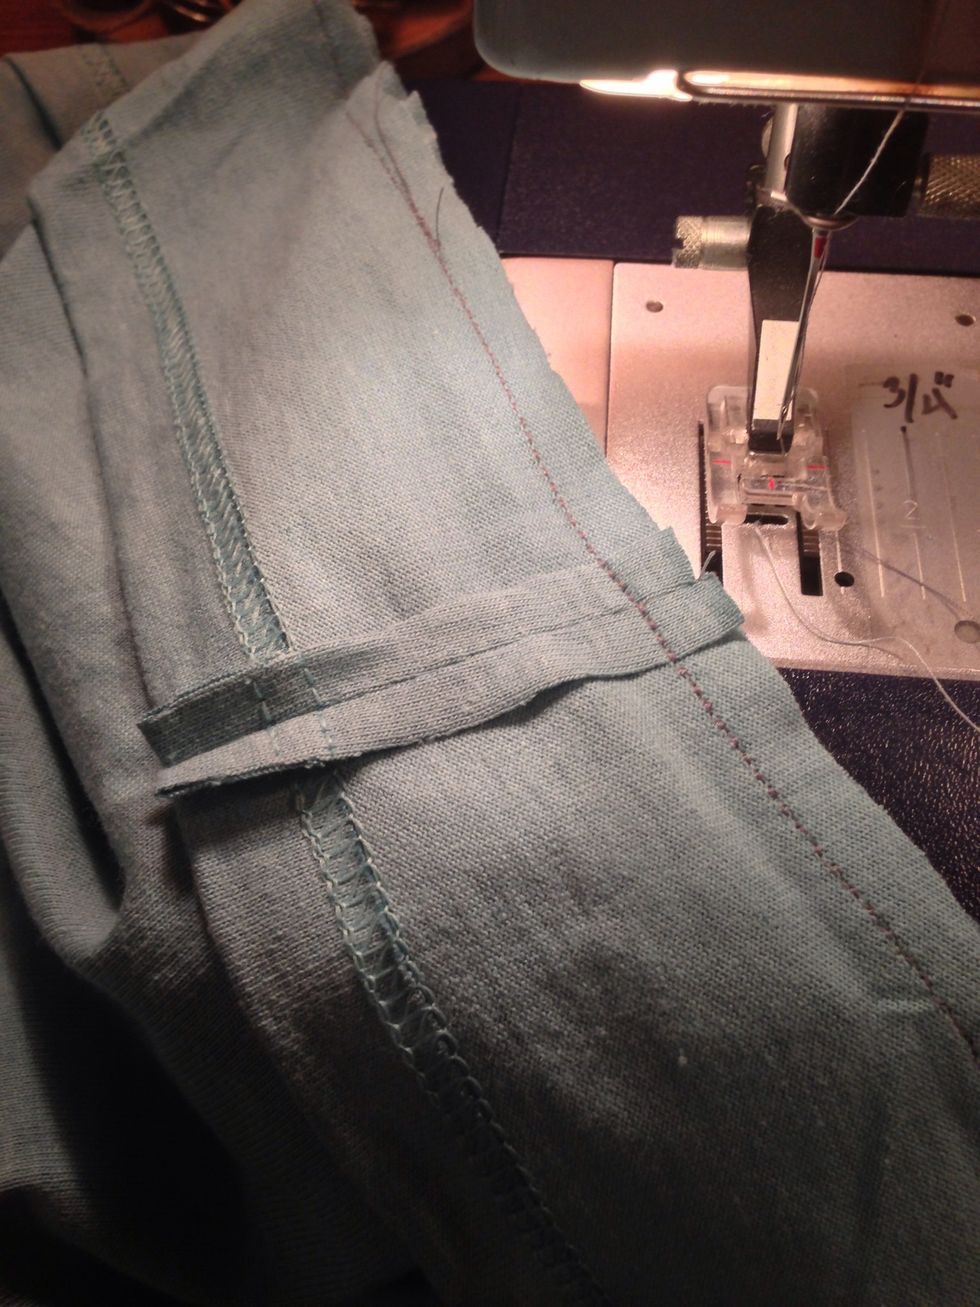
Trim the seam, then trim excess width on the other side of the 1" strip.
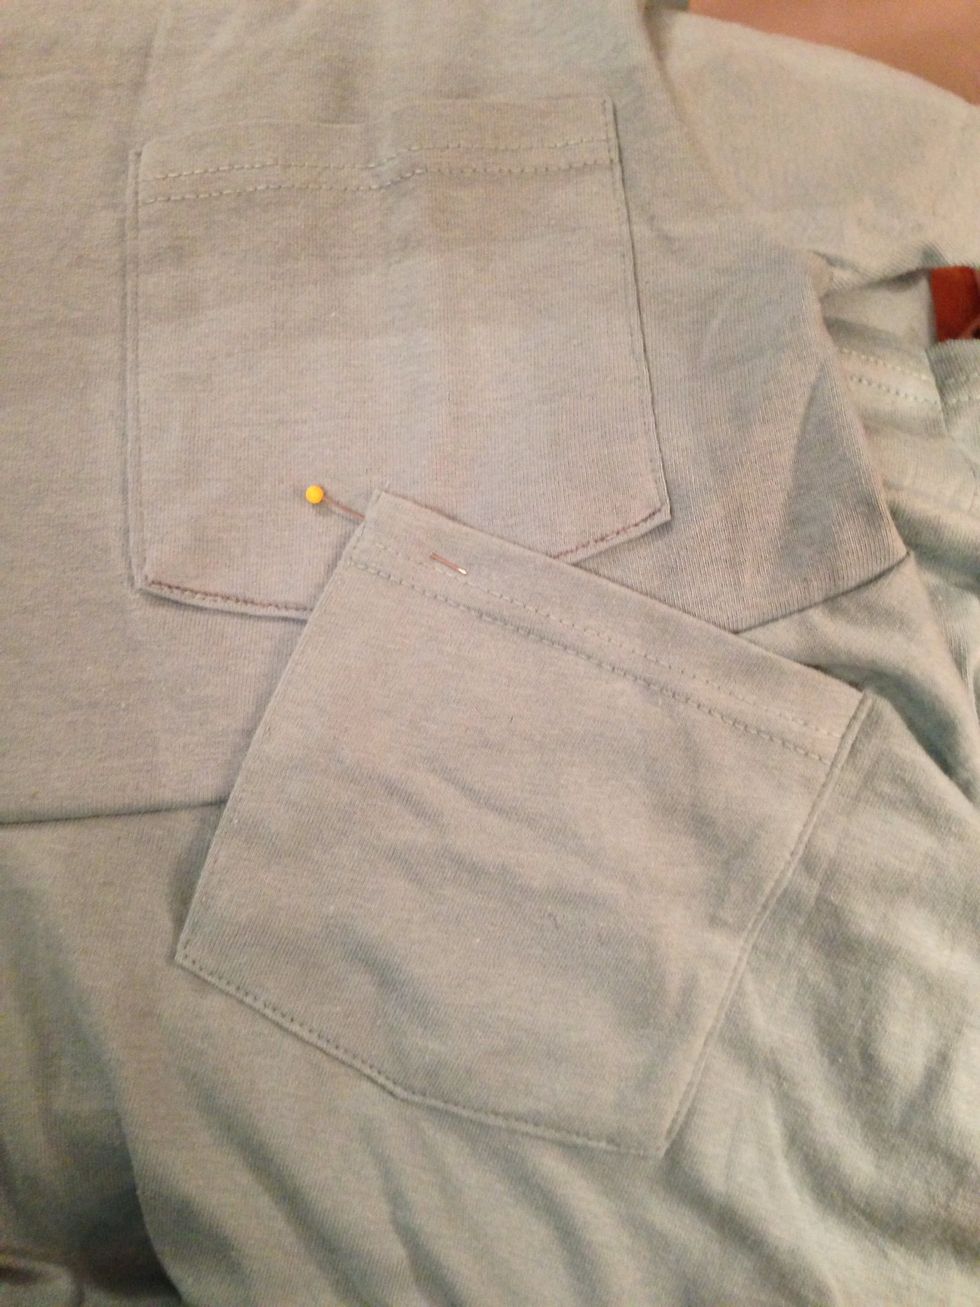
Pin your sassy pocket back in place.
Stitch.
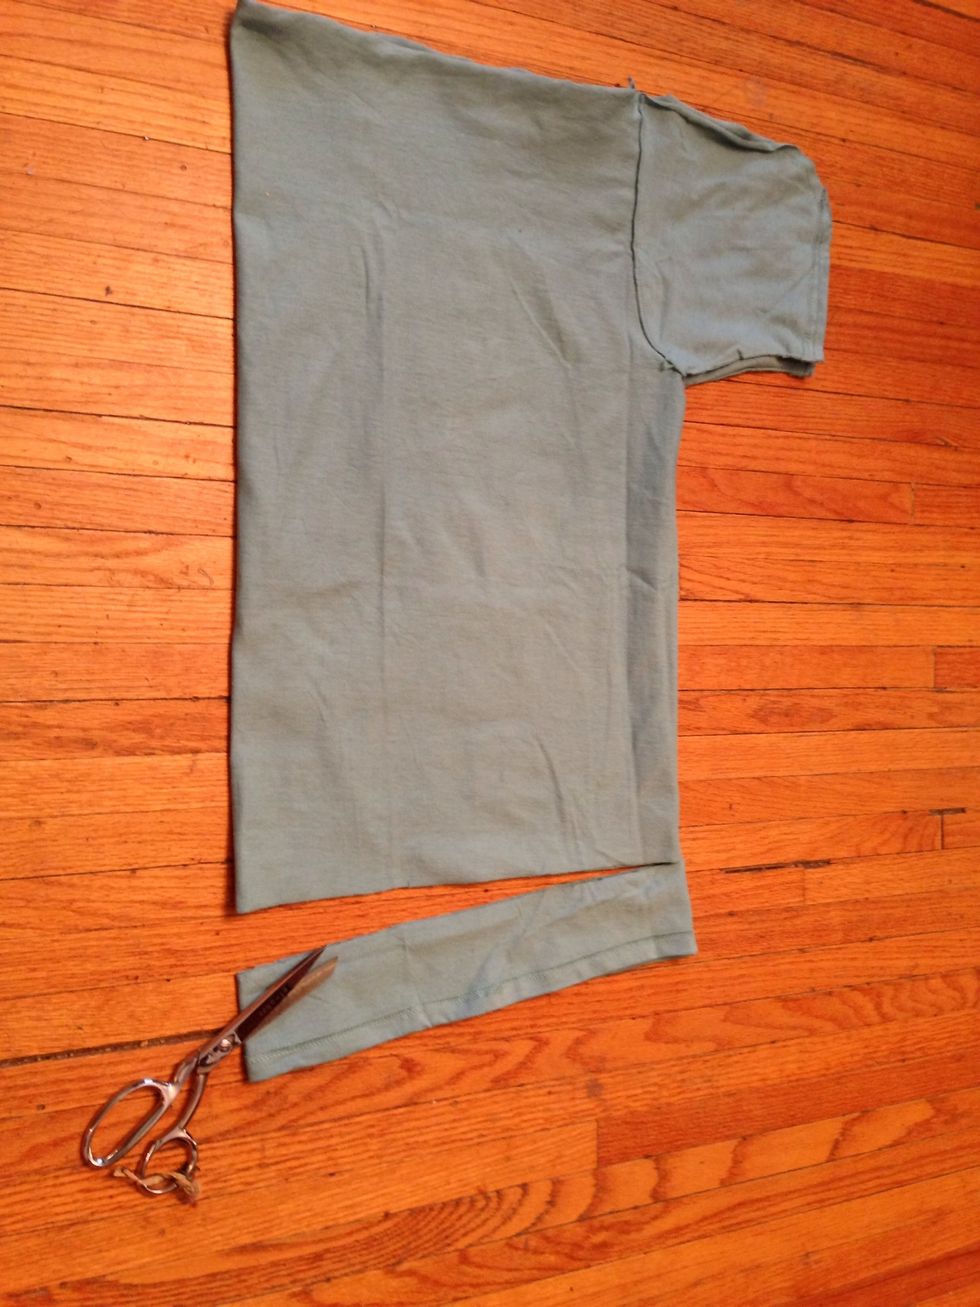
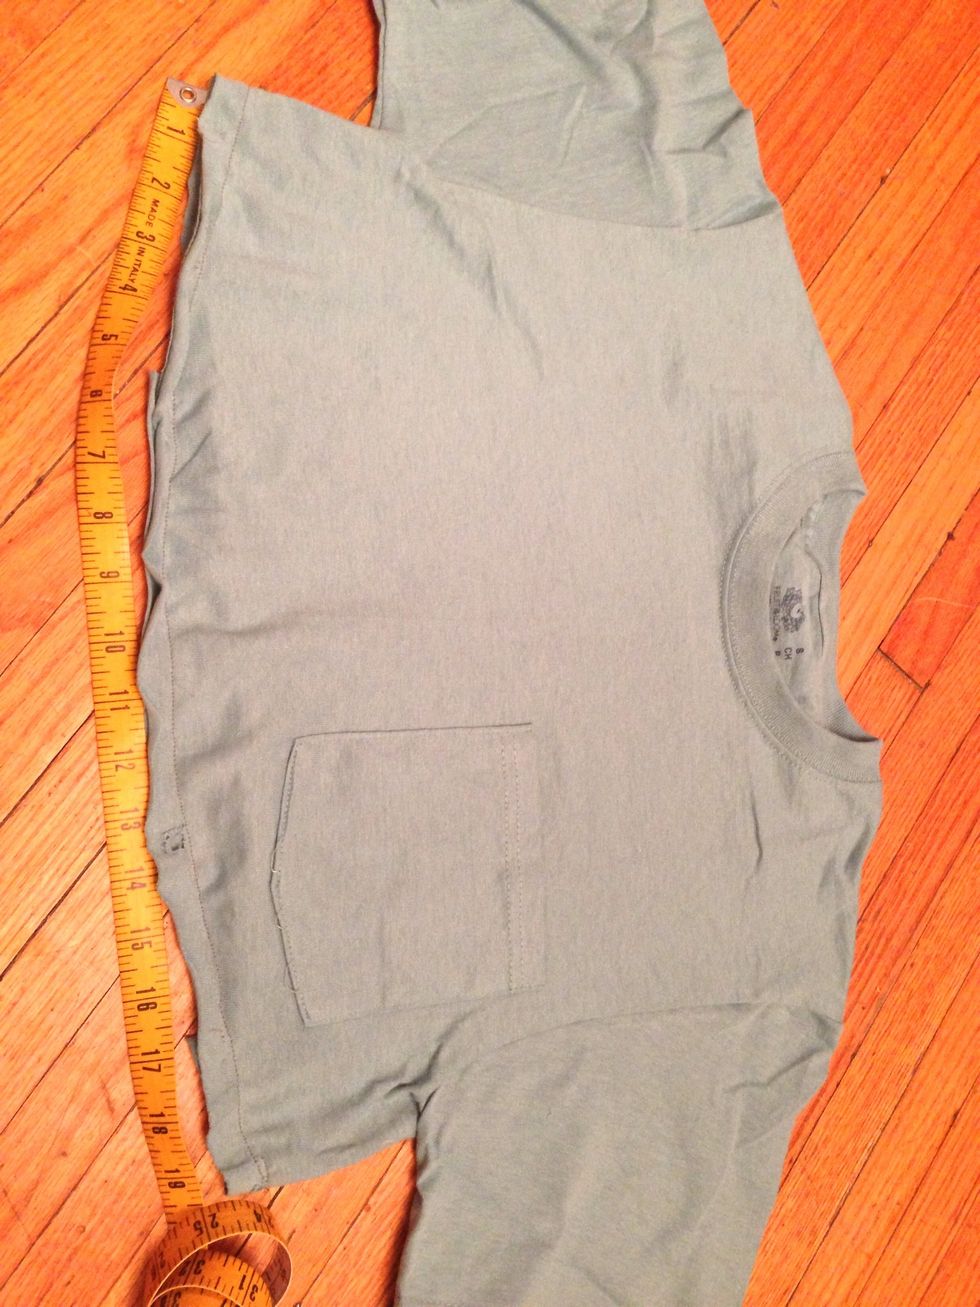
Trim at least 3" off the hem. I first did this early on, when I was in a cutting frenzy. It is better to do it when you can try it on first. Judge the length only by the center front and center back.
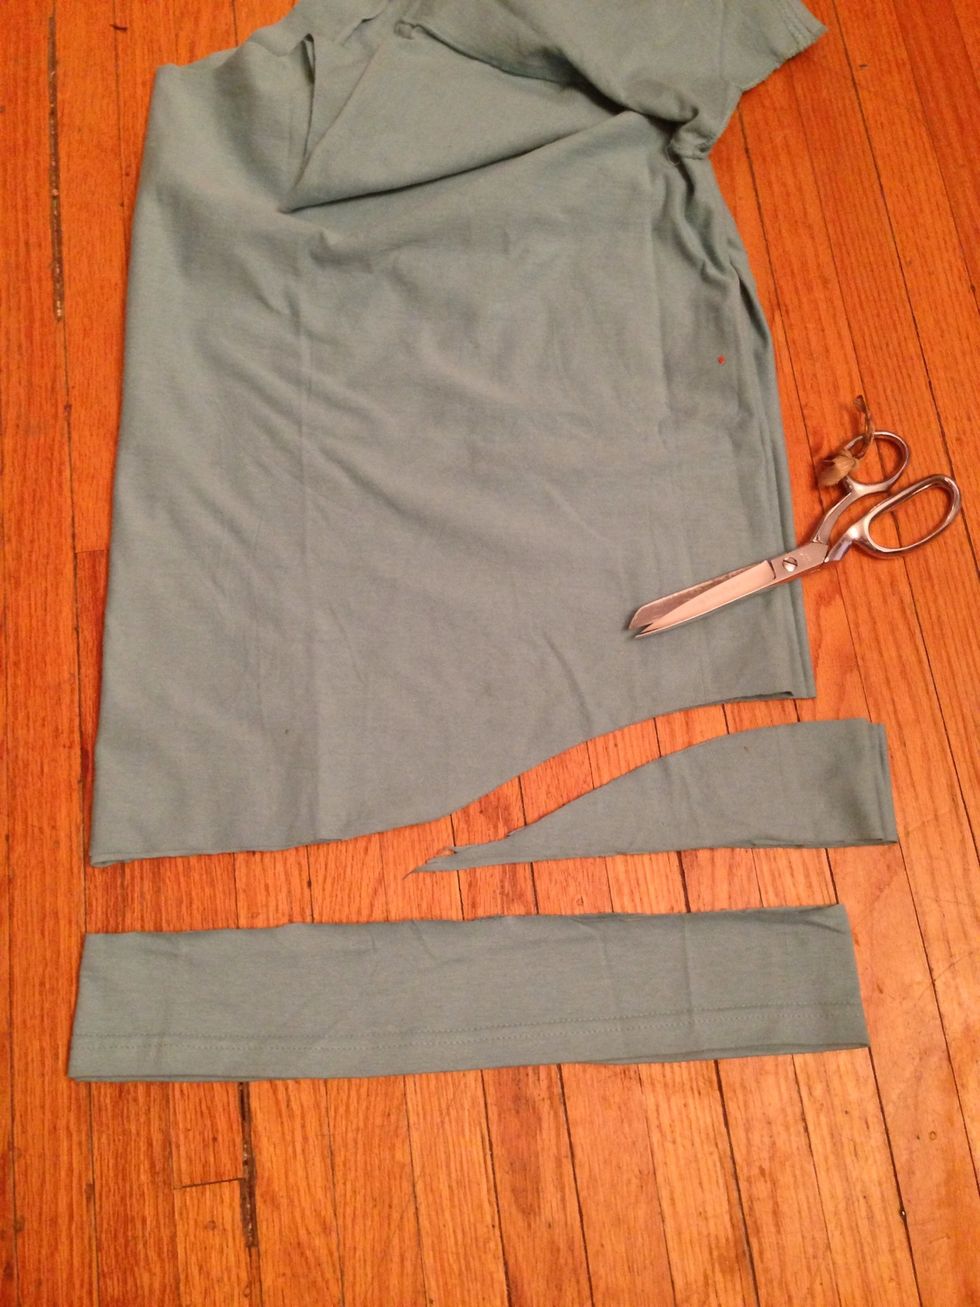
Follow the photo to take about 3" off the sides. Cut straight in for a very short way, then curve down to the halfway point on the folded dress.
Now sew the original hem back on! Start on one side. Keep the hem strip taught as you go around with a stretch straight stitch. You want them to feed evenly, but the curves will want to stretch out.
You will probably have a little extra hem. Pin the excess to mark the correct length. Break your threads.
Stitch across the hem banding and trim excess.
Complete attaching the hem.
Press seam open.
Done!
😃 Thanks for viewing my how-to! There is always more at JoeBobLeigh.com