The Conversation (0)
Sign Up
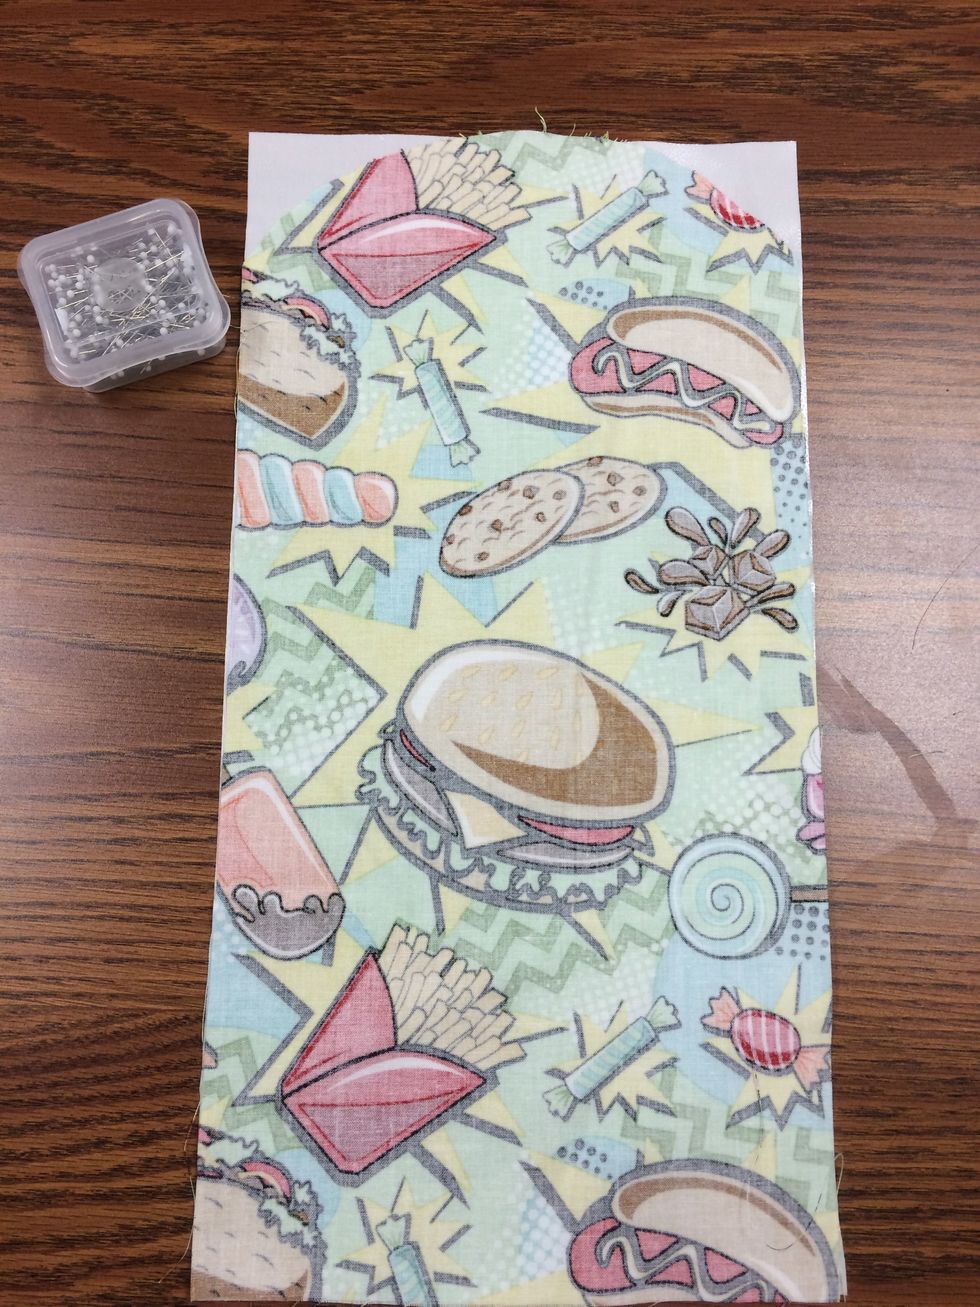
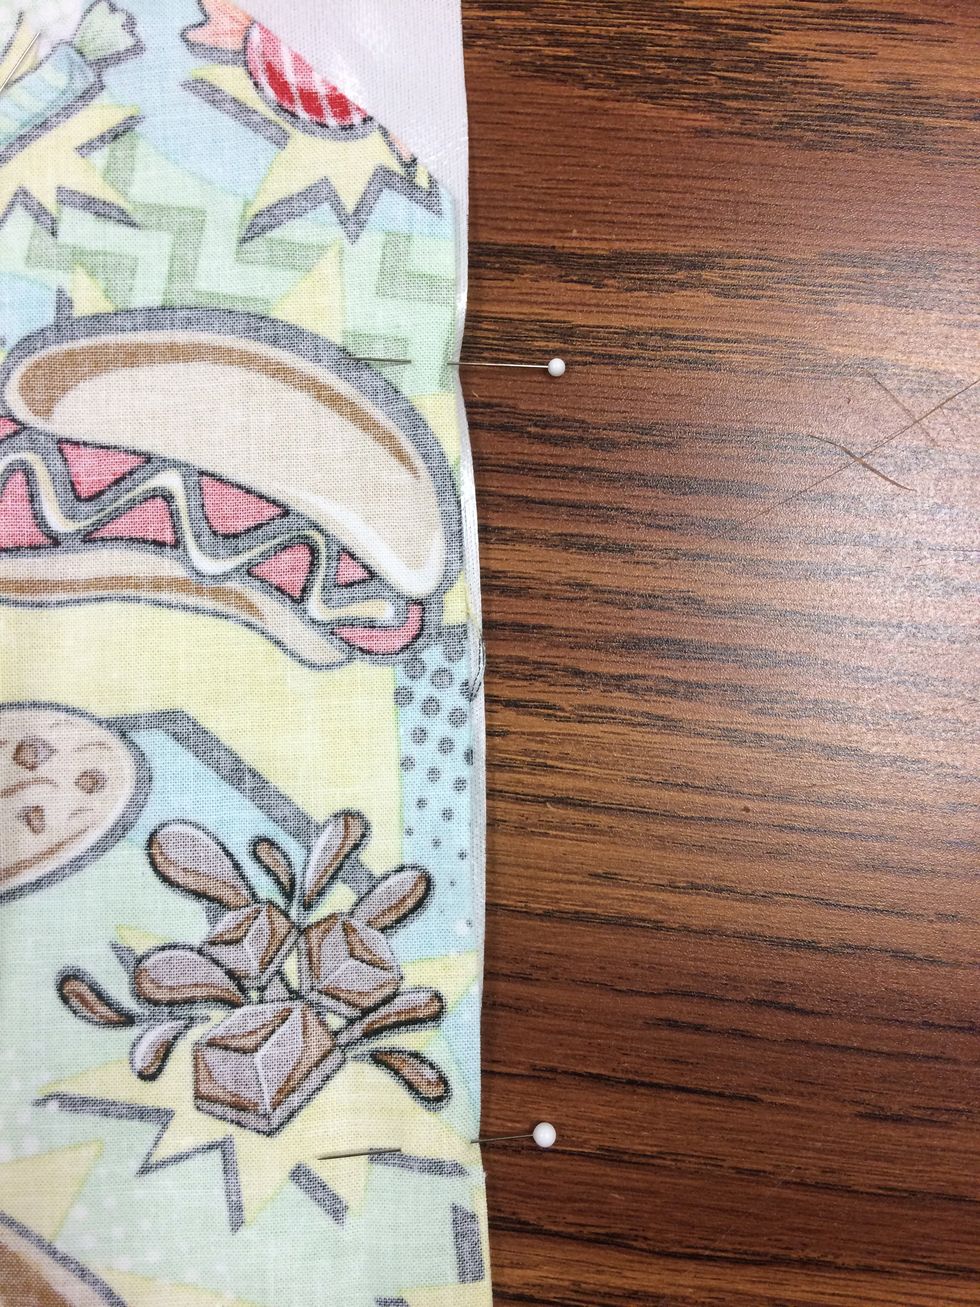
Pin the pieces of fabric together at the edges to hold into place- Pins should be perpendicular to the edge- about 3-4 pins per side (see next step)

The sides are pinned together as shown (bottom is left open)
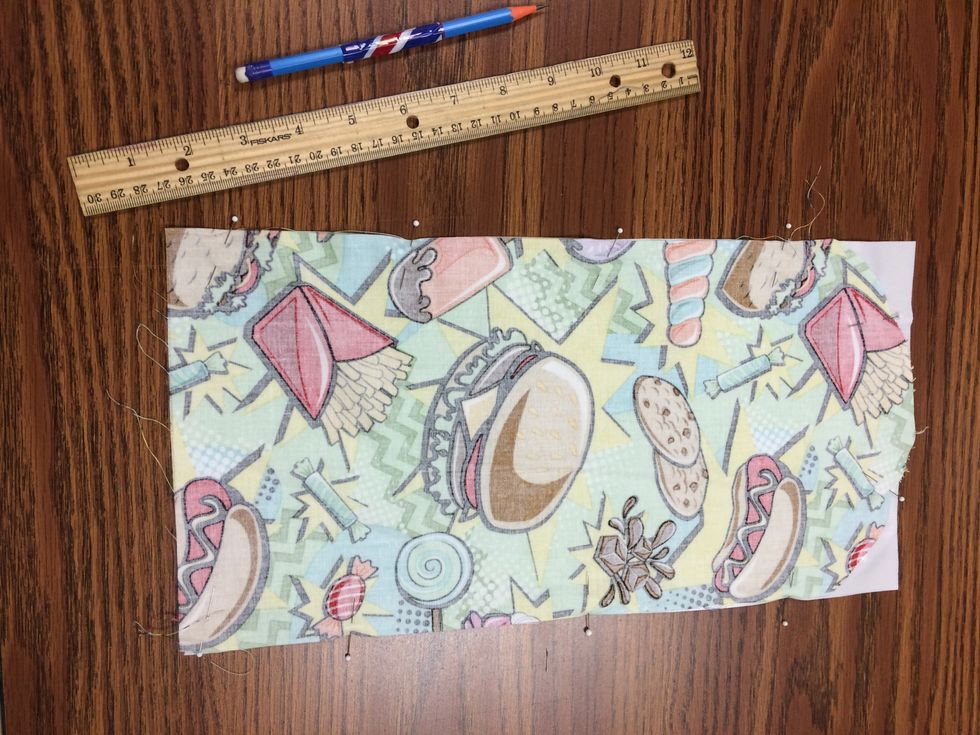
You need to get a ruler and a marking pencil
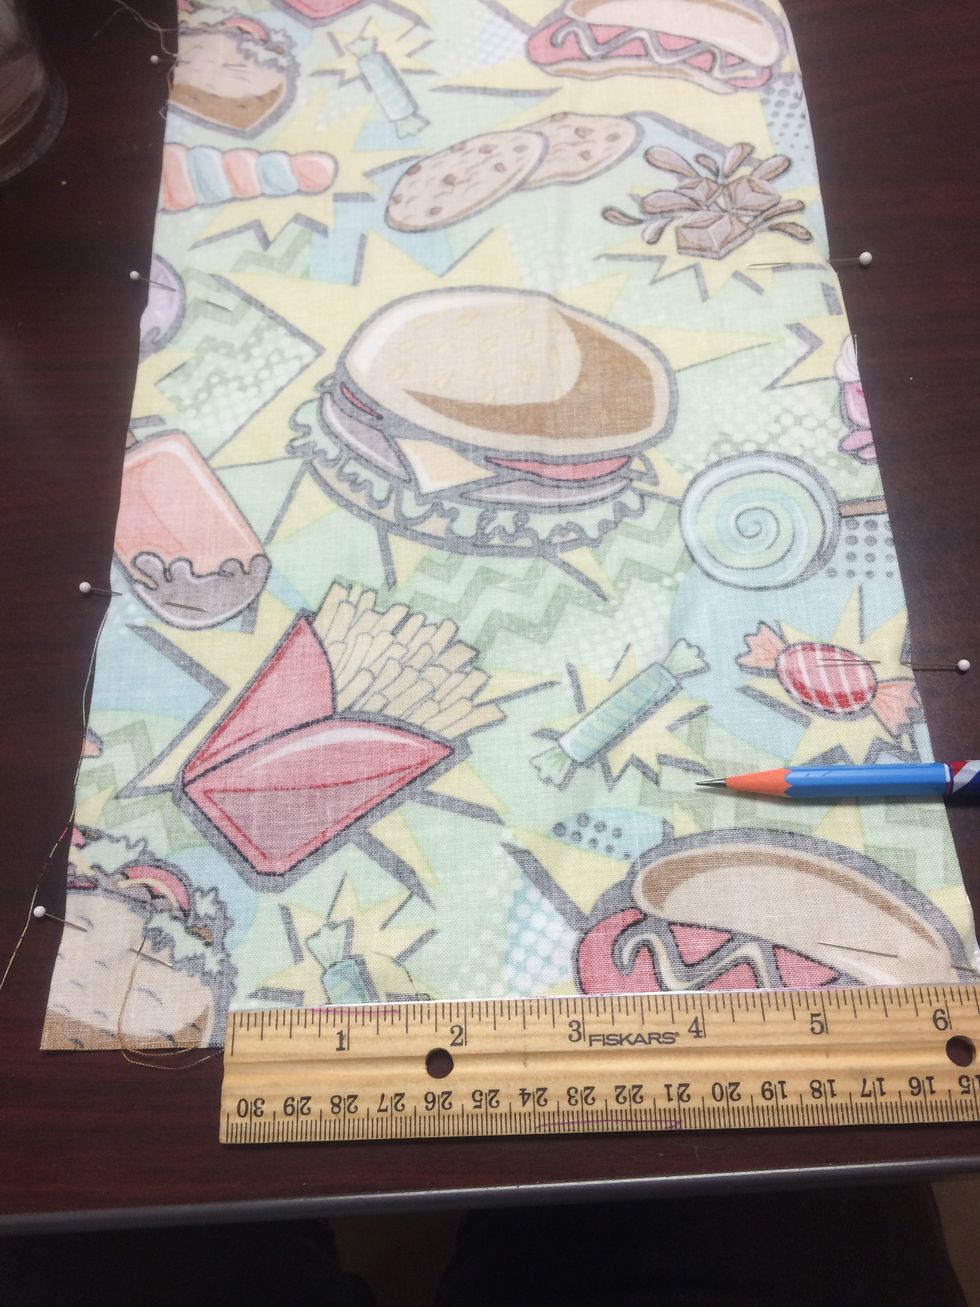
Using a ruler and Marking pencil, mark a 4 inch opening along the bottom center. (this will be left open for turning later)

See the 4 inch long markings
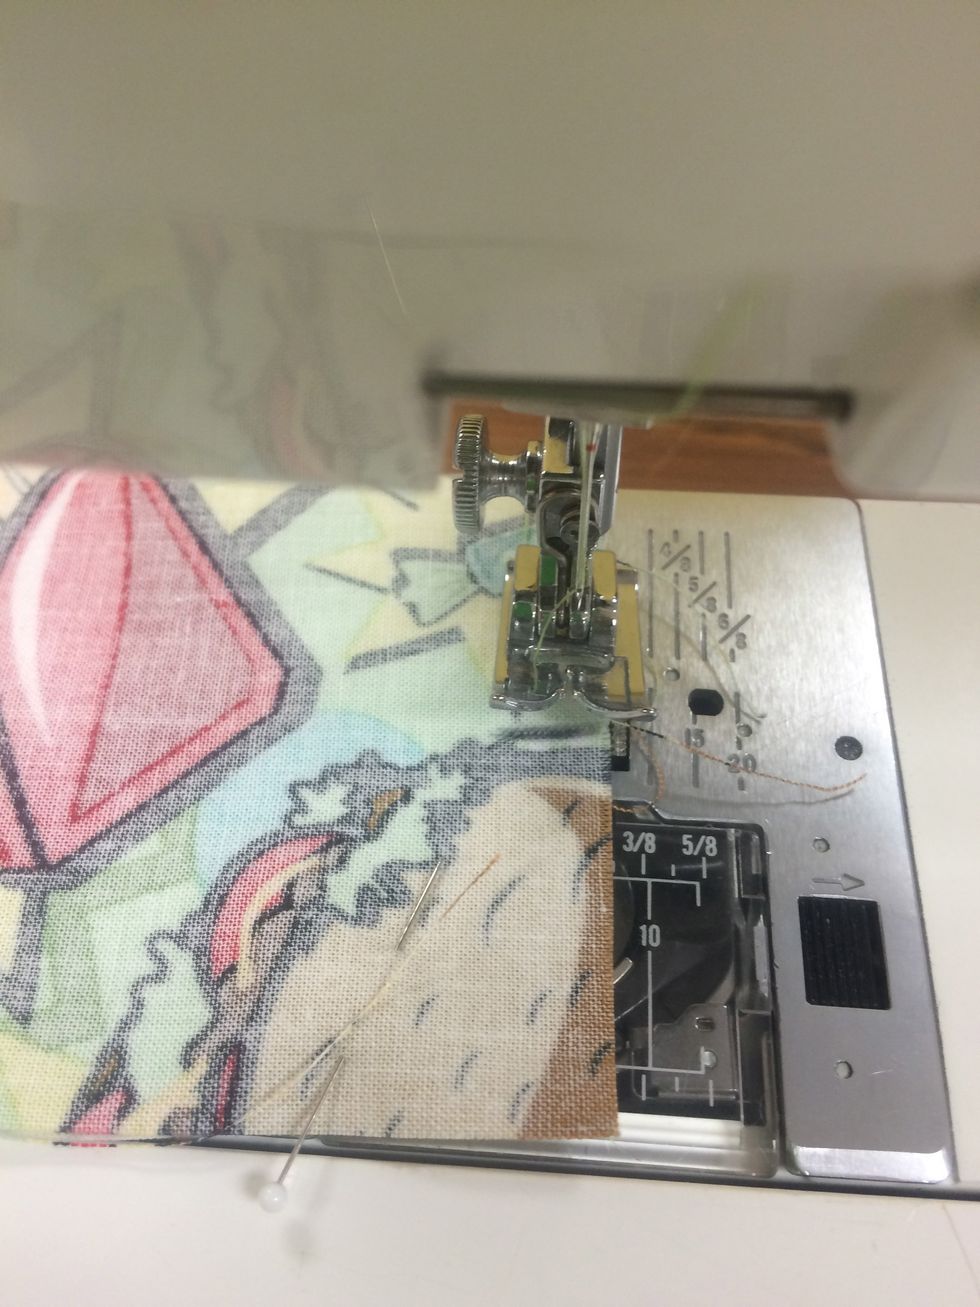
Starting at the mark on the left, sew all the way around the sides until you reach the mark on the right. (line the edge of the fabric with the side of the pressure foot to sew evenly)

Pivot at each corner and continue sewing around the edge. DO NOT SEW OVER PINS! Stop and Pull the pins out before you get close to them.
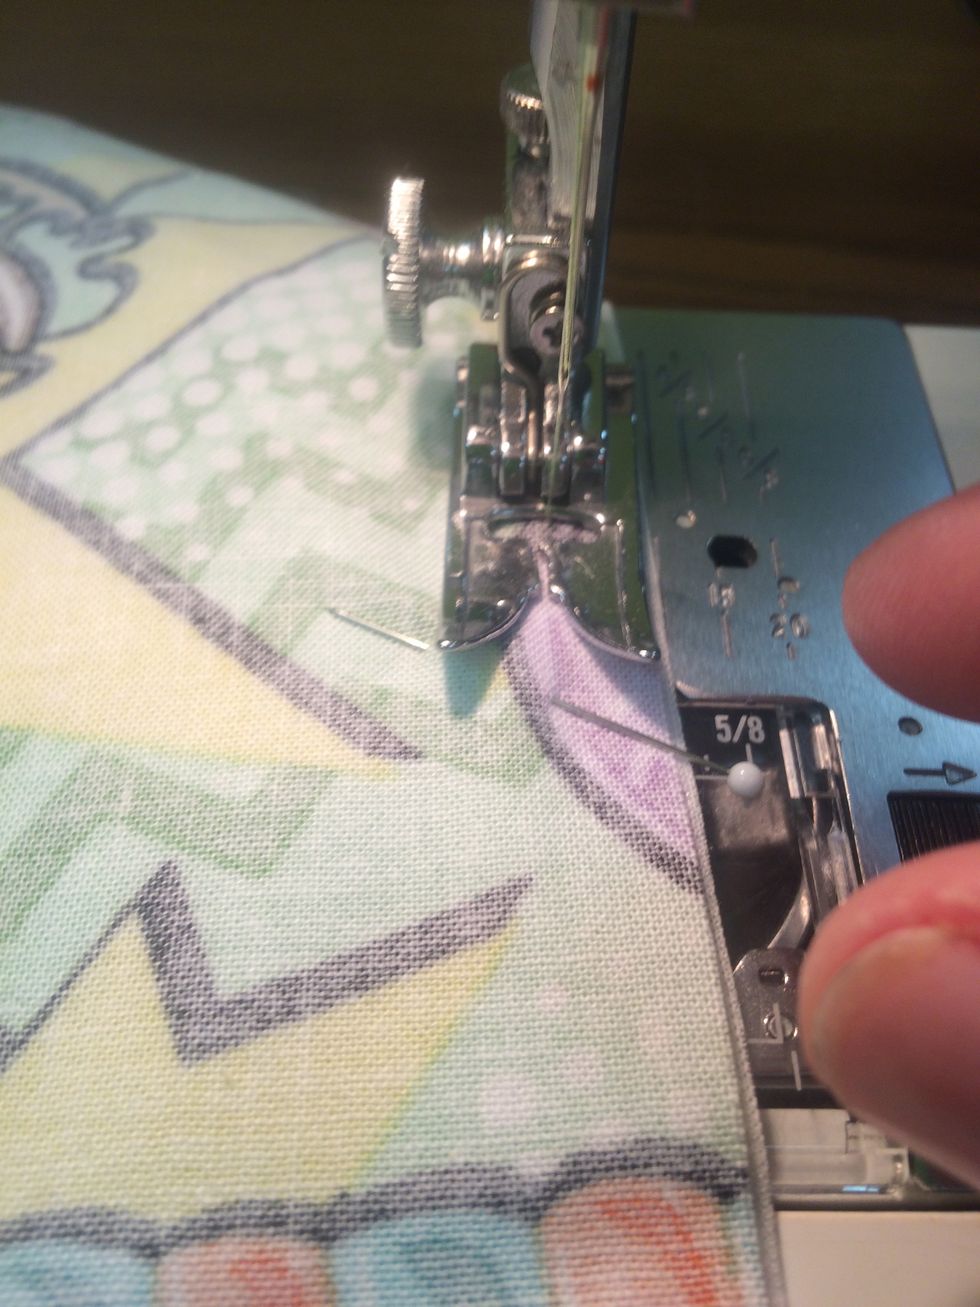
Pull out pins before you sew over them!
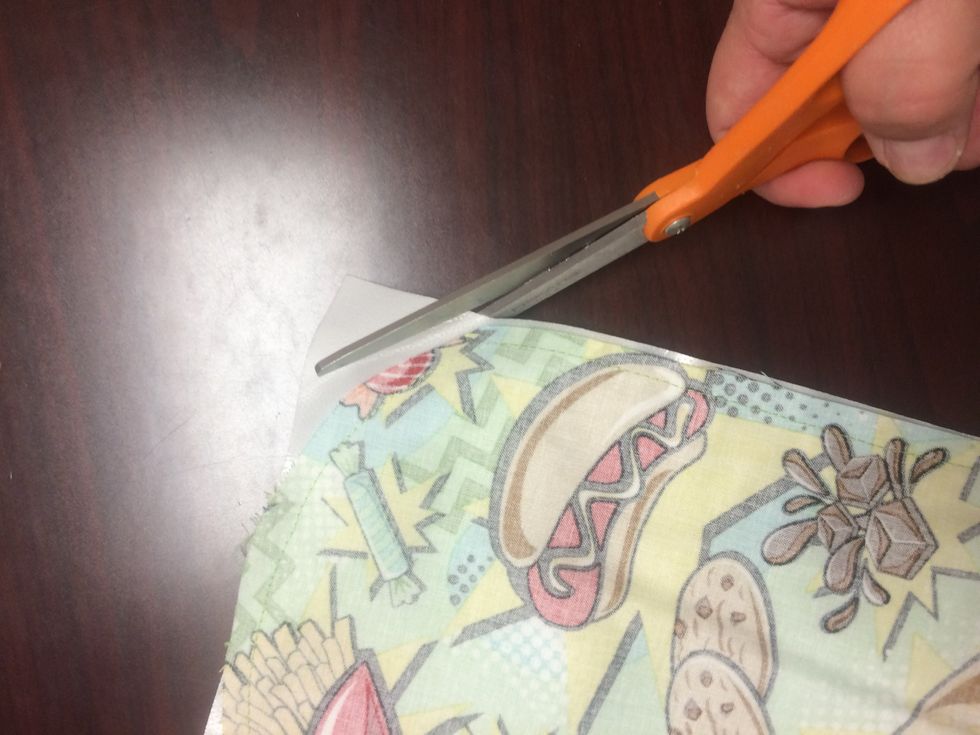
Trim the Lining Fabric to match the shape of the print fabric.
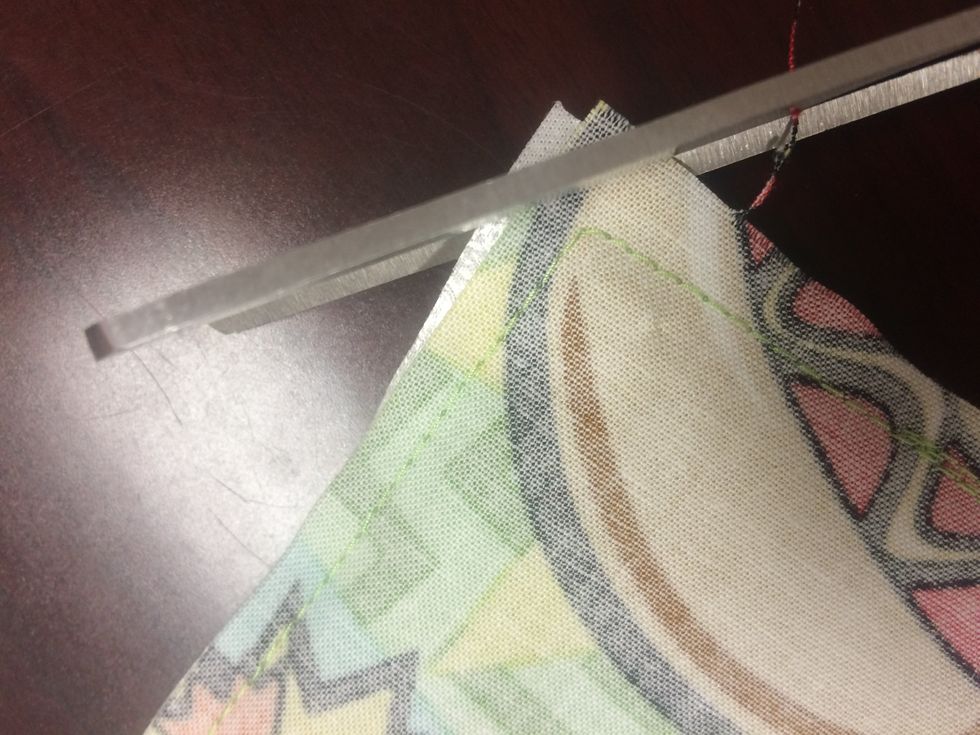
Trim the 4 corners but DO NOT cut the stitches (this reduces bulk)
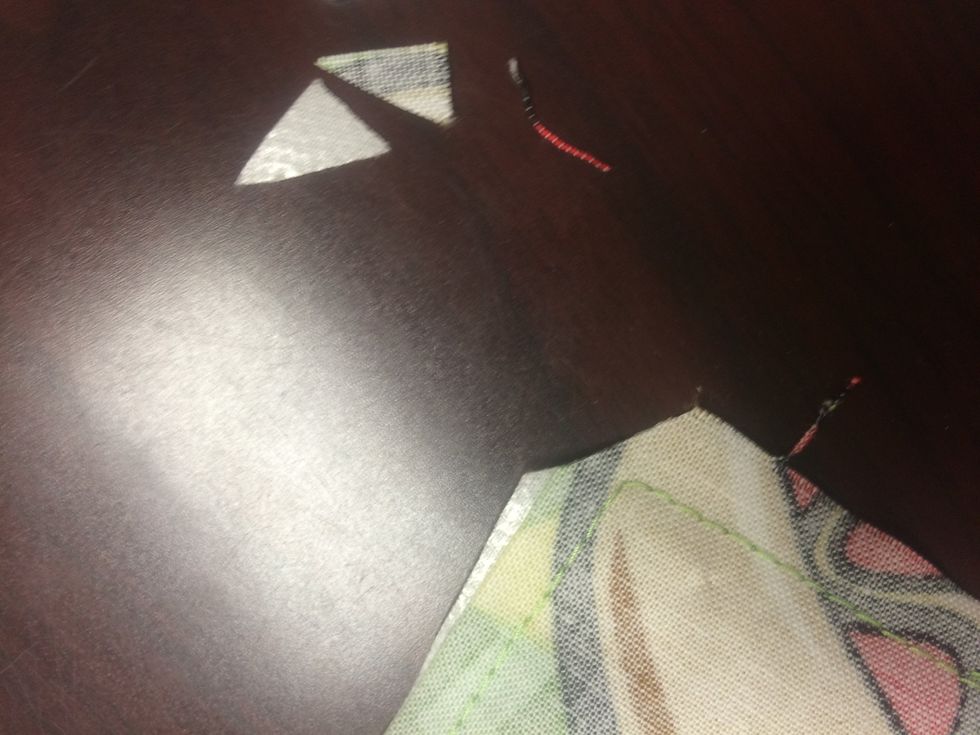
Corners trimmed
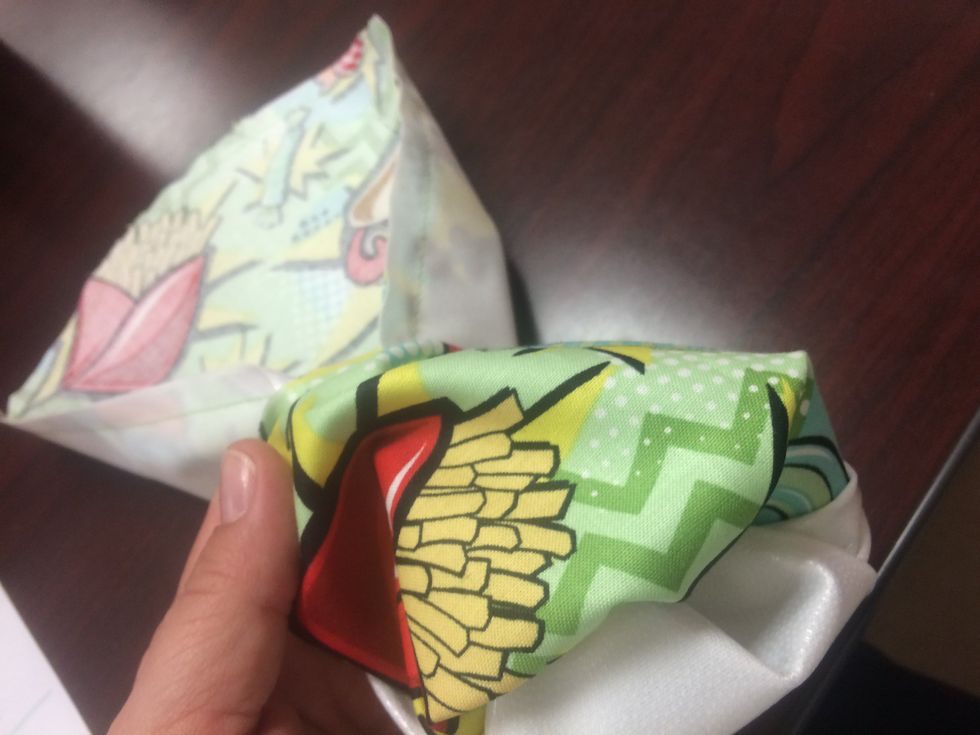
Turn the bag right side out through the 4 inch hole

Finger press along the edges of the bag -it should look like this!
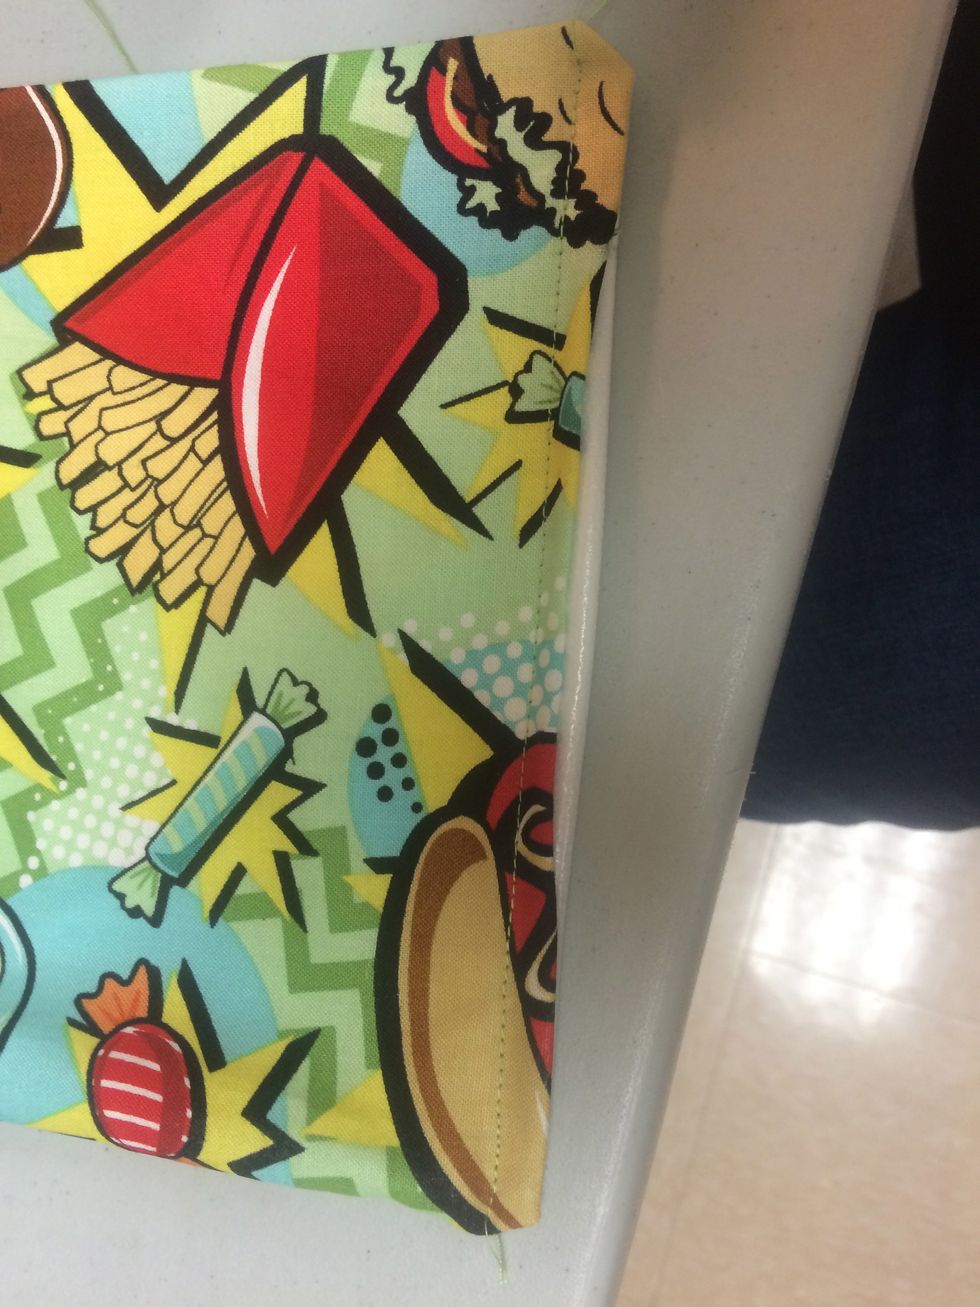
FOLD in the raw edges on the bottom of the bag. Sew across the bottom of the bag about 1/8 inch from the edge
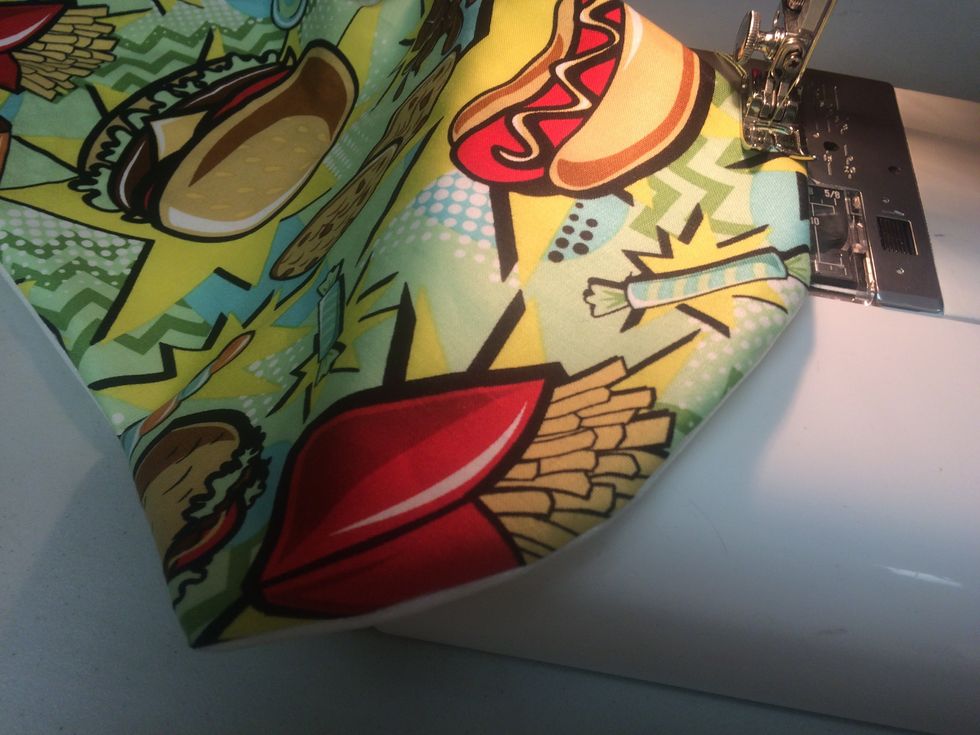
Now sew a 1/8 inch seam along the TOP of the bag- along the curve only
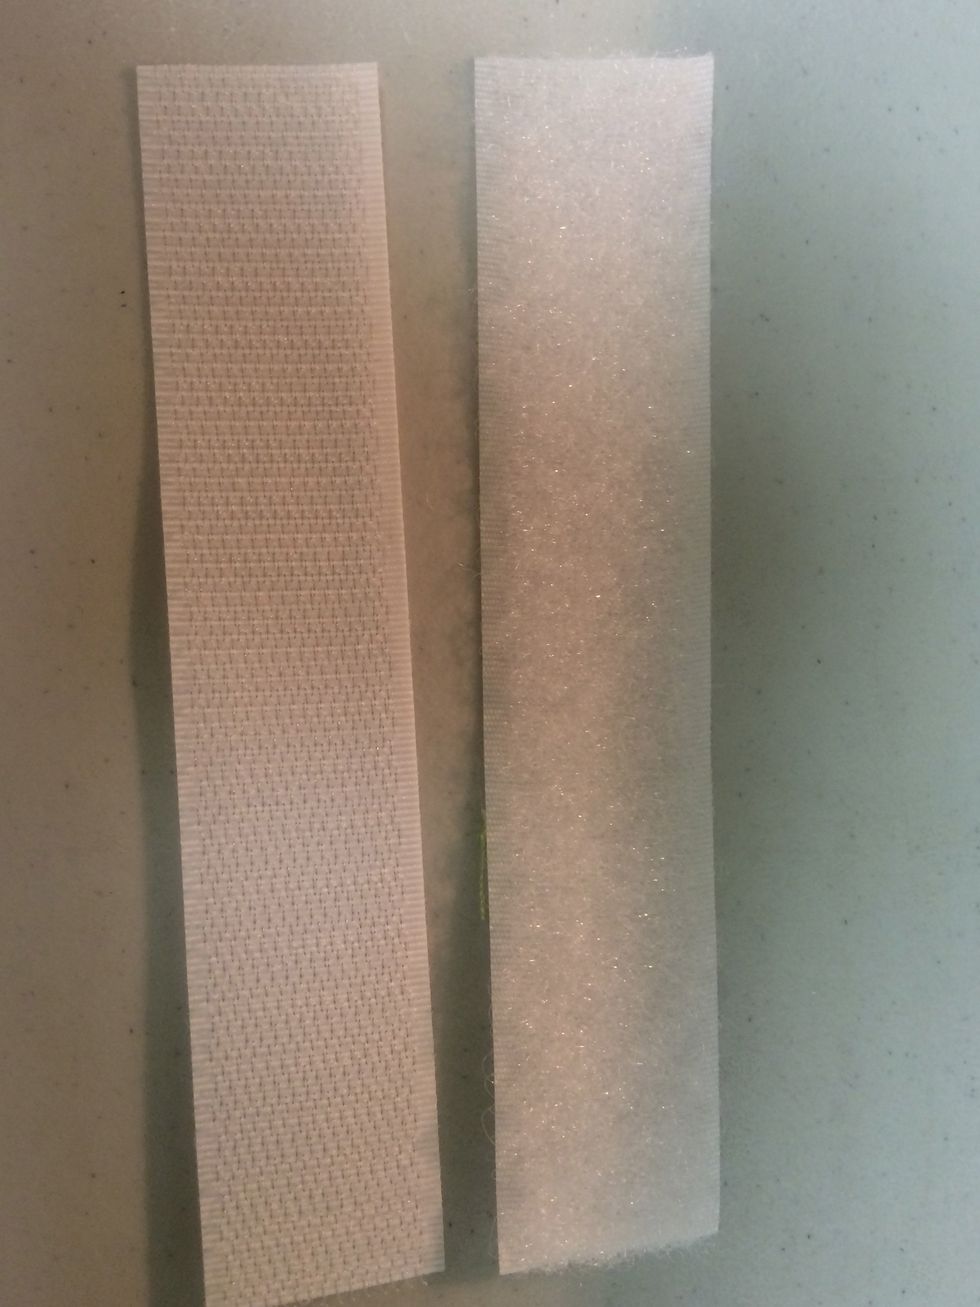
Separate the velcro pieces. The HOOK tape is the piece on the left here. The LOOP tape is the one on the right
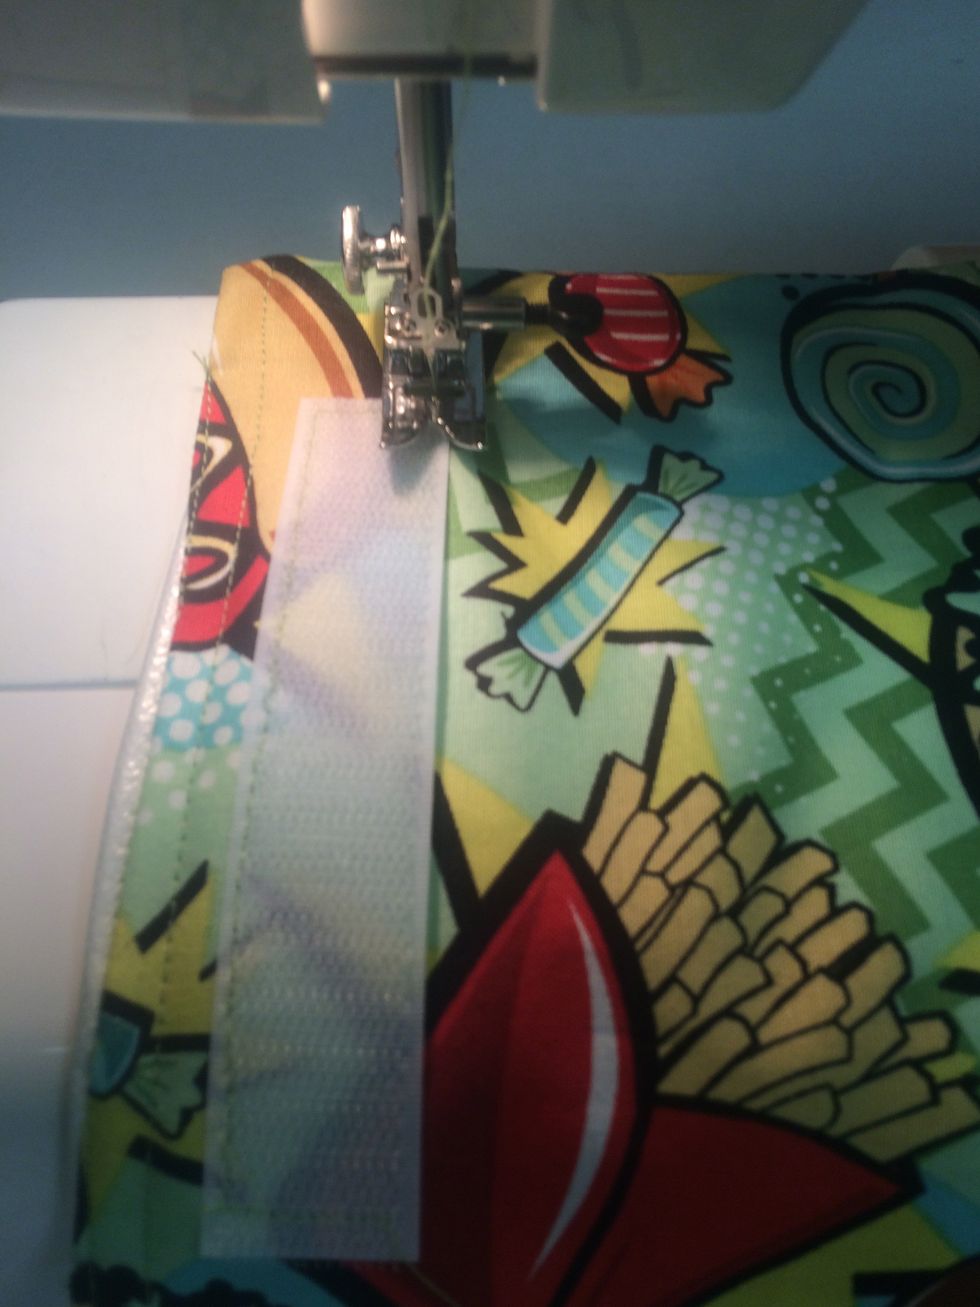
Place the Hook Tape on the bottom of the bag CENTERED 1/2 inch from the bottom edge
Pin in place and sew ON TOP of the velcro in a rectangle 2 TIMES to secure into place
Pivot at the corners and continue sewing around the velcro 2 TIMES
Should look like this but make sure you go around 2 TIMES

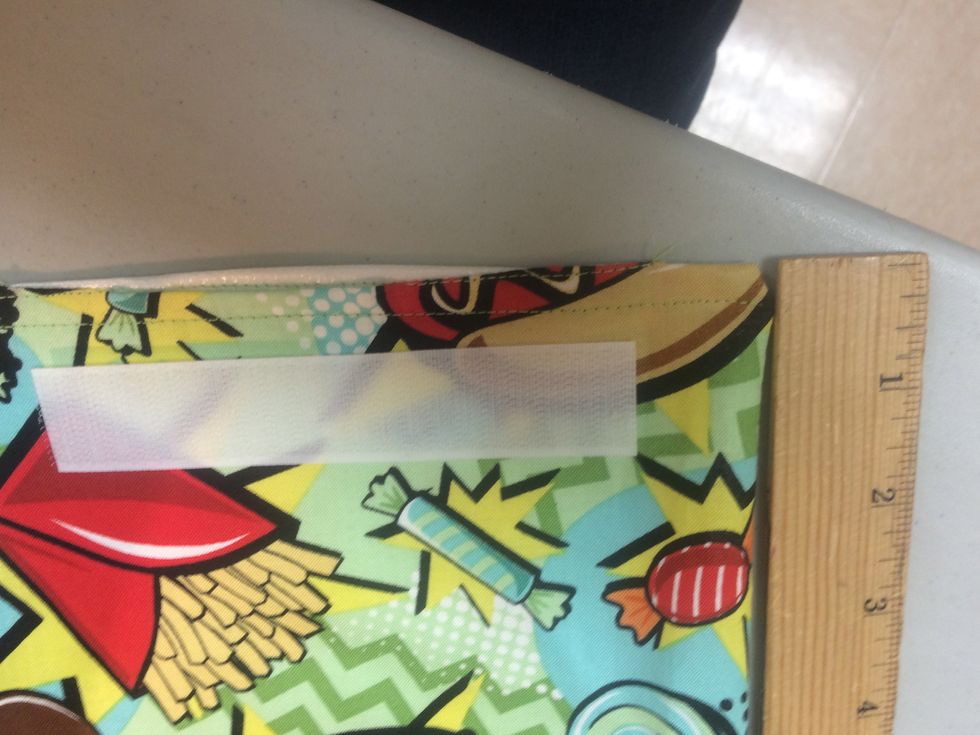
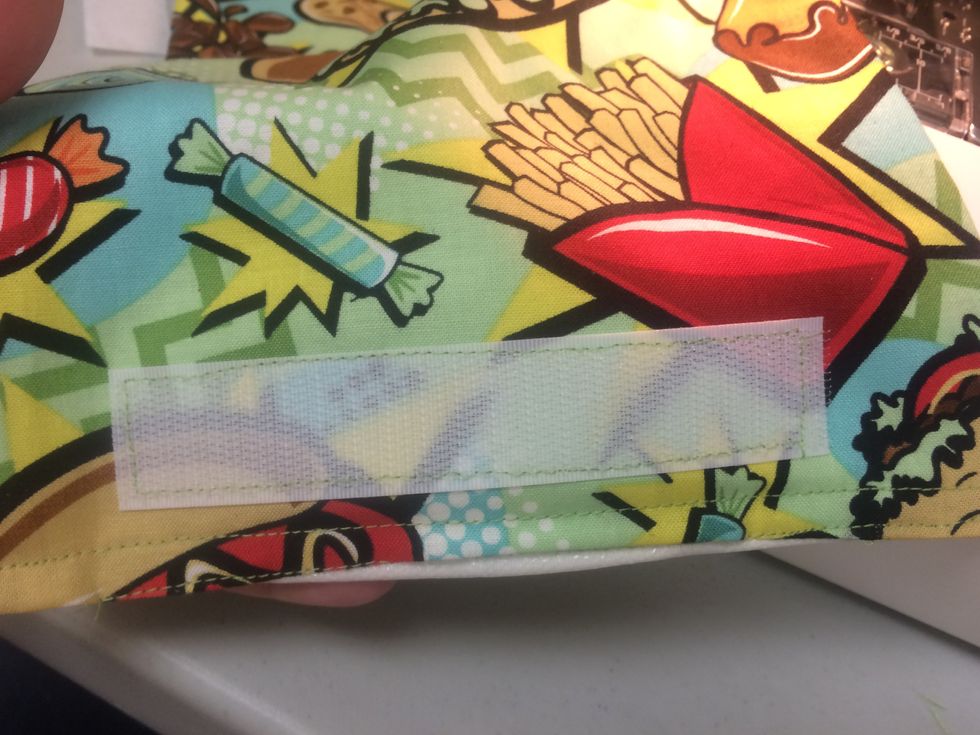
Measure 1 1/8 inch from the top curve and place the LOOP Tape on top of the LINING Fabric
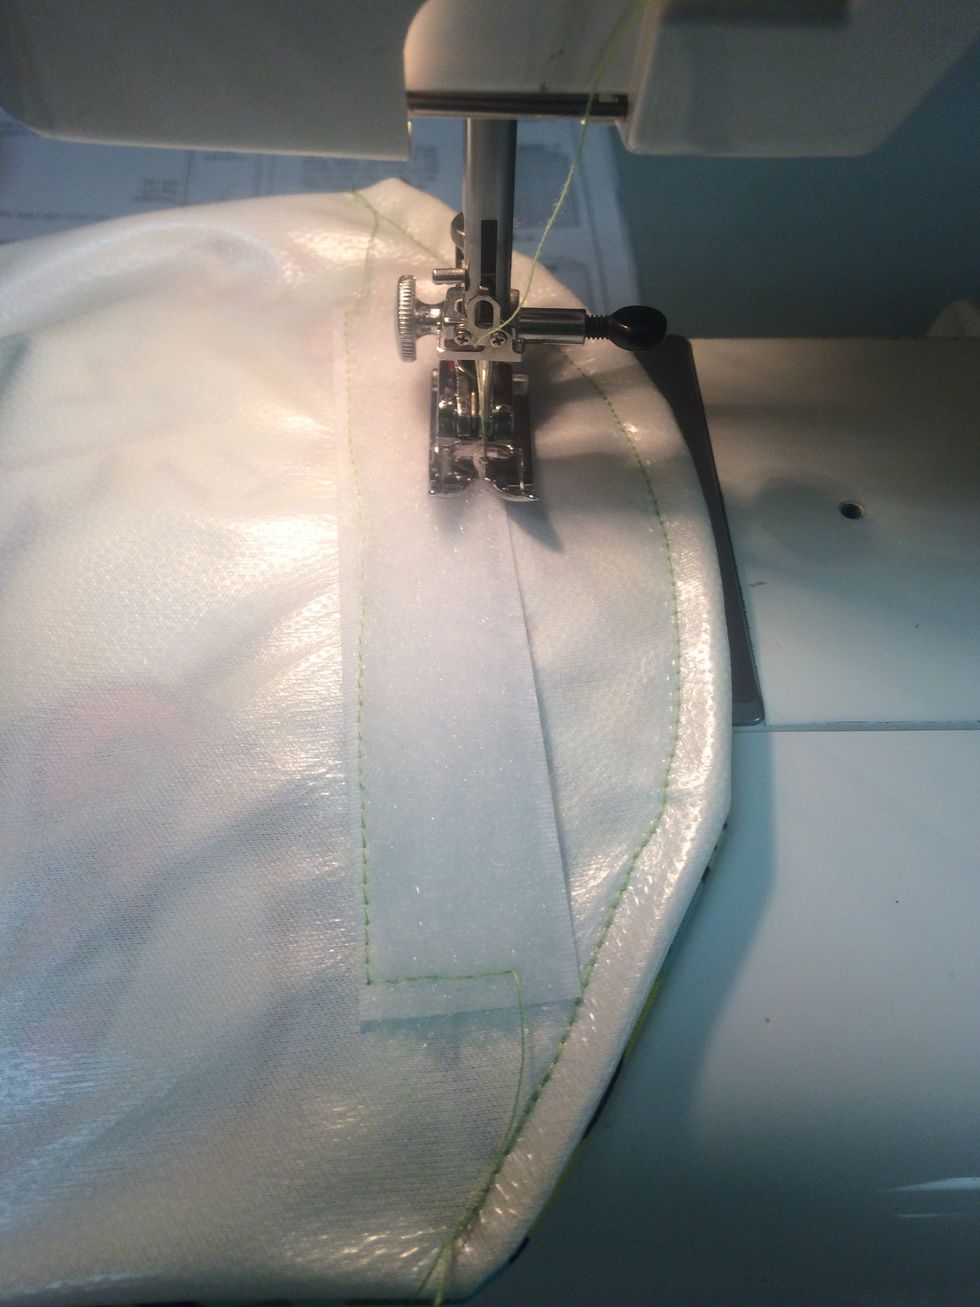
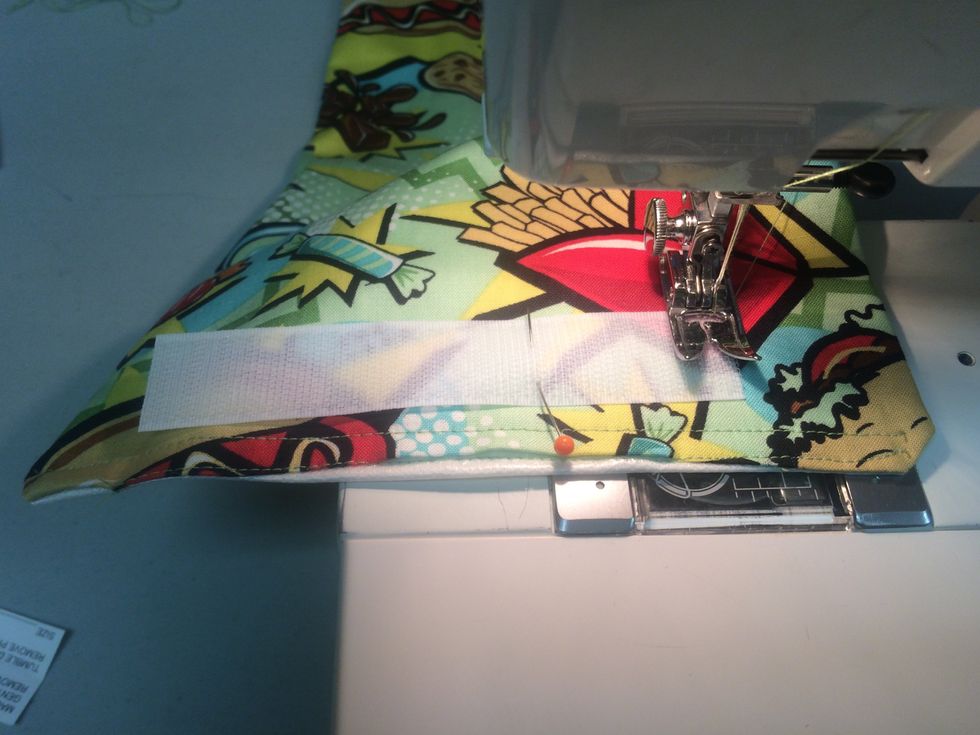
Sew around the LOOP Tape on all four sides 2 TIMES to secure
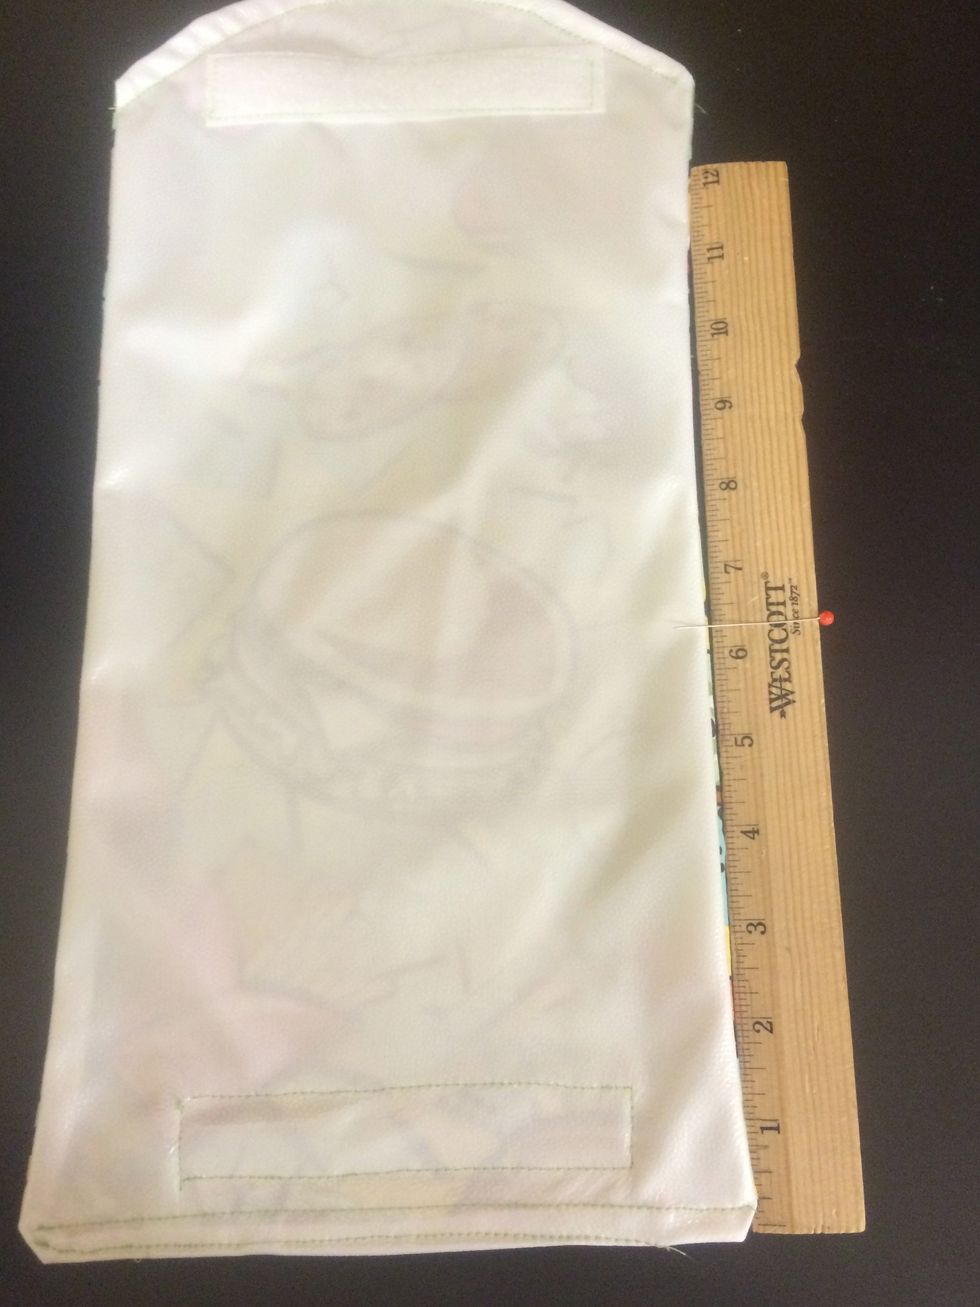
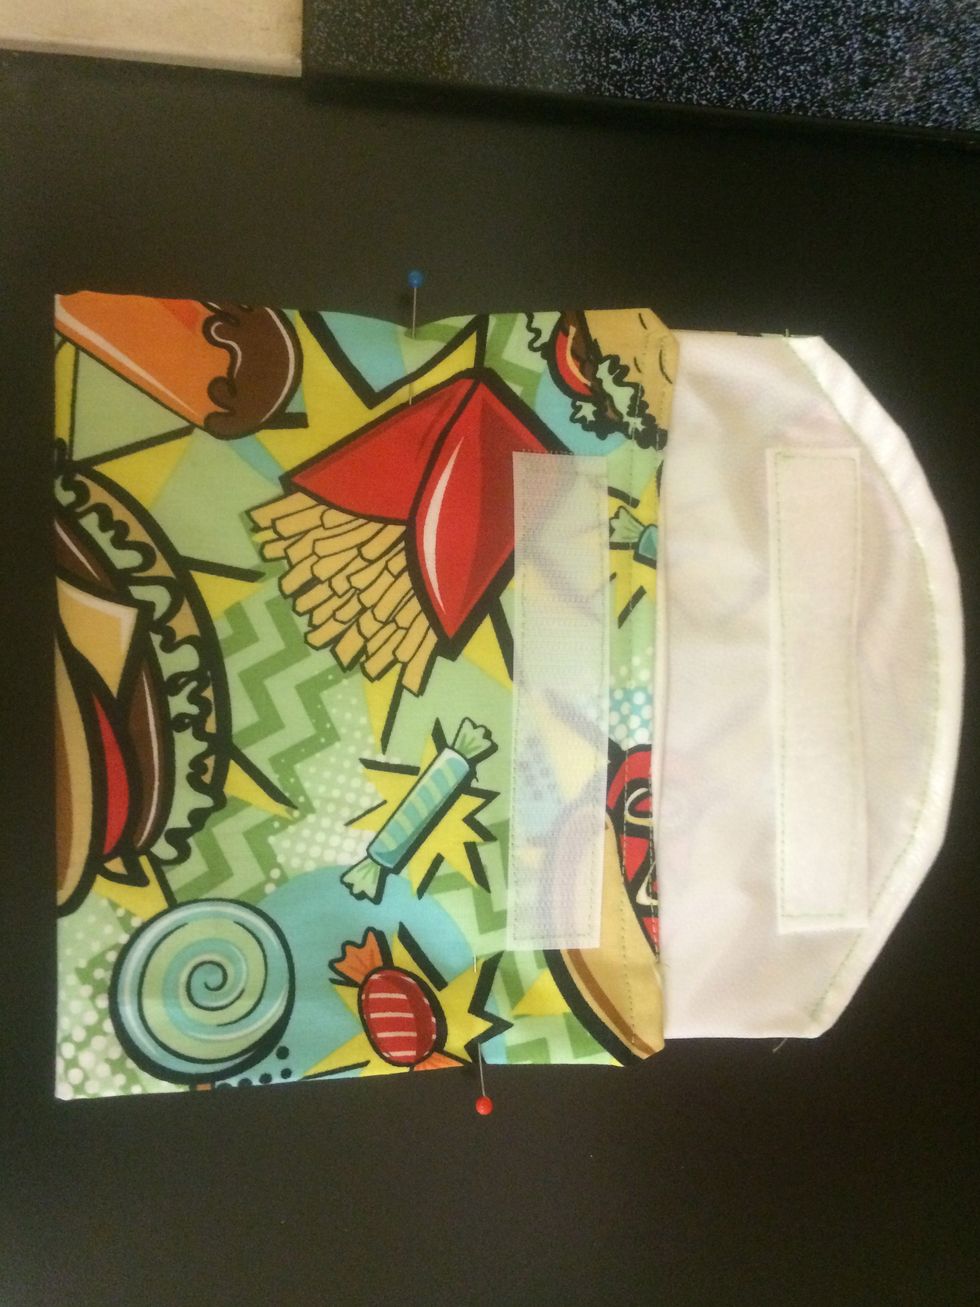
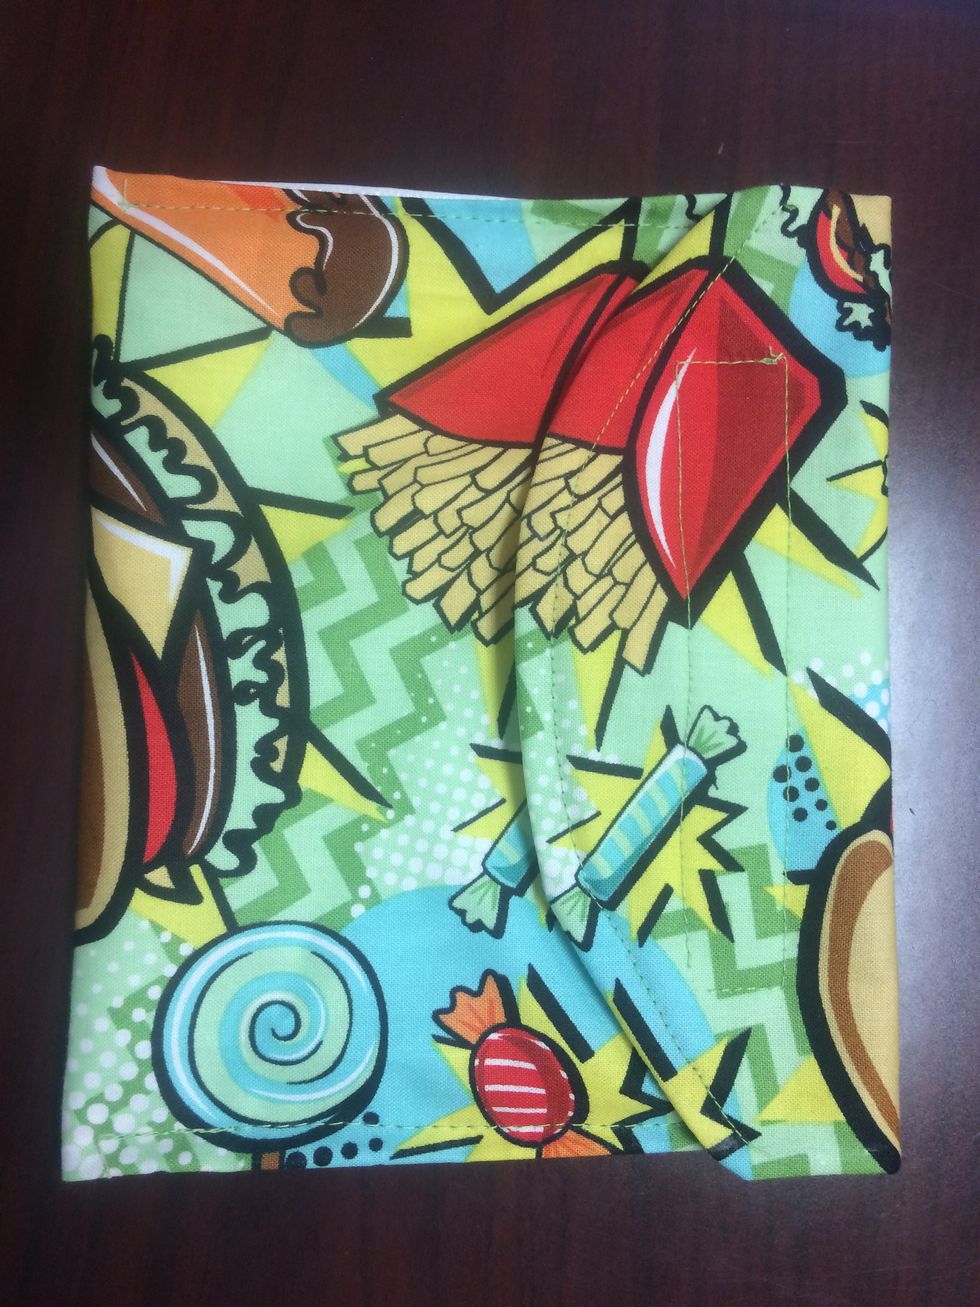
Arrange the bag lining side up with curved edge at top. Measure up 6 1/4 inches. Fold the short edge bottom up to the 6 1/4 inch mark.

After it's folded, the Hook and Loop tape should be close to eachother
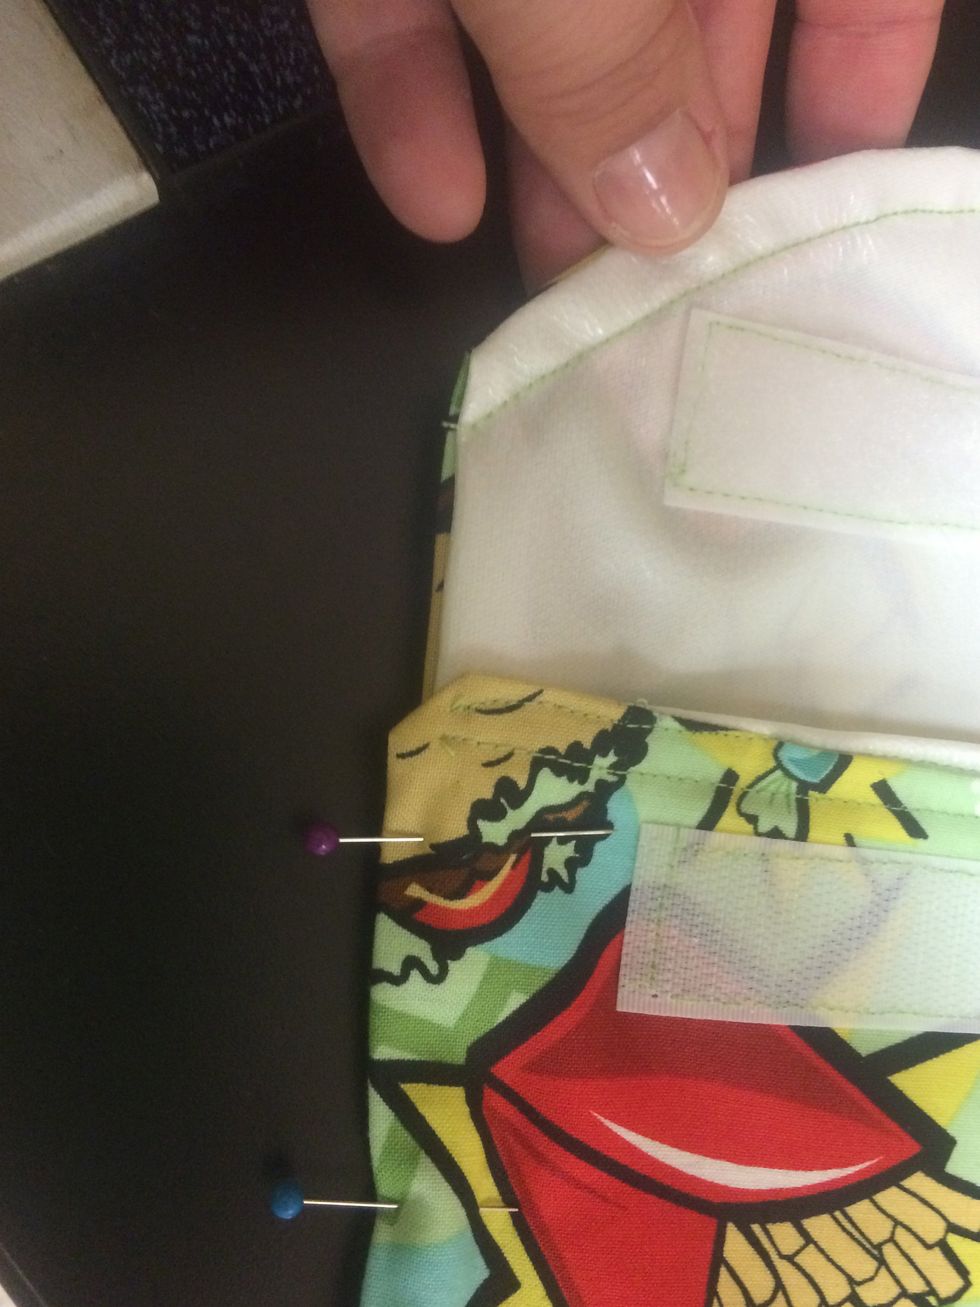
Pin the sides together with 1-2 pins as shown
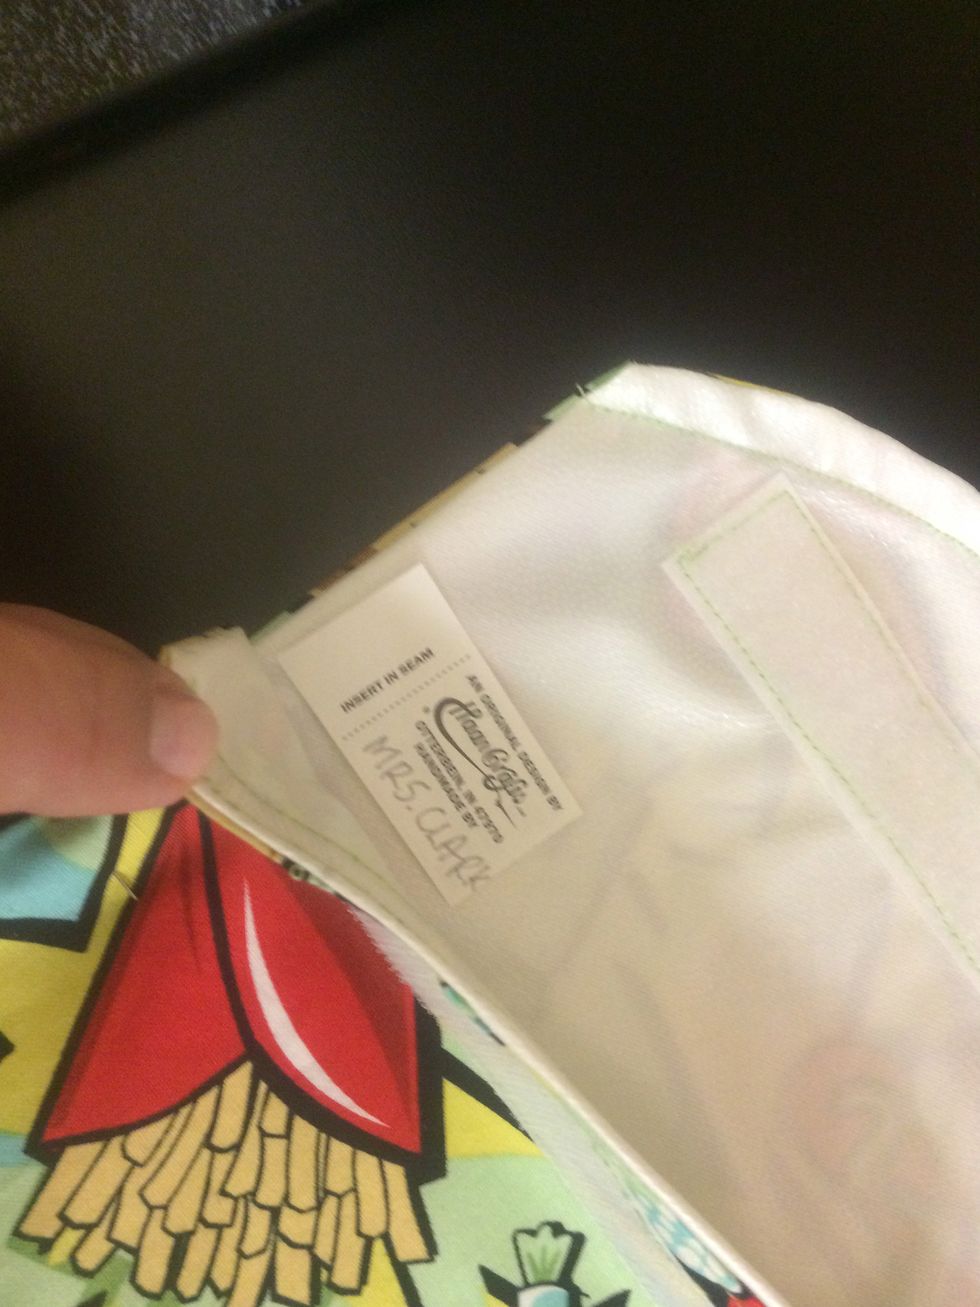
Write your name on the care tag. Pin the care tag to the left side of the top edge - between the layers. The edge of the care tag that says "insert in seam" should be even with the edge of the bag
Pin the care tag into place so it stays when you sew the edges together
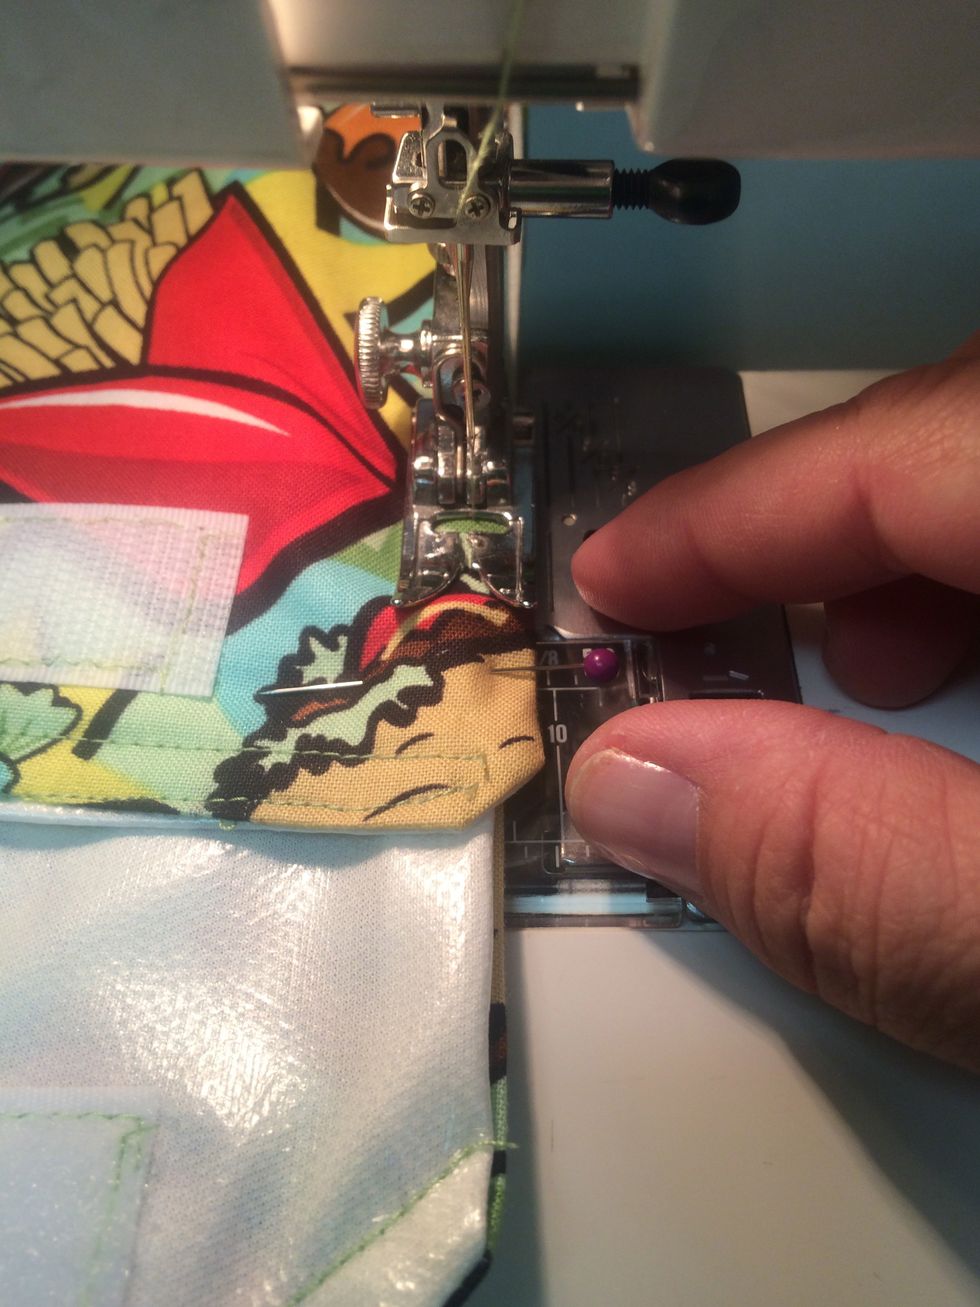
Sew along the left side of the bag from the bottom edge to just above the care tag- be sure not to sew over the pins. Repeat on the right side of the bag- sew the edge from the bottom.
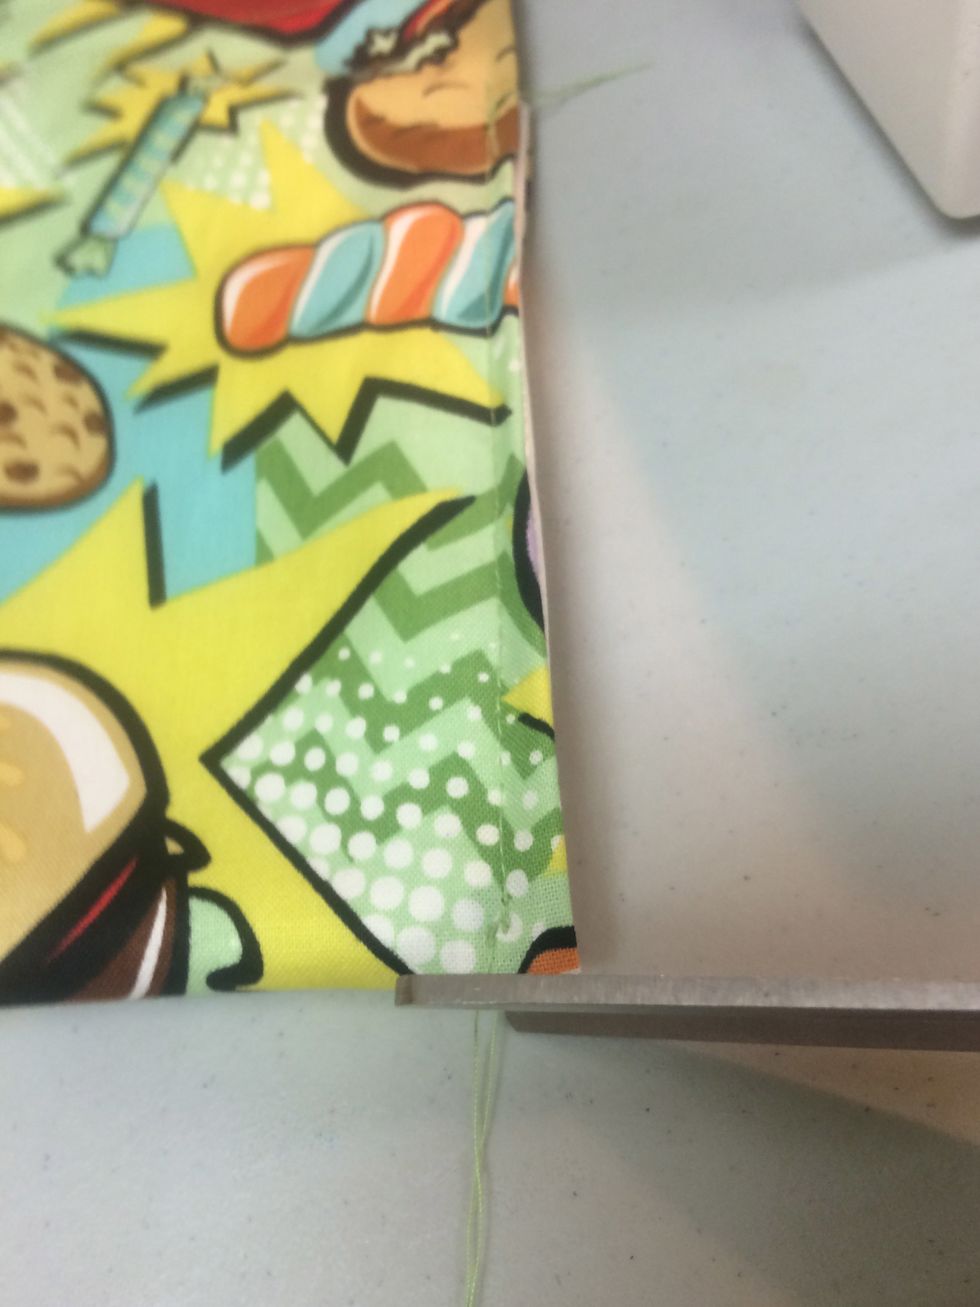
Carefully TRIM ALL LOOSE THREADS all over the bag
Velcro the bag shut and you are DONE with creating your awesome Snack Bag!