The Conversation (0)
Sign Up

Ask teacher for 1 square of fabric
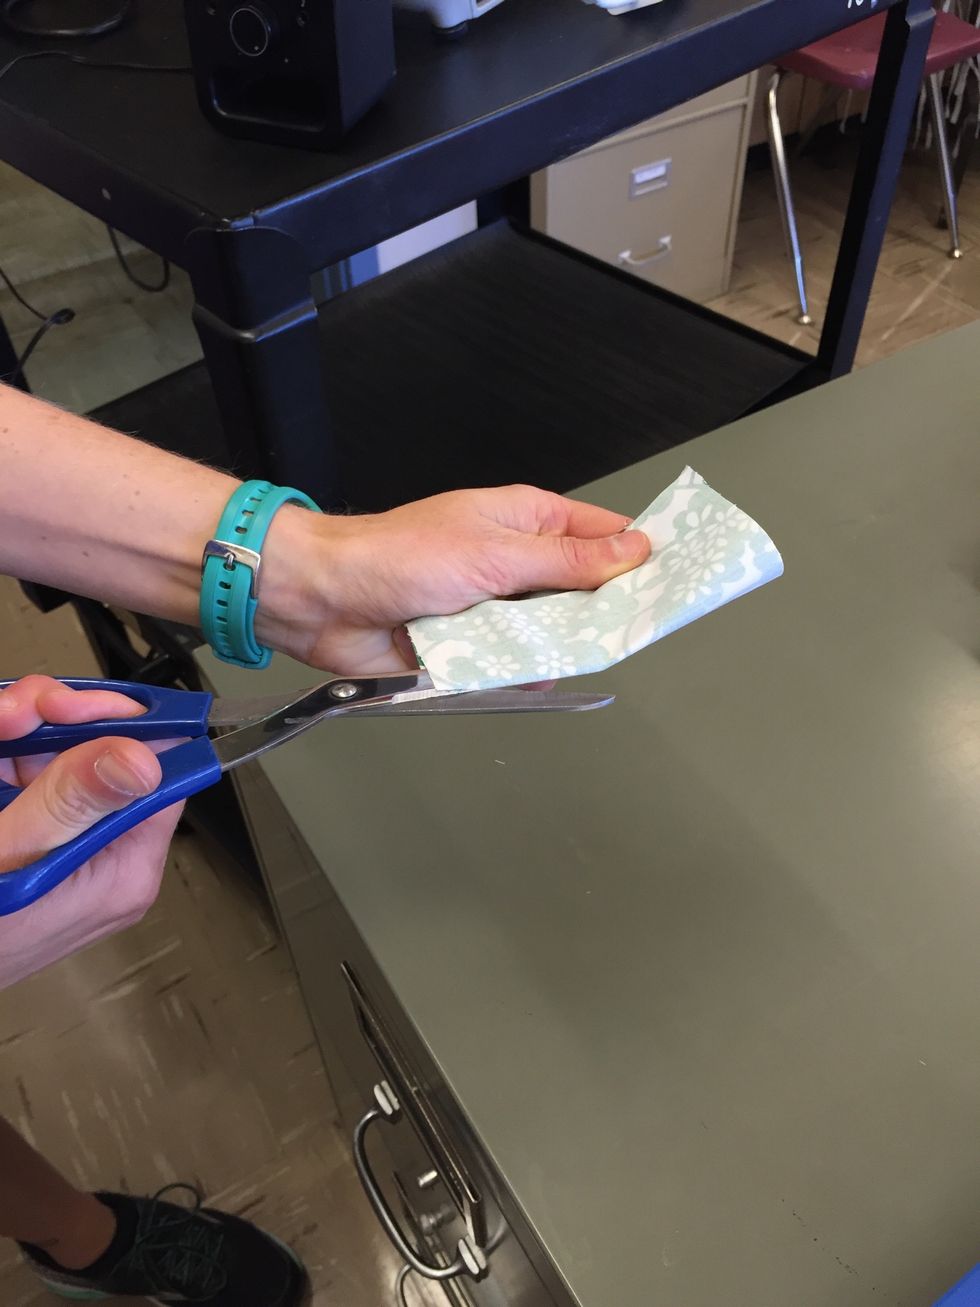
Fold fabric in half and cut along folded edge.
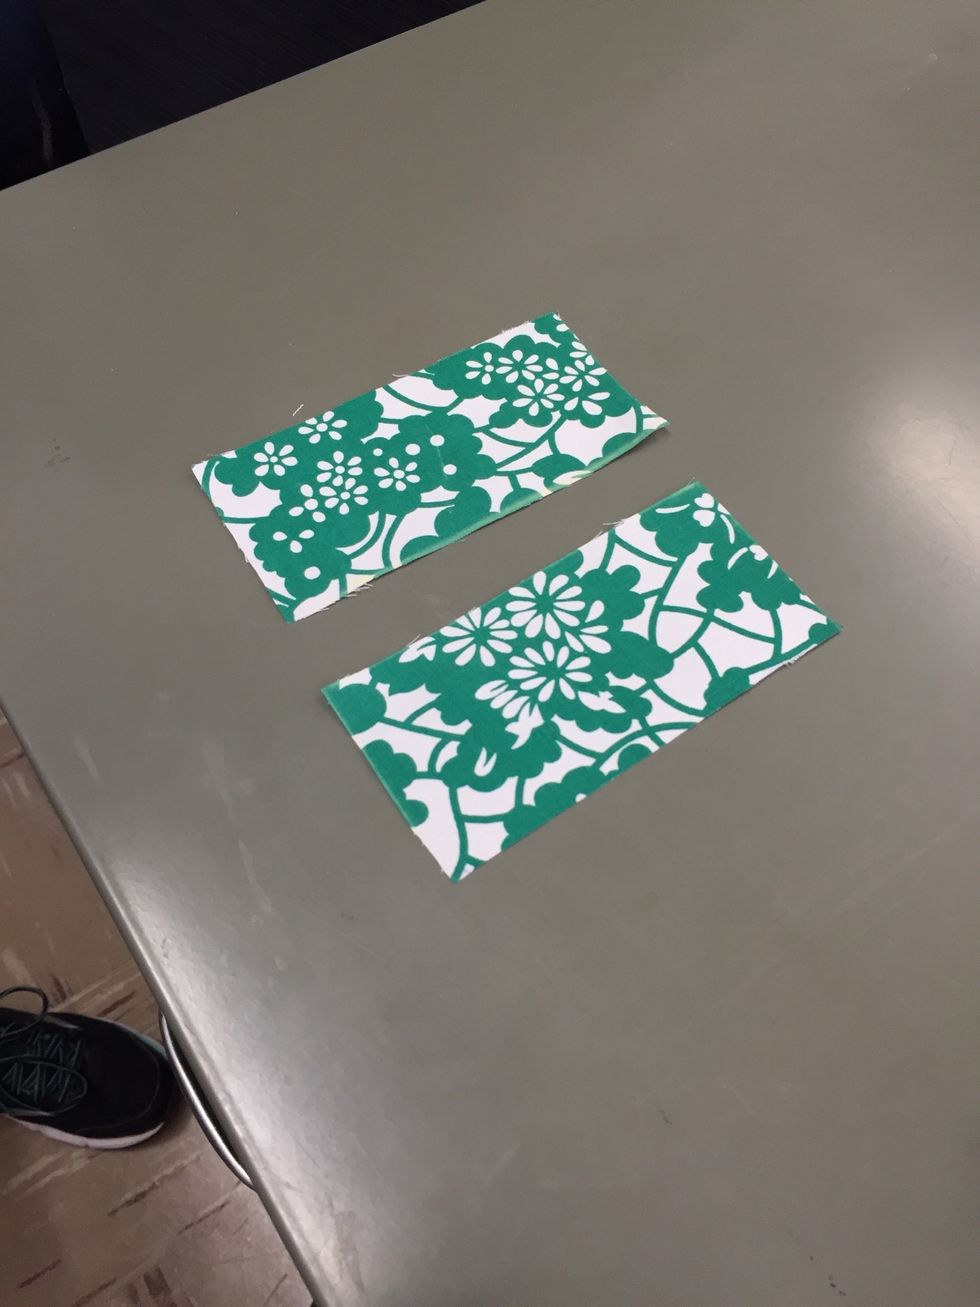
You now have 2 halves
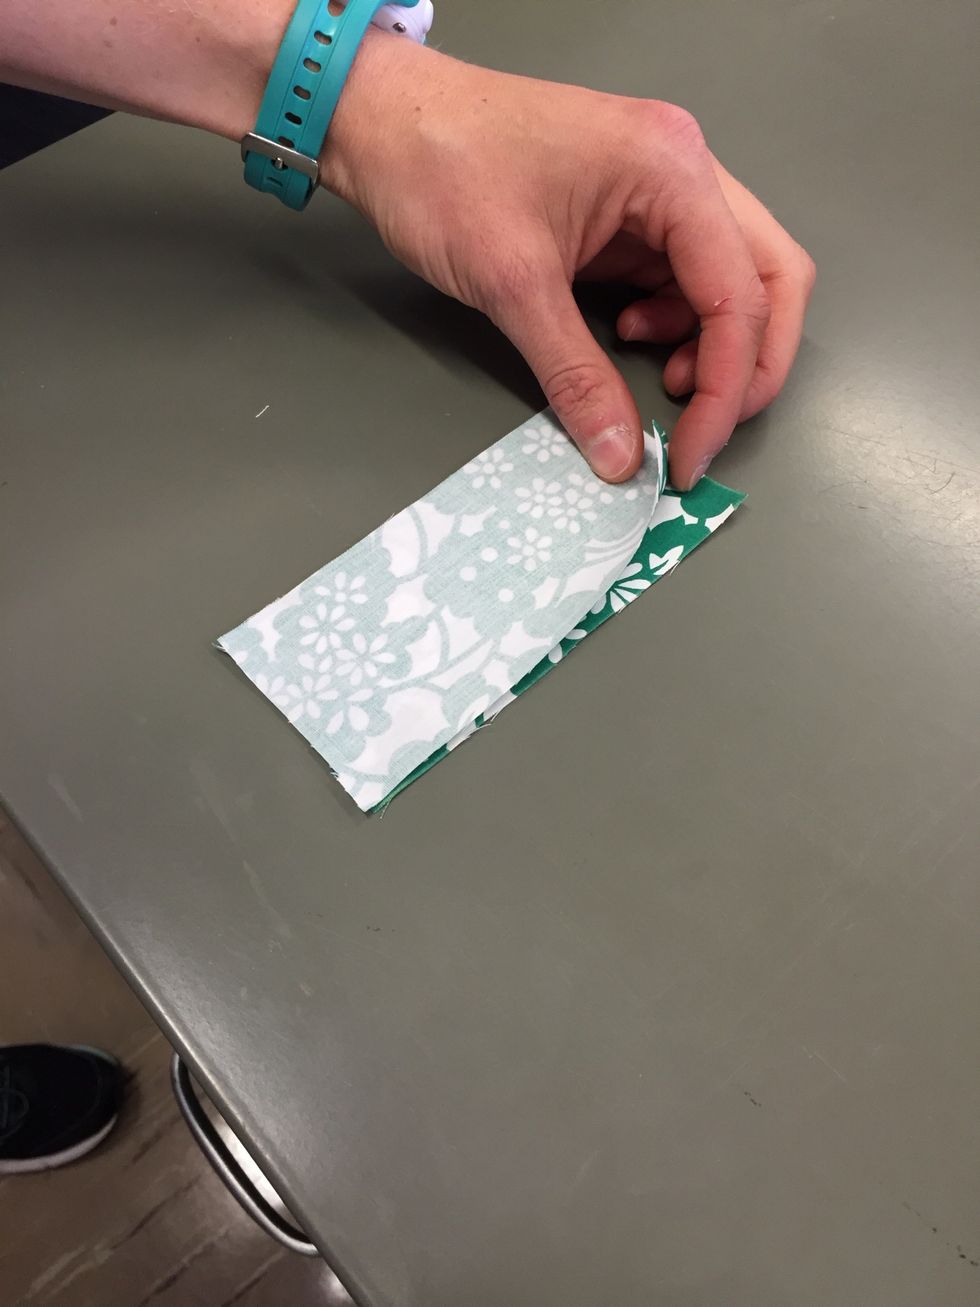
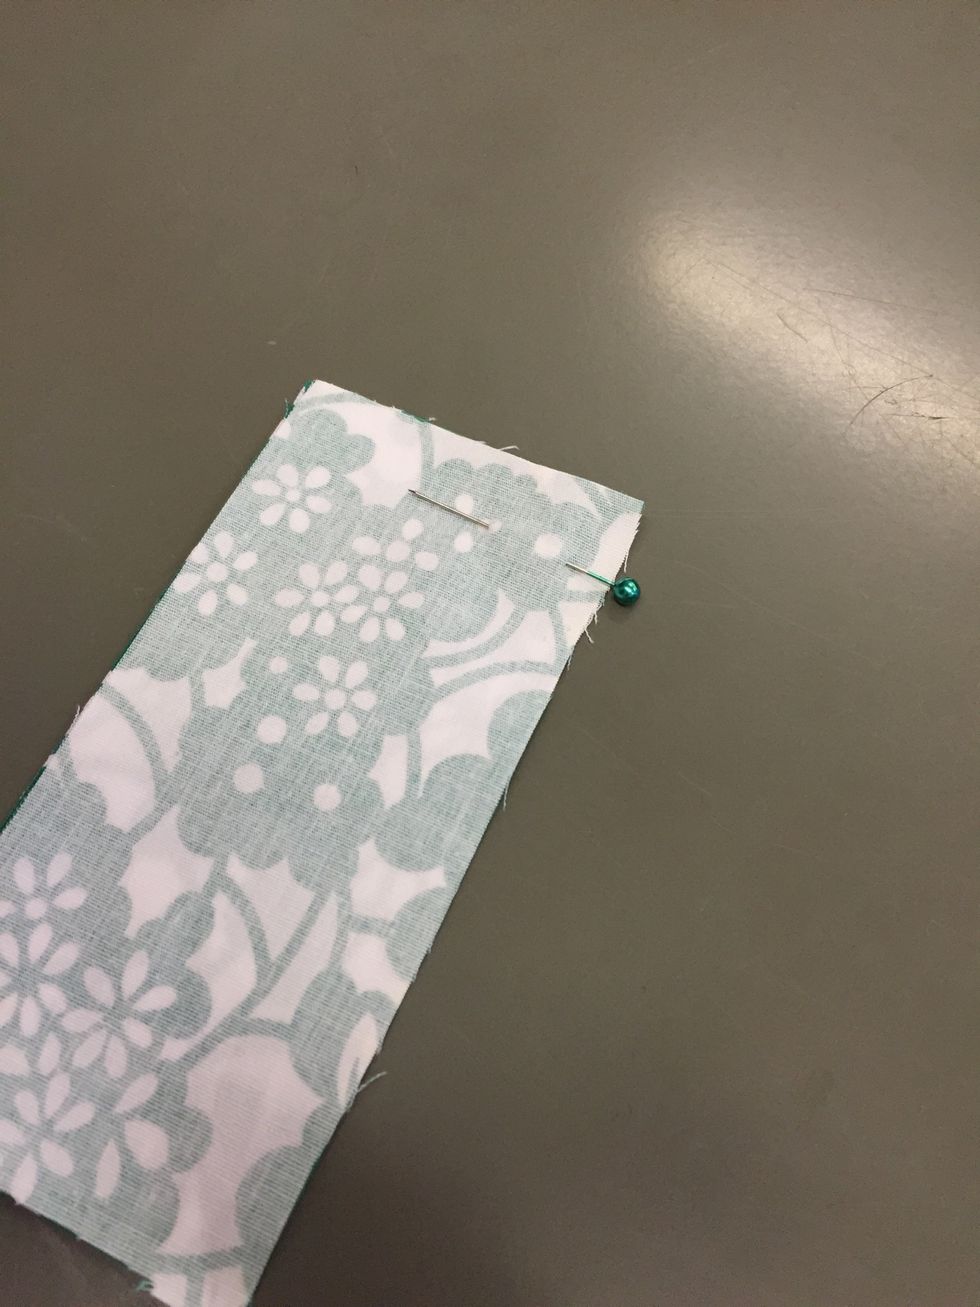
With the RIGHT SIDES of the fabric TOGETHER, line up the edges of the fabric.
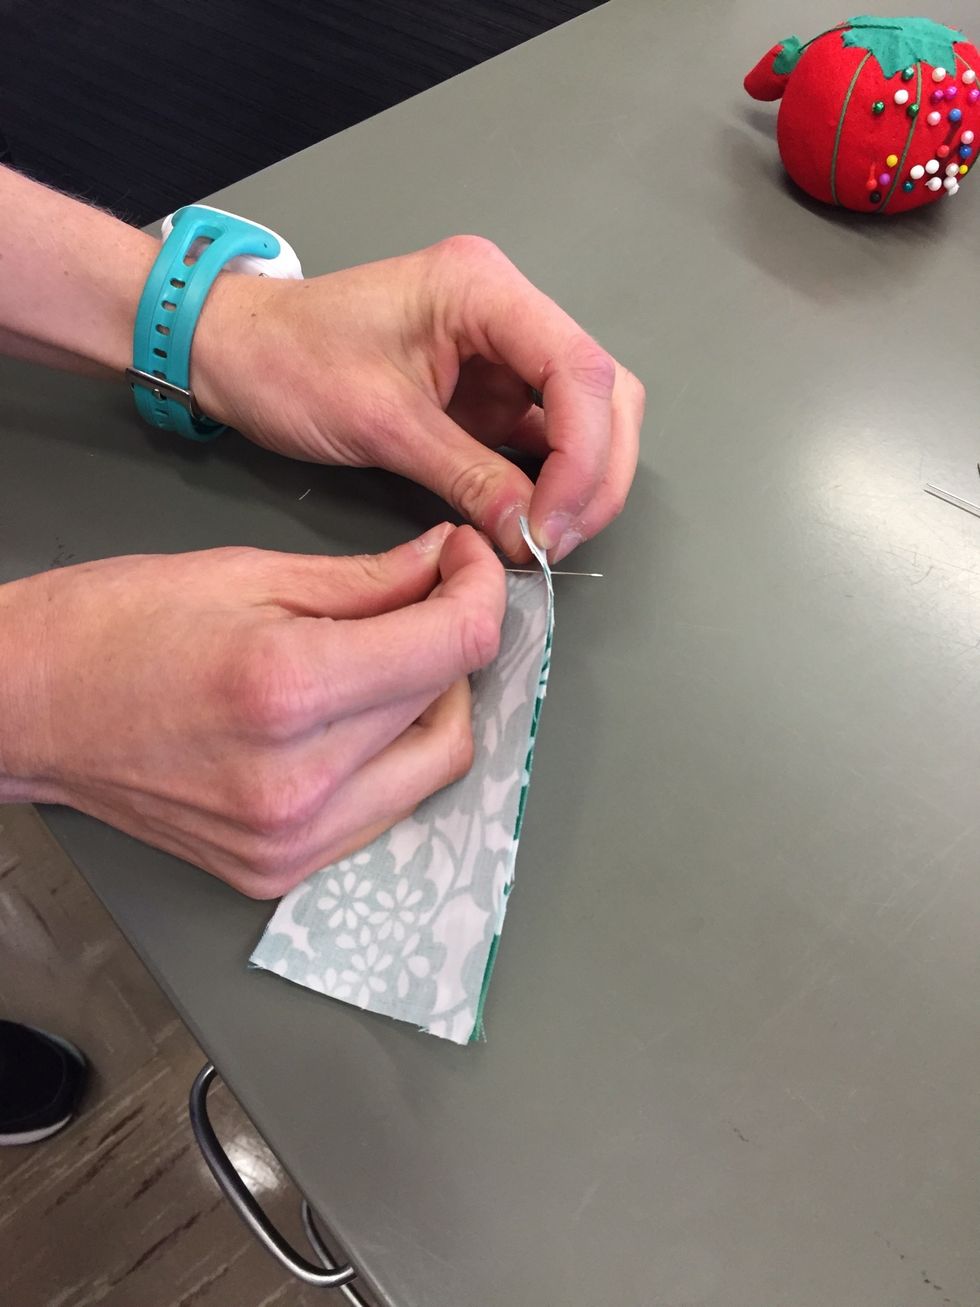
Pin the two pieces together.
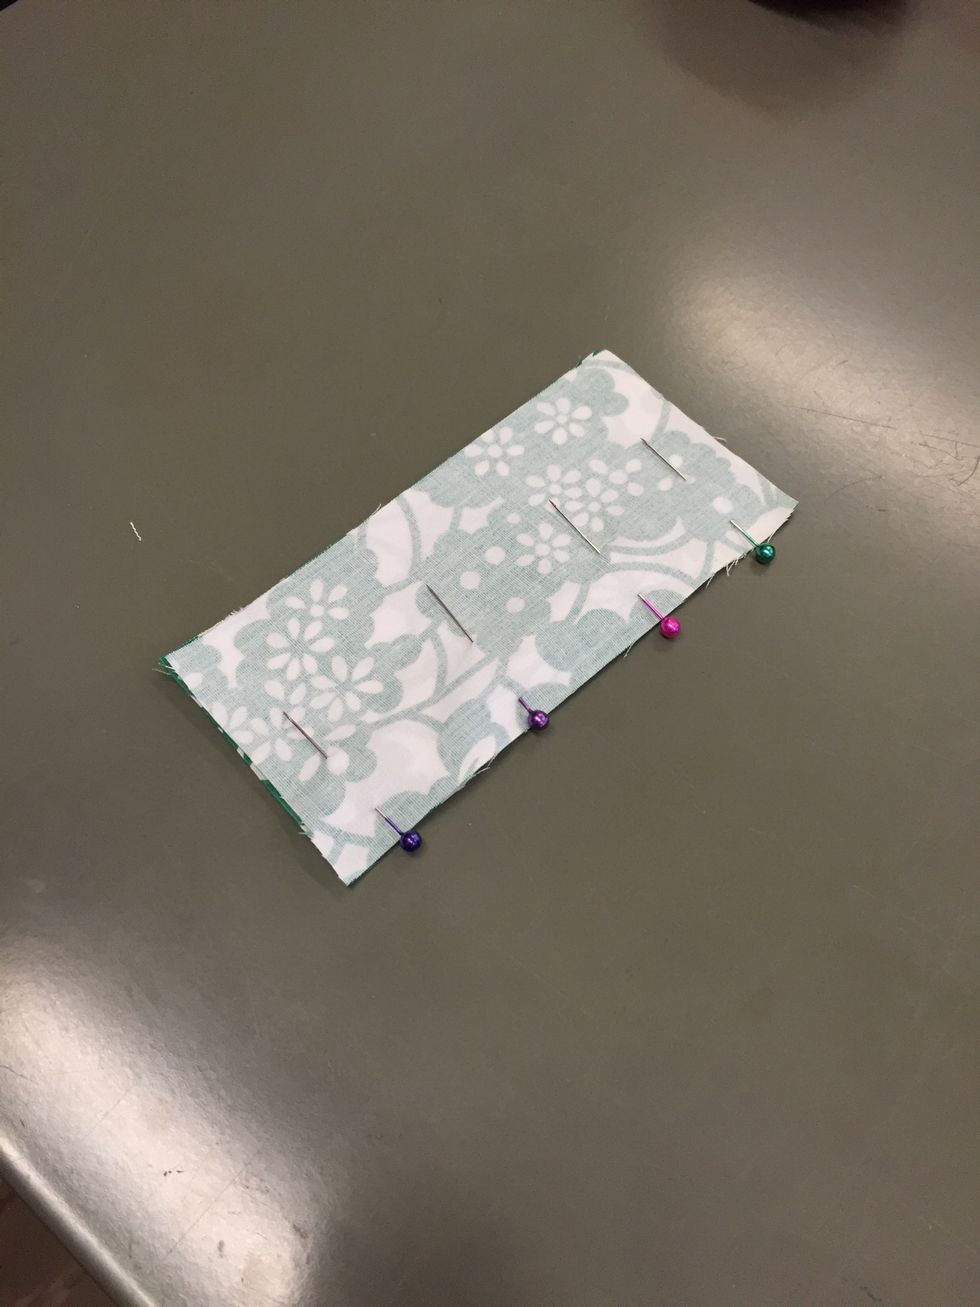
Continue pinning about 1 inch apart. SHOW YOUR TEACHER BEFORE MOVING ON!

Thread your machine. Set up your machine to straight stitch: Pattern dial: 1 Width: 0 Length: 0
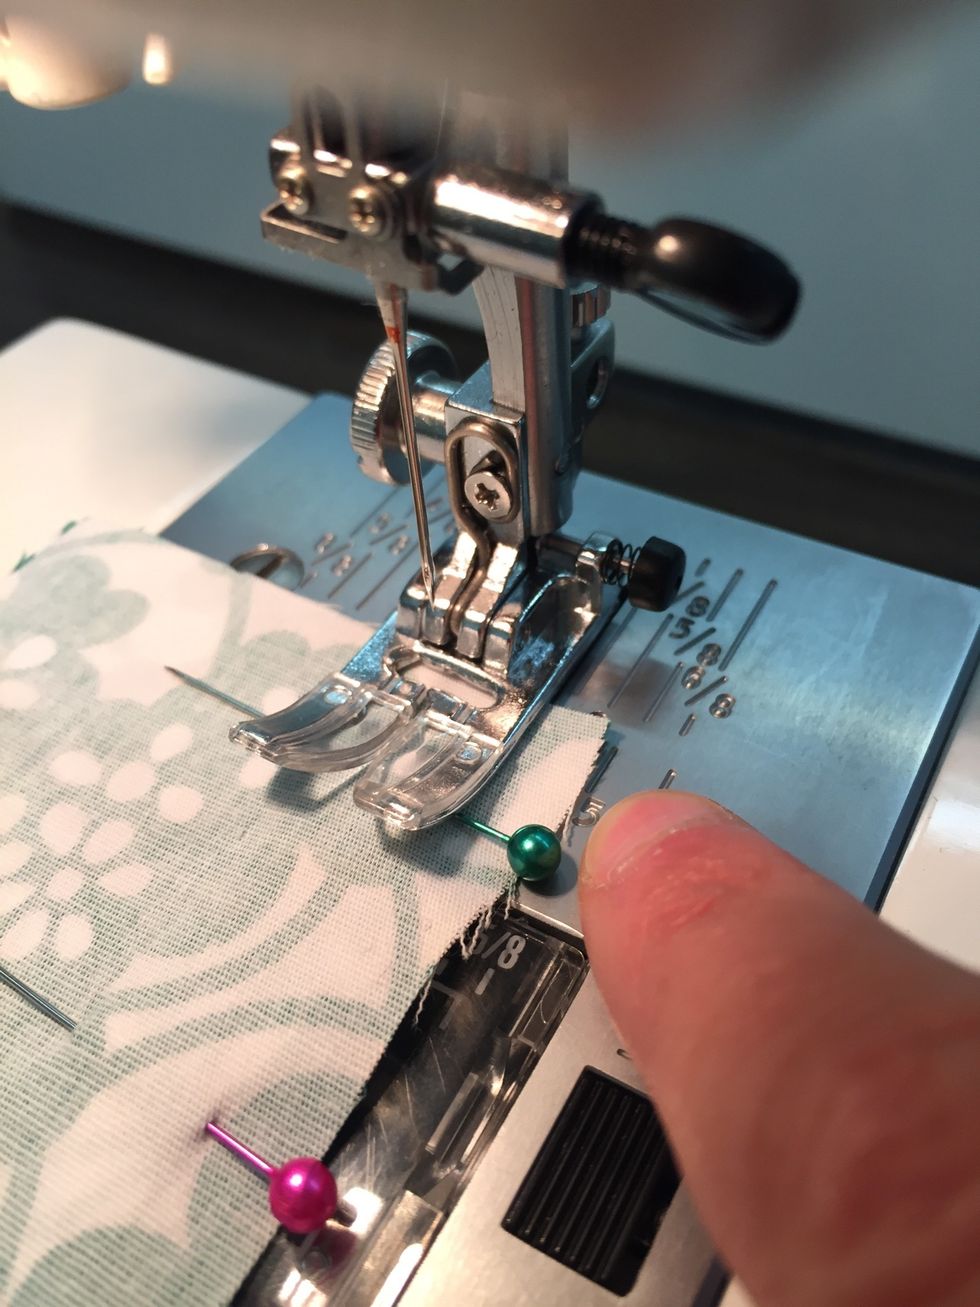
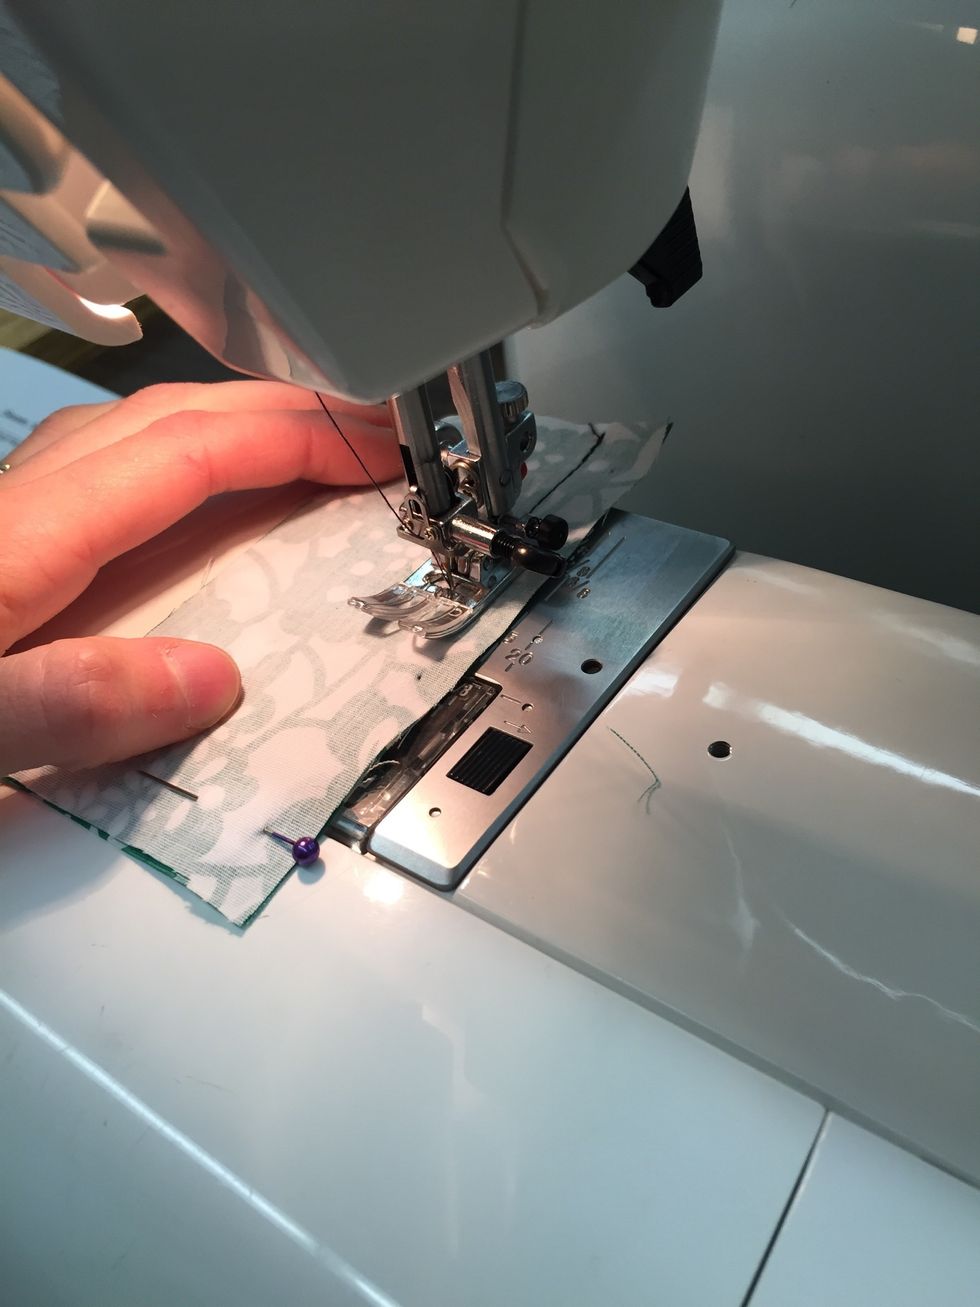
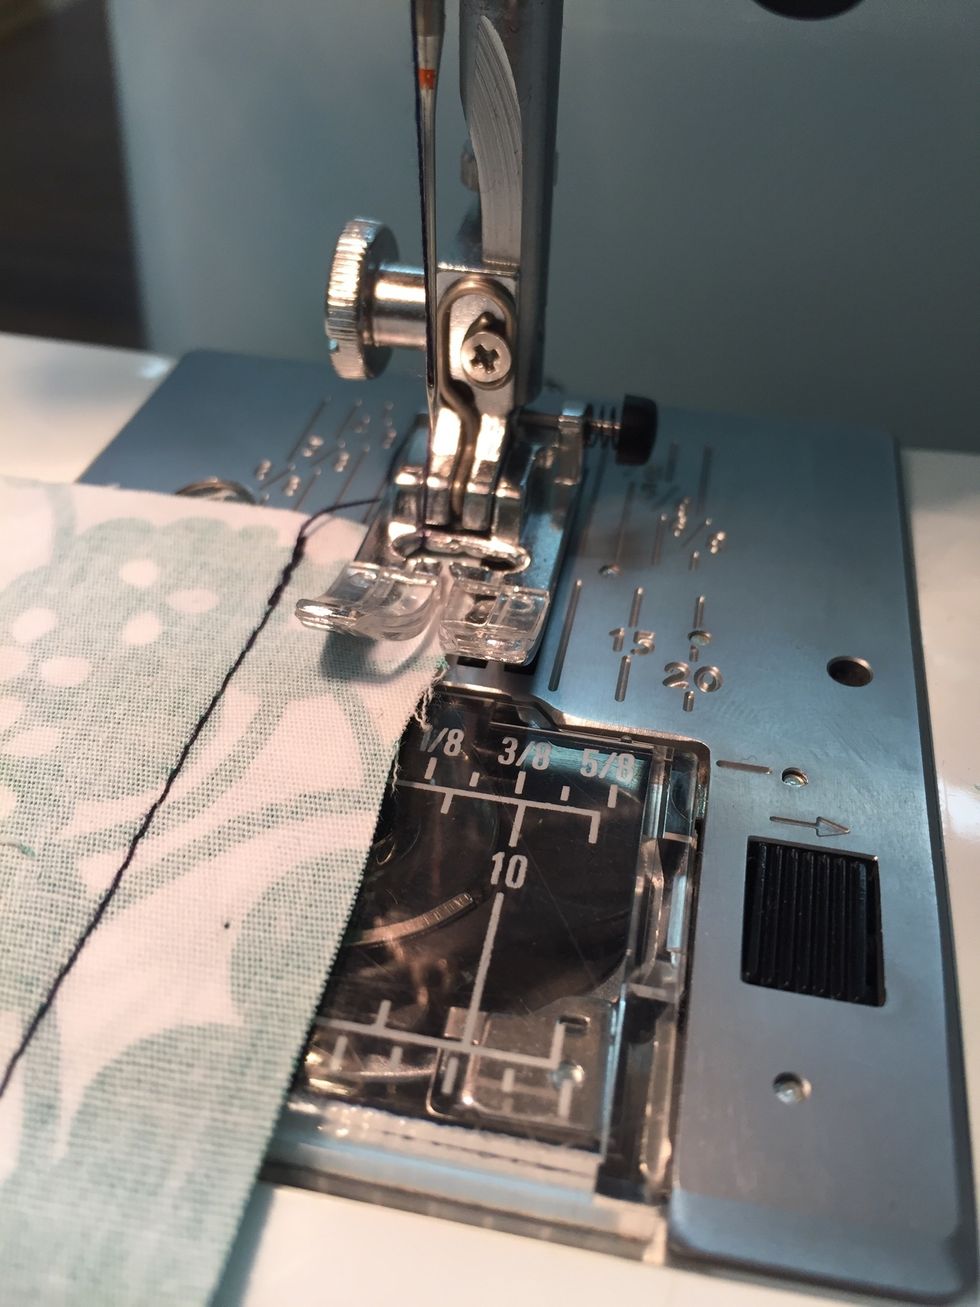
Place the fabric on the 15mm guide line and lower the presser foot. MAKE SURE THERE IS FABRIC UNDER YOUR NEEDLE.
Remove the first pin.
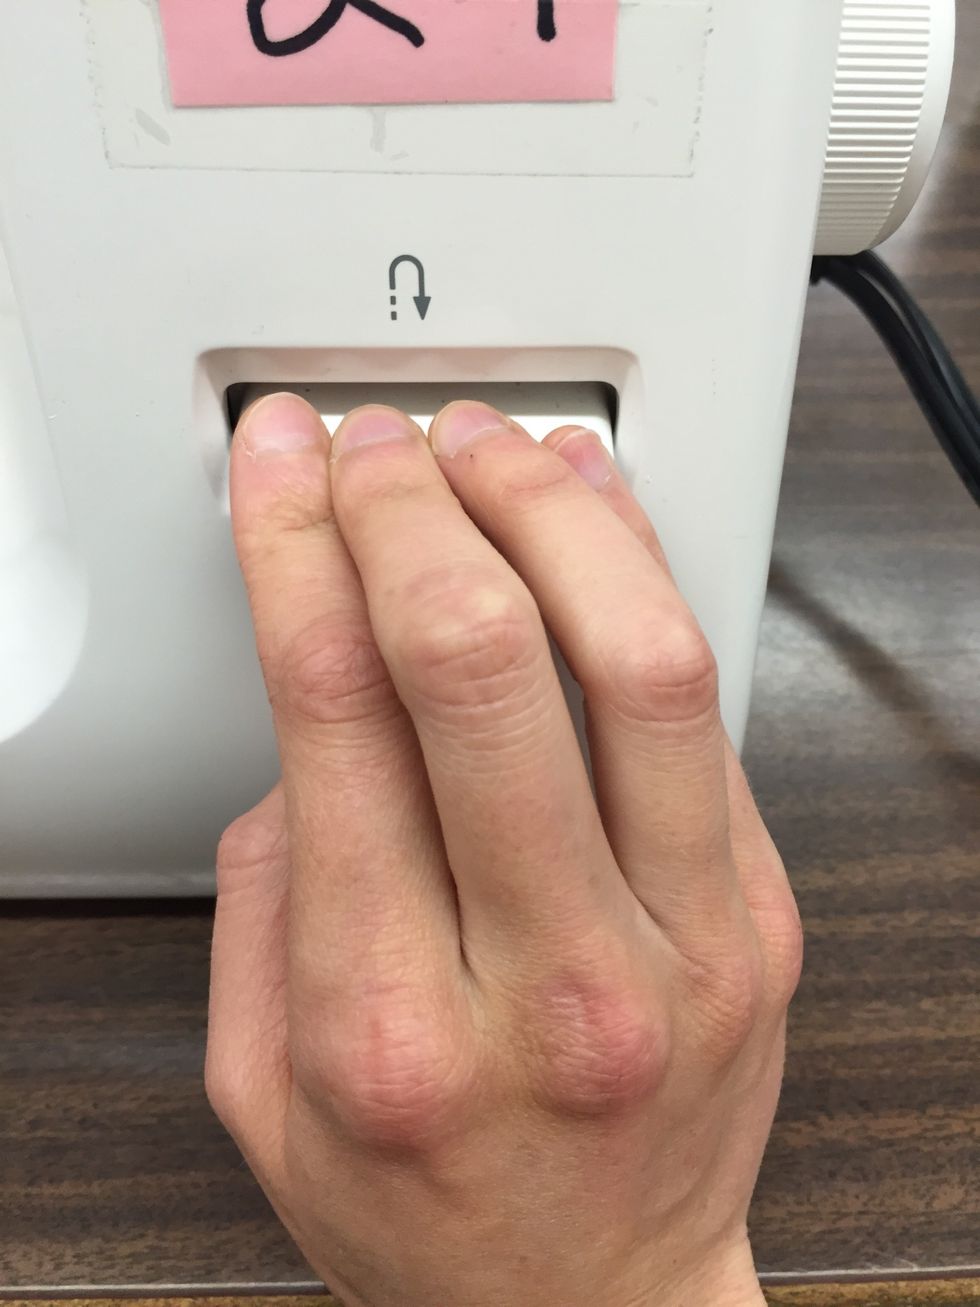
Start by stitching FORWARD 4 stitches and REVERSING 3 stitches (to reverse press and hold the reverse control down) This is called BACKSTITCHING. Backstitching acts like a "knot."
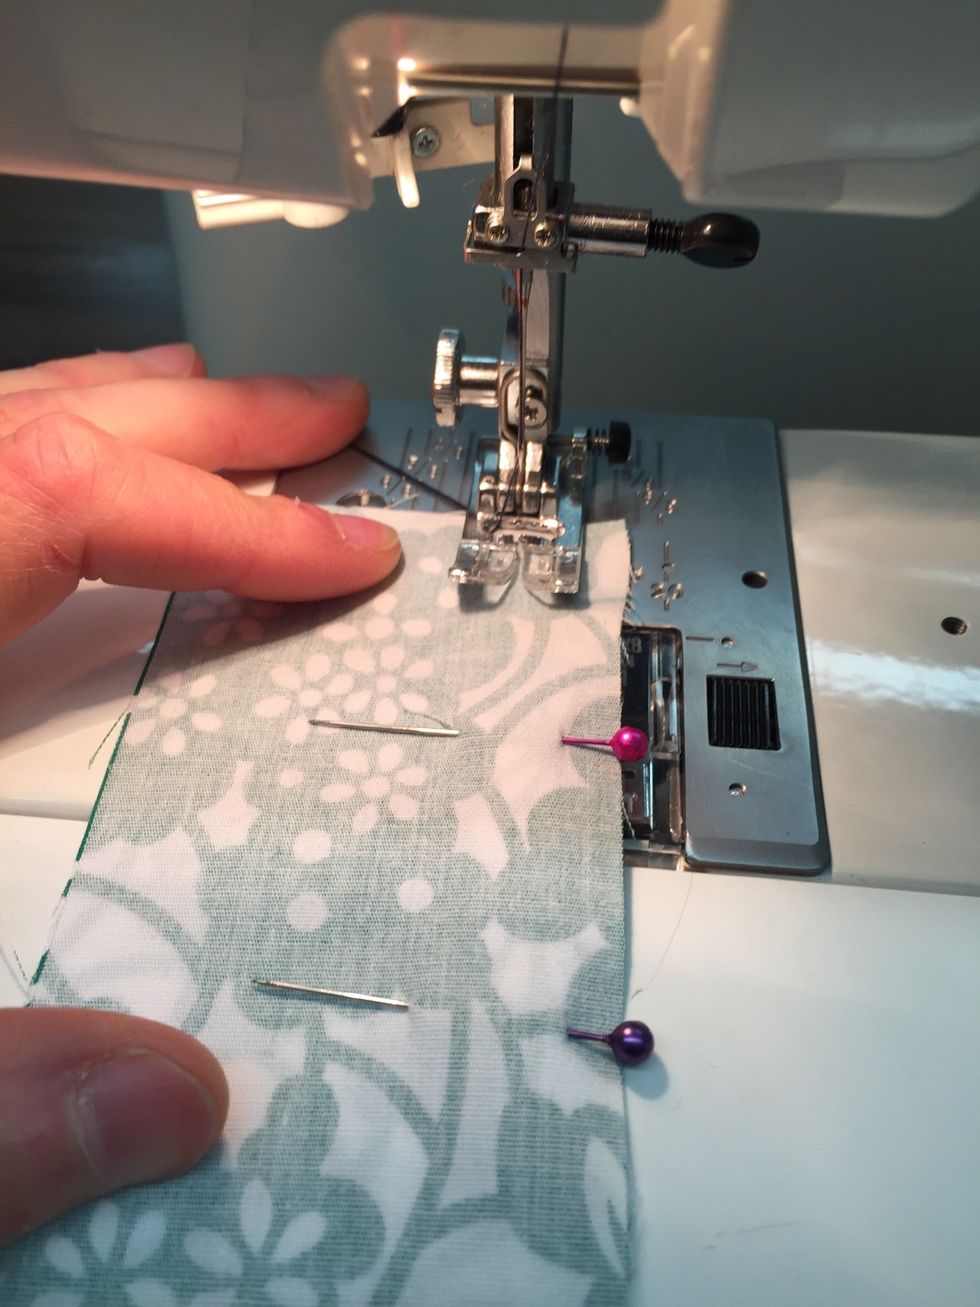
Continue to sew FORWARD to the end of the fabric, making sure to stop and remove each pin as you go. DO NOT SEW OVER TOP OF PINS!
When you reach the end of the fabric, REVERSE (press and hold reverse control) 3 stitches and then go forward to the end.
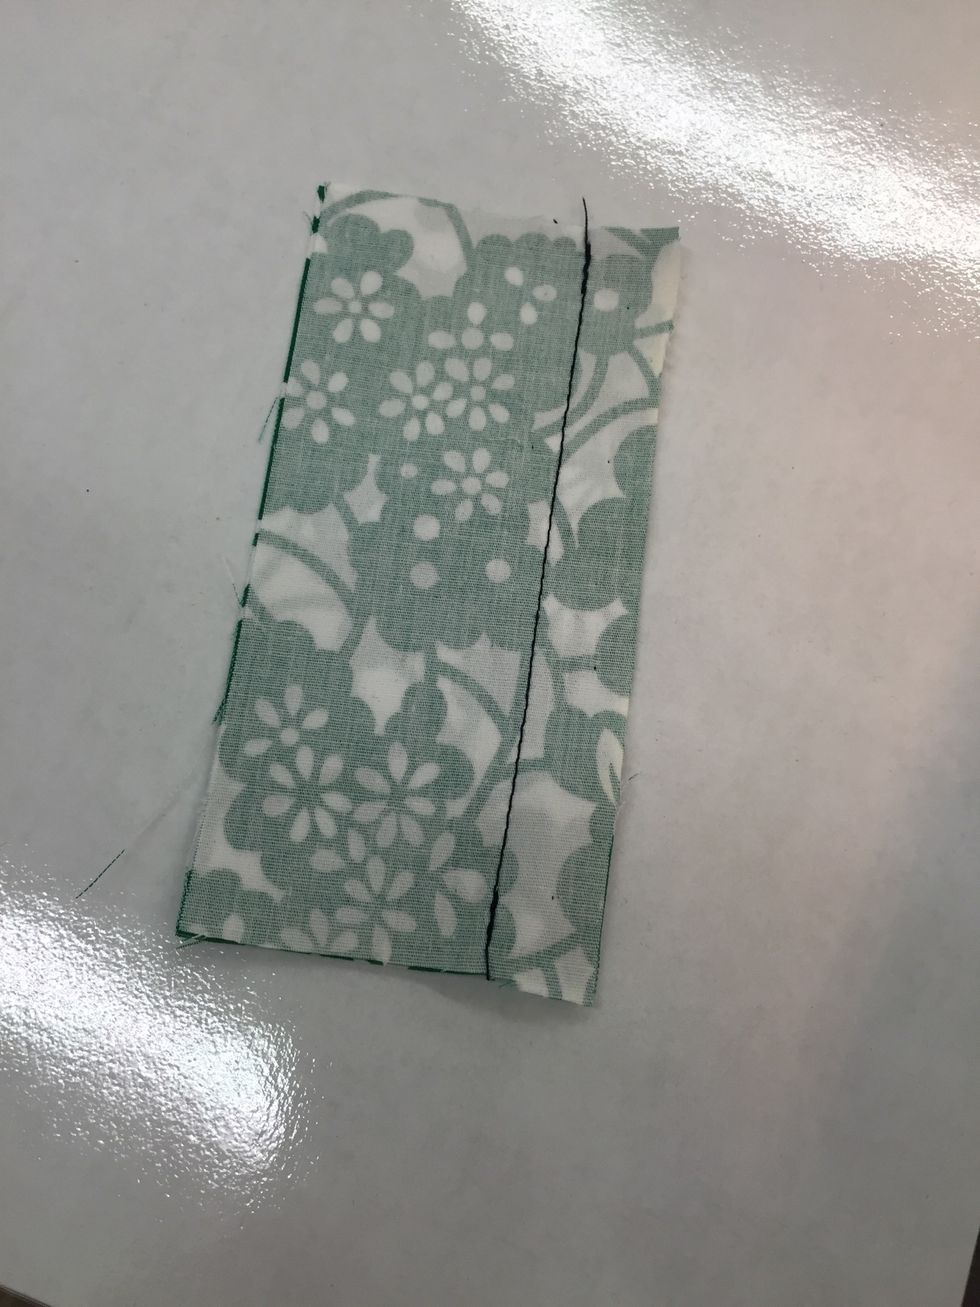
Now trim the threads. You have now sewn a straight stitch!
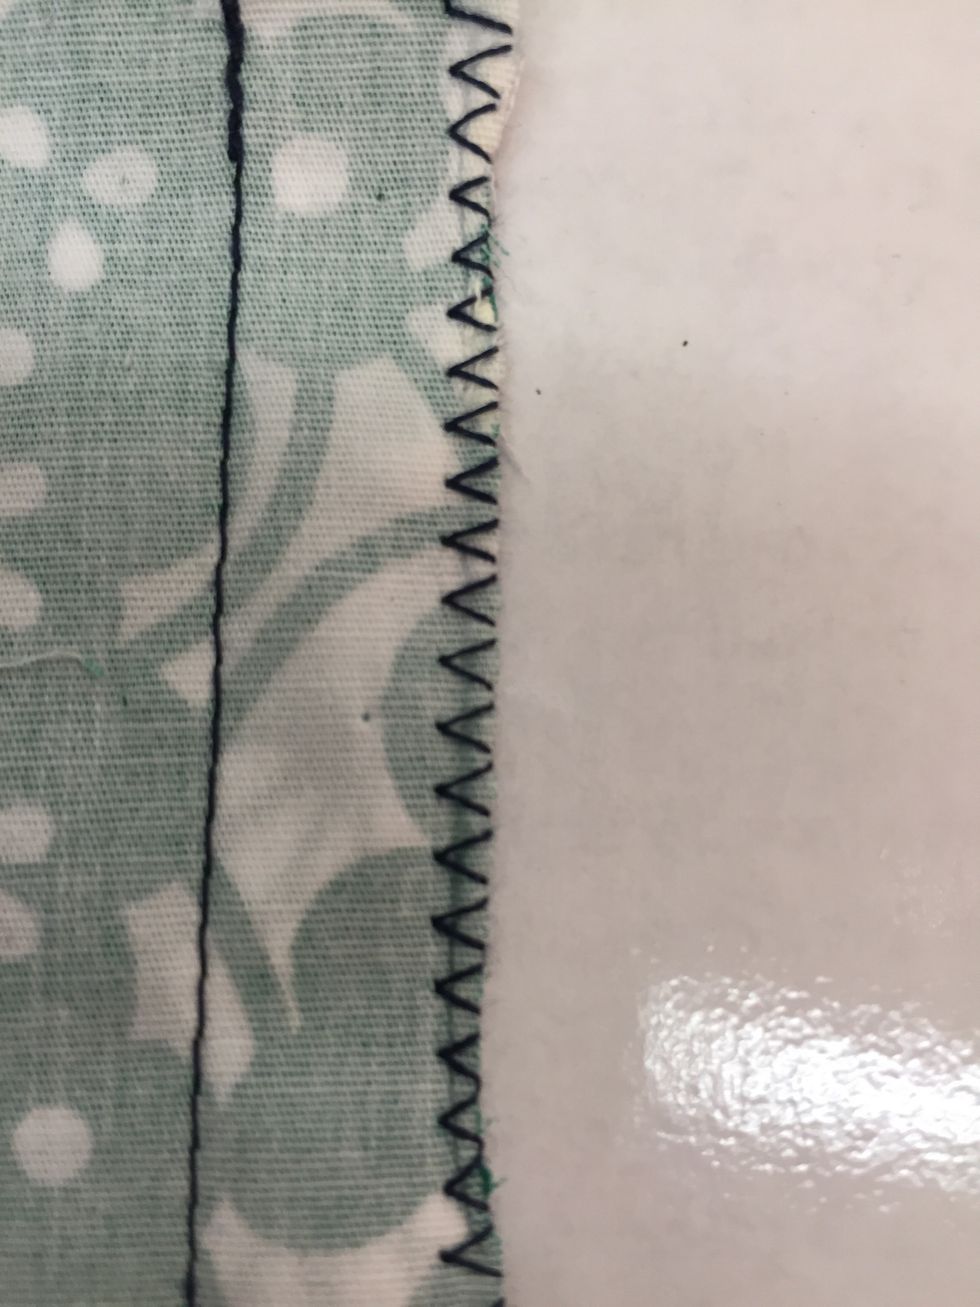
ZIG-ZAG STITCH. The zig-zag stitch prevents the fabric edges from fraying.
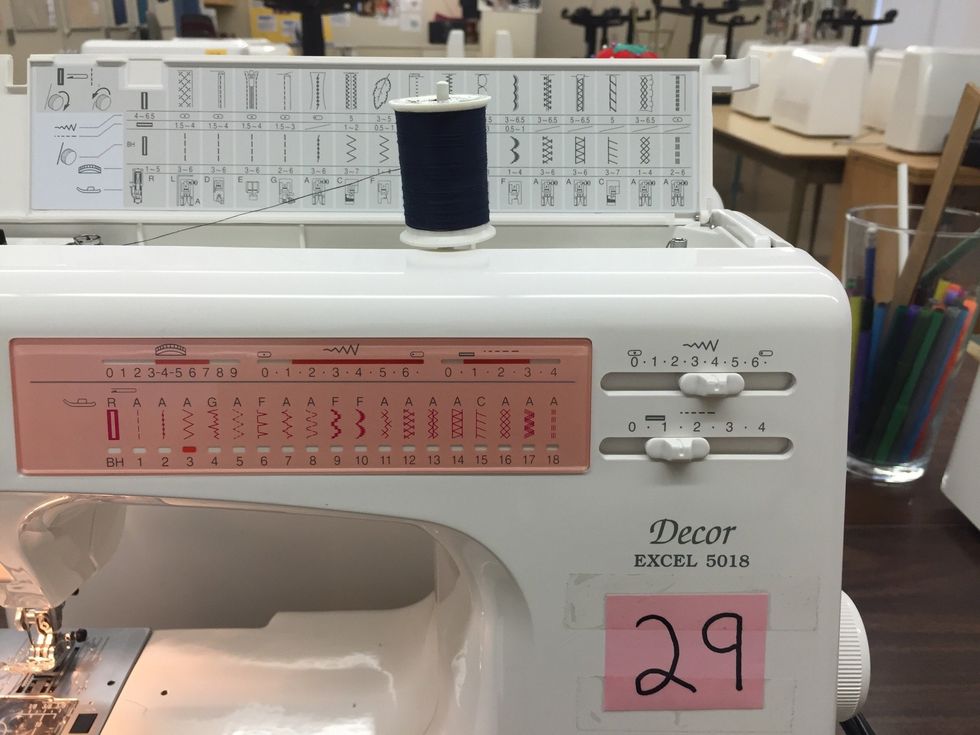
Set your machine to zig-zag stitch: Pattern dial: 3 Width: 4 Length: 1.5
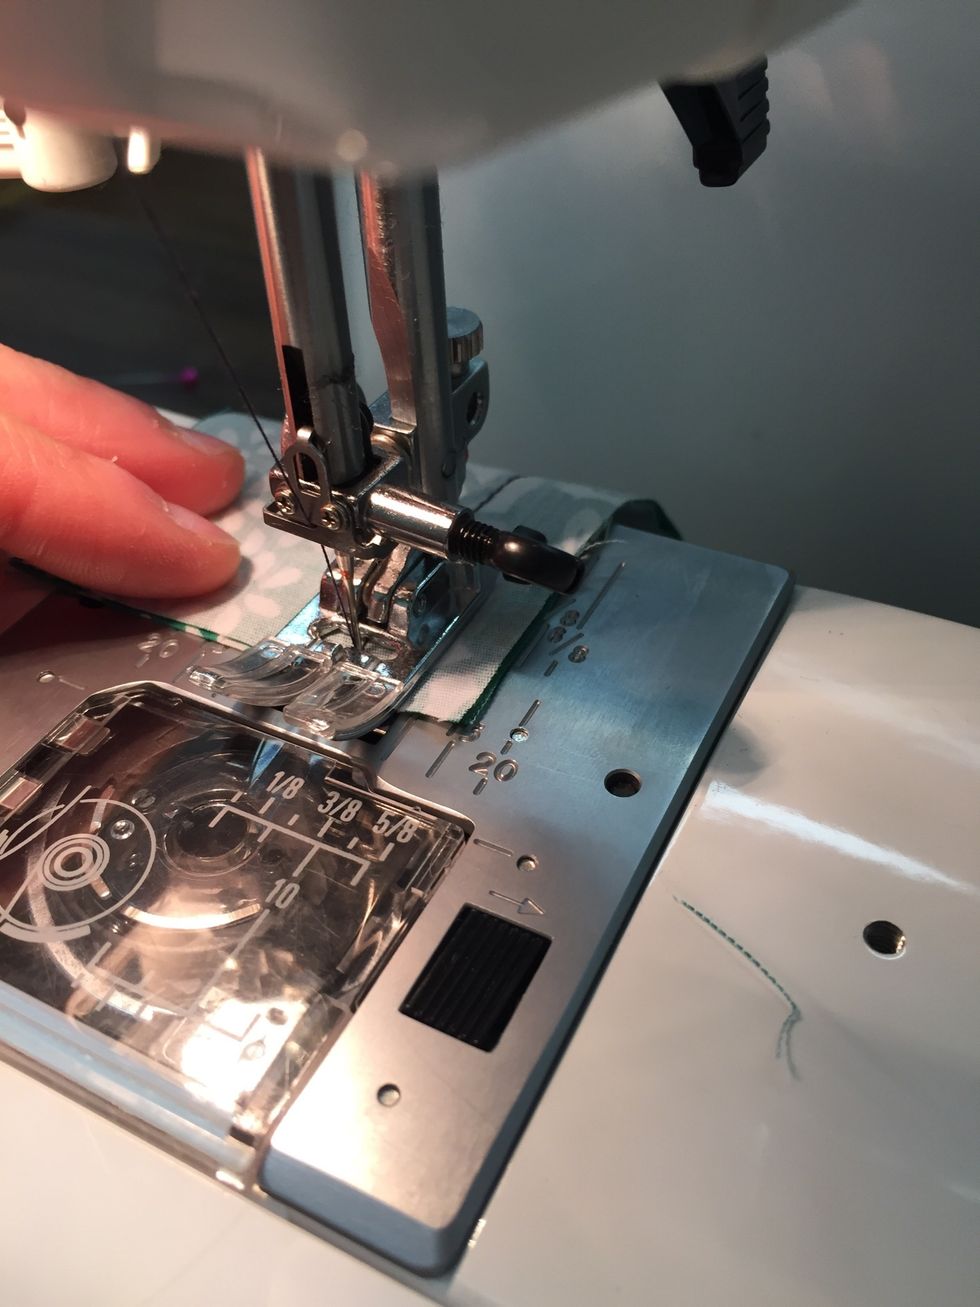
Lower the presser foot so that the EDGE of the fabric is in the CENTRE of the presser foot.
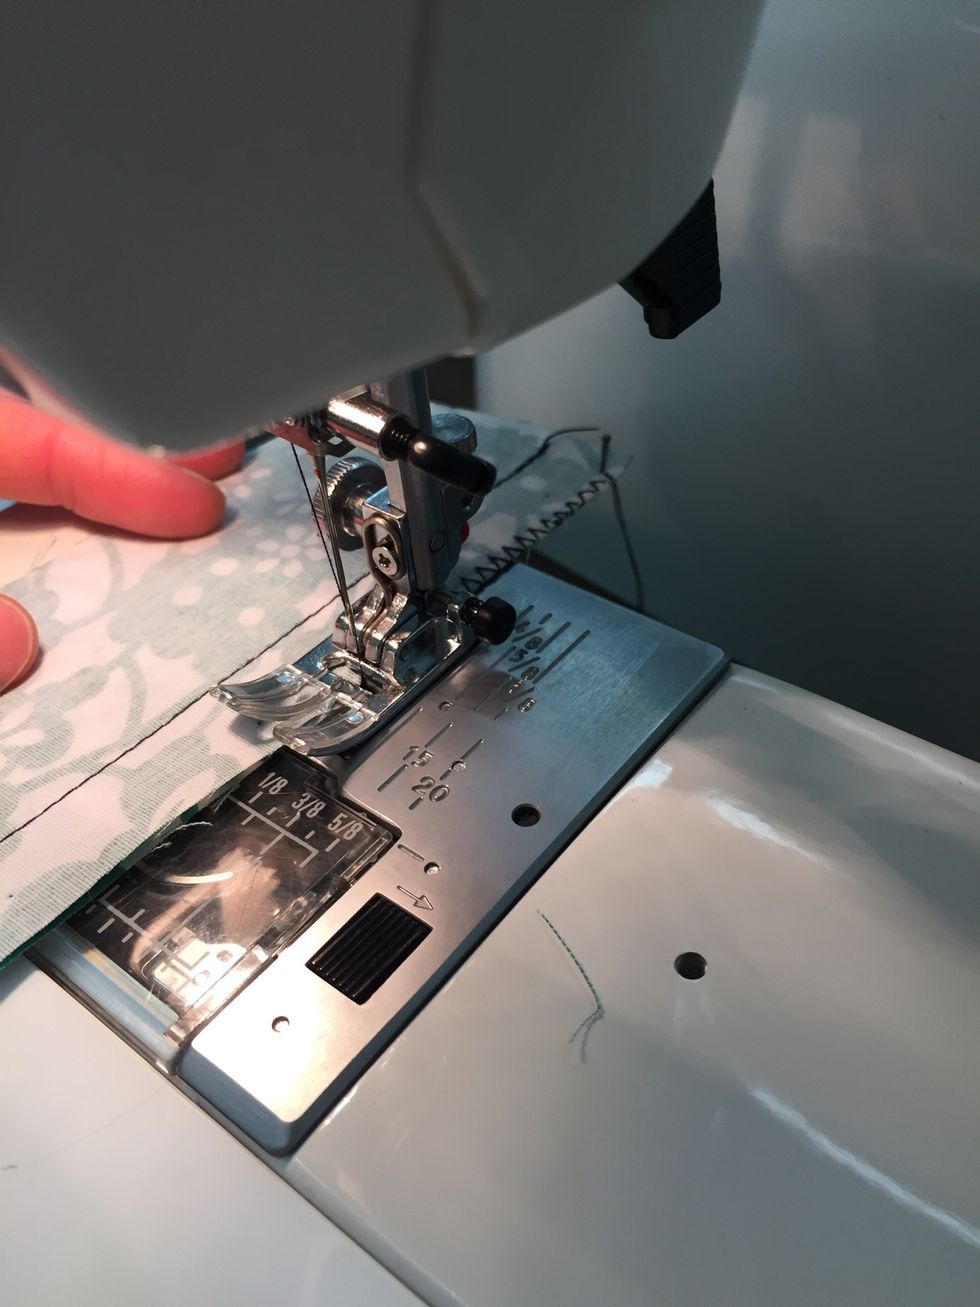
Zig-zag stitch the length of the fabric (one stitch on the fabric and one stitch off the fabric) YOU DO NOT NEED TO BACK STITCH YOUR
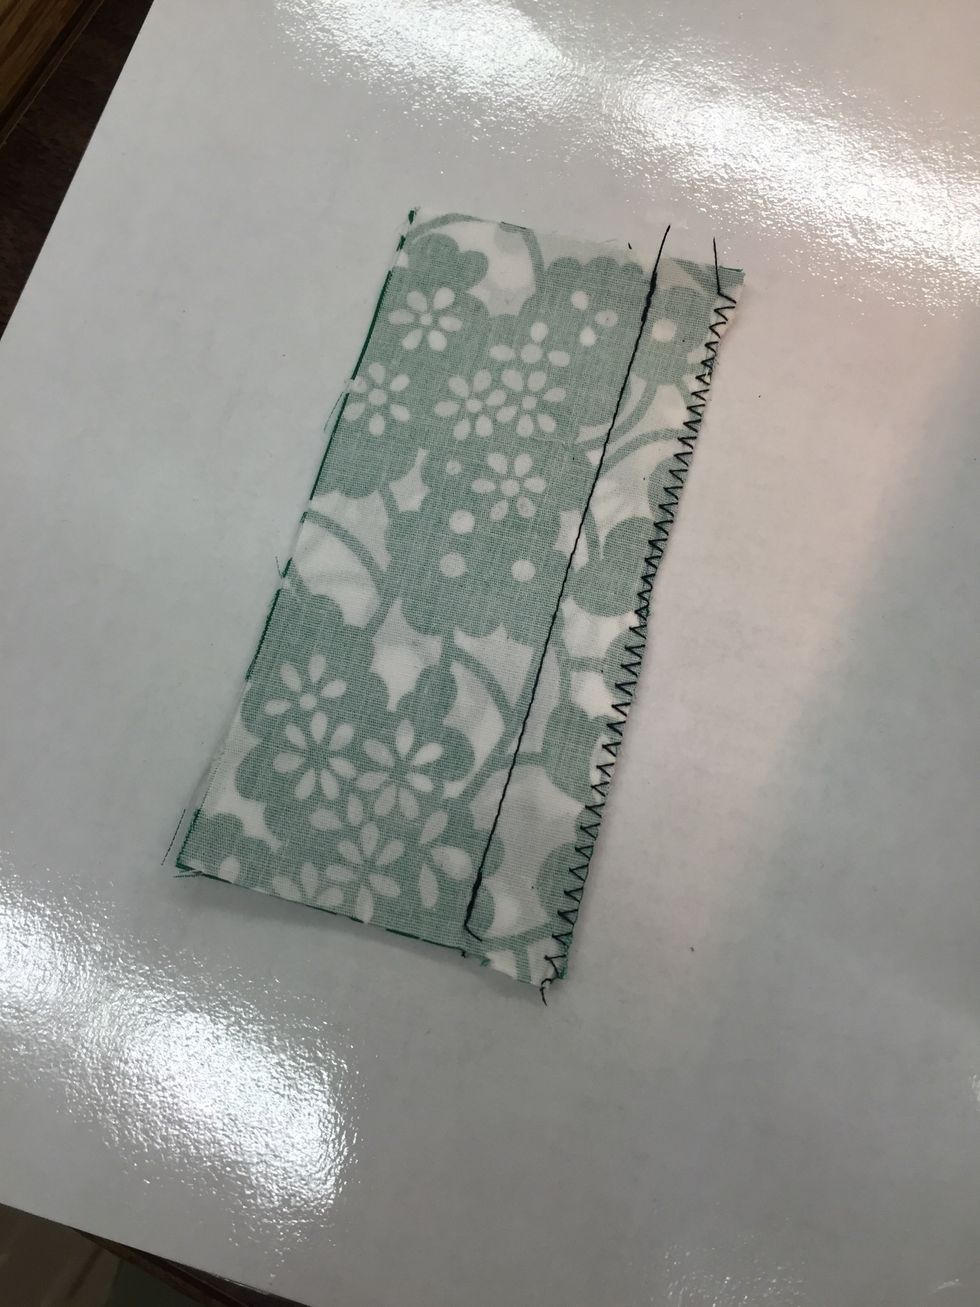
Clip threads. You have now completed the zig-zag stitch!
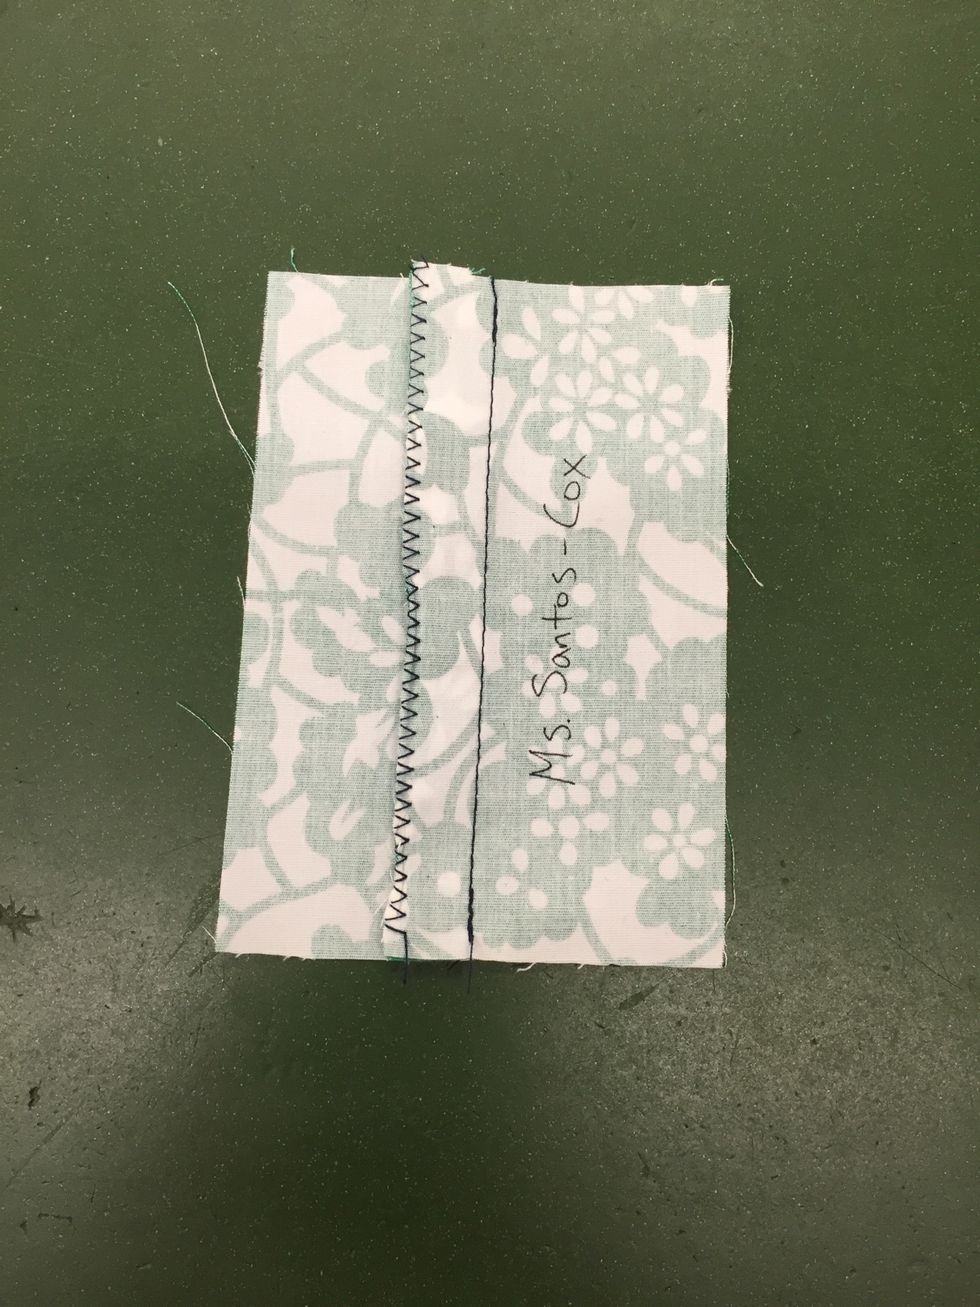
Now that you are done sewing, write your name on the fabric and ask your teacher to demonstrate how to IRON. When you are done ironing hand in your seam sample on the teacher's desk.