The Conversation (0)
Sign Up
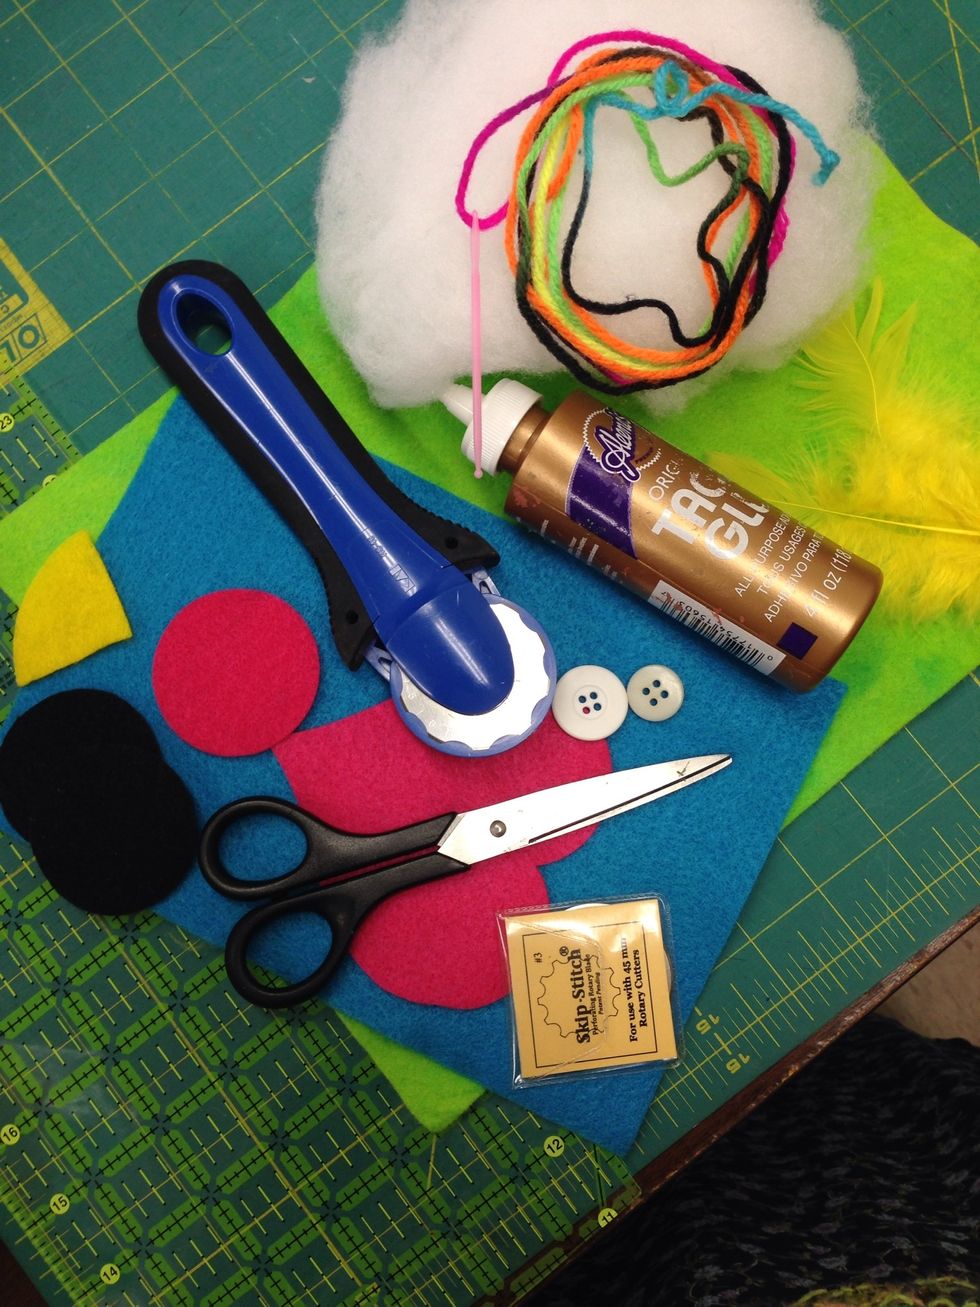
These are the supplies you will need to make your owl pillow.
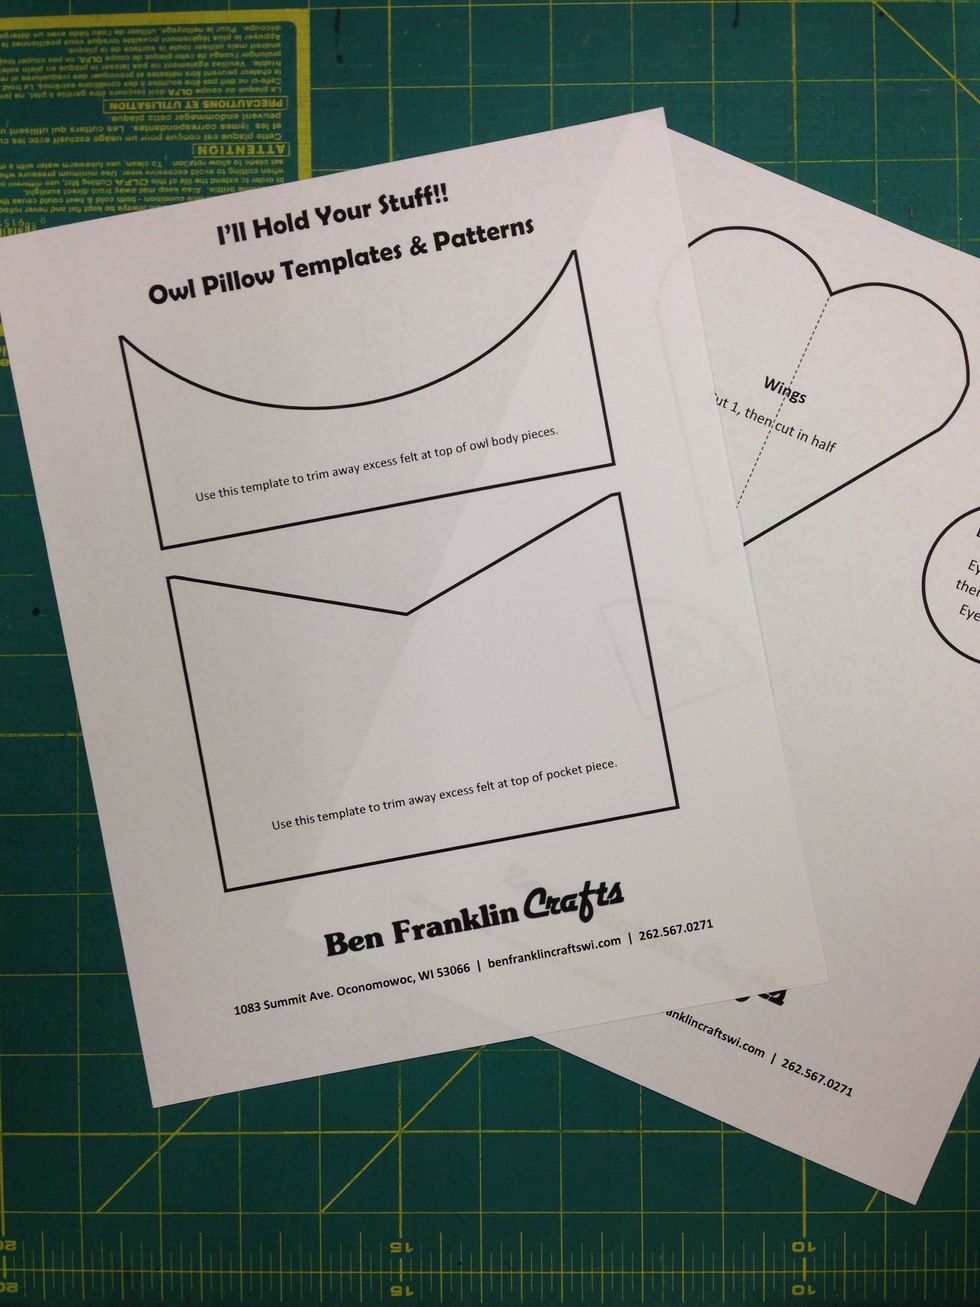
Download your owl templates and patterns from our website: http://benfranklincraftswi.com/2014-summer-crafts-kids-week-7-sew-owl-pillow/. Carefully cut out each piece.
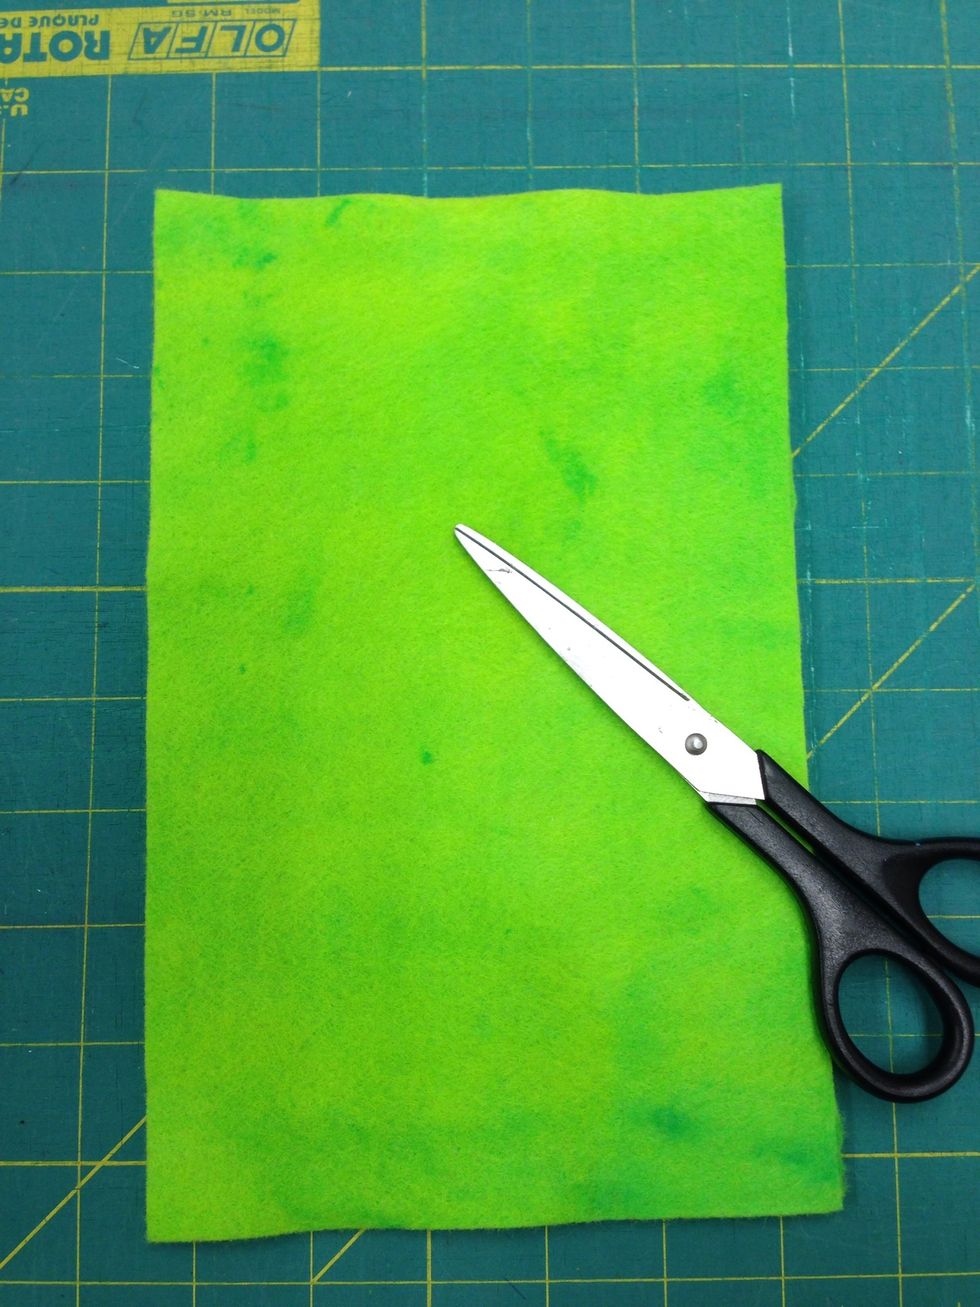
Cut the felt sheet in half to form the body. When cut it should be five and three-quarter inches wide.

Lay that owl body template on the top edge of the felt body pieces. Trace the curve and cut the excess away.

Now your body pieces will look like this.

Trace and cut out the pocket pattern from one of your felt scraps.

Place the pocket on the lower part of the body.
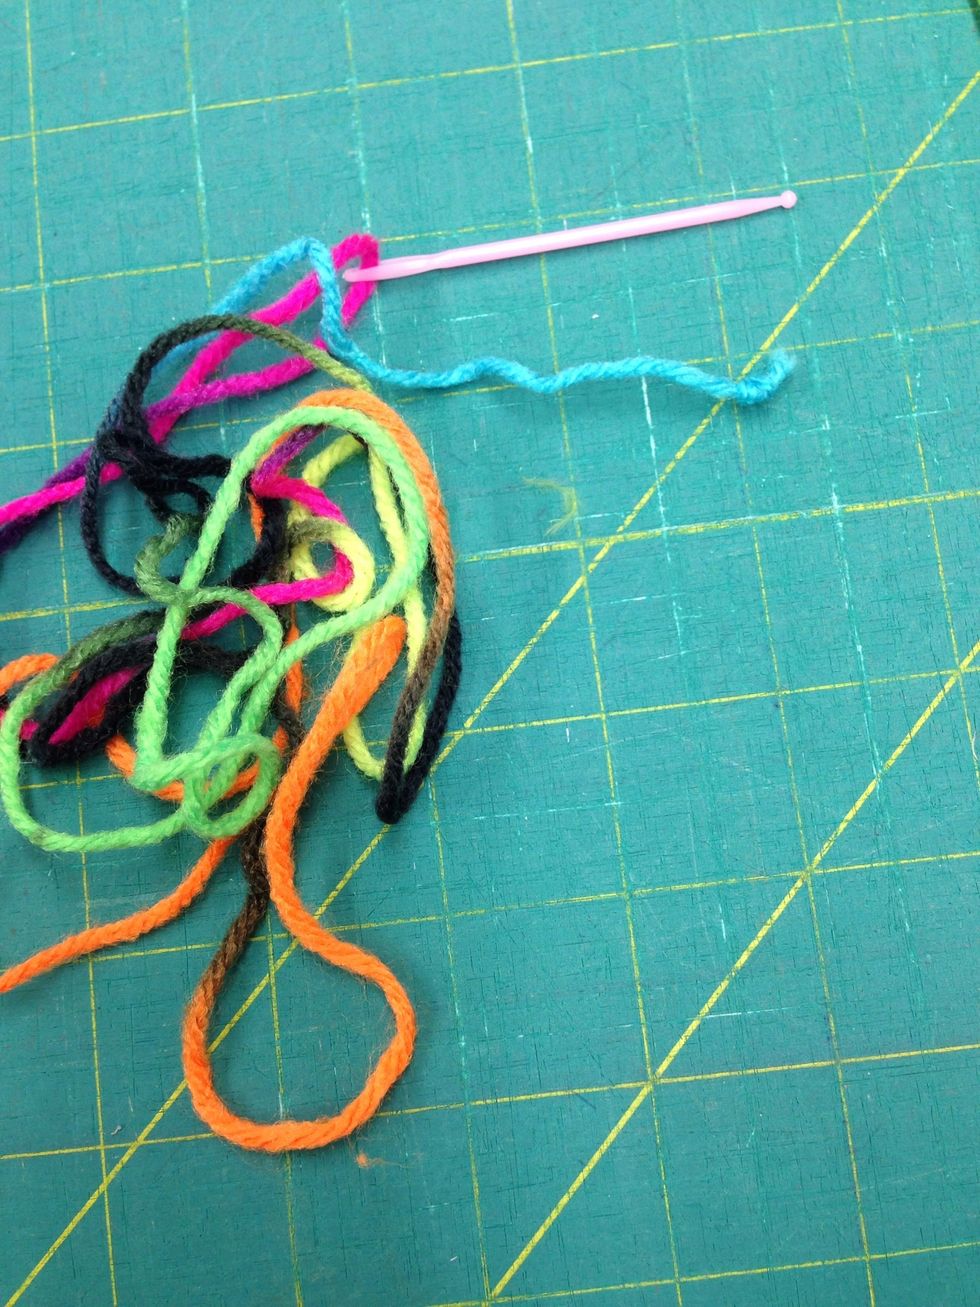
Thread the plastic needle with one end of the 2.5 yard piece of yarn. Tie a knot in the other end.
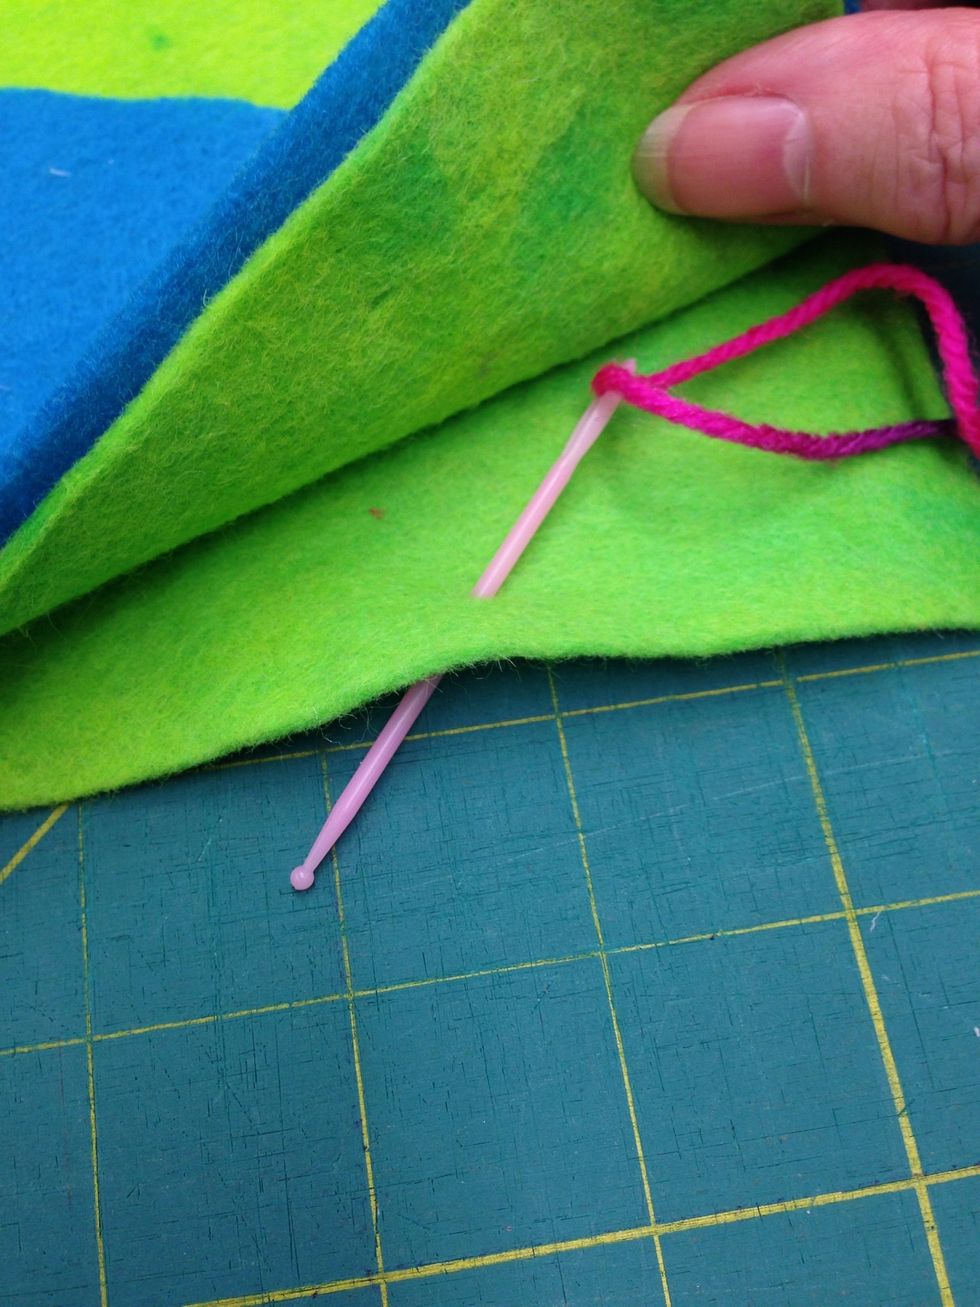
Insert the needle between the body sections going toward the back to hide the knot. Start close to the middle of the body bottom.
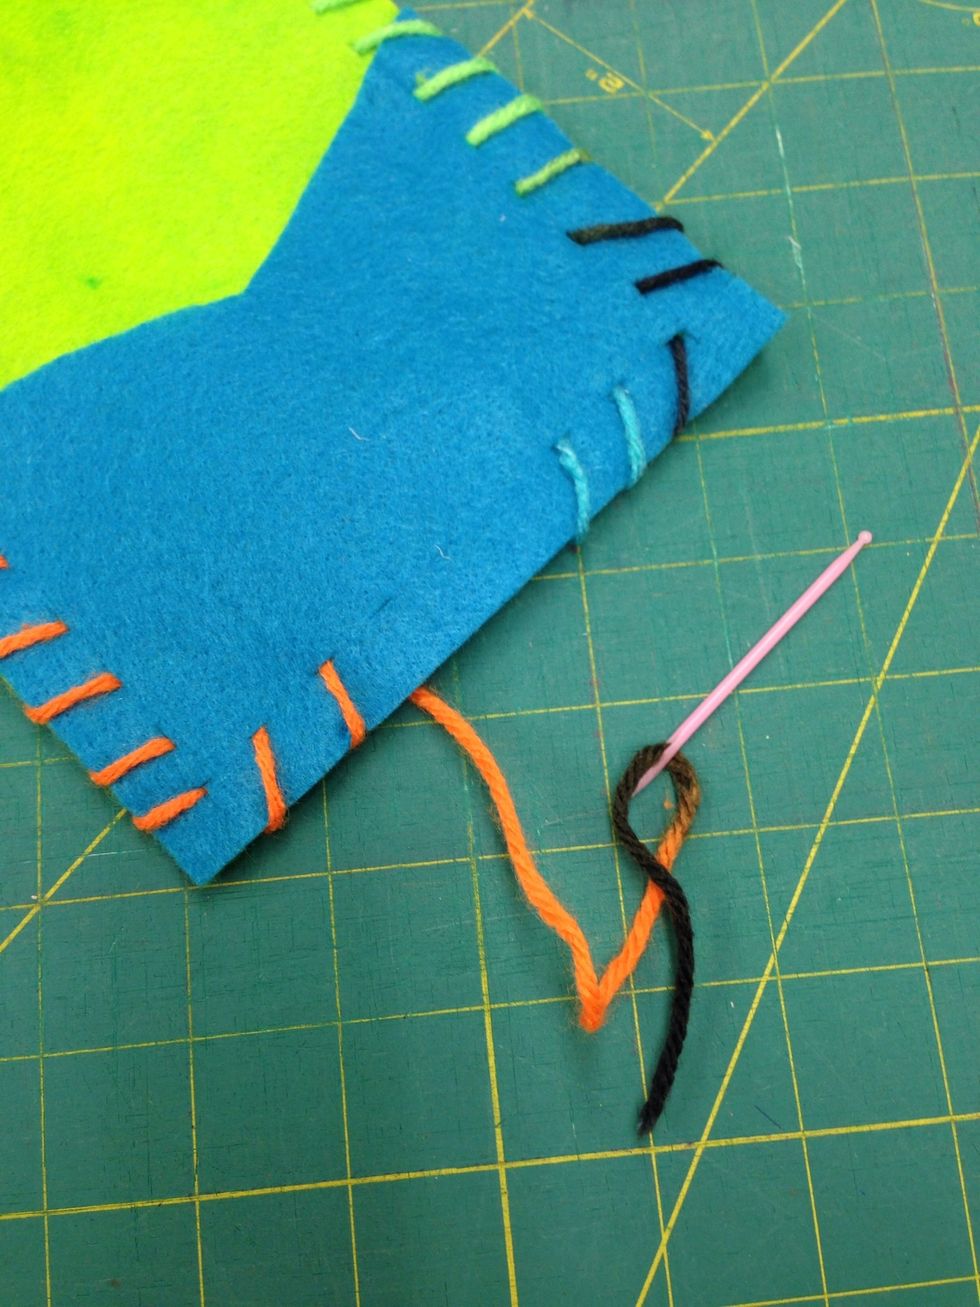
When you have about 2 inches left to sew, it's time to stuff the owls' body.

Continue stuffing your owl until you're pleased with how it looks. You shouldn't need to use too much stuffing to get a nice appearance. Finish sewing the hole on the bottom of your owl closed.
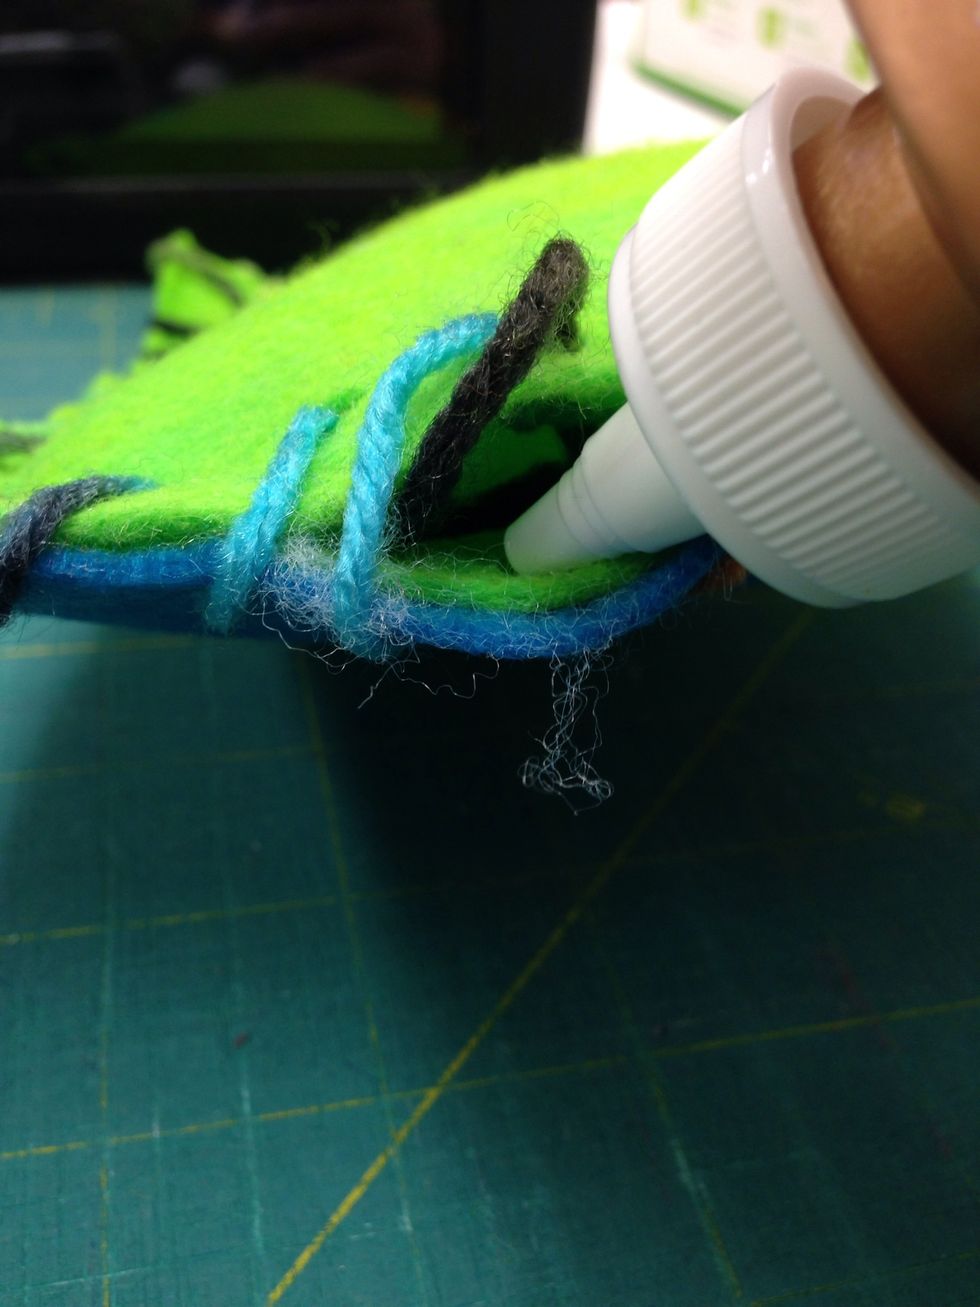
Poke the end of your yarn in between the body pieces and add a little dot of glue to keep it in place.
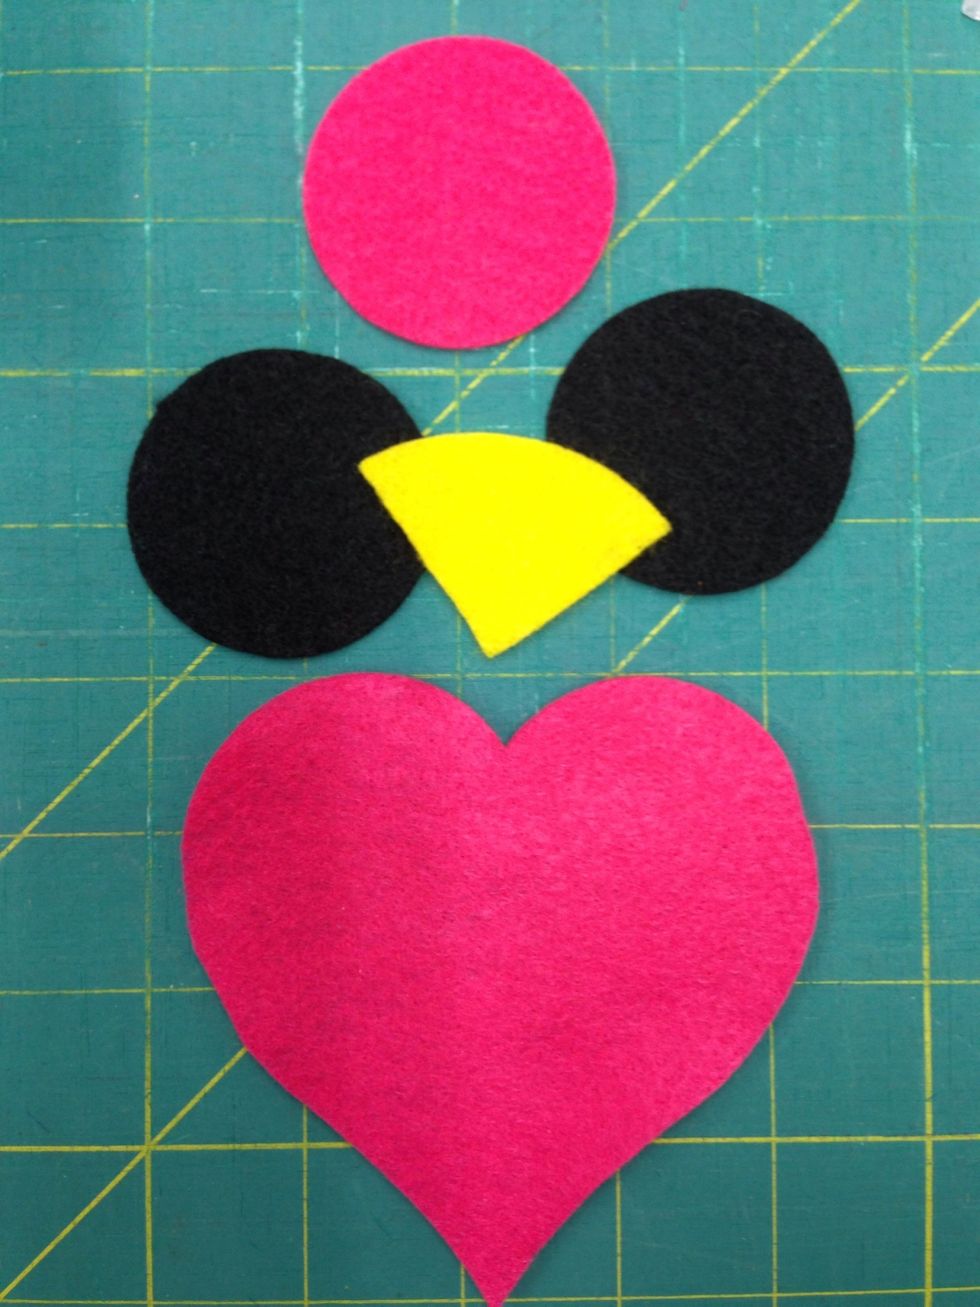
Use your patterns and felt scraps to cut out one wing piece, one circle for eyelids, two circles for eyes and one beak piece.

Cut the eyelid and wings sections in half.
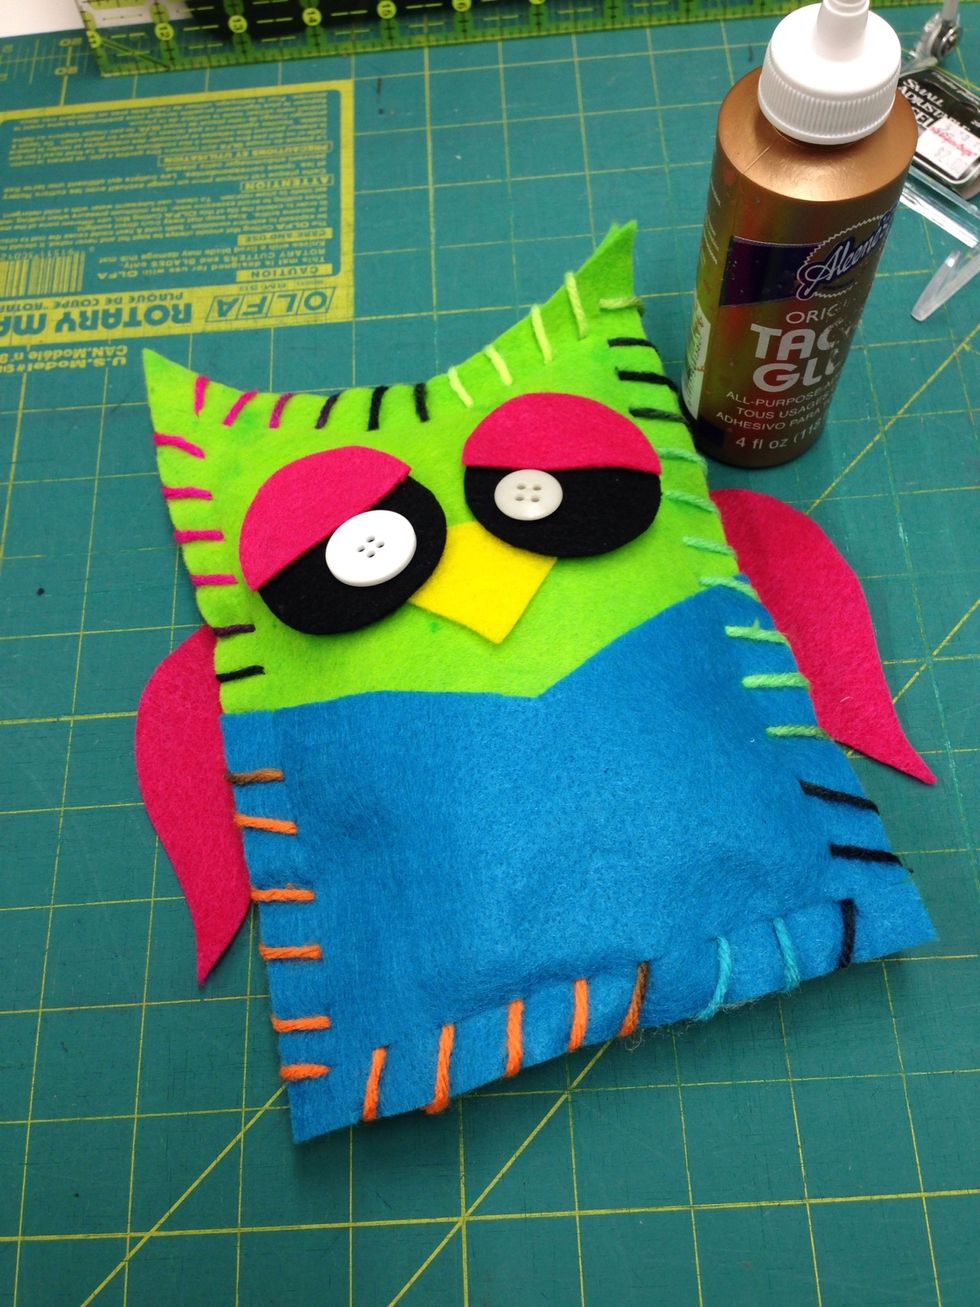
Arrange your owl's features until you're happy with how they look, then glue everything in place.
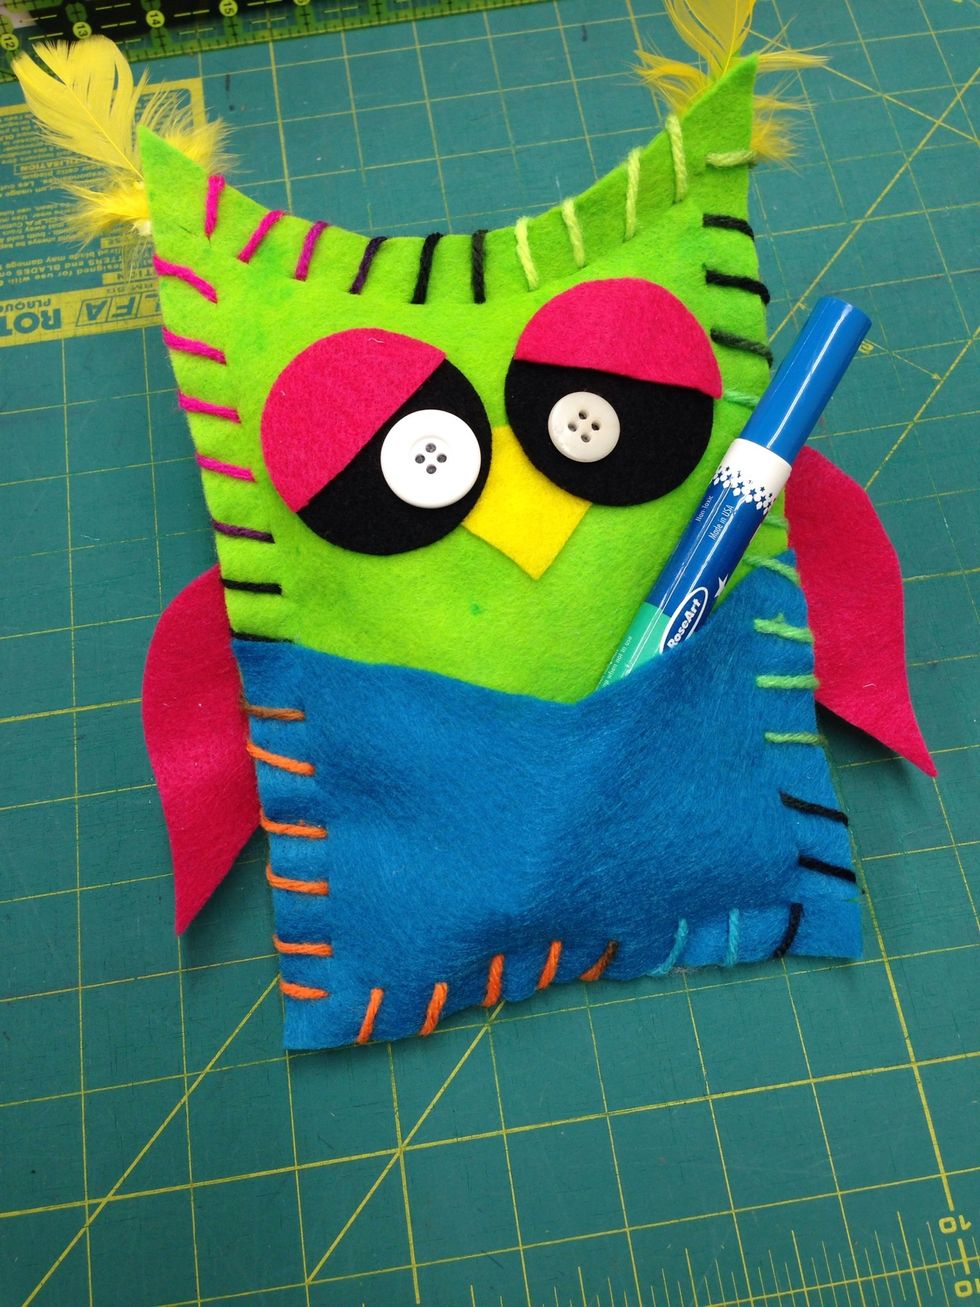
That's all it takes to make this sassy little owl! His pocket is ready to keep track of your pens or you can hide some secret summer treasures inside!

We hope you have fun making this project!