The Conversation (0)
Sign Up
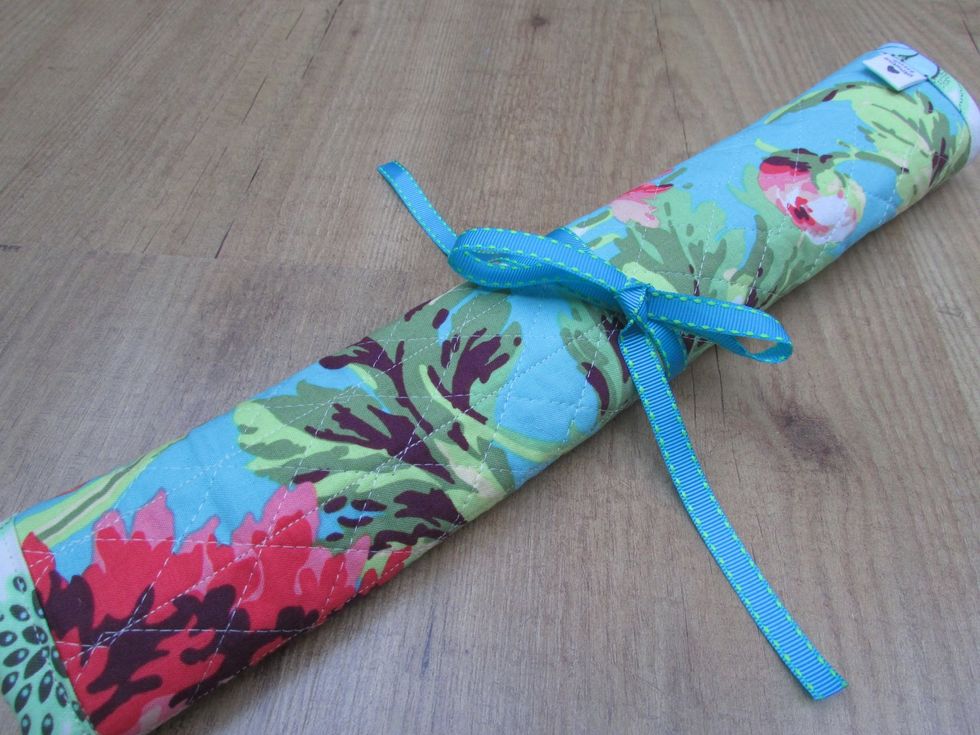
I like to keep my long knitting needles together, and this handmade quilted case does the job nicely.

Opened up, it reveals a large pocket that hold up to ten single or paired needles, depending on their sizes, and a top tiny pocket to tuck the needle top down so they don't fall out.
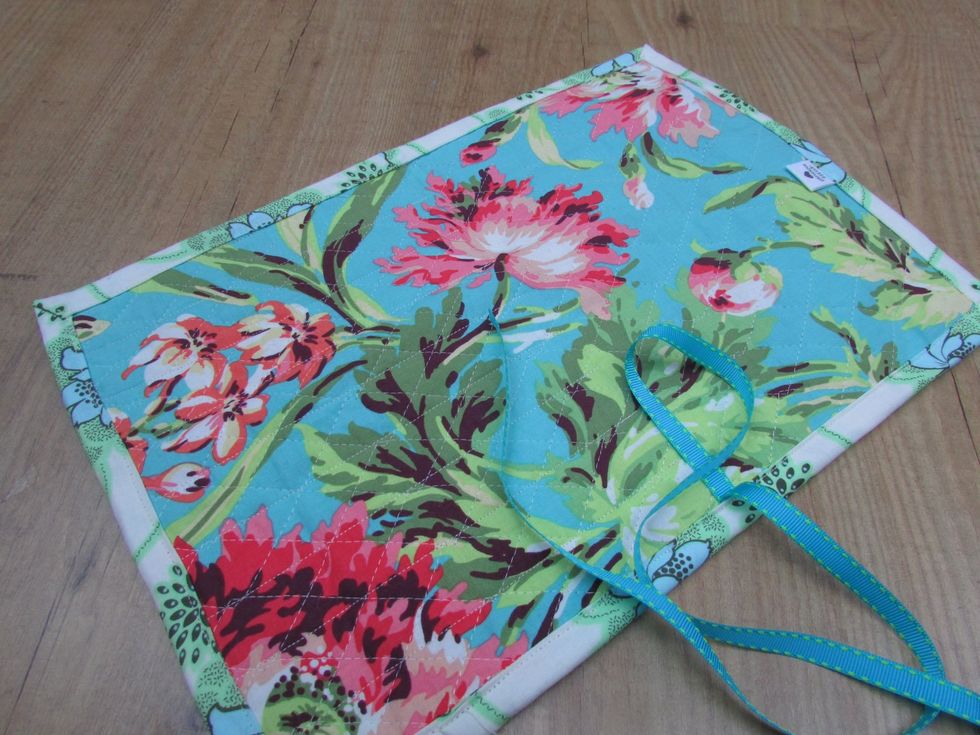
Here's the contrasting outer fabric. I used pre-quilted fabric, but you can also quilt your own, if so inclined.
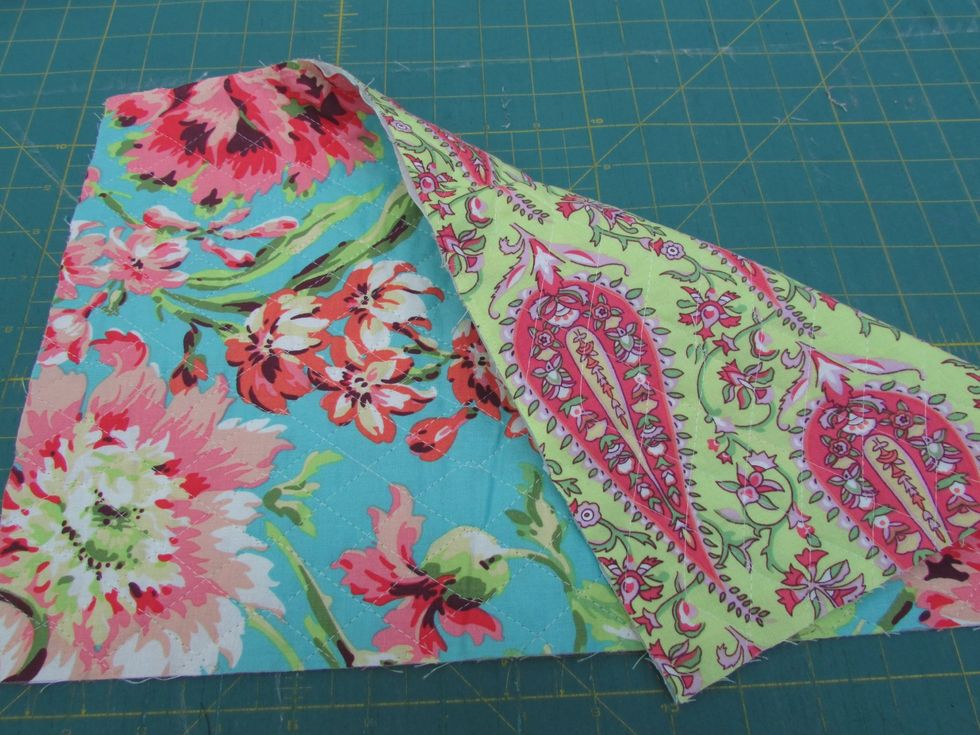
For this case, I used double sided, pre-quilted fabric, like this one from an Amy Butler line, cut 11" x 17". Decide which side will be your inner vs outer fabric.
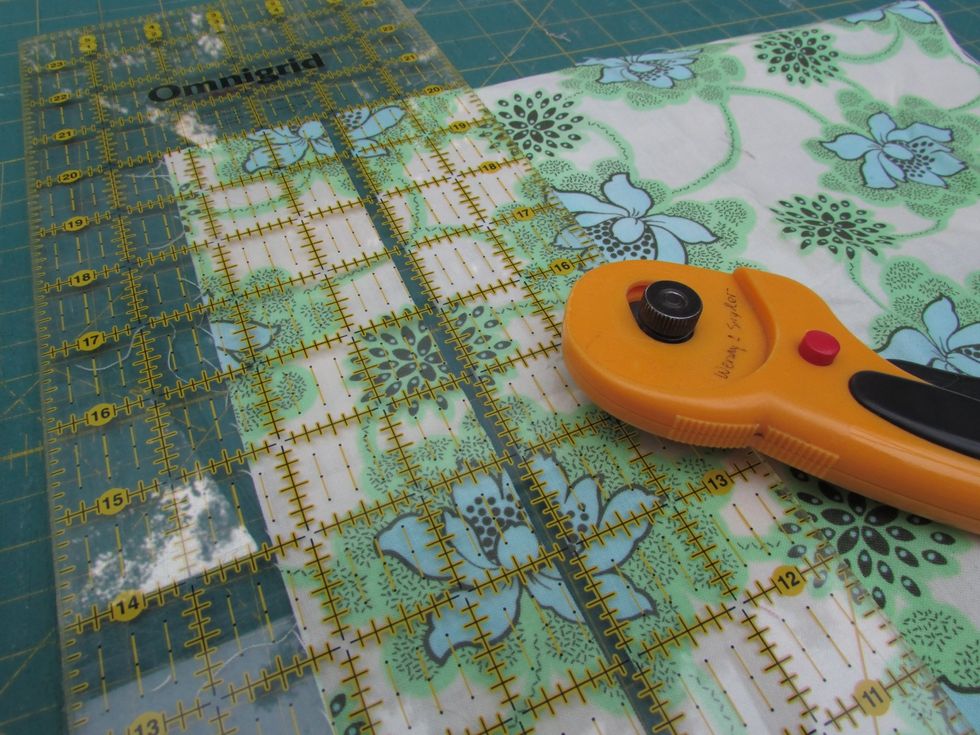
Fold and press your contrast edging fabric, cutting two strips cross grain, 2 1/8" x 42".
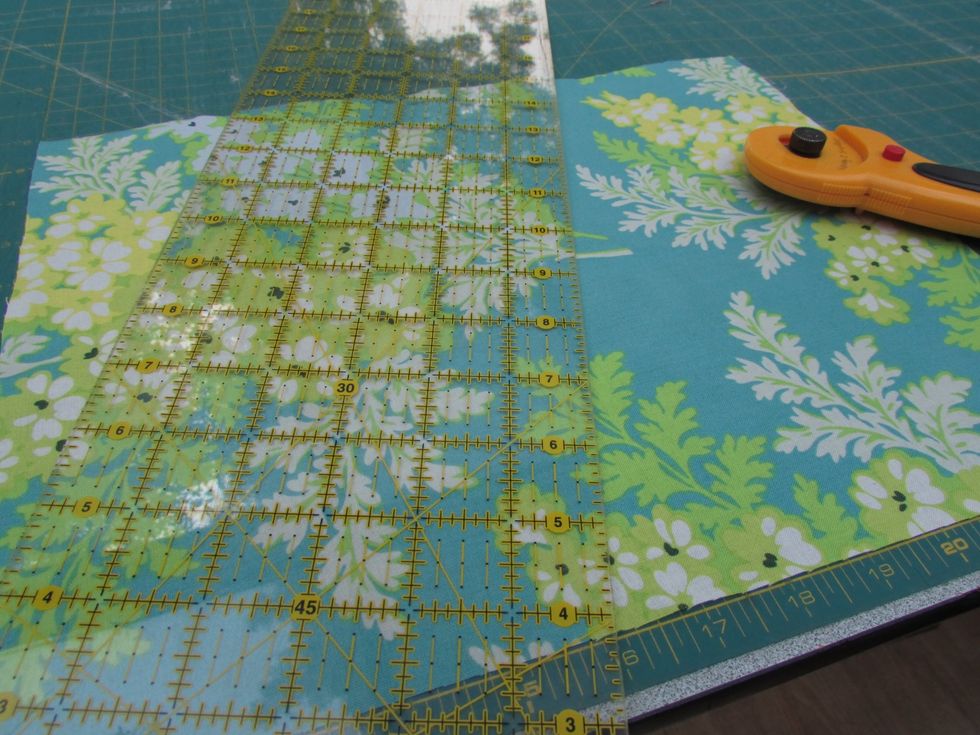
Cut one square of contrast fabric 11" x 14. This piece will become your needle pocket, once it's folded in half.
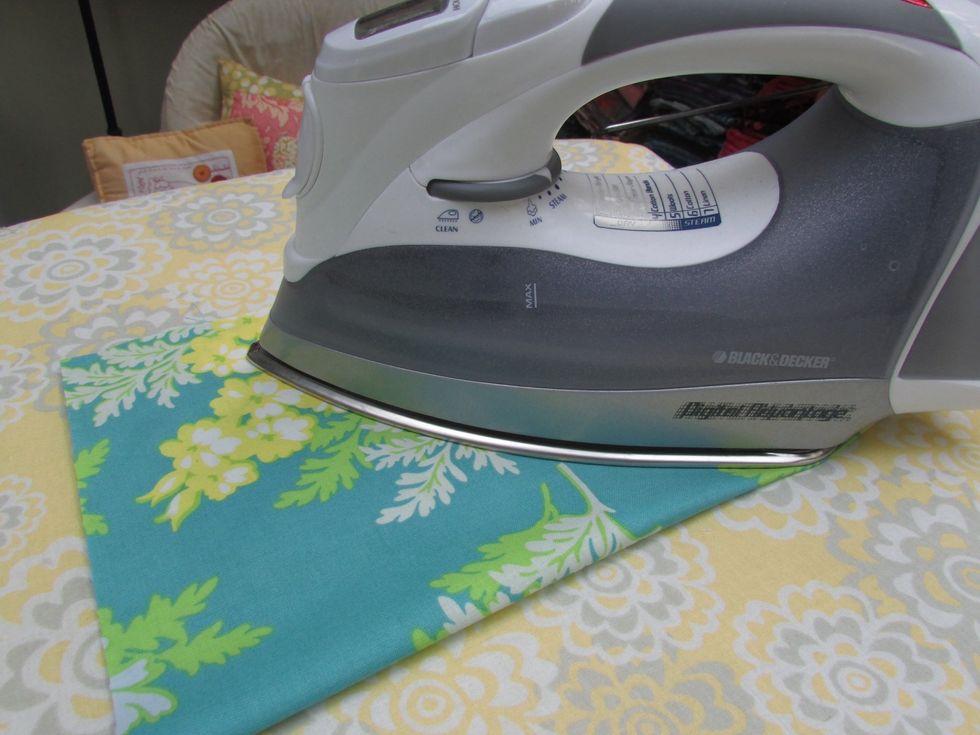
Fold and press the pocket using a steam iron.
Now that I have all my materials prepped, I can begin to sew.

Place the two long trim pieces right sides together, then stitch across one short edge, using a 1/2" seam.
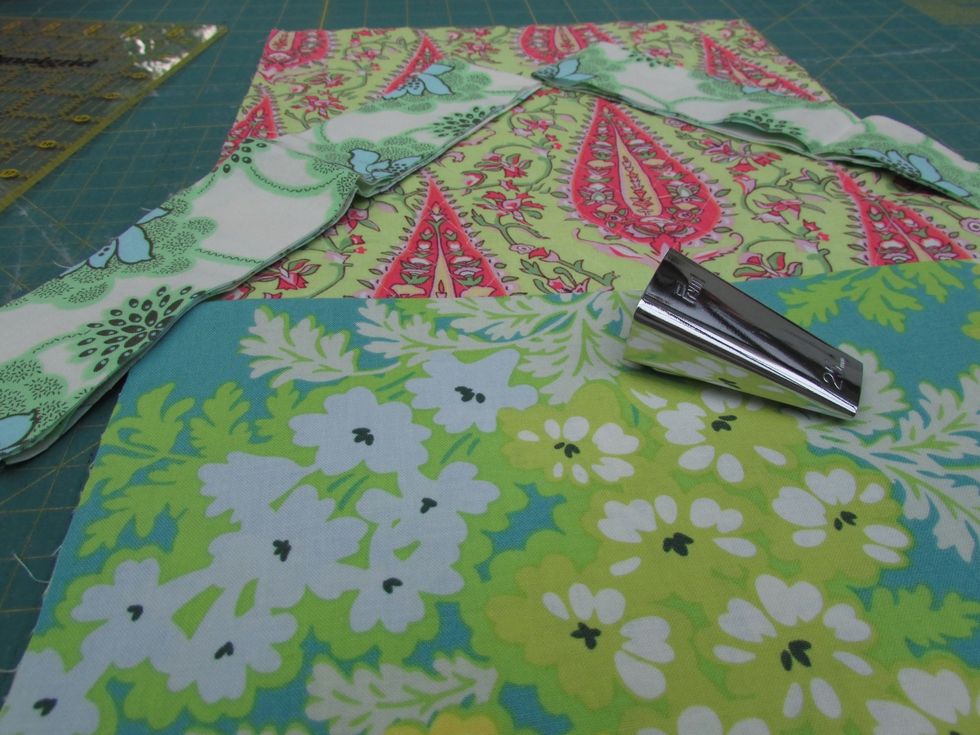
Trim one end of the now long trim strip to a point. This makes it easier to feed the fabric into a tool for making bias trim, that I will now call edge trim ( since it' not based cut!)
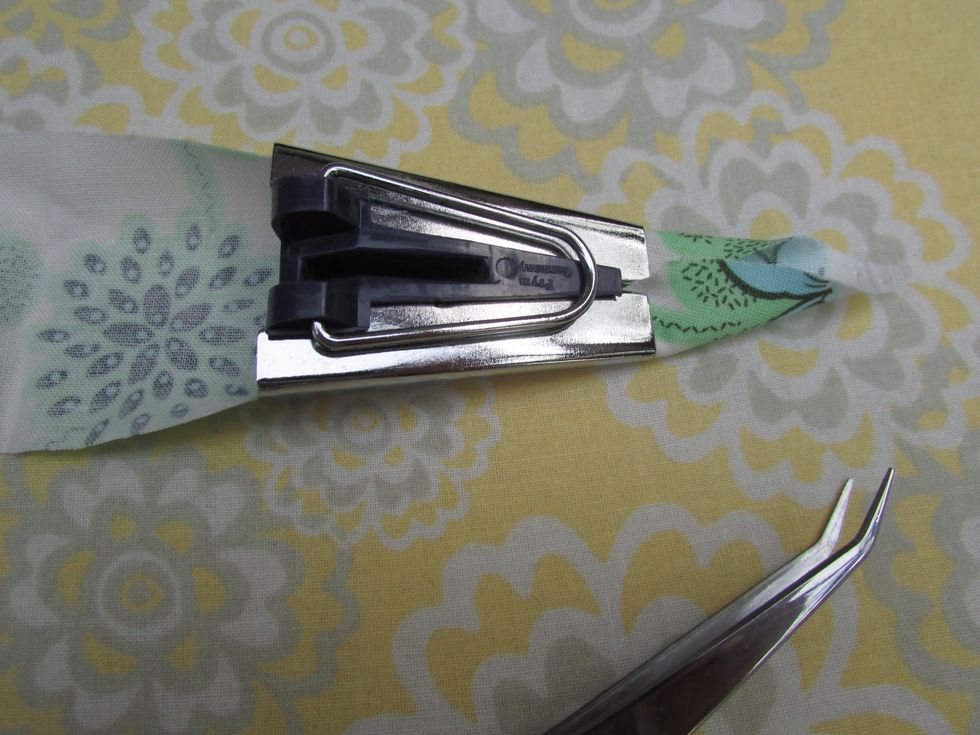
This one inch bias trim tool is what makes the process a whole lot quicker: feed the fabric, pointed end first, wrong side up, through the tool and pull the fabric through to get it started.
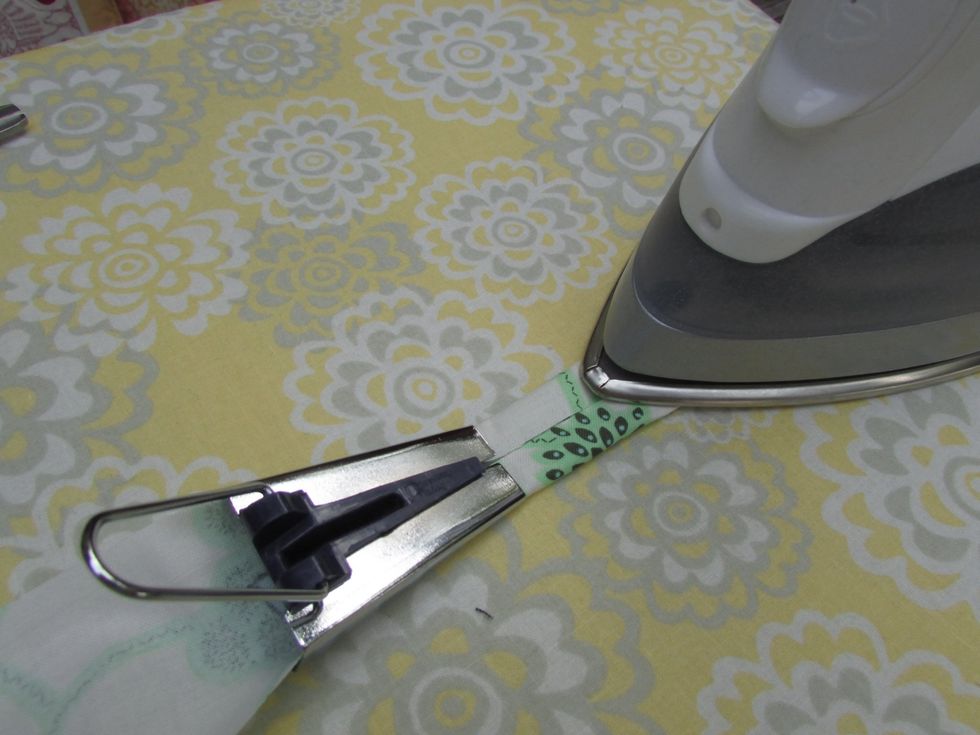
As you gently pull on the bias tool, use your steam iron to press your new trim flat.
Pretty cool, huh? You can do all of this without the tool, but it's an overall slower process without it. Plus,this saves my fingers from getting a major steaming!

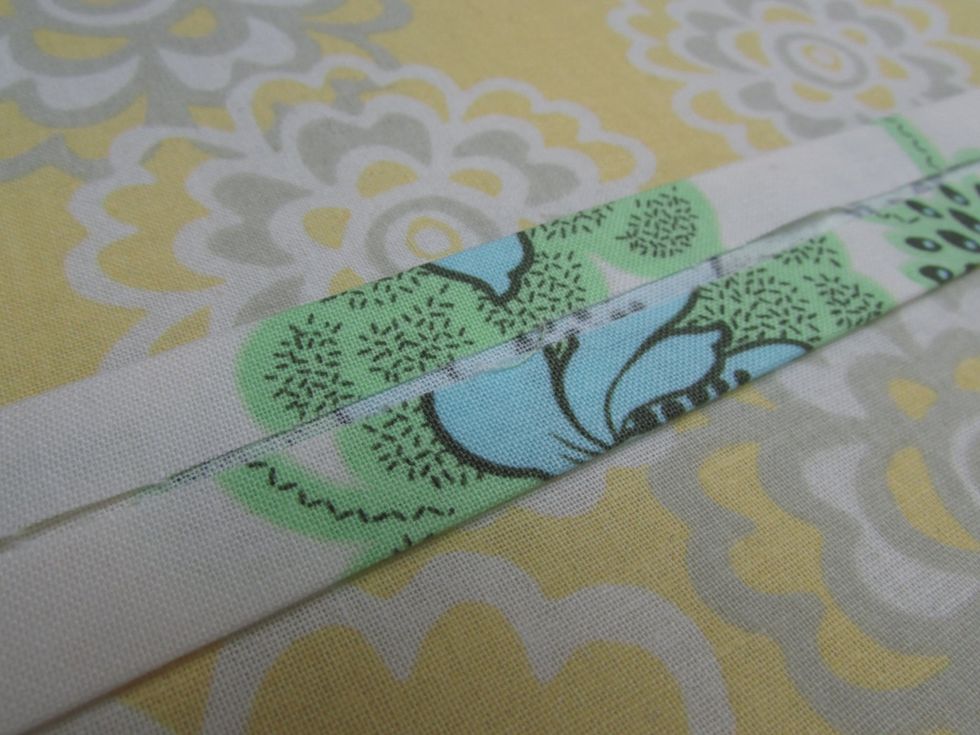
Now, fold the fabric in half at the center, and press it flat the length of the whole trim piece.
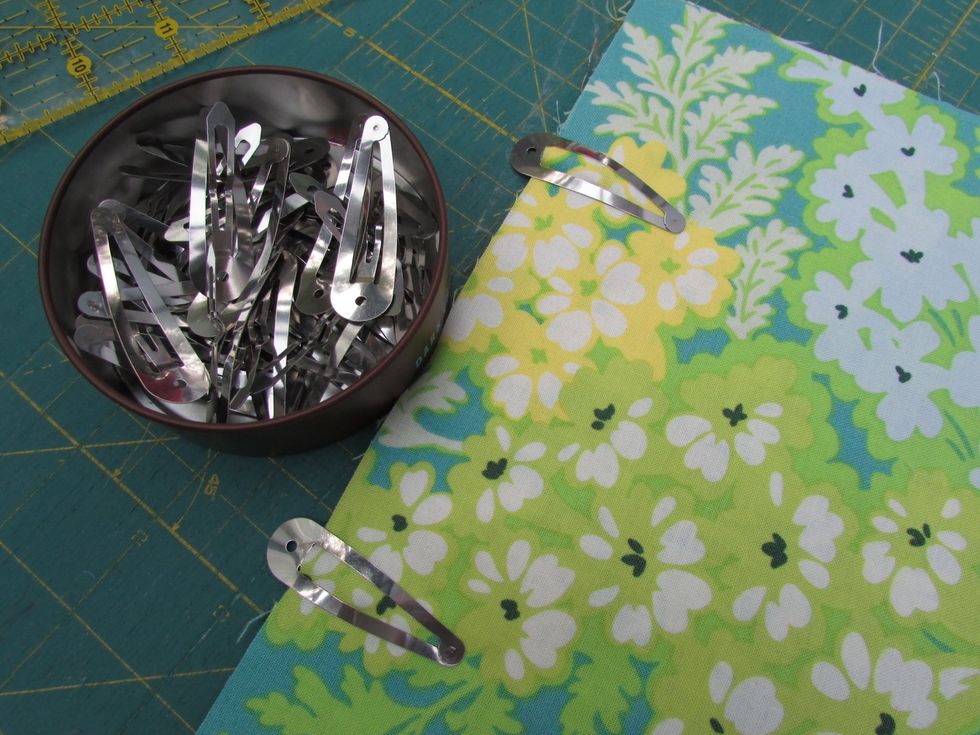
Next, place the now 11 x 7" folded pocket piece on one side of the quilted fabric. You can use pins to secure, but I like to use this dollar store spring hair clips instead (just don't sew over them!)
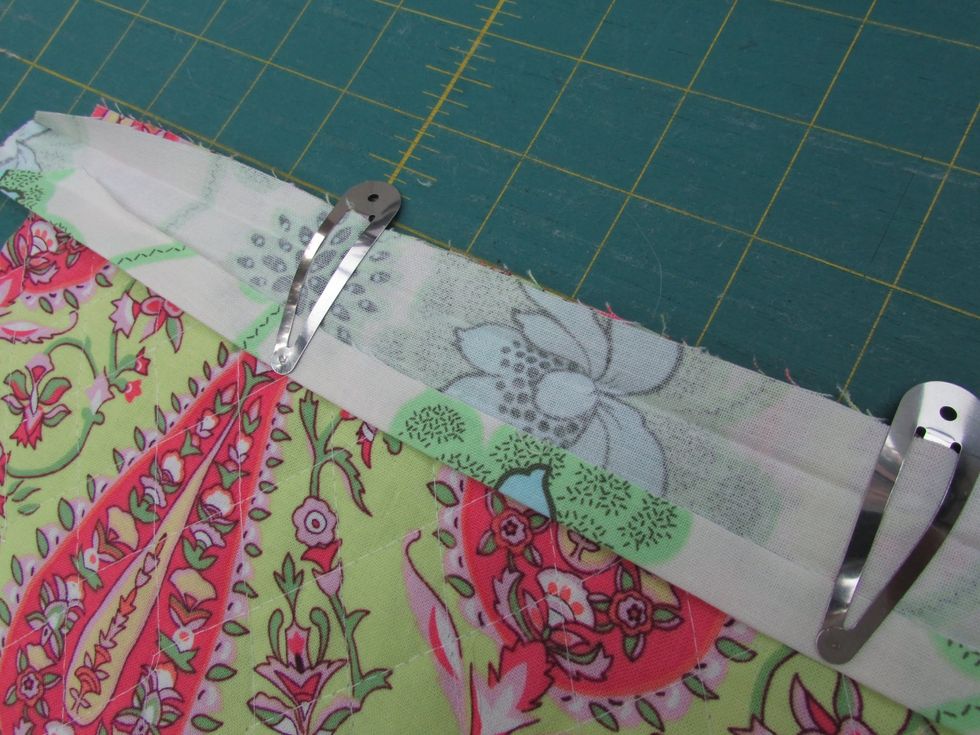
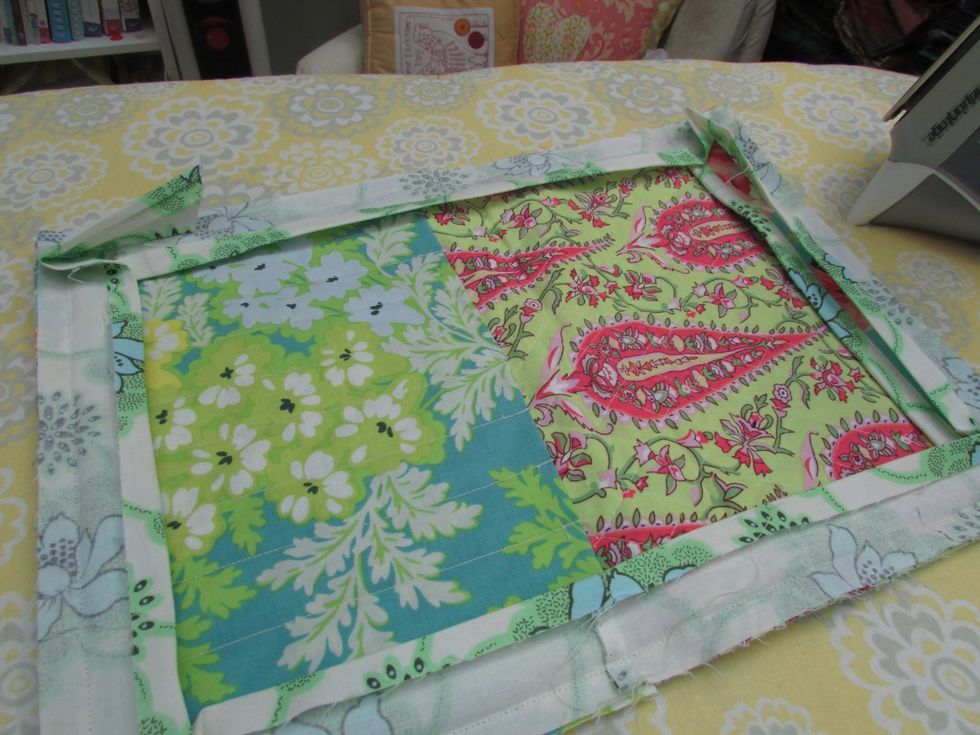
On the opposite end, open your trim piece and secure across the top.
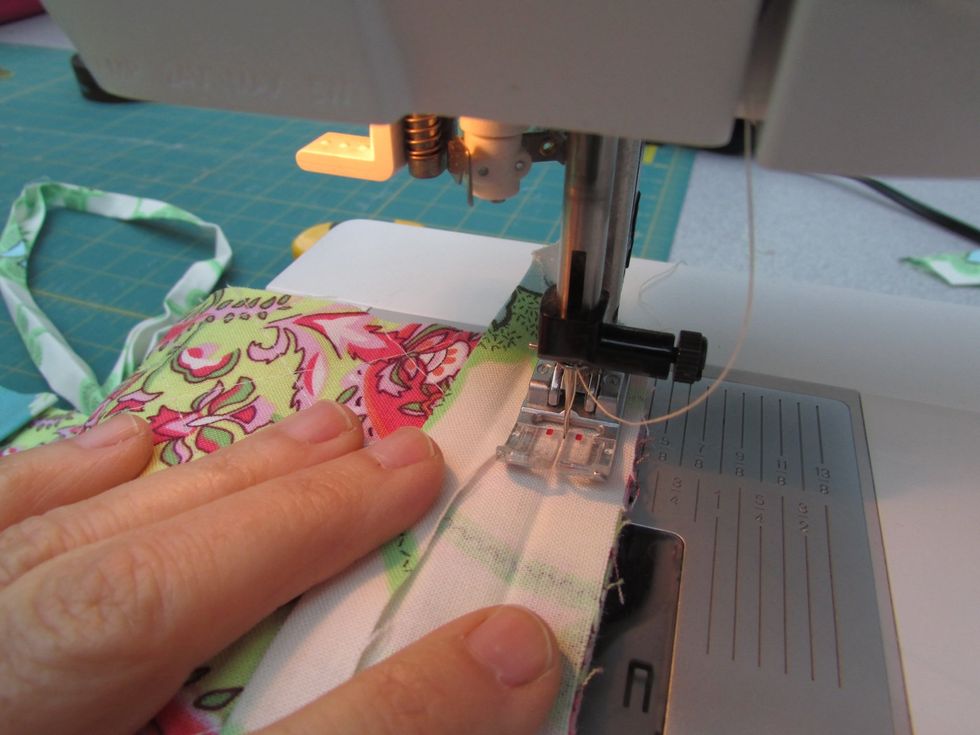
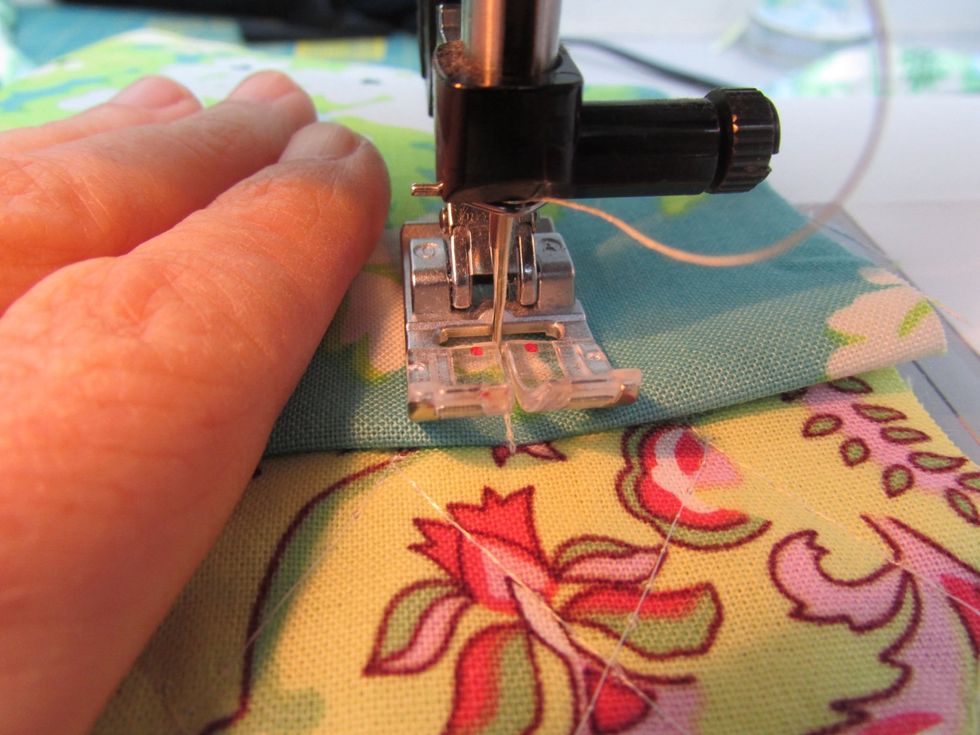
Sew a across the top edge, using a scant 1/2" seam.
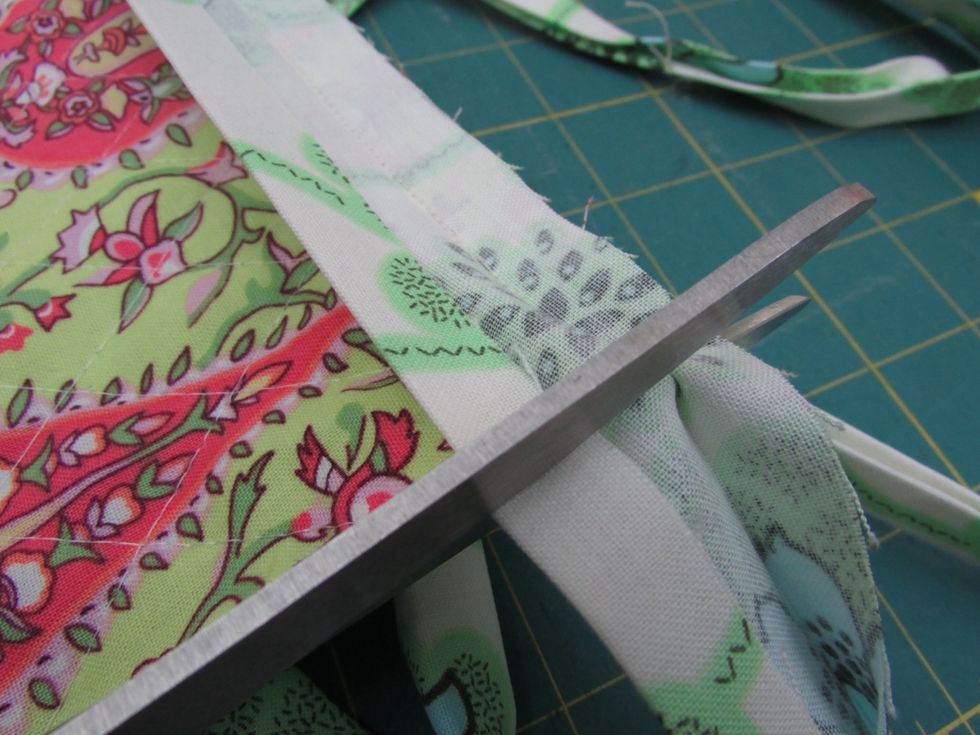
Trim both ends of your edging as needed.

Press gently the trim at the seam, away from the inside of your needle case.
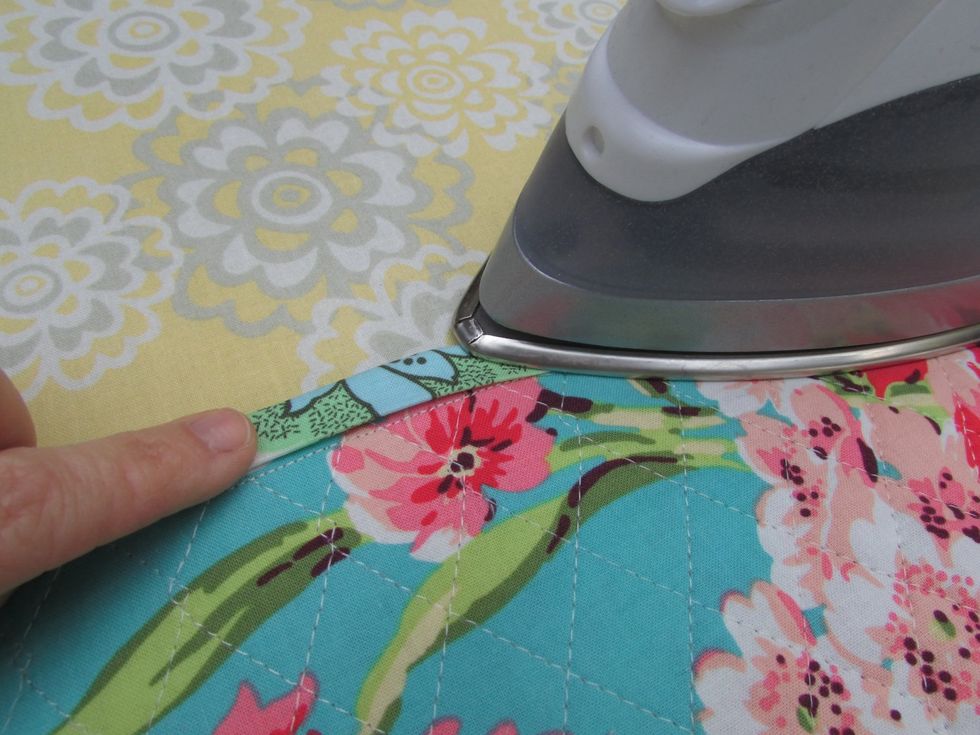
On the outside of the case, again press the finished edge trim just enough to cover your 1/2" seam.

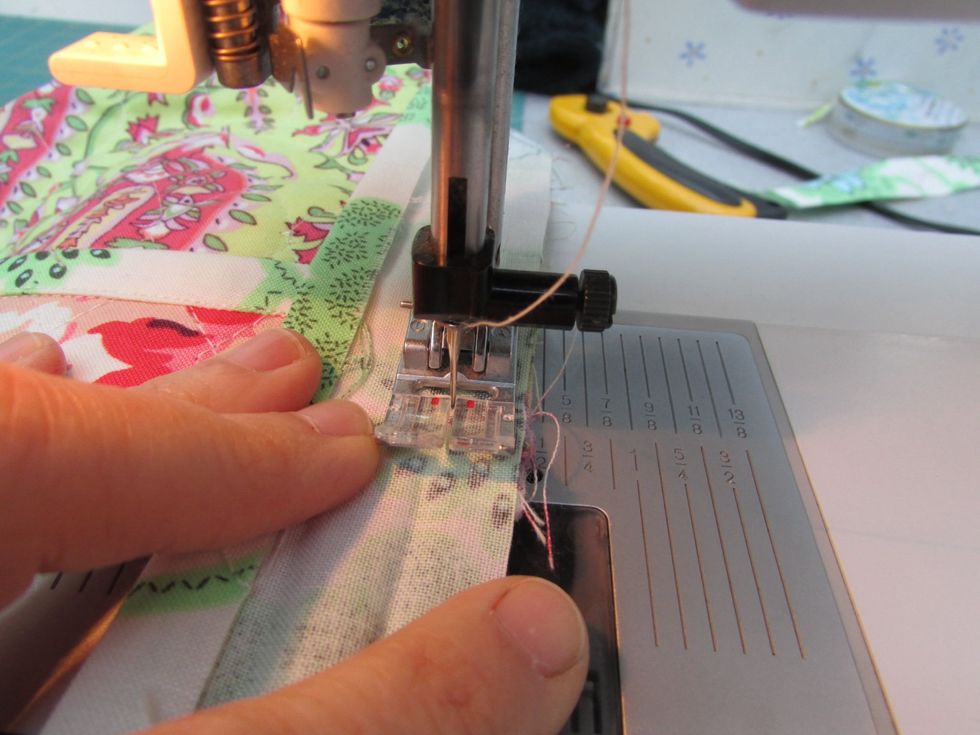
Stitch the finished edge trim down on the outside of your needle case, stitching just over the edge, enough to secure it over the previous stitch line.
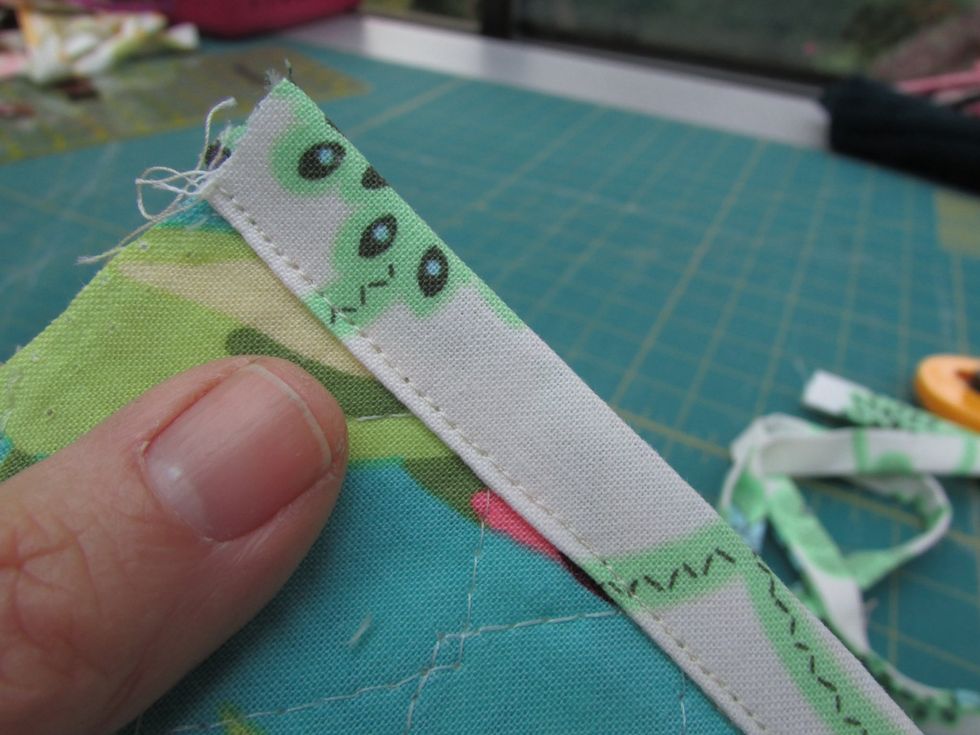
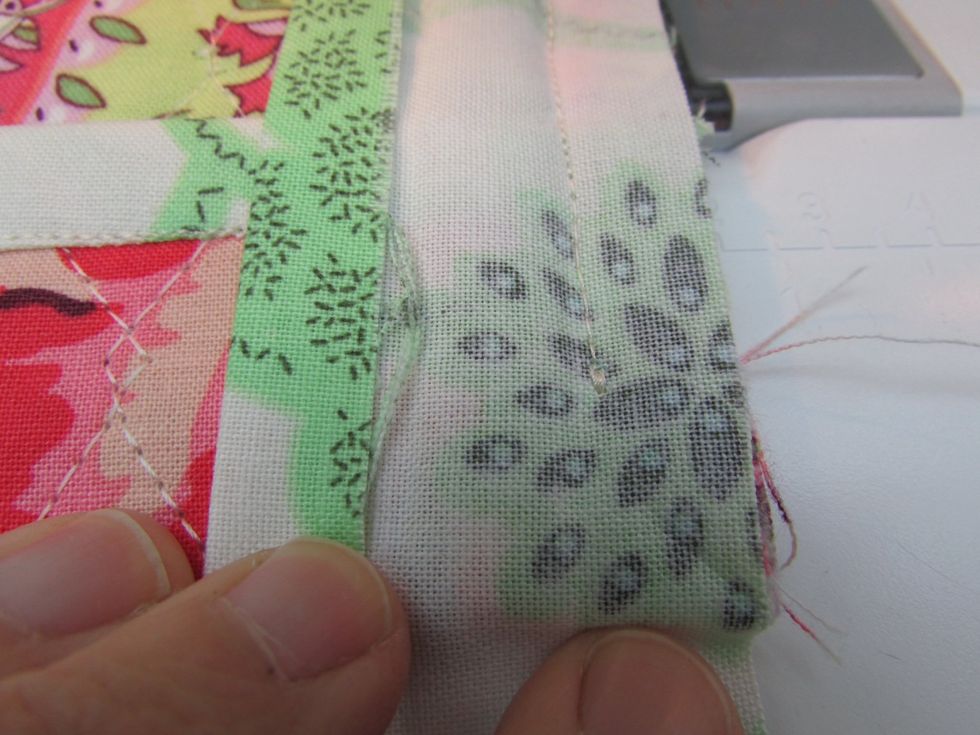
See how nicely finished it looks?
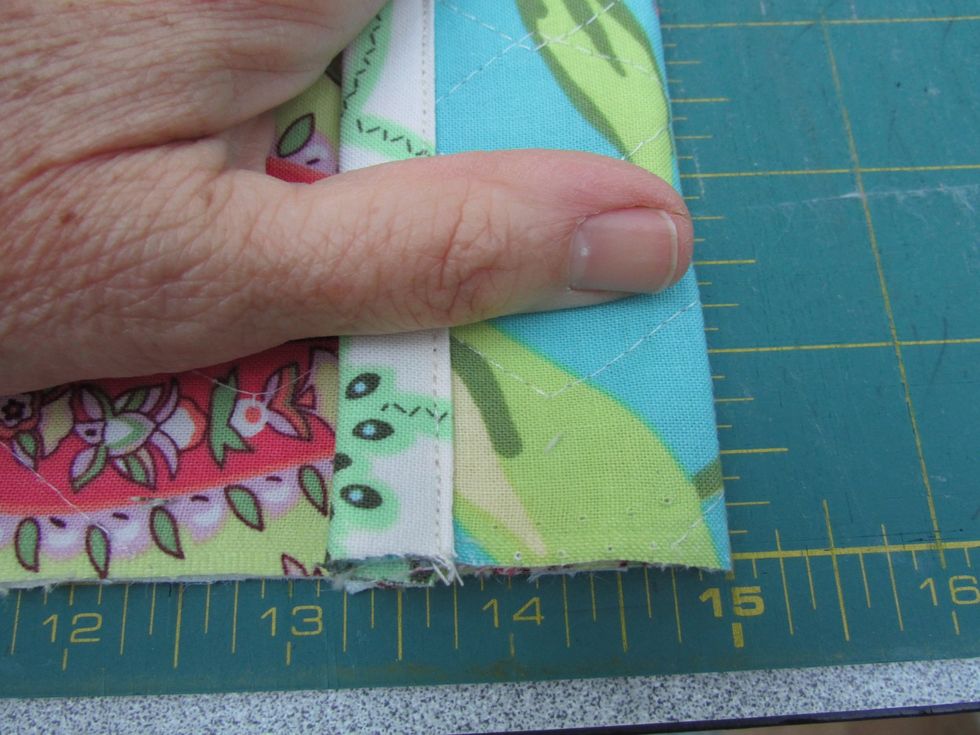
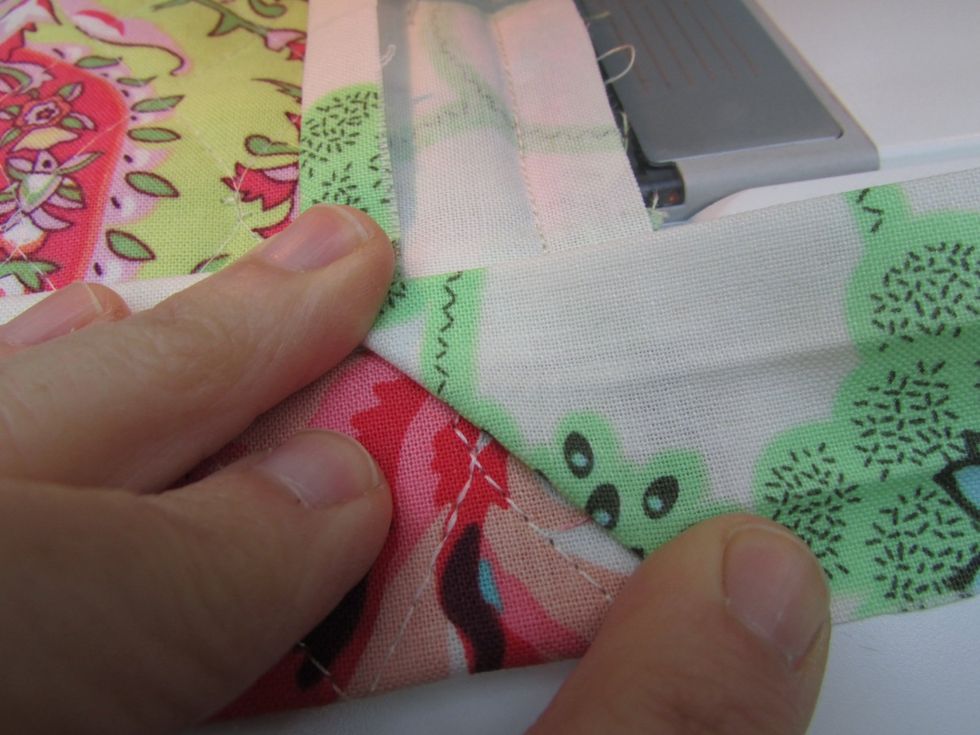
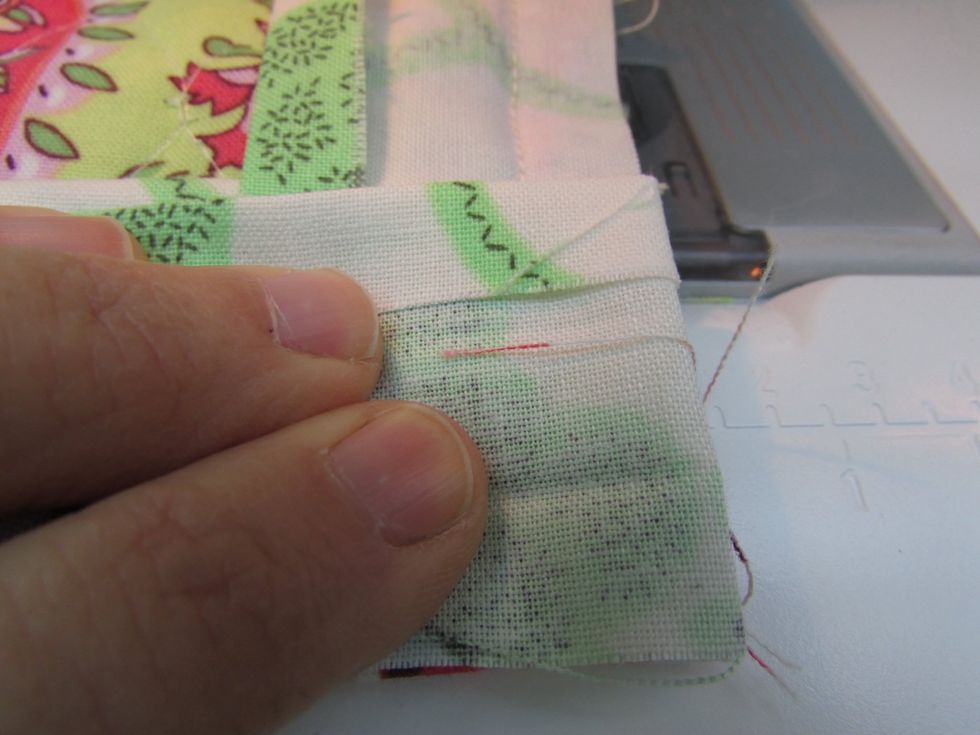
Now fold this trimmed edge down towards the needle pocket at the other end and secure it with pins, clips, or basting stitches. This forms a tiny pocket to keep needles from falling out!
I like to baste stitch the ends of this pocket, just a 1/4" from each edge.
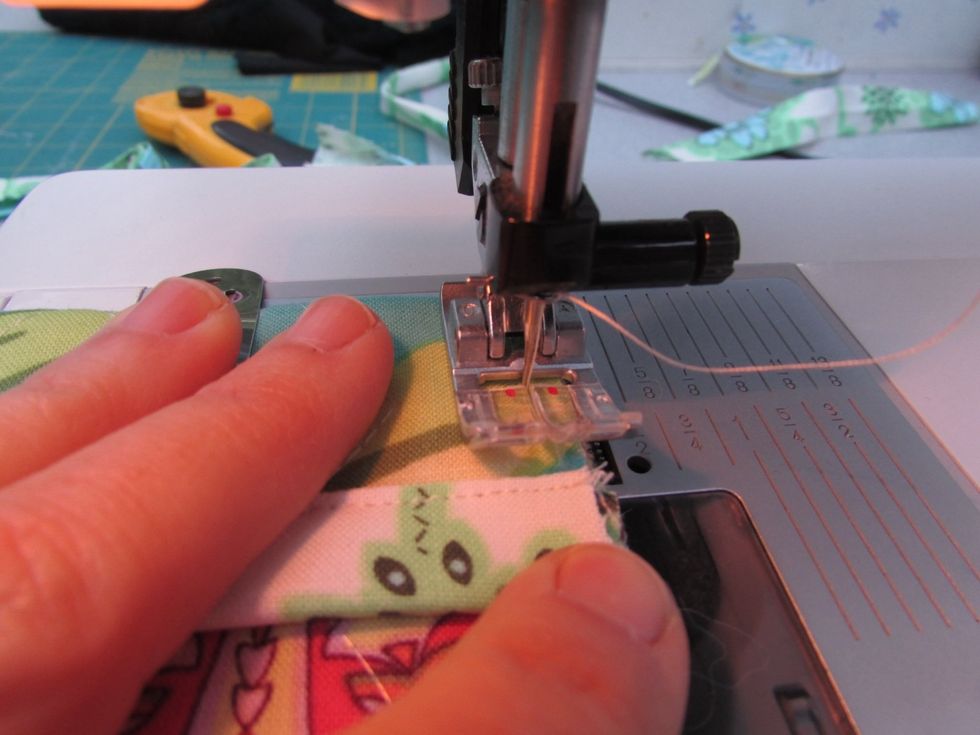
Now to stitch the individual pockets for your needles. Start at the bottom right corner, stitch a straight line 1 1/2" from the side. I use guide lines on my machine, but you can draw chalk lines.
Secure the stitching at the top of the pocket, by reverse stitching a bit aways from the pocket top.

Continue stitching needle pockets, this time only 1" from the last. Continue until you have 10 pockets for your needles. If you have fatter knitting needles, you can always make these wider as needed.

Here's the finished knitting needle pocket, with 10 compartments. Trim the excess threads.

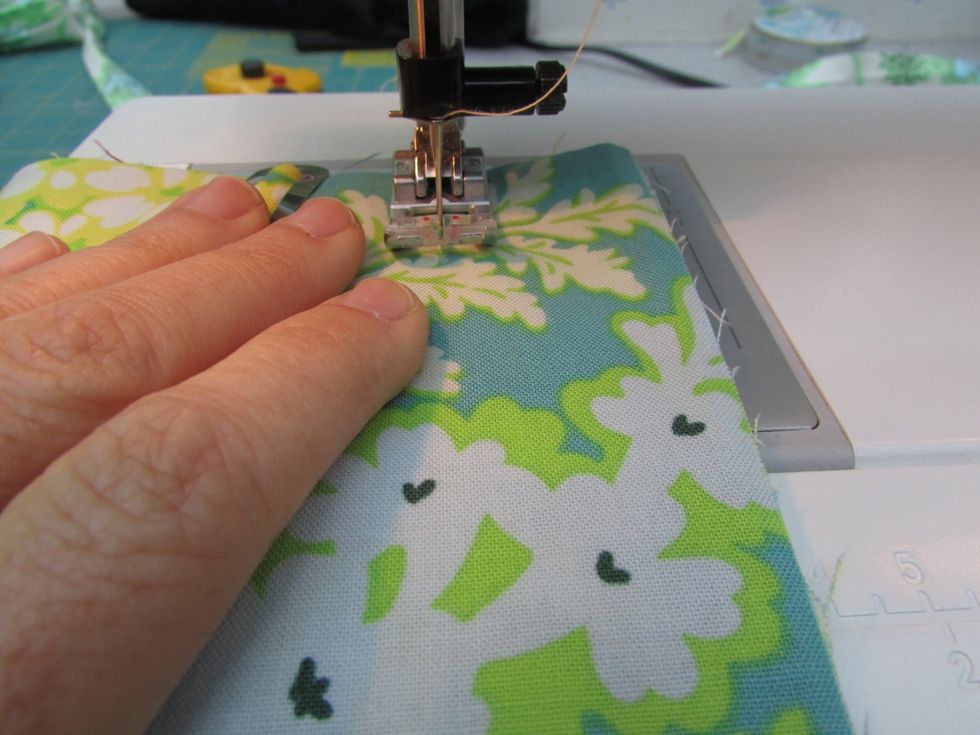
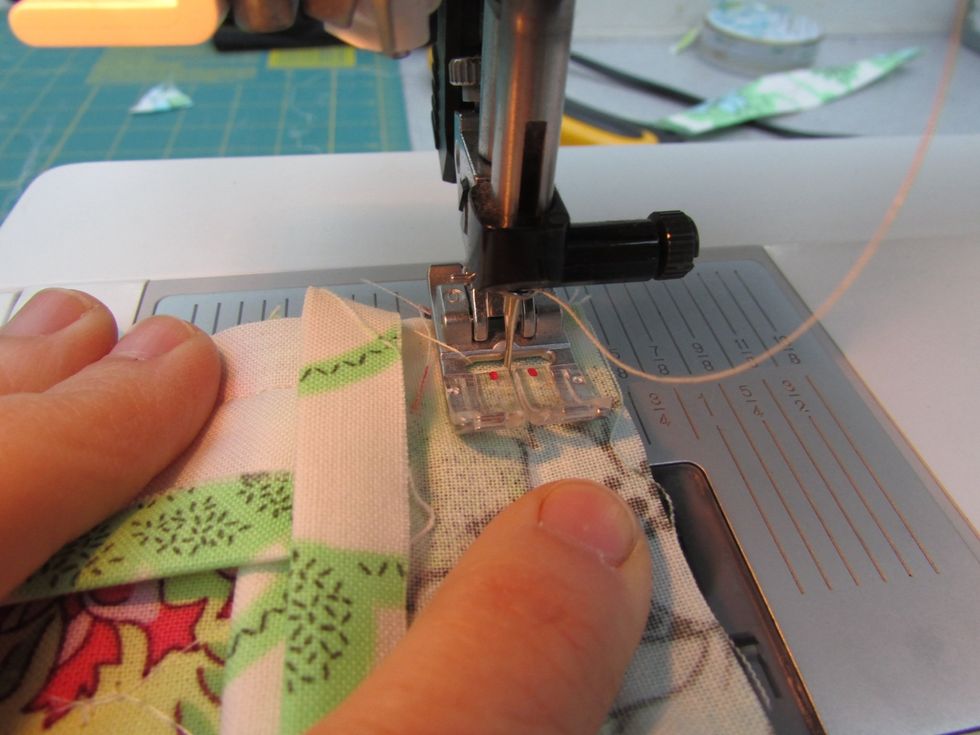
To add your edging trim, fold one edge down 1/4". Place along one long edge of the inside quilted fabric. Begin stitching a scant 1/2" from the edge to secure the trim.
Continue stitching along the long side of your needle case, with the inside facing you.
Stop and secure stitching 1/2" before the corner. This is how I make a sharp corner:
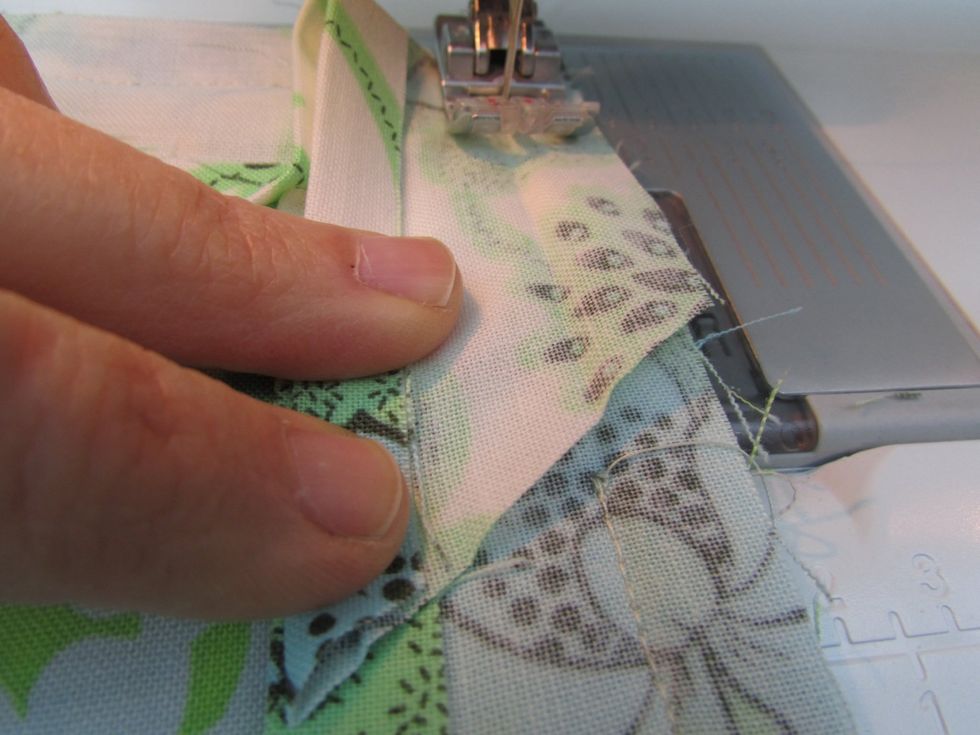
Fold the fabric trim to the right so that it forms a triangle edge.
Now fold the same fabric trim piece back over itself to the left, covering the triangle fold, and lining the edges up. Hold it down as you turn the whole thing counter-clockwise to sew the next edge.
Sew this short edge (the one with the tiny pocket you basted before), using scant 1/2" seams. Repeat this process around the next three corners and sides.
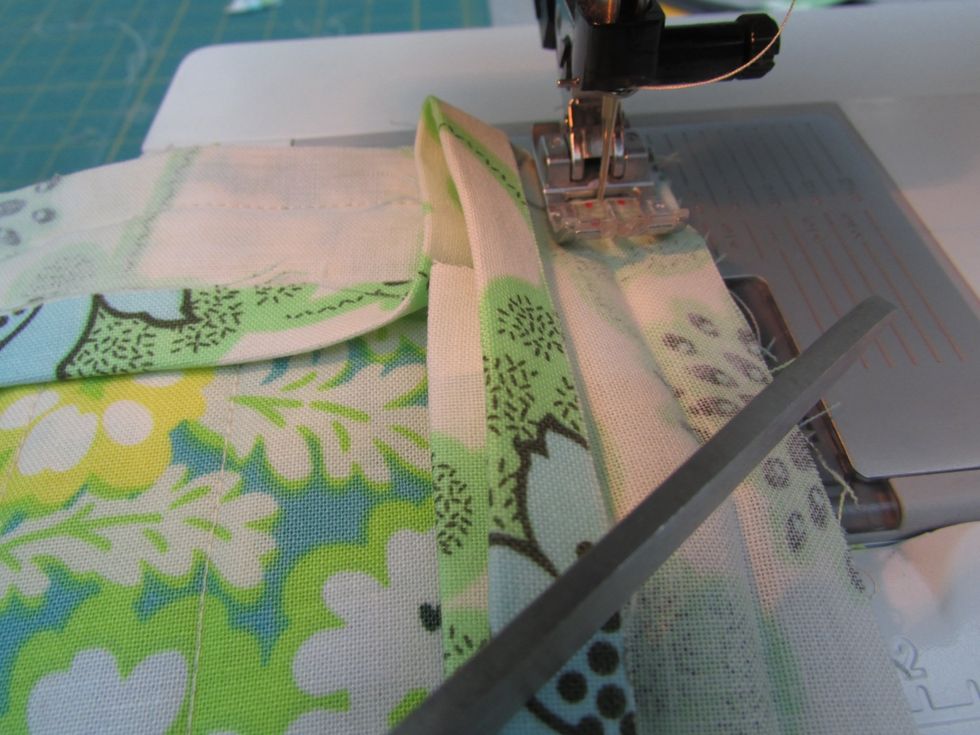
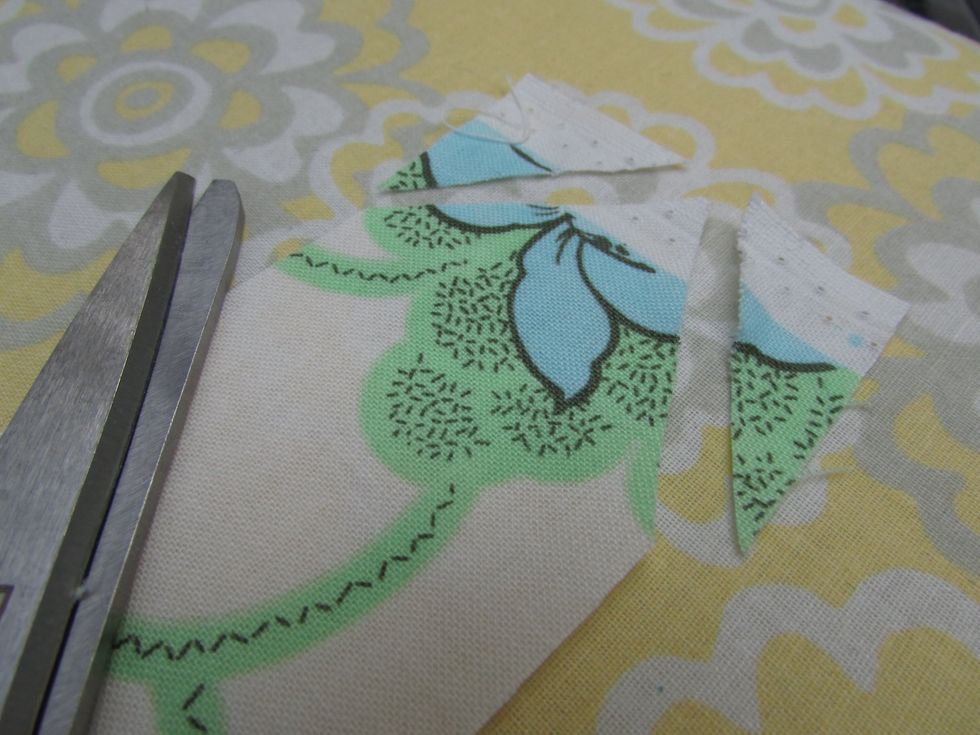
When you get to where you started after the fourth corner, trim the edge trim piece at an angle, just past where you started. This is to hide the raw edged ends inside.
Finish sewing across to secure.
So this is a view of the almost finished case: needle pocket on left, and tiny pocket on the right to secure the needle tops. Now to press the edge trim away from the inside.
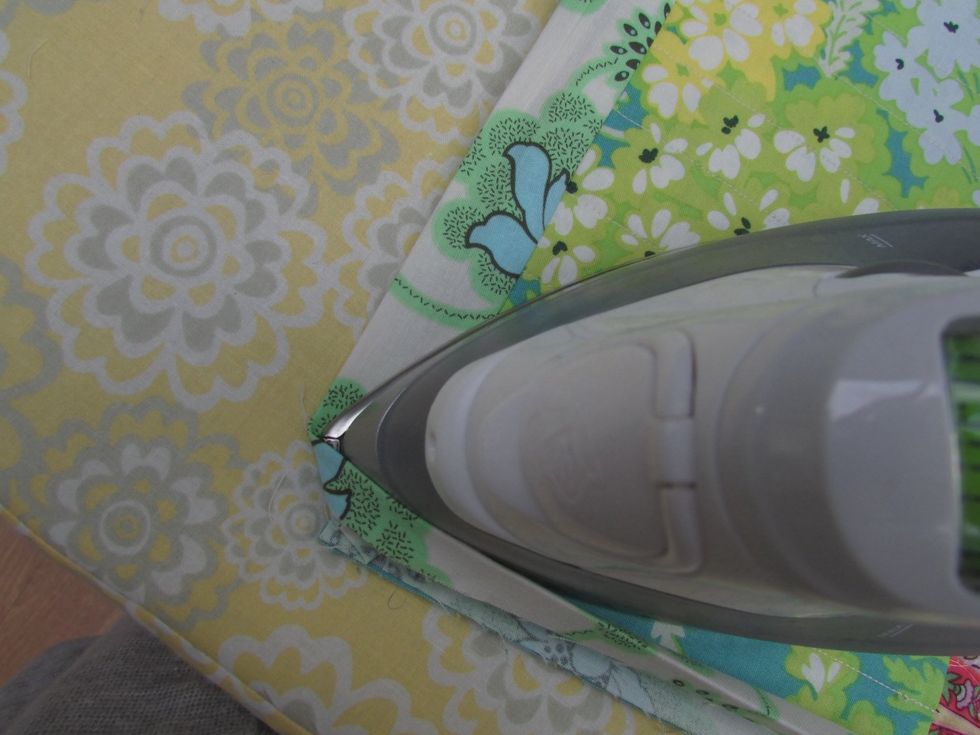
Press the edging away from the inside, pressing corners open.

Flip case over to the outside, pressing edge trim over the stitch line, and folding corners flat.

Corner view after pressing.
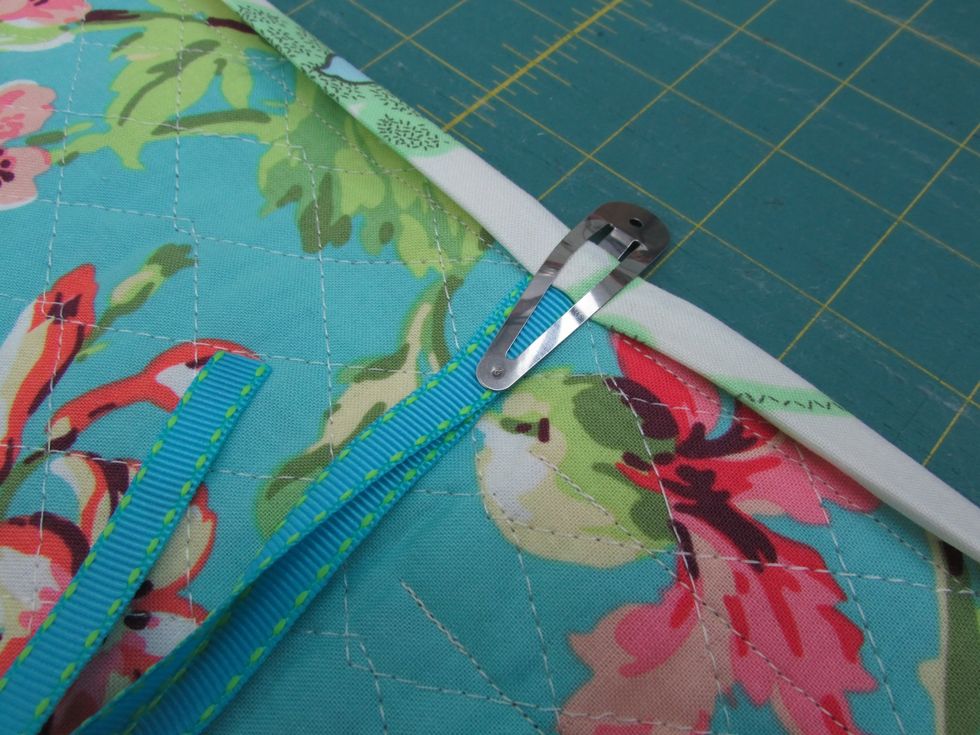
Tuck the ends of the ribbon ties into the outside flap under the edge trim. Use a clip or pin to secure it in place.
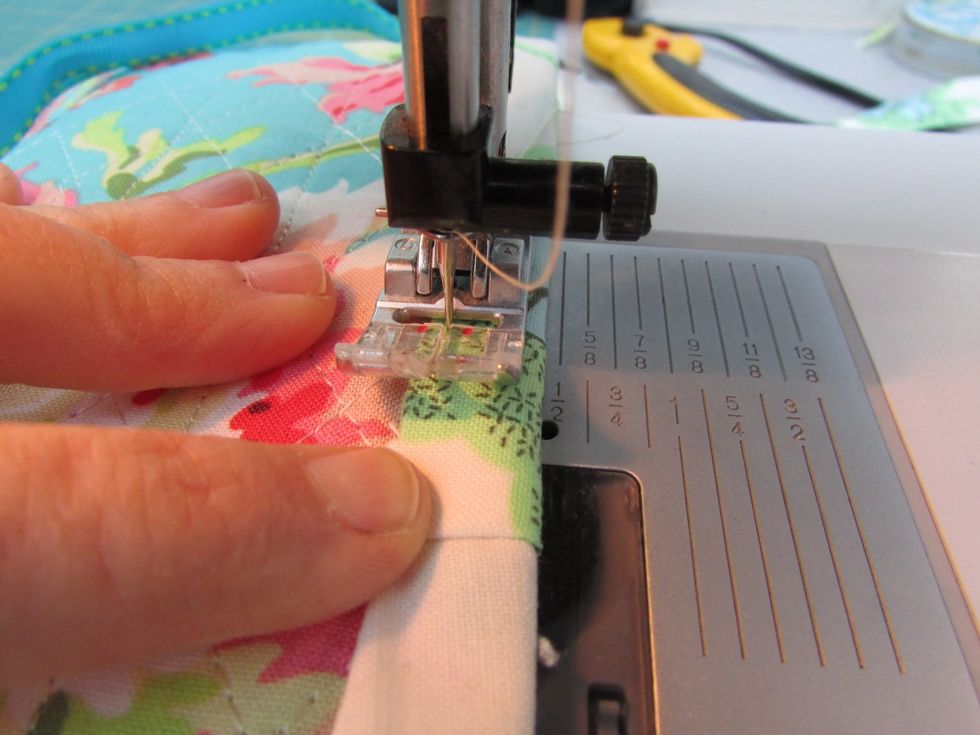
Topstitch the edge trim down on the outside, covering the stitch line, just enough to secure it down. Stitch all the way around, pivoting at corners.

...approaching the corners...
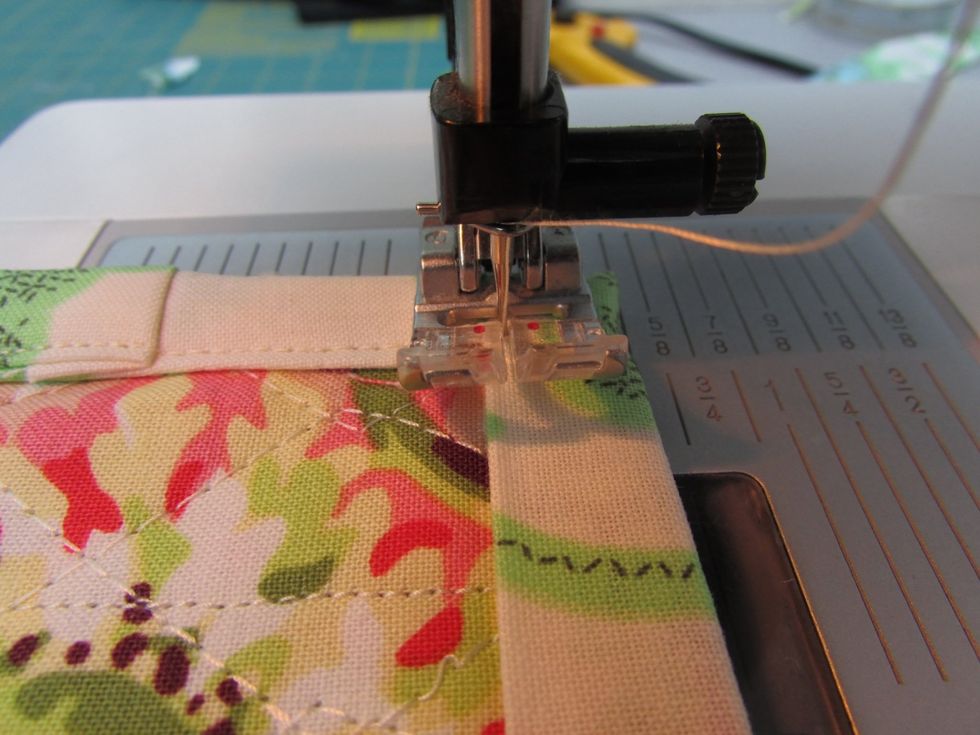
...And pivot at the corner...

I add a label to my handmade work.

..and stitch over to secure the ribbons in place – of course, removing the clip or pin first!
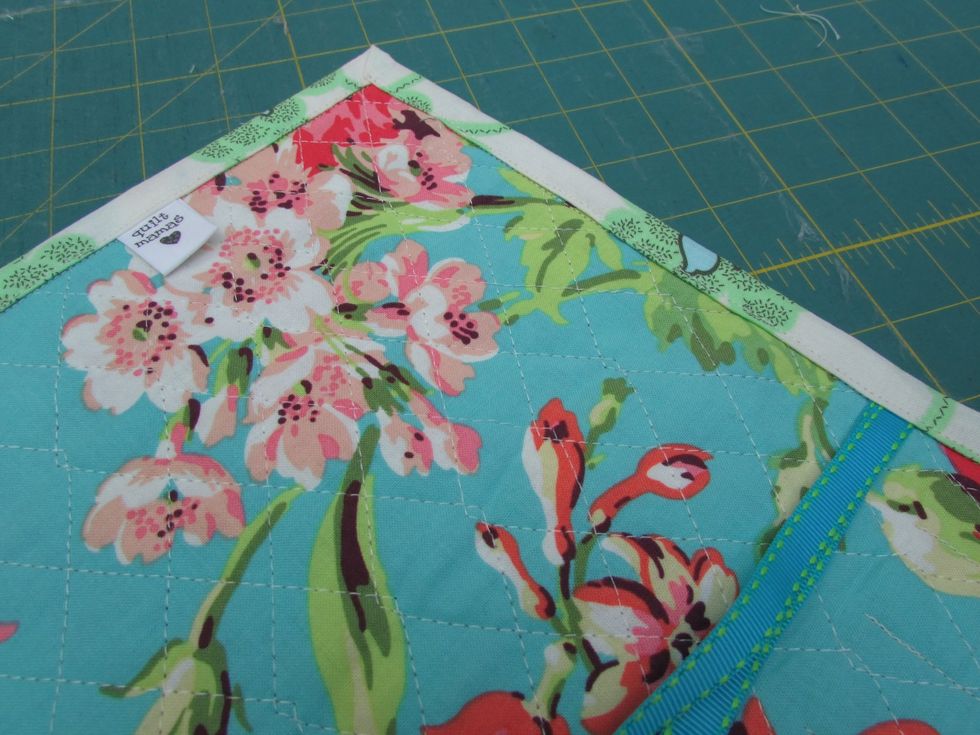
Finished sewing!

Ta da! The finished needle case!
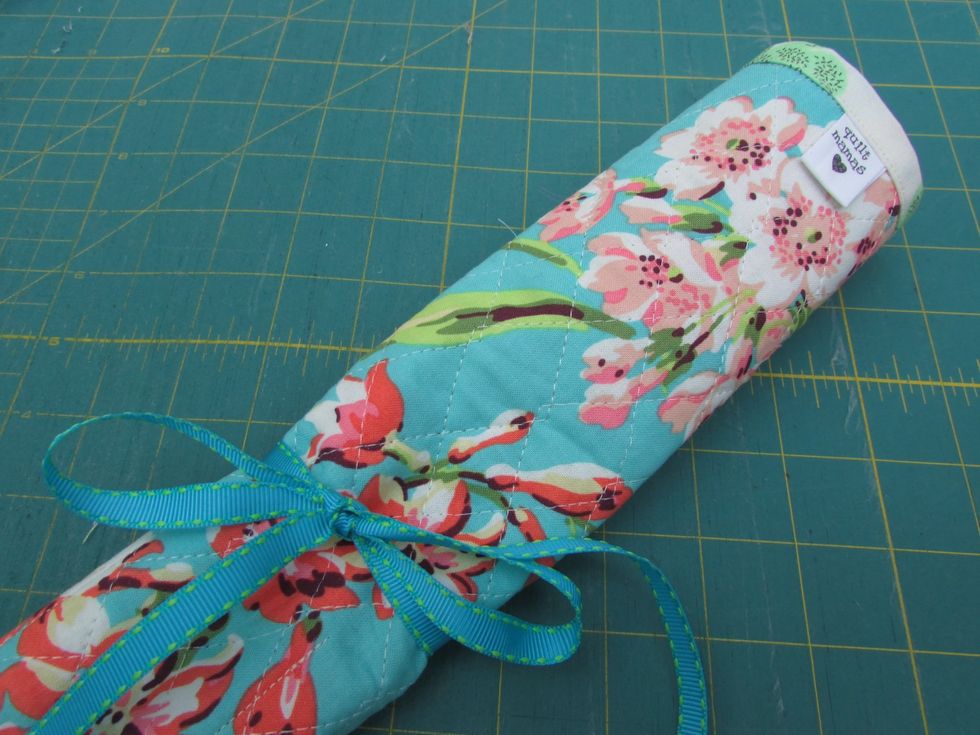
Rolled up, it will fit easily into a tote bag. Enjoy your new needle case, or gift a friend with one!