The Conversation (0)
Sign Up
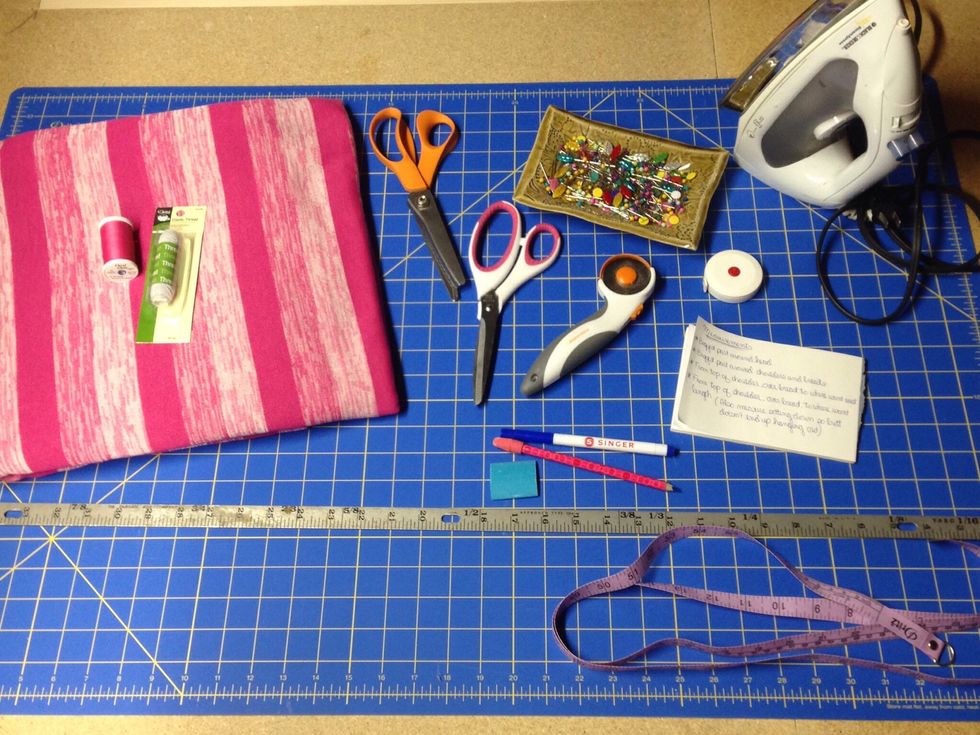
Gather supplies.
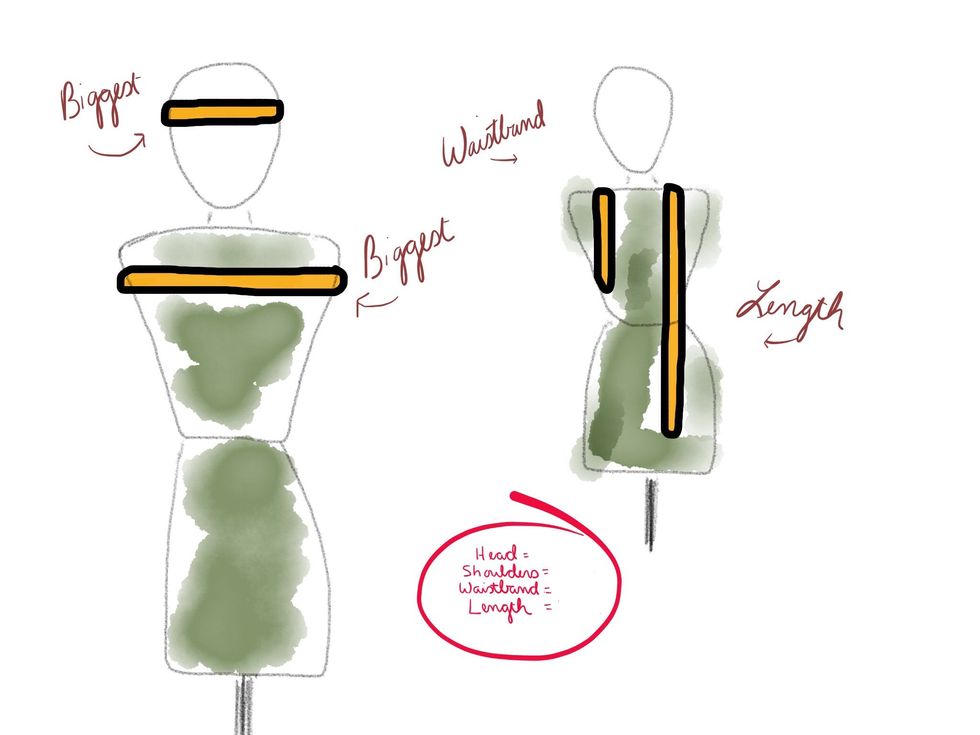
Measure: 1. Around head, 2. Around shoulders/breasts, 3. From shoulder, over breast to where waistband will go, 4. Length. Sit down while measuring length so butt doesn't hang out later.

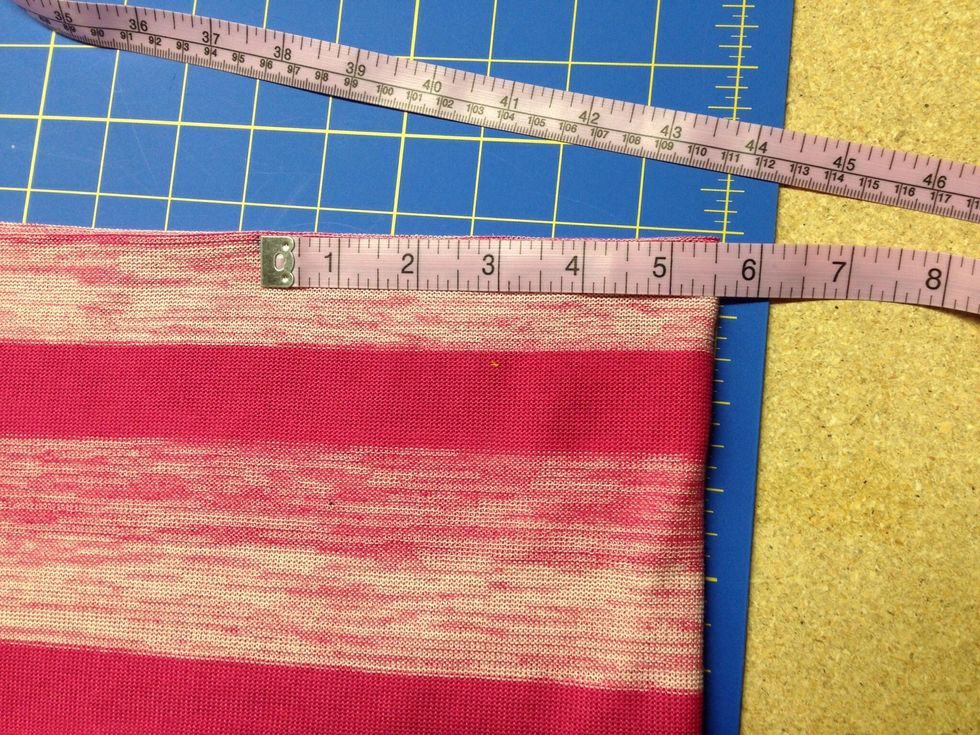
With right sides together, fold at the top, divide shoulder/breast measurement by 2, add 3 in., plus a 5/8 seam allowance each side (53 ÷ 2 = 26.5 + 3 = 29.5 + 5/8 seam each side).Mark points at fold.

On one side: 1. Mark 9 inches down for arm holes. 2. Mark where waistband will sit. 3. Mark 1.5 inches in at waistband point. 4. Draw curve up to arm hole and straight down to bottom.

1. Add 5/8 seam allowance to curve, then bring line straight down. 2. Cut along line with scissors or pinking shears. 3. Fold fabric lengthwise, then cut again.
Keeping fabric folded lengthwise, cut a slit for head. Round head measurement, divide by 2, then divide that number by 2 (21.5 rounded to 22 ÷ 2 = 11 ÷ 2= 5.5 inches).

Cut just a tiny slit.
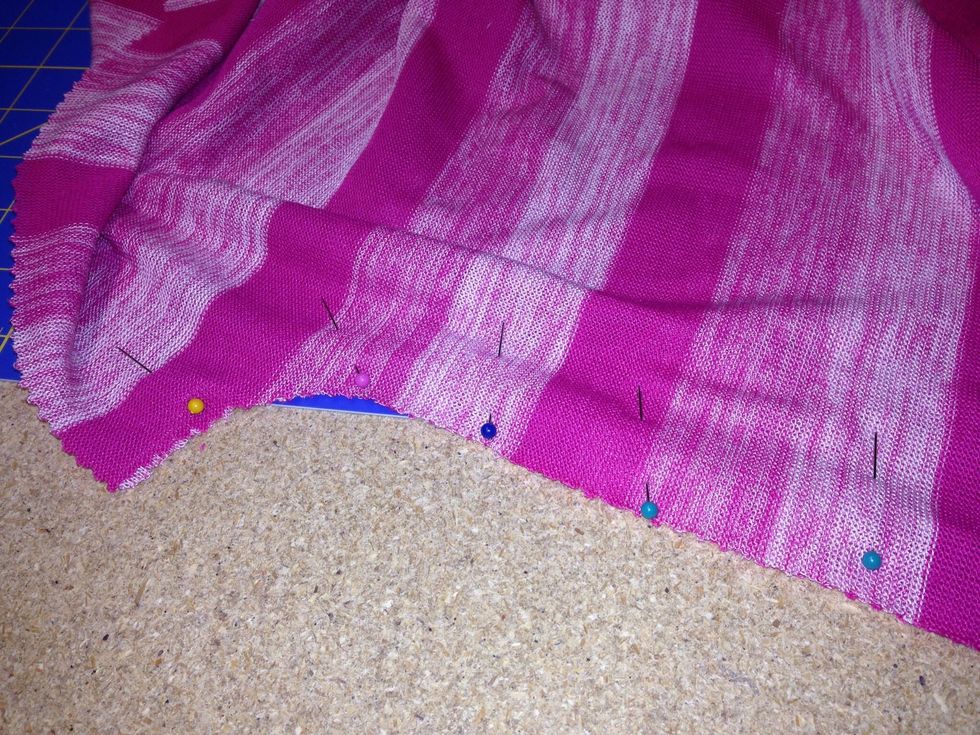
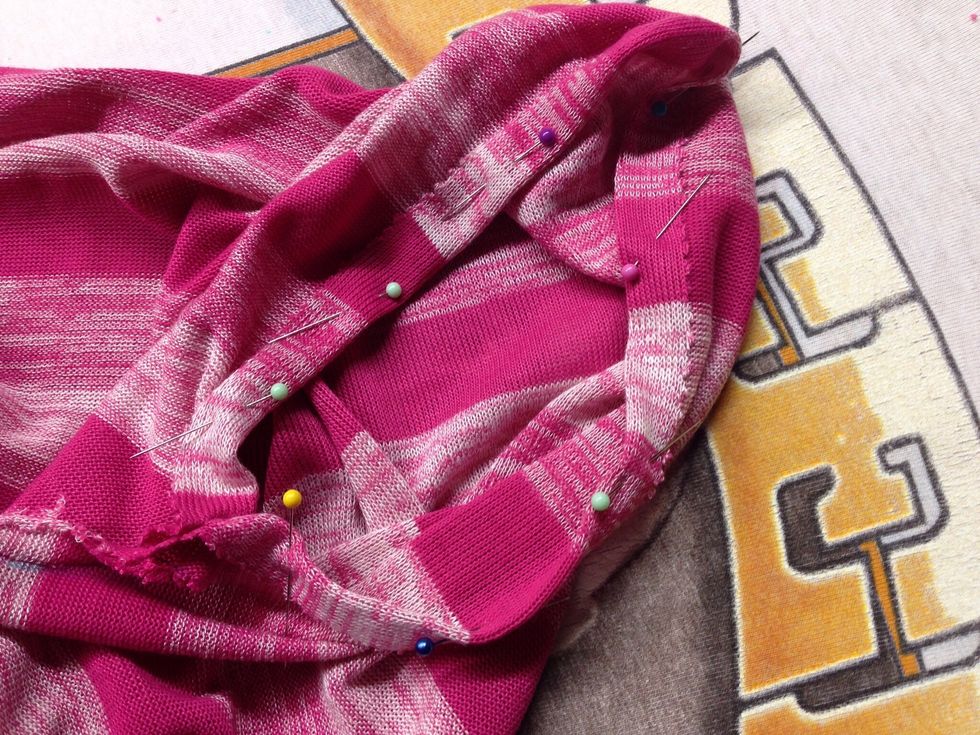
Pin sides and stitch 5/8 seam.
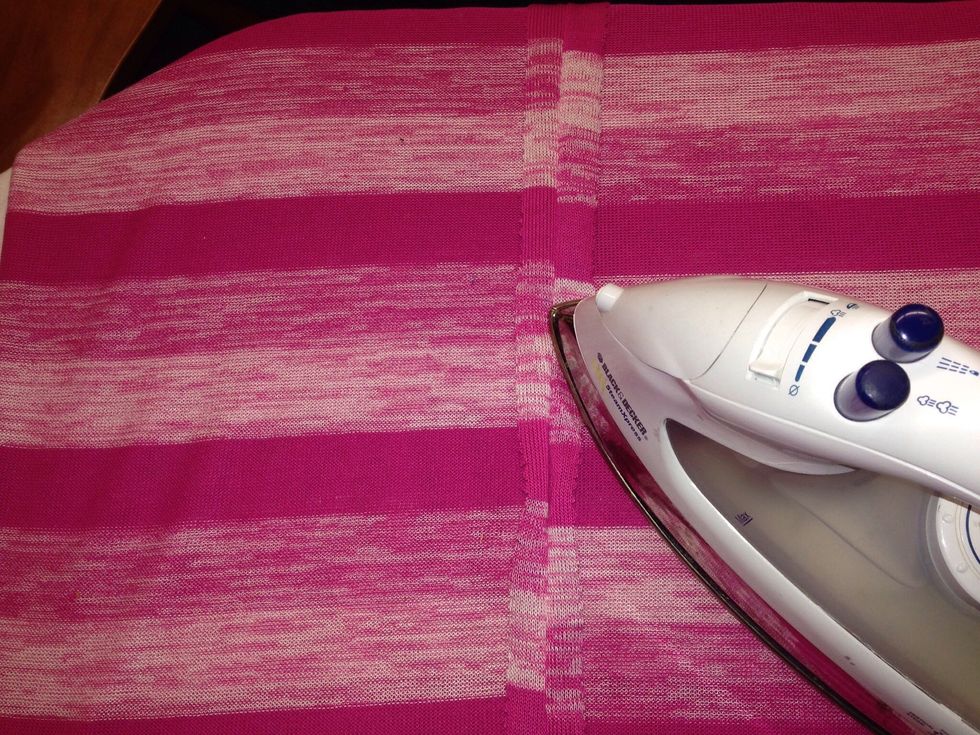
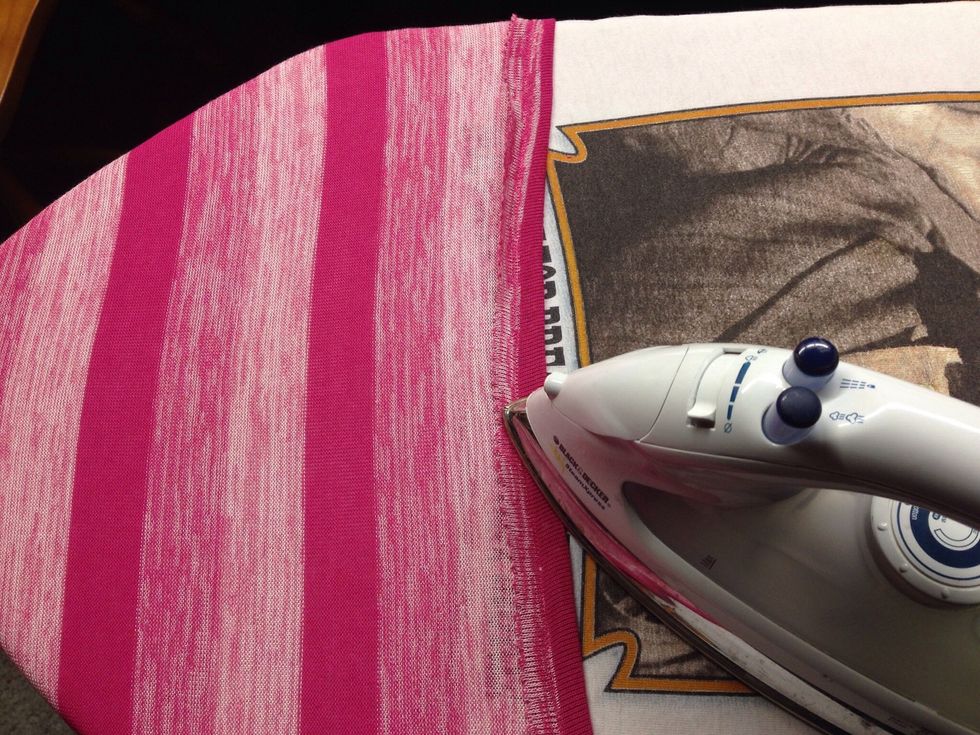
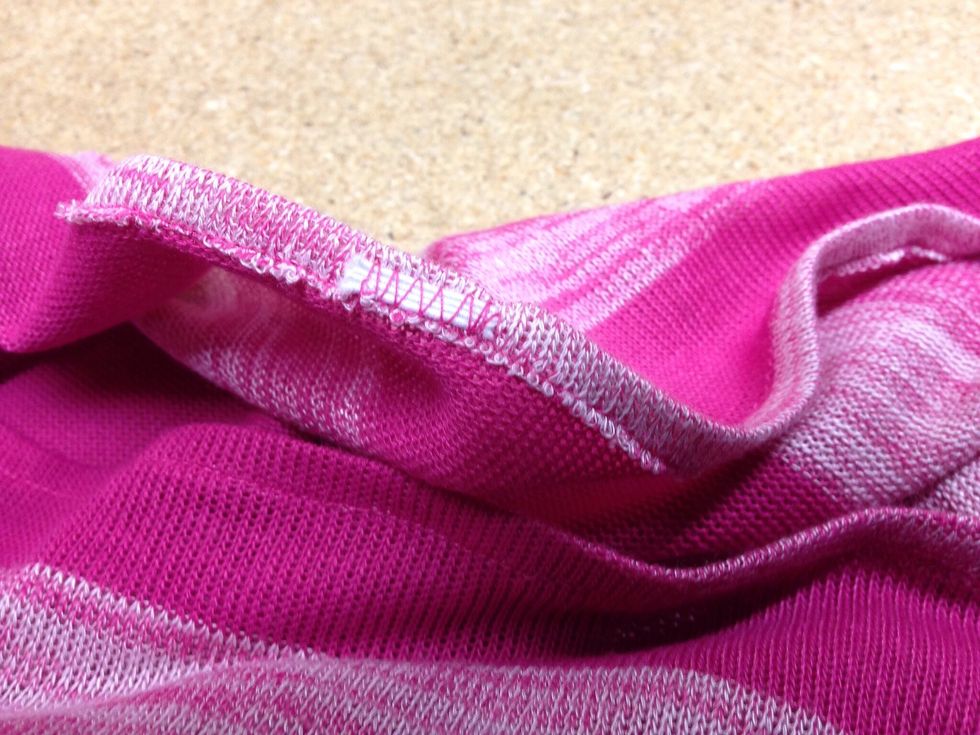
Press out seams.
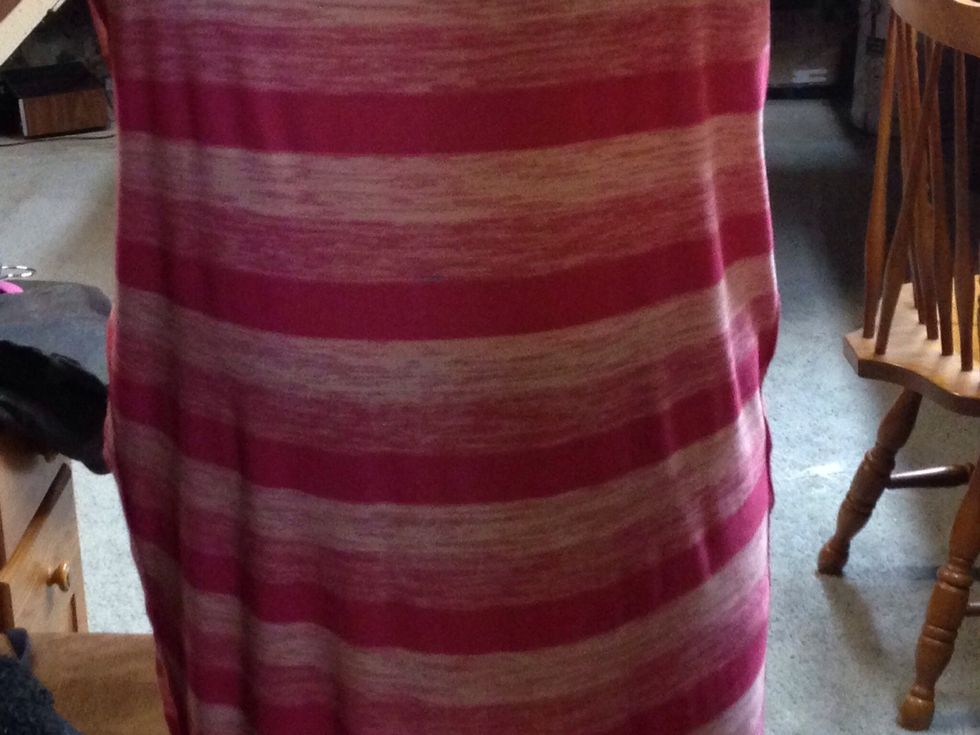
Try on and pull front down a bit to where you like how it sits. Mark again where you want waistband to go because previous mark isn't accurate anymore.

Take off dress and turn inside out. Lay flat making sure collar is still pulled down in front like you made it earlier.

Find new waistband mark. If you can't see the mark through the fabric, pop a pin through and mark that spot again.
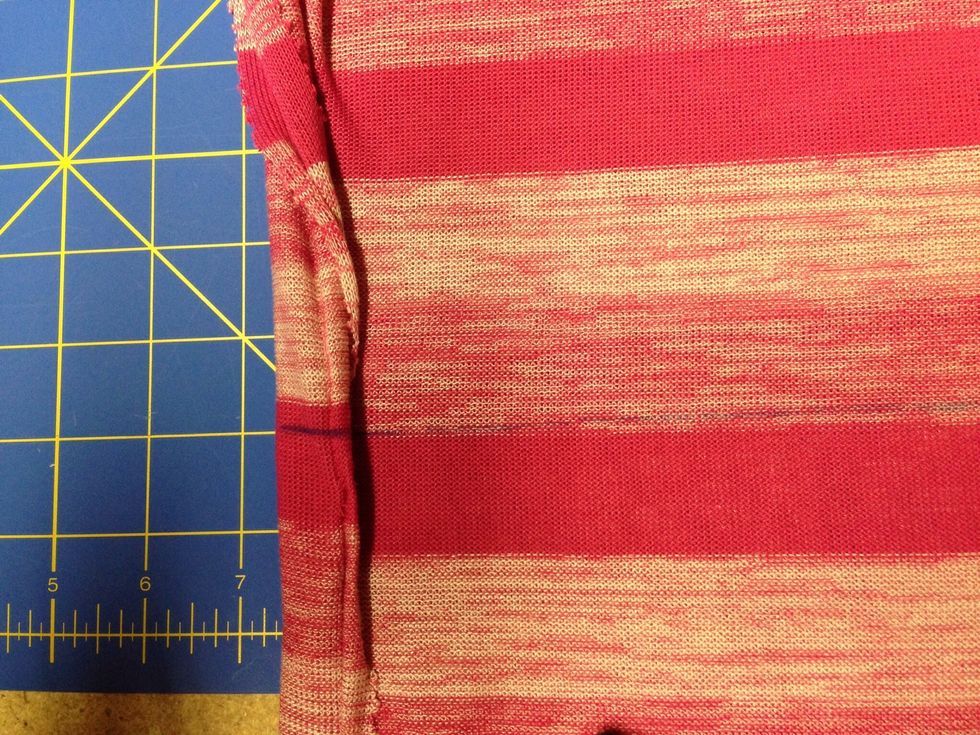
Using a fabric pen/pencil or chalk draw a straight line all the way around. Fold over sides and continue the line so it's even front and back.
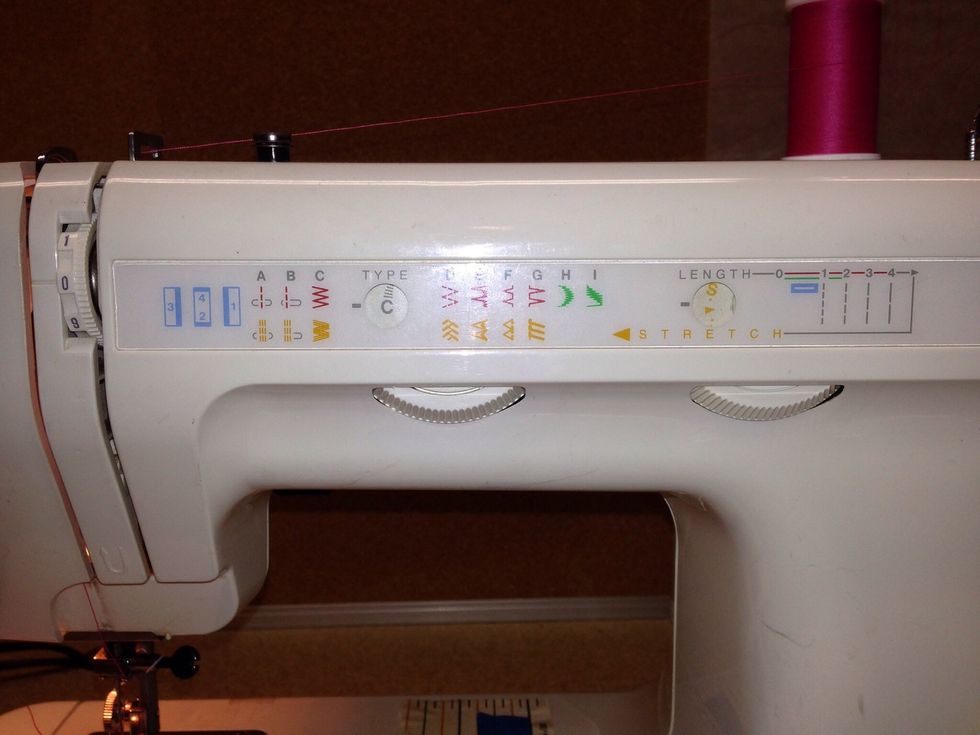
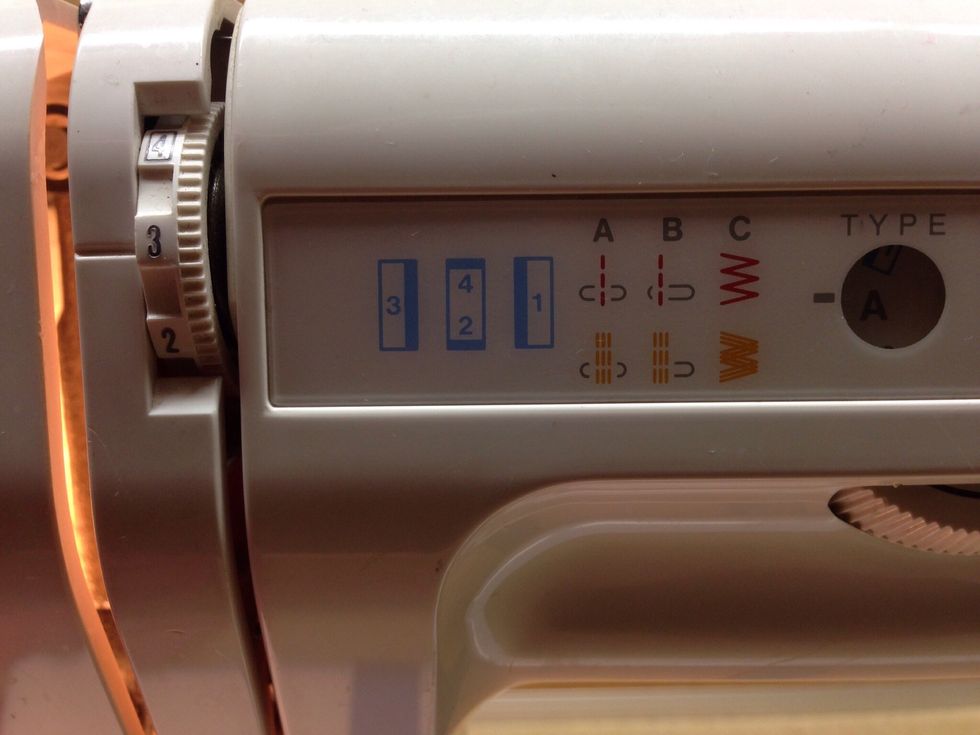
Set machine to: 1. Highest tension, 2. Zigzag stitch, 3. Longest stitch length.
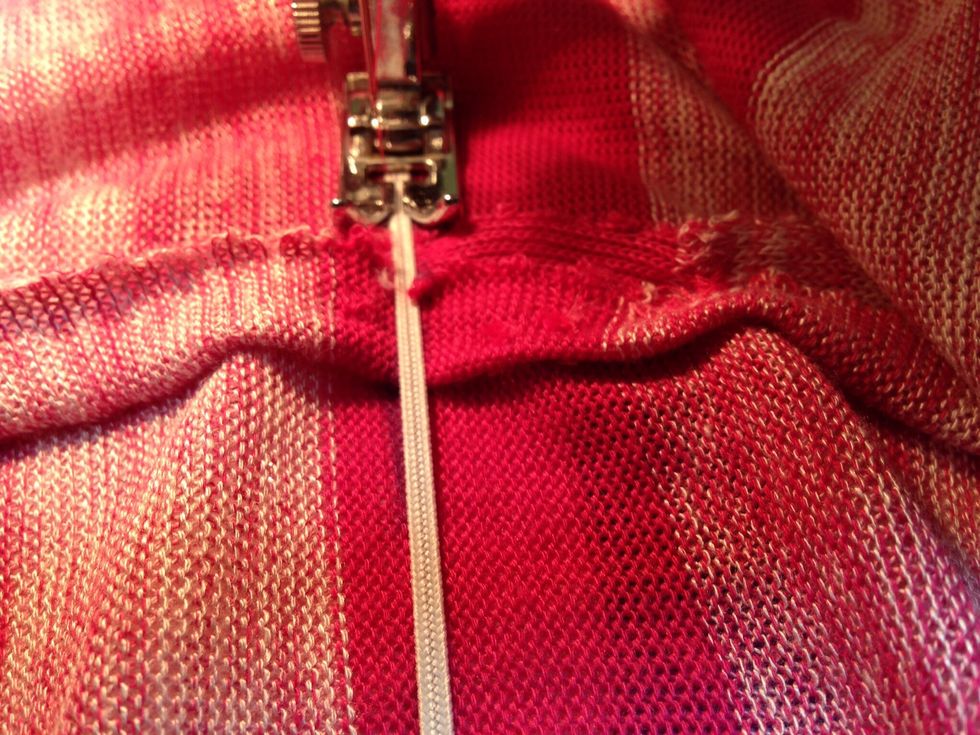
Starting at one of the side seams, pull elastic tightly while stitching all the way around.
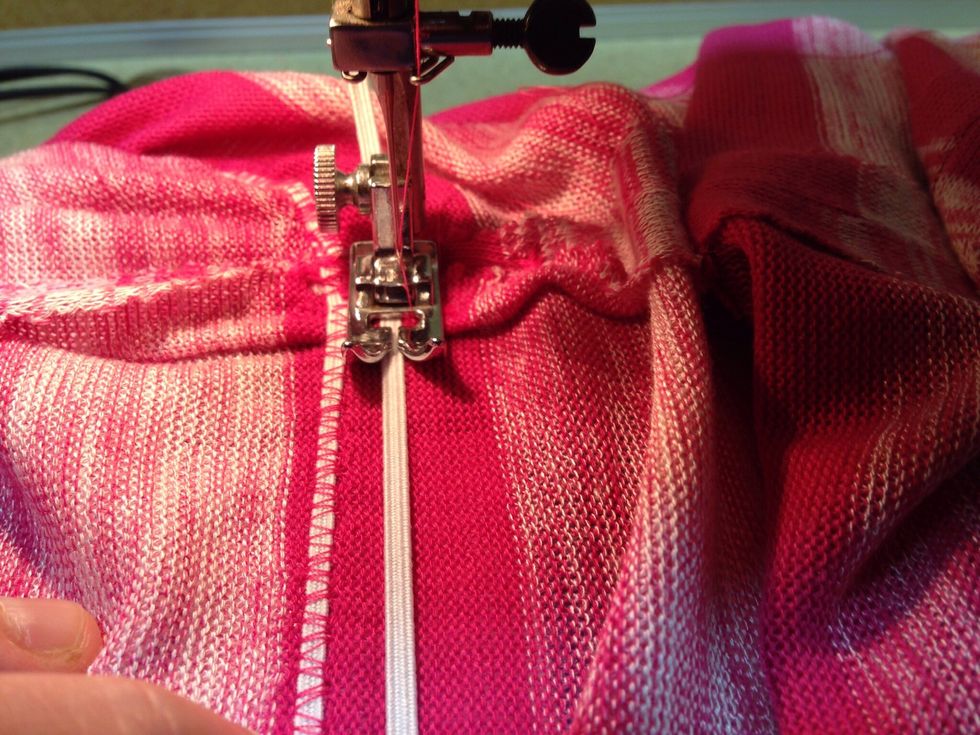
Position presser foot beside elastic and repeat. ~Note~ I did six rows, but do however many you want.

Lay flat with front pulled down like before.

Press and pin 5/8 seam all around. Do your best around the corners. ~Note~ I agree there are better collars out there, go with the one your most comfortable with.
Don't forget to put machine back to regular tension and stitch.
Begin stitching corners first to get those spots squared away.

Tidy up edges with pinking shears or scissors. Collar not to shabby after all.
Press and pin 5/8 seam allowance around both arm holes.

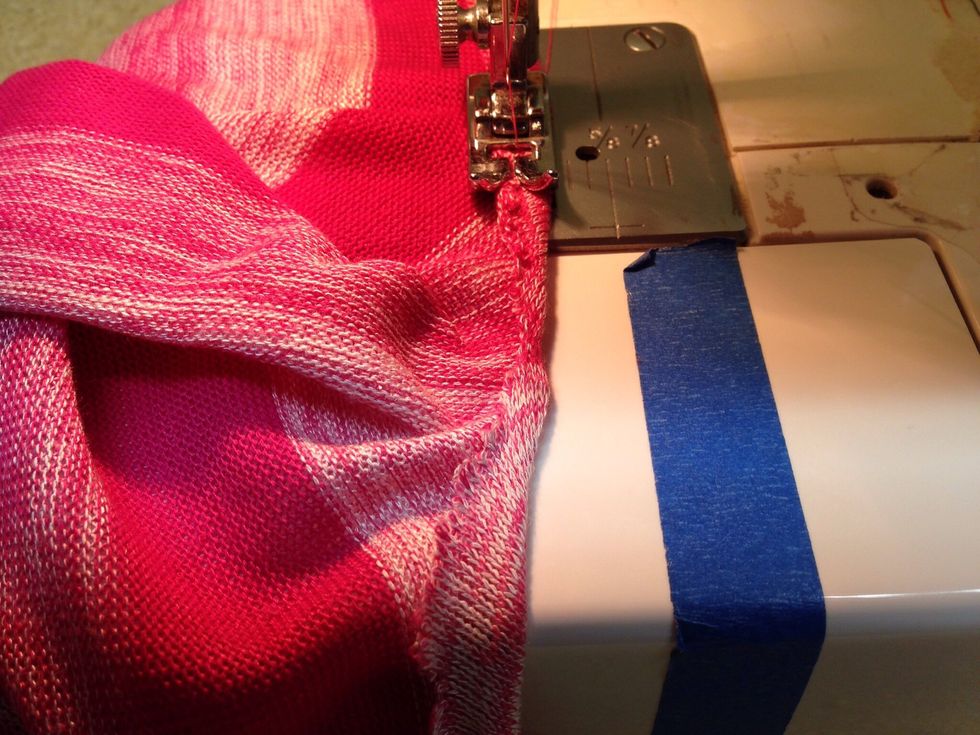
Line up fabric with the edge of presser foot despite making the 5/8 seam. Begin stitching at armpit areas.
Try on dress again. Sit down and mark how short you want to go without having your butt hang out.

1. Turn dress inside out, 2. Push pin through spot just marked, 3. Draw straight line across.

Cut across with scissors or pinking shears.

Press and pin 5/8 seam allowance.

Begin stitching at side seam. ~Note~ There are other stitches and hem styles, feel free to be creative, that's what this tutorial is all about.
Press out.

Tidy with scissors or shears.
I added a little elastic so I know where the back is. Someday I'll make tags.

Pair it with or without a belt, scarve, or leggings. An all around comfortable yet still put together look.
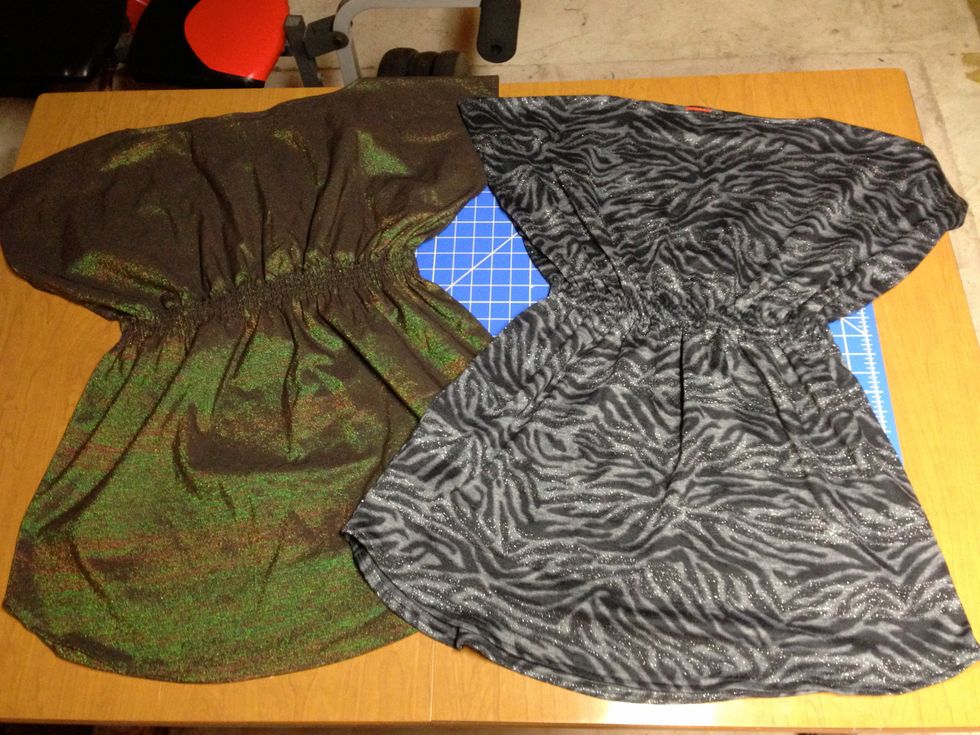
Here are a couple of others I made, and I'll post more when I do them. Thank you for taking the time to read my tutorial, have fun being creative with it.