The Conversation (0)
Sign Up

Draw your shape onto the paper and cut it out.

Trace the shape onto felt with marker.

Use head pins to pin your shape onto another piece of felt.
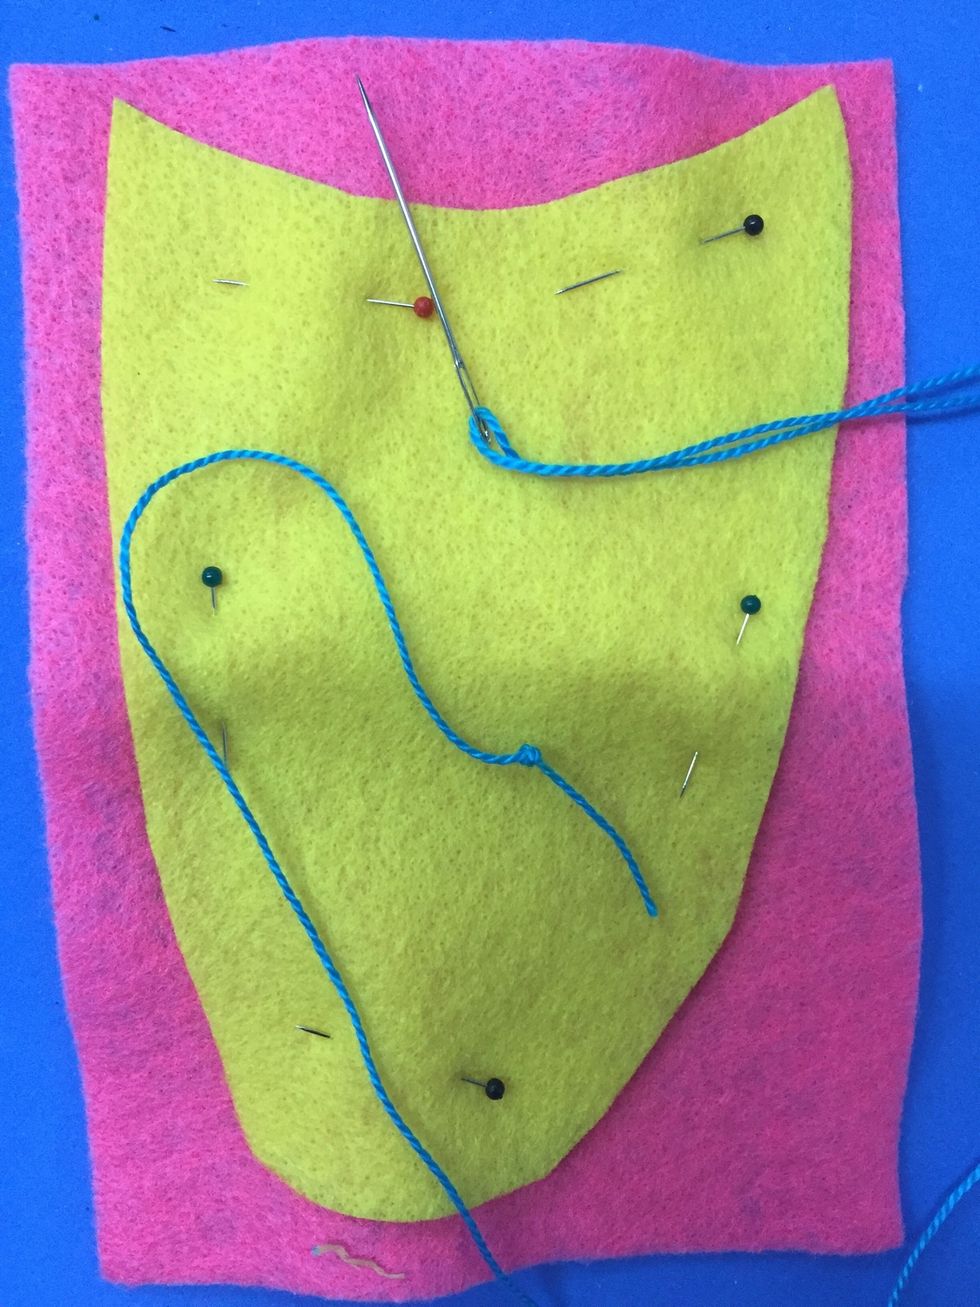
Thread a needle with embroidery floss and tie a knot at the end. Choose a contrasting color.
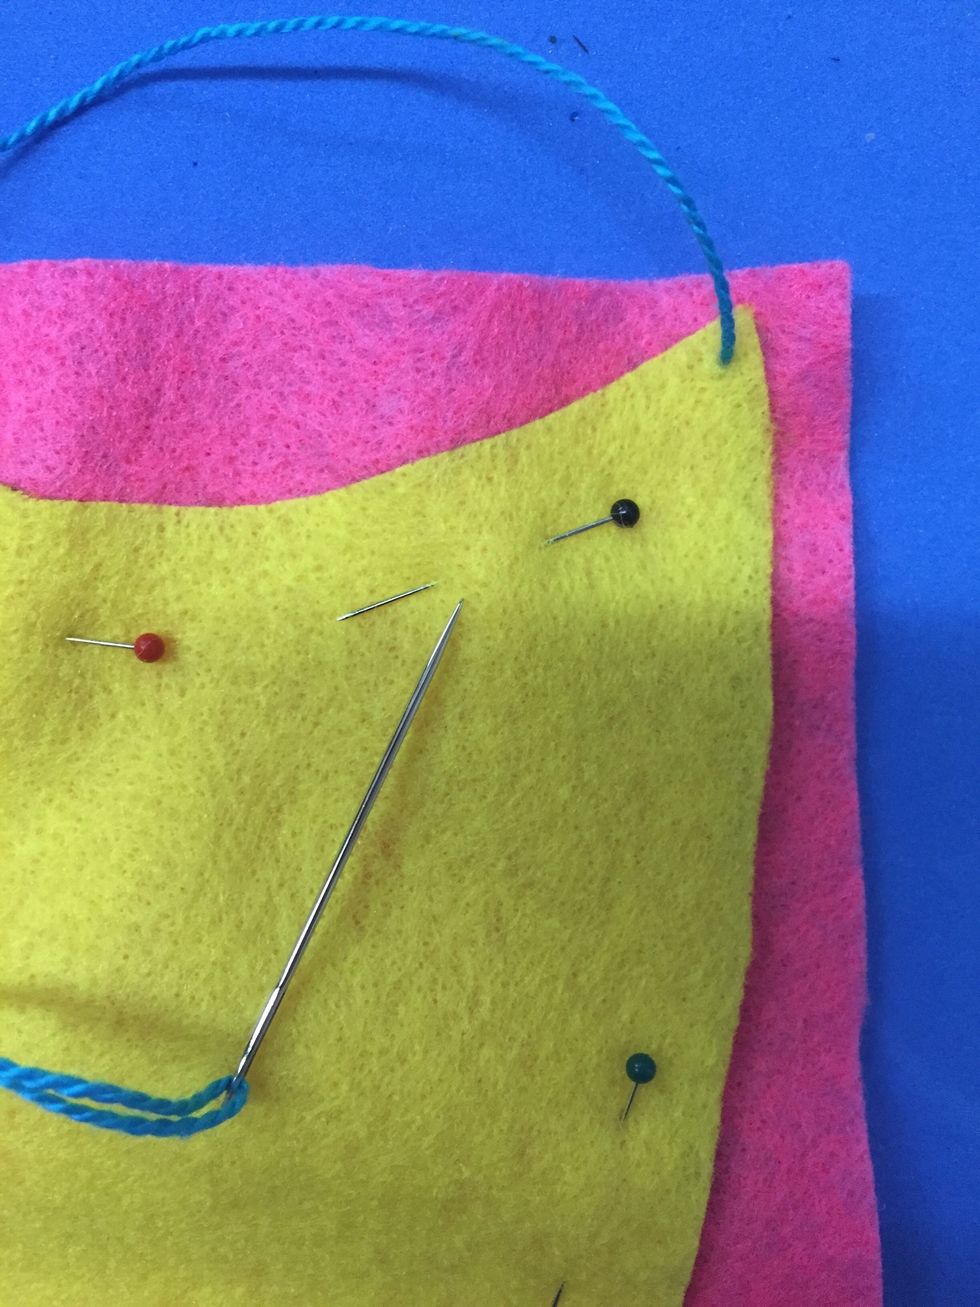
Begin sewing by pushing the needle up through the back of the felt pieces.
Sew your first stitch by pushing down through the felt pieces and pull the thread all the way through until you can't pull anymore.
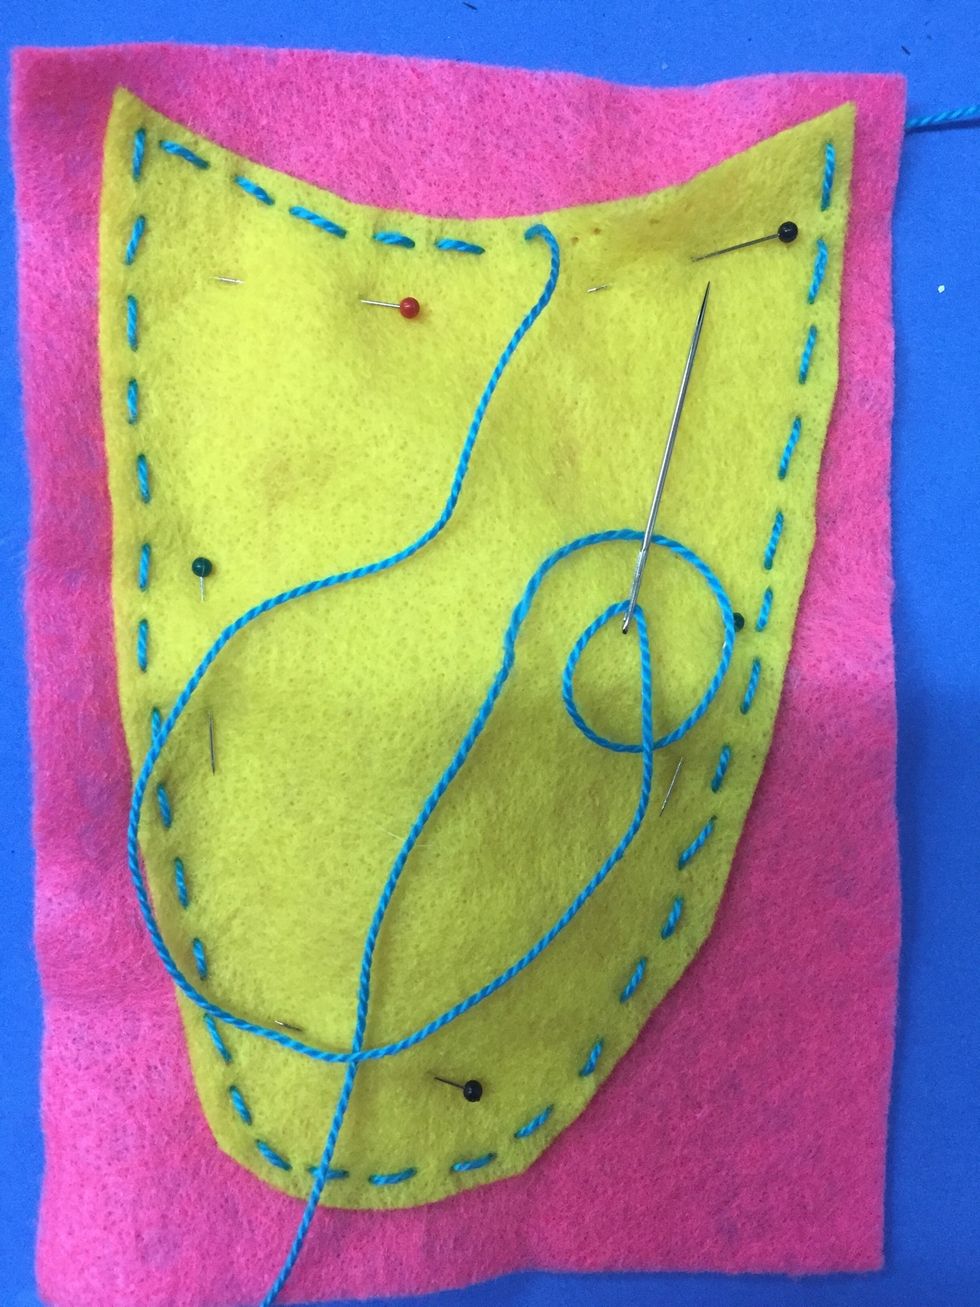
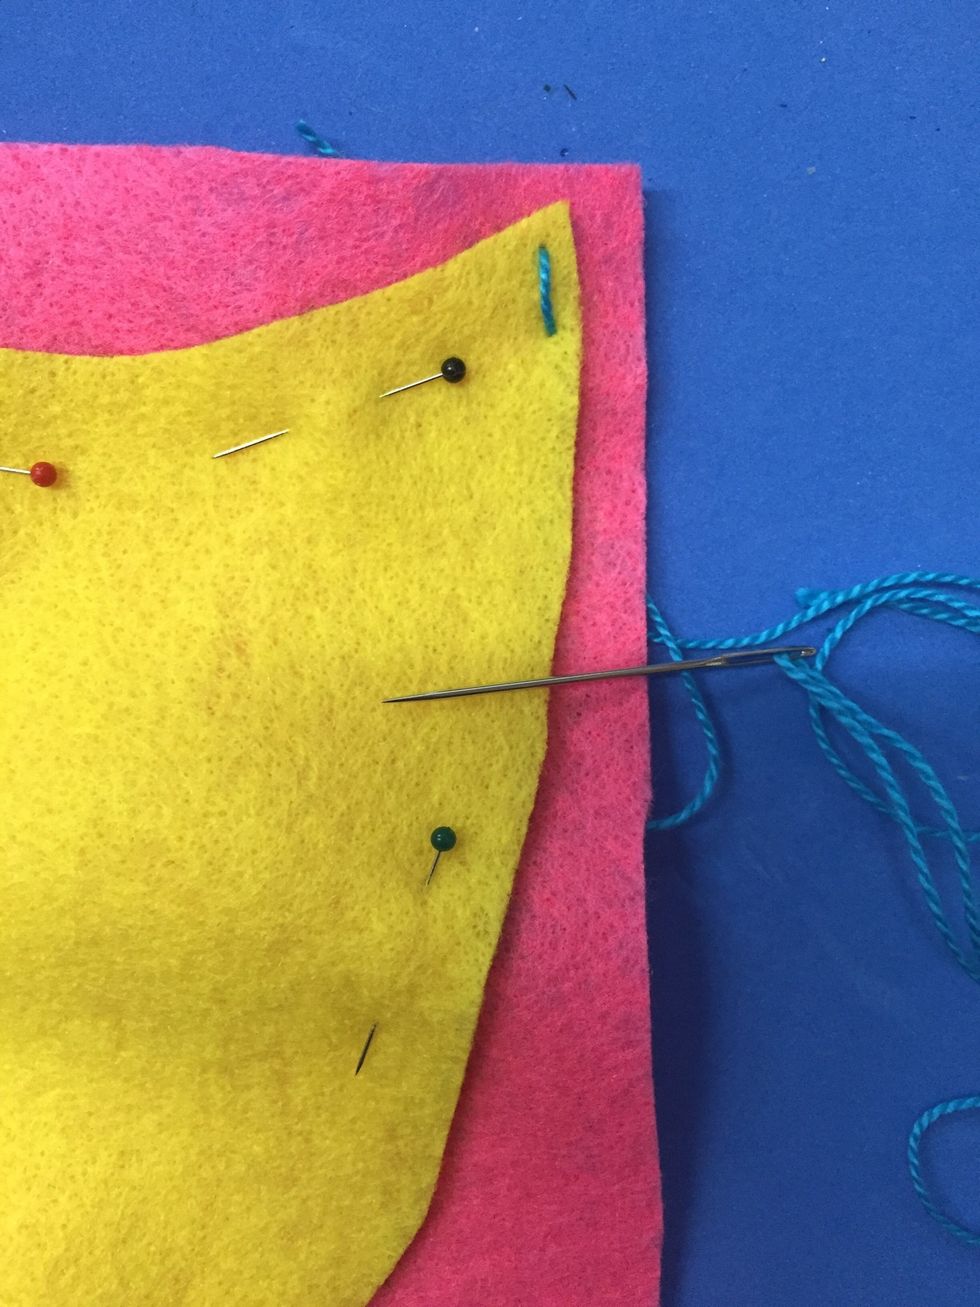
Sew around the felt shape and leave an opening about 2" wide. Try to keep your stitches the same size.
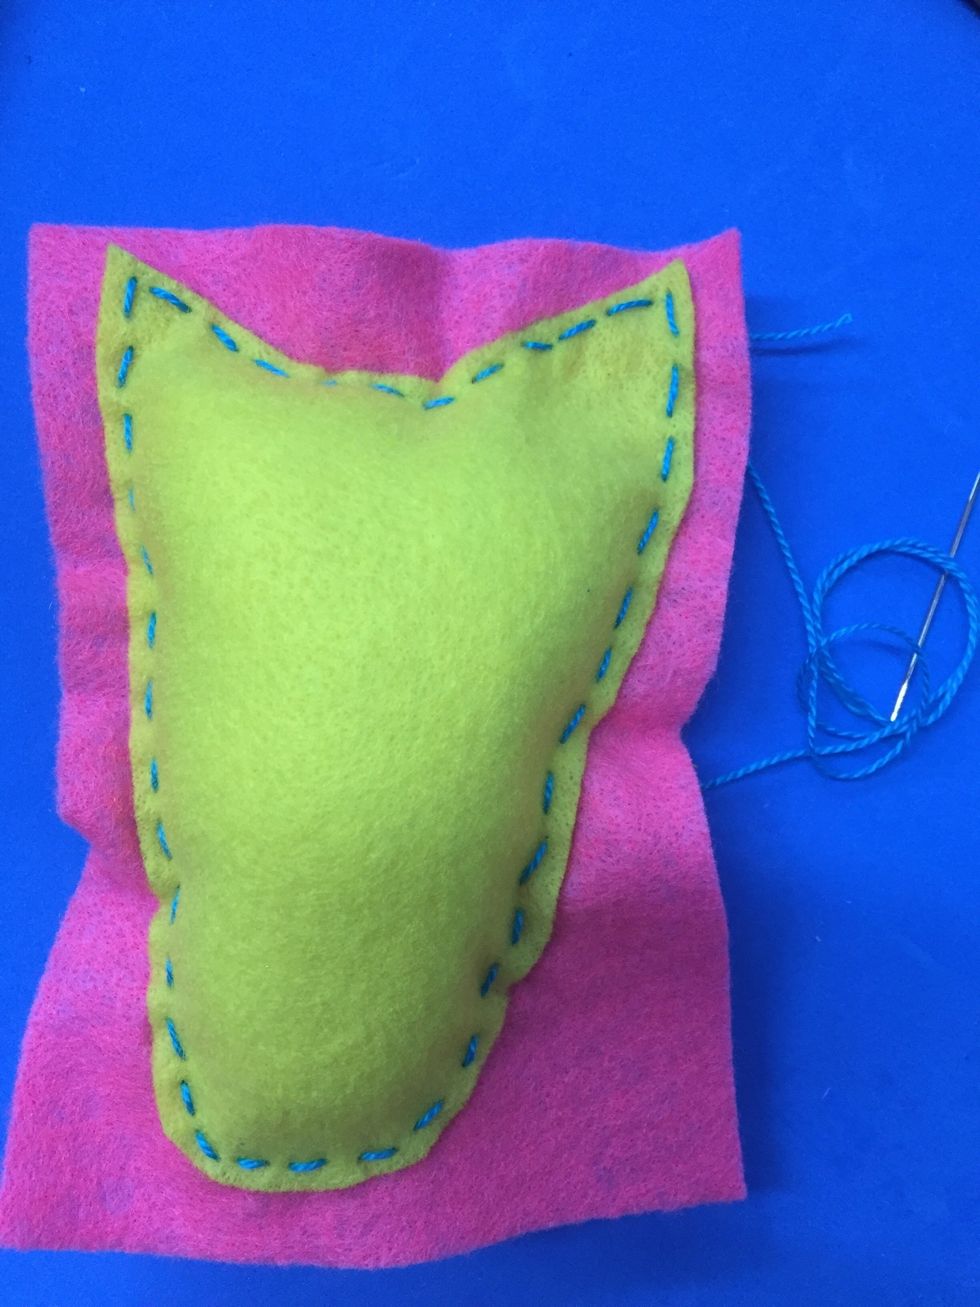
Stuff the felt shape with polyester fiberfill and then sew it closed. See Mrs. Corrente for a French knot.
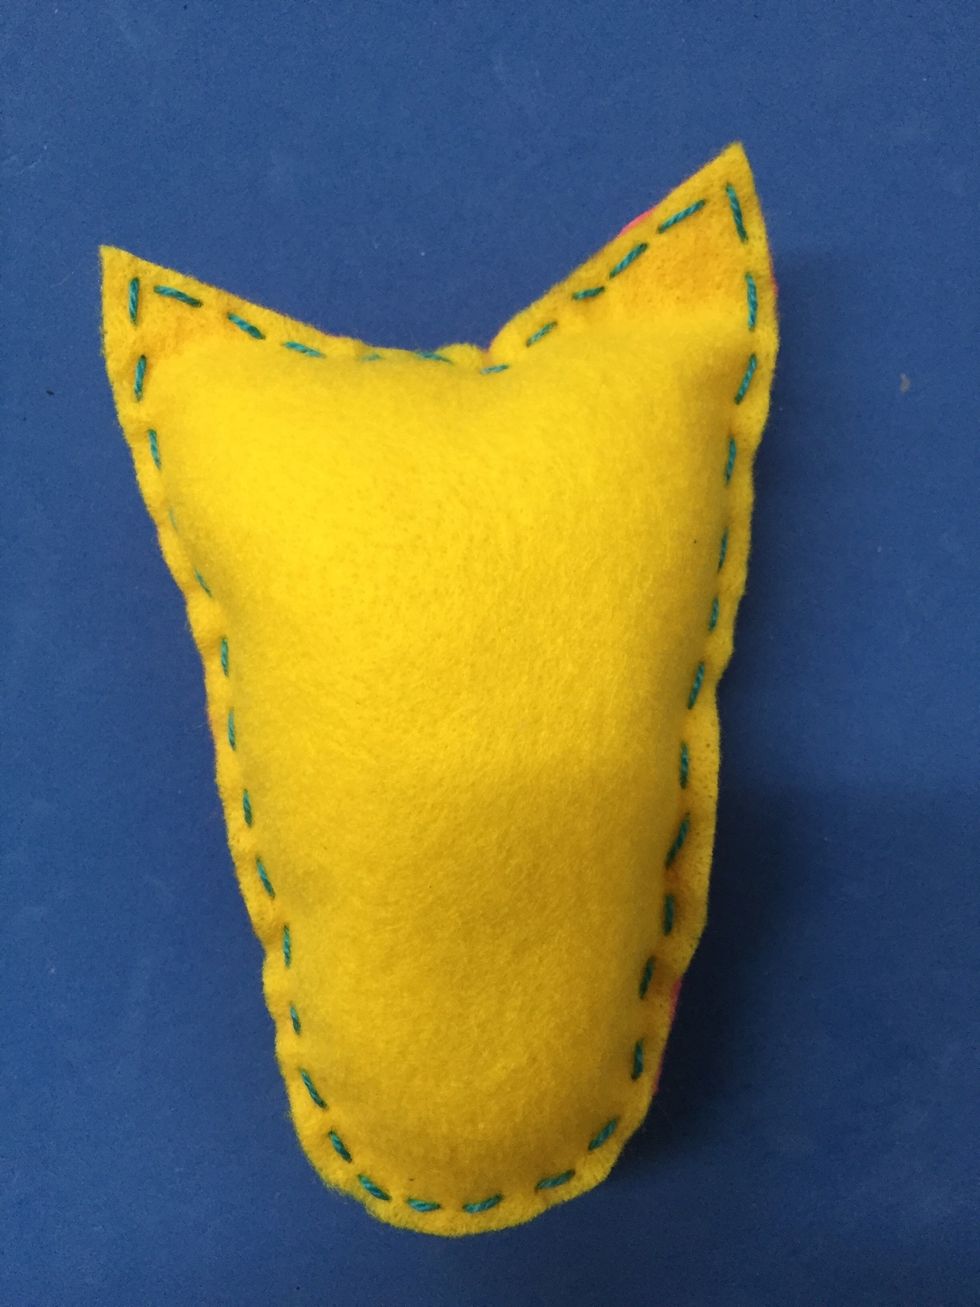
Cut around the felt shape and you are ready to complete your "plushie" by gluing on felt scraps.

Completed Owl