The Conversation (0)
Sign Up
I use a sewing machine to make quick work of these, but you can absolutely do it completely by hand. All you need to know is the running stitch.
I use quilting cottons because it stiffens nicely with starch and I can get remnants and scraps cheaply. If you wish to use a heavier fabric, you'll need to use interfacing instead of starch.
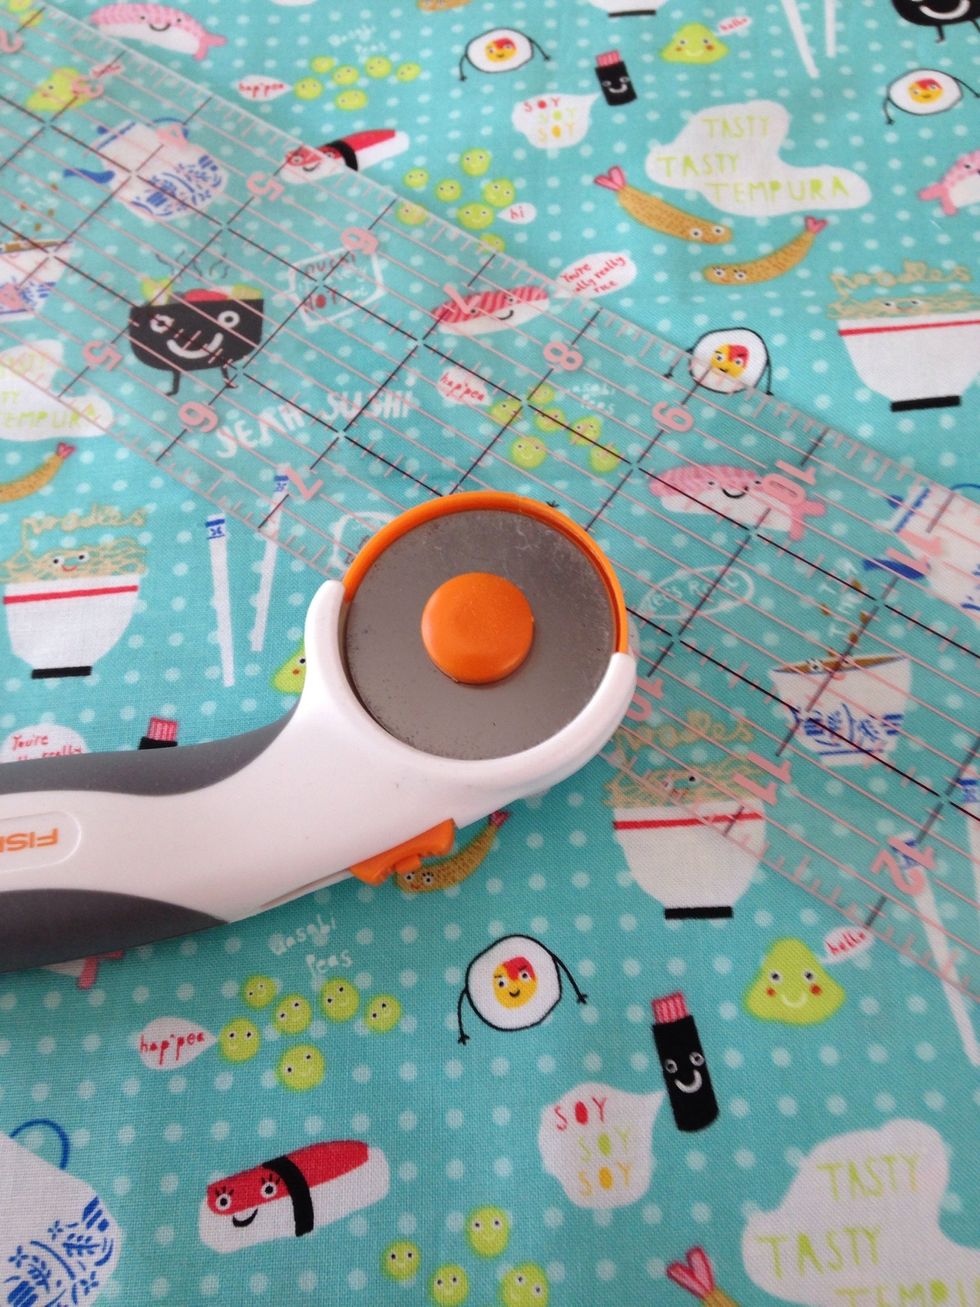
I am embarrassingly bad at cutting straight lines, so I need to use the straight edge and rotary cutter.

Here I'm marking out my cuts. You can use whatever size you want, but my big bow is 10" x4" and the smaller one is 8"x3". The center piece is 3"x1.5".
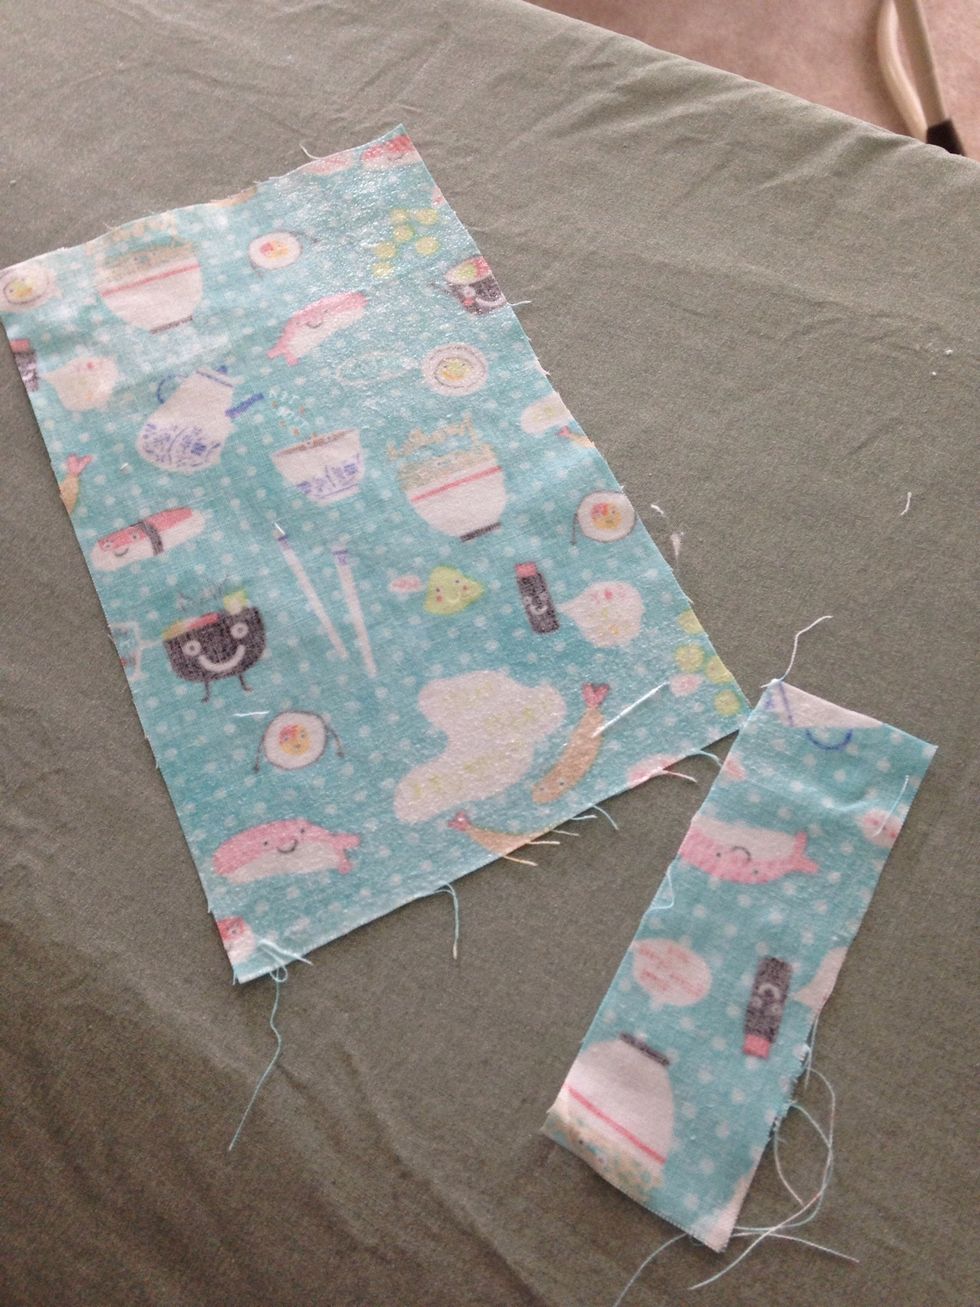
If you're using starch, spray or dip them, allow the starch to soak into the fibers and then iron dry. If you're using fusible interfacing, follow the manufacturer's directions.
You want this fabric to be really stiff.
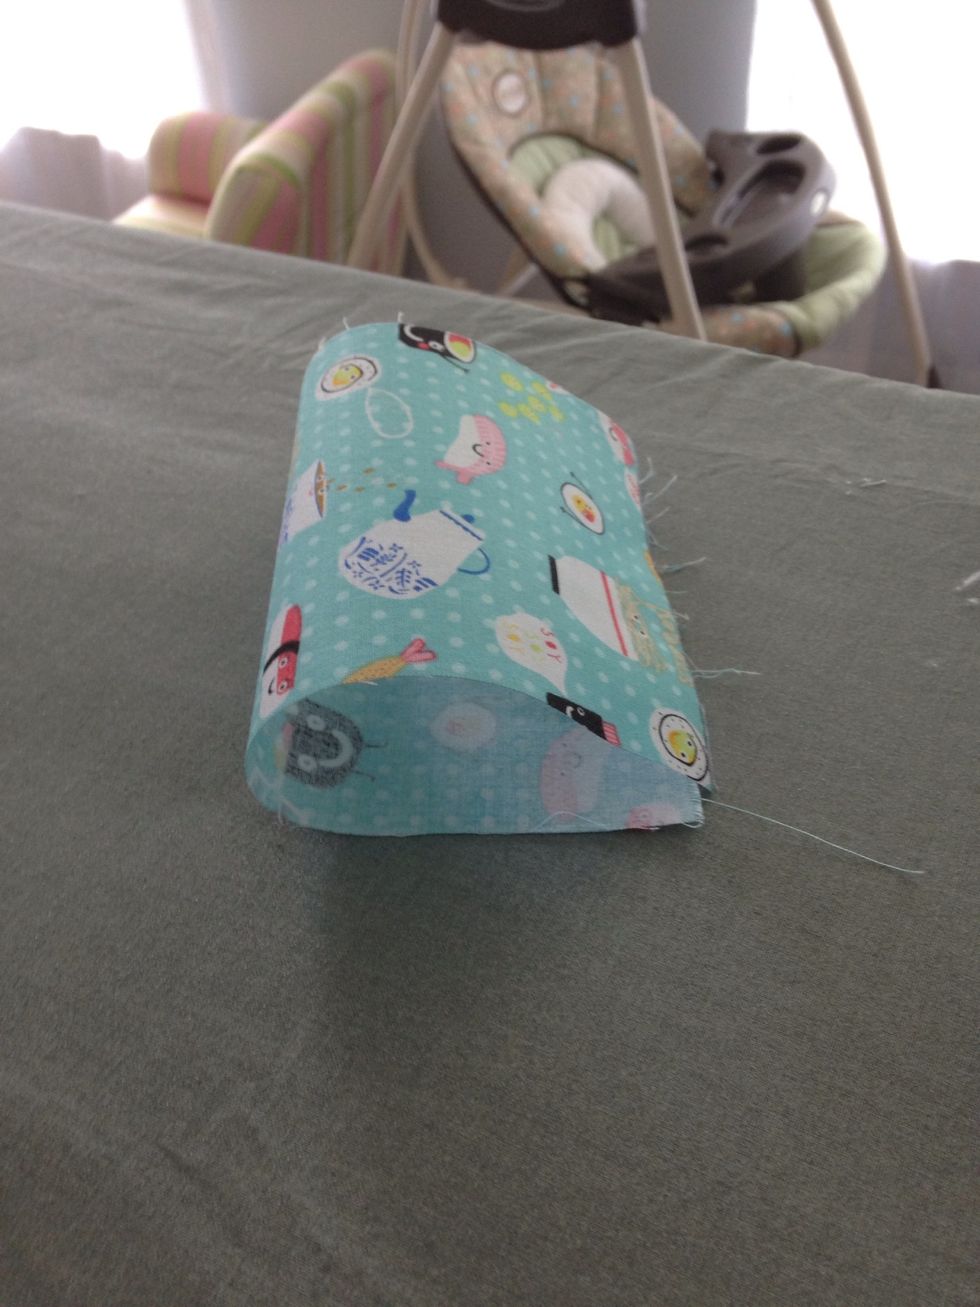
Fold the fabric in half, right sides together. If using regular interfacing, pin it to one half of the fabric.
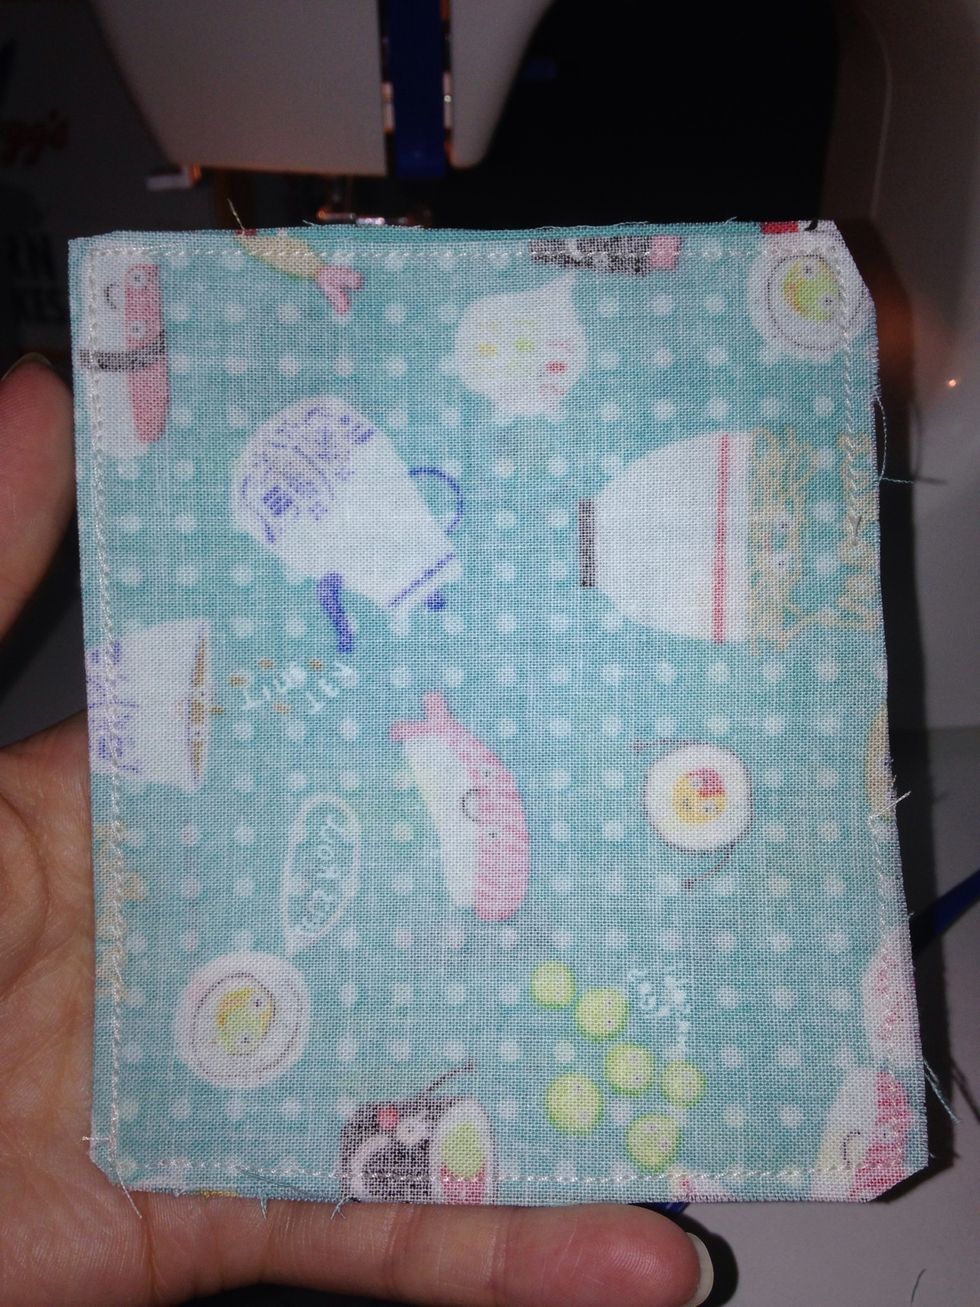
Sew around the edges, leaving a small gap so you can turn it right side out. Clip your corners.

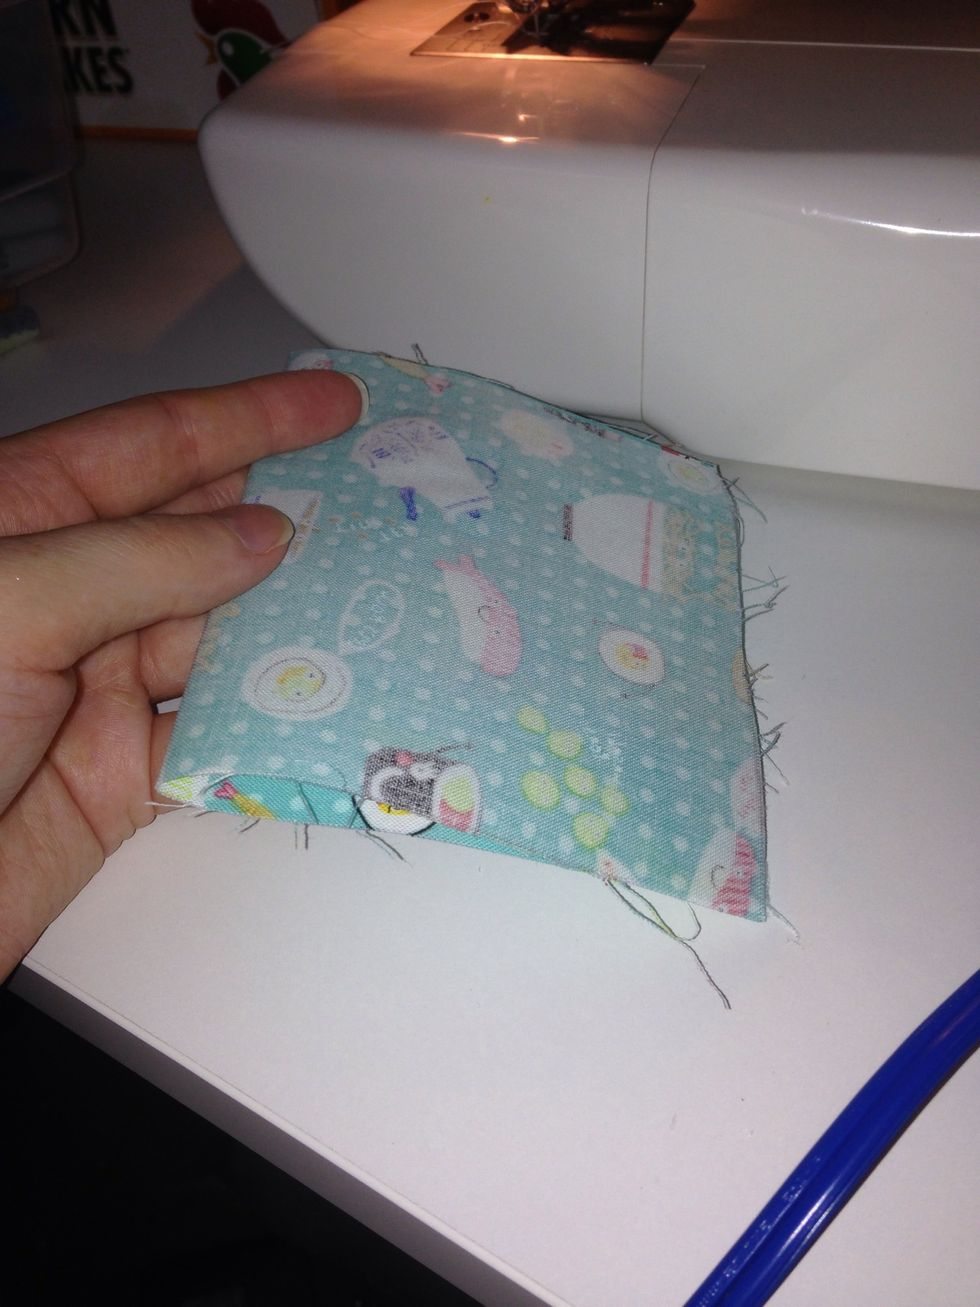
Flip it right side out. You can use a chopstick or skewer to help with the corners. Sew the gap shut.
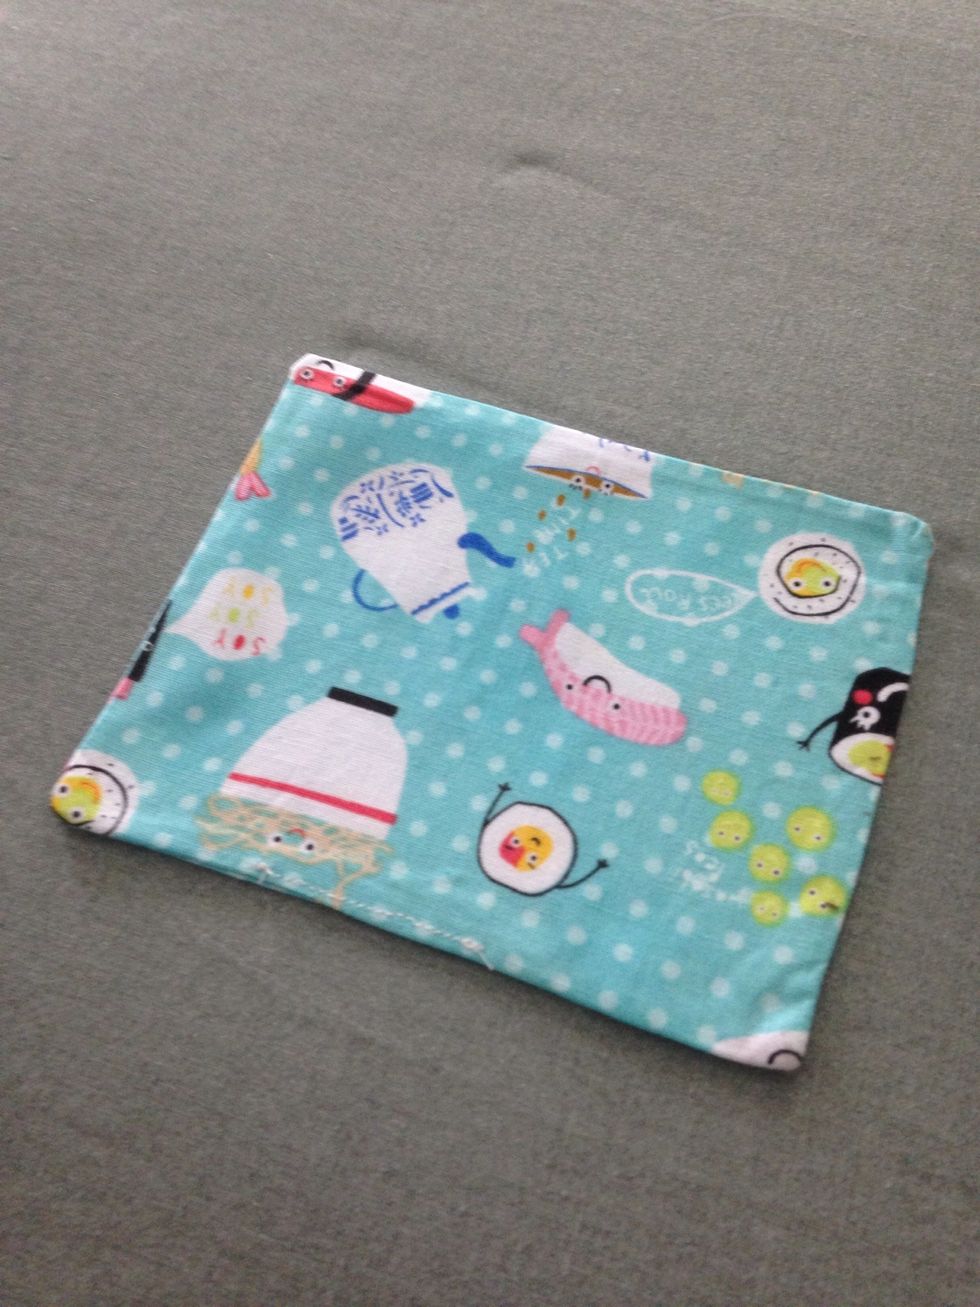
Iron it flat again.
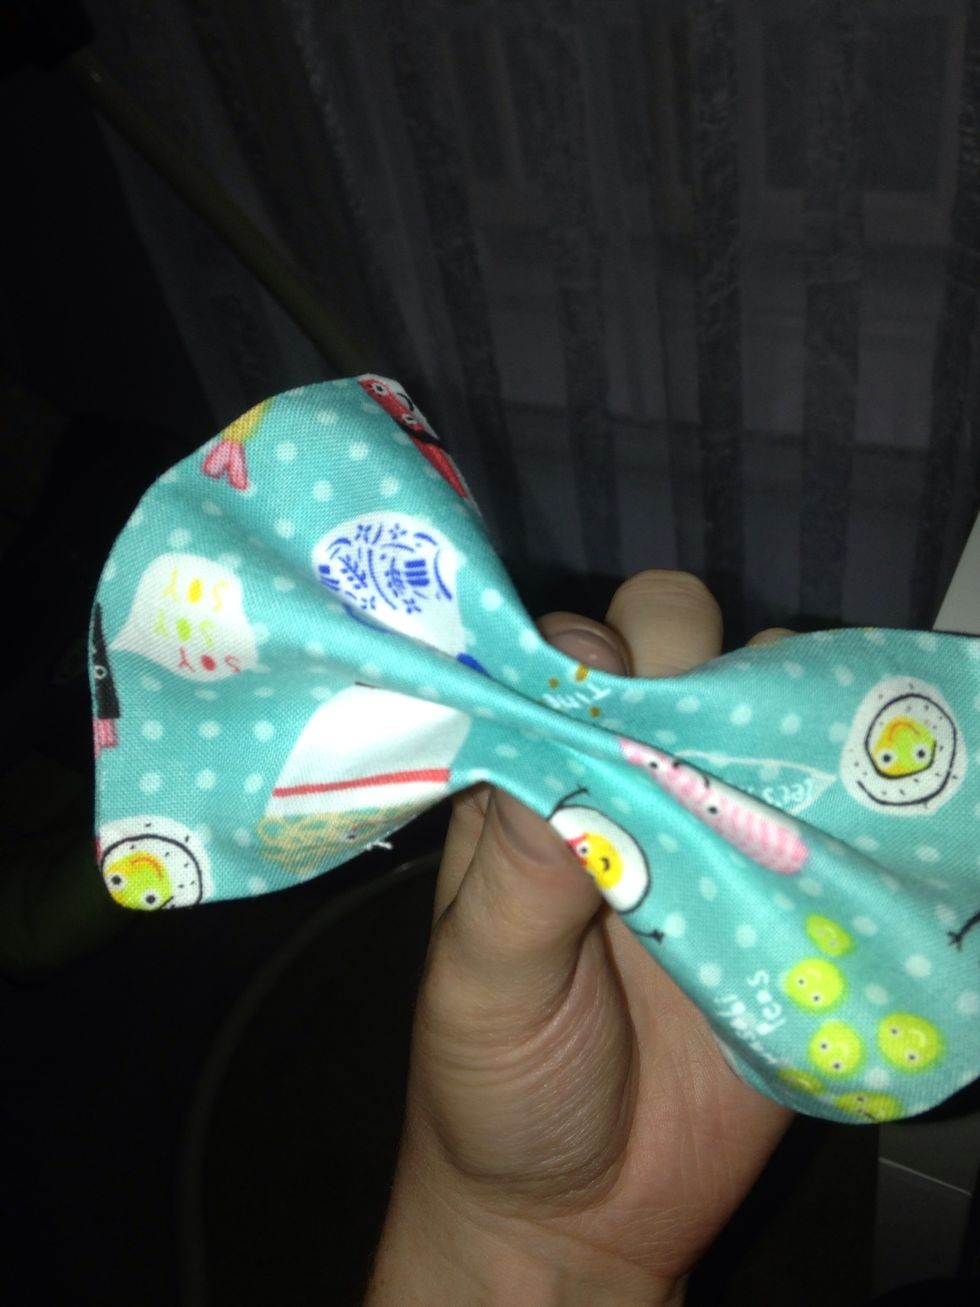
Create three even folds. Pinch the center together and stitch through a few times.
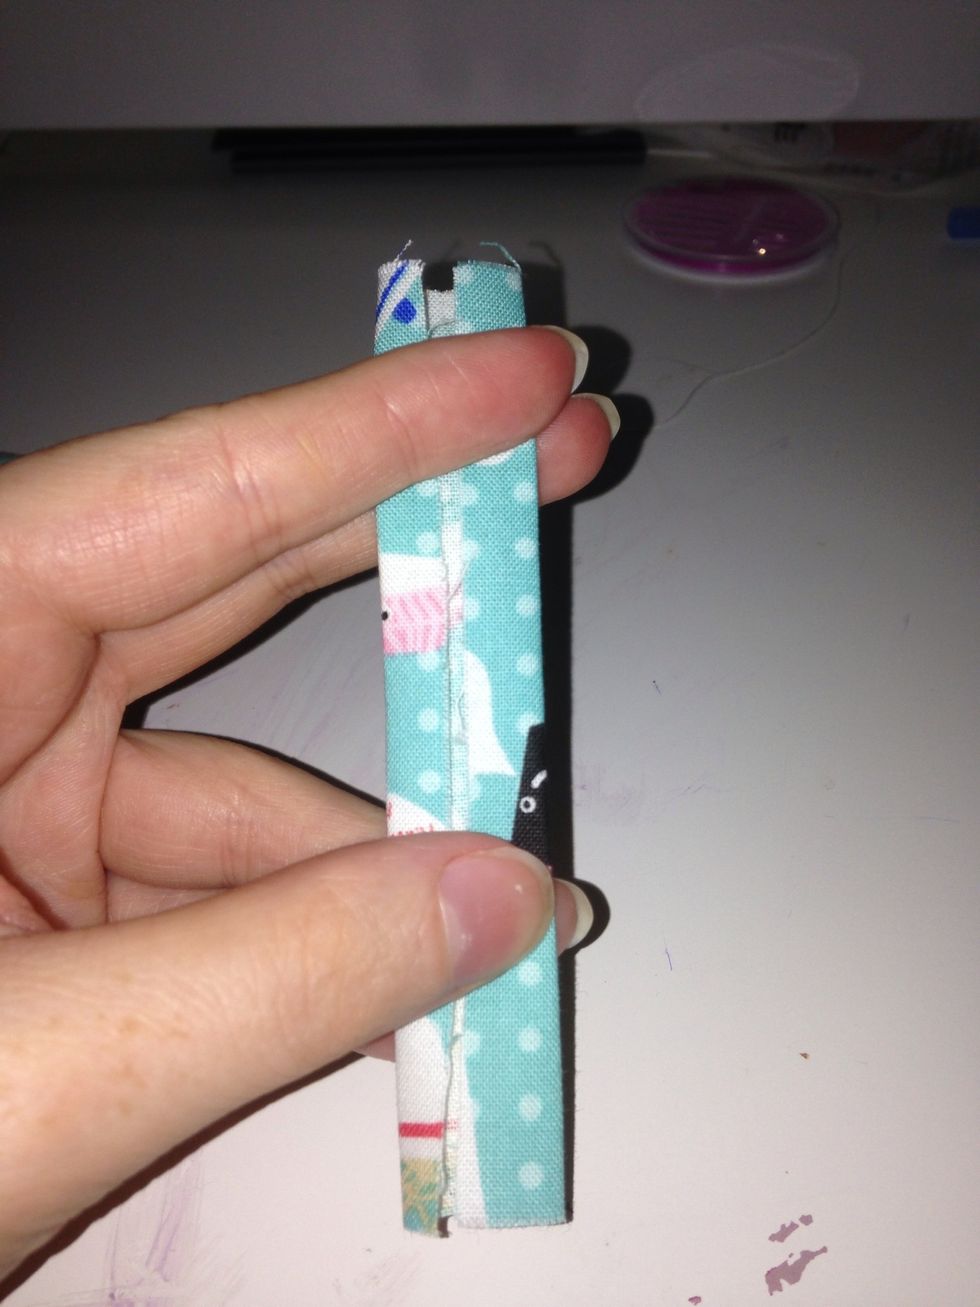
Take your smaller piece of fabric and fold the edges over the back.
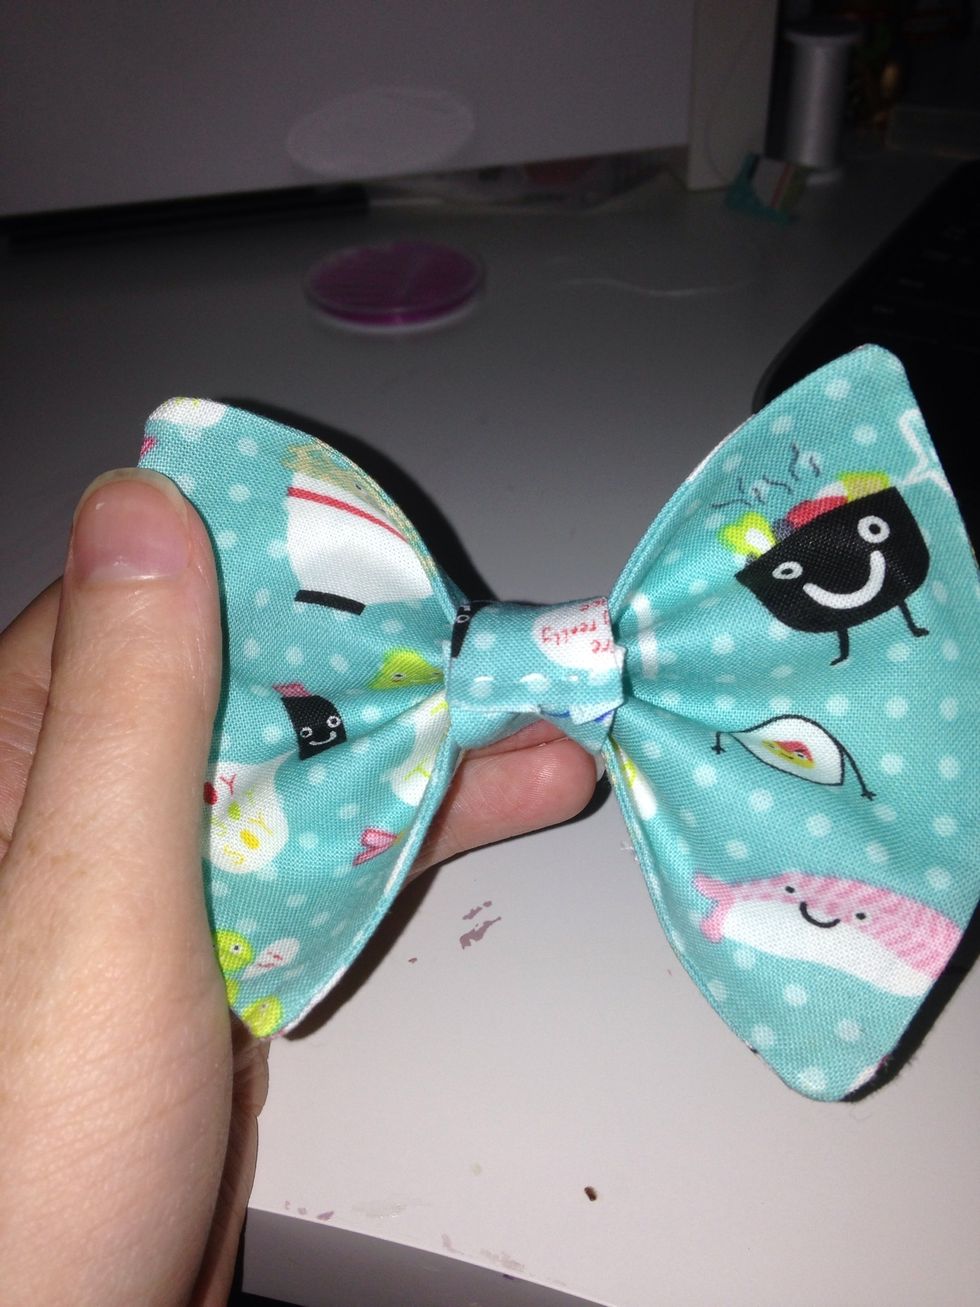
Wrap the fabric around the center of the bow and stitch it in the backside to create the center 'tie'.
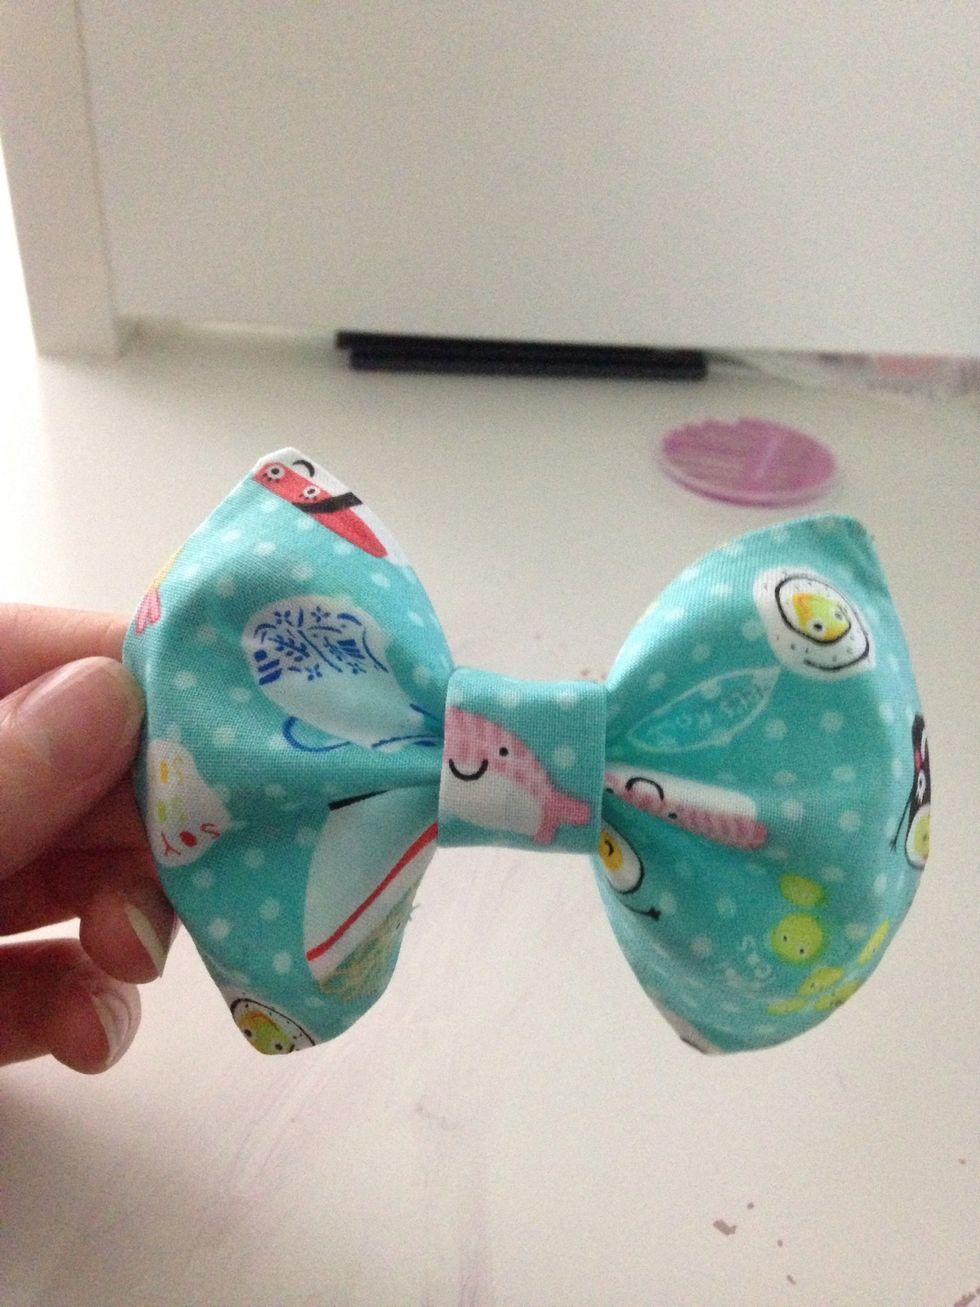
The front. Ain't she a beaut?

I like to glue hair clips to the back, but you could sew bows to headbands, attach to clothes, etc.