The Conversation (0)
Sign Up
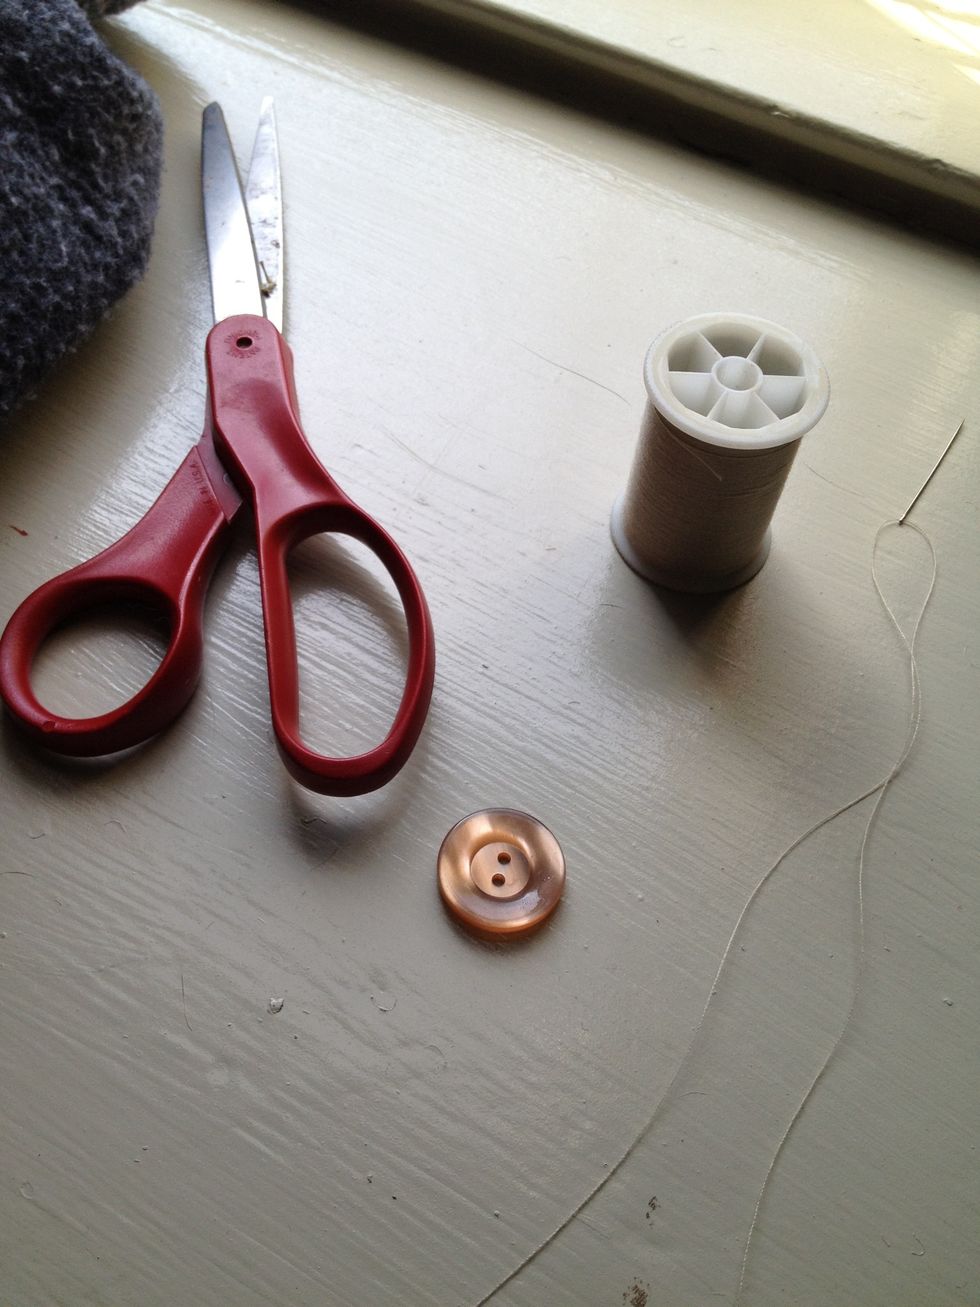
I found thread matching (or as close to) the existing thread for my coat. Cut about 12" or so and thread through your needle.
Pull needle to halfway point on your thread, making sure the ends of the thread match up. Depending on the thickness of the material you're adding the button to, tie the two ends into a knot.
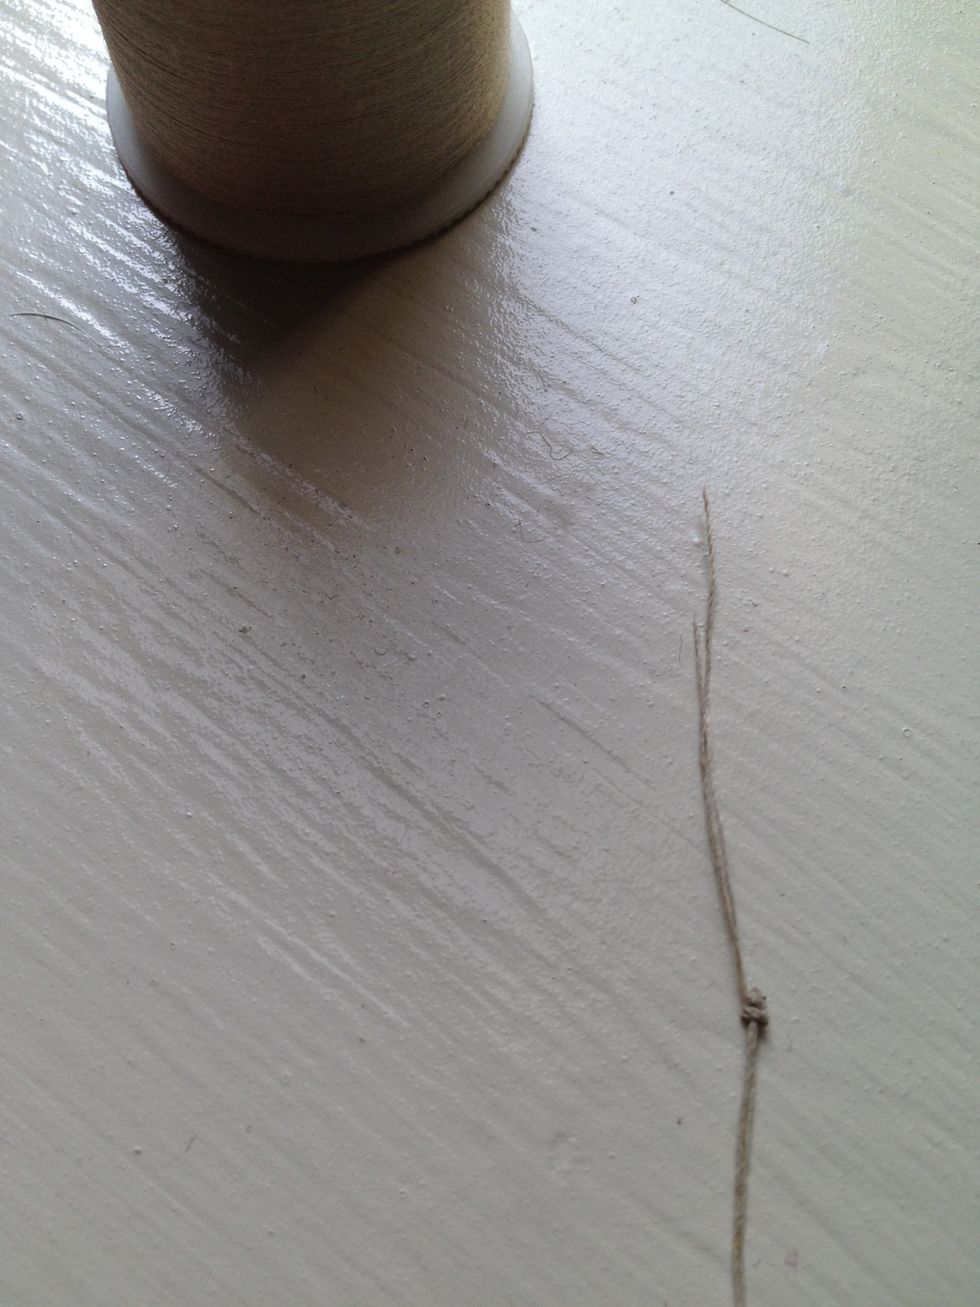
Mine is a thick wool coat, so a smaller knot is fine. Just want to make sure your knot won't pull through the fabric and loosen your button again.
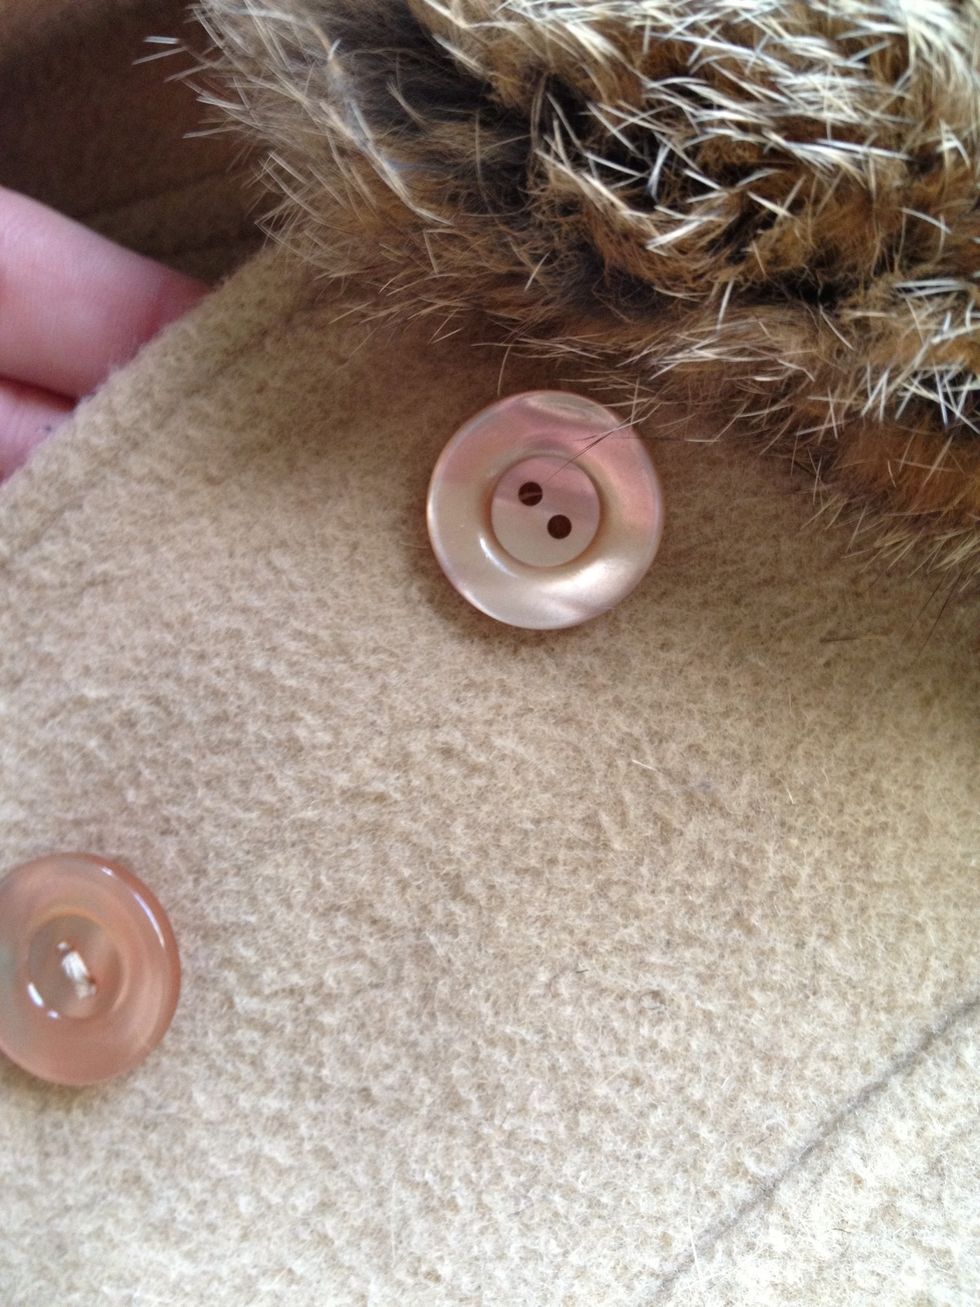
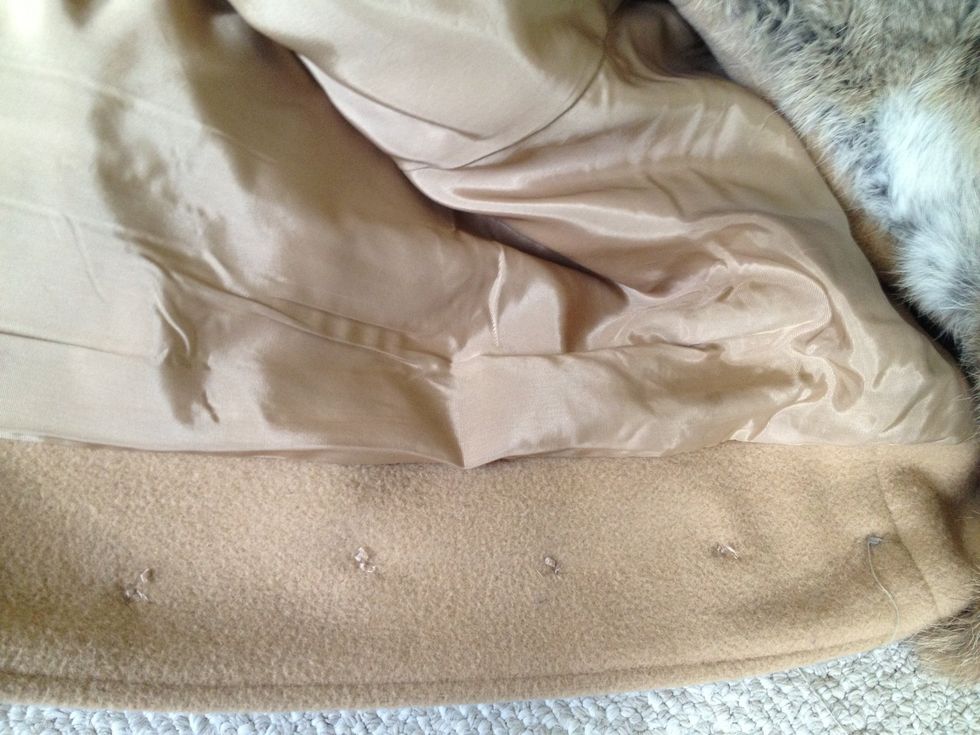
Lay the coat or material flat, make sure to match up the button holes to the remaining thread or holes from where it was originally sewn on.
The first threading should start on the inside of the garment, so your knot is hidden and not on the visible side of the button. Come through one button hole.
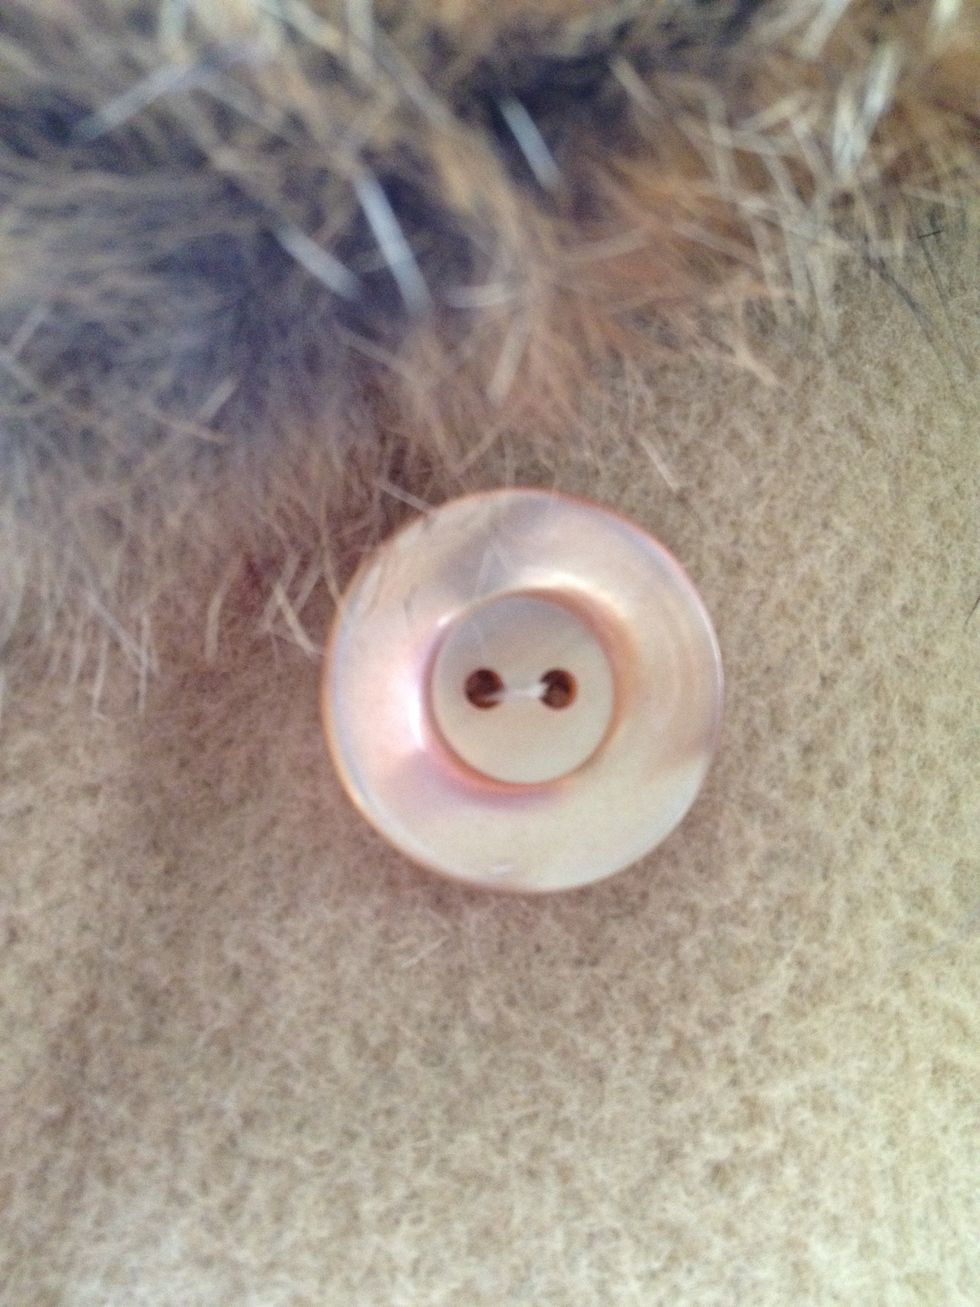
Make sure to realign your button to its proper place and then send the need in through the other button hole. My button only has two holes, if yours has four, I like to work with diagonal holes.
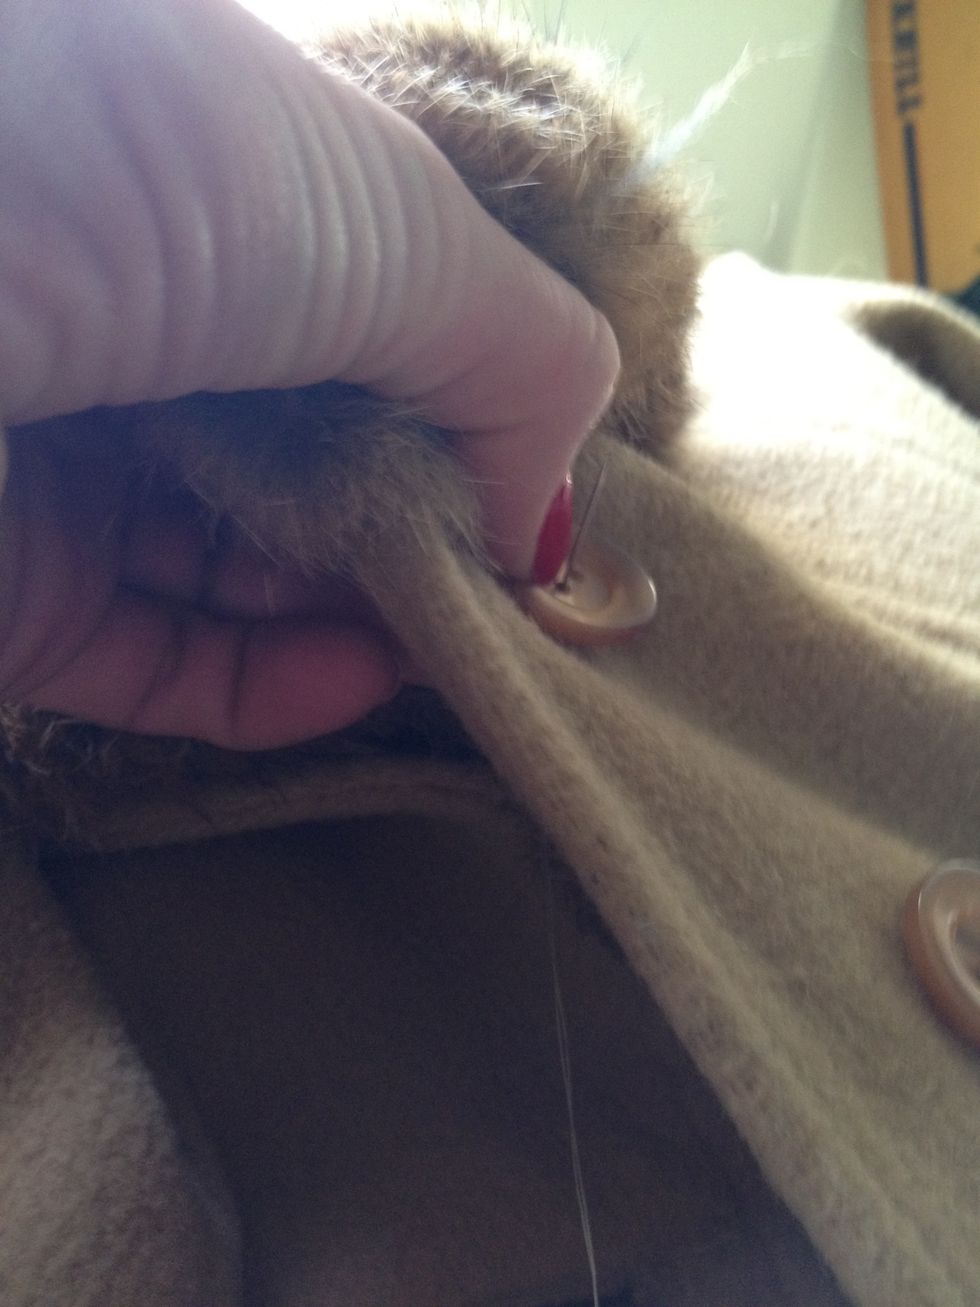
This is what it should look like after one complete threading of the button. Then continue through one whole out, one hole in. Hold the button tight in place. Keep your garment taught!
Once you feel the button is tight and secure, come back through the hole and tie a not on the inside of the garment (same side as first knot).
Tie your finishing knots tight to the fabric and cut and extra thread off to finish! Tada! You're a seamstress. Well. Almost.
Note: if you put on the garment and the buttons don't line up..it's easy to fix. Use a thread cutter or scissors and remove the button. Try harder to keep your fabric taught and the button steady.