The Conversation (0)
Sign Up
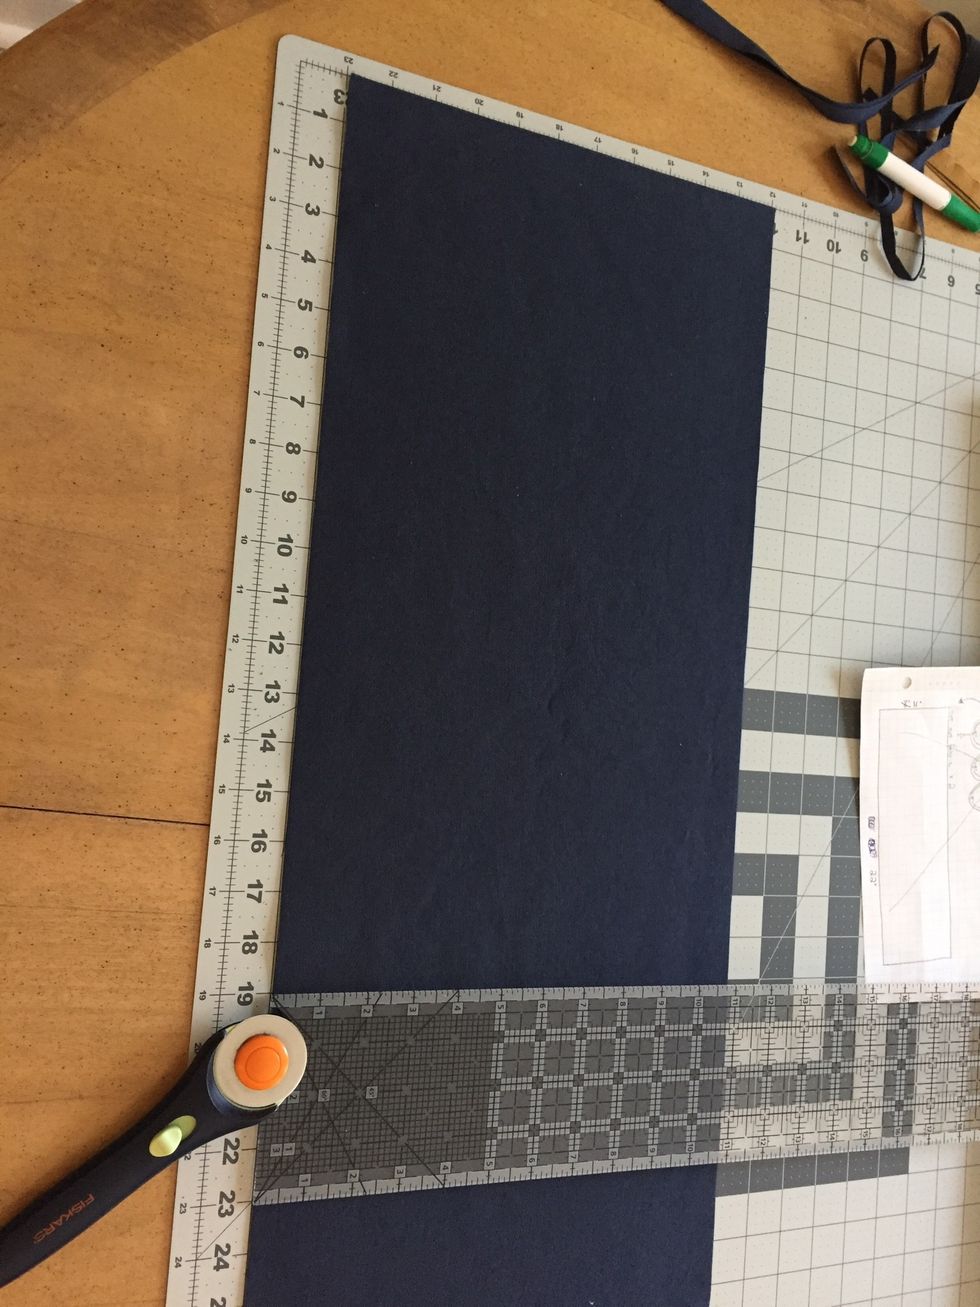
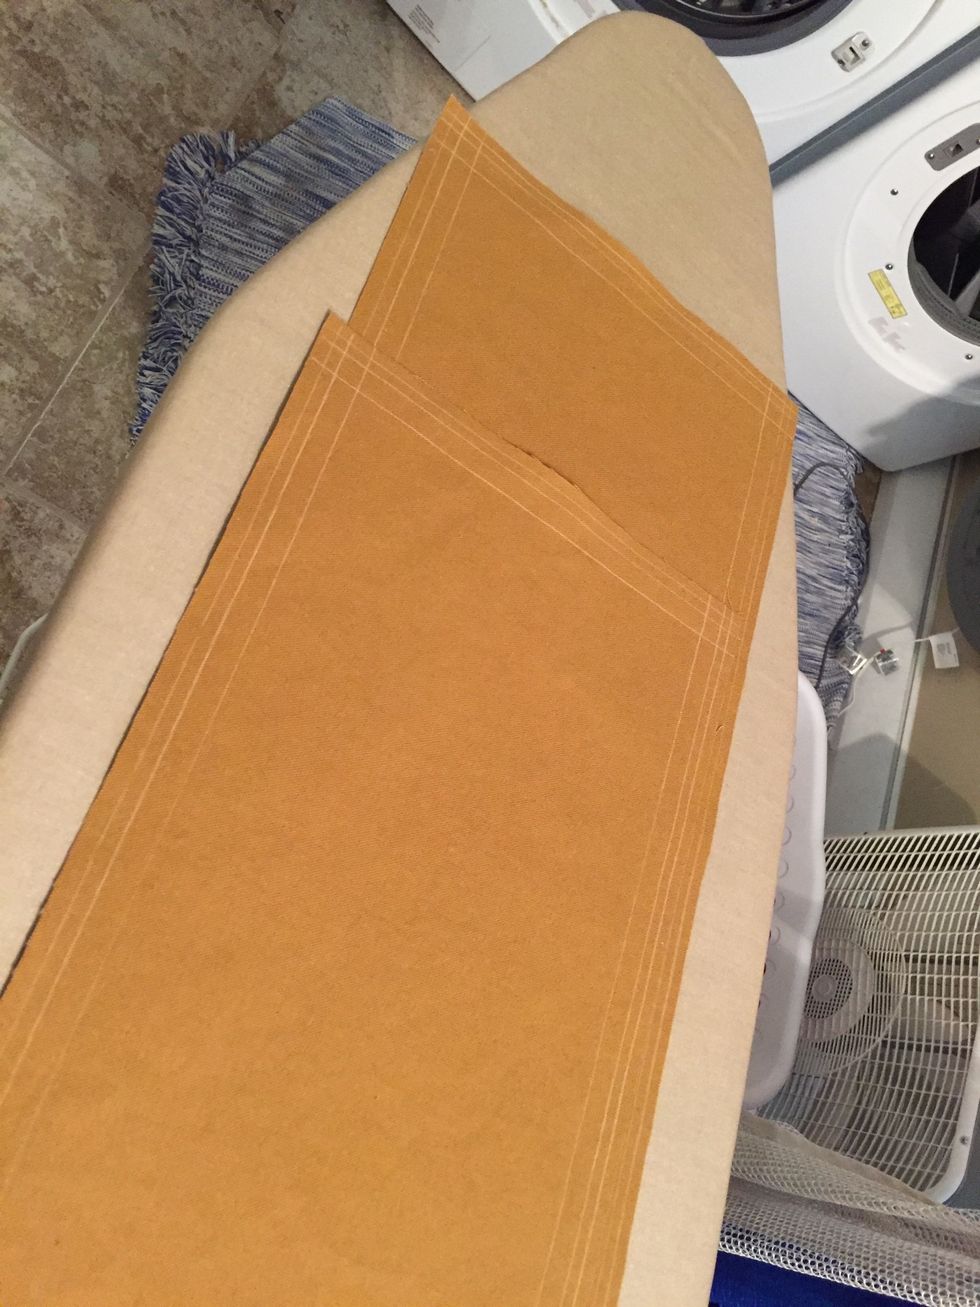
Cut two 11x19" rectangles for the body of the beer holder.
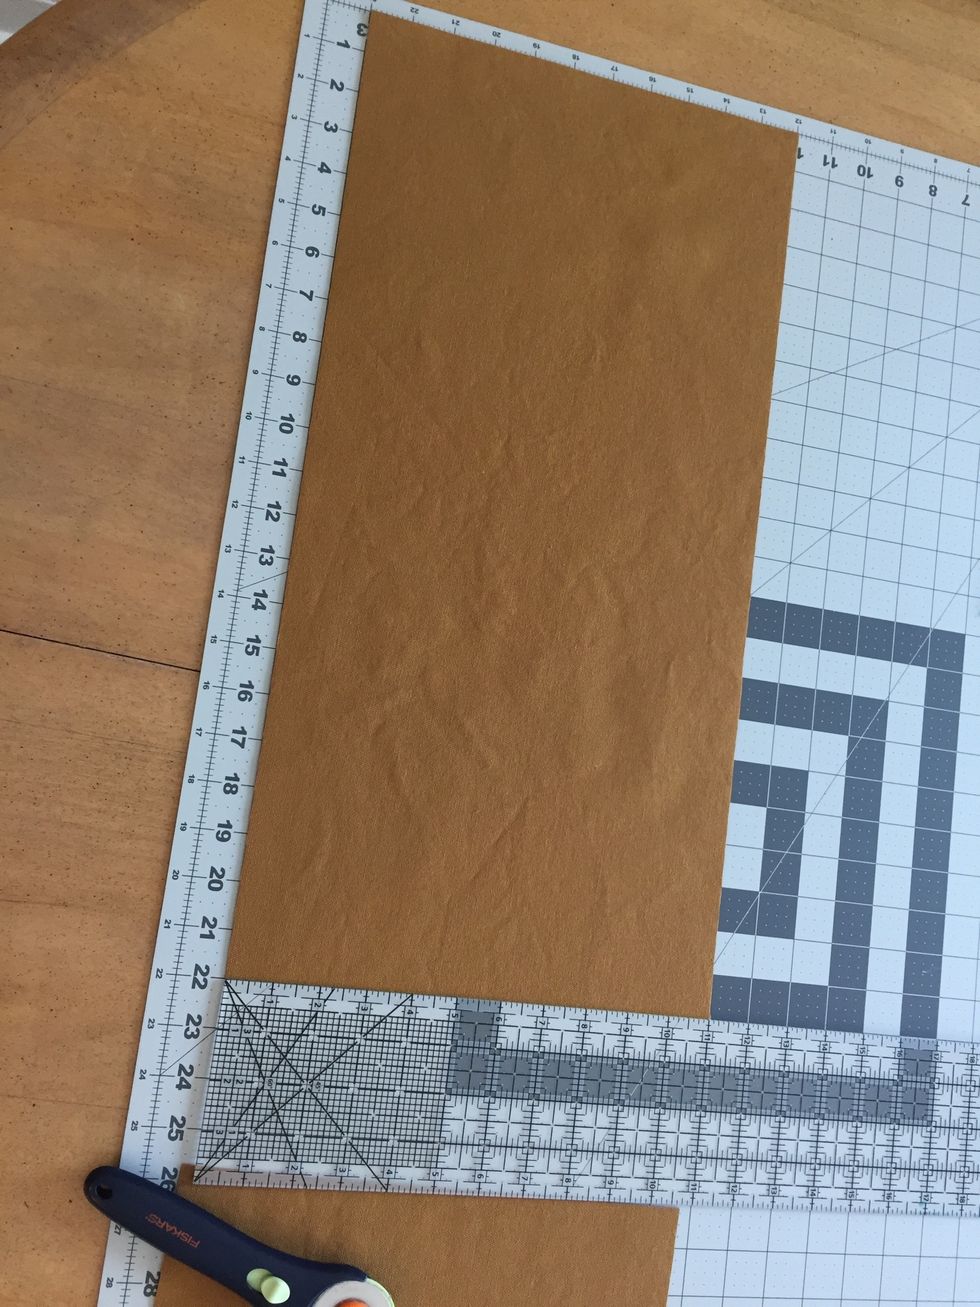
Cut two 11x22" rectangles from the contrasting fabric. Each of these will become one side.
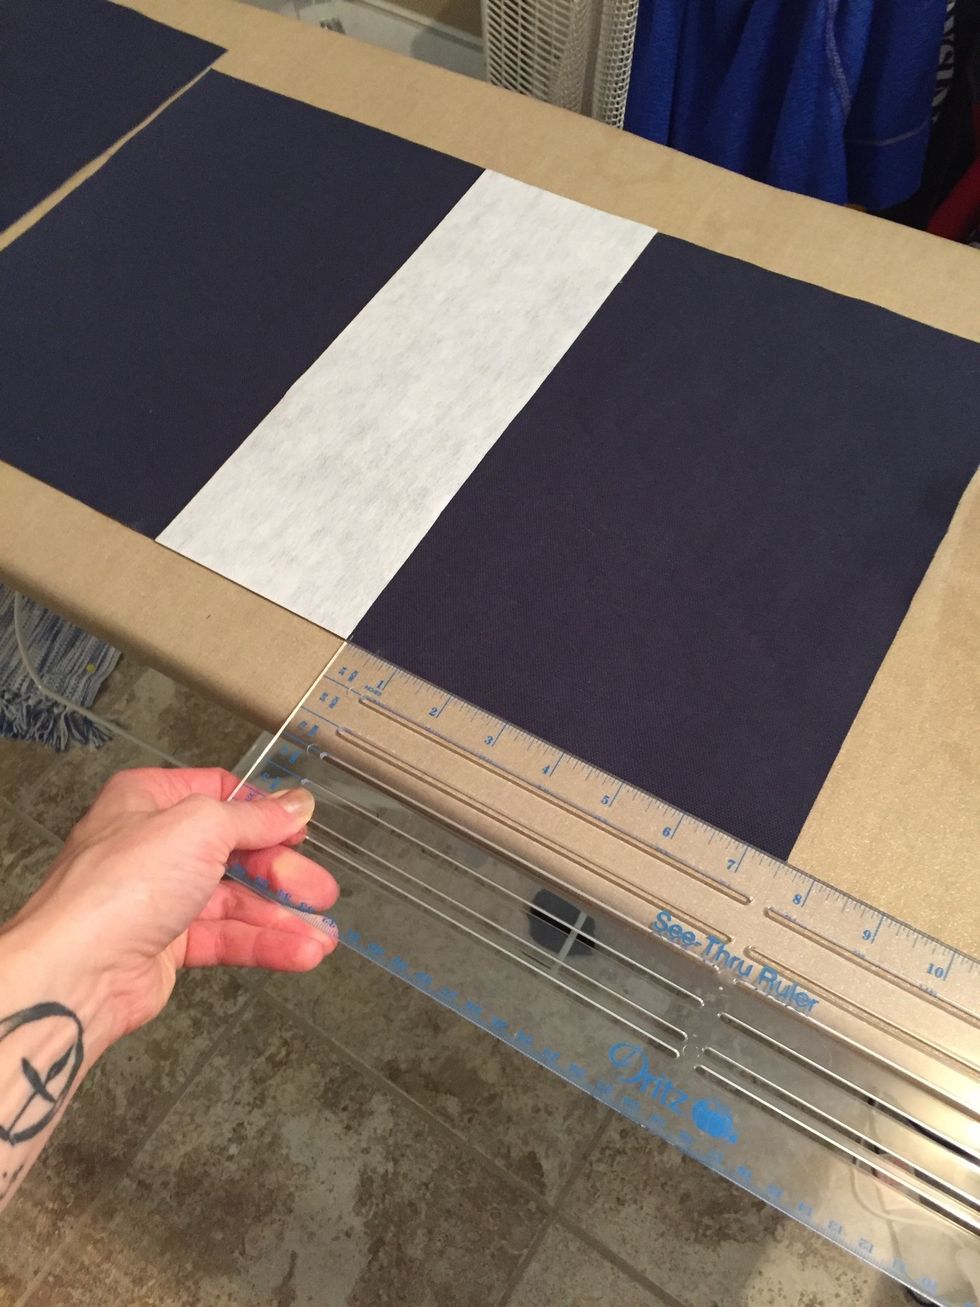
If you want to add interfacing to stabilize the handle, cut two 11x4" rectangles of interfacing and fuse it in the center of the body fabric. The interfacing should be centered at 7.5" from corners.
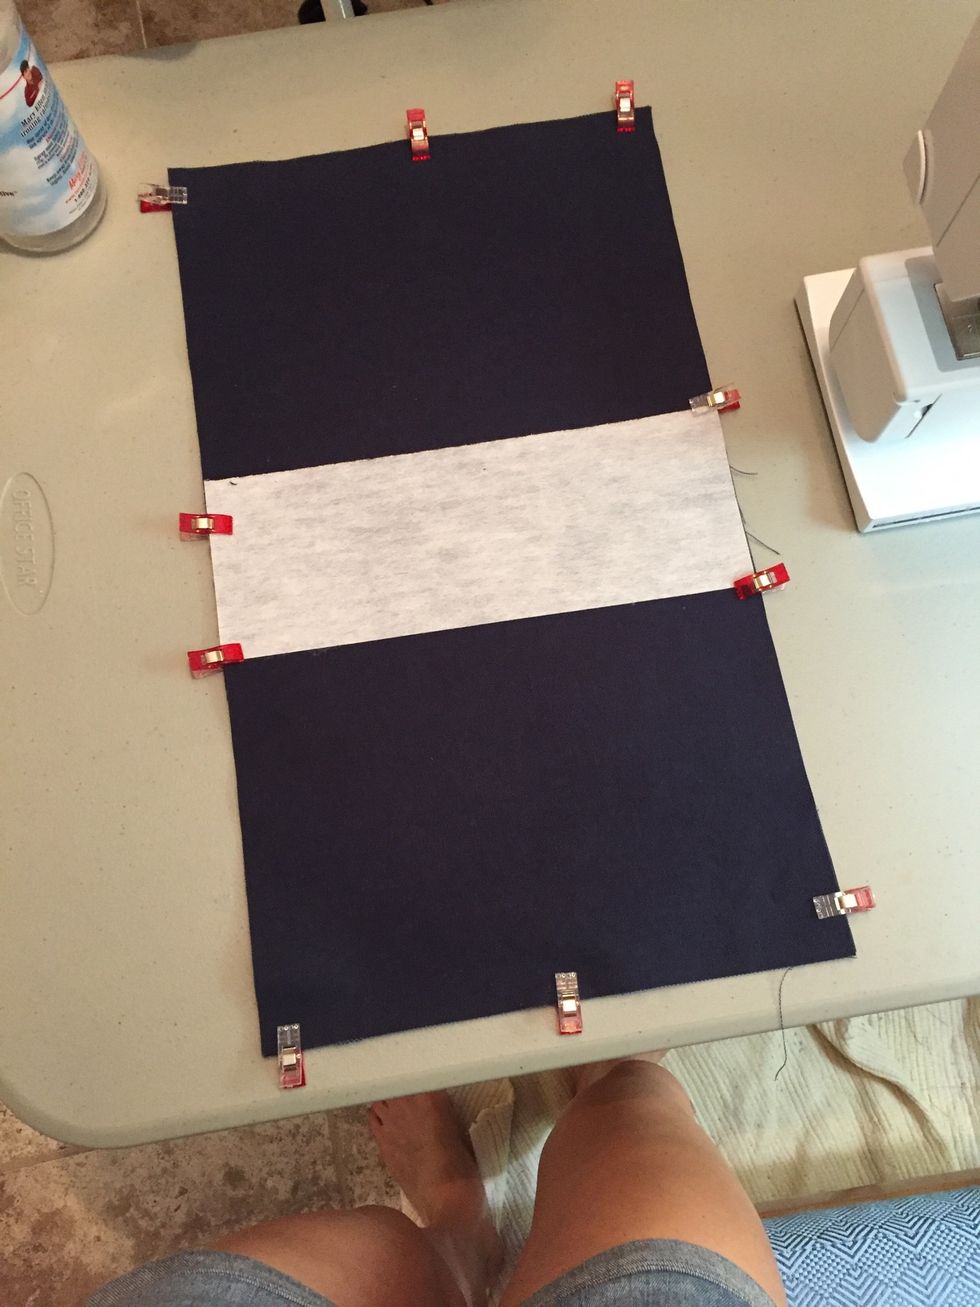
Pin right sides together
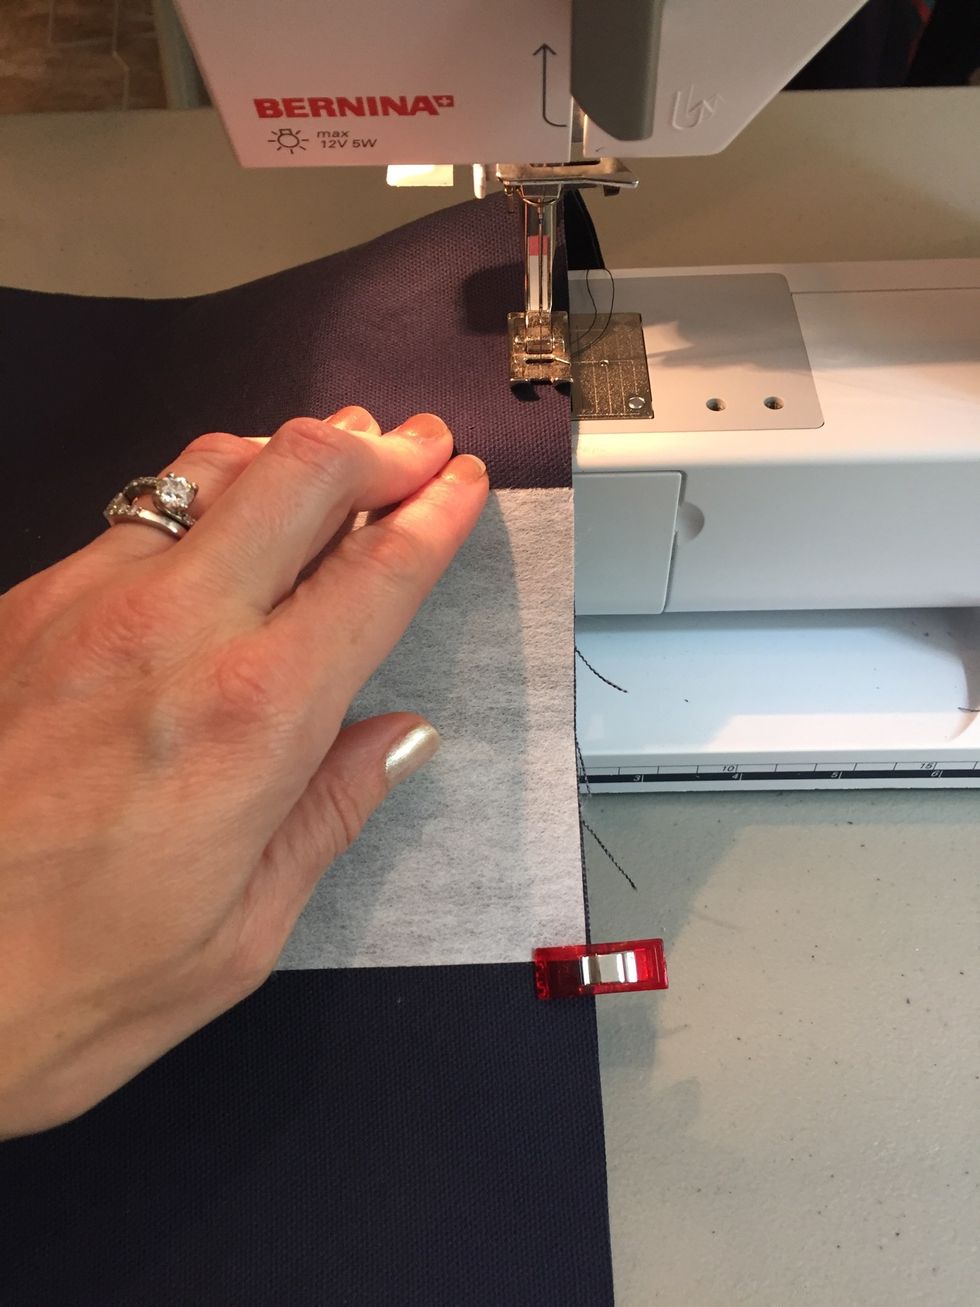
Stitch 1/4" around edges leaving a few inches open for turning right side out.
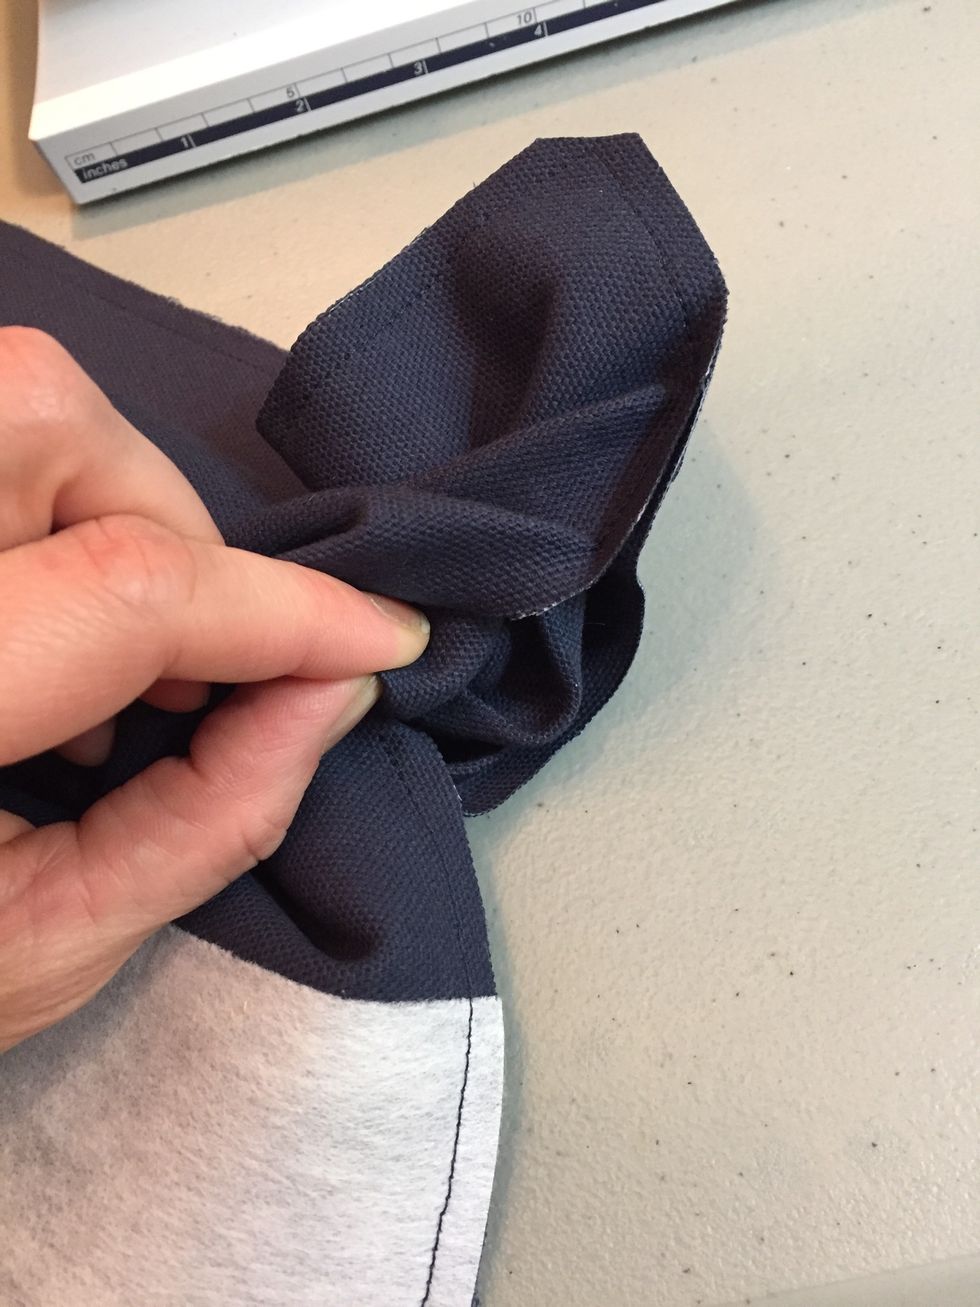
Clip corners and turn right side out.

Top stitch around outside, making sure to close opening.
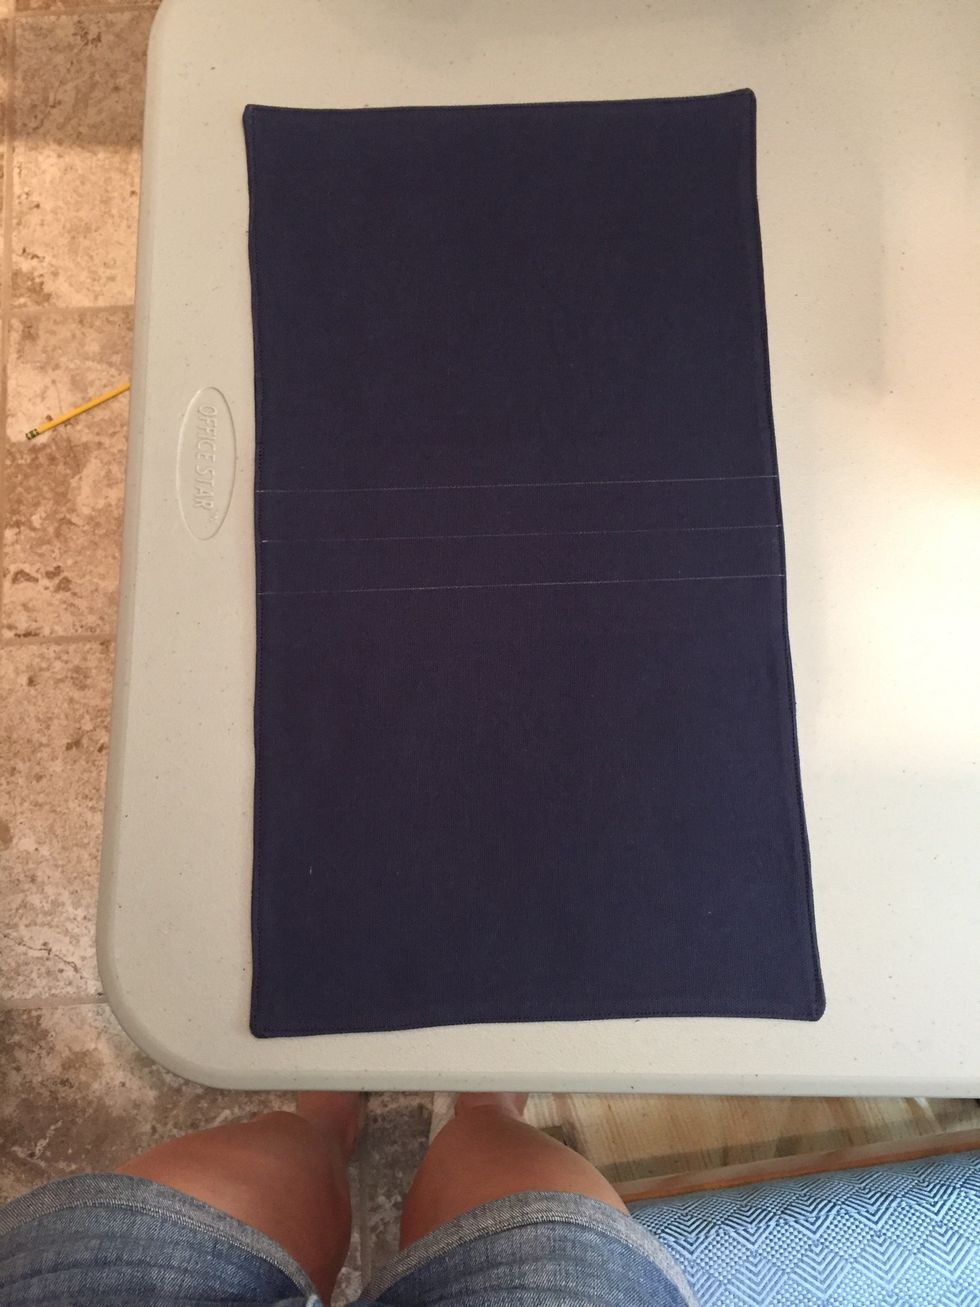
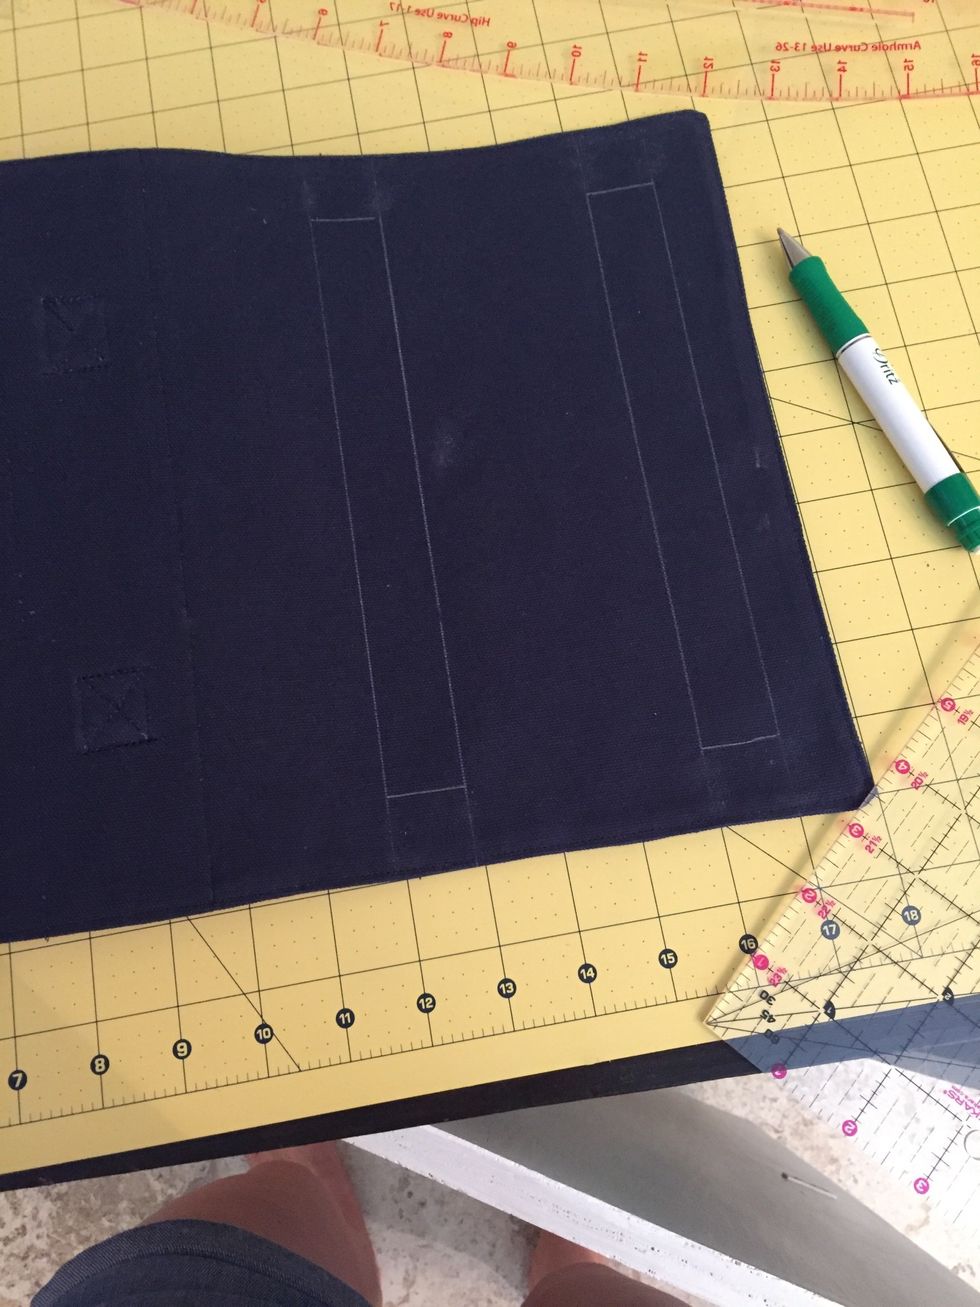
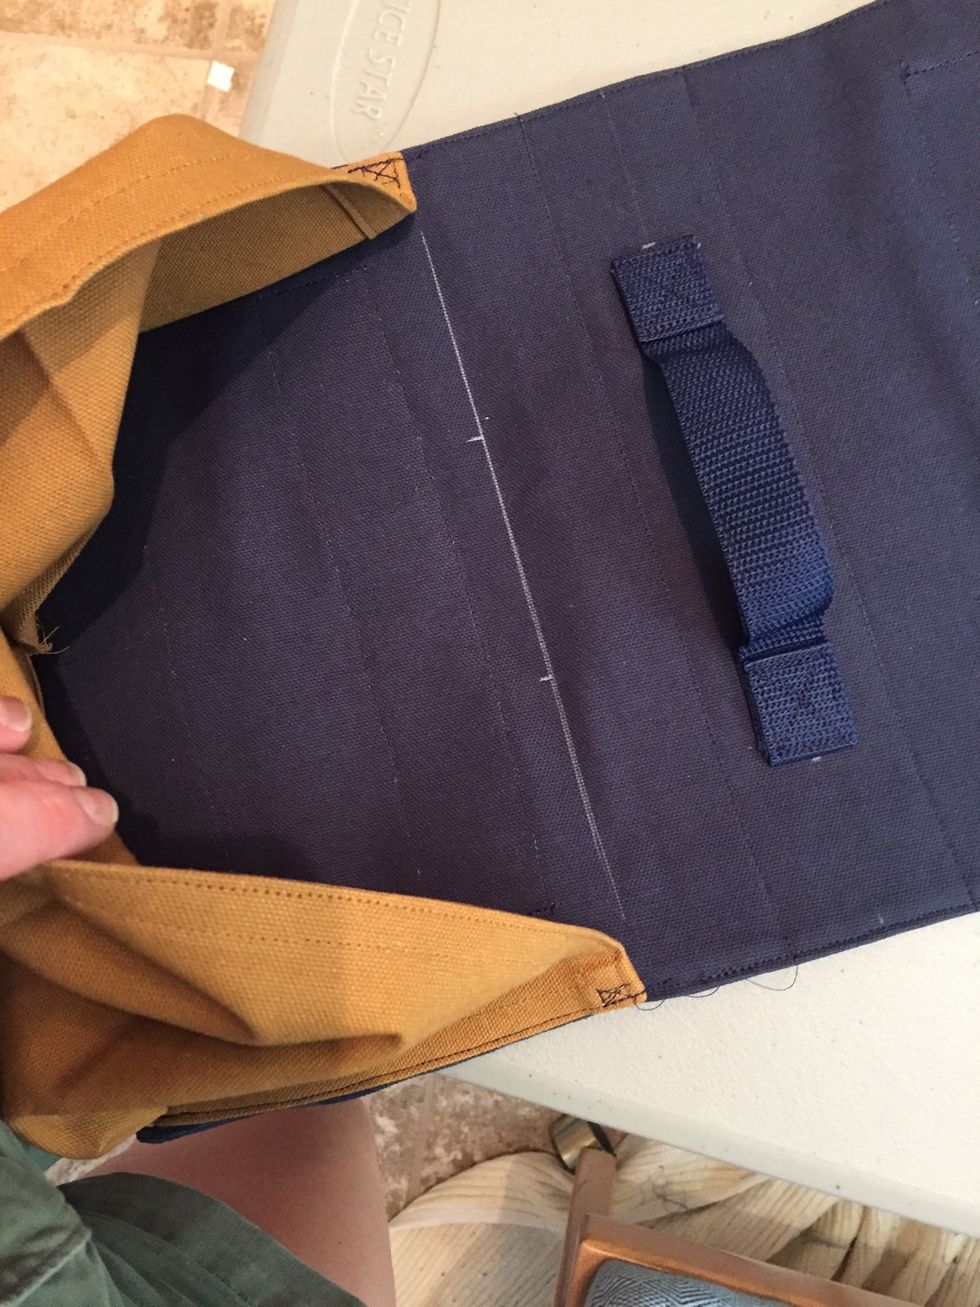
Measure the center (approx 9") and draw a line across the short way to mark where handle will go. Measure 1" out on either side and draw a line. Then top stitch the two outside lines.
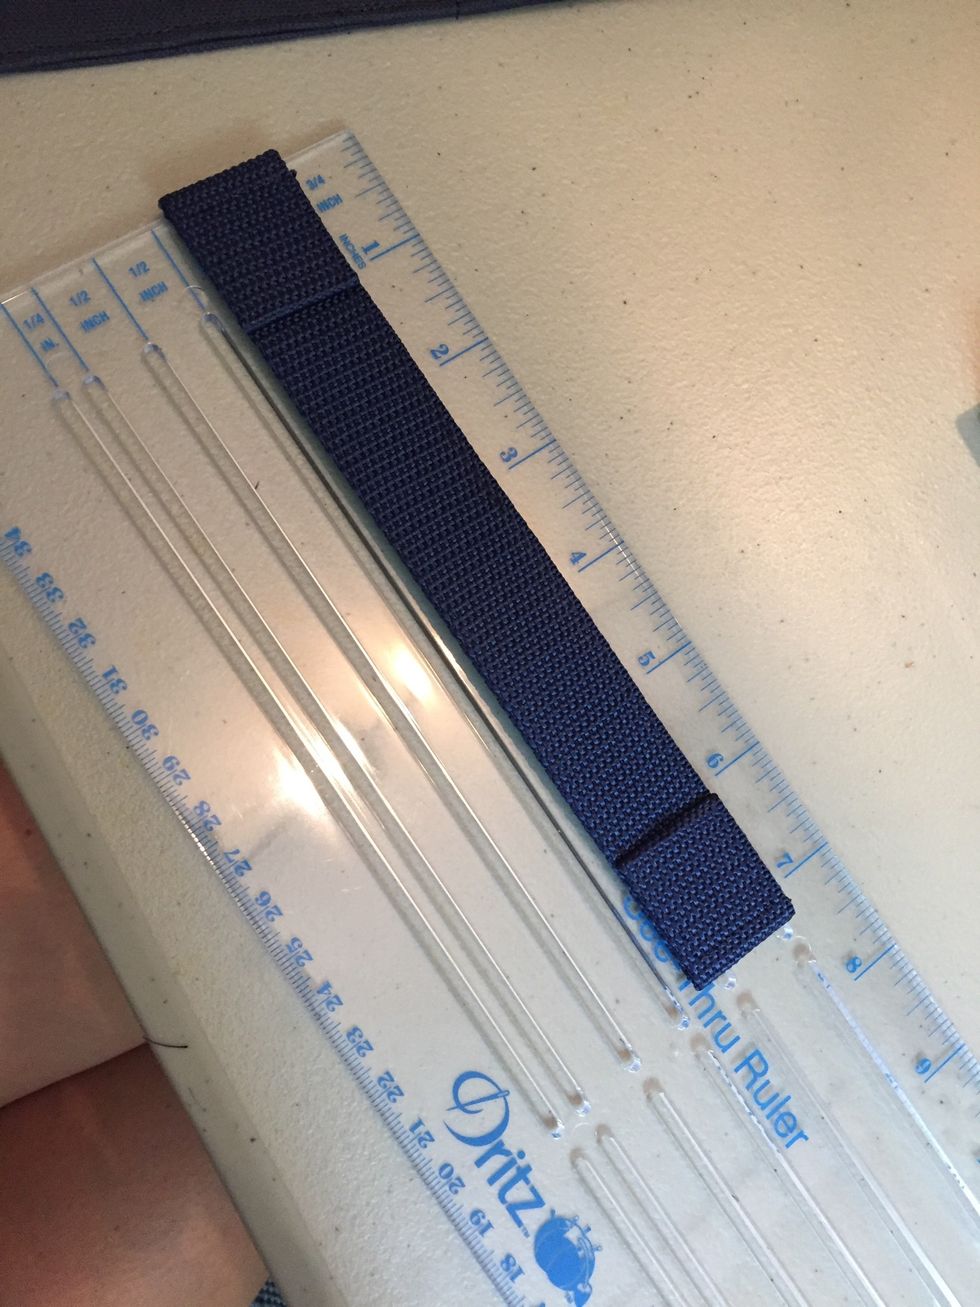
Make a handle 7" long. I a 12" piece of nylon webbing and folded the end over twice to hide the raw edge. I then added a second layer of webbing and tucked the ends into the folded over parts.

Position the handle along center line 2" from edge.

Sew each end of handle securely using a combination of straight line stitches like this.
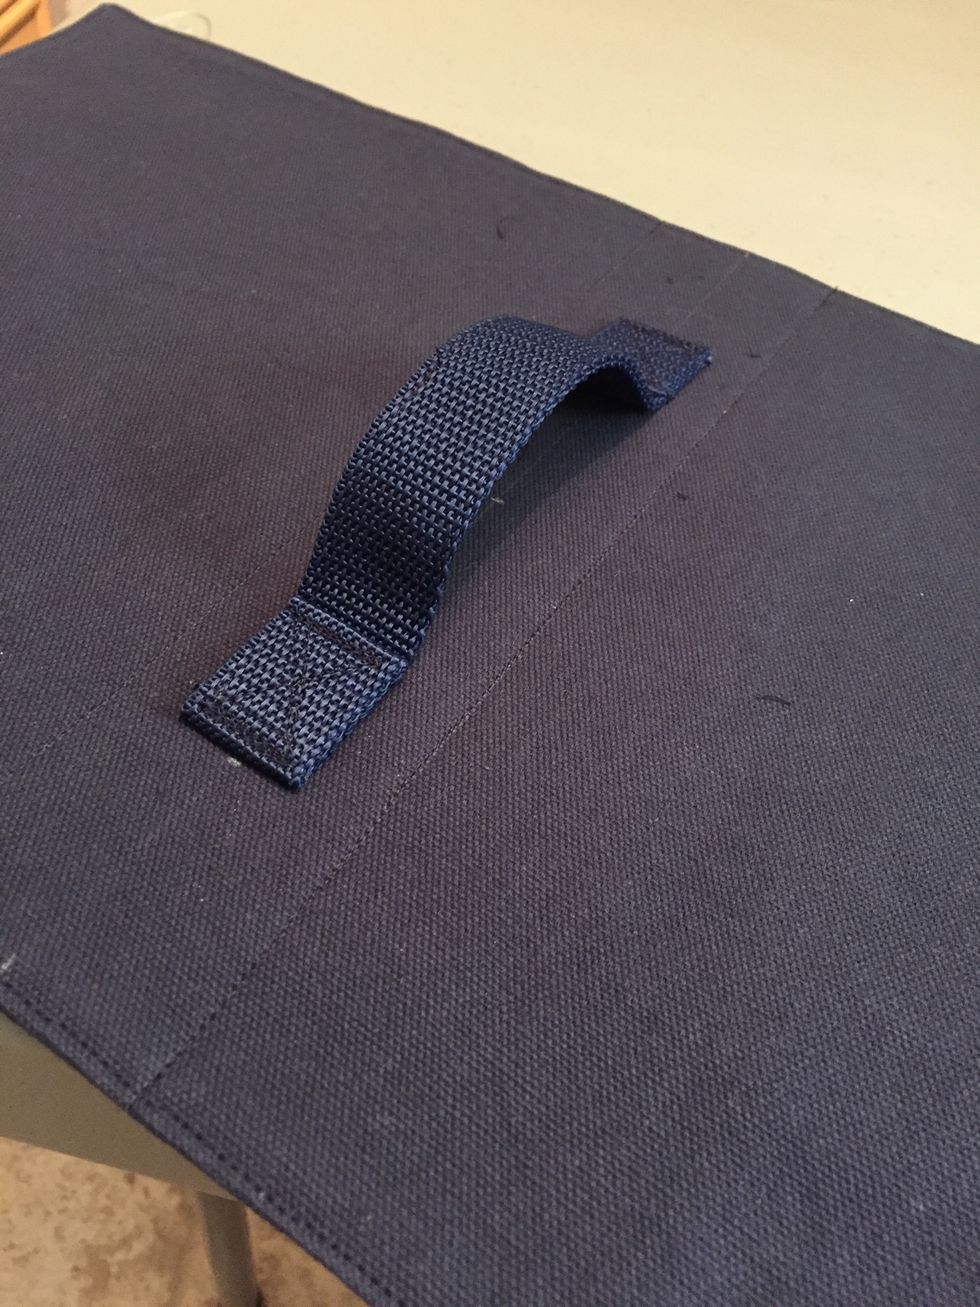
Finished handle
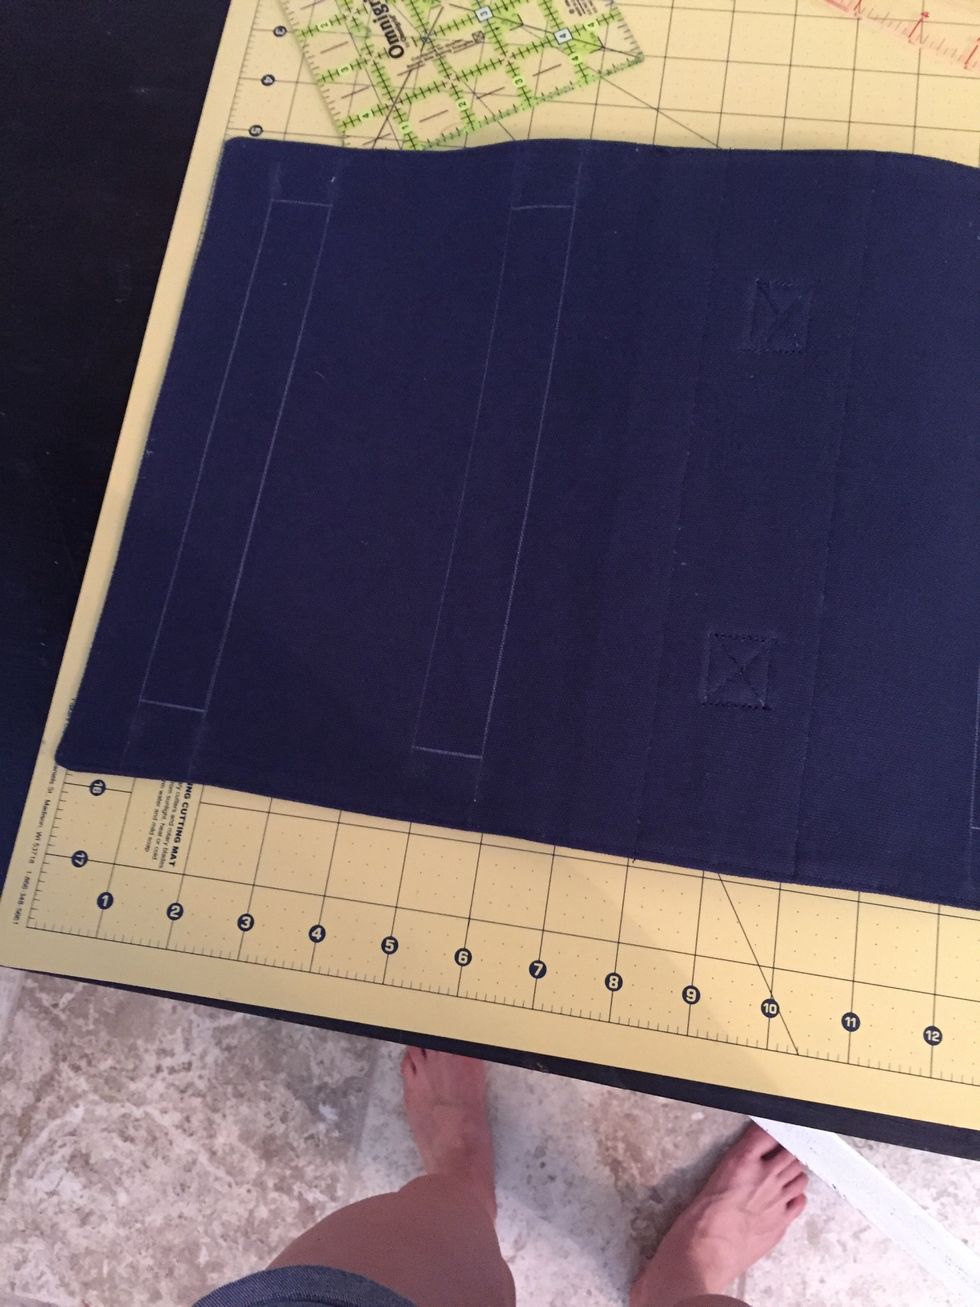
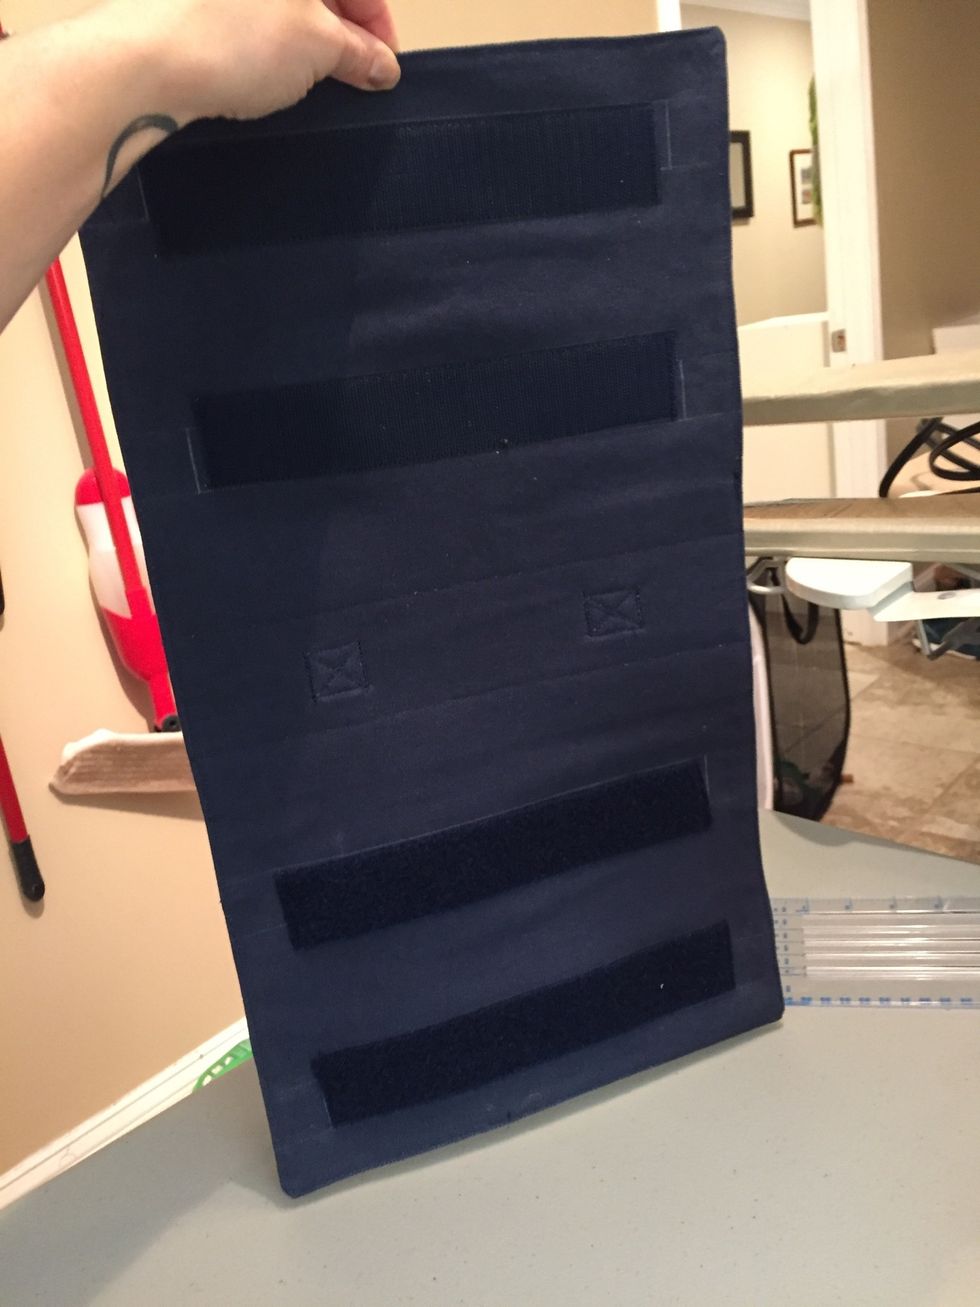
On opposite side from handle, mark space for Velcro strips. The bottom of the lower strip starts 1" up from bottom edge. The top of upper strip starts 6" from bottom. Also leave and 1" on the sides.
Mark same on other half.
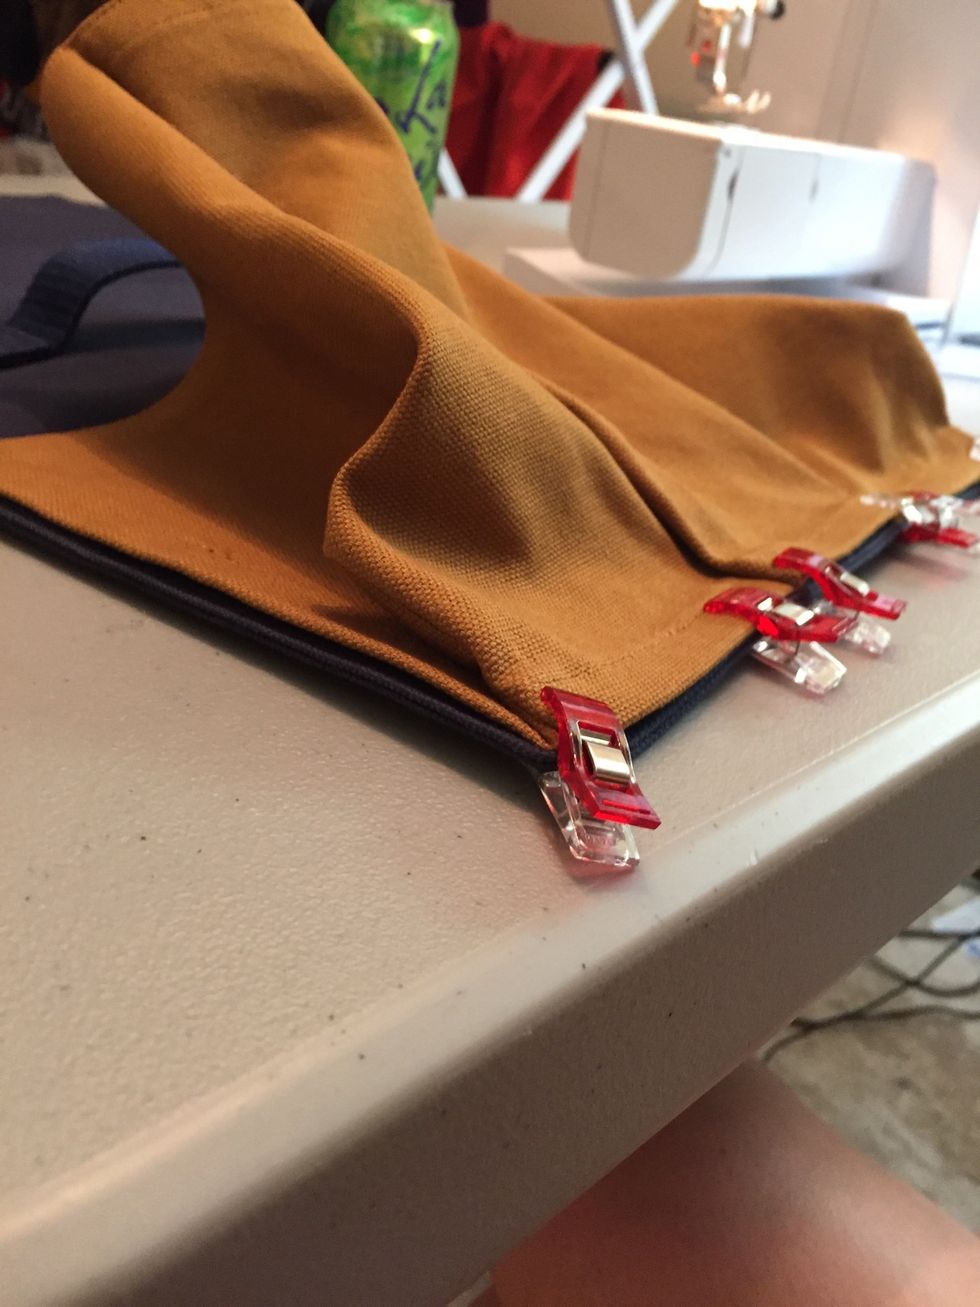
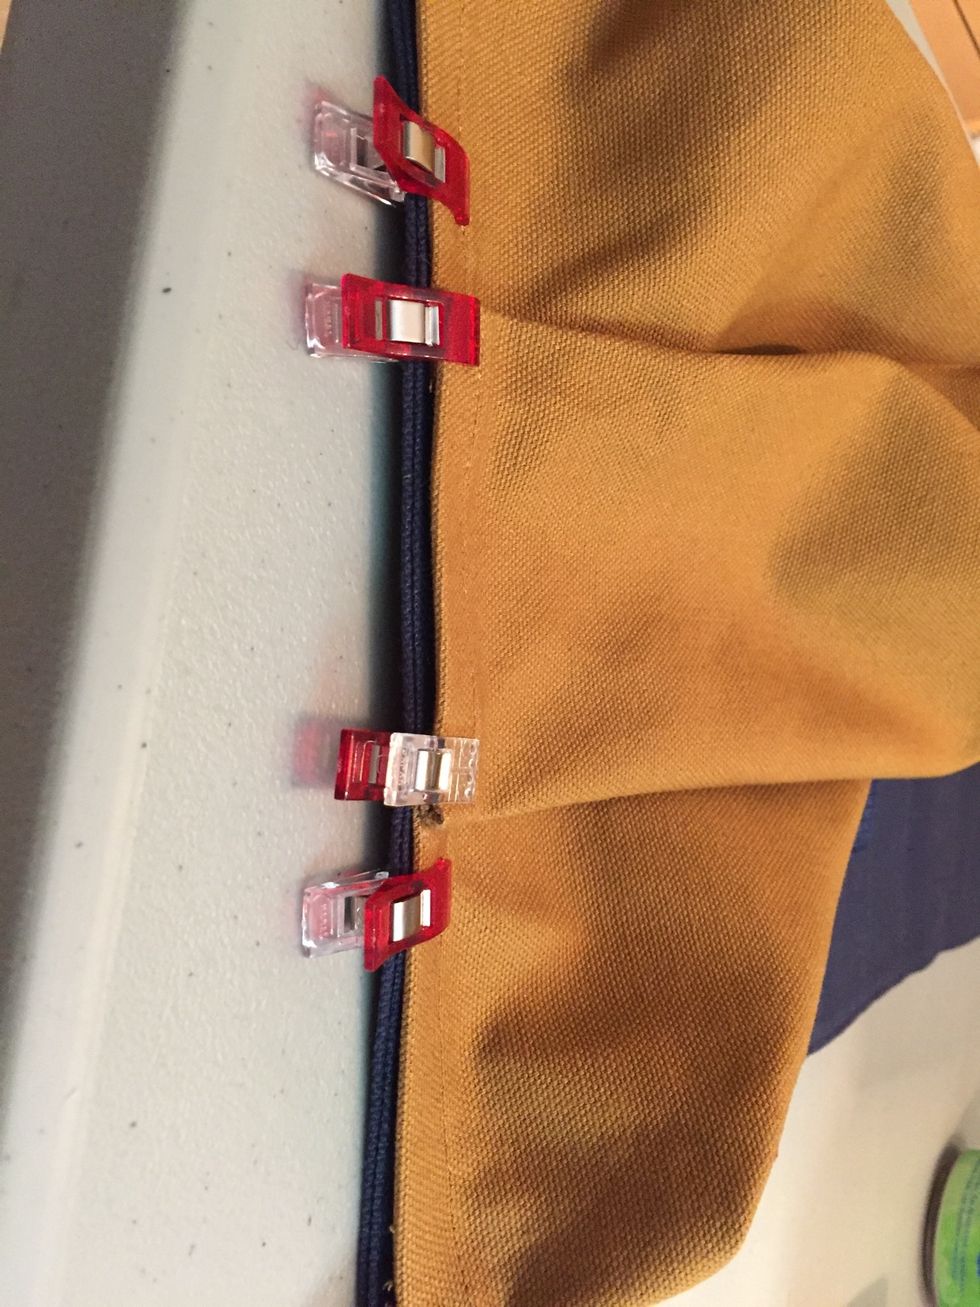
Starting with the short sides, fold and press 1/2", then fold and press 1/2" again to hide raw edges. Repeat with long edges and pin.
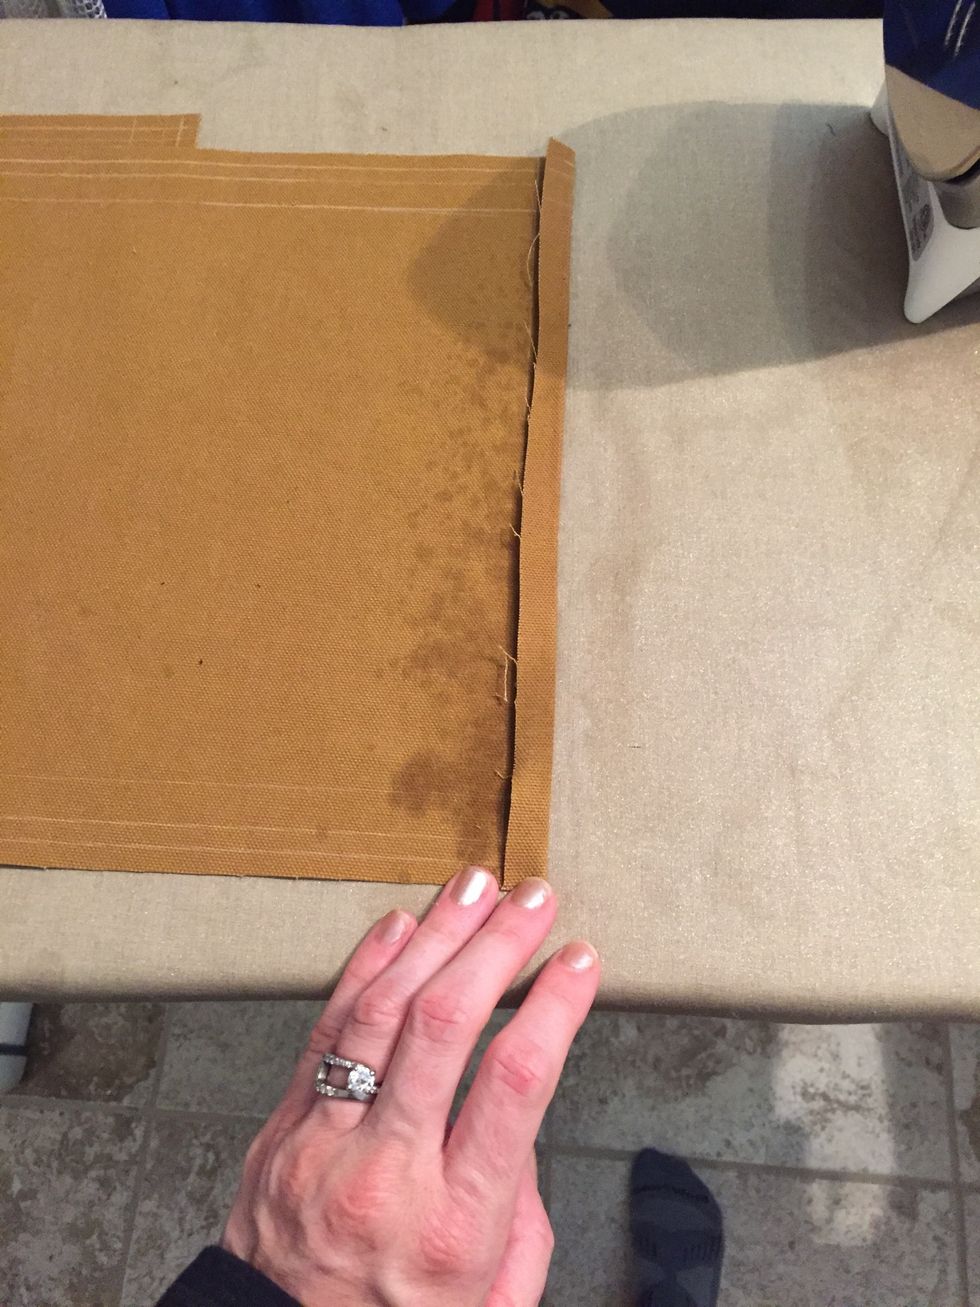
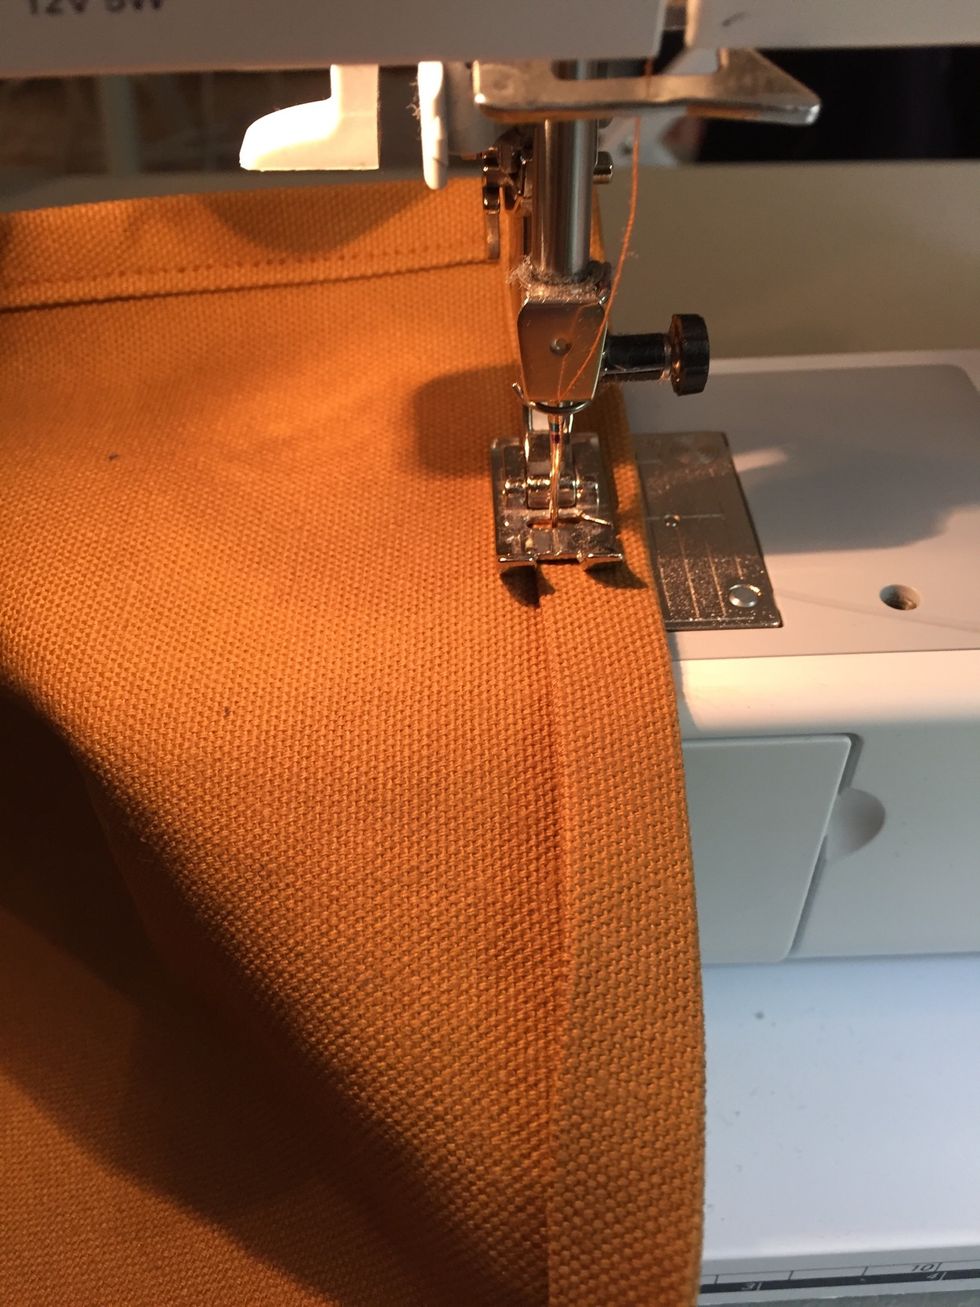
Top stitch around the edge of the fold starting on one of the short ends. Stitch all the way around the rectangle. Top stitching should be close to the folded edge.
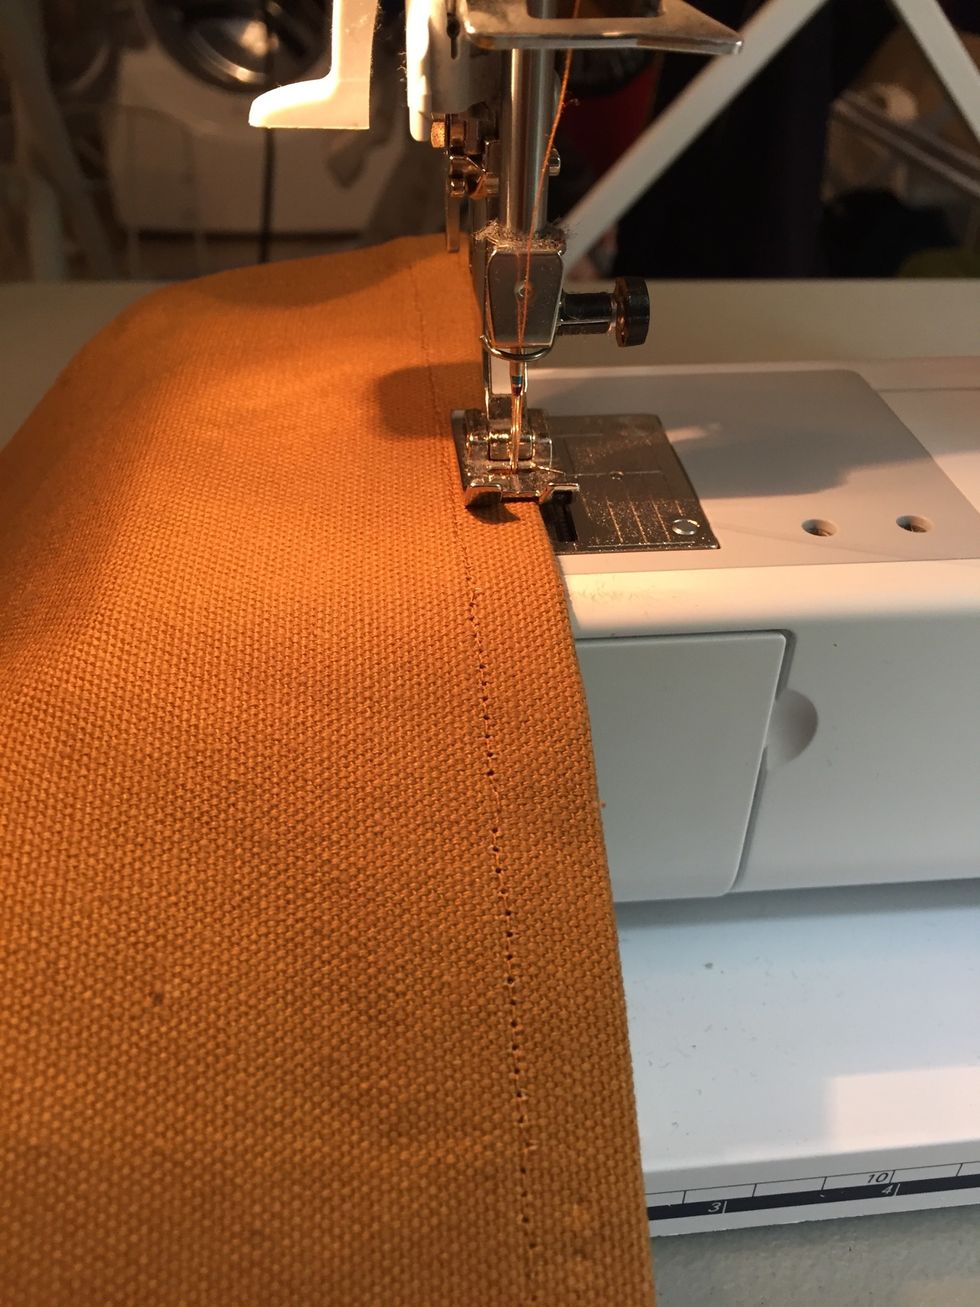
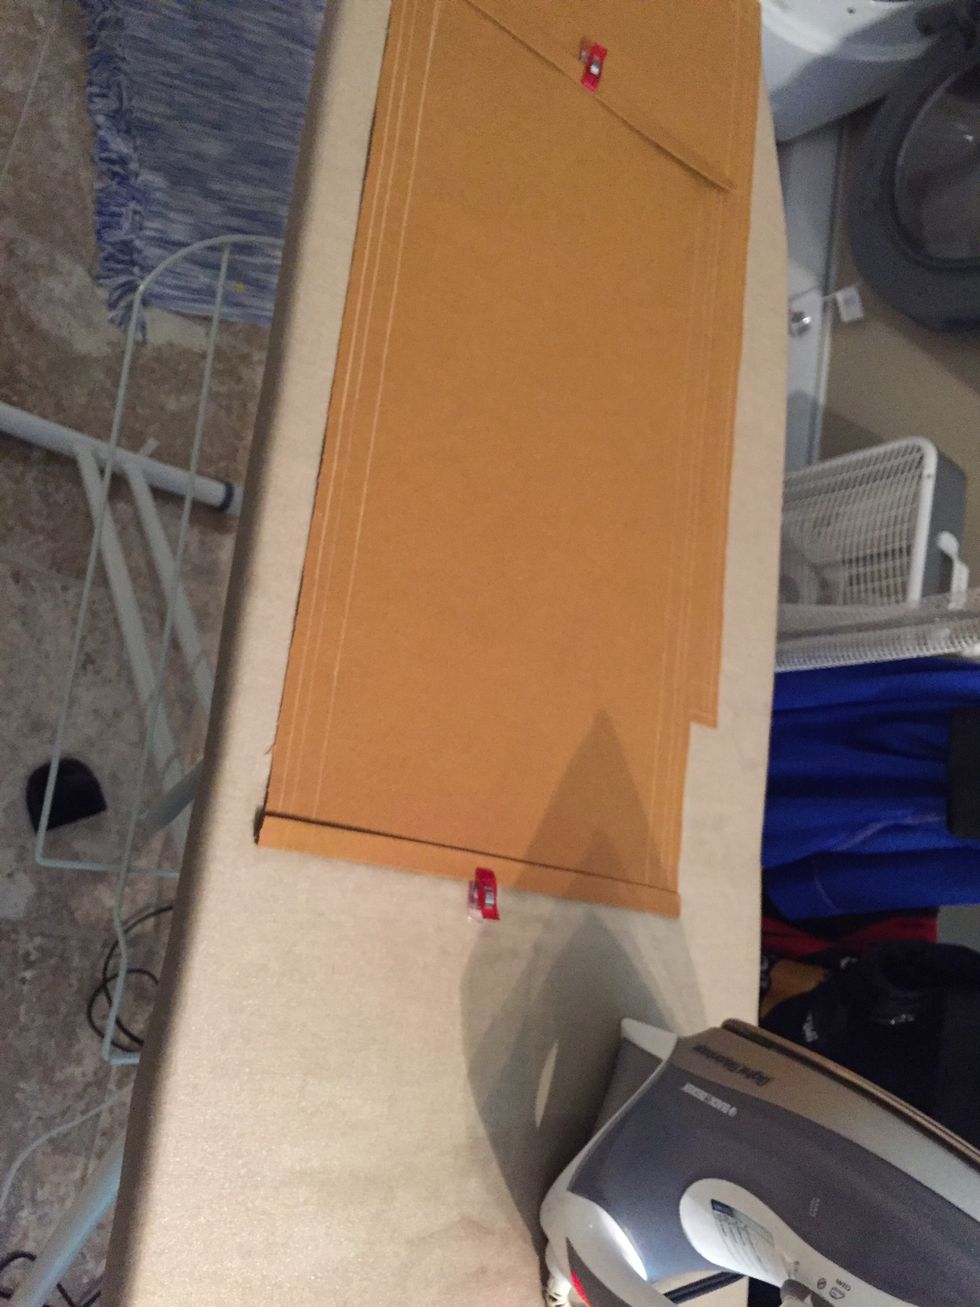
Turn the rectangle over and top stitch along one long edge close to the edge.
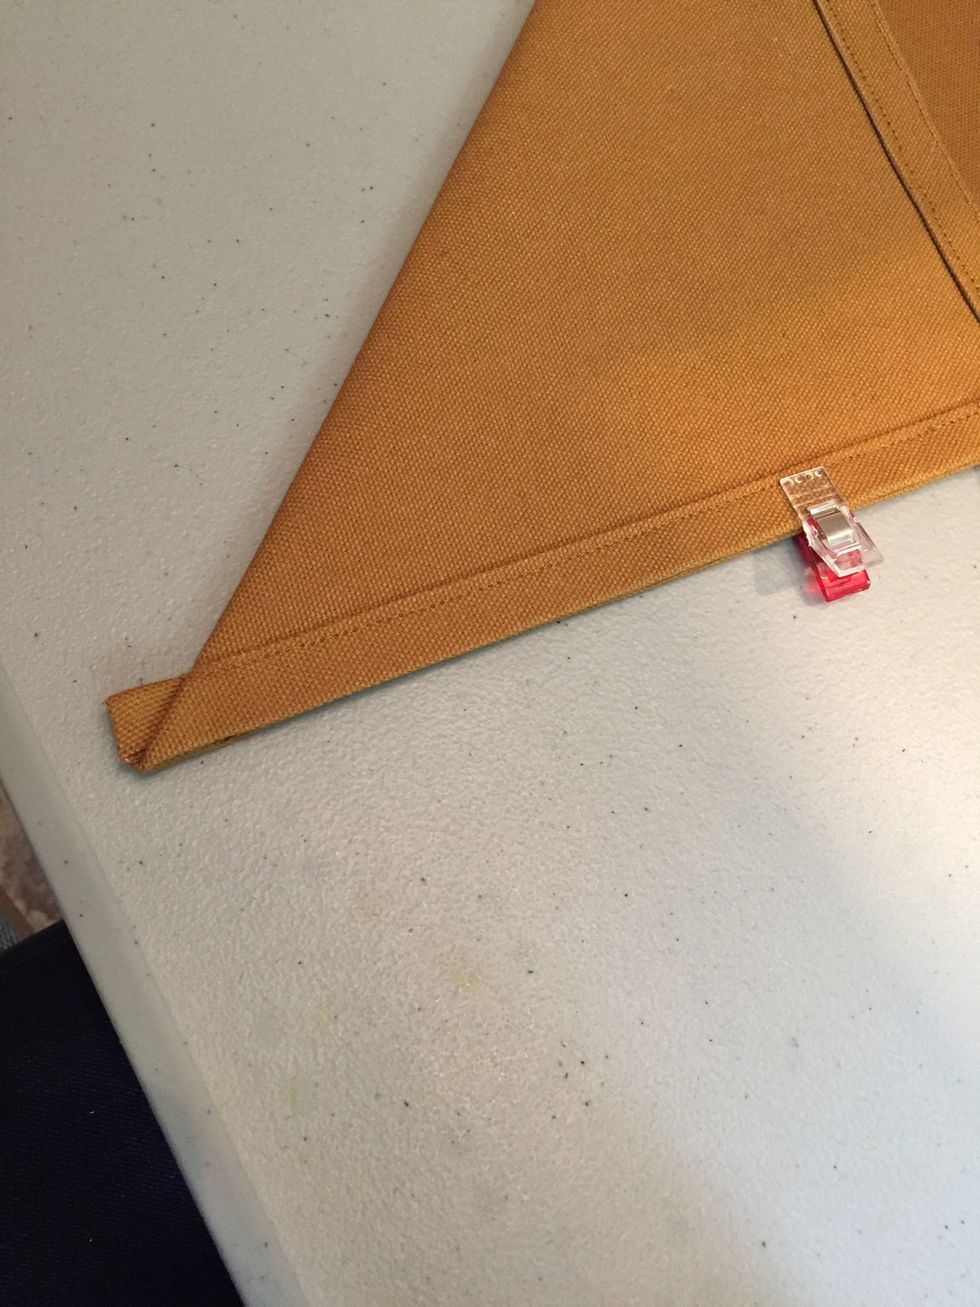
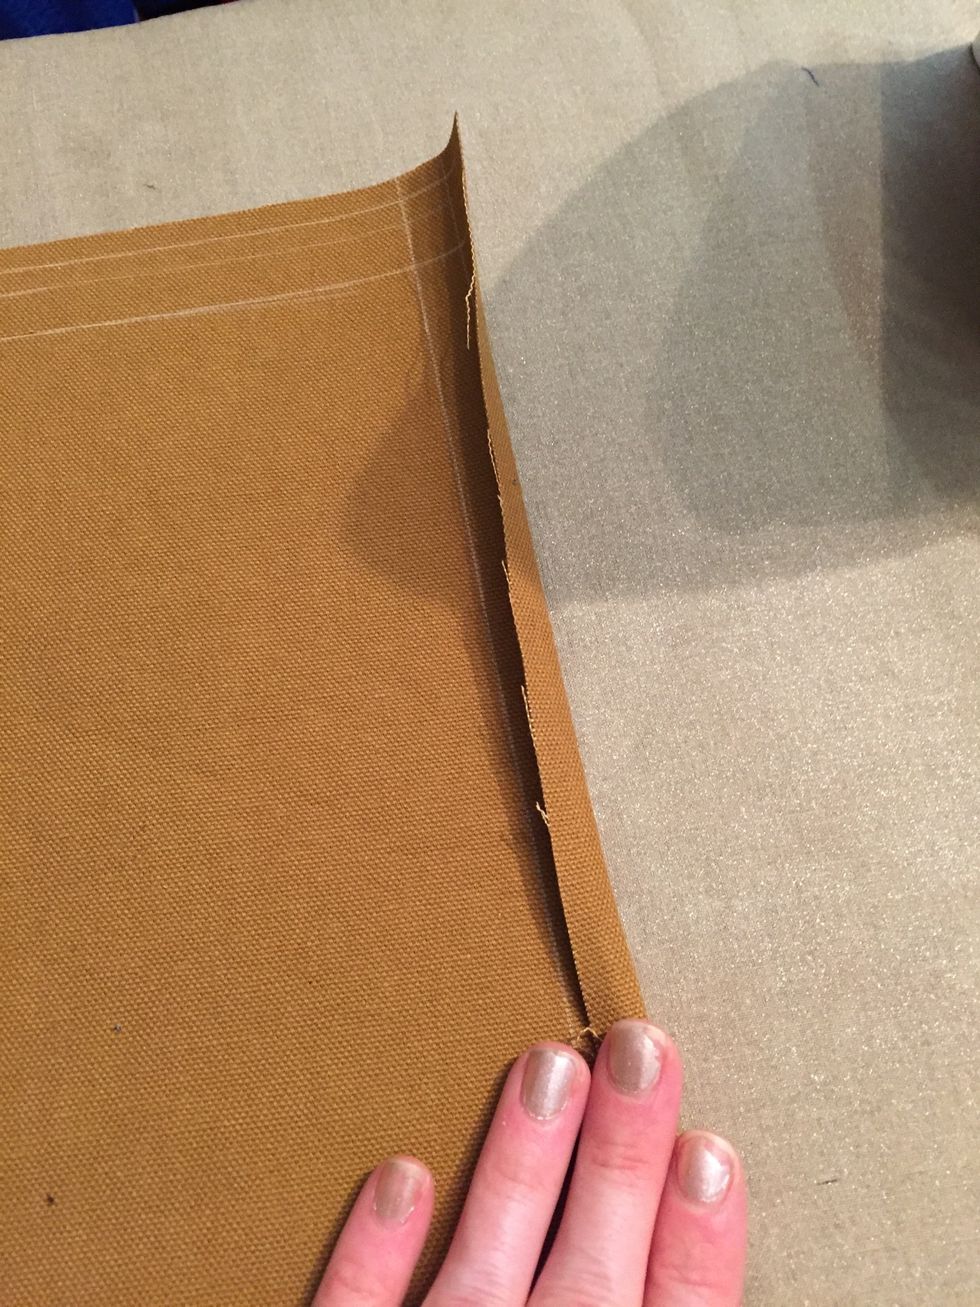
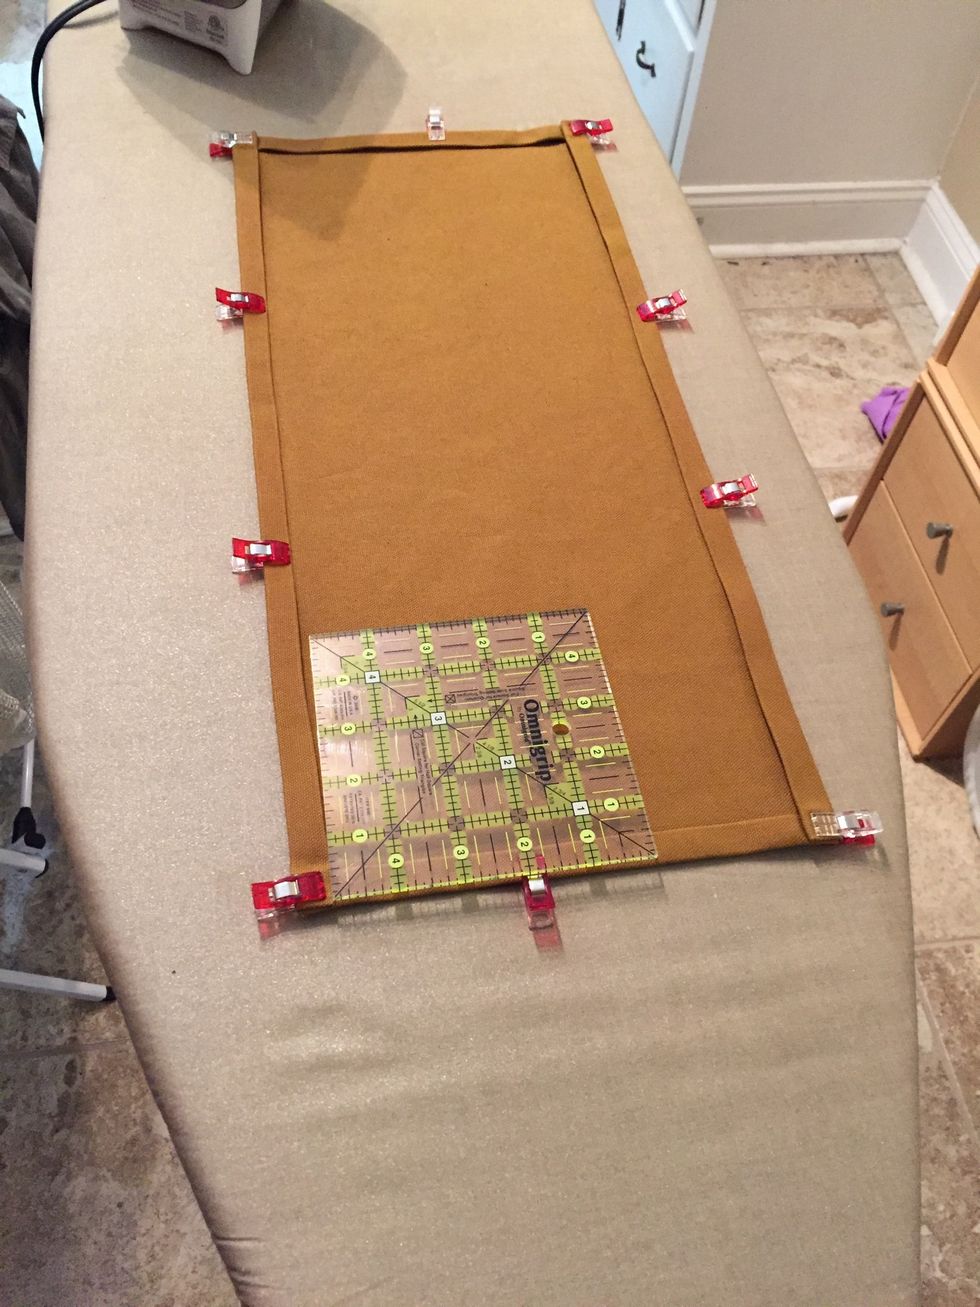
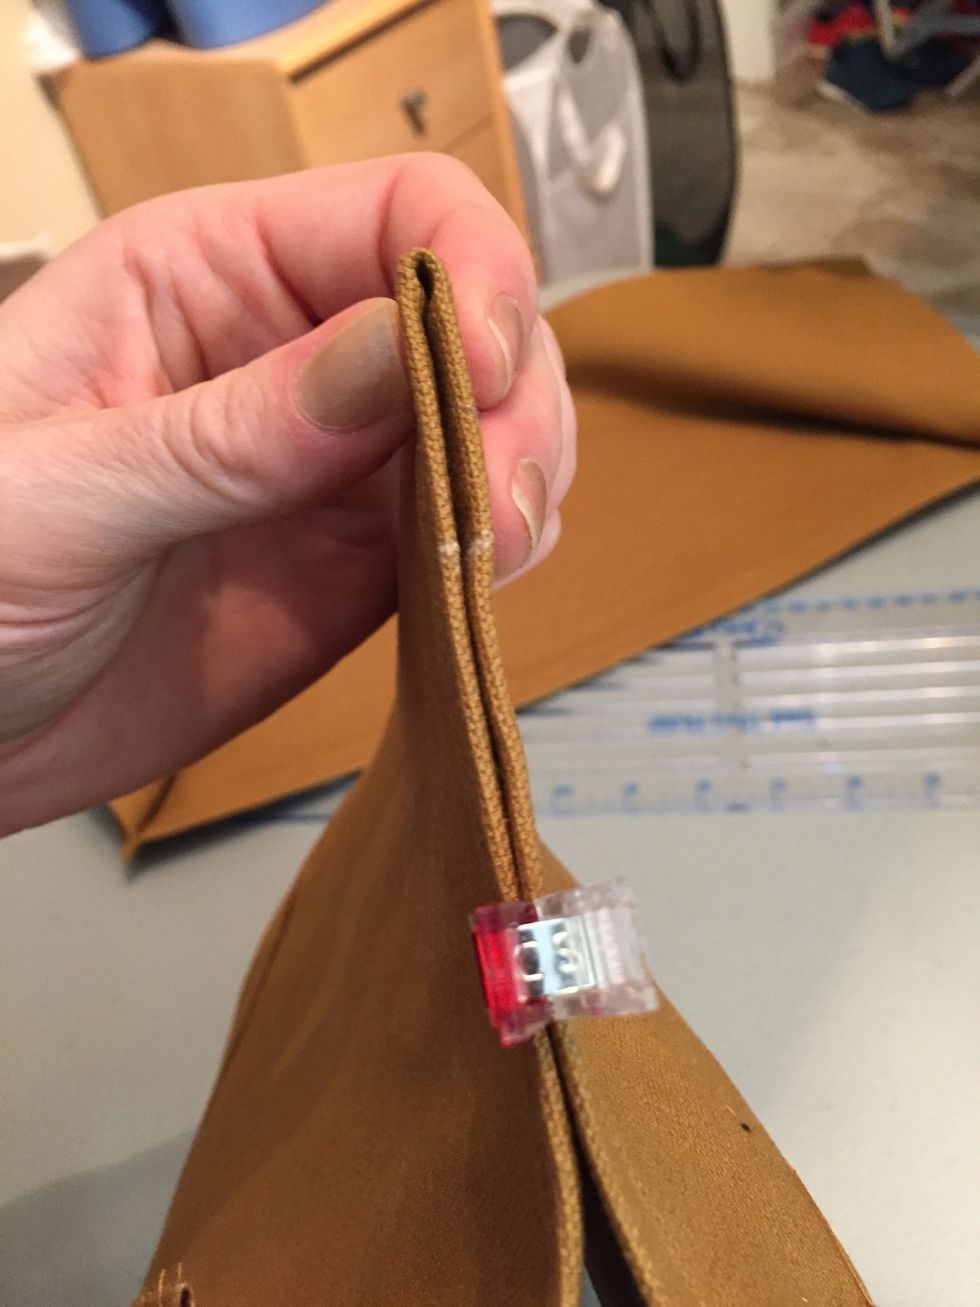
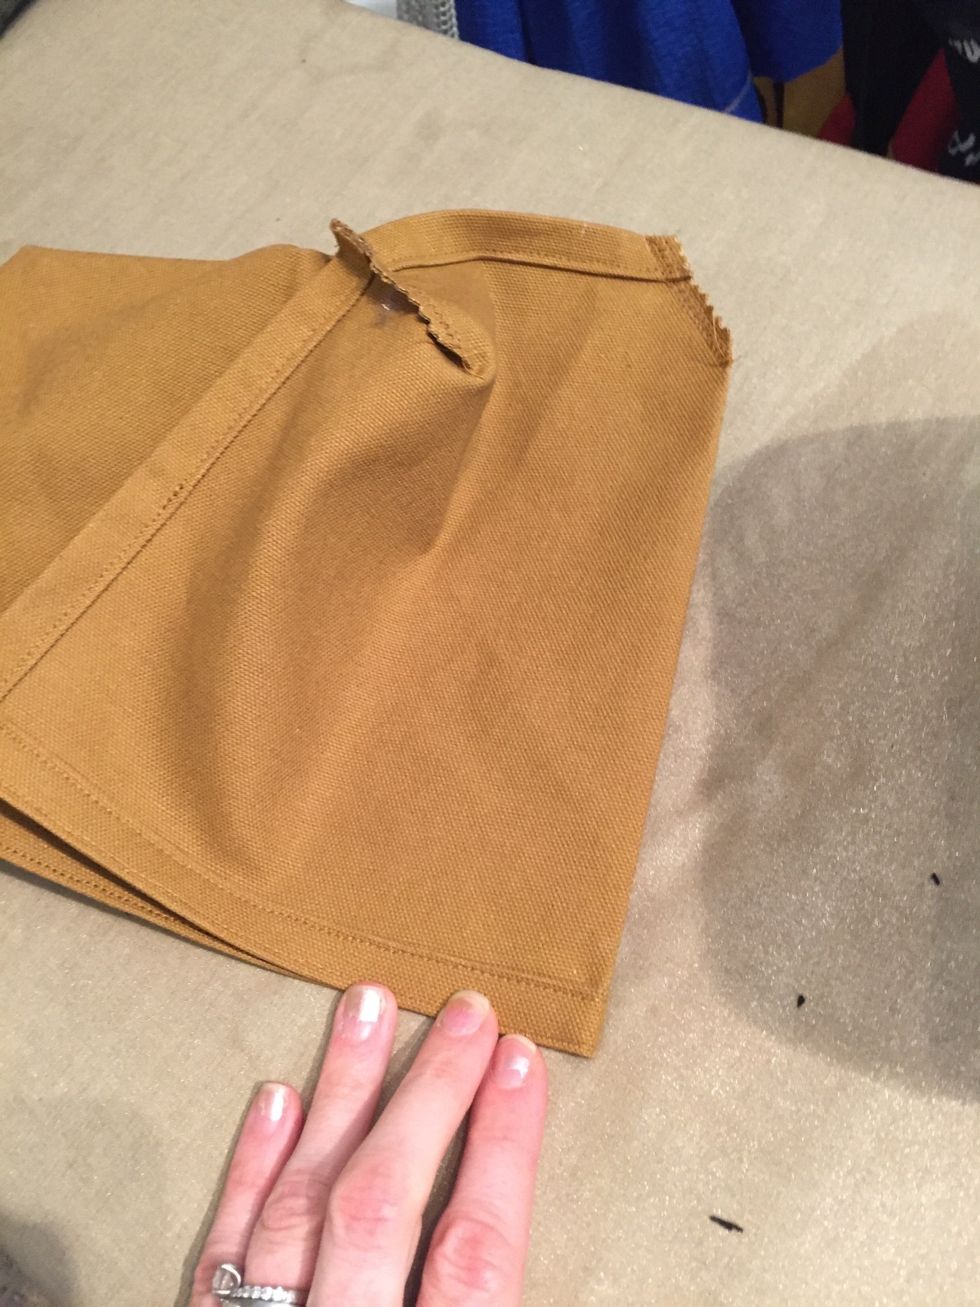
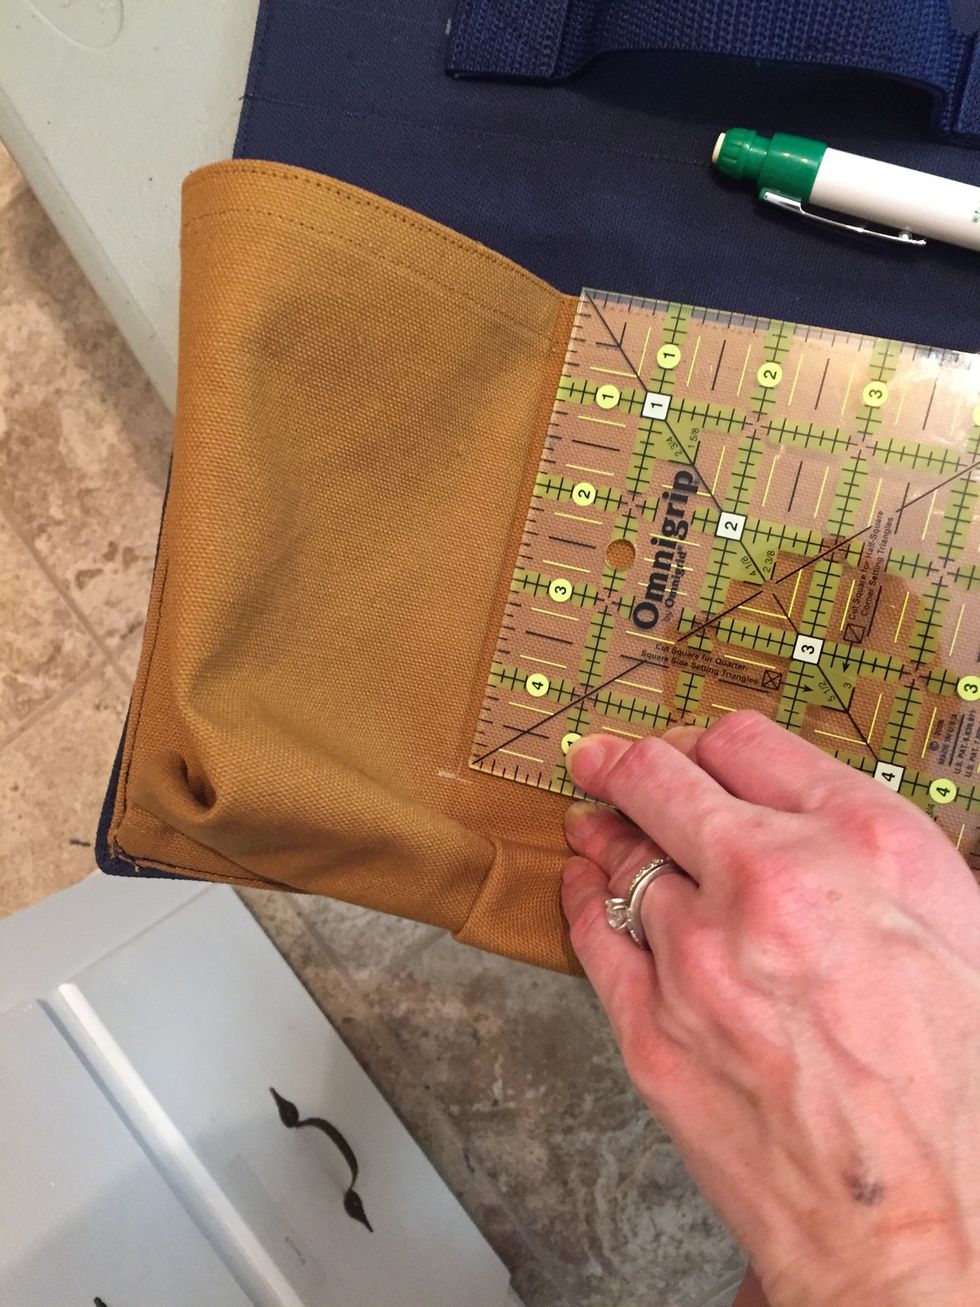
Make sure the right sides are facing each other and the edges are lined up exactly, with a good point at the corner. Press as needed.
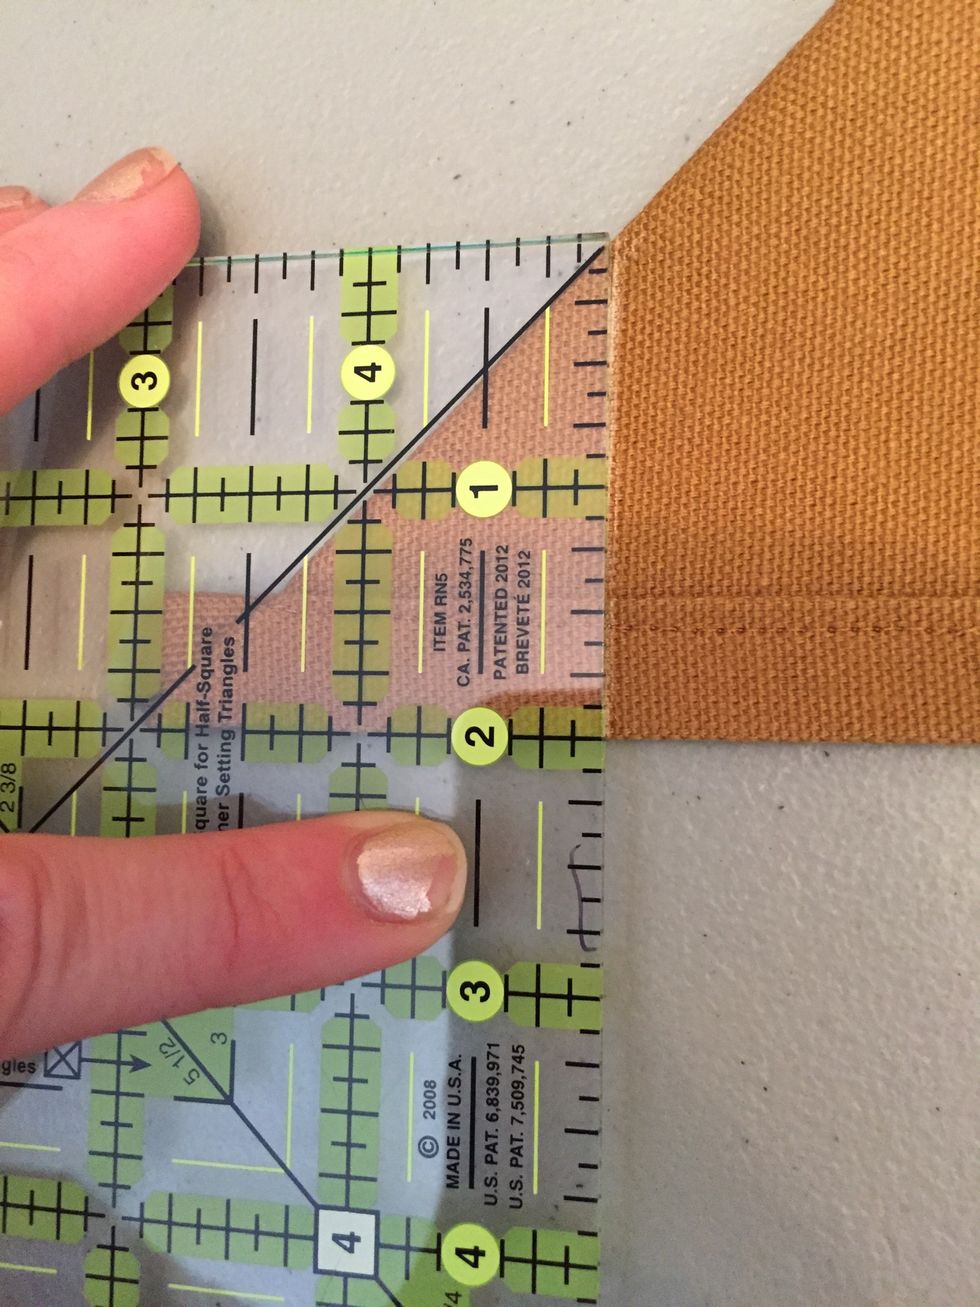
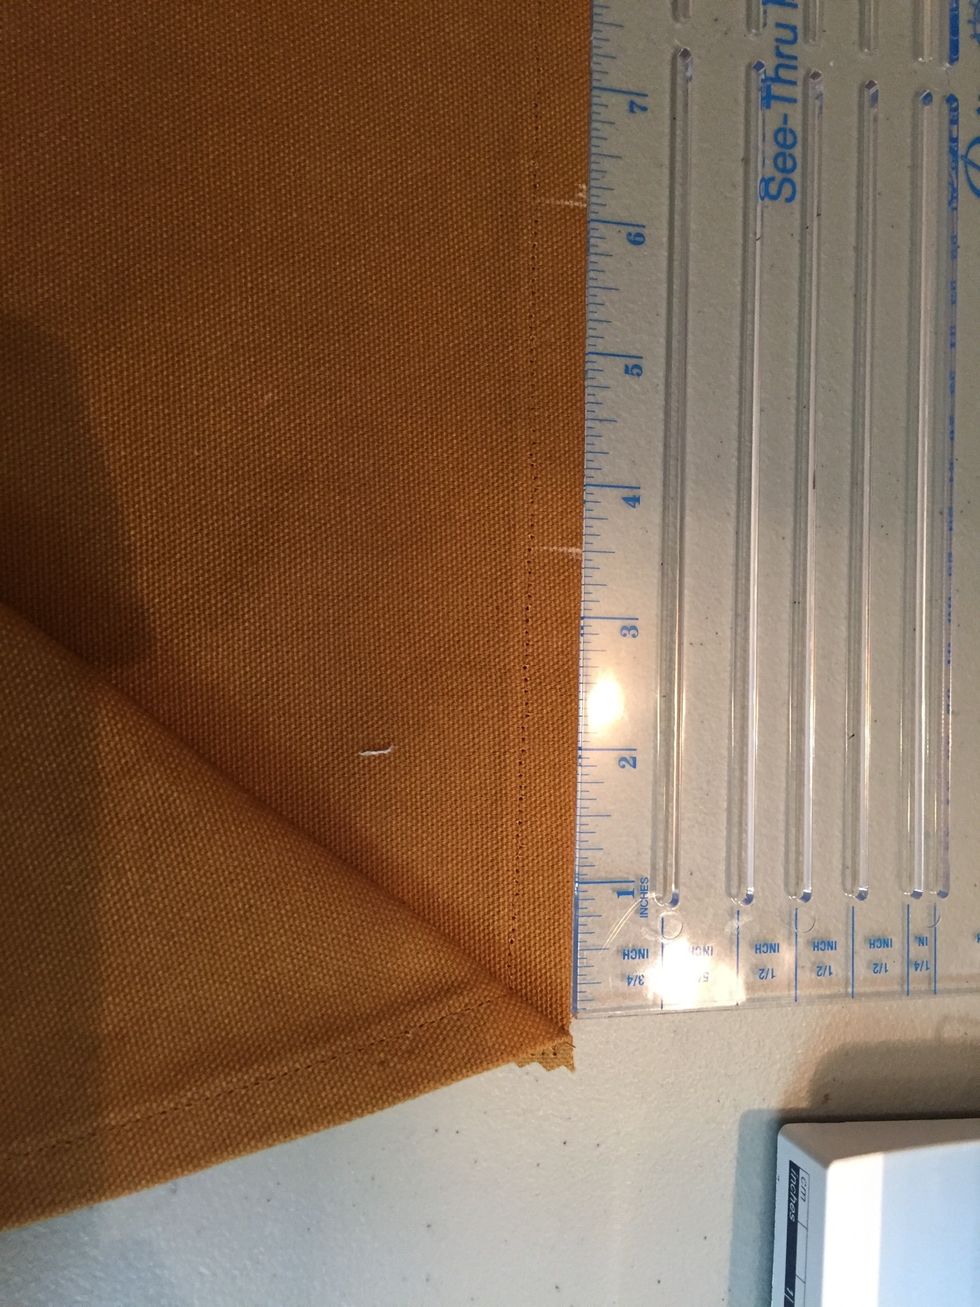
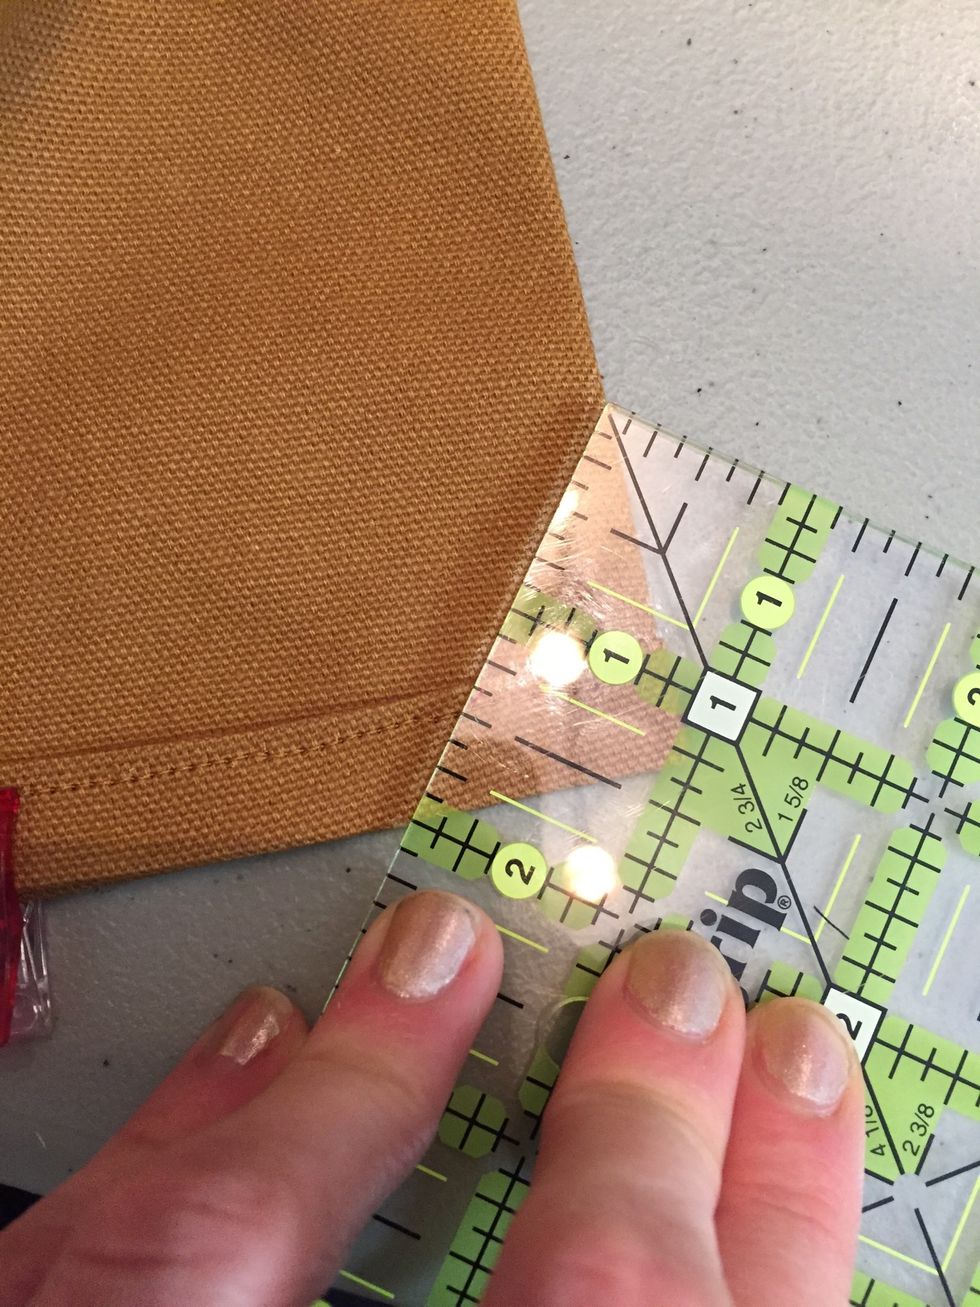
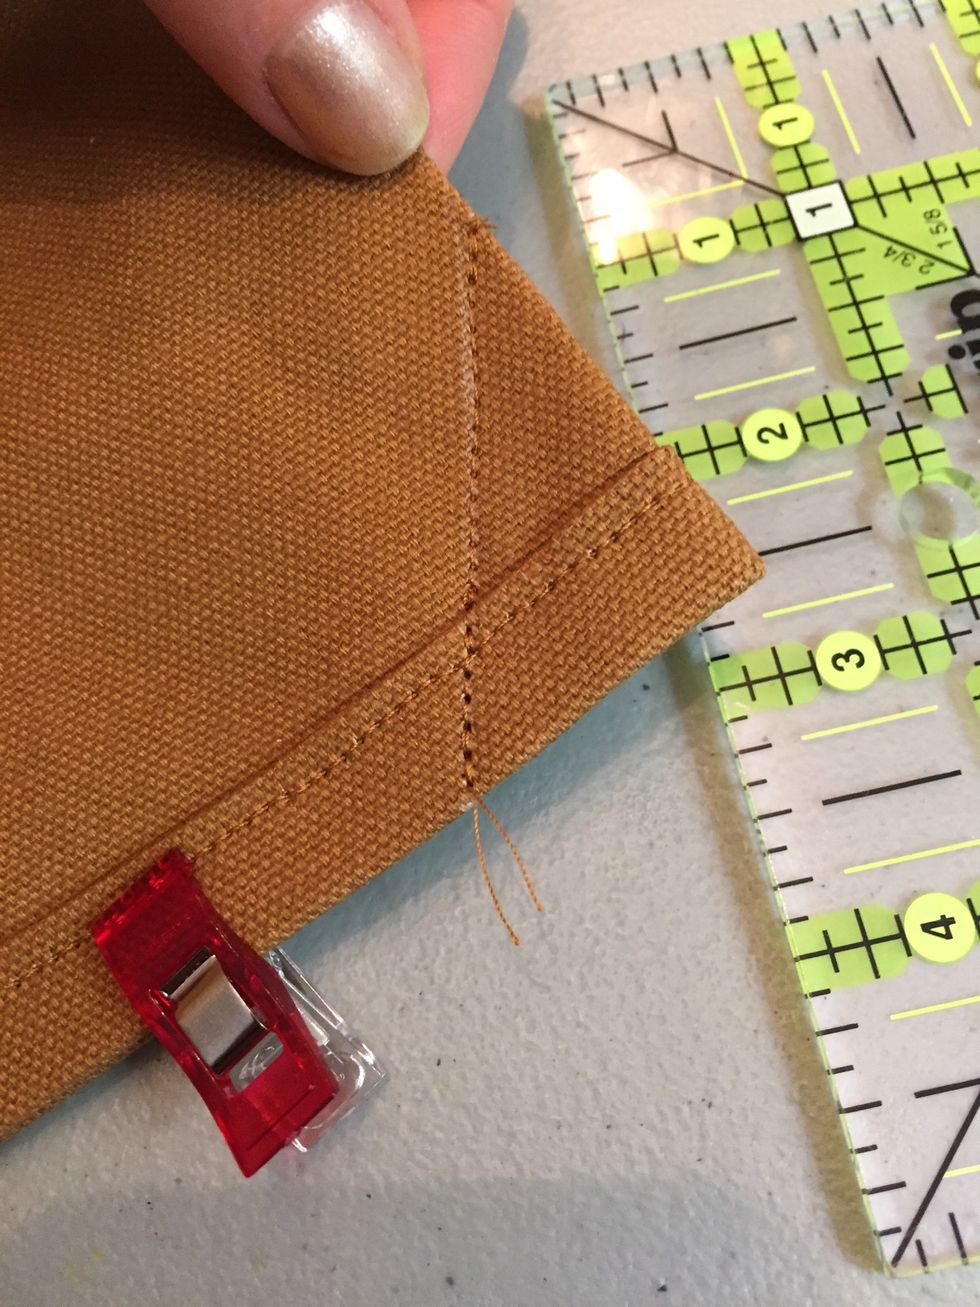
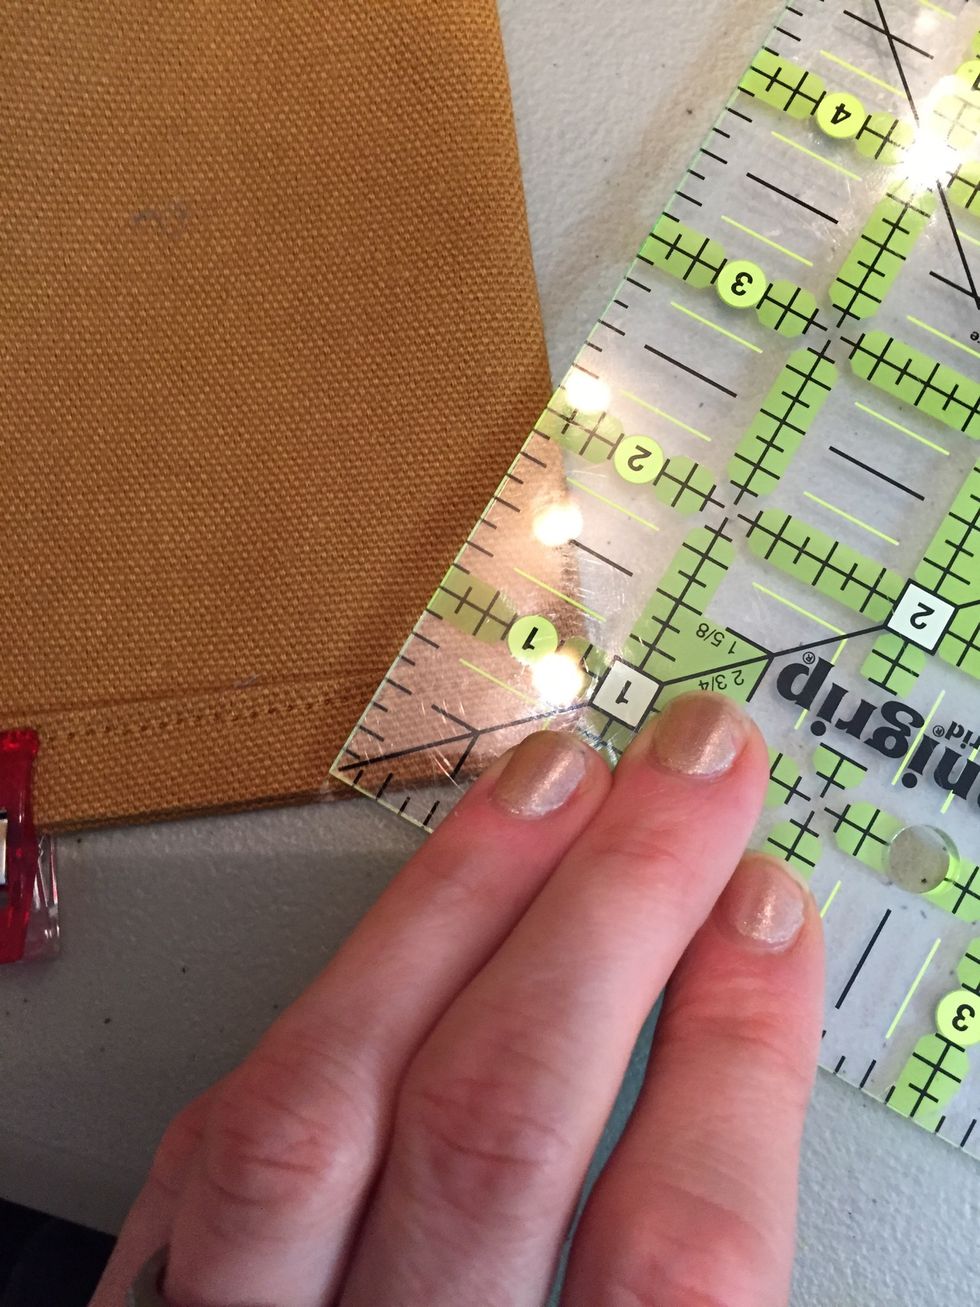
Measure 2 inches from corner and draw a line. (The line drawn should measure 2in)
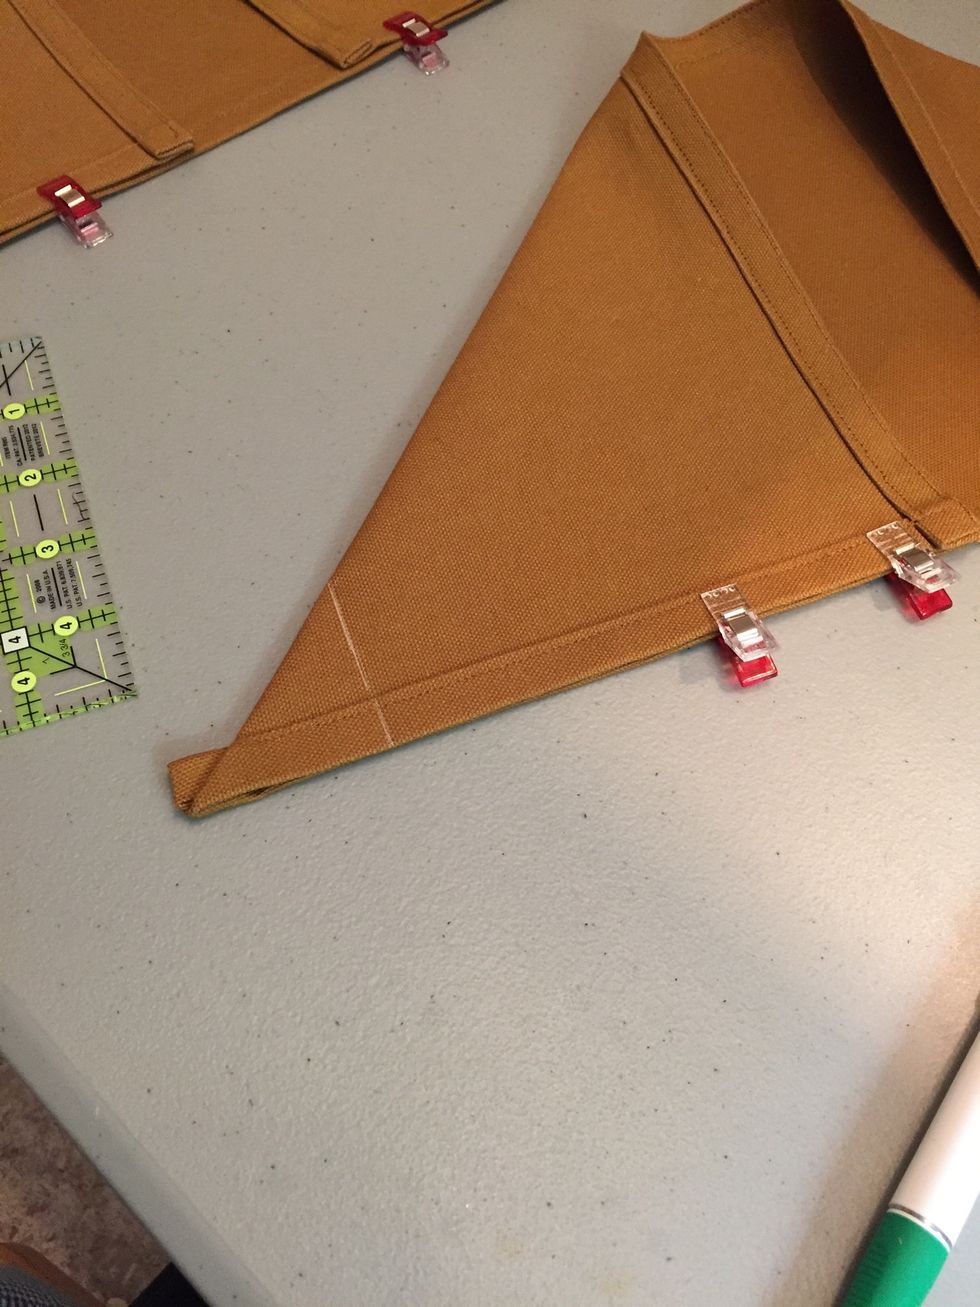

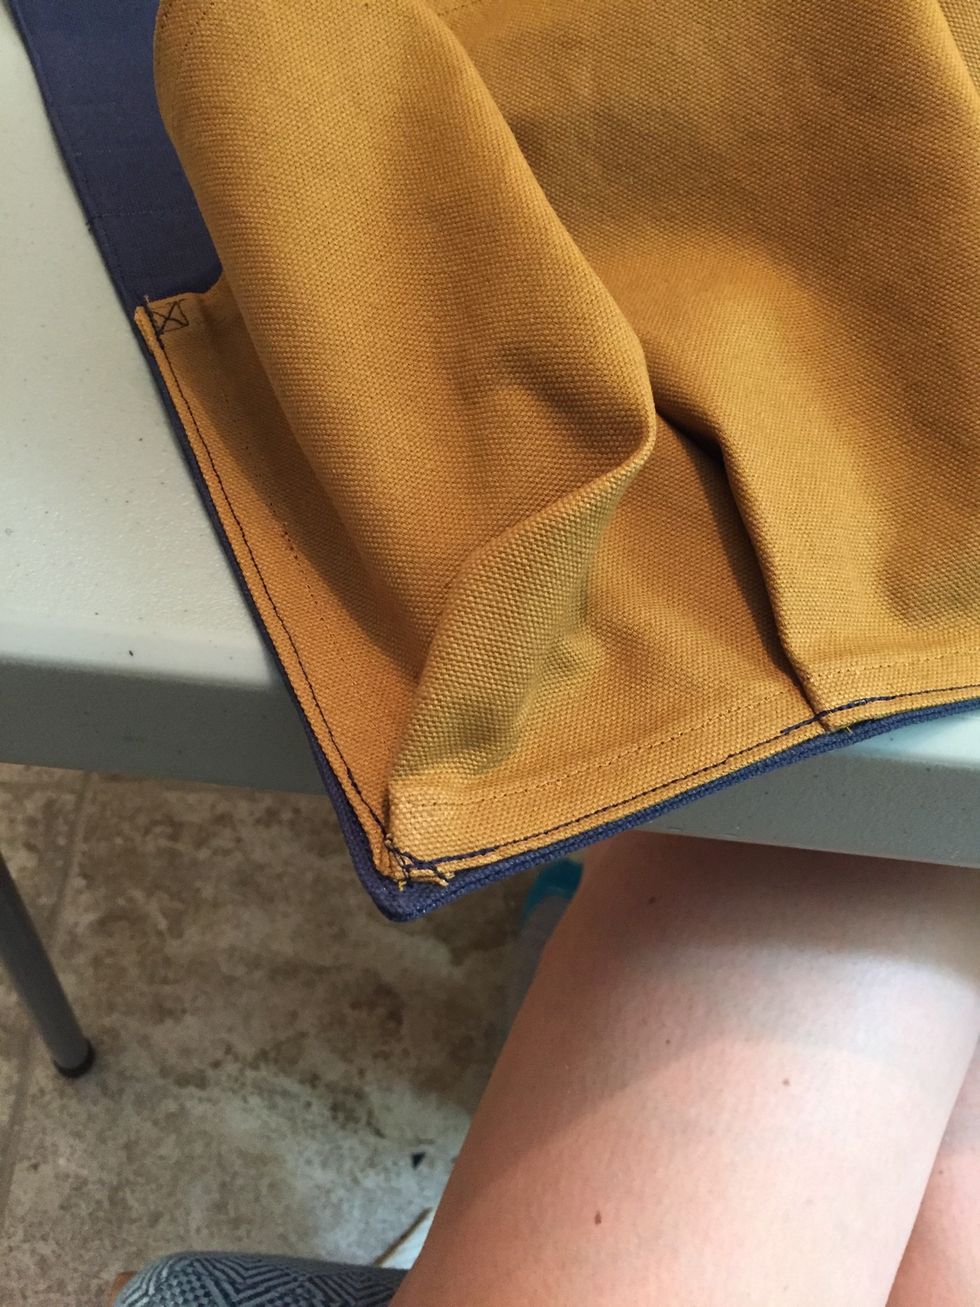
Stitch along line.

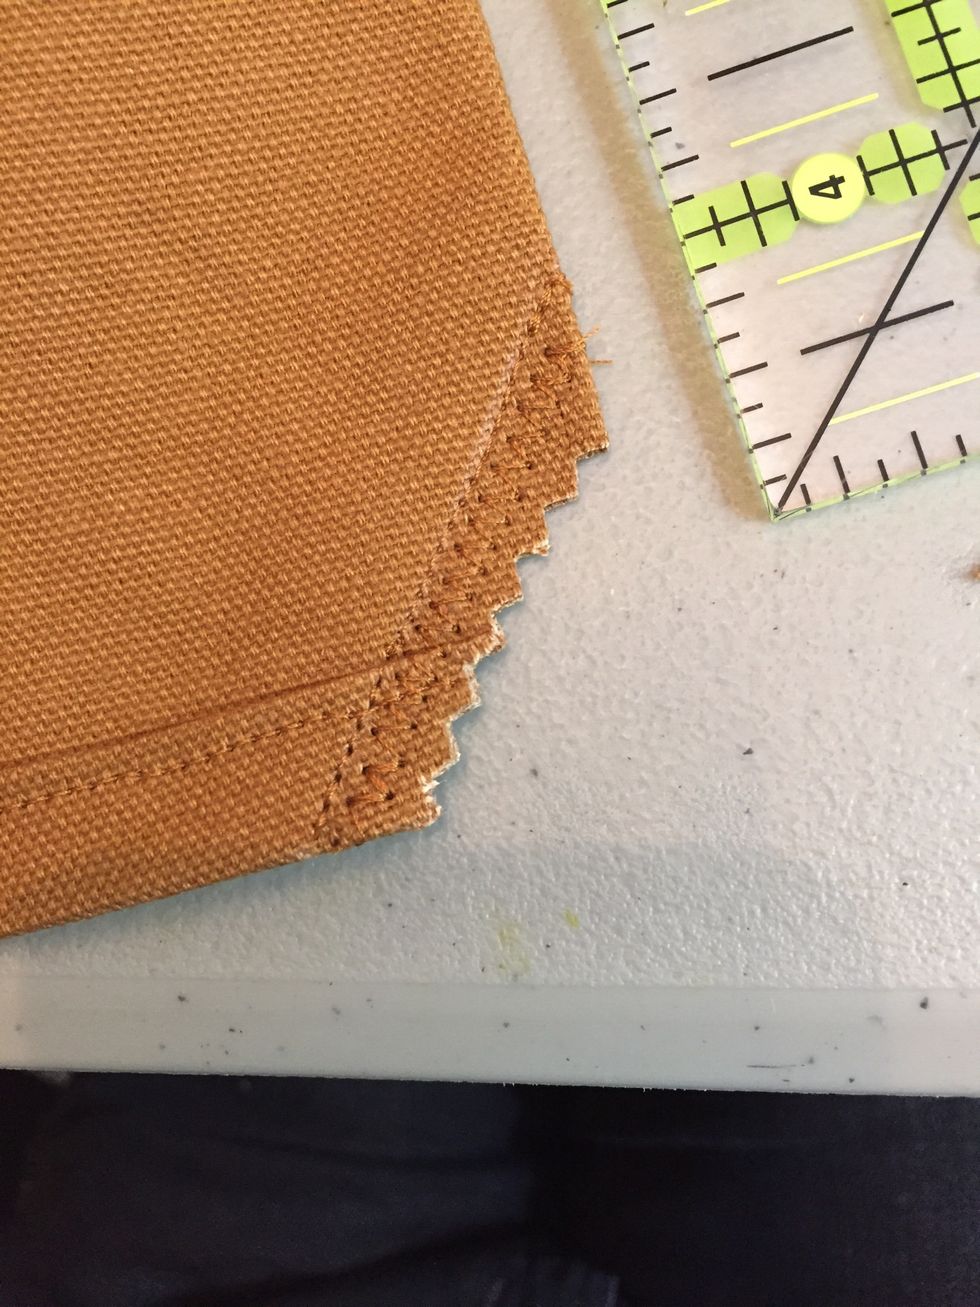
Finish depending on fabric and trim.
Repeat folding, measuring 2", stitching, and trimming (steps) on other side.
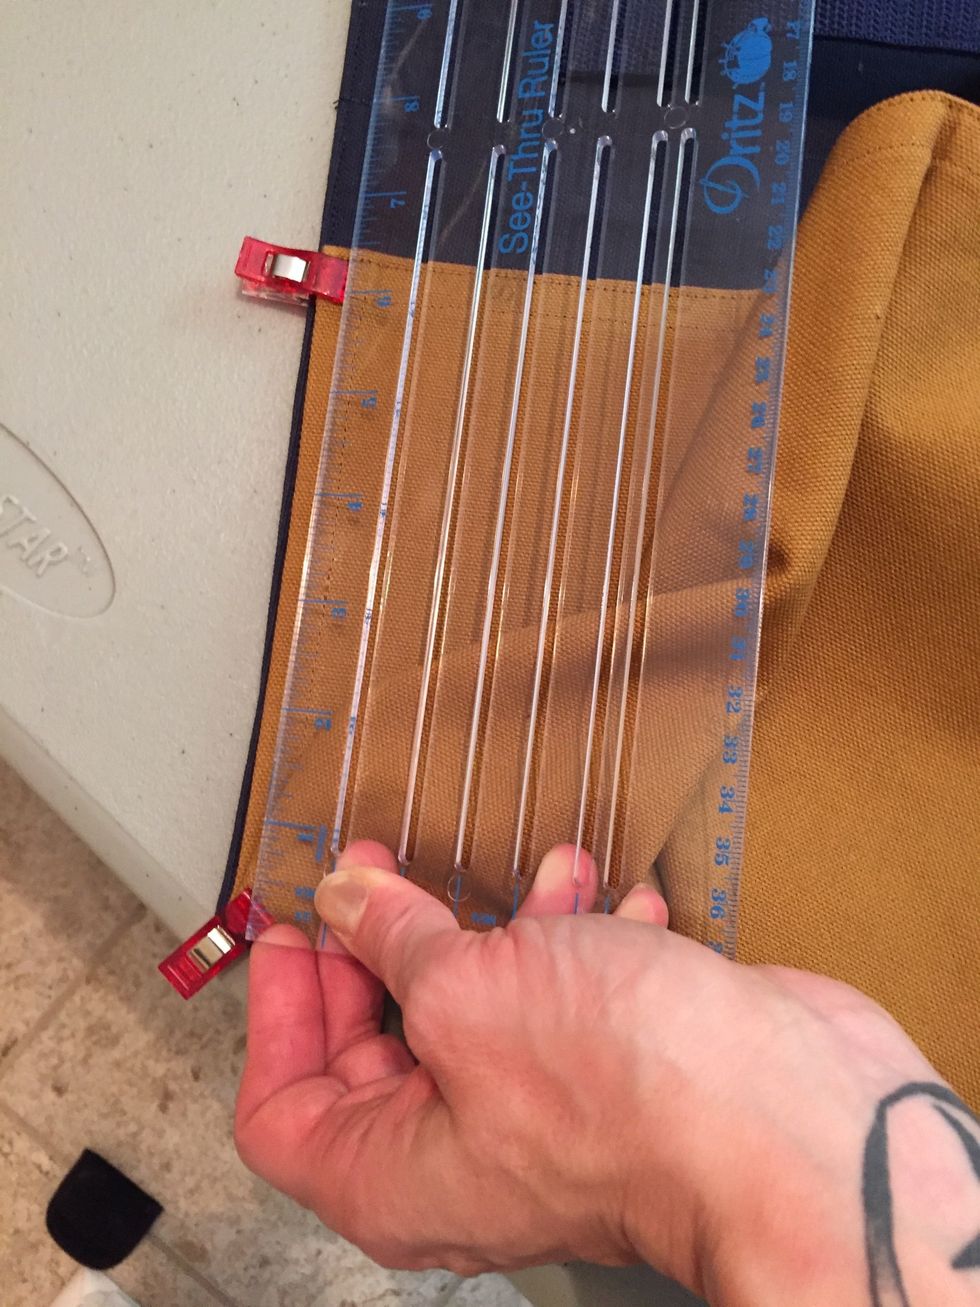
Measure 3.5" from corner stitching and make a mark. Measure approx (2 and 5/8")** from 1st mark and make a 2nd mark. **the three big sections should be 3.5" across, so may need to adjust the distance.
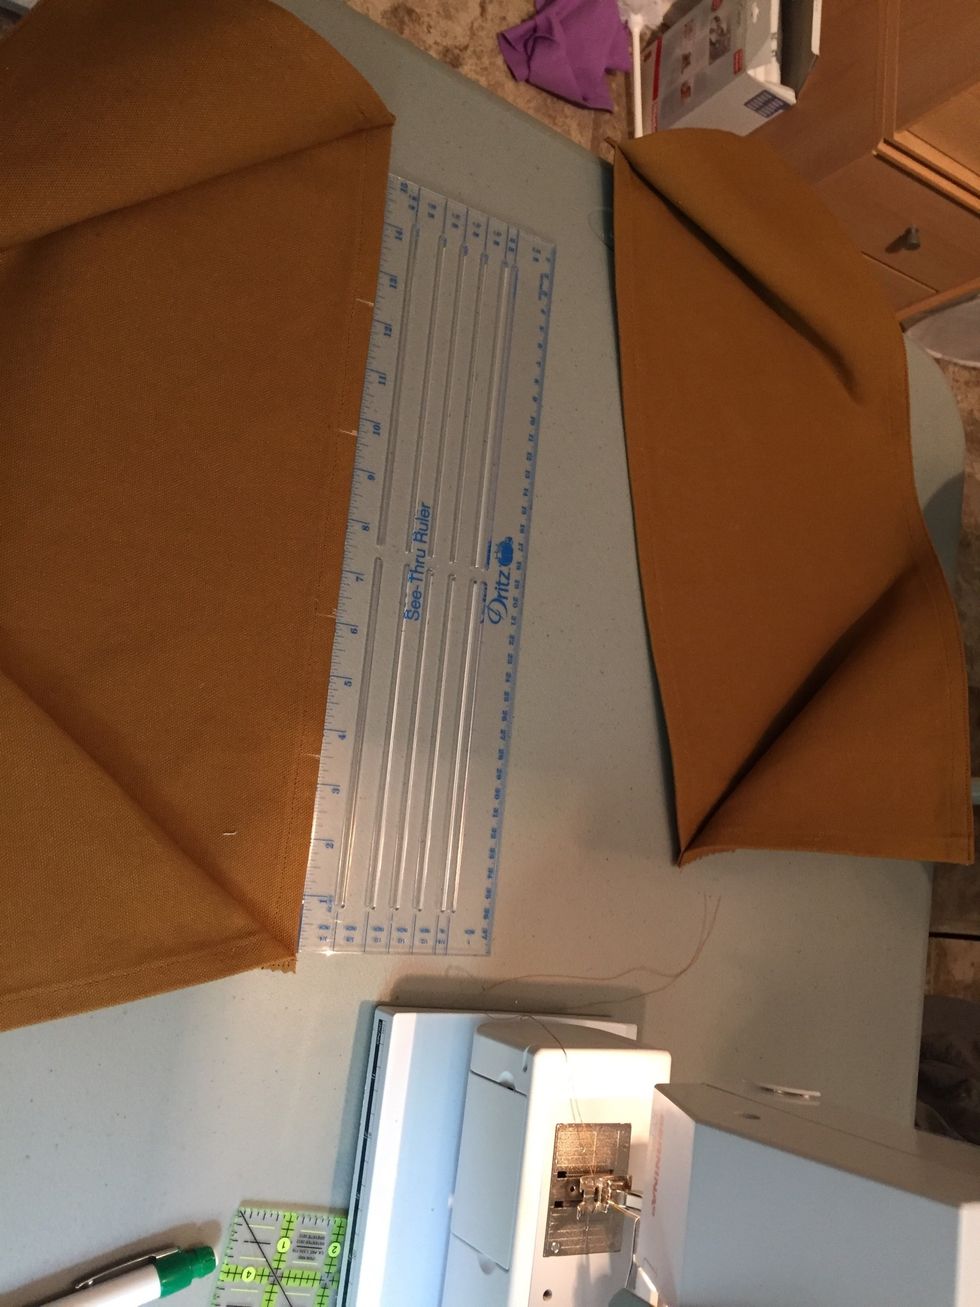
Measure 3.5" from 2nd mark and make a 3rd mark. Then measure approx (2 and 5/8")** from 3rd mark and make a 4th mark. There should be 3.5" between the 4th mark and other corner. Adjust as needed.
Make sure marks line up and edges are lined up, press as needed. Then measure 2" from the marks to the fold and draw a line.
Stitch on the line.
Finish and trim.
Repeat with marks 3 and 4
2" line, then stitch and trim.

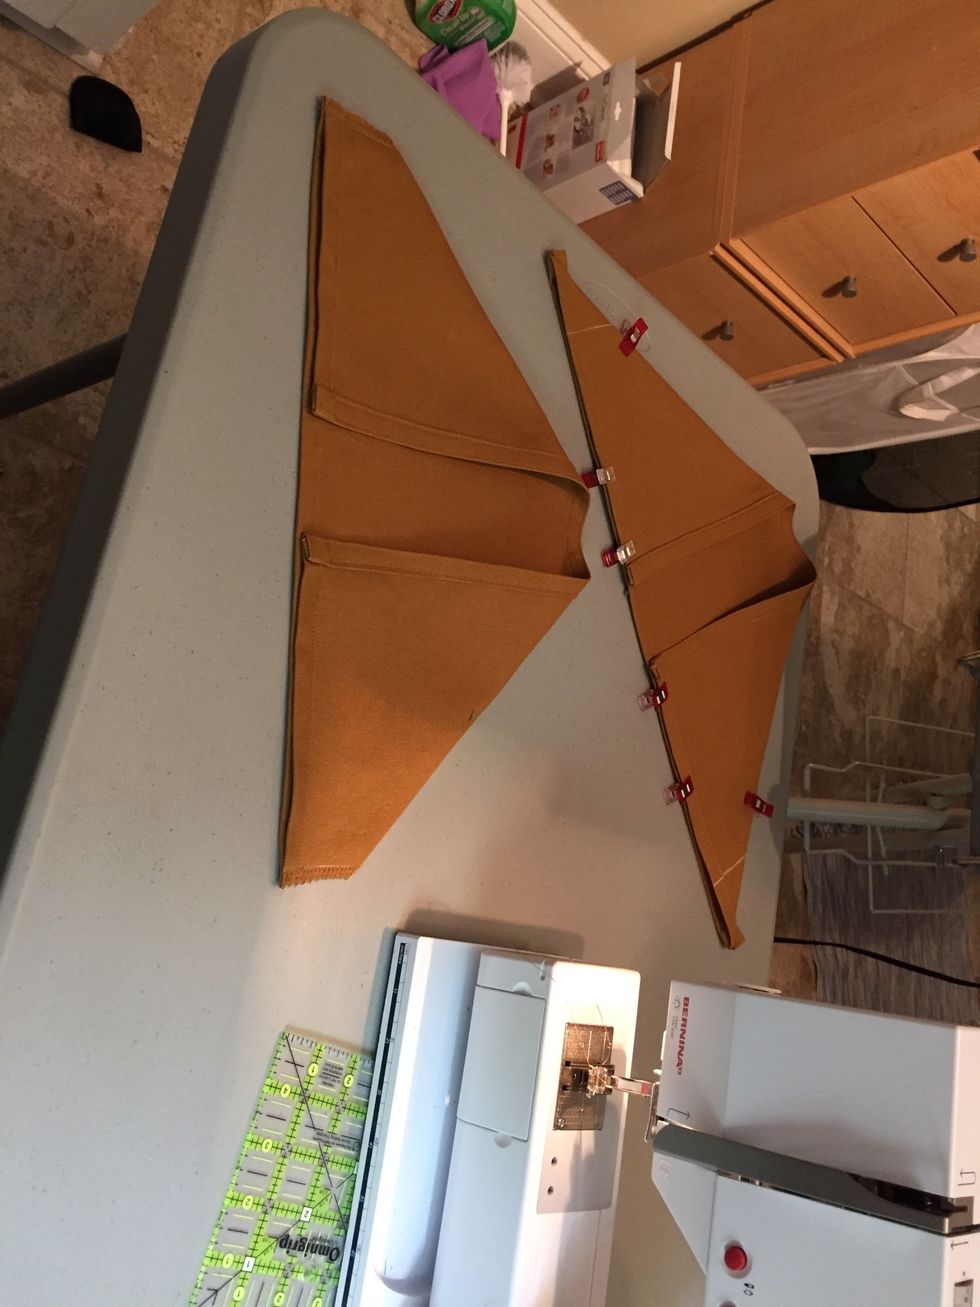
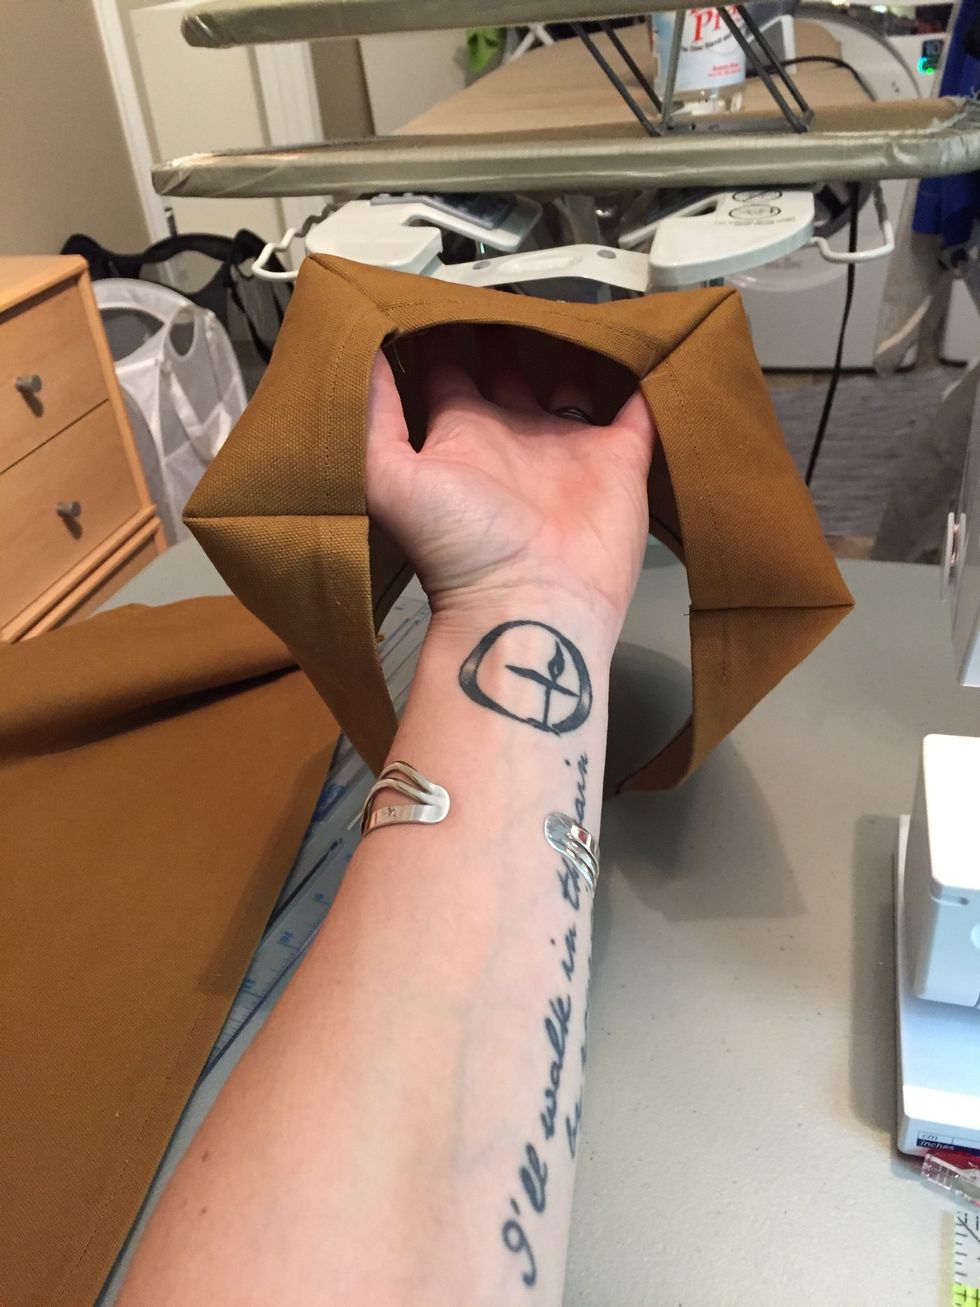
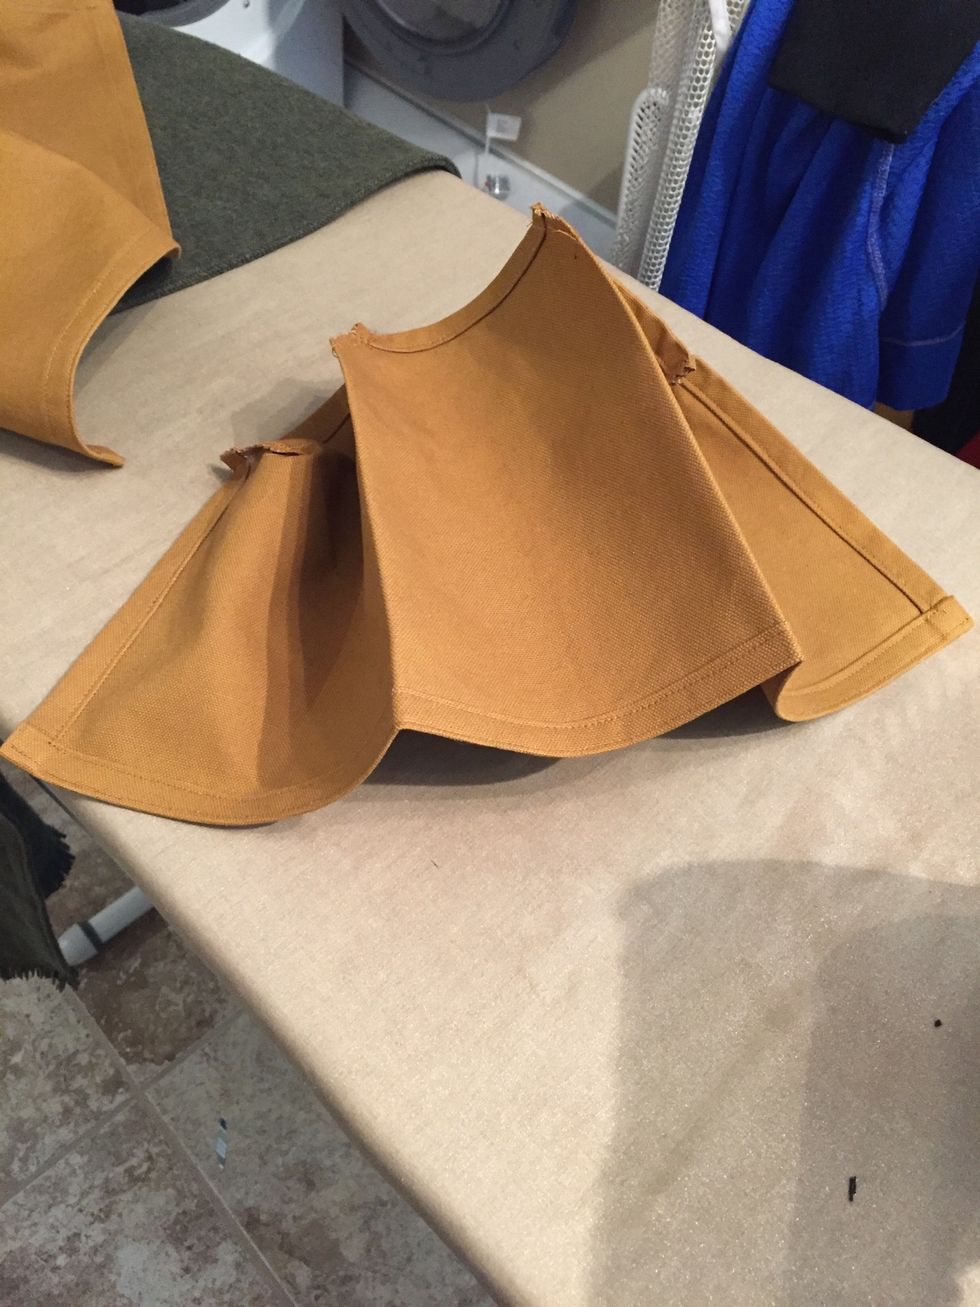
The side piece will have two corner pleats and two middle pleats.
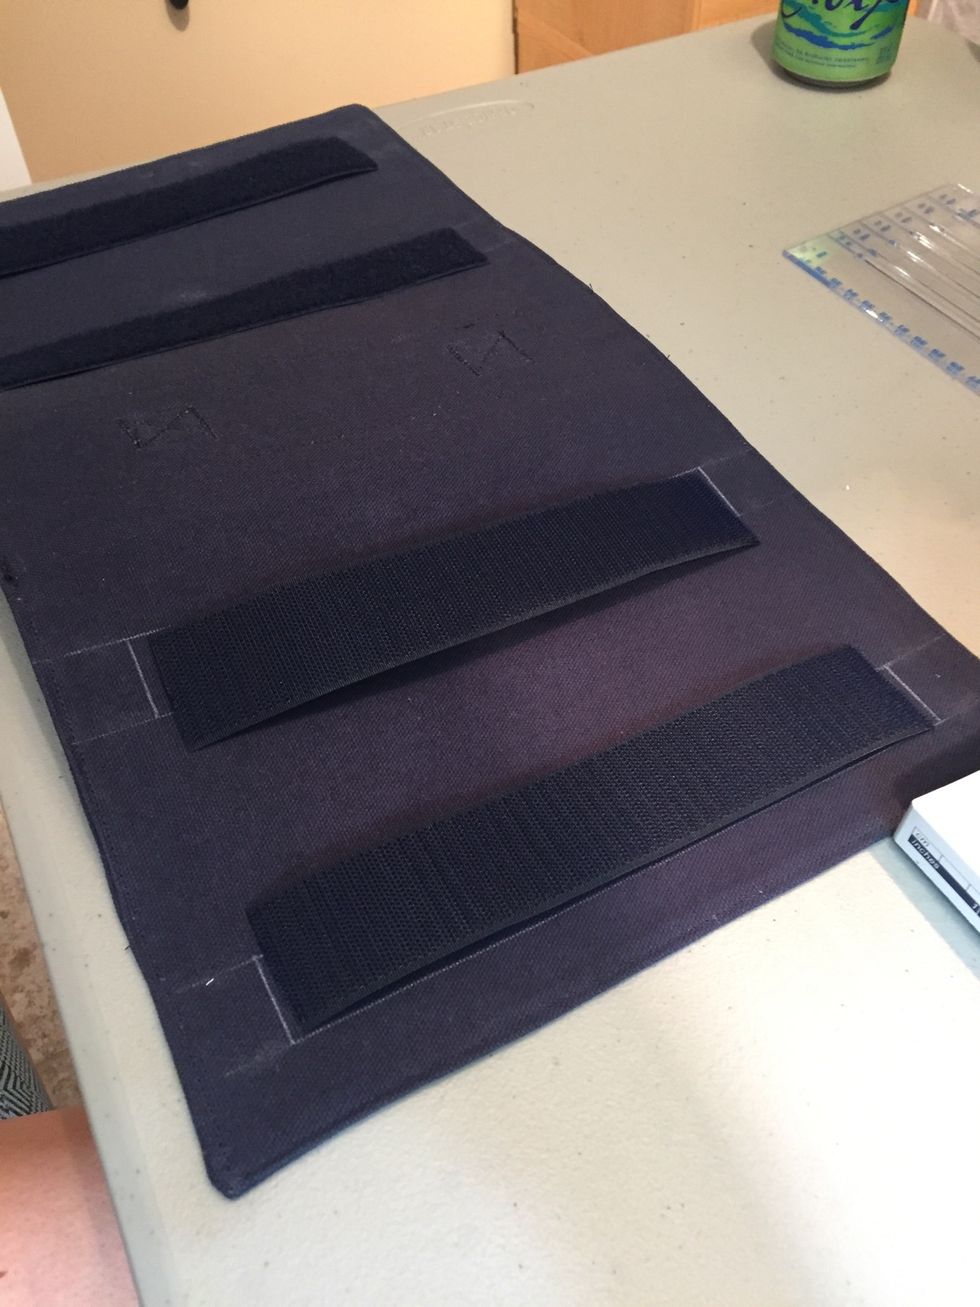
Cut Velcro to fit Velcro spaces.
Sew Velcro strips on to back side.
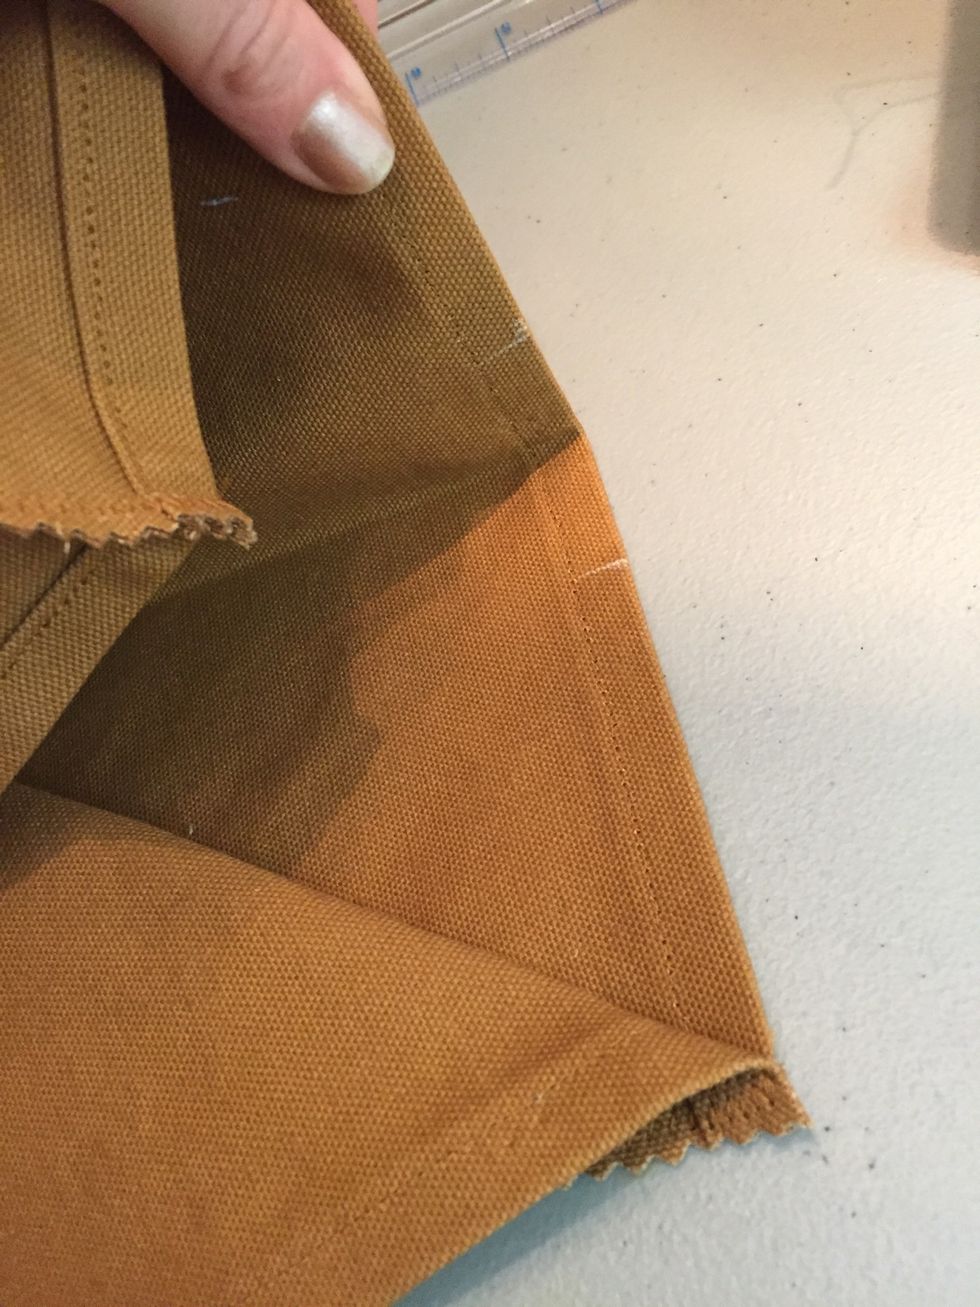
Turn inside out and press a seam from the center pleats up to the top part of the bottle holder.
Seams should be perpendicular to top edge. Then flip right side out again.
Pin bottle holder to body with top edge of bottle holder starting 6.5" from bottom corner of body.
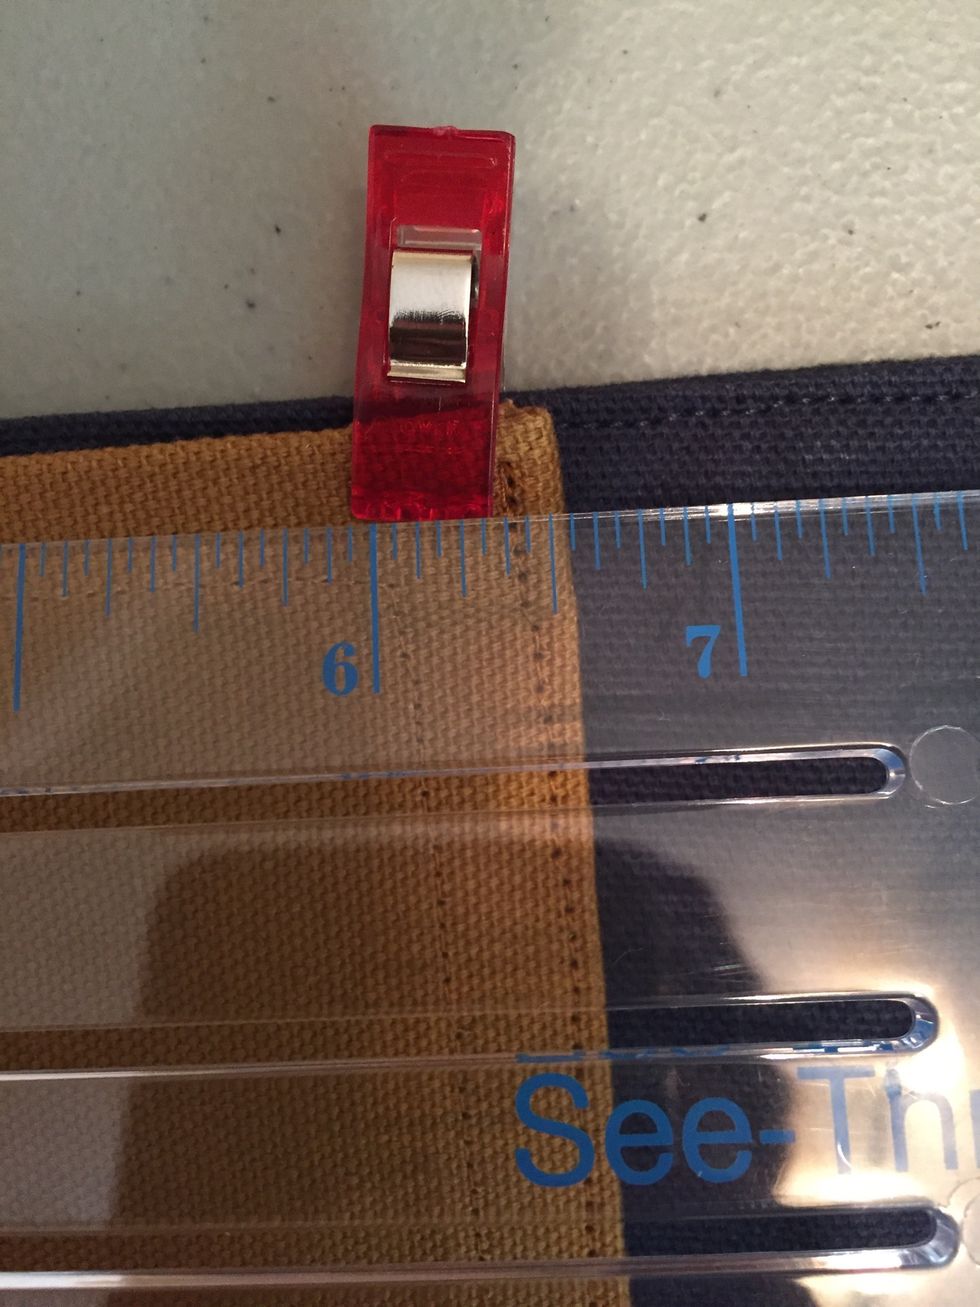
6.5"
Seams should be tucked towards center of holder
Sew around edge of bottle holder to fasten to body of holder. Make sure to reinforce at corners.
Draw a straight line across the top and divide into three 3" sections.
Measure 4" down pleat of holder and mark.

Line top of bottle holder to the mark on top he body of holder.
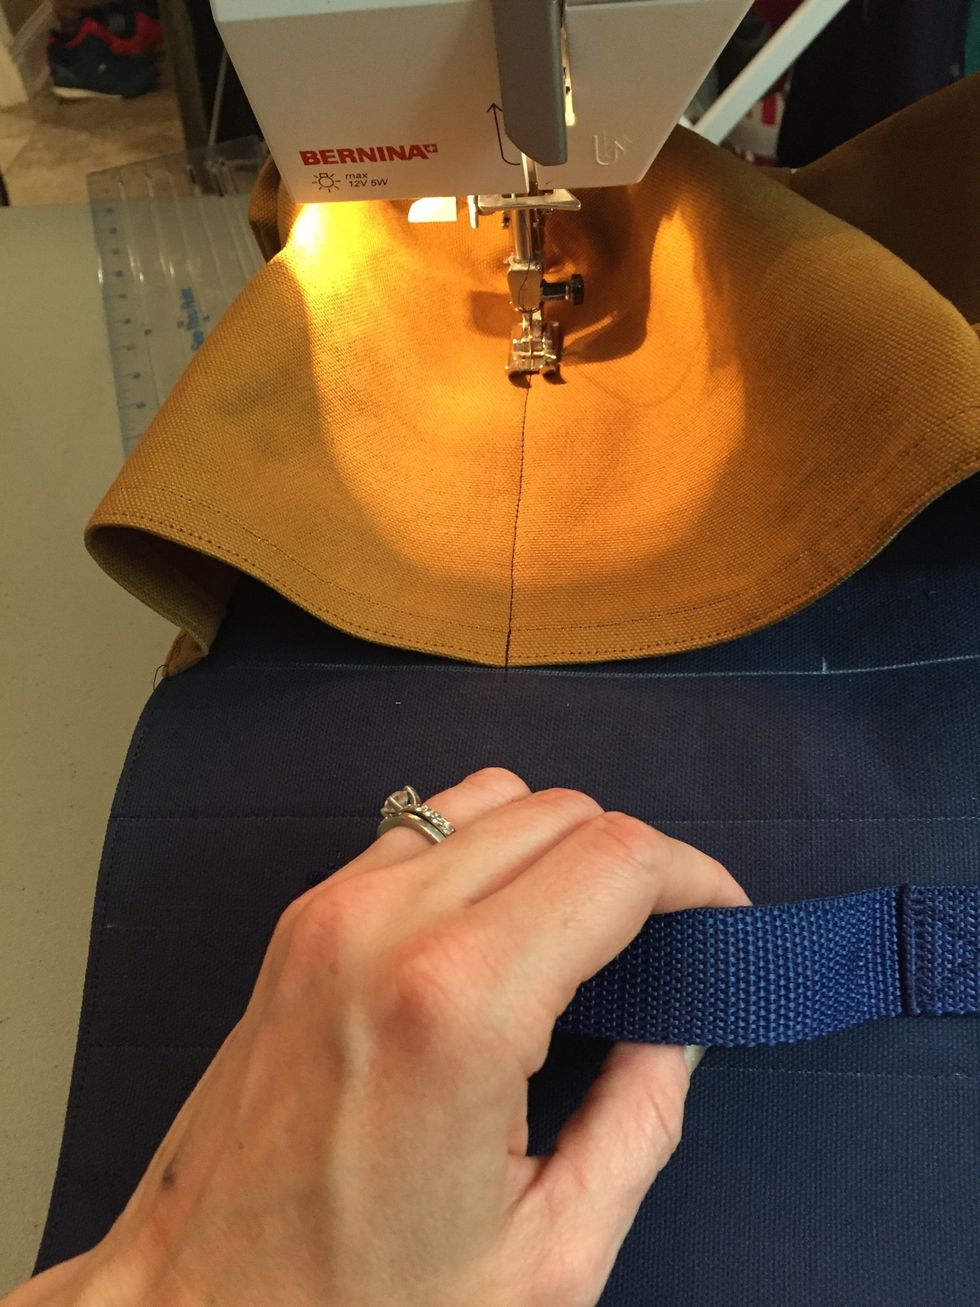
Sew down perpendicular to top line and bottom of body piece until the mark, then reverse.
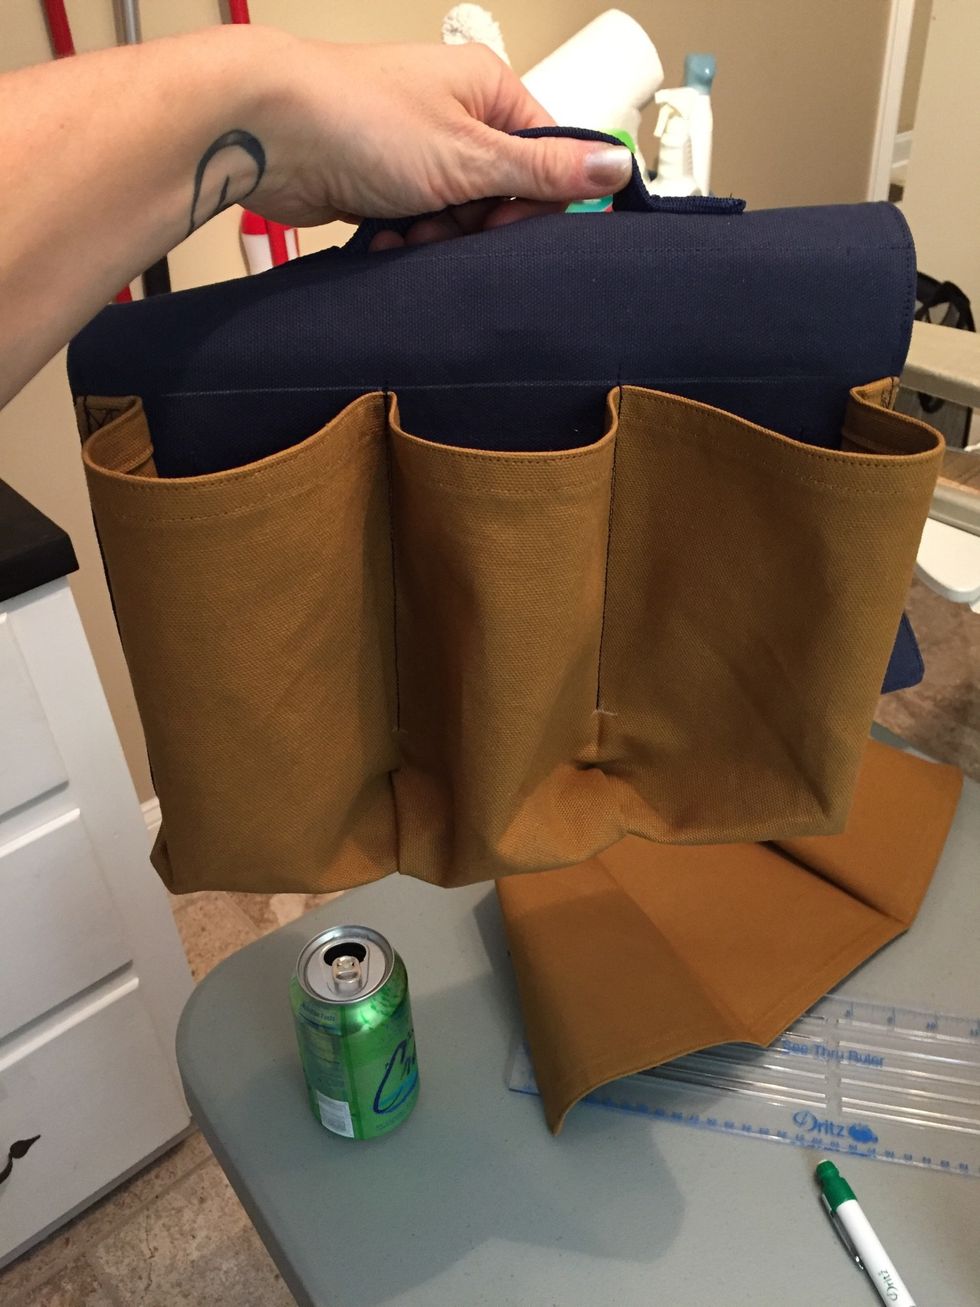
Repeat steps so both sides are sewn on and each side has 3 compartments.
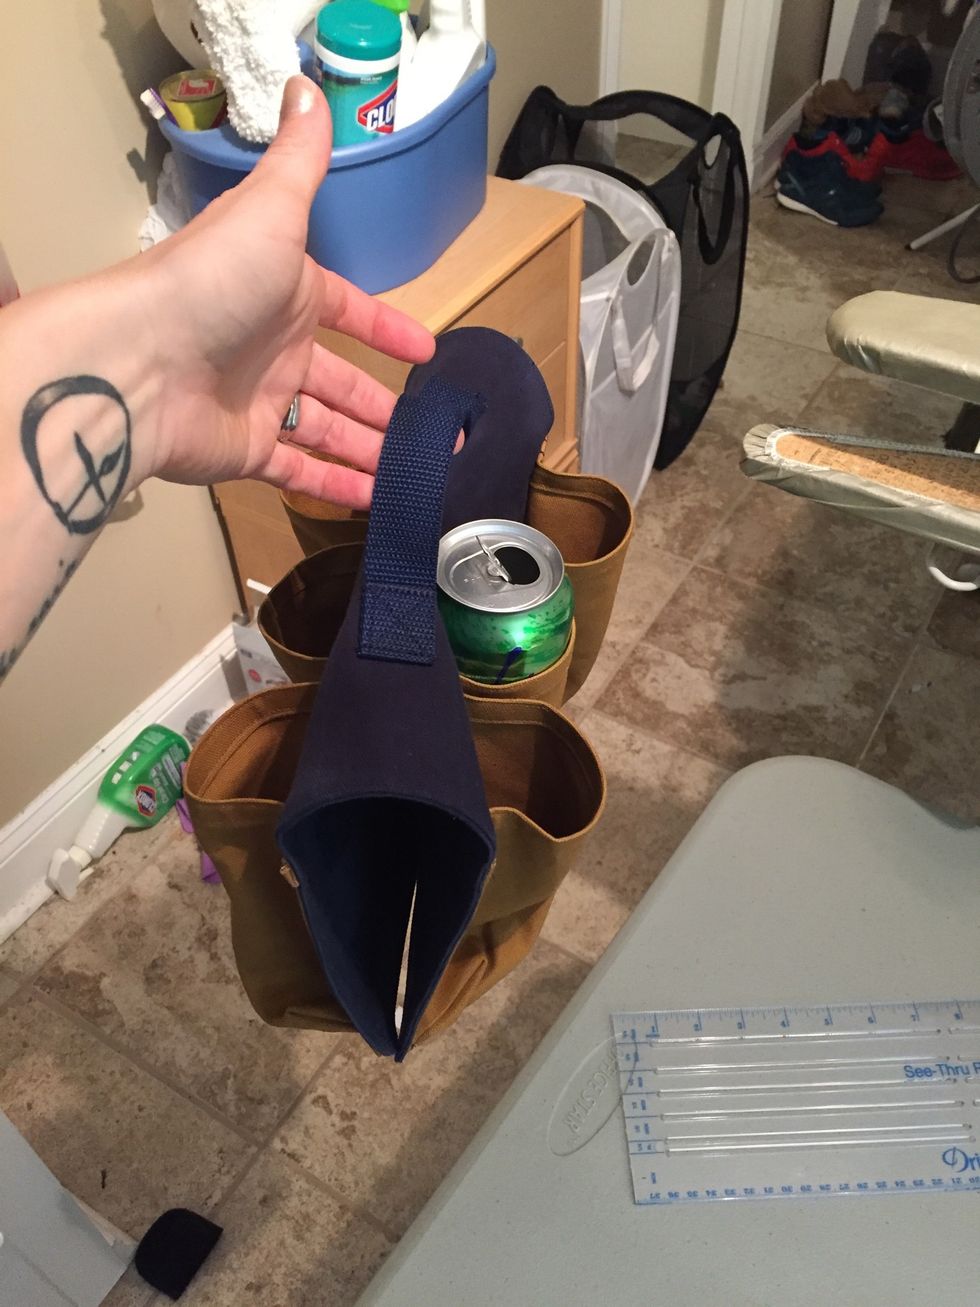

Holder hangs on cross bar of bike.