The Conversation (0)
Sign Up
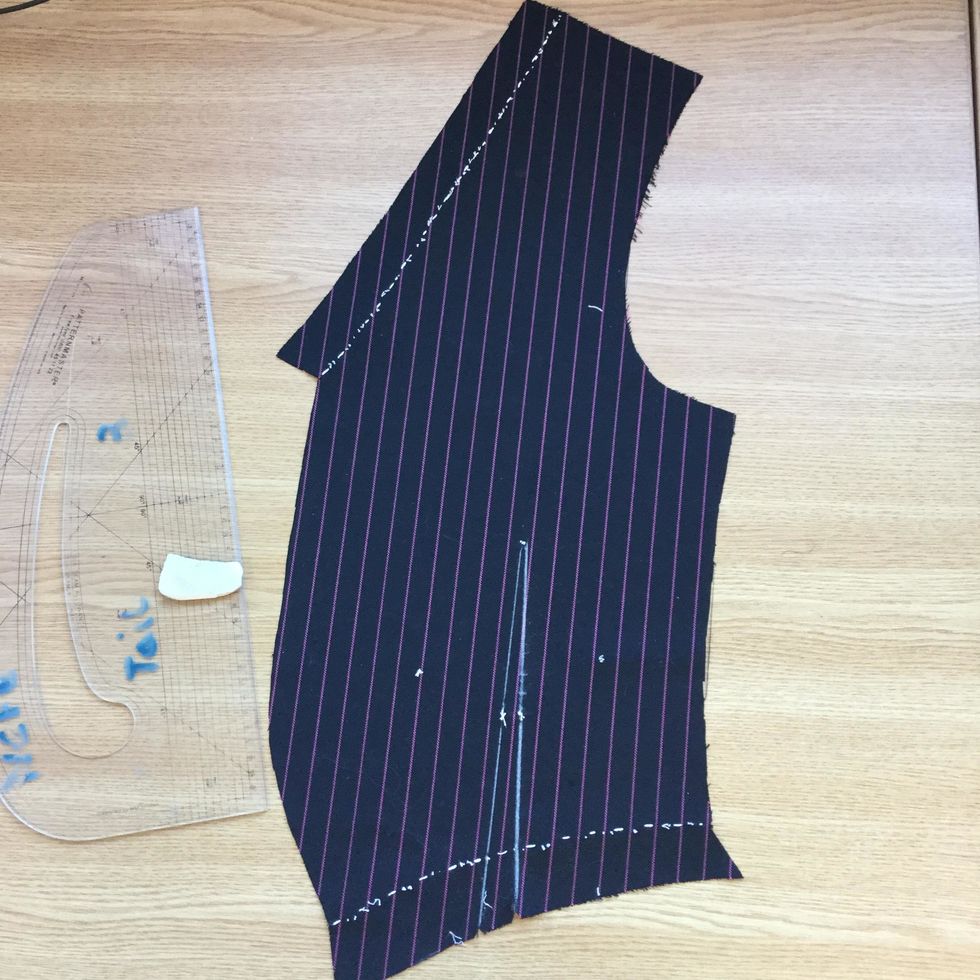
Once you have snipped the mark stitch strike (chalk) darts on the wrong side of the fabric. (It will guide you when sewing the darts)
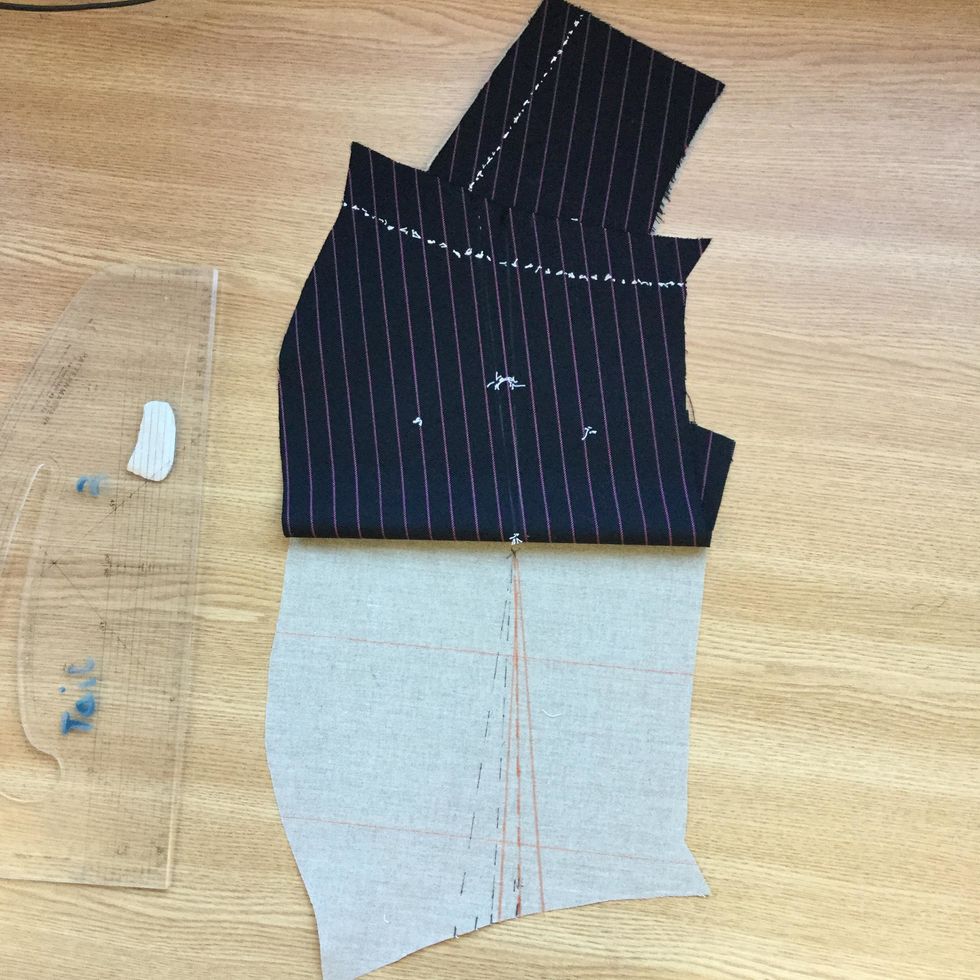
Place the fabric on the canvas and displace the the canvas dart about 2cm from the middle of the dart. Draw a new dart (red line), Note the new dart finishes in the same place.

Cut away canvas dart.
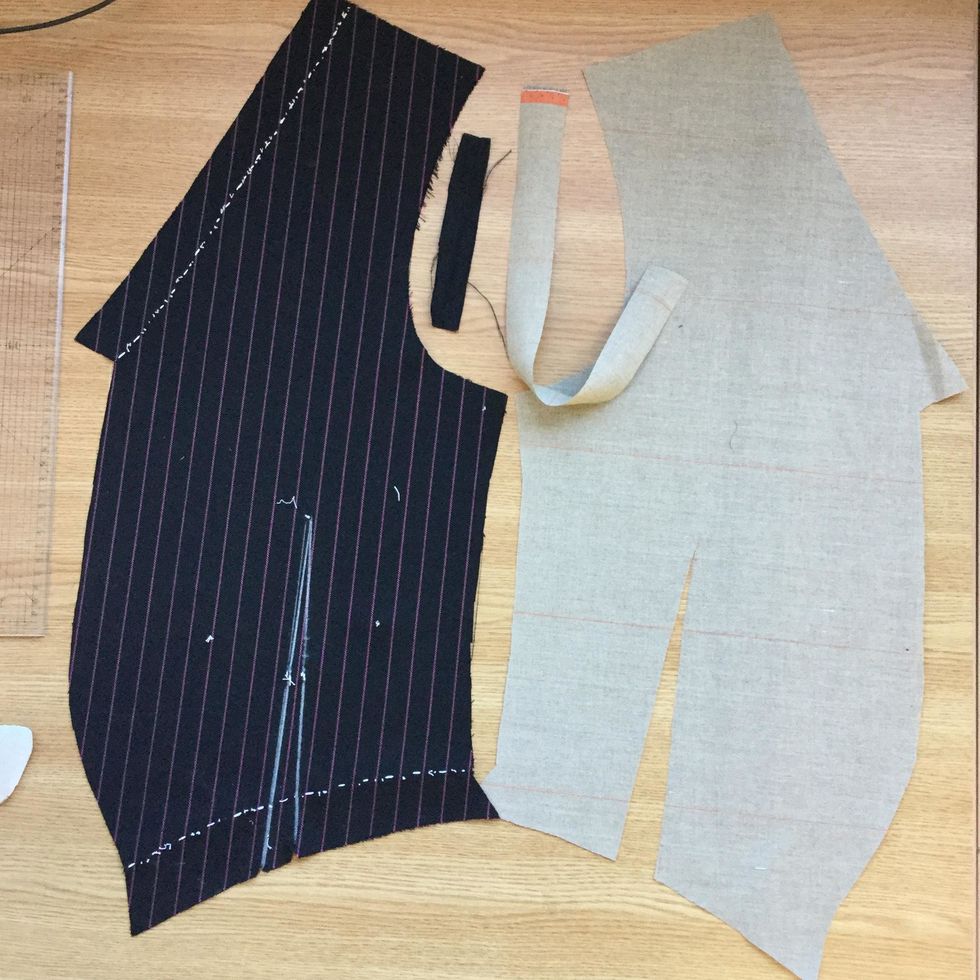
Prepare two strips: one of silesia or cotton or the same fabric if light enough to measure L. 12cm X W. 2.5cm. And one canvas strip to measure the lengh of the dart by 3cm.

Center one edge of the canvas on the canvas strip AND machine stitch a foot width all the way to the dart point.
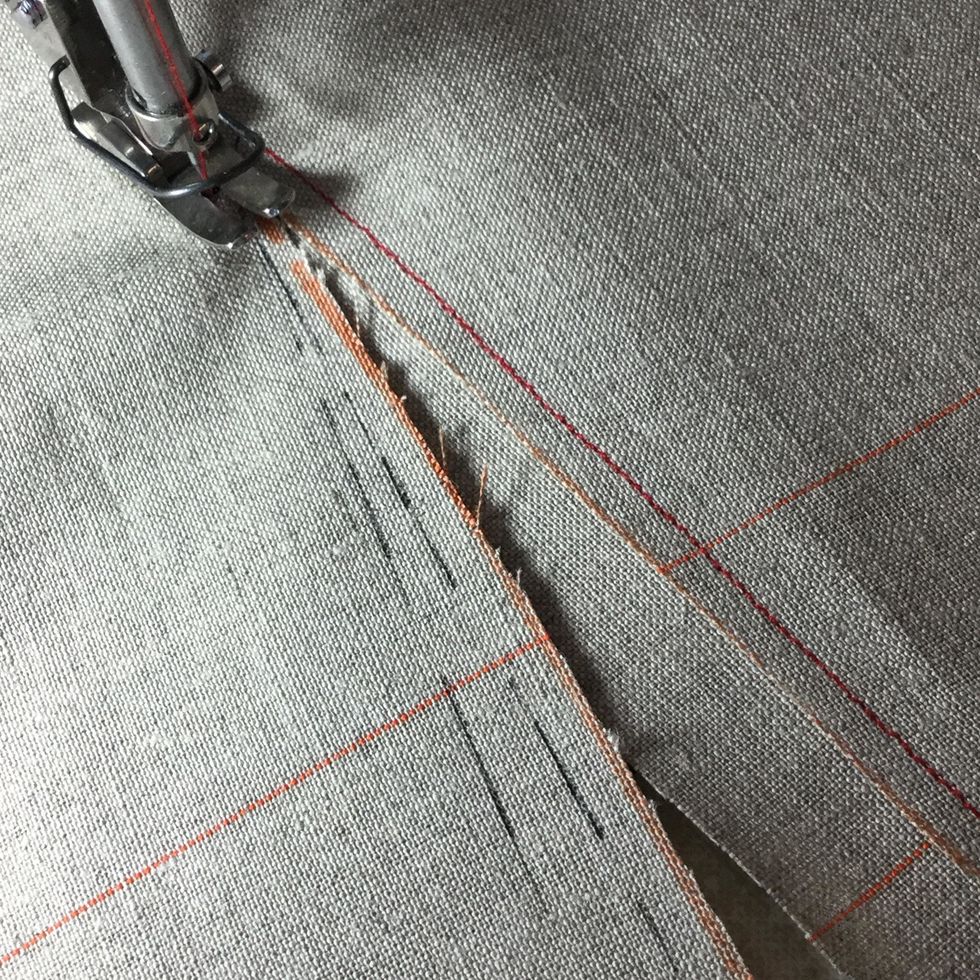
Pivot and machine stitch all the way to the hem while butting the edges of the canvas, careful not to overlap here
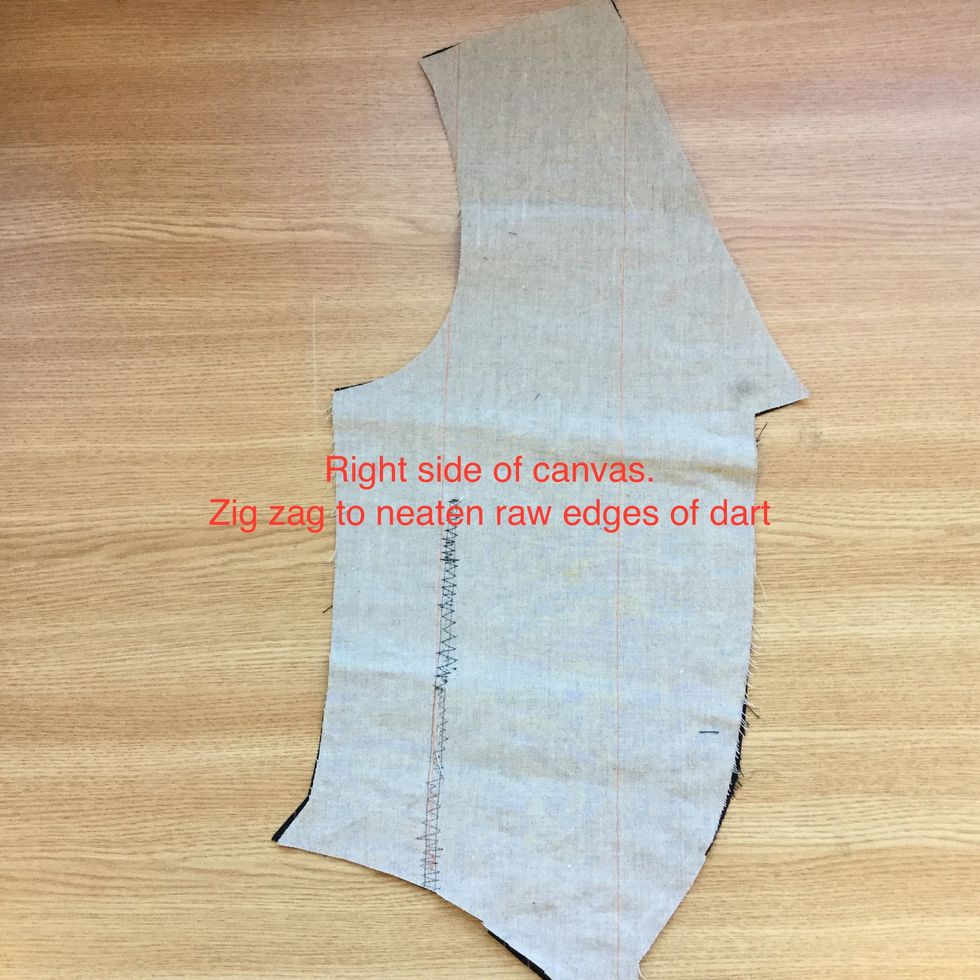
Right side of canvas. Zig Zag raw edges of dart. This canvas dart finish is also found in the construction of jacket's canvas.

Machine stitch fabric dart (do not back stitch at the hem) will be explained later.

Place silesia strip half way under the fabric dart. Silasia strip should be 1cm above dart point

Cut dart open as far as silesia and press open. Pressing should be done on the ham to retain the dart fullness. The edge of the iron board can be a substitute to the ham.
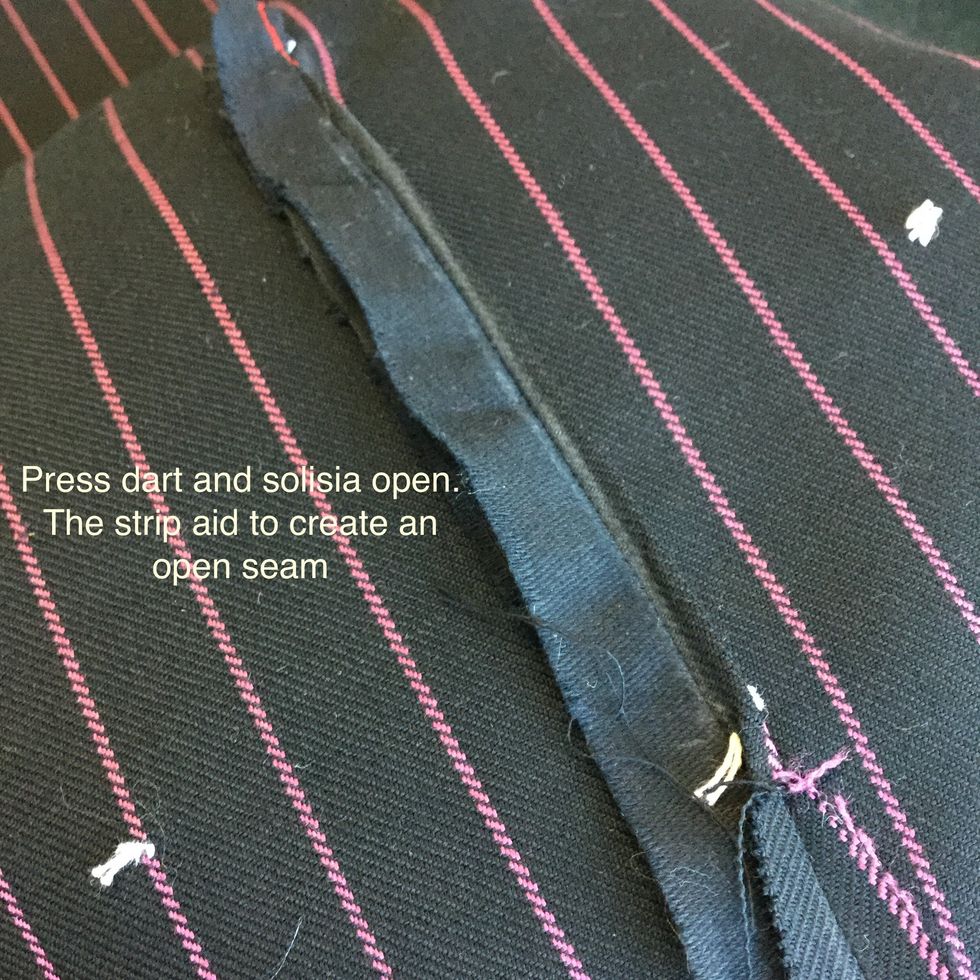
Press the dart open solisia act as a seam, make the dart stronger and avoid marks on the right side of the fabric when pressing.
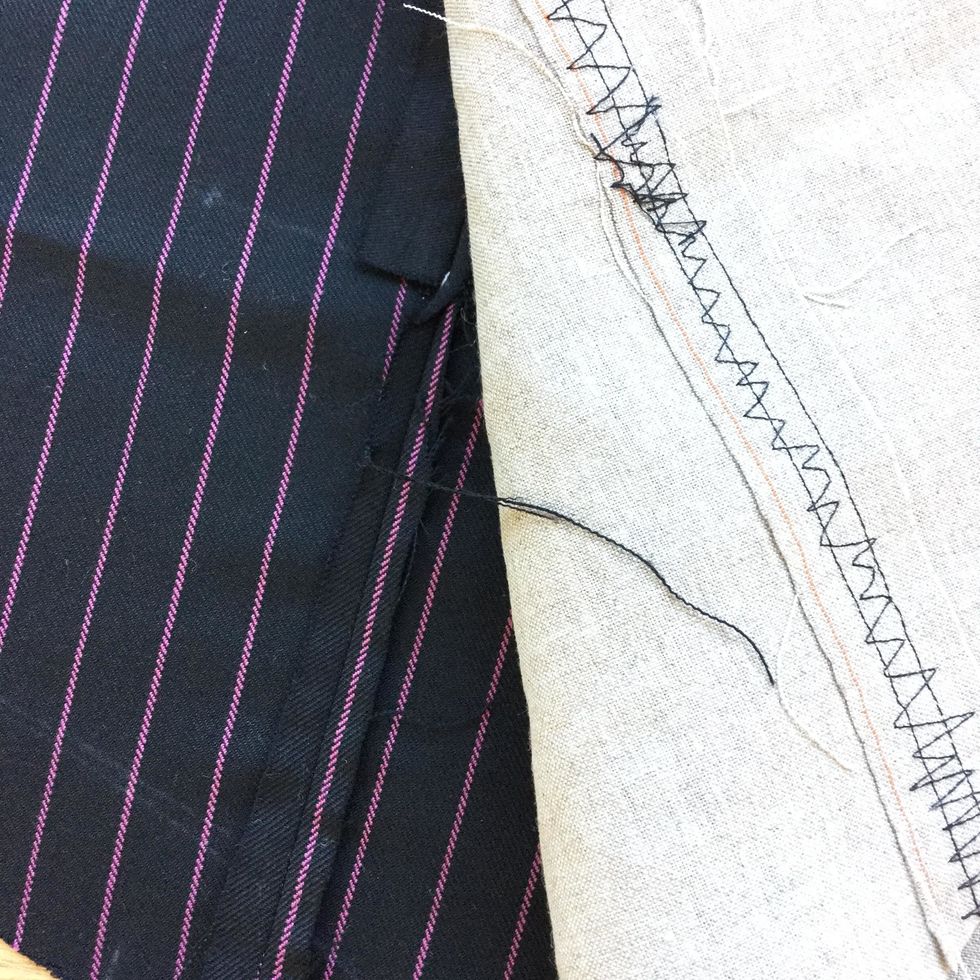
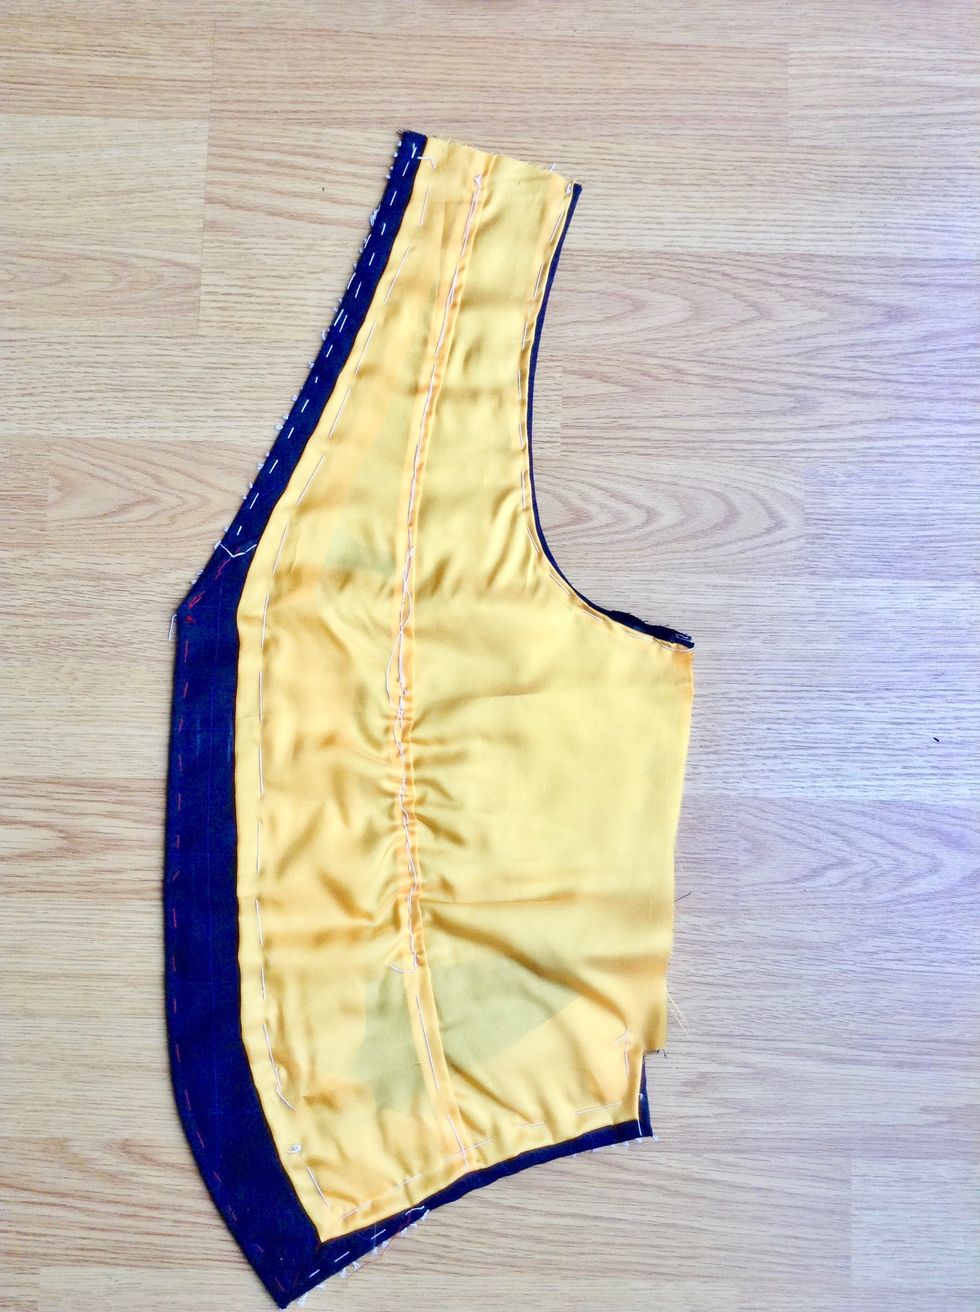
Place wrong side of canvas to wrong side of canvas. The strip should not be visible to the eye).
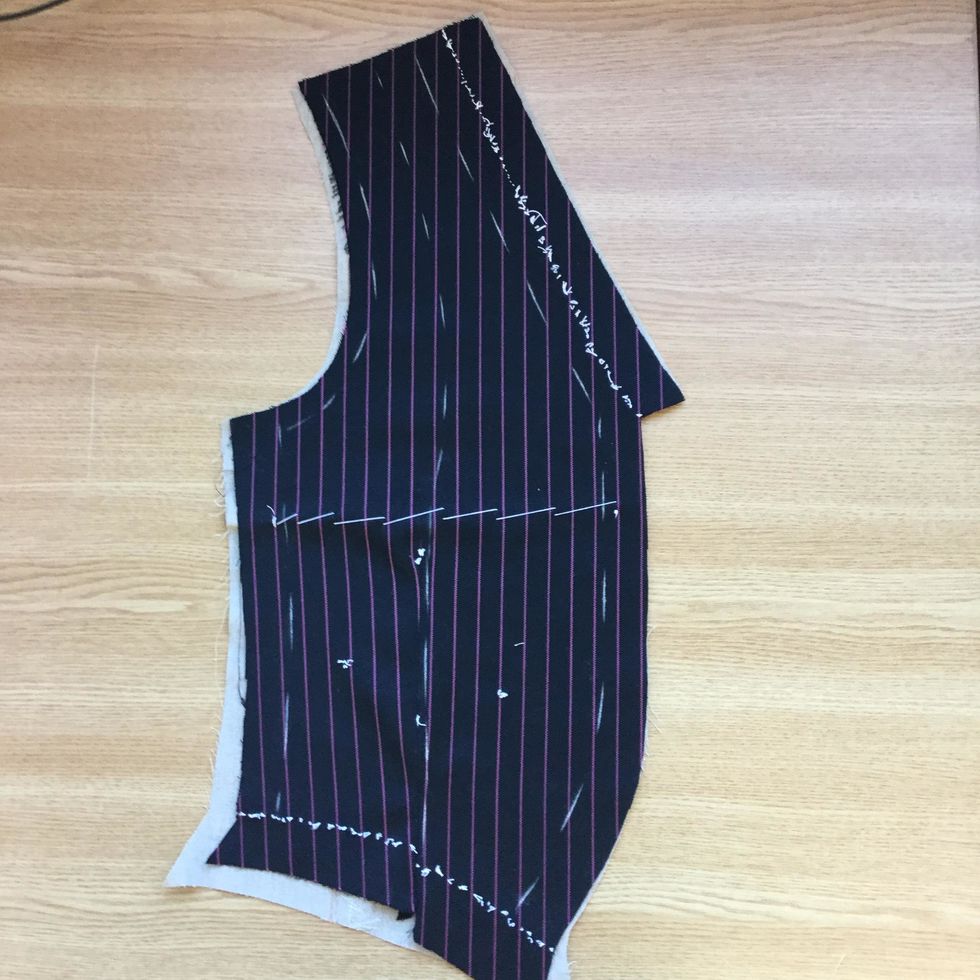
From the right side of the fabric mark your lines to make it eaier to follow when basting . Pad stitch across the chest area).
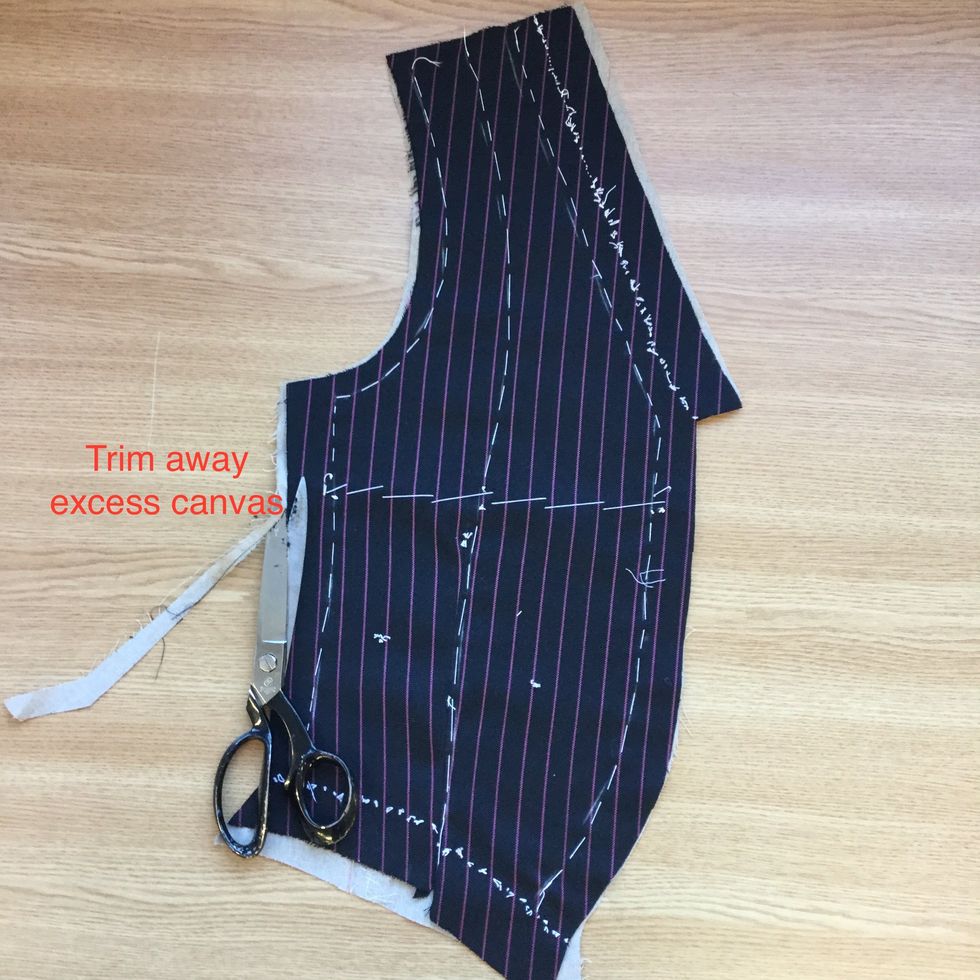
1- Baste a 2cm stitch on the dart from the middle to the hem. 2- baste from the middle up to the middle of the shoulder. Continuously caress up and down to avoid wrinkles.Trim away excess canvas.

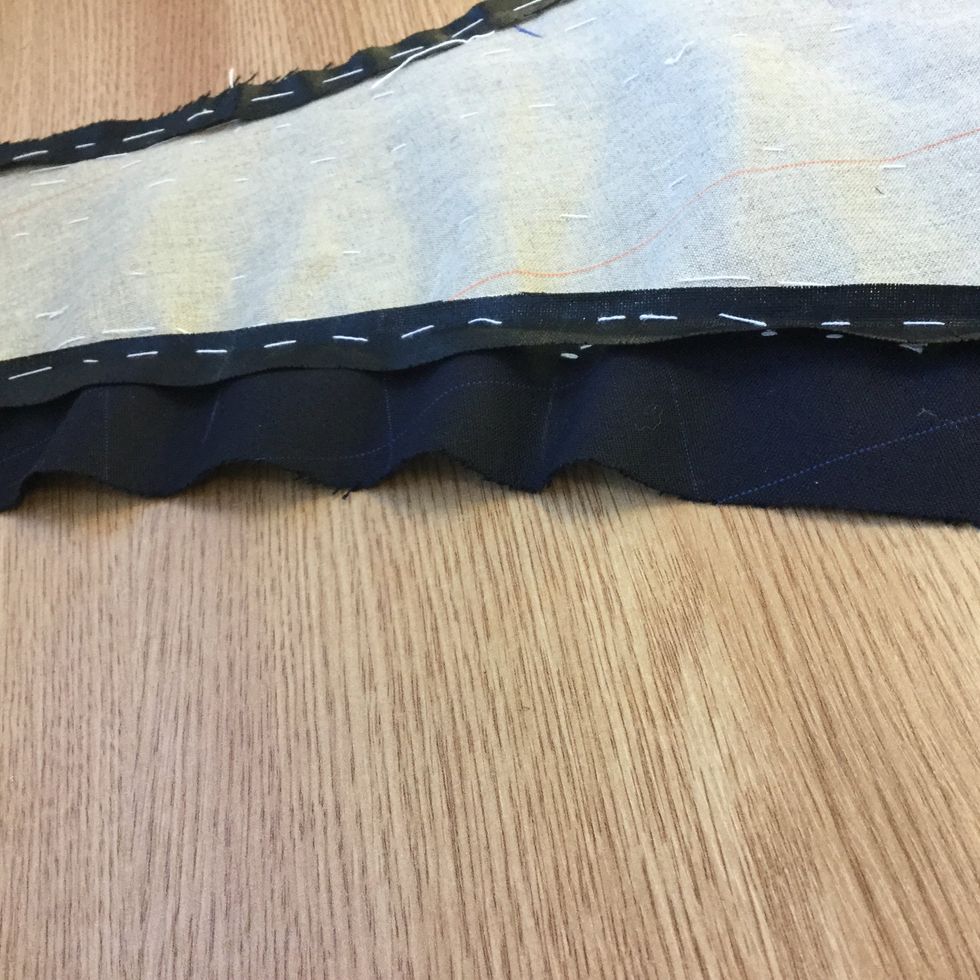
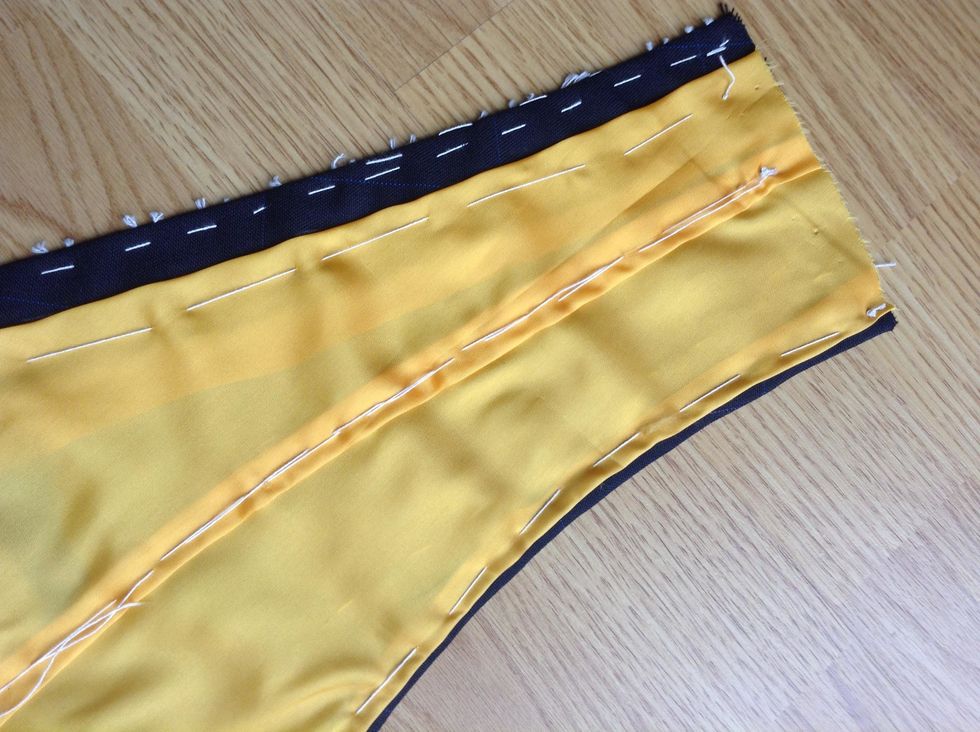
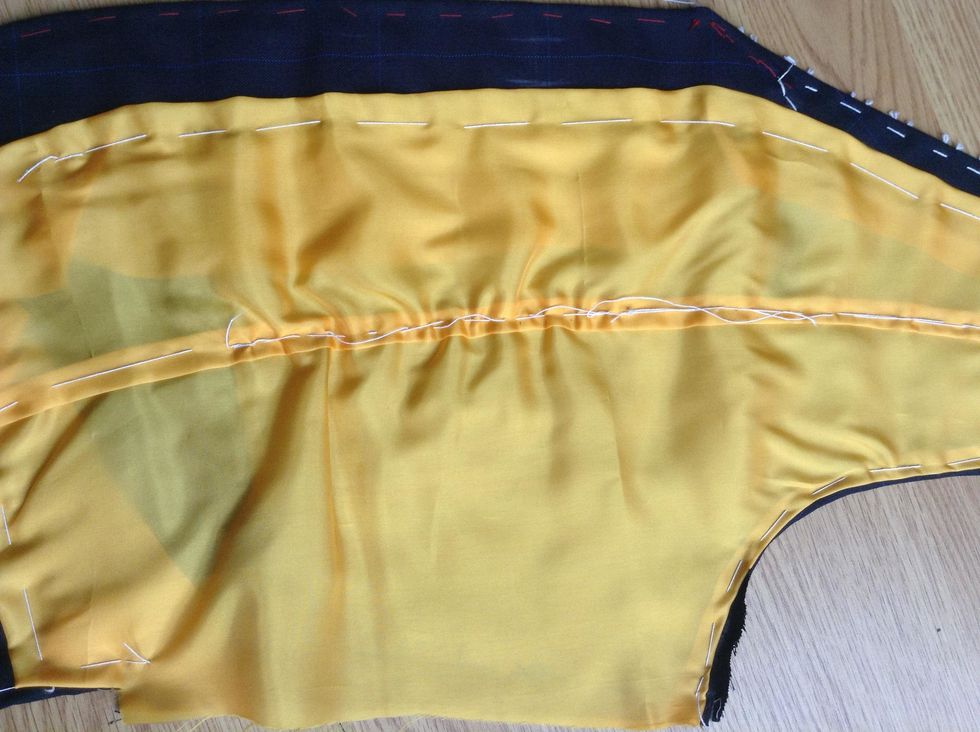
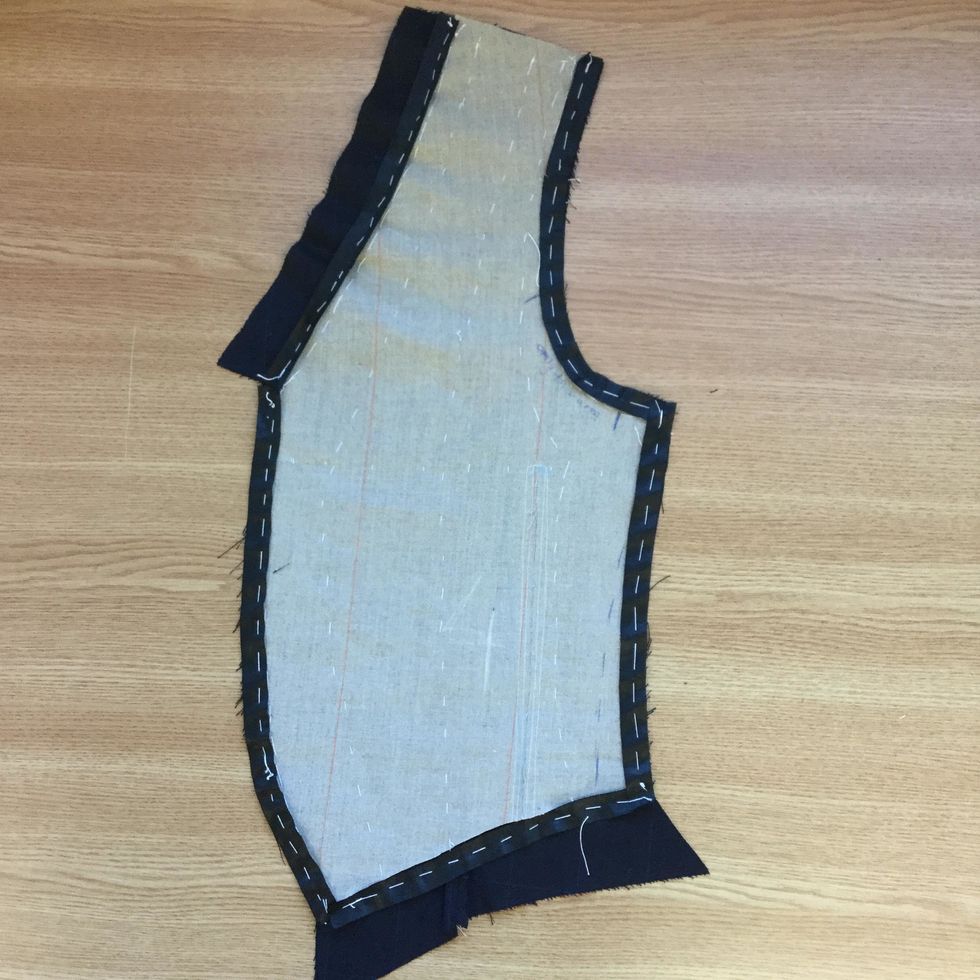
Cut away canvas as shown on the picture. We want the canvas to move freely and not to be sewn with the fabric. Note only 0.5 mm is removed from the neckline and waisteline every where else is 1cm.

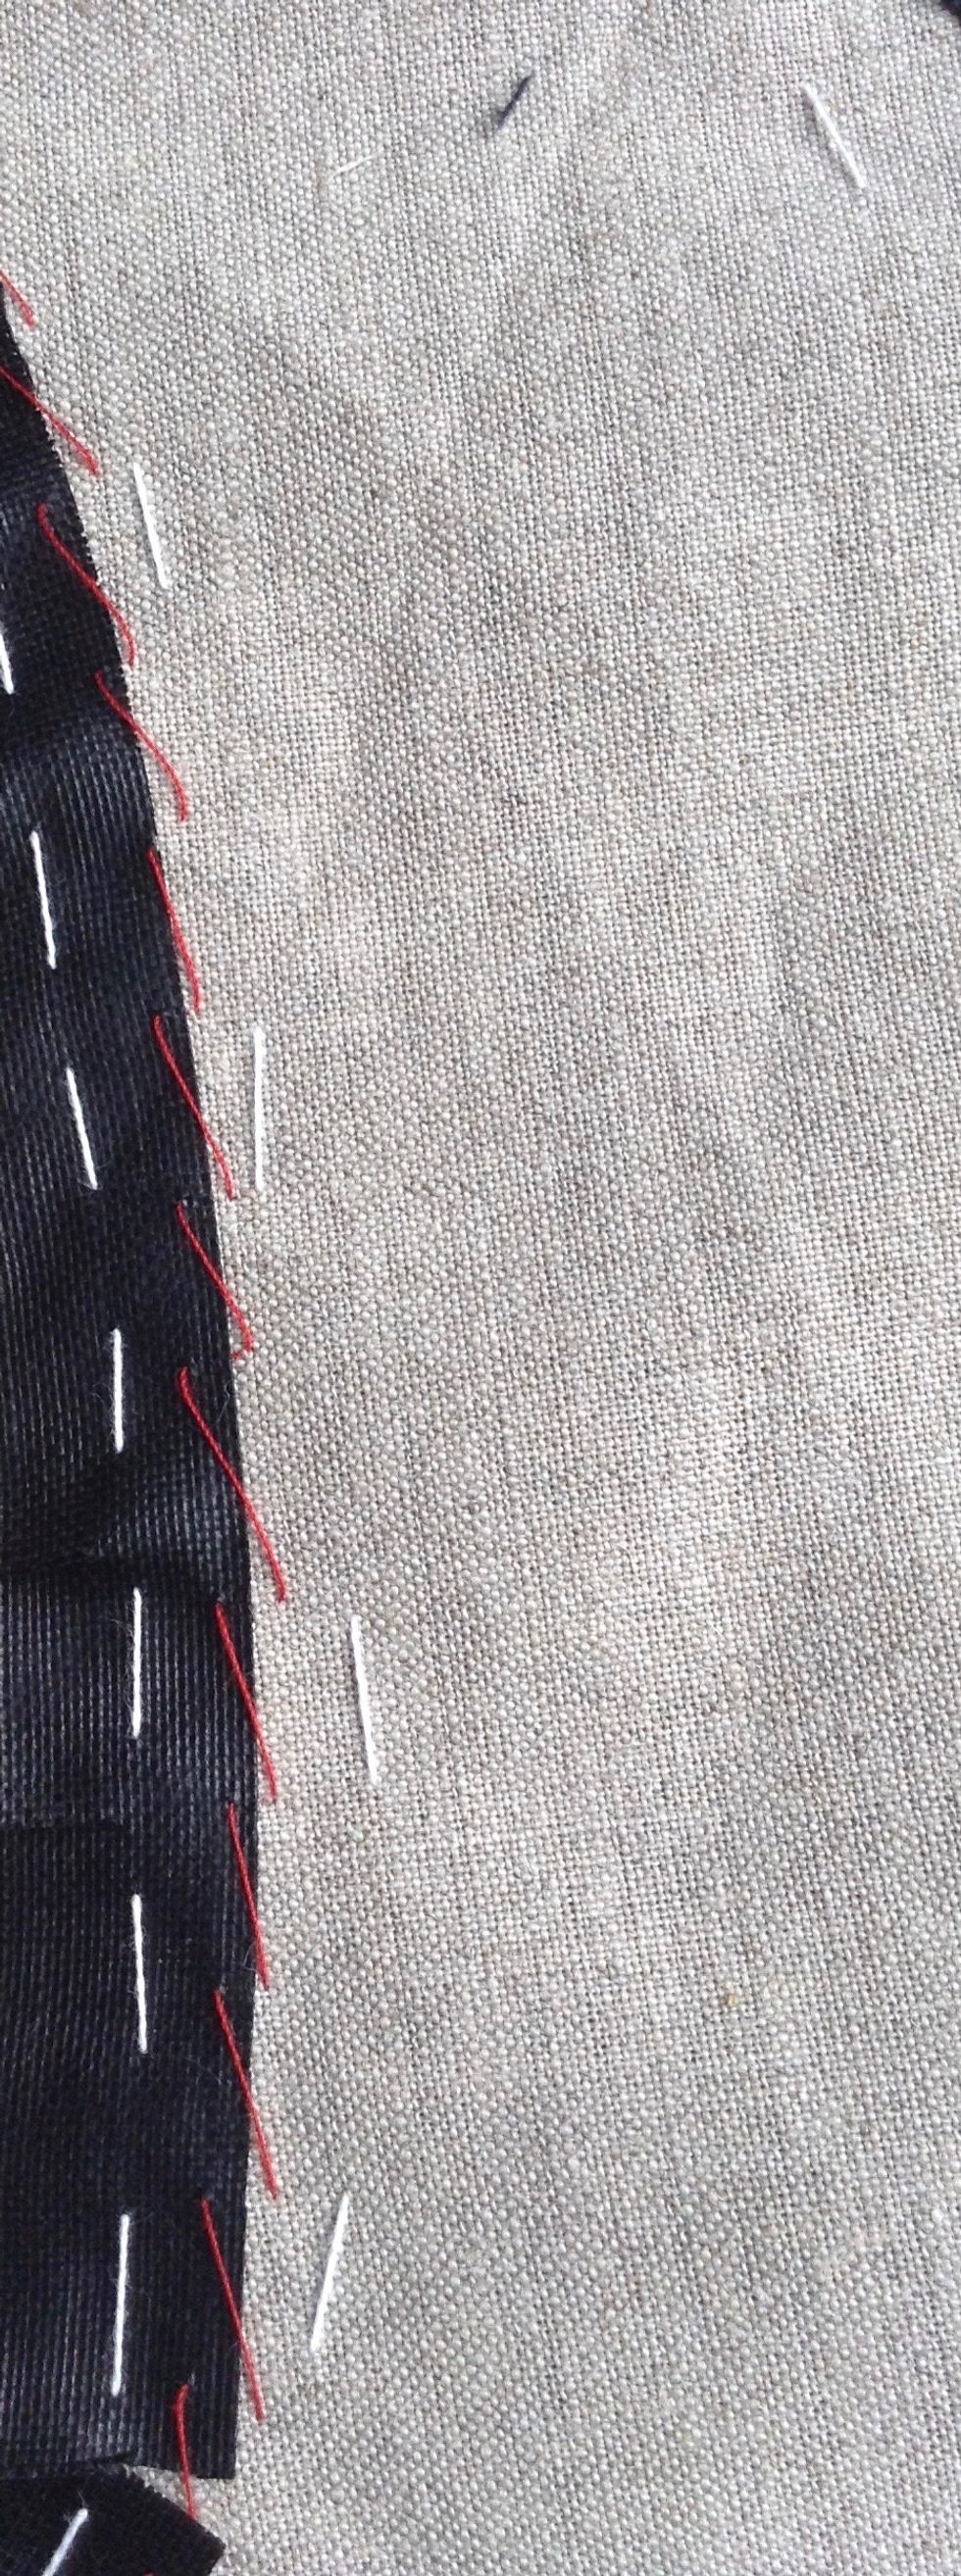
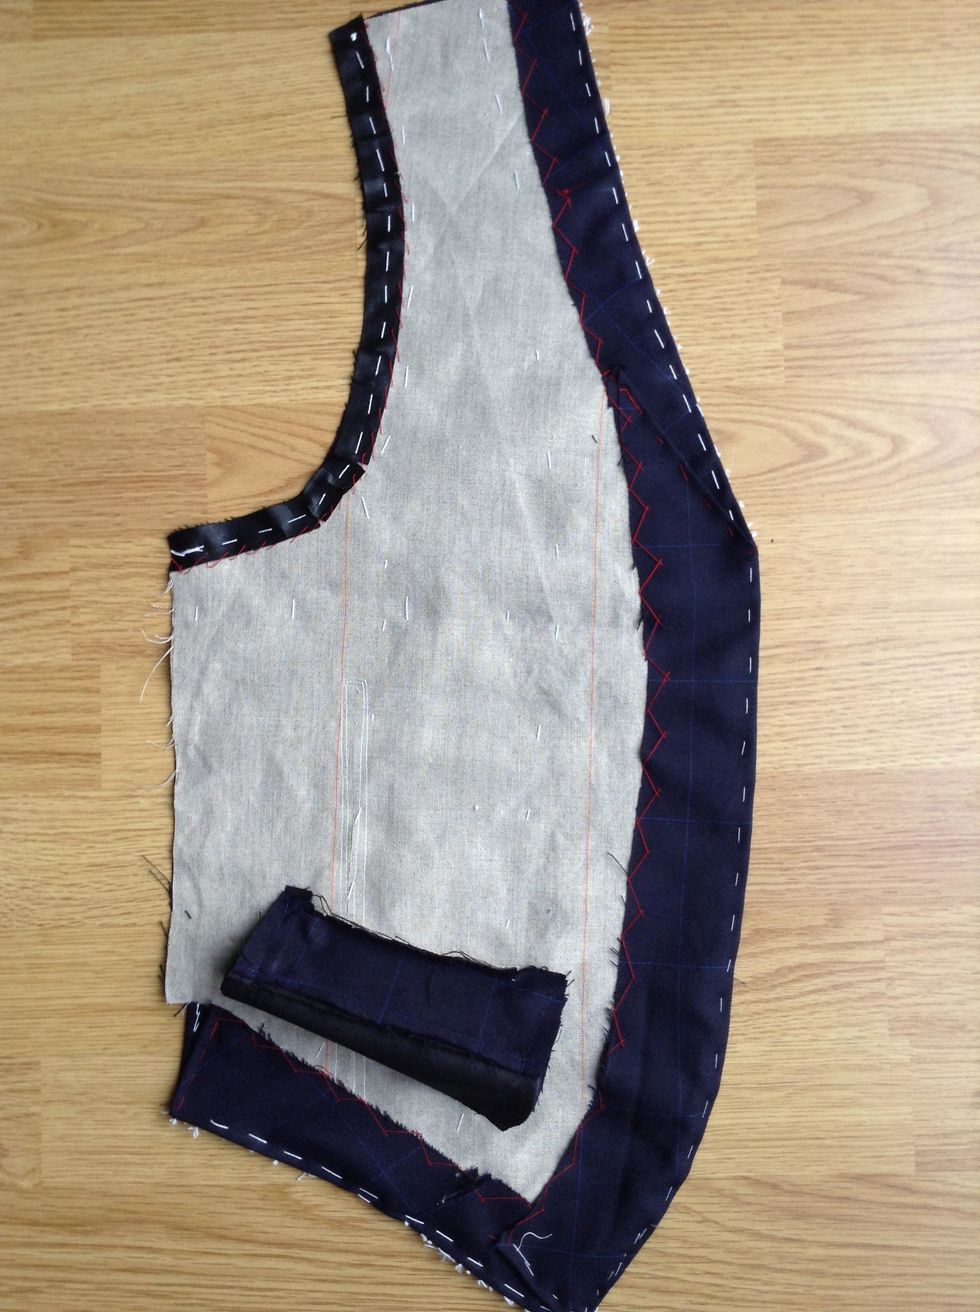
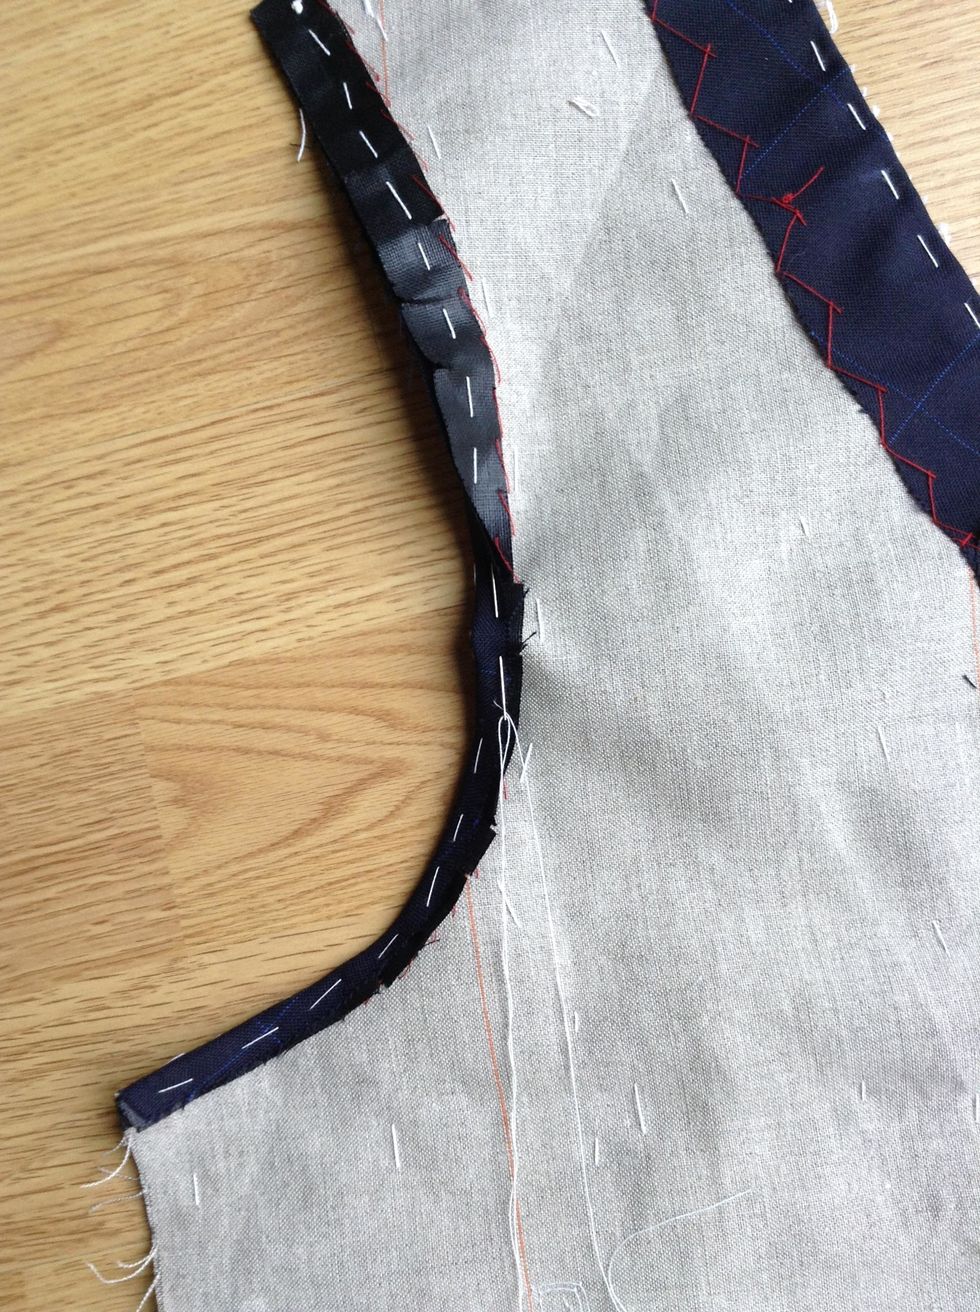
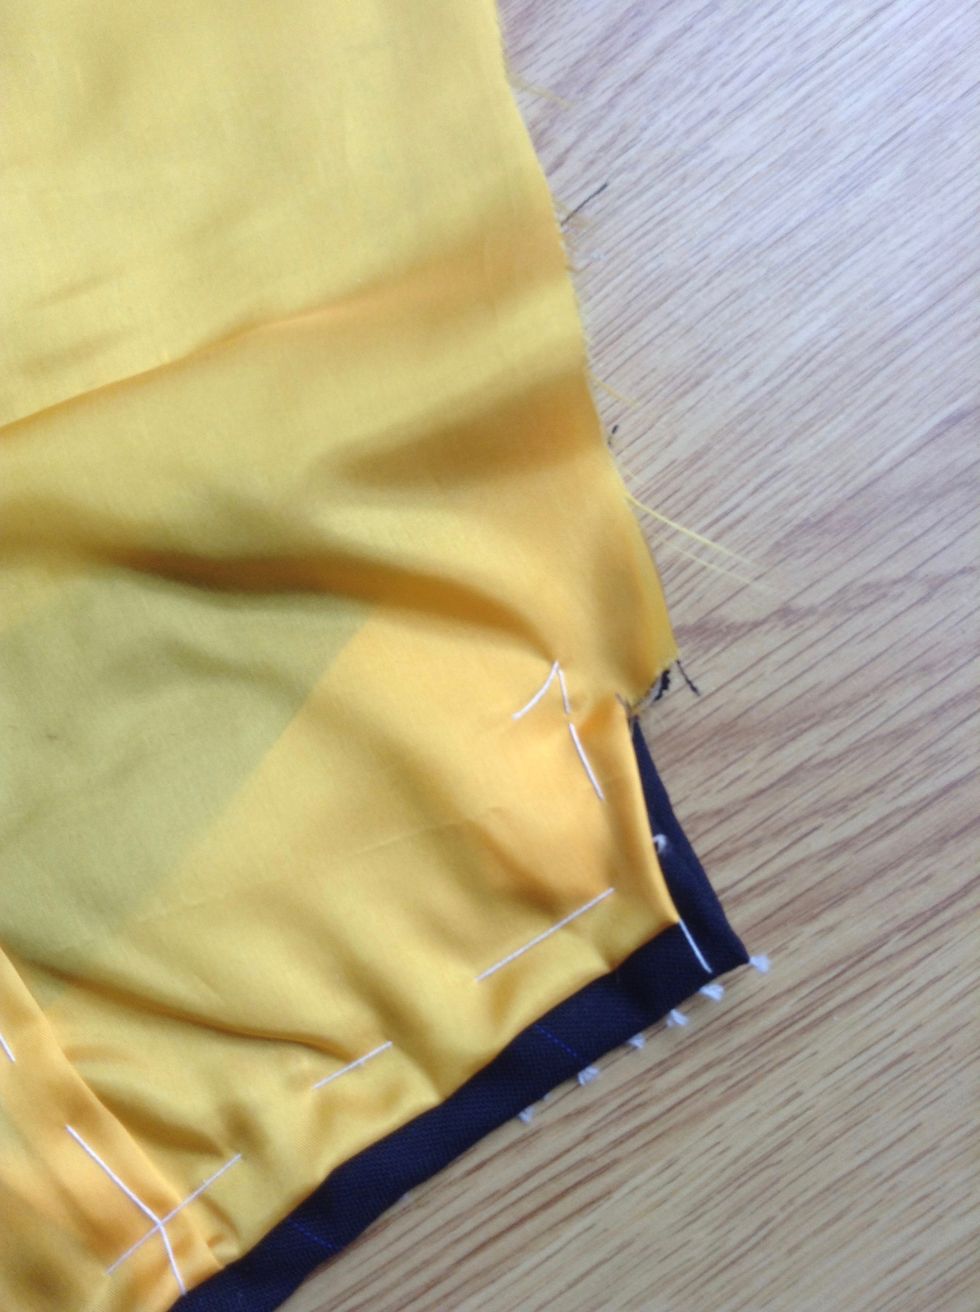
The tape is placed aboved the mark stitch with chalk to follow when taping. Cut the tape 1cm shorter for neckline. 0.5 mm shorter for the armhole and 0.8mm shorter for front curve.
The tape around armhole, front and side is basted flash to the garment. Secure canvas to tape by sergin and leaving the stitch loose.