The Conversation (0)
Sign Up
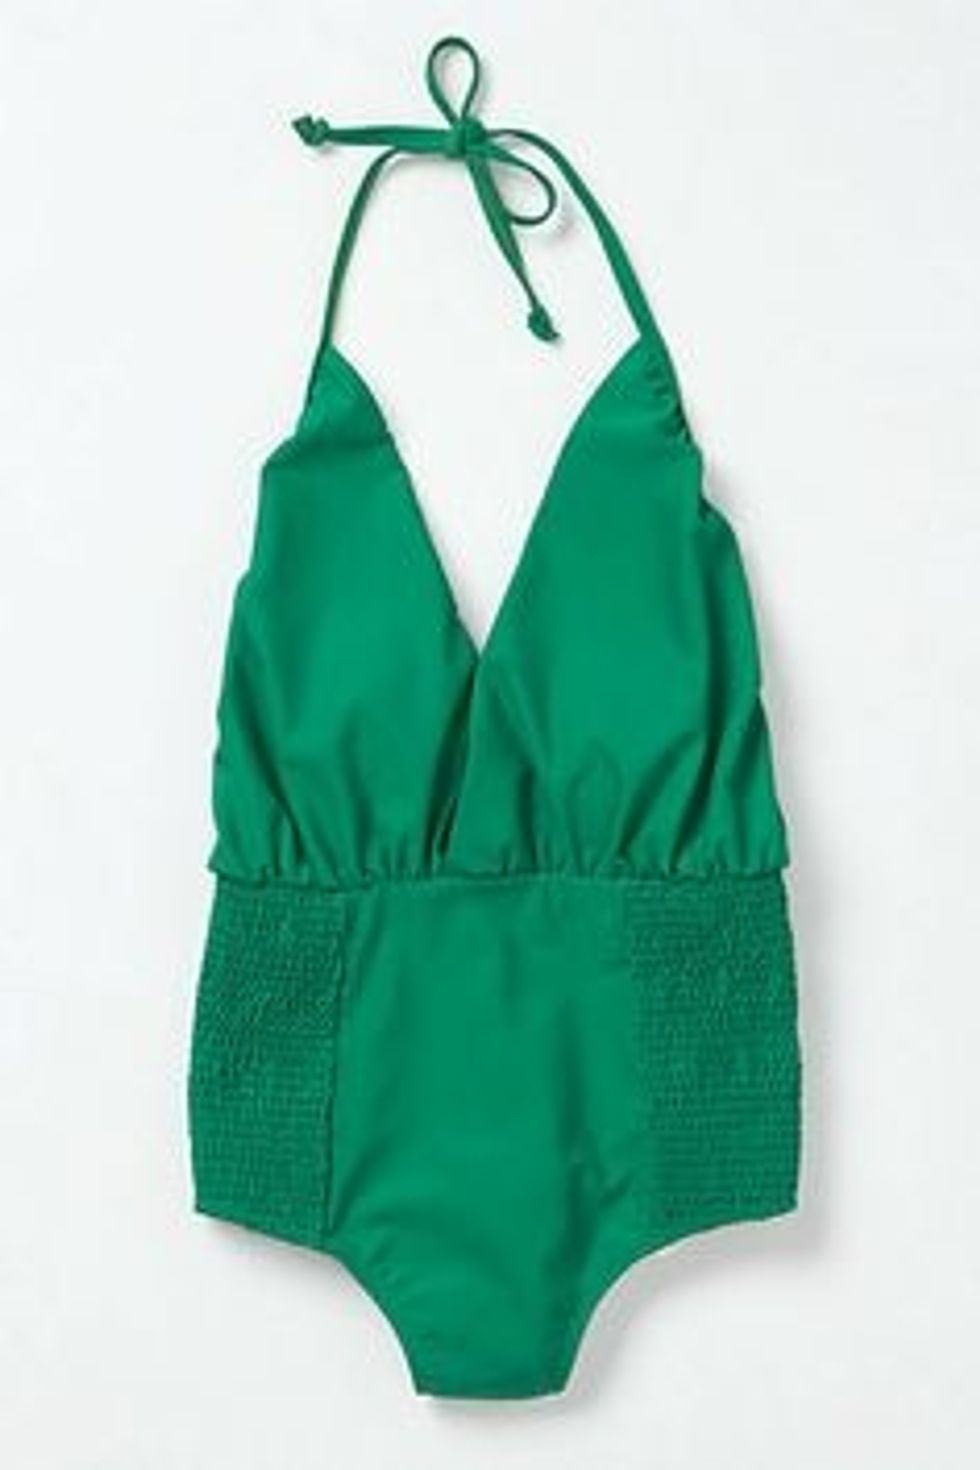
This is the bathing suit that was the inspiration for the style I chose
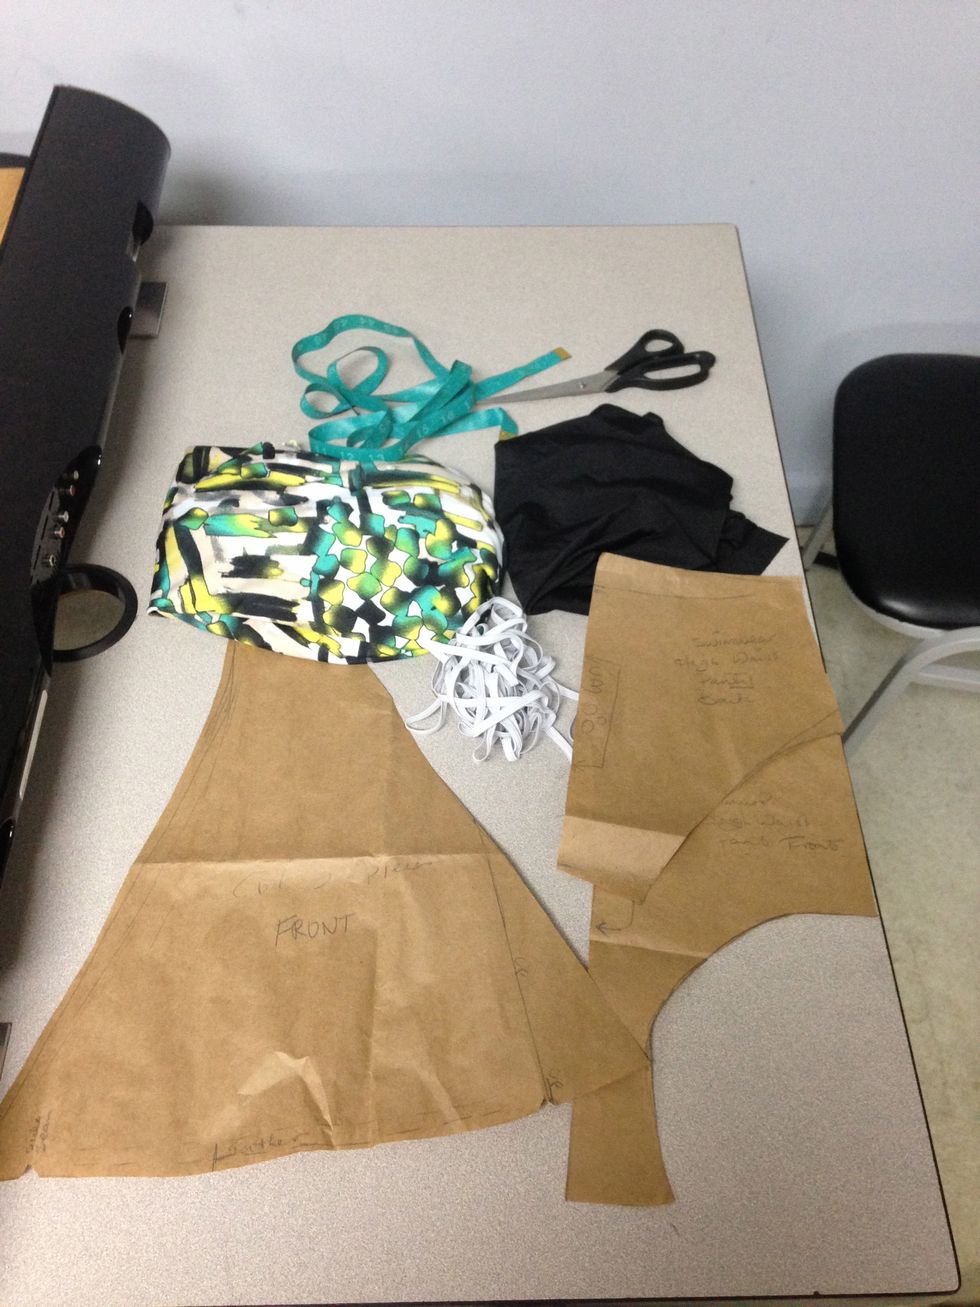
Some of the supplies used to make the bathing suit
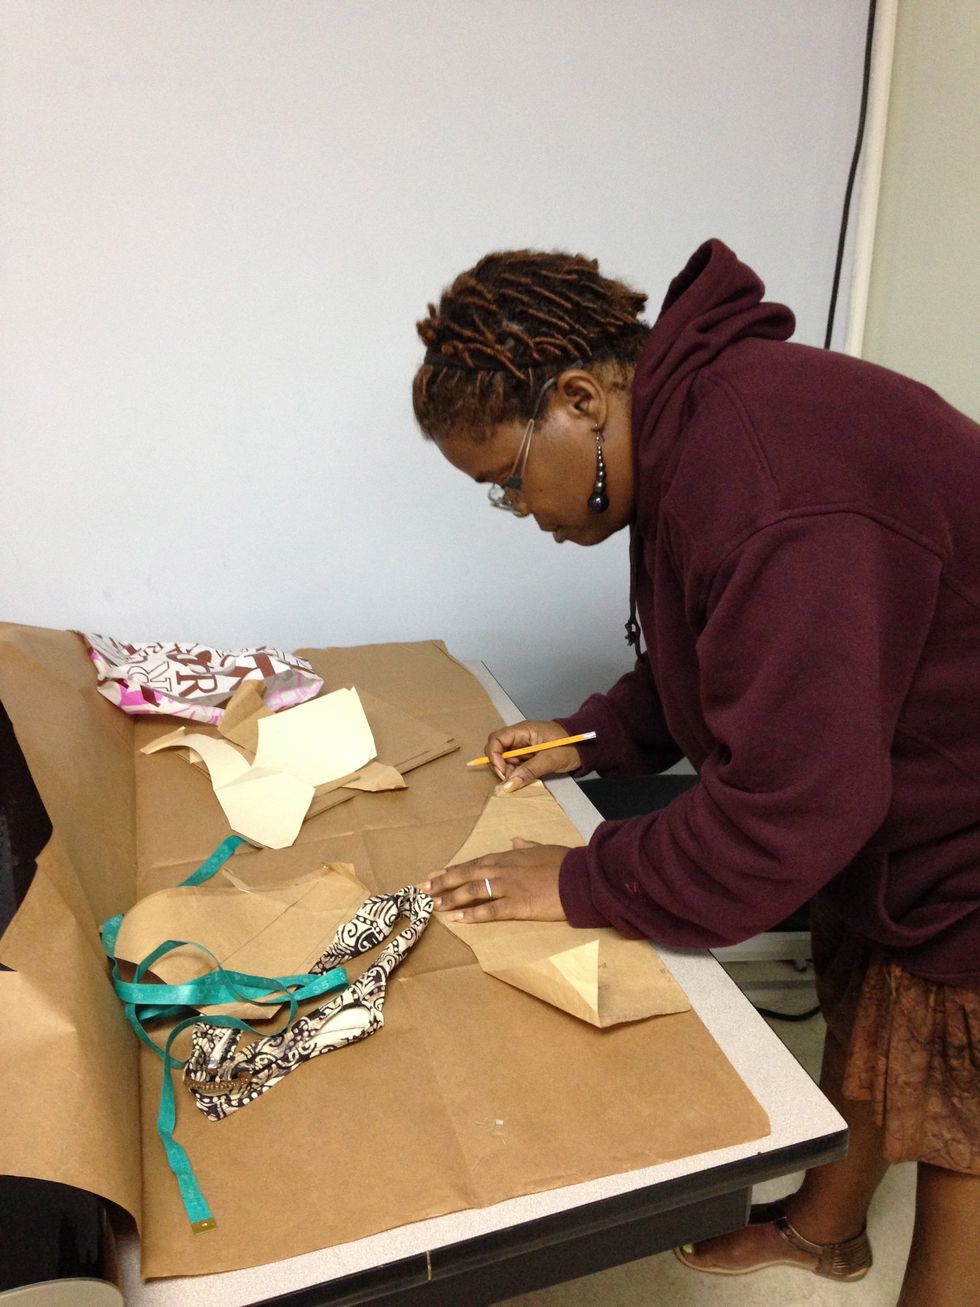
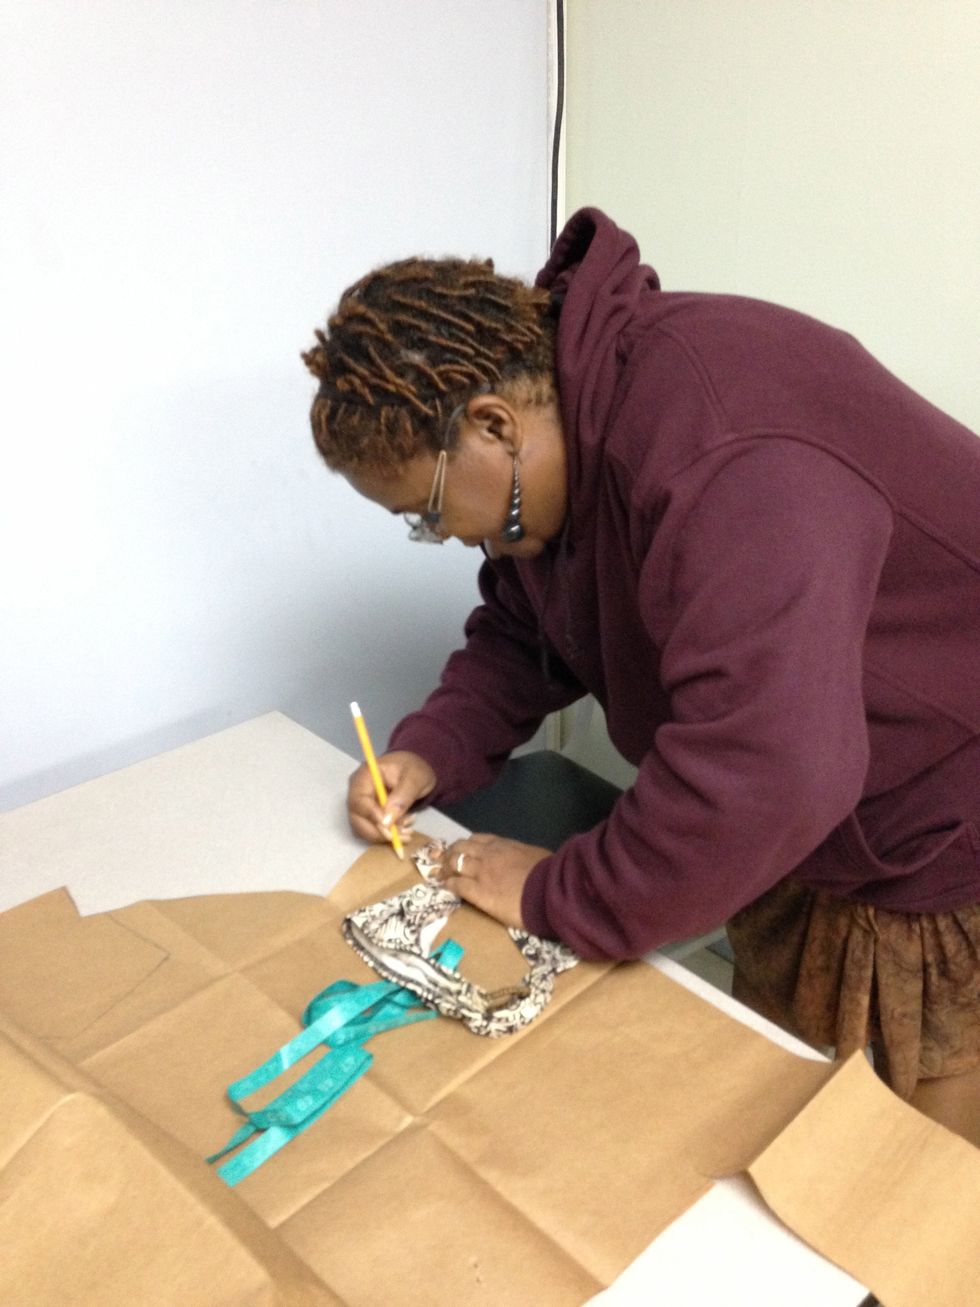
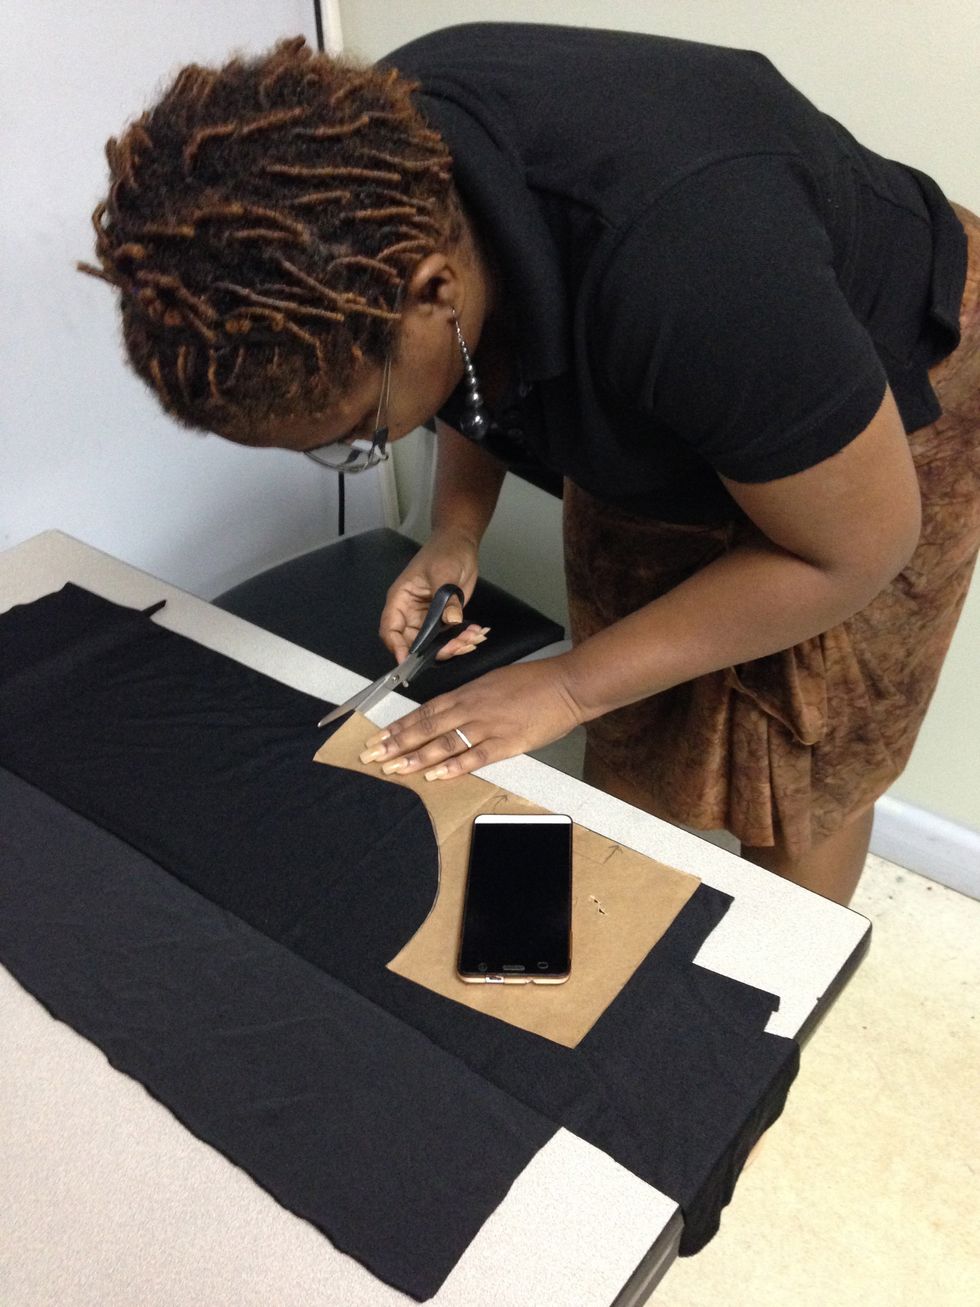
Start by creating a pattern on brown paper. Celia used a pattern she made previously for the back bottom piece of the bathing suit
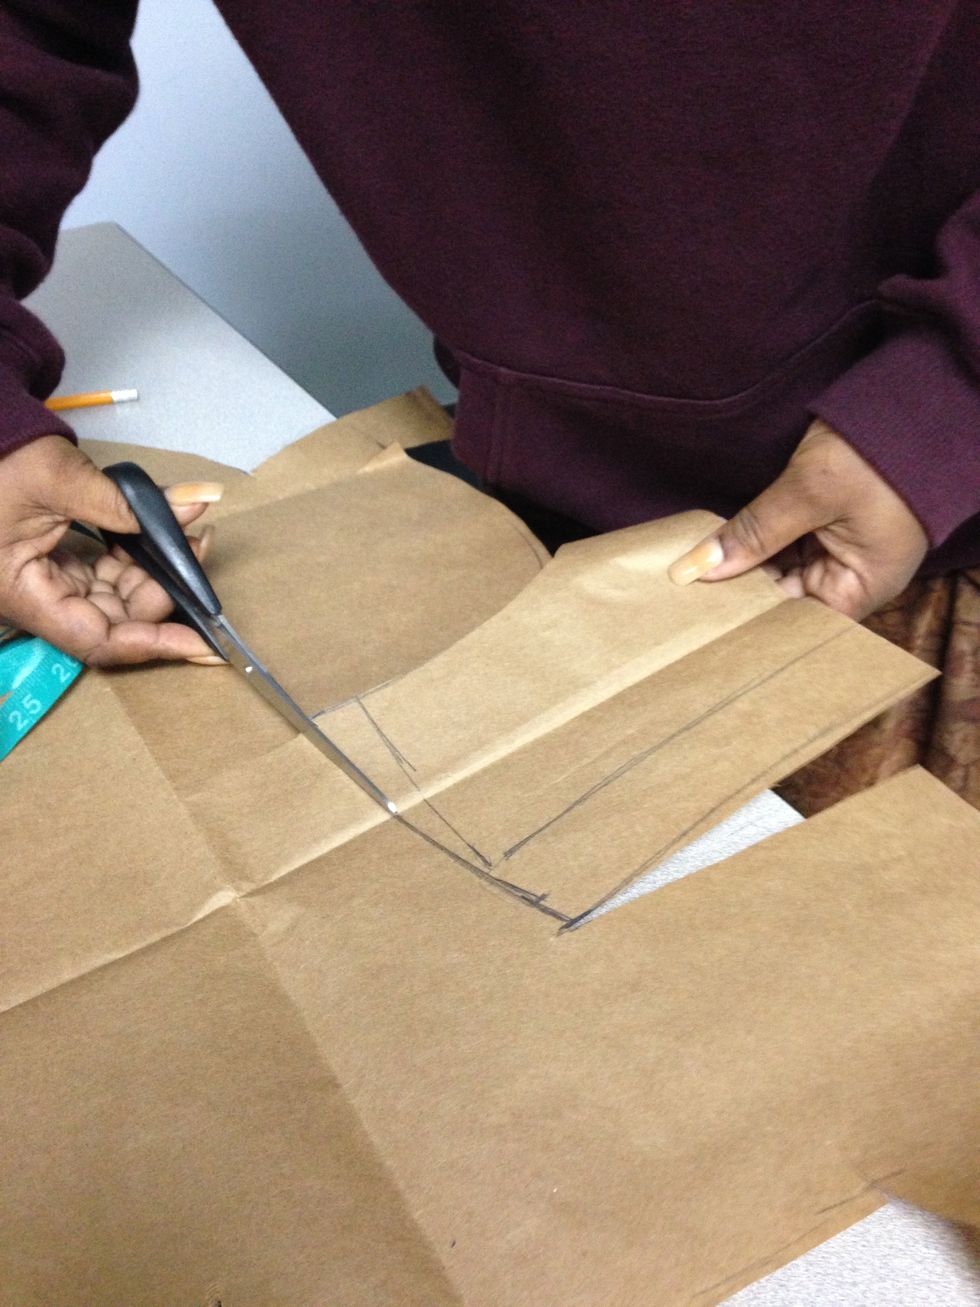
cut out the back bottom piece pattern
For the front bottom piece, we used an old bathing suit that I had to make the pattern. As it was a low rise bottom piece we had to add to the size of the waist band.
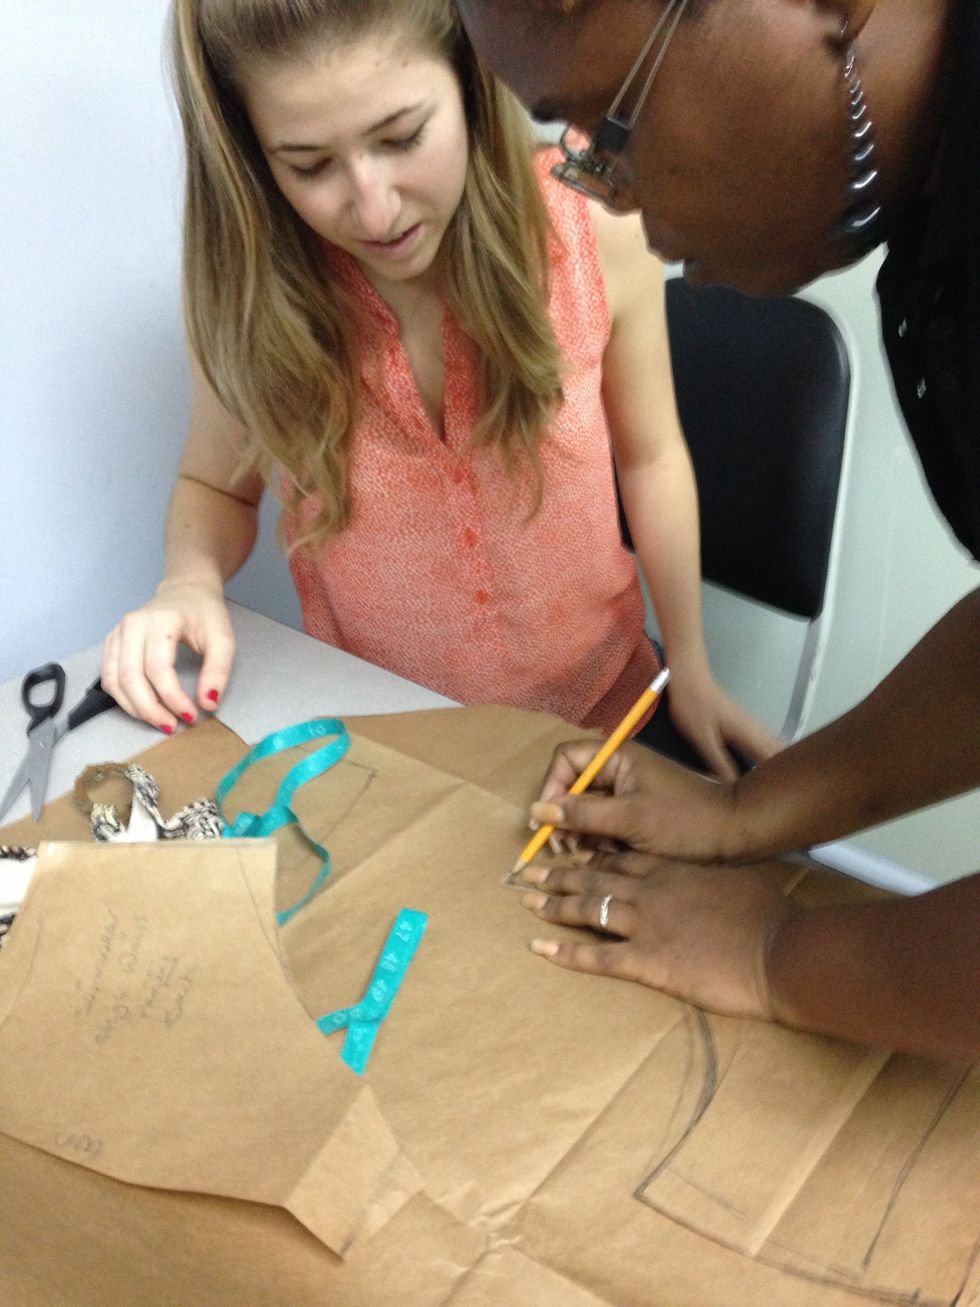
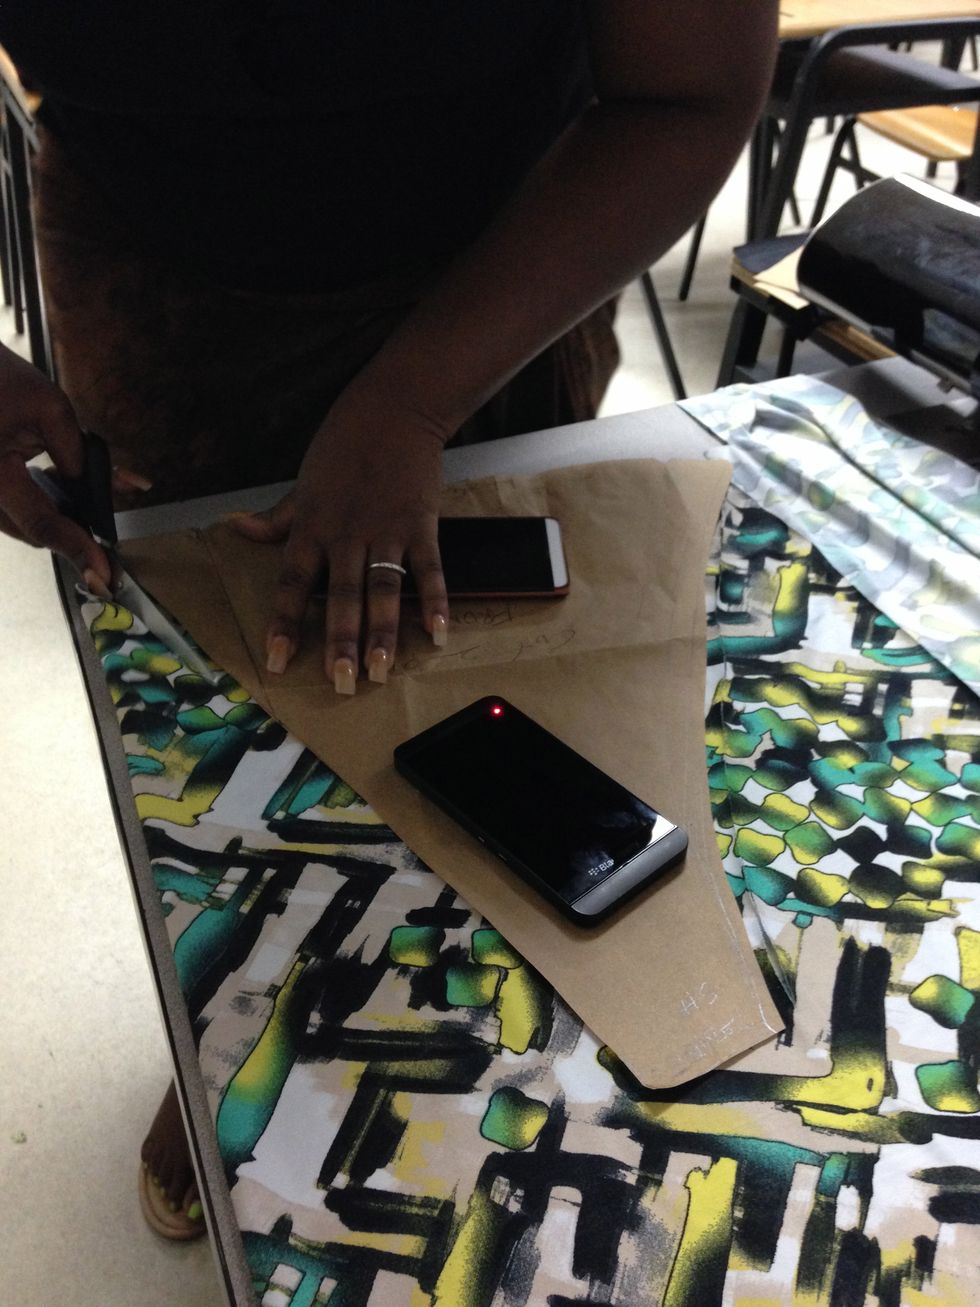
Celia showed me how to measure and draw the front bottom piece pattern correctly
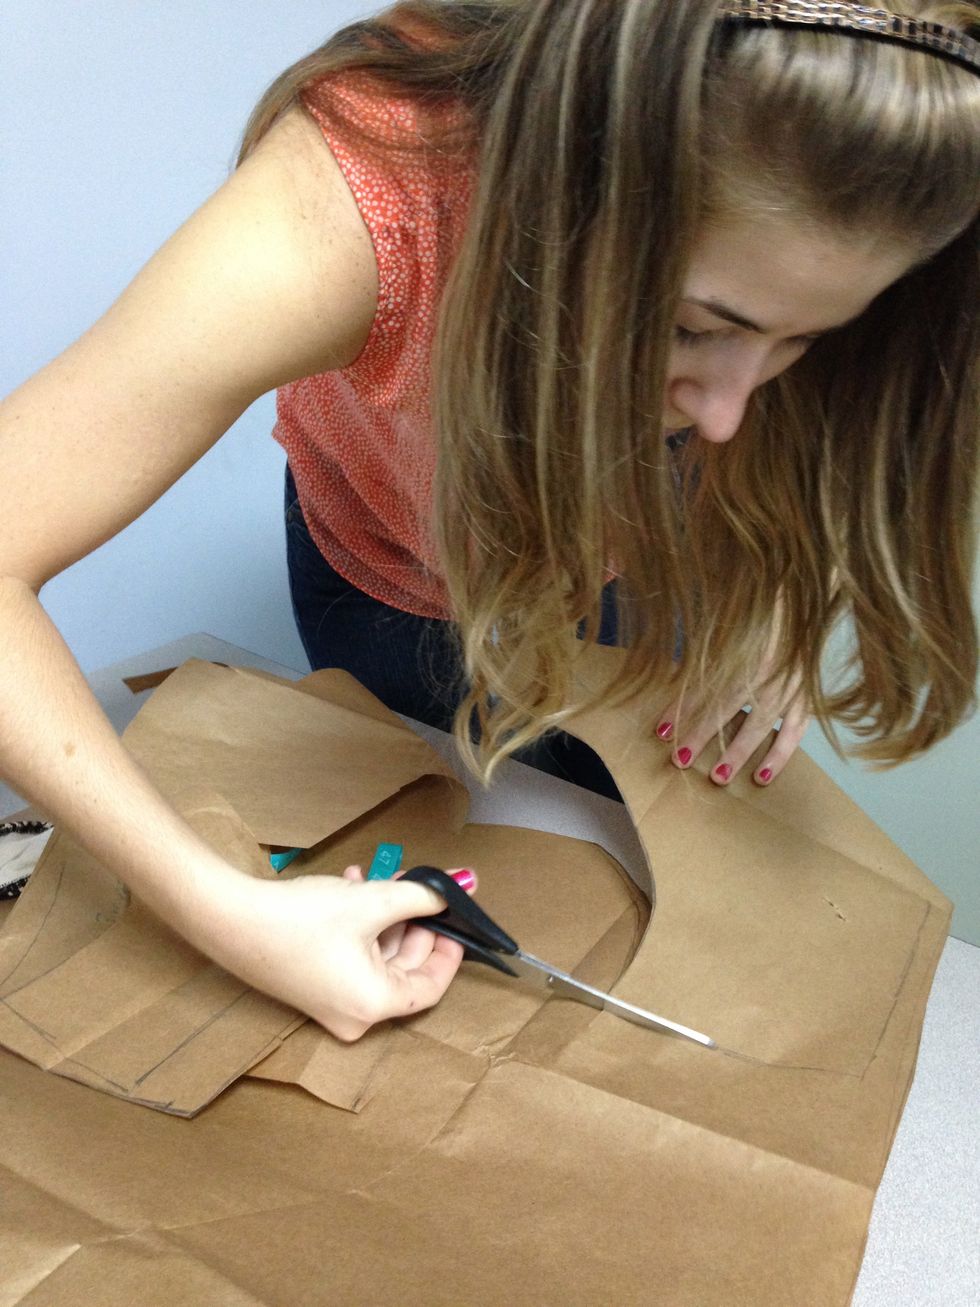
cut out the front bottom piece pattern

Here are the front and back patterns for the bottom piece
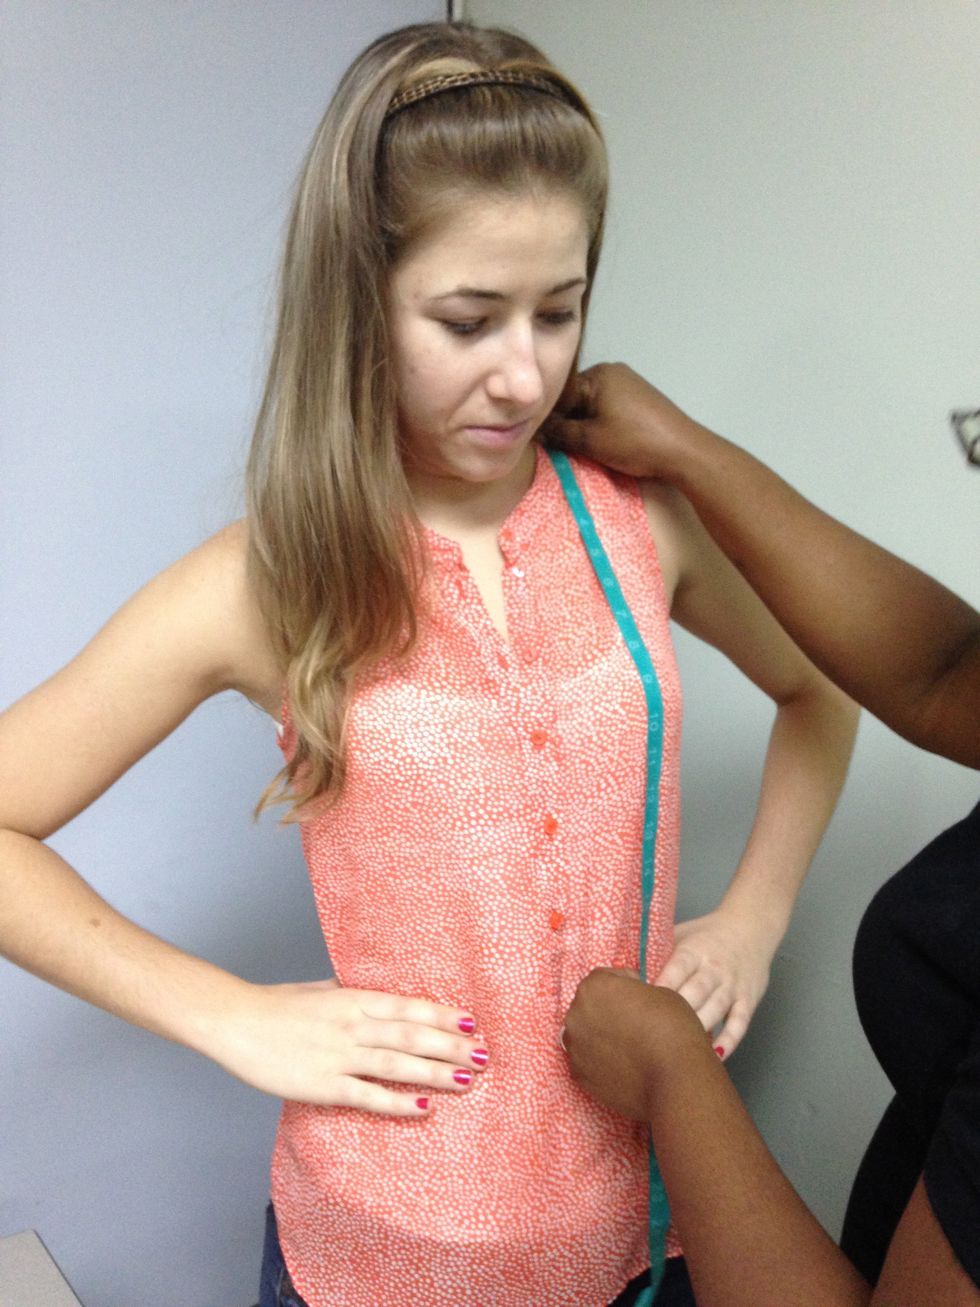
To make a pattern for the top piece, measure the length from shoulder to waist.

cut three lines in the top pattern to accommodate for the gathers. Then redraw the pattern.
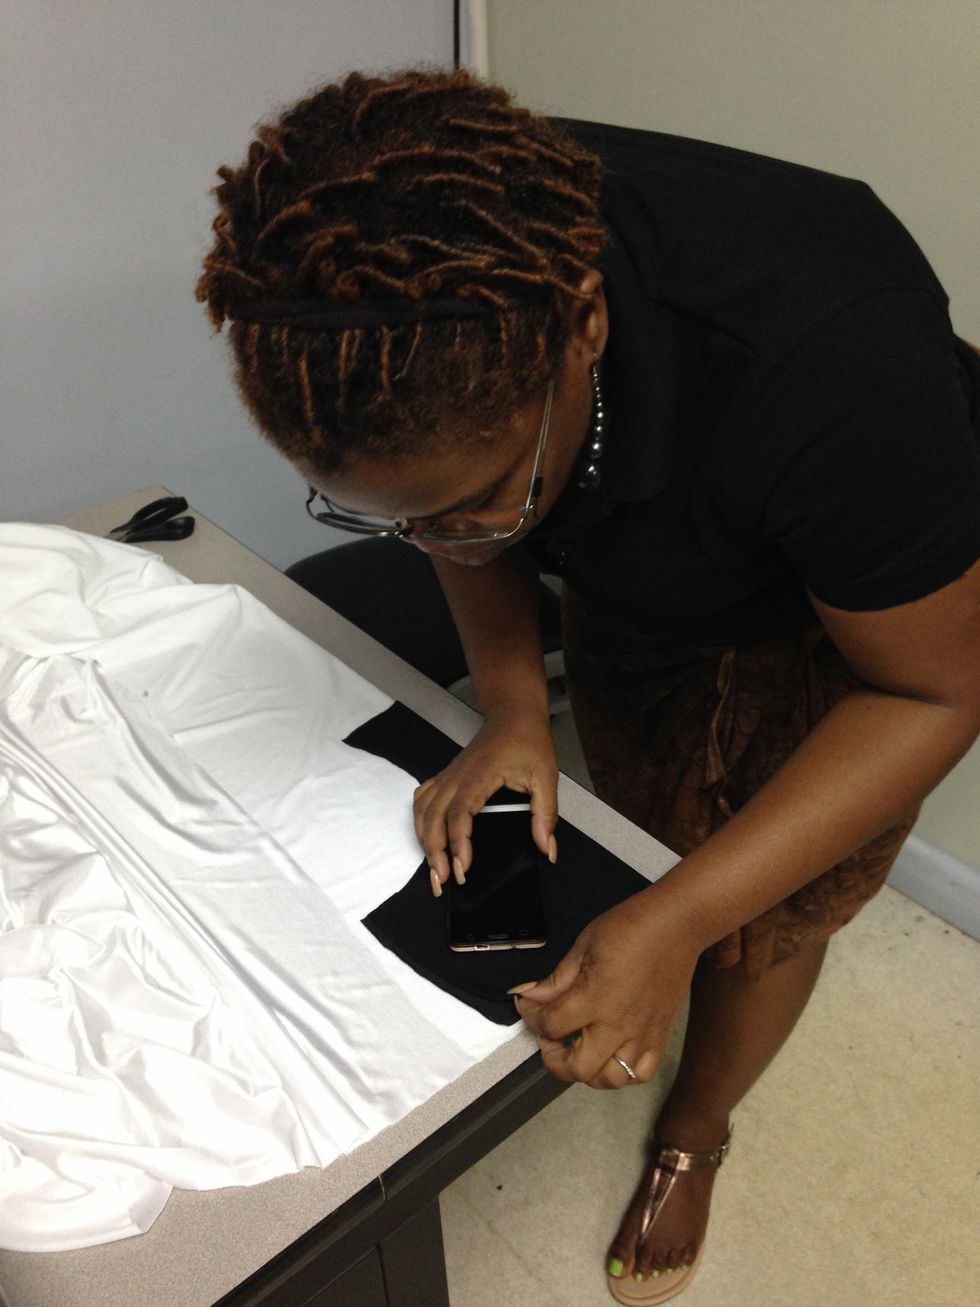
Time to cut the material with the patterns created. We did not have pins so we used a phone as a paper weight. Place the pattern on the fold of the material and cut with no seam allowance.
Do the same to cut out lining for the bottom pieces
Cut out two pieces for the top triangles.

Celia showing me how to work with elastic.
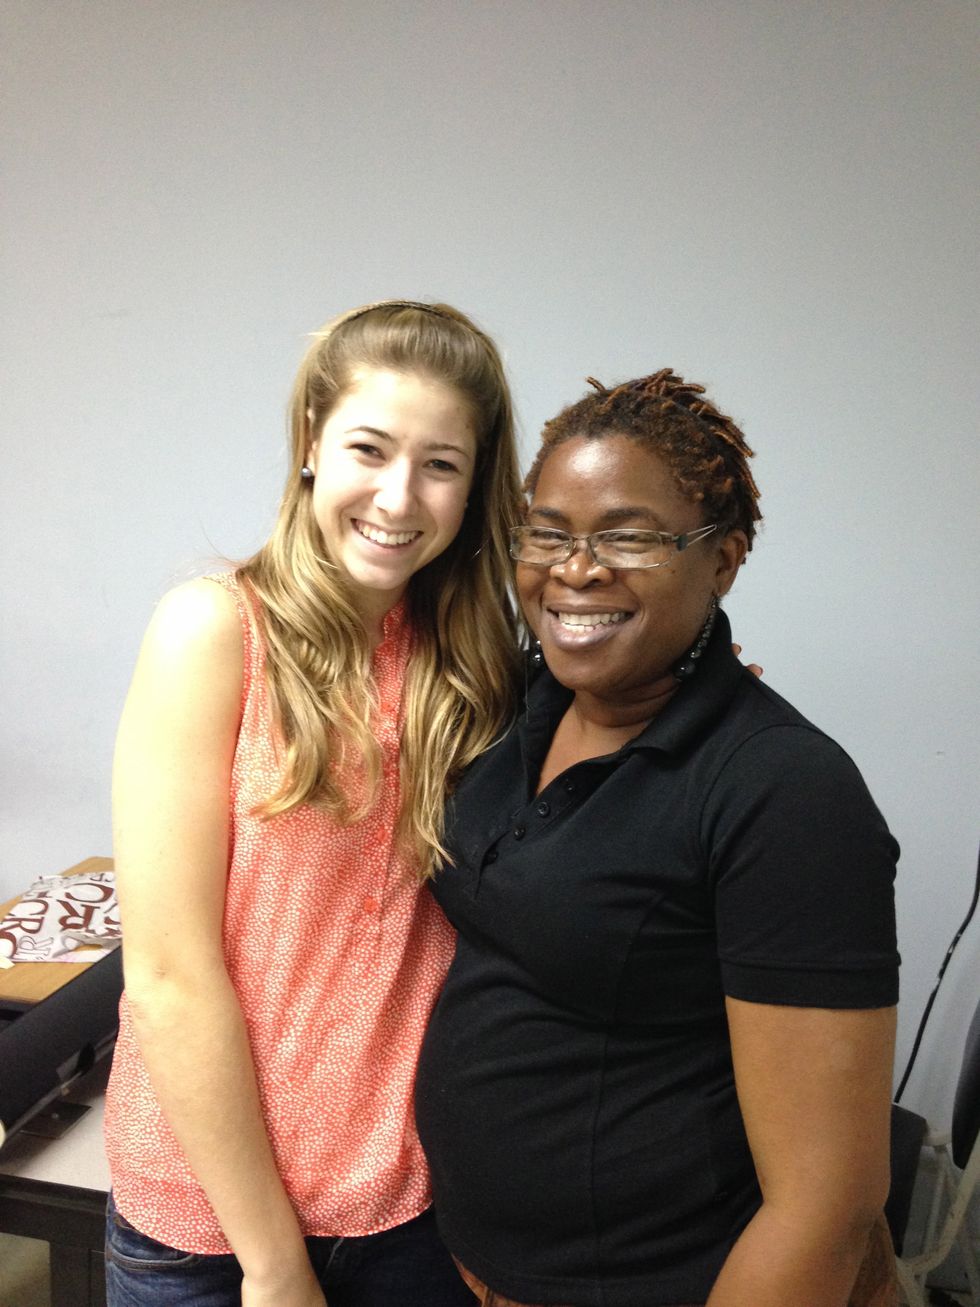
I had such a good time working with Celia on the collaboration. THANKS AGAIN CELIA :)
Celia, Zamfir and I after working on the collaboration. Zamfir was the photographer while he watched on. THANKS FOR THE PICS ZAMFIR!
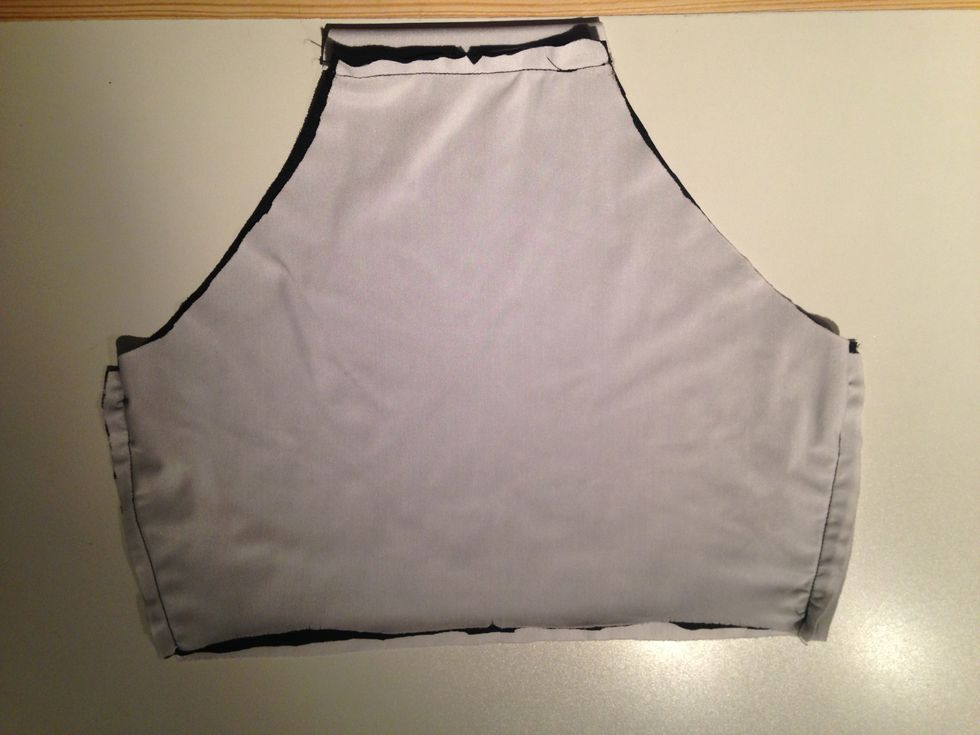
Time to put stitch the material together. First start by stitching the crotch and sides of the bottom piece by sandwiching the fabric with the lining.
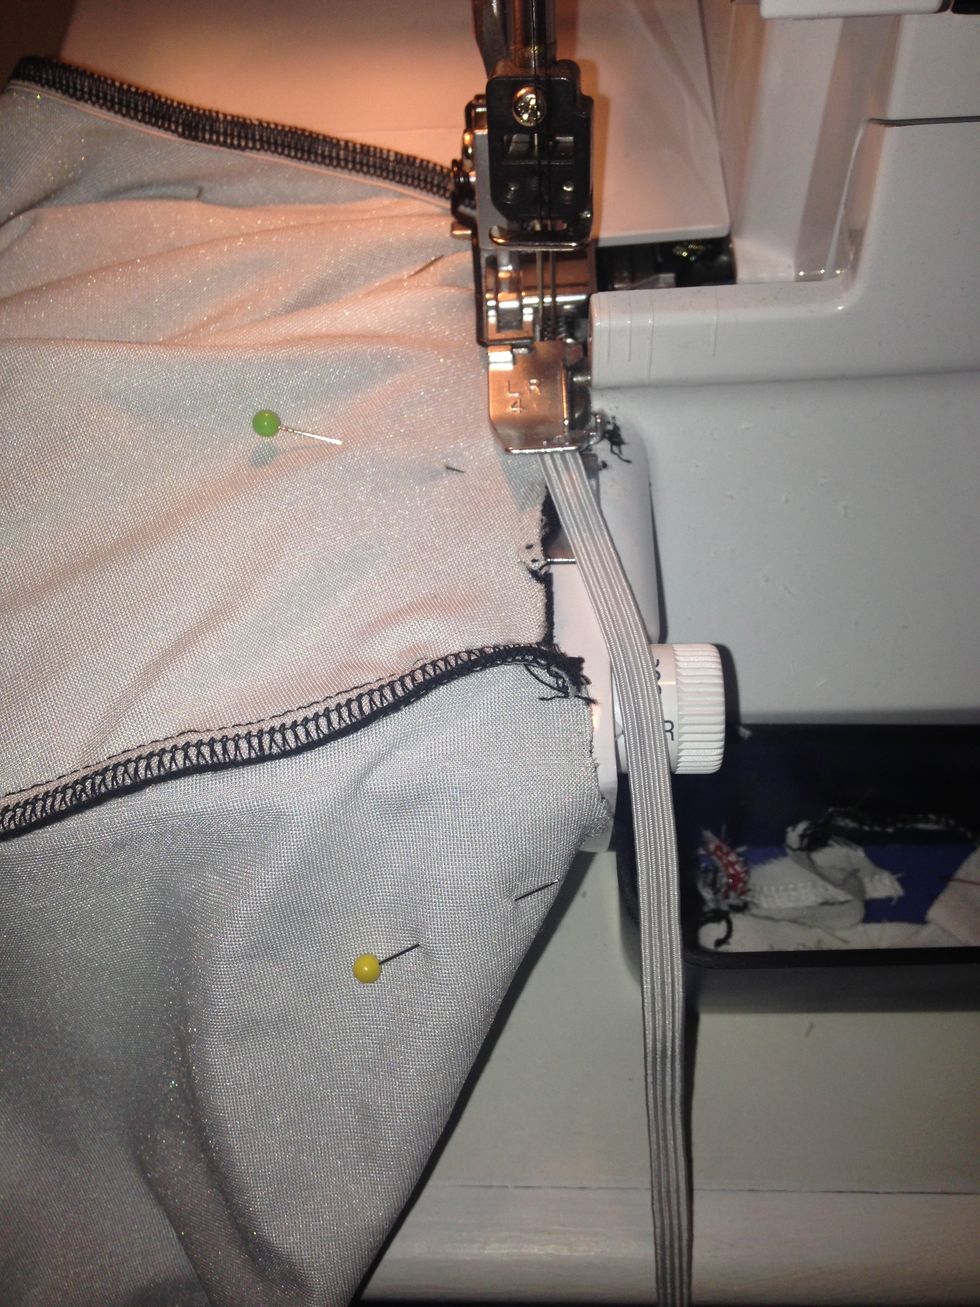
The process of serging the elastic onto the material is very tricky. But slow and steady wins the race
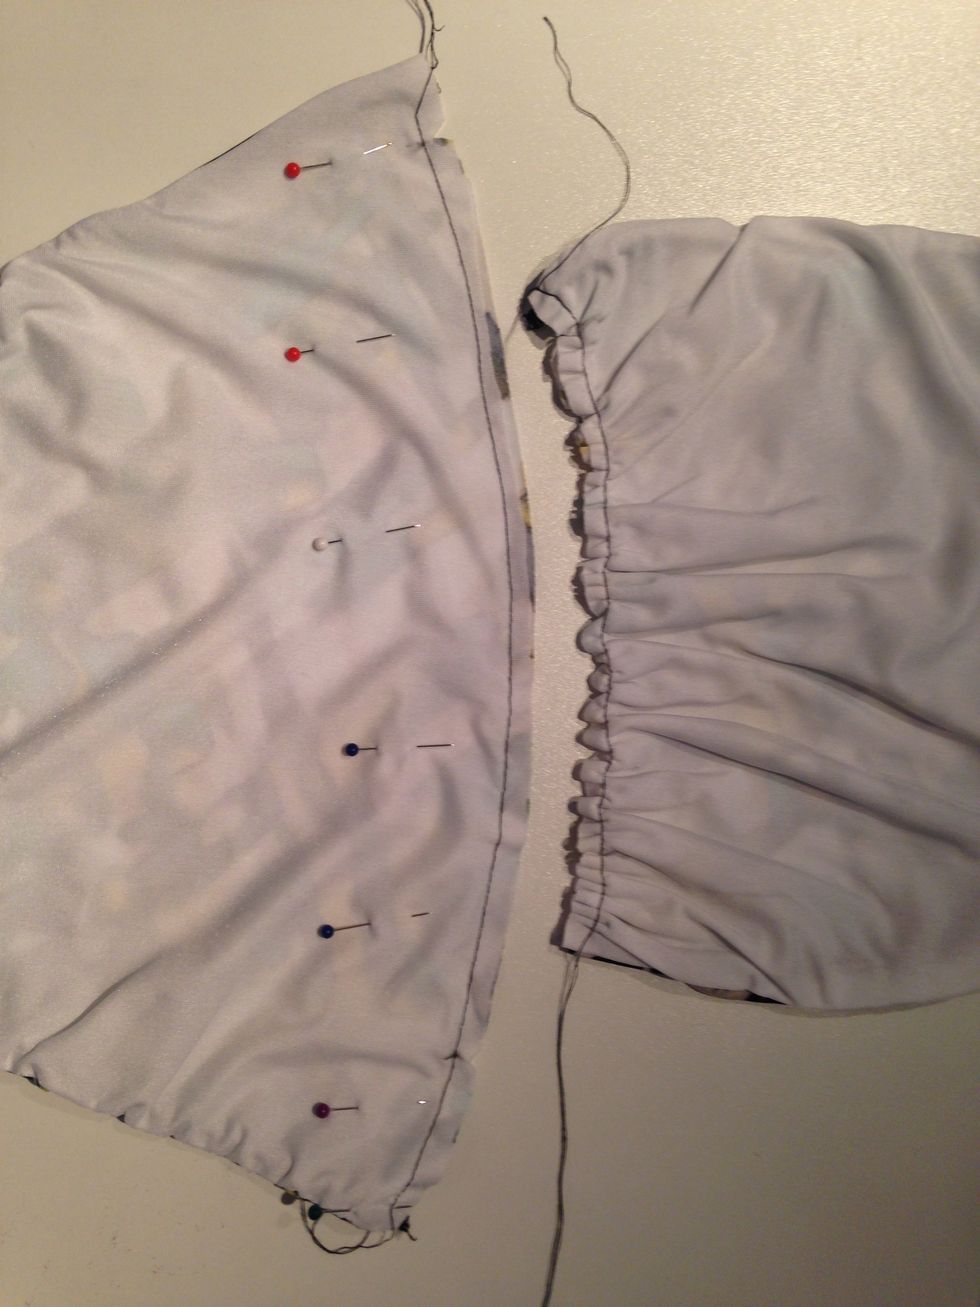
Here the left side is serged up and the right side is pinned up and ready to add elastic to the material

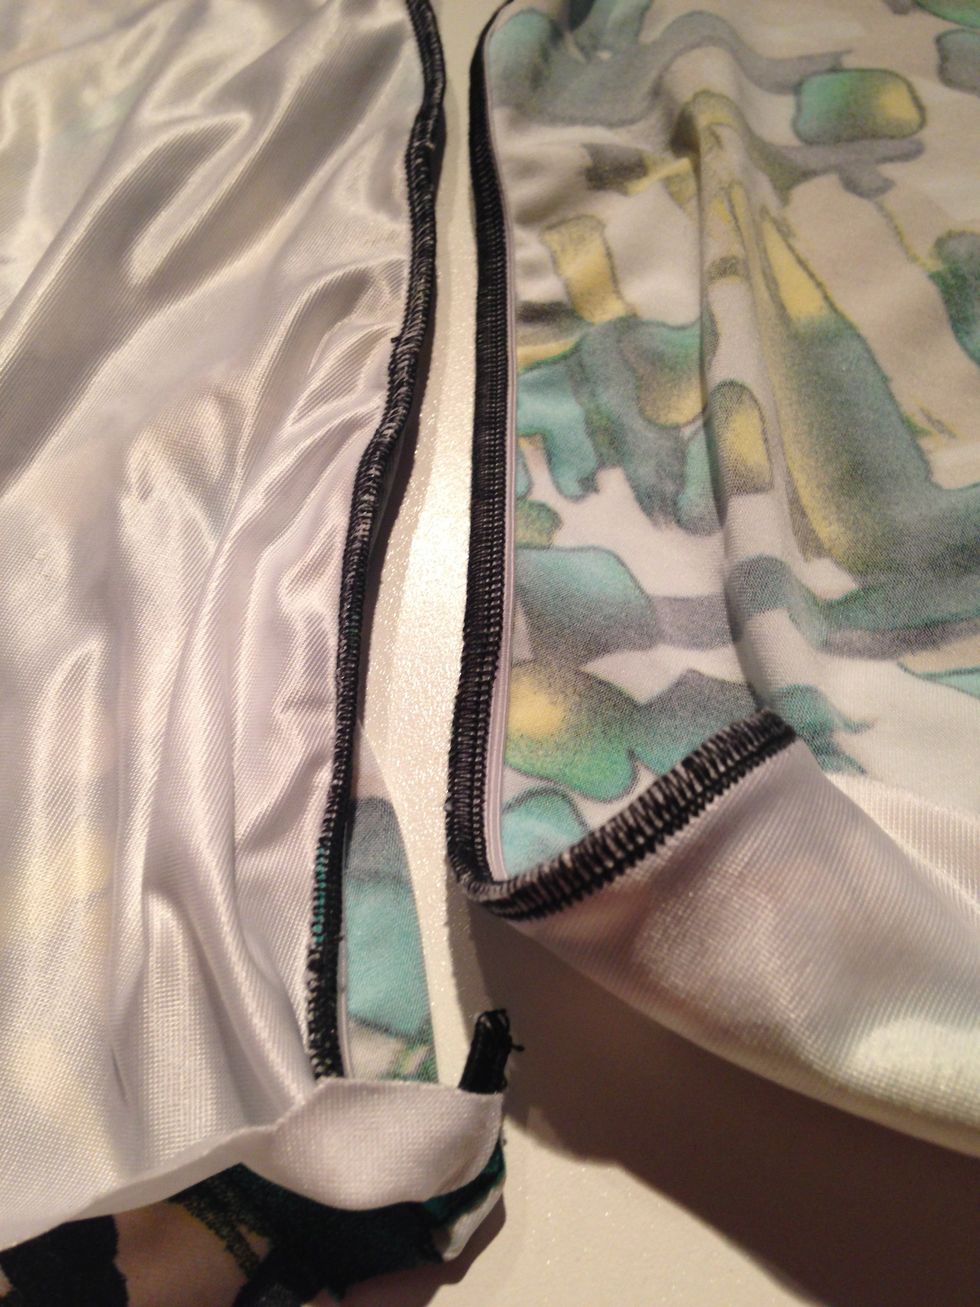
This is what the elastic looks like when serged to the material
Serge elastic to both sides of the top piece triangles.
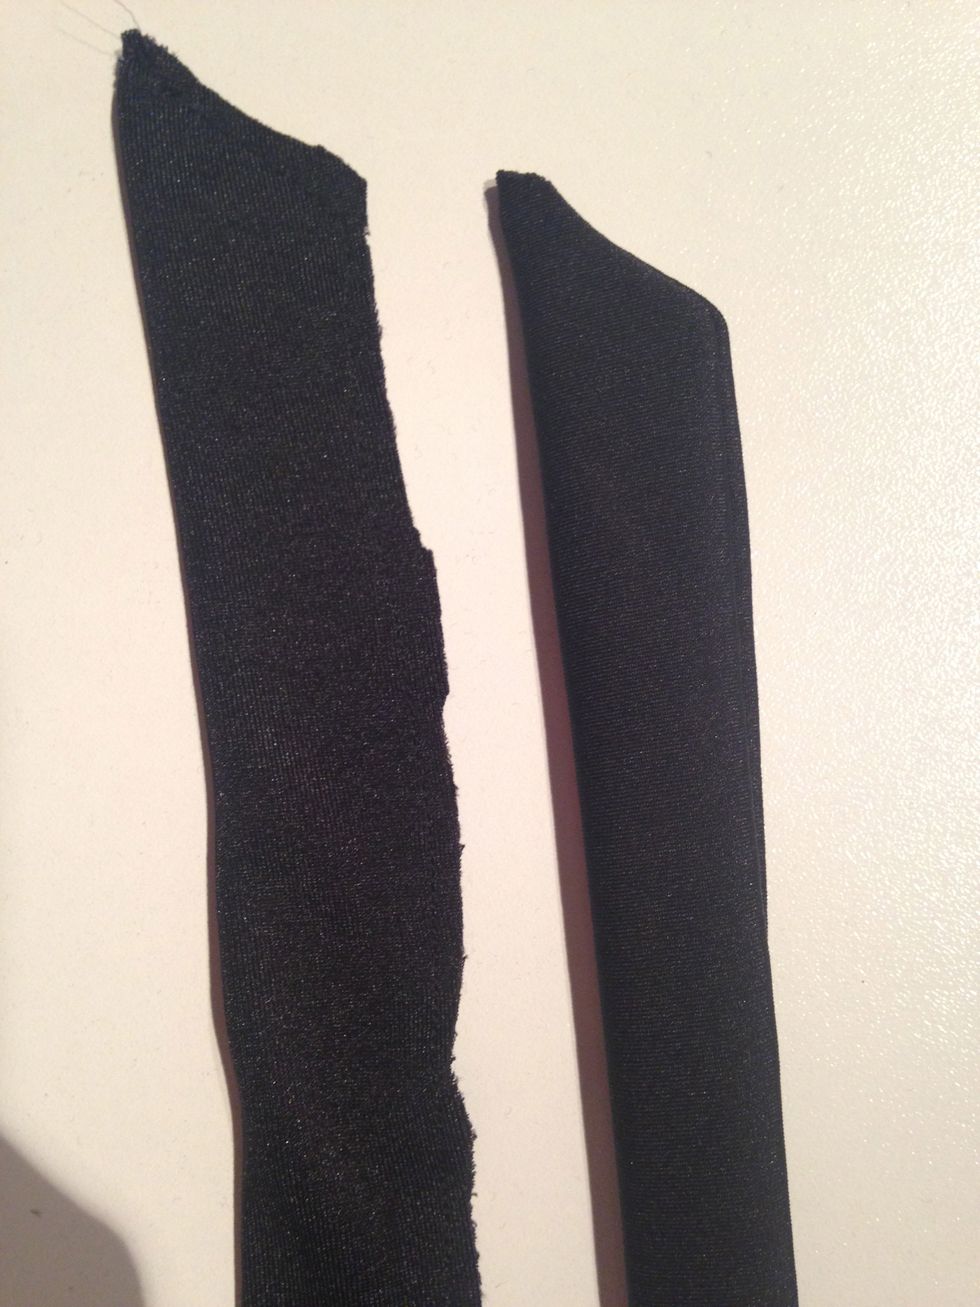
Sew two 15 inch straps. The strap to the left is stitched and the strap to the right is what it looks like when you pull it right side out. Sew these pieces to the top of the top piece triangles
Sew a loose stitch (do not back stitch) to the bottom edge of the top pieces as seen on the left and then gather the material together as seen on the right
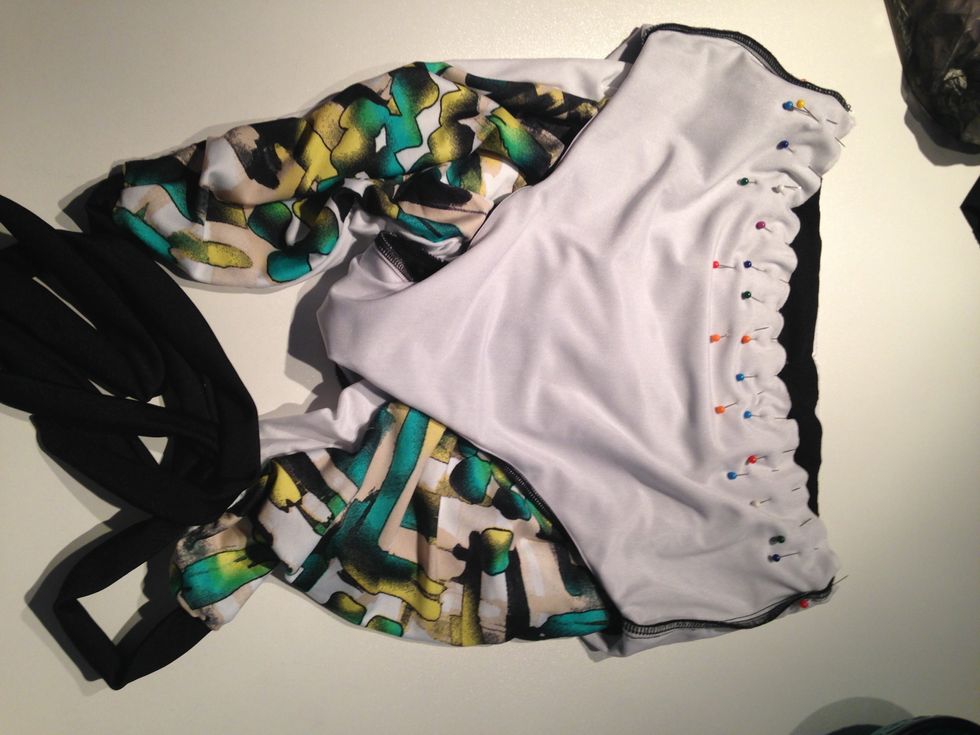
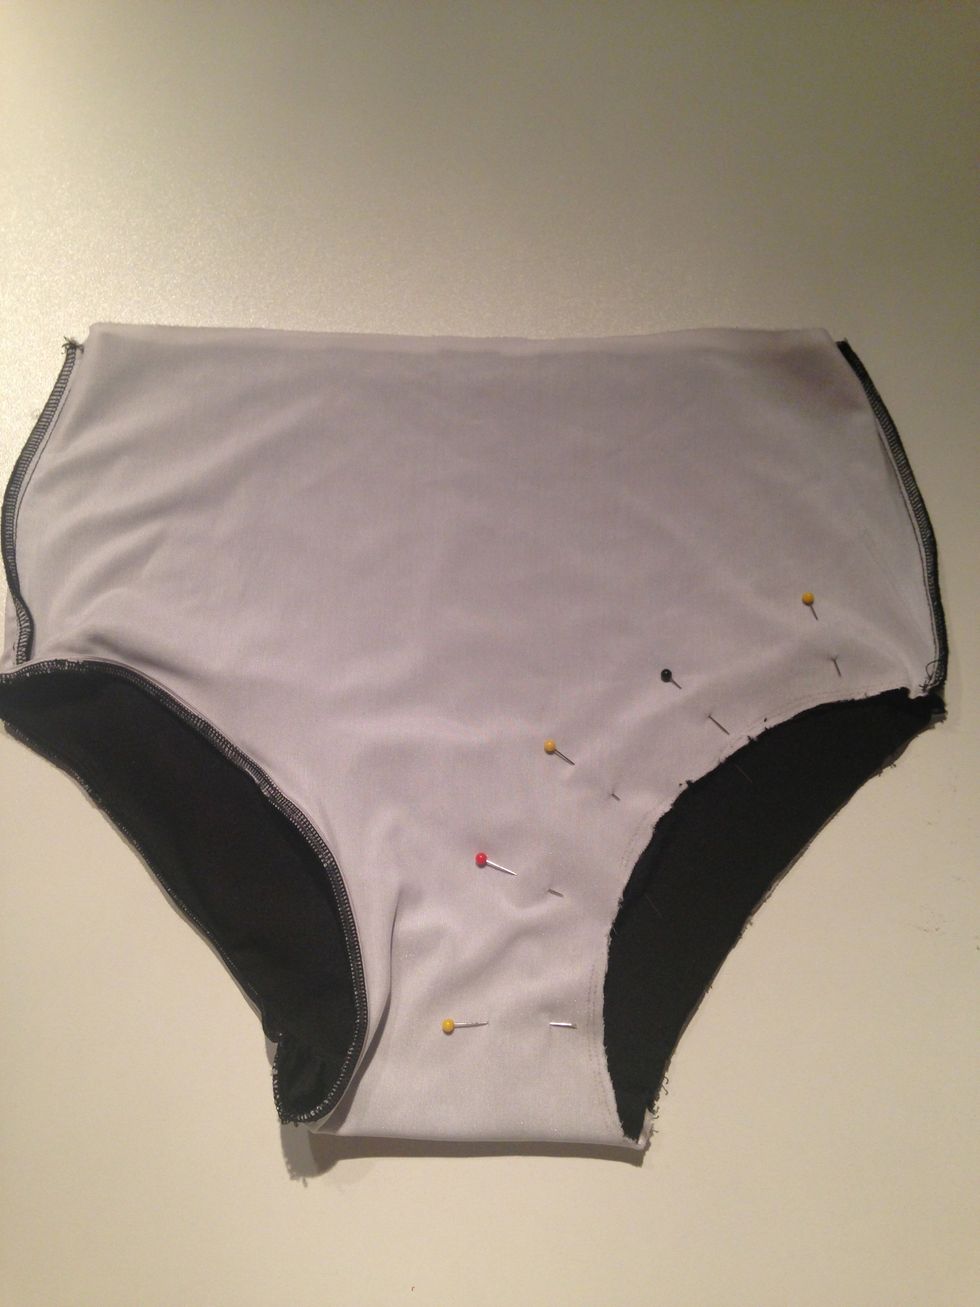
It's now time to put the top and bottom pieces together. Pin everything up along the waist making sure that the top piece lines up with the centre and side seams correctly.
I sewed all the pieces together first before I added the elastic in the waist.
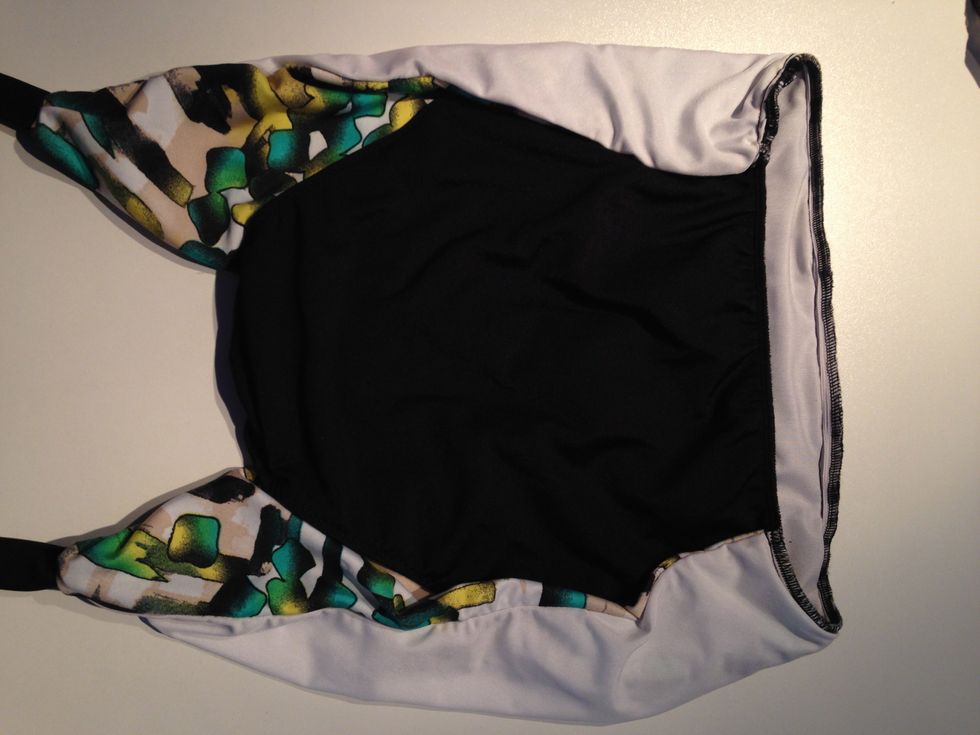
The elastic was added to the waist band

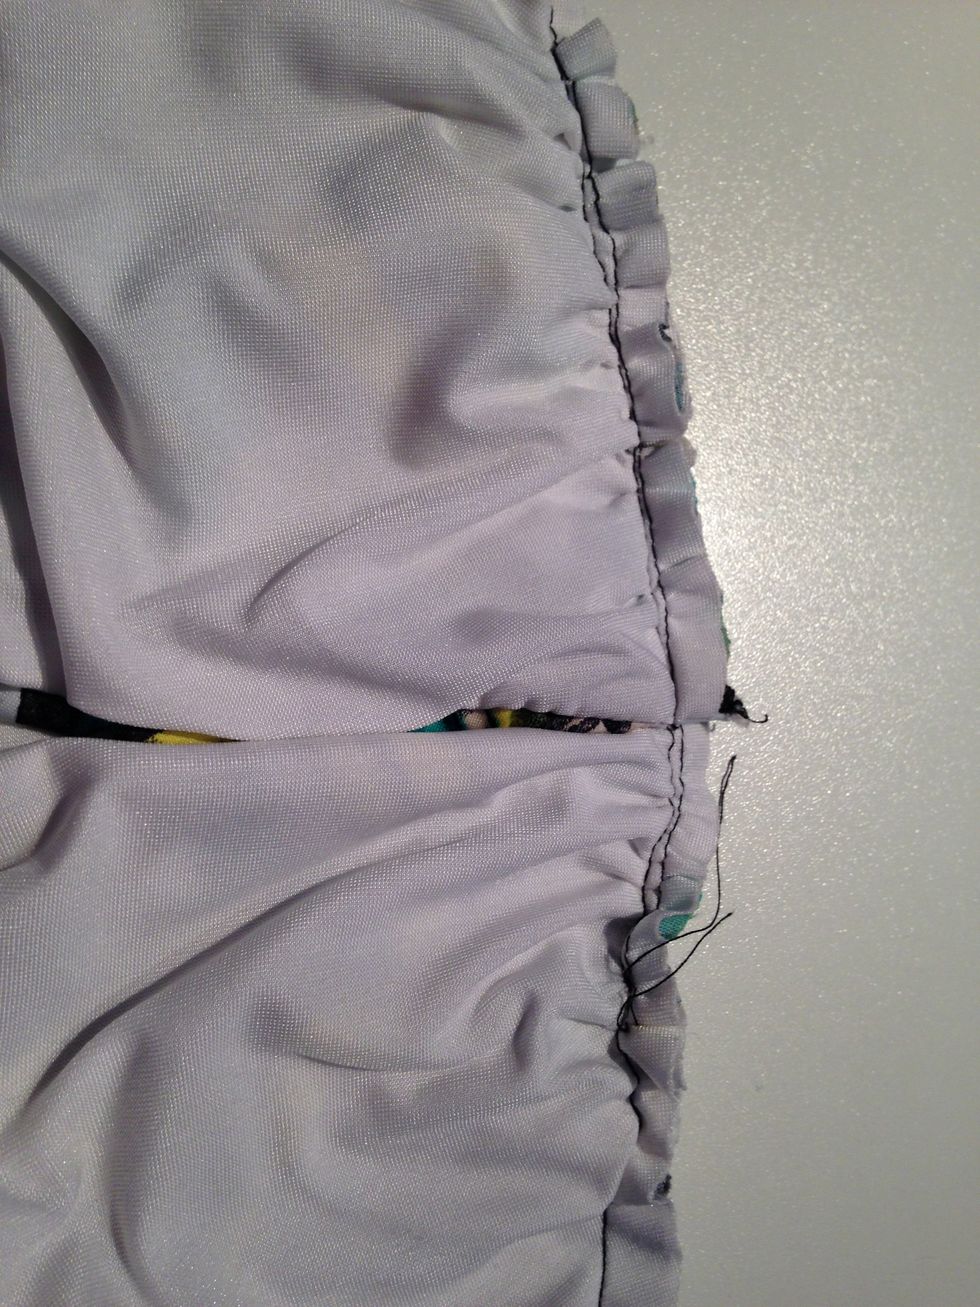
a close up of the elastic in the waist band.
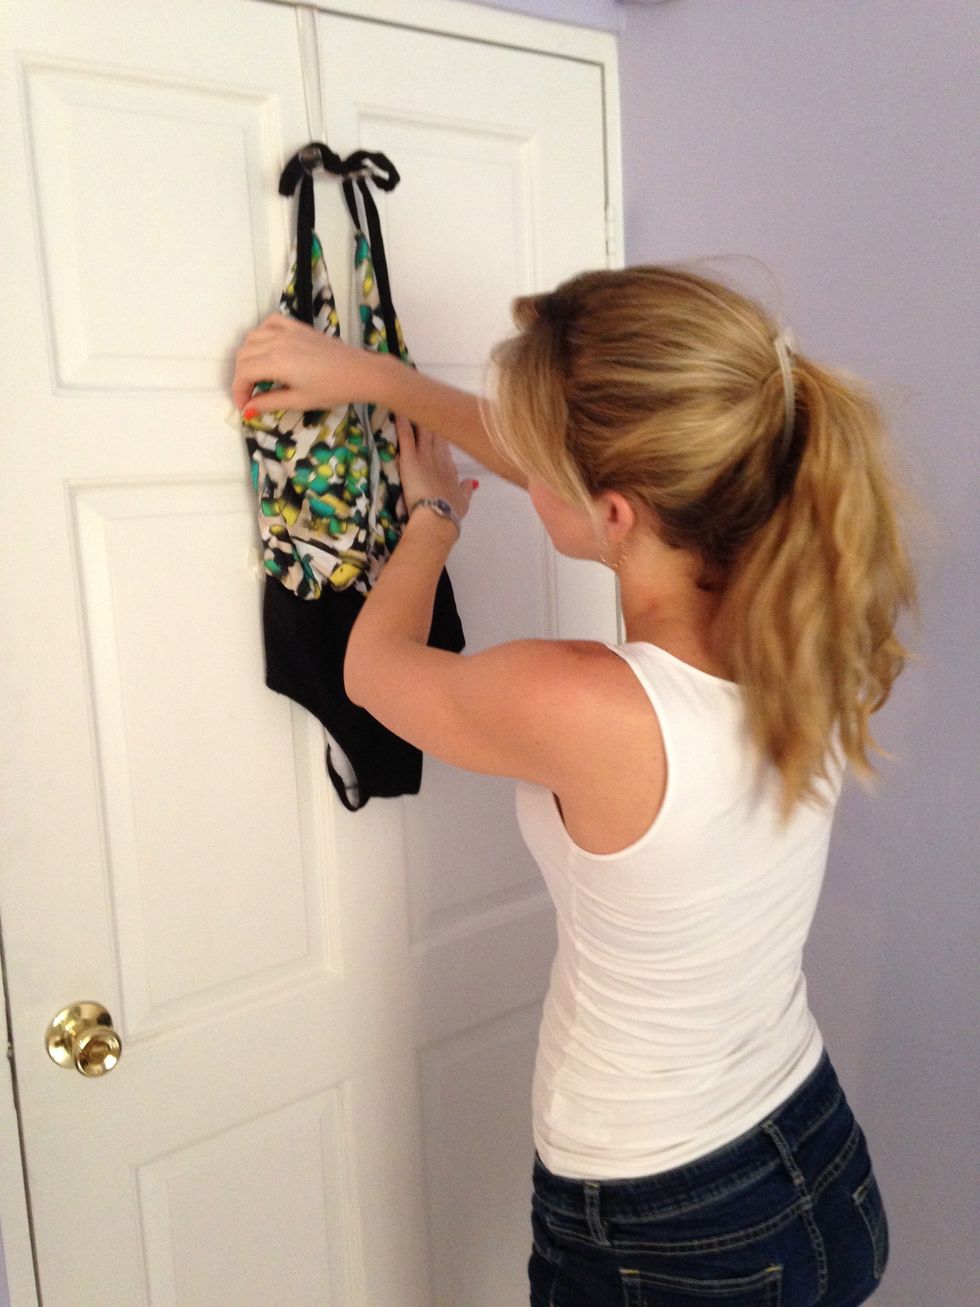
My sister helping me display my bathing suit for the photo shoot
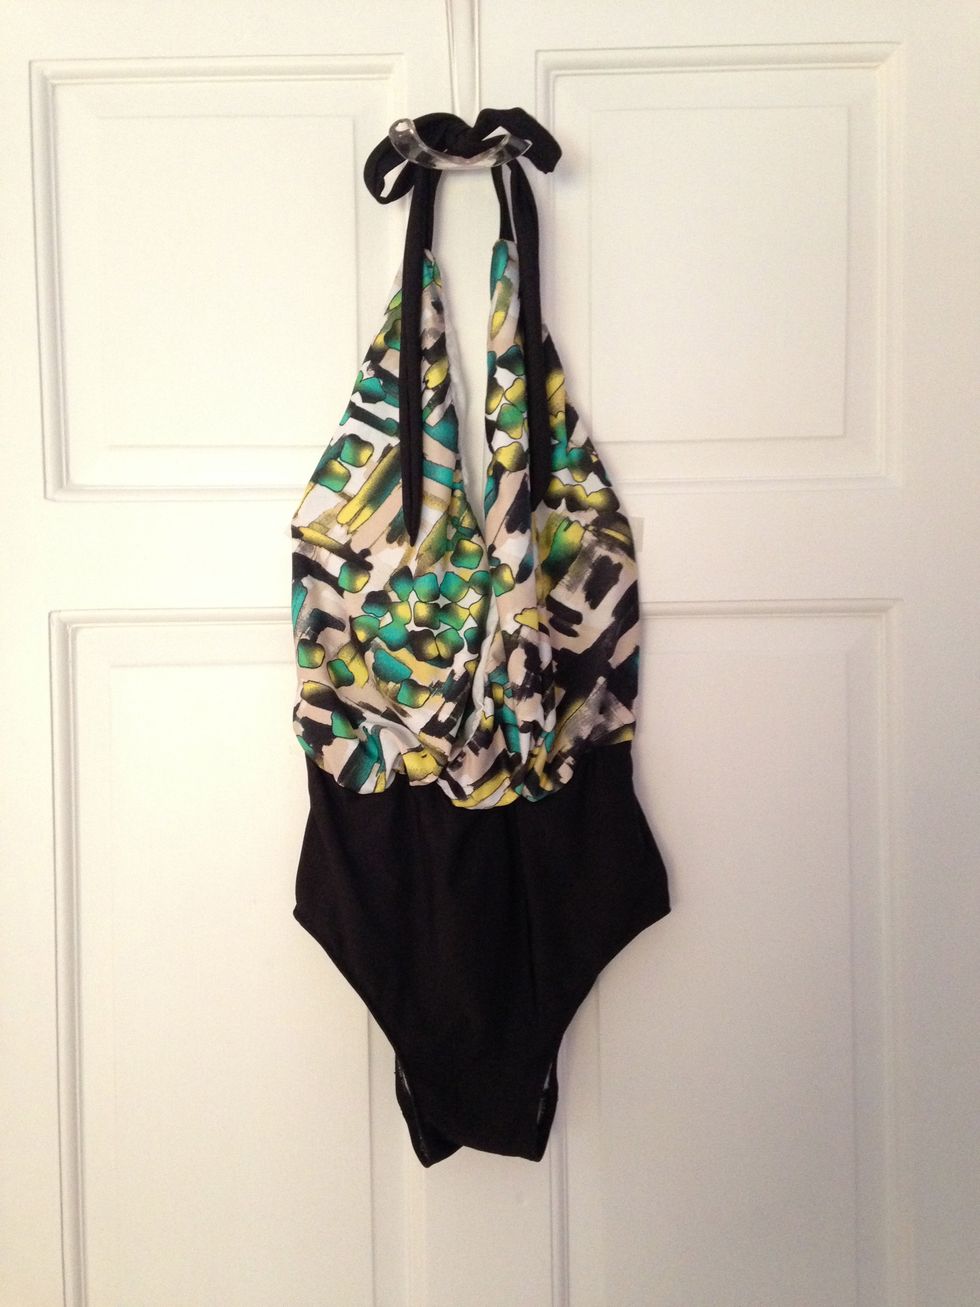
The finished product :)