The Conversation (0)
Sign Up
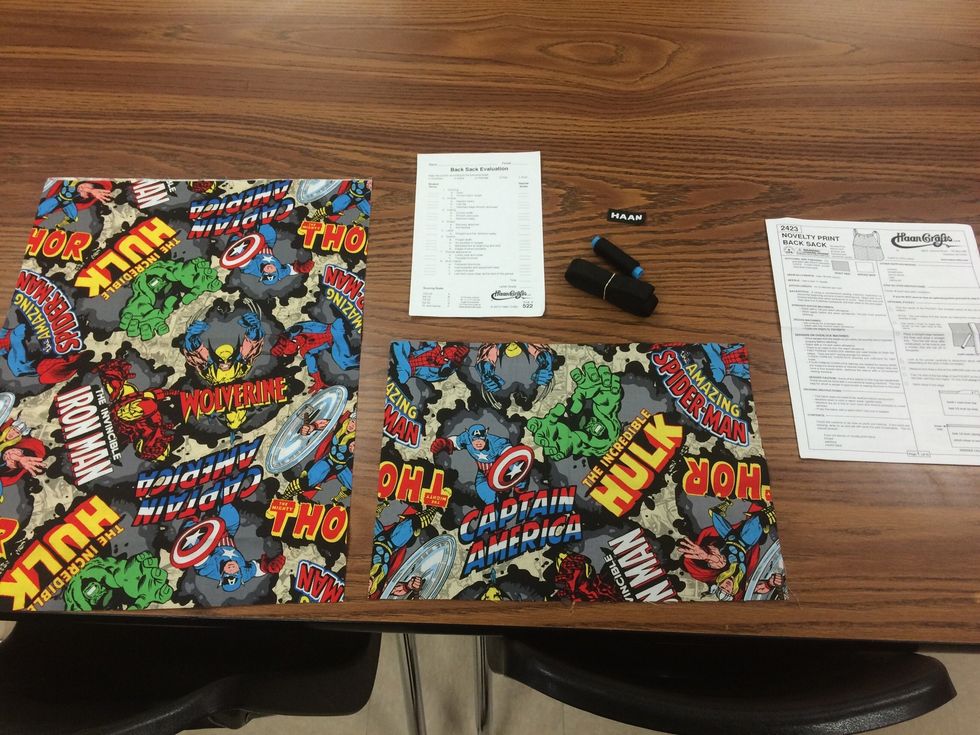
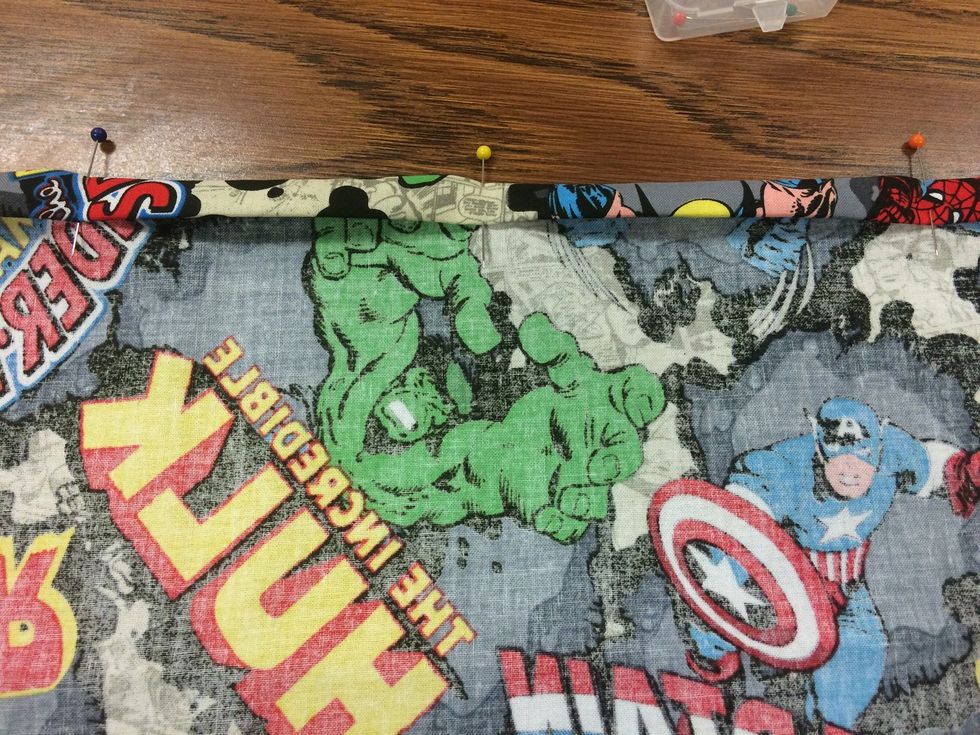
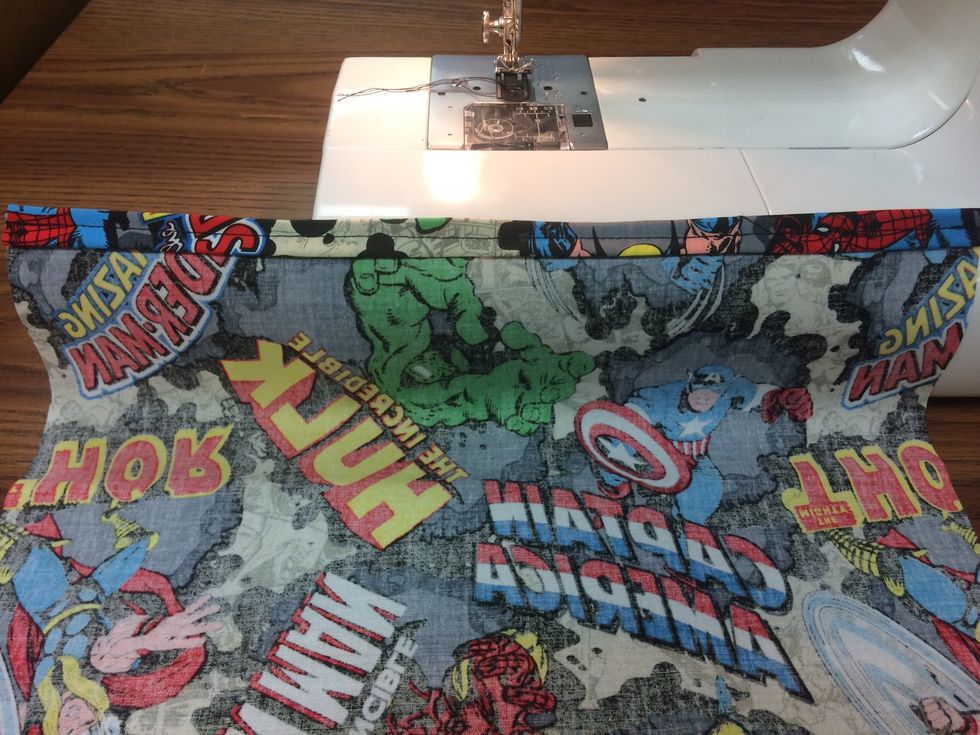
Supplies- 2 large pieces of fabric, one smaller pocket piece, thread, webbing- straps, instructions, evaluation.
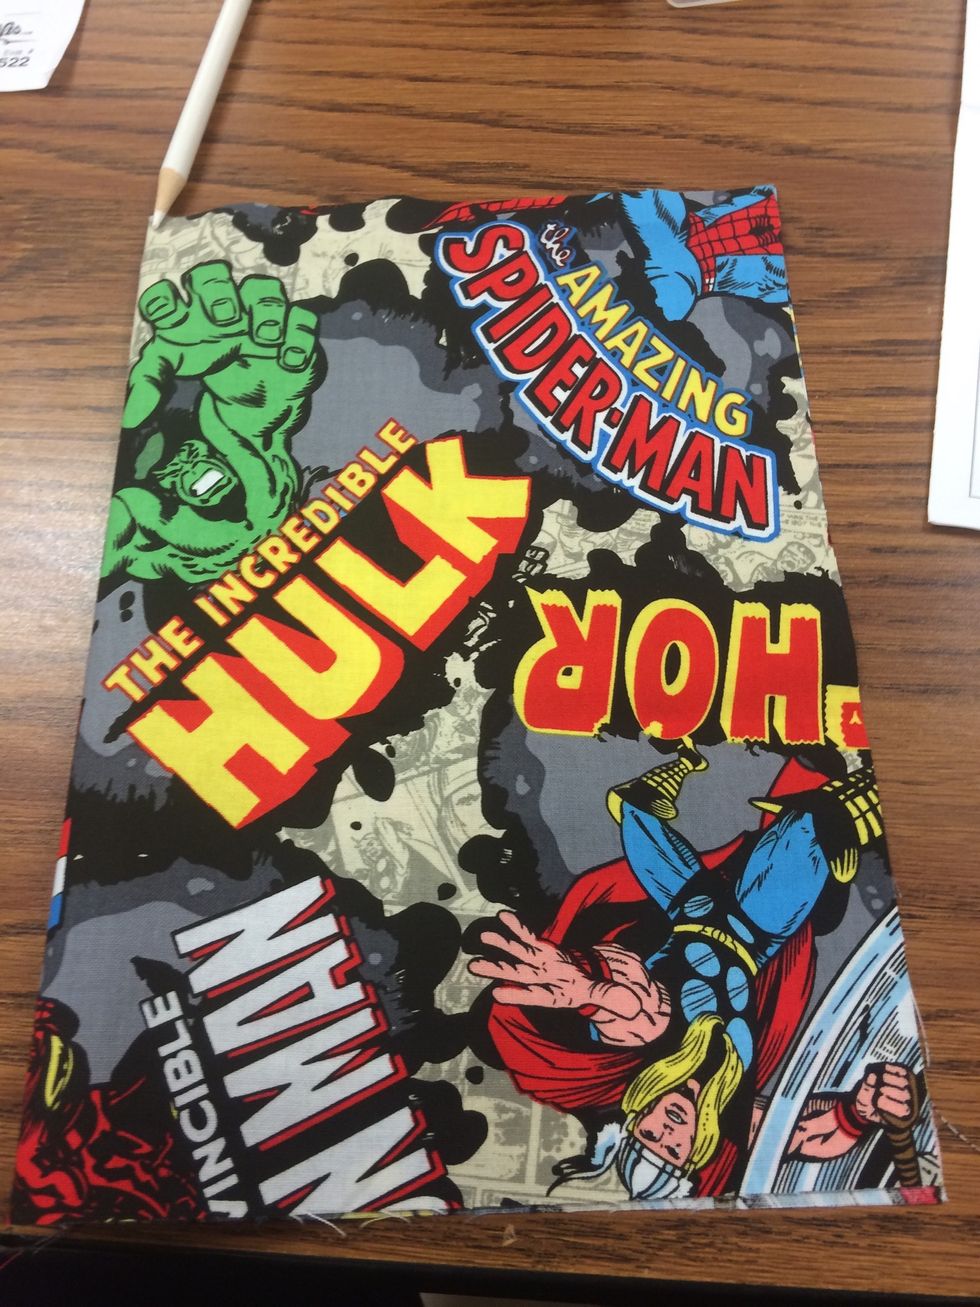
Locate Pocket piece- smallest piece
Fold pocket piece in half (hamburger style)
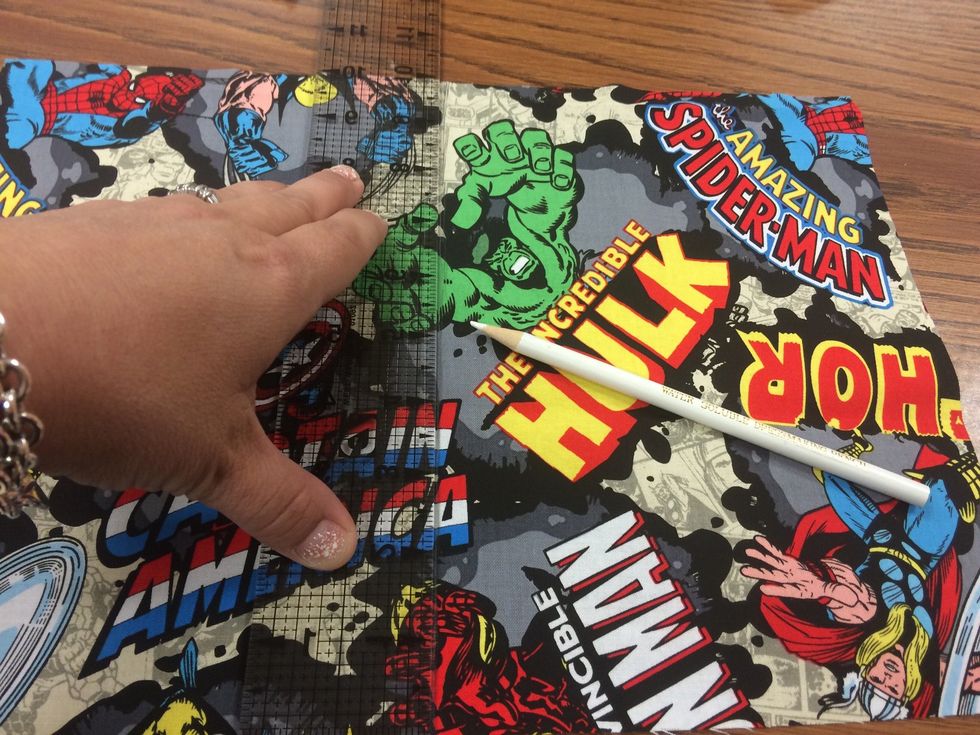
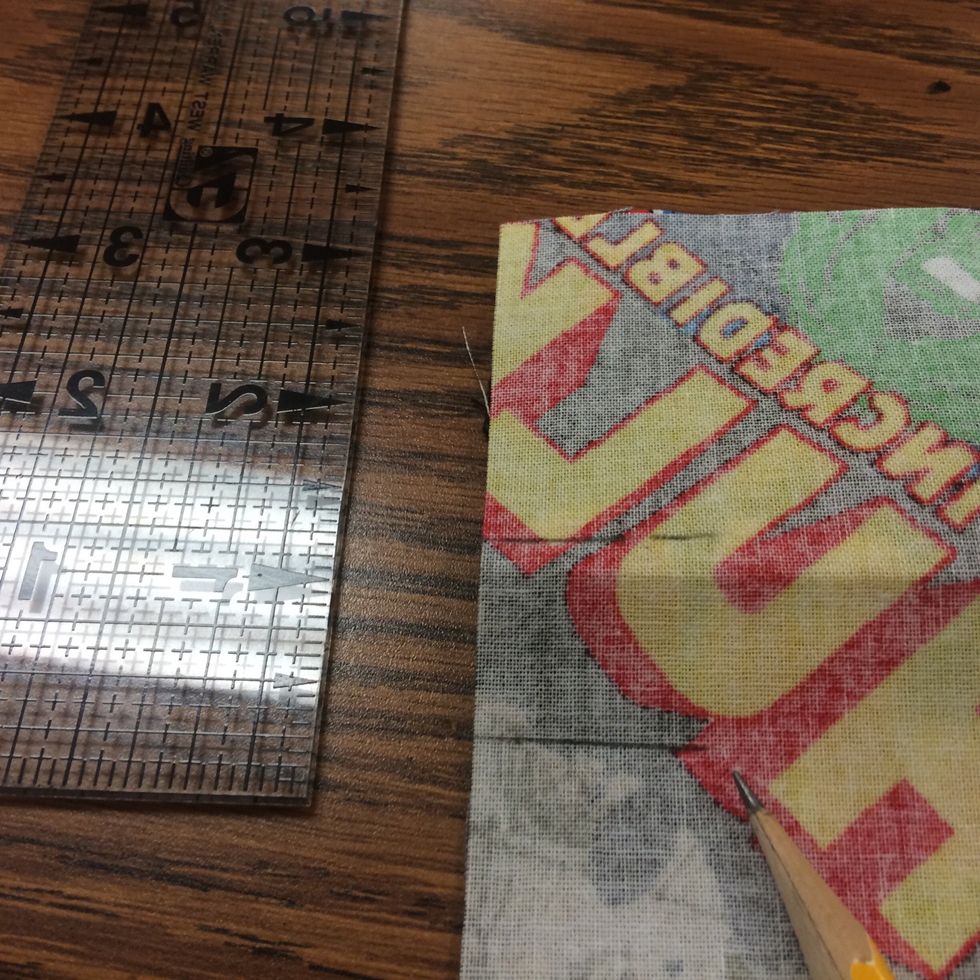
Mark with a ruler and pencil - exact line in the center of the fabric (you will be dividing your pocket in half)

place pocket piece on the wrong side, 2- draw a line on the wrong side 1" from the top - along the long side of the pocket
Fold 1/2" of the top edge of the pocket to the back side. Fold it down to the pencil line
Pin the fold along the top to keep in place

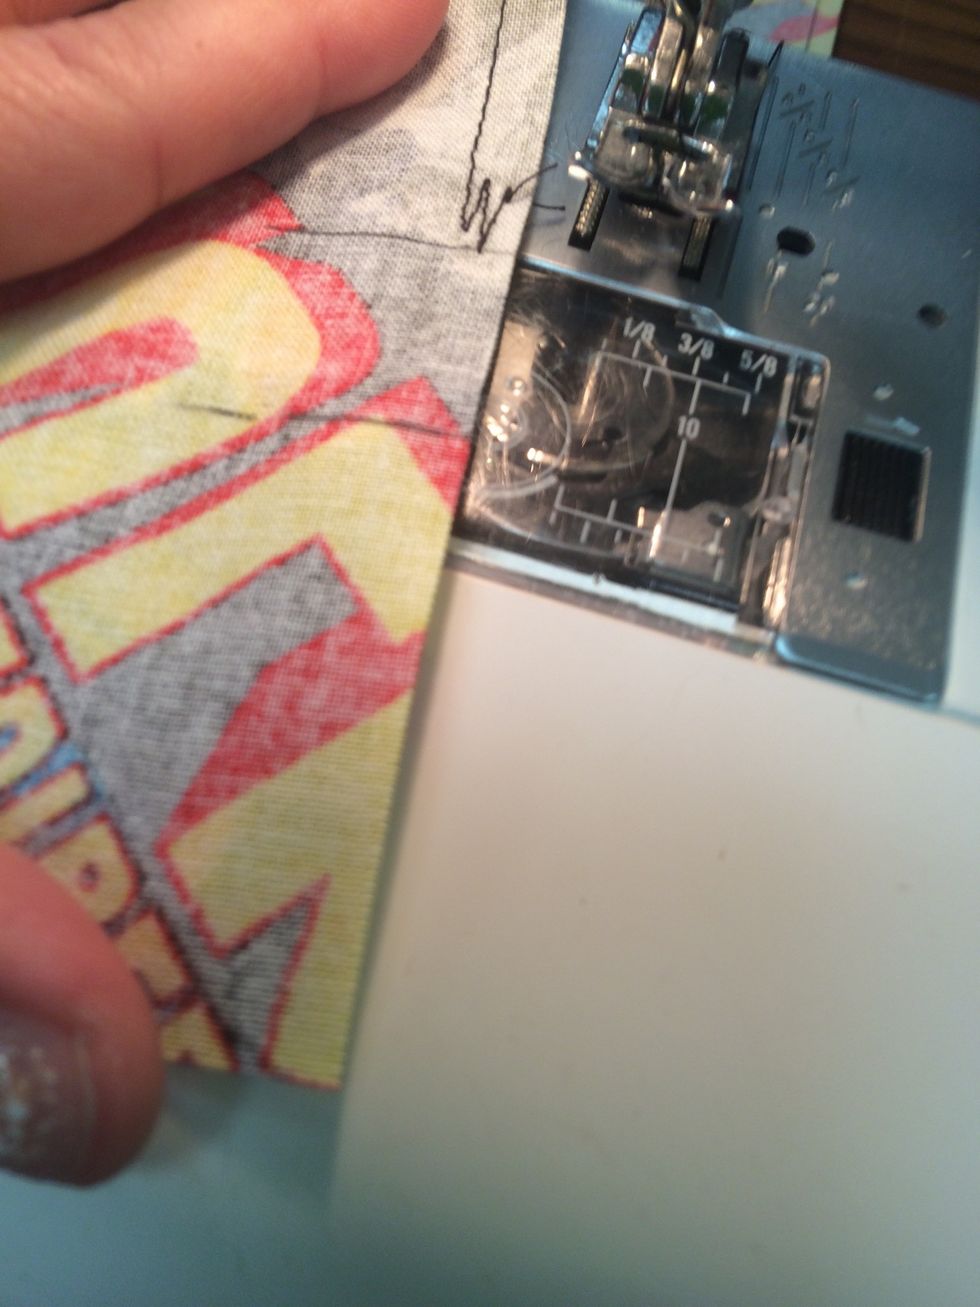
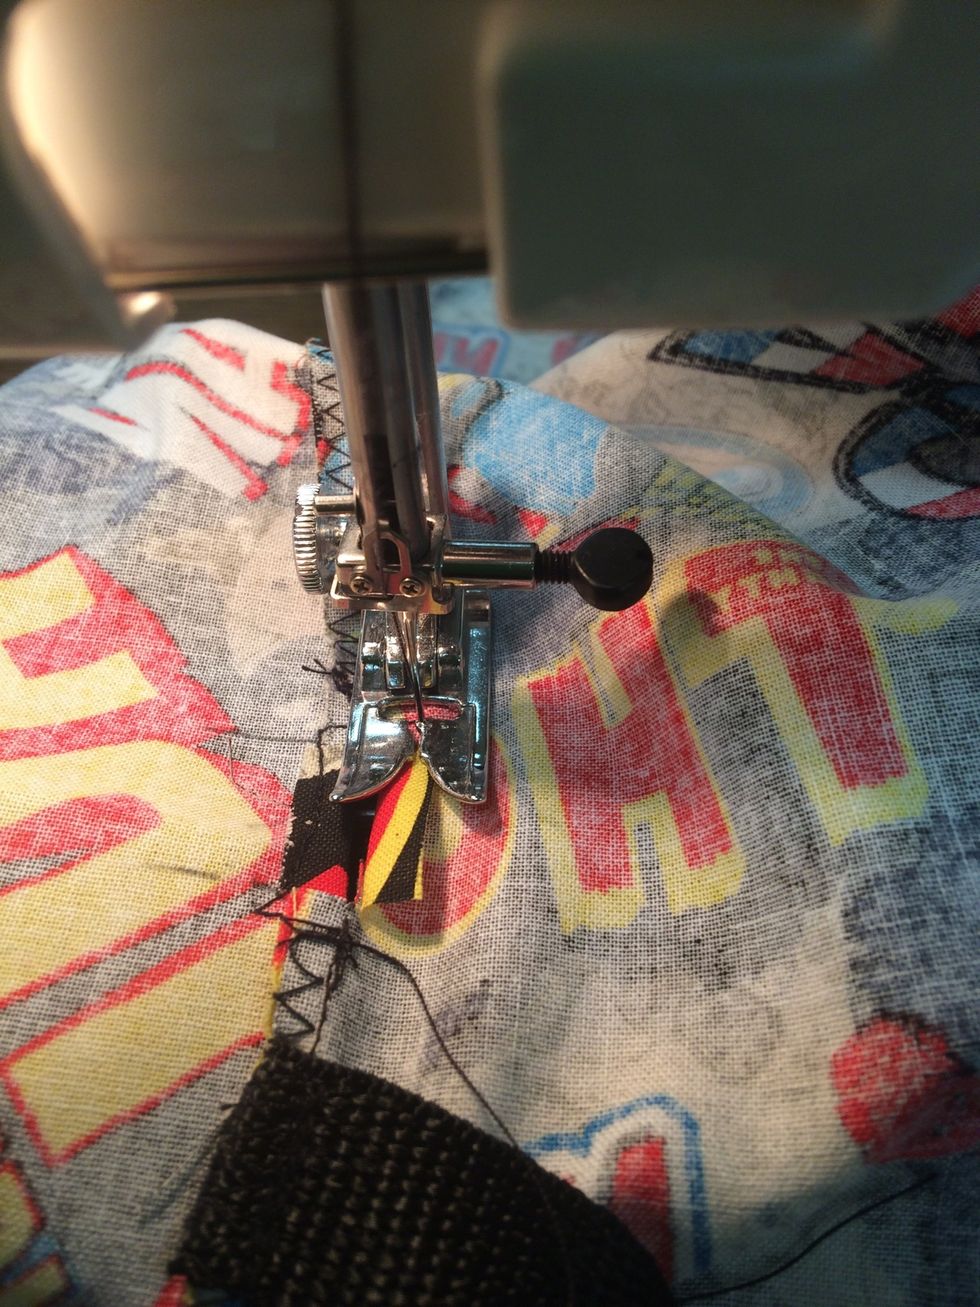
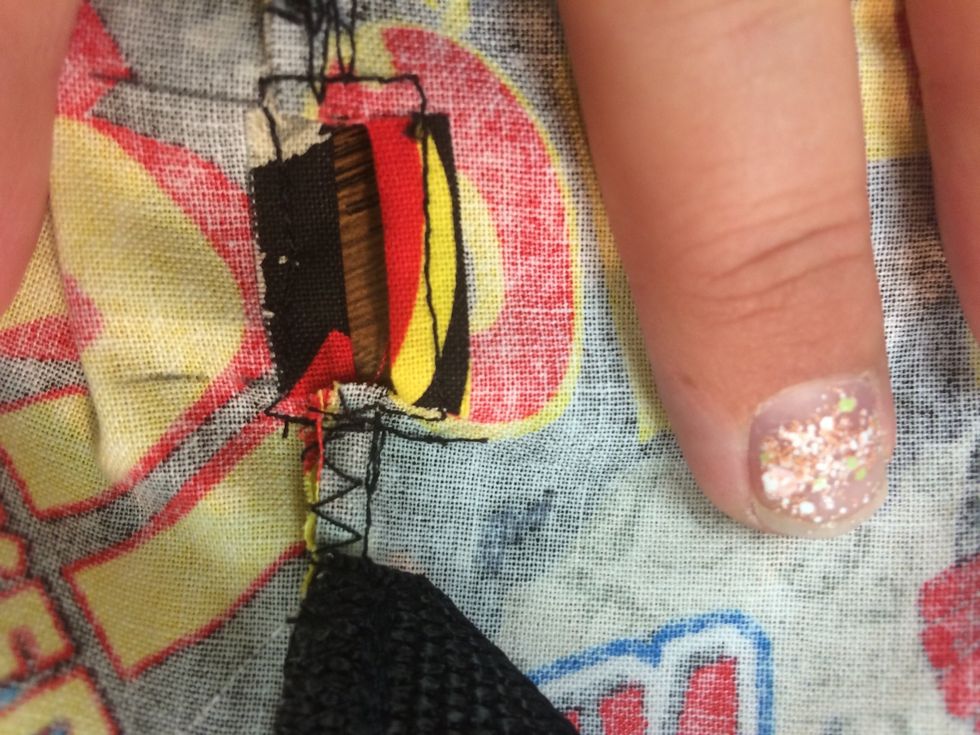
Stitch in the middle of the fold across the top of the pocket. This will make a nice edge on the top of the pocket
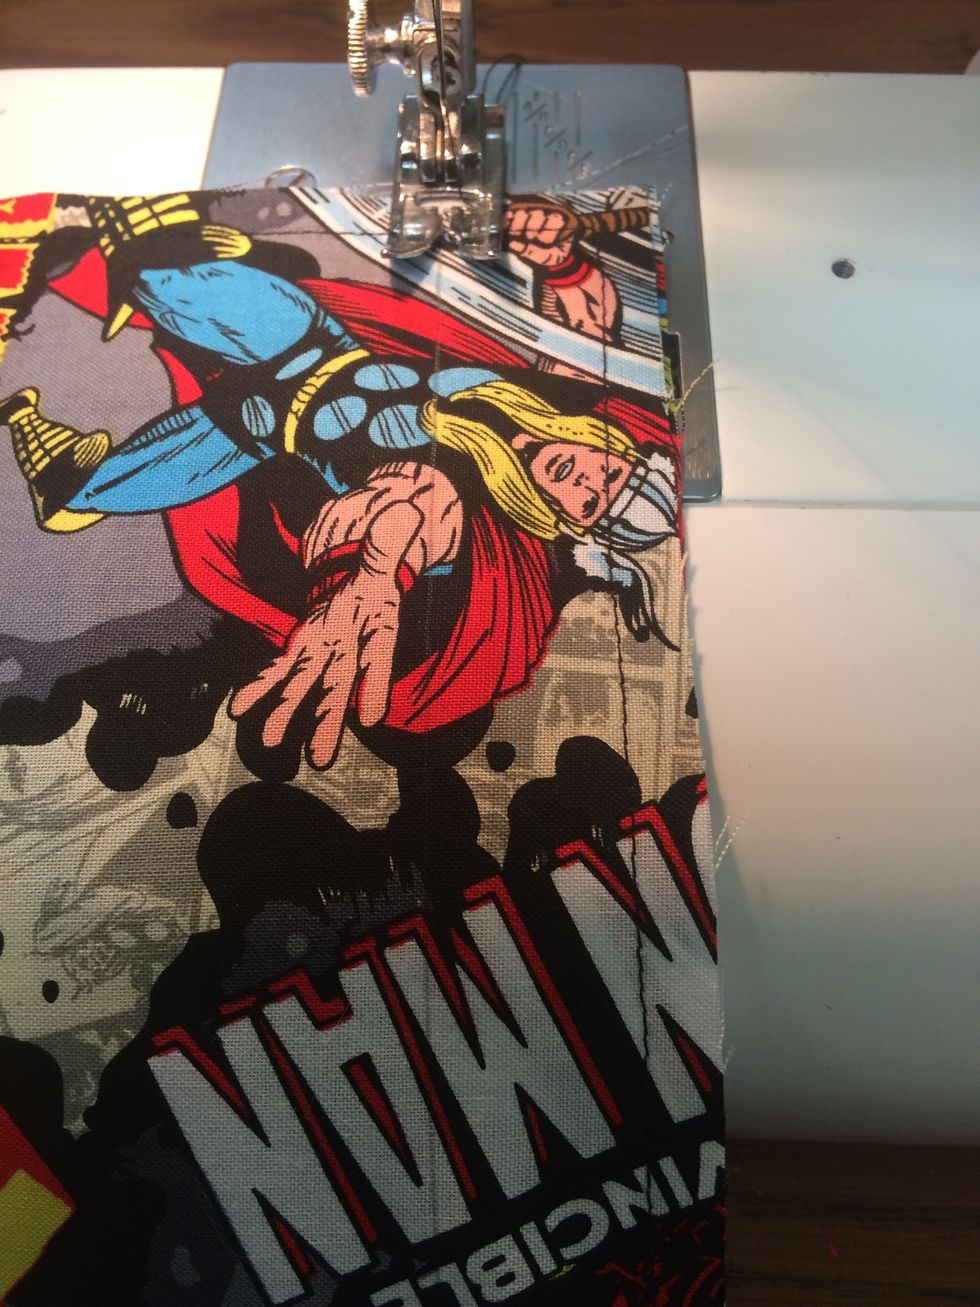
This is what your pocket top should look like. Trim loose threads from the ends
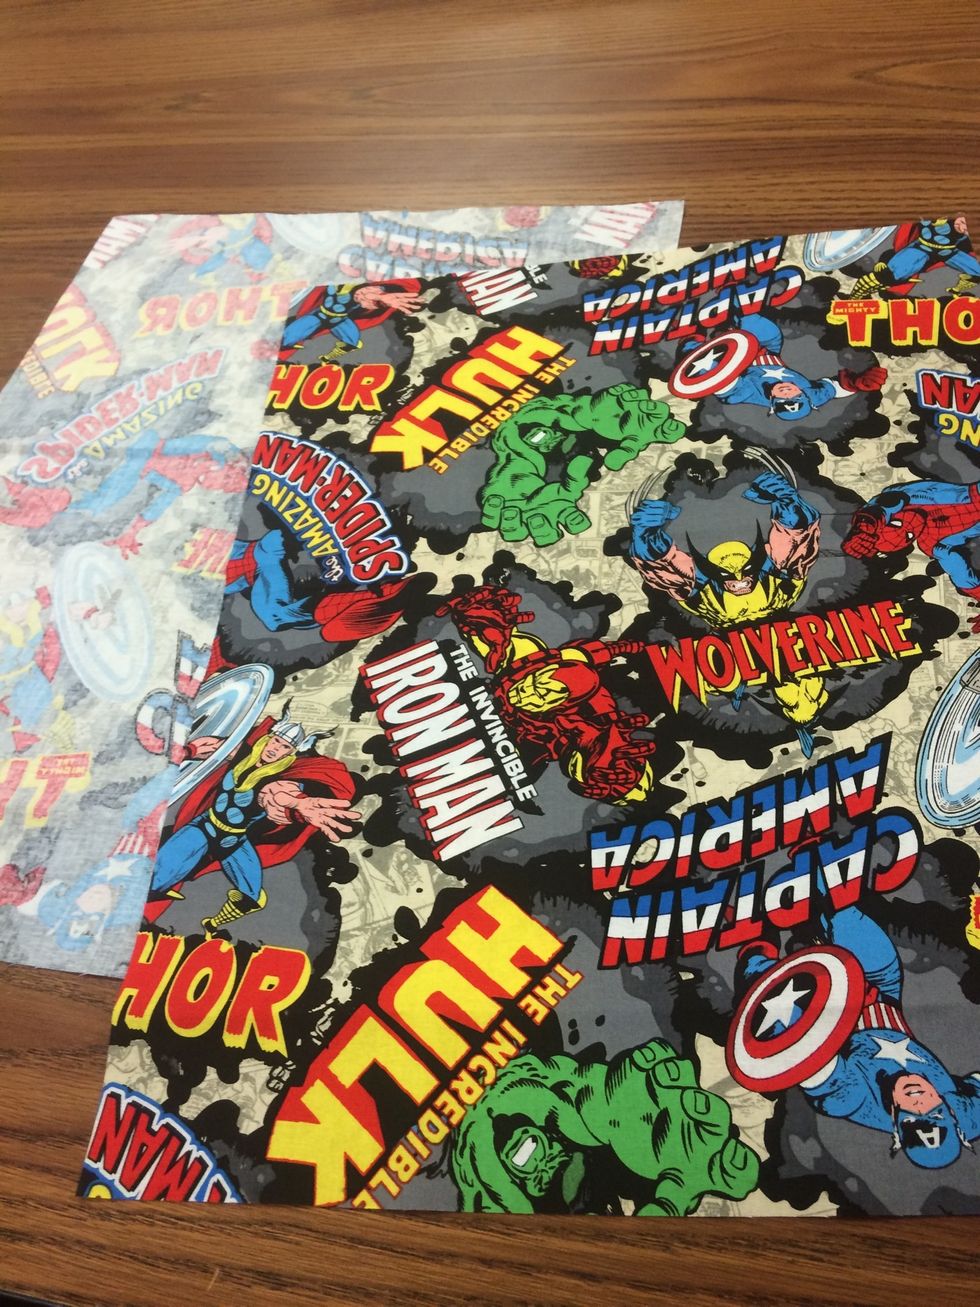
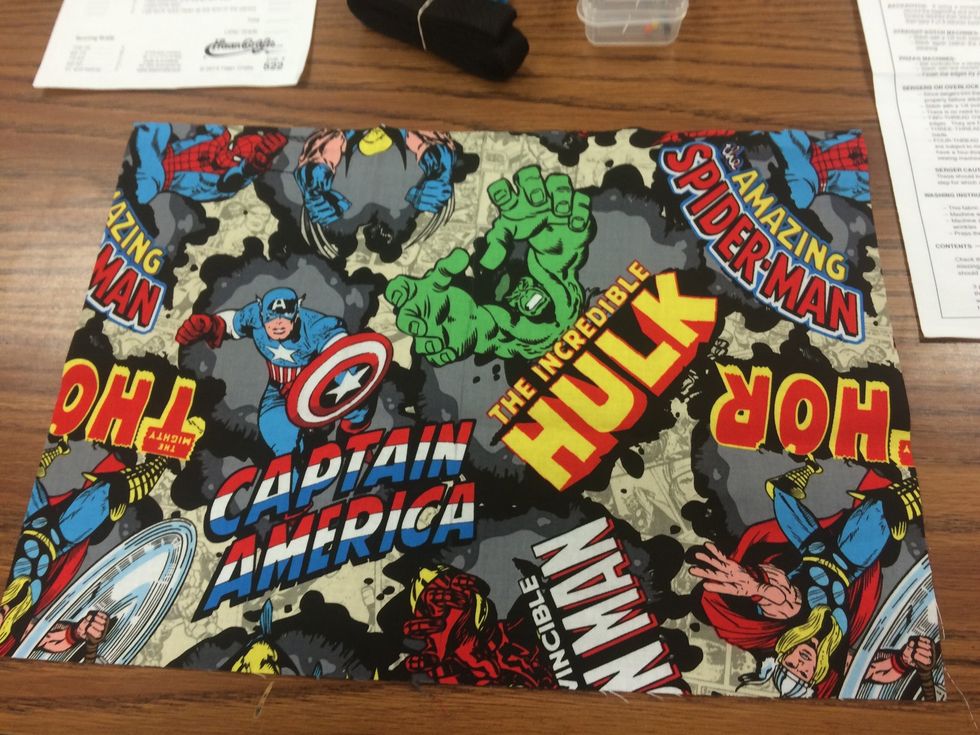
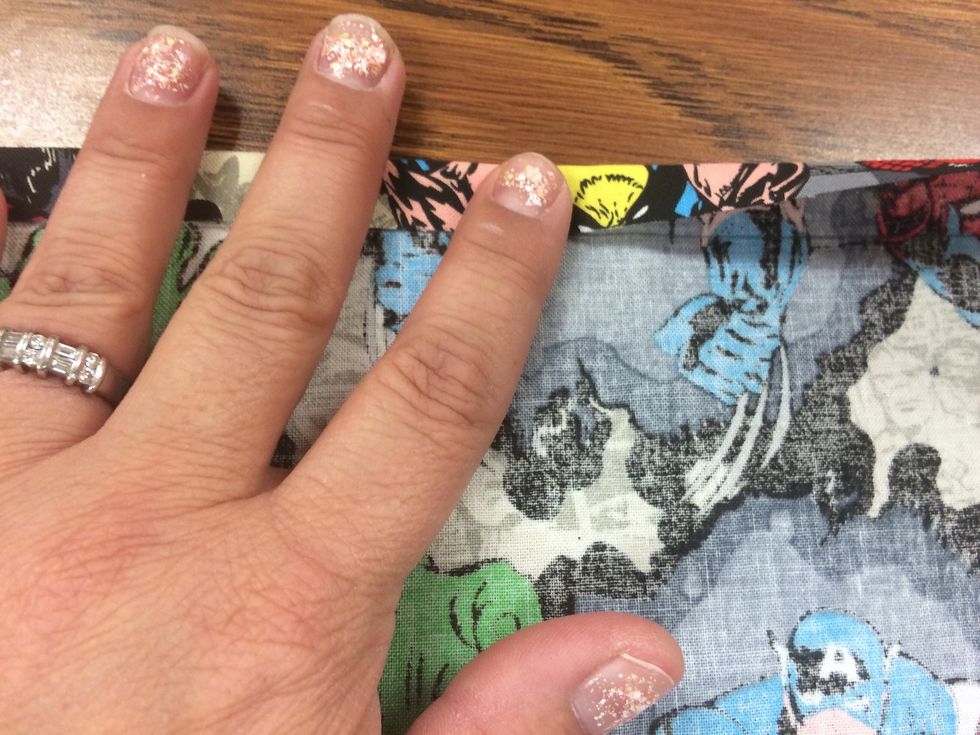
Locate the 2 large pieces and determine the front piece (if both pieces are the same, just pick one to be the front piece!)

The pocket will go on the top of the bottom of the front piece. (Follow step 4 in the paper instruction booklet)
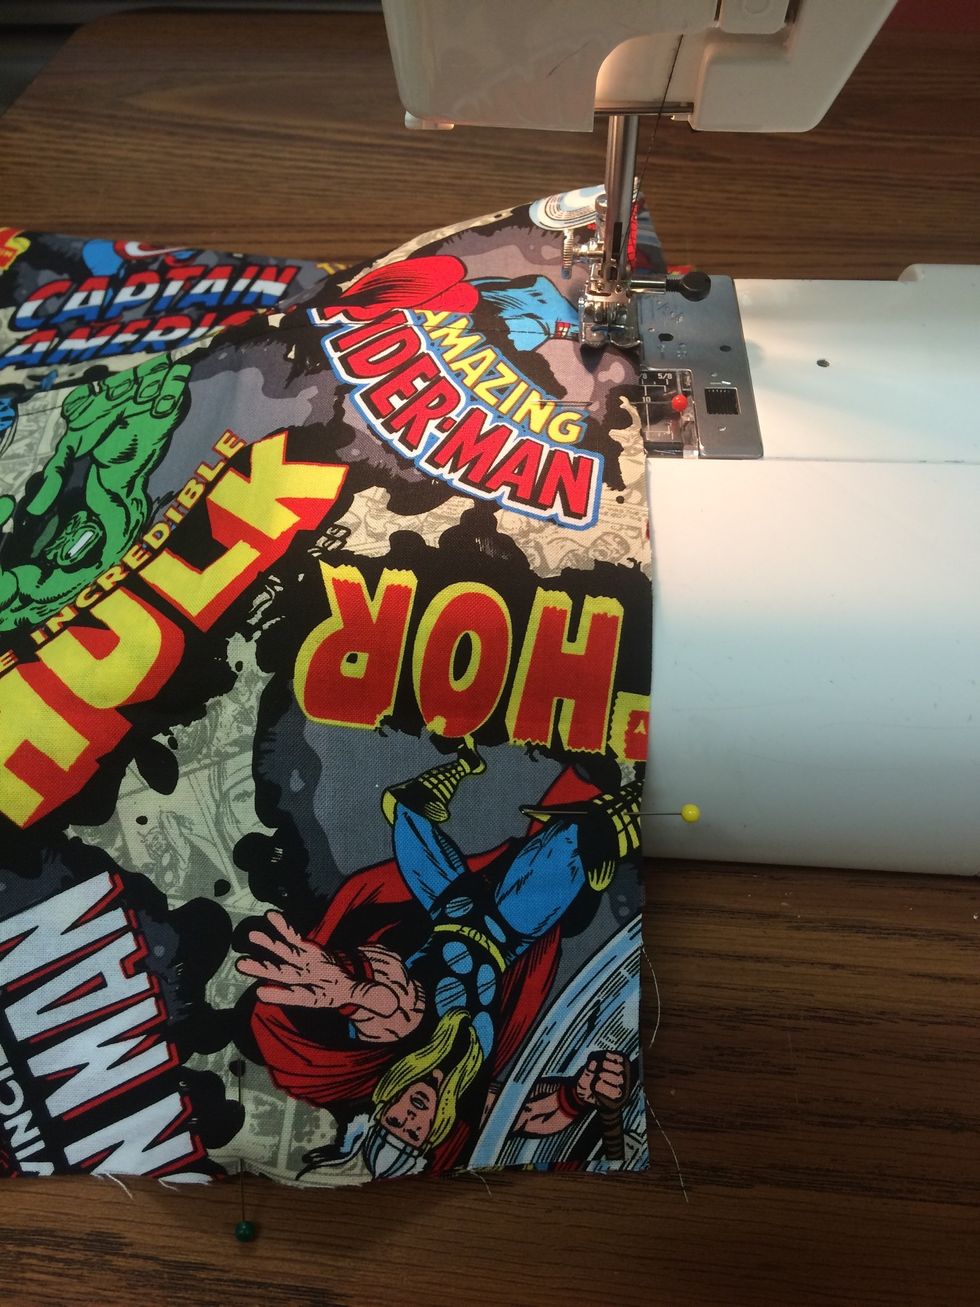
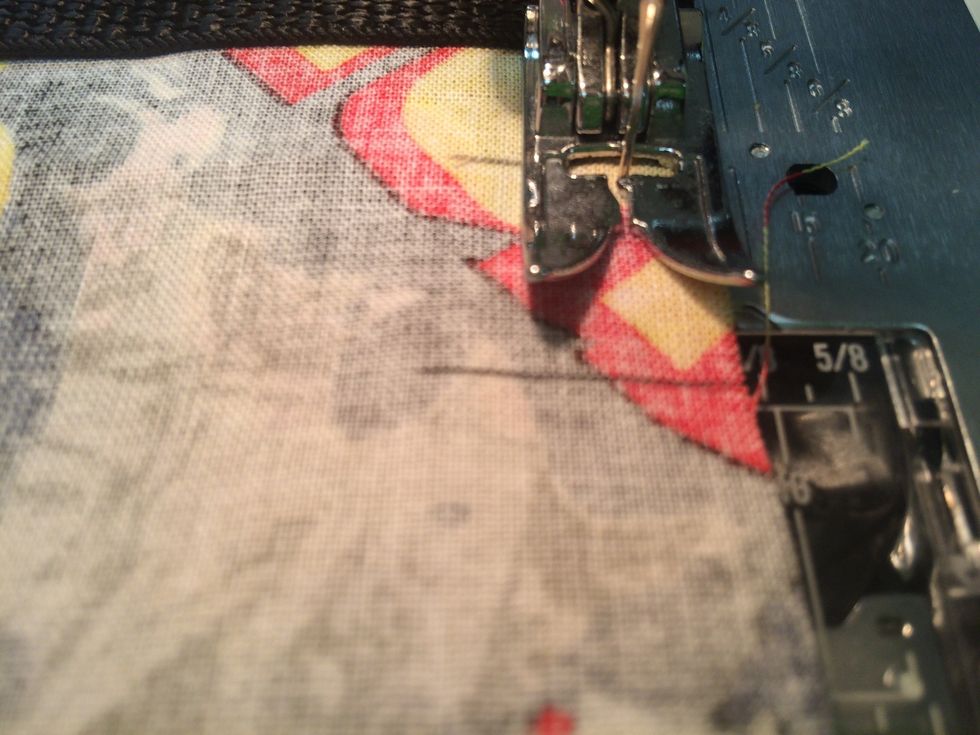
Pin then Stitch the pocket to the front piece along the 3 sides.
After the pivot keep sewing along the 3 sides. Do not sew the top of the pocket!

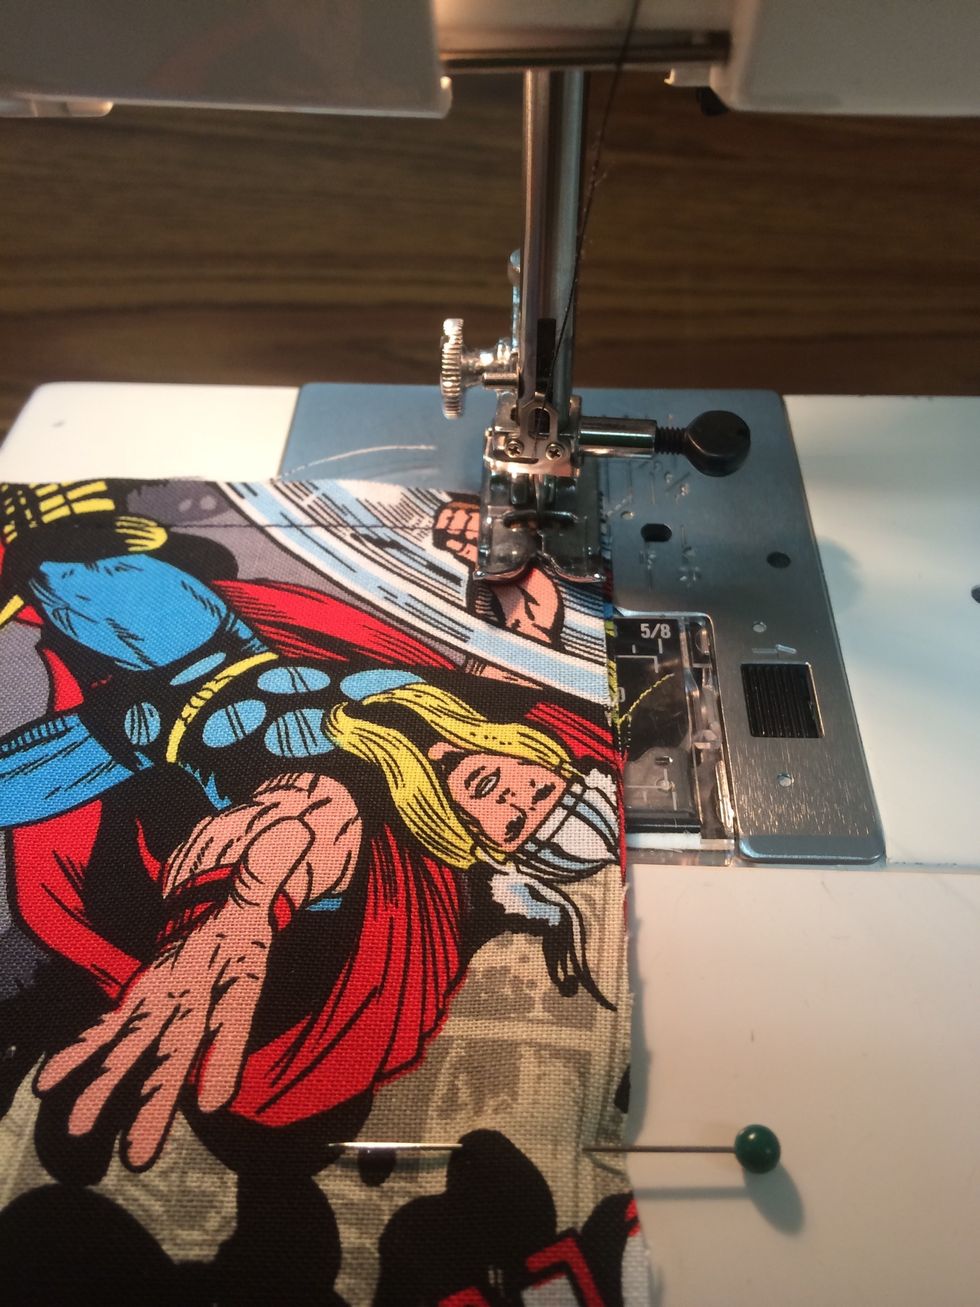
Now divide pockets into 2 by stitching down the center line.

Step 5. Measure 1.25" from the bottom and draw a straight line with a pencil (you will sew here to secure the bottom of the pockets)
Sew along the line across the bottom of the pockets
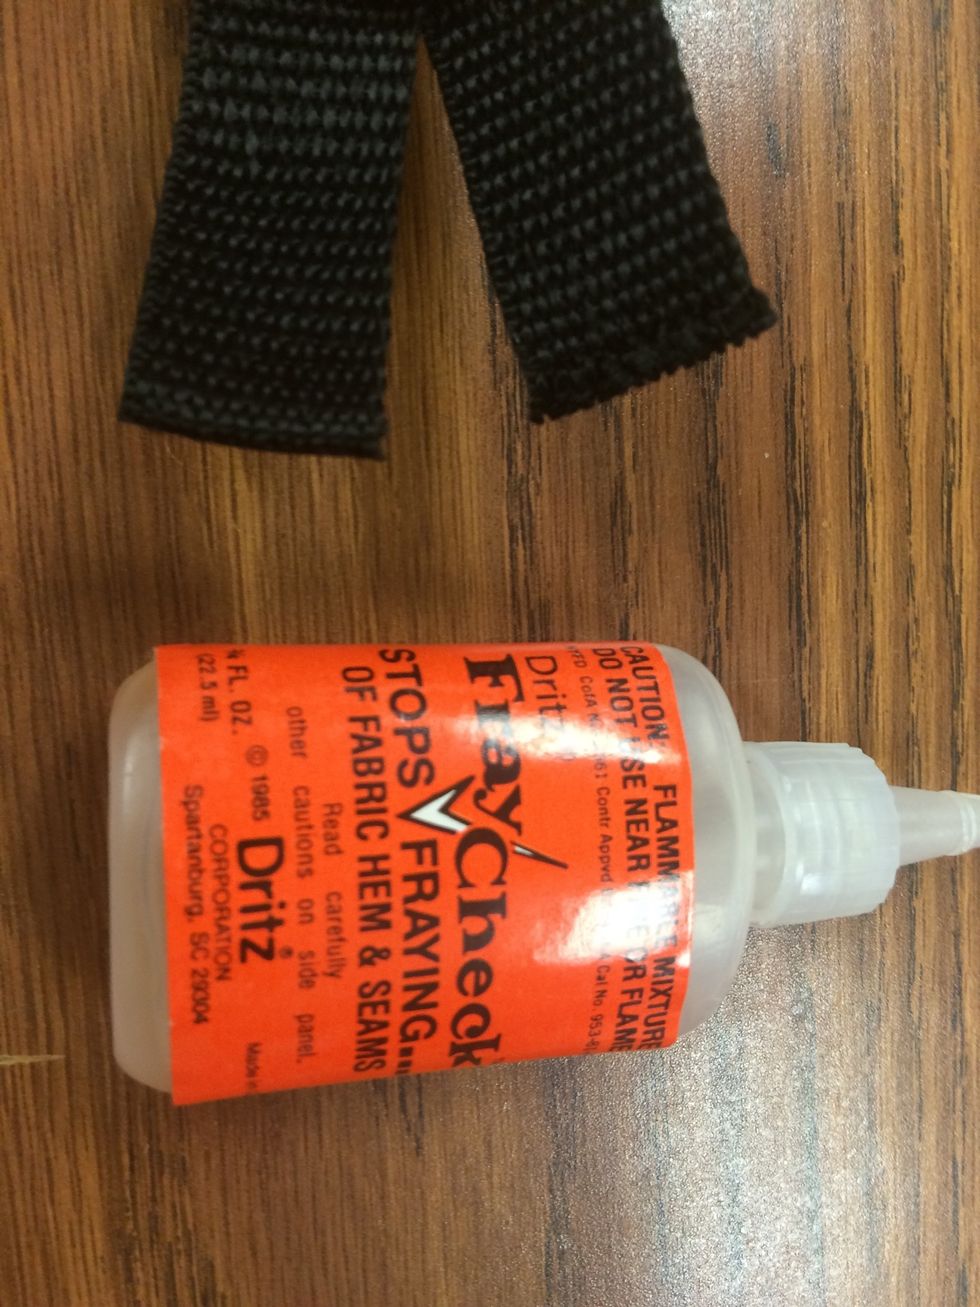
Skip step 6. Follow Step 7 and cut the webbing (strap) equally in half - WE ARE NOT USING THE FRAY CHECK- skip

Step 8. Lay front and back pieces on a flat surface with the wrong sides up.

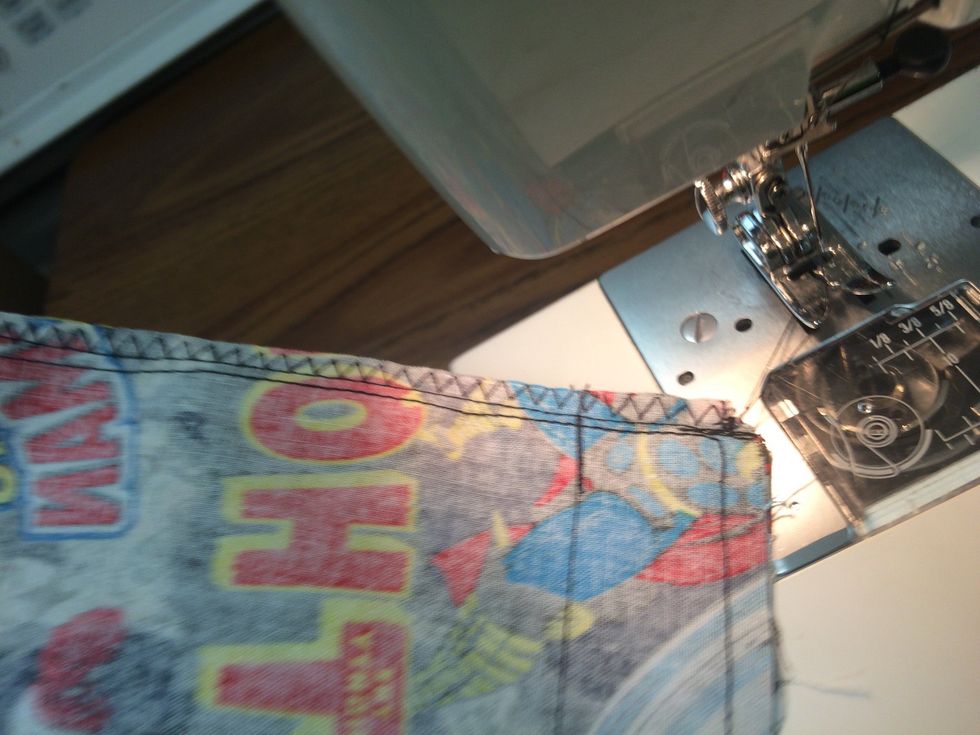
Measure 3/4" from the top right edge. Pin 1 piece of the webbing (straps) to the right side edge 3/4" down from the top edge- like shown
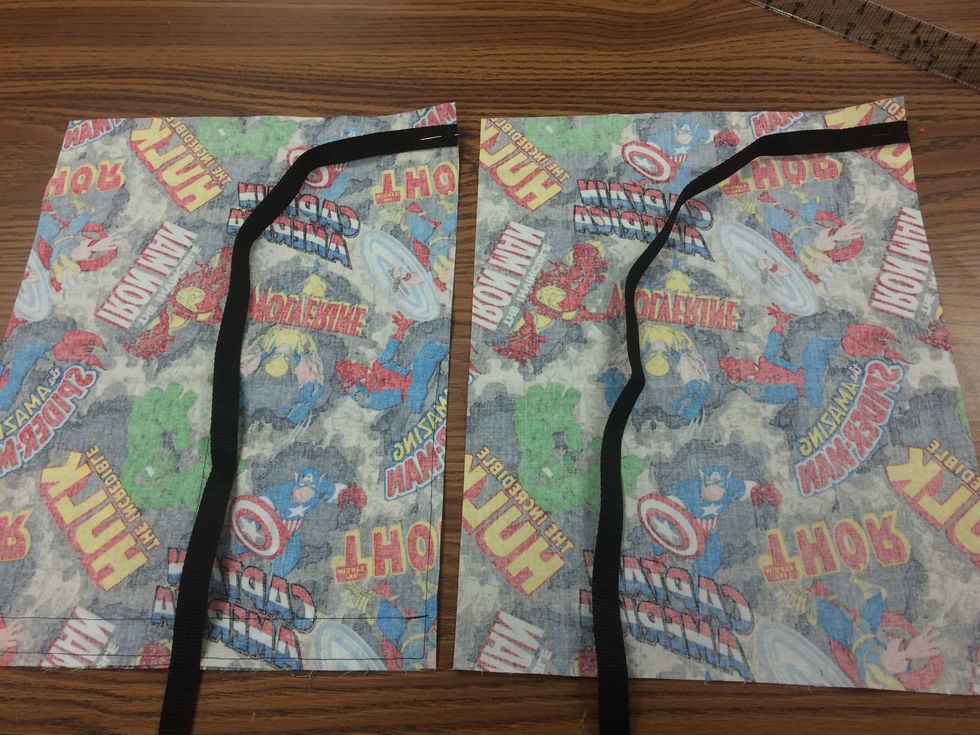
Repeat with second strap - Do the same to the other piece
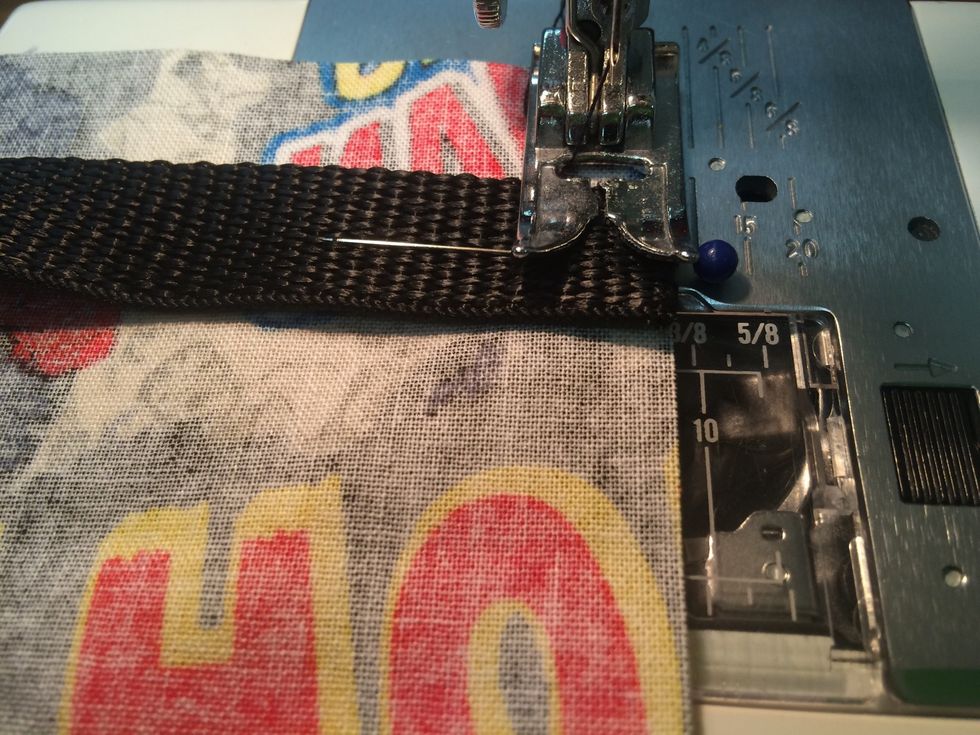
Stitch across the webbing to hold into place. REVERSE a few times so the strap is held strongly in place - you want this to be strong! repeat with second piece.
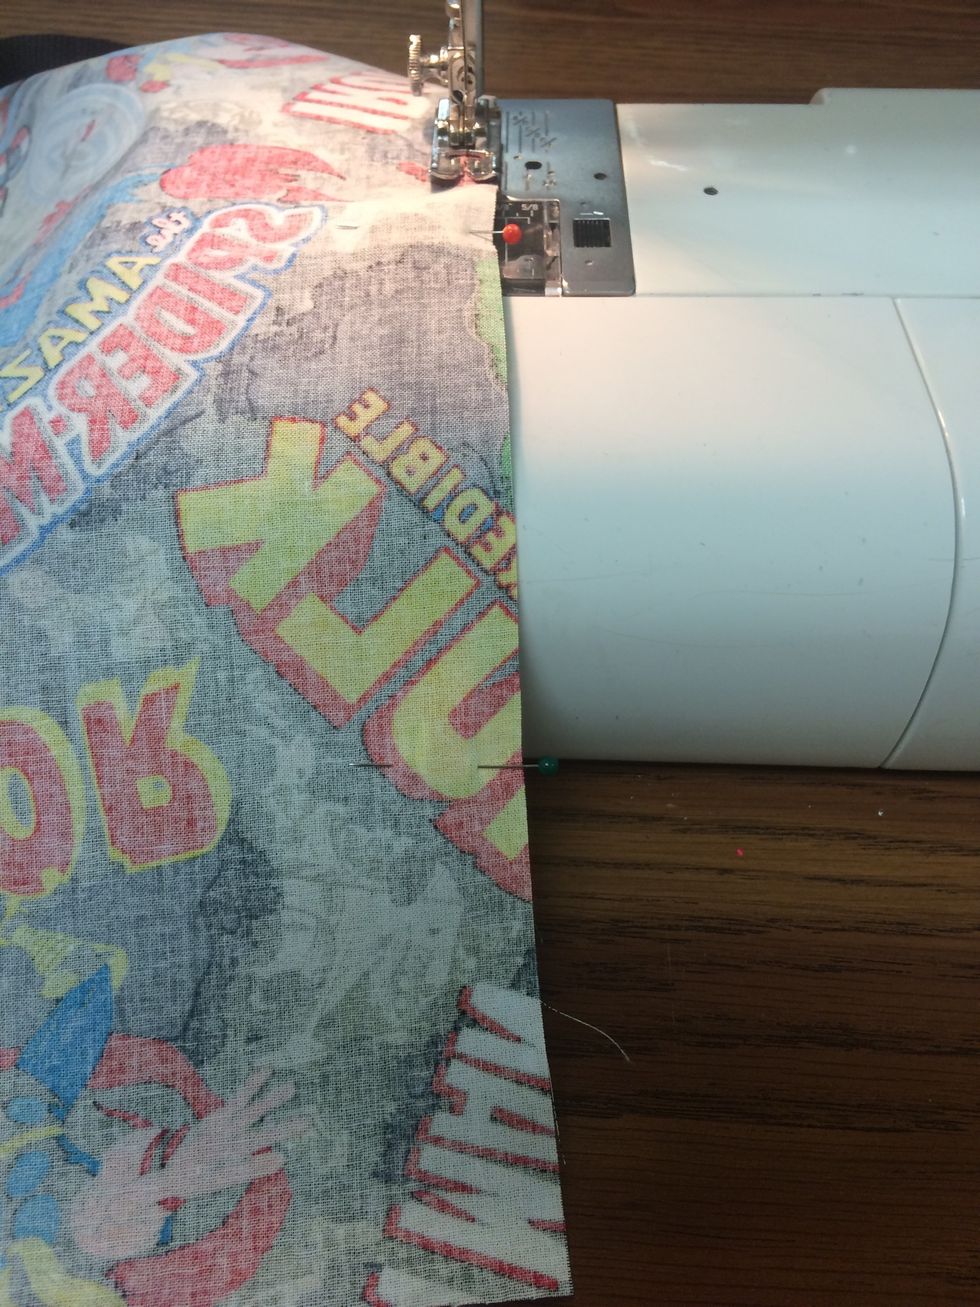
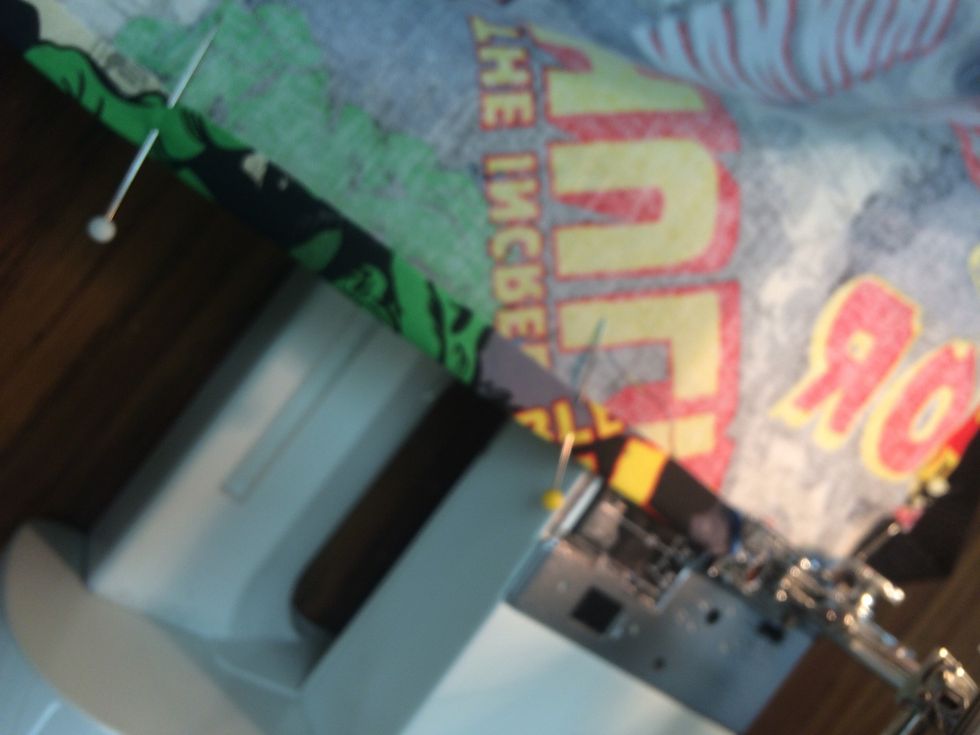
Follow step 9. Line of front and back pieces with Right Sides together. Pin front and back ONLY along the SIDE EDGES RIGHT sides together.
Side edges only pinned

On one side edge from the top, measure down 2" and mark with a pencil

Measure down ANOTHER 1" and mark with pencil (see next slide with a picture)
The space in between will be your opening.
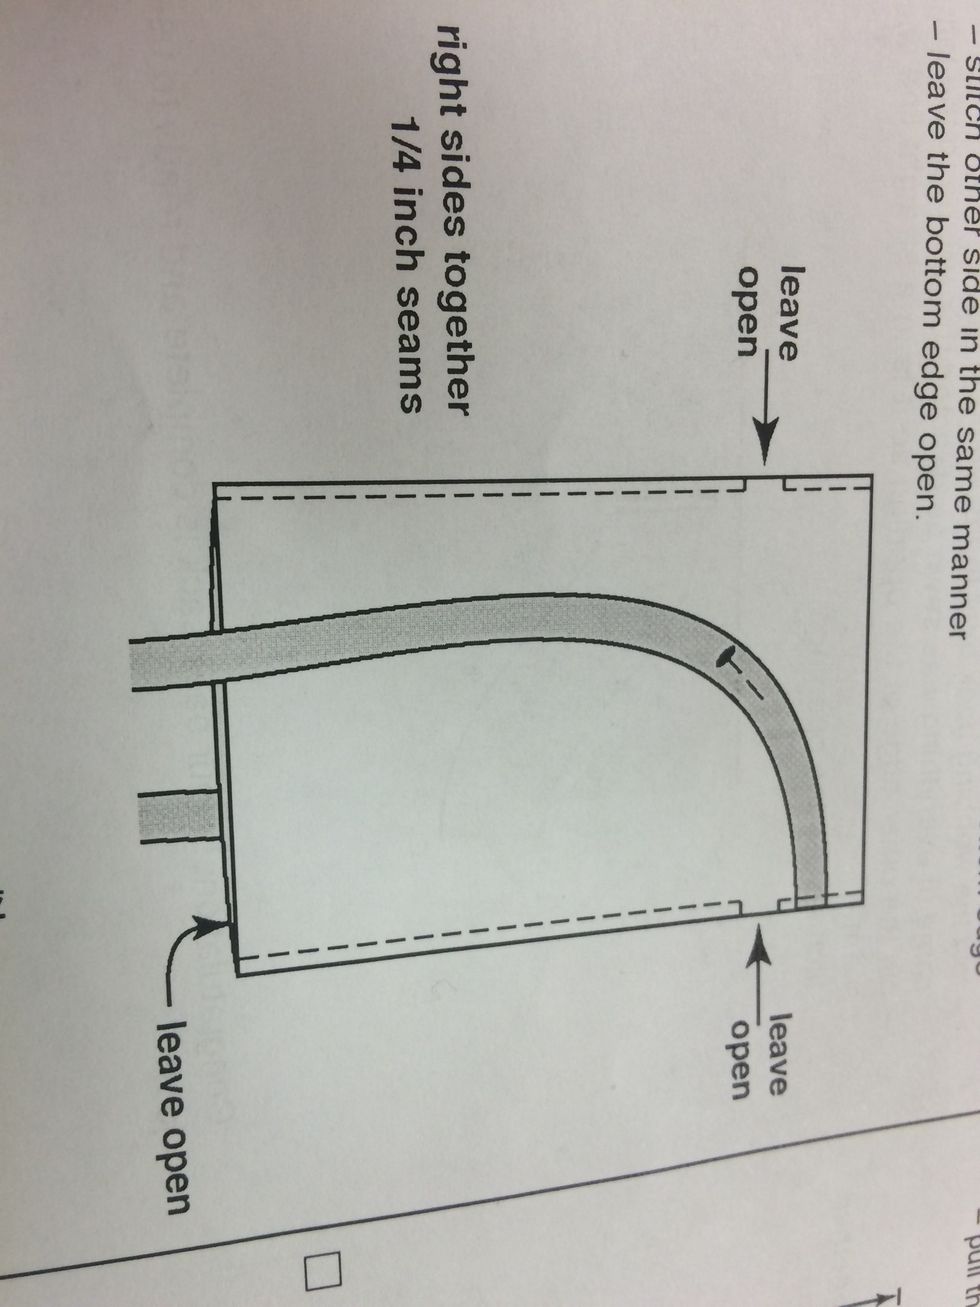
Repeat on the other side
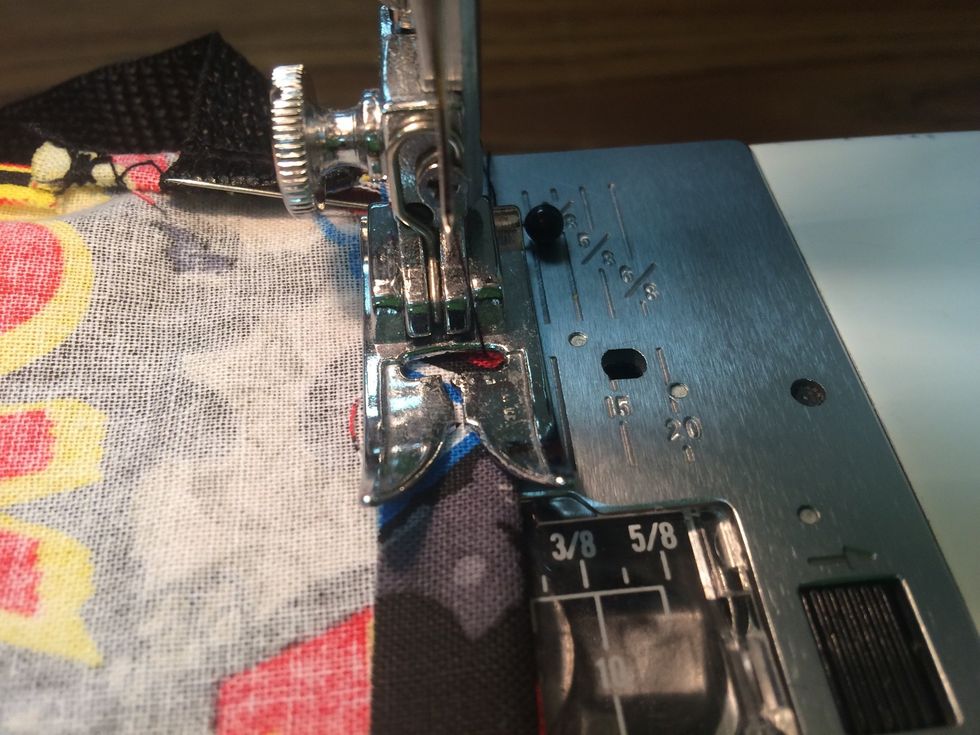
Stitch the pieces together from the top to the first pencil line. THE STOP!
Leave OPEN between the marks. Then stitch from the second mark on one side to the bottom edge.
Make sure you leave the bottom open. ONLY SEW ALONG THE SIDE. Trim threads.
Repeat on other side. Sew along the side but LEAVE an Opening between the pencil marks.
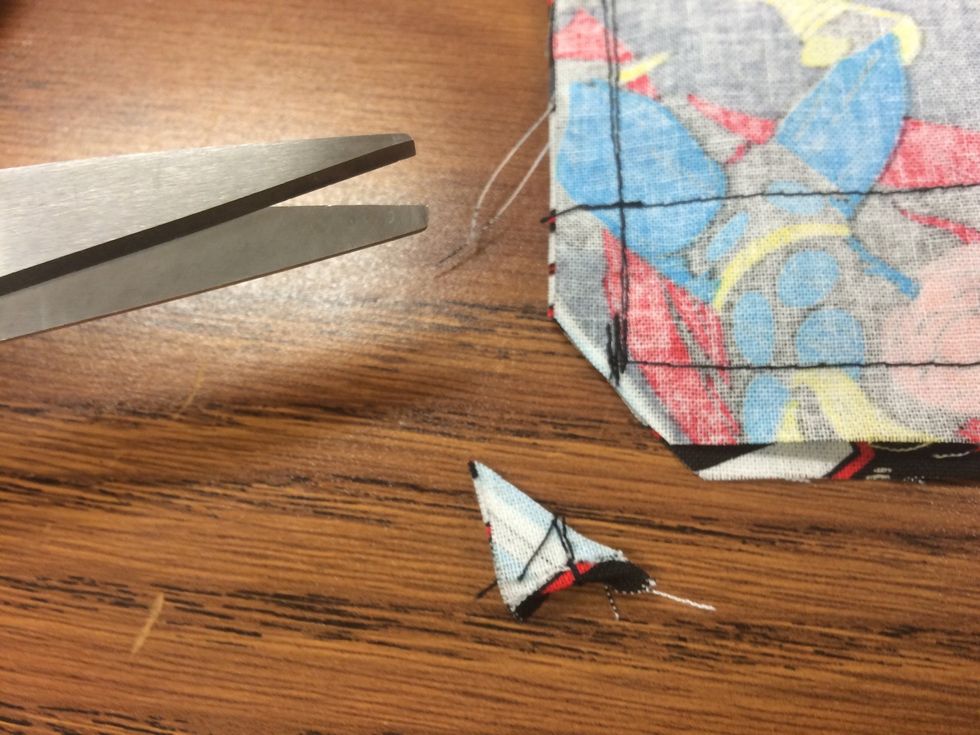
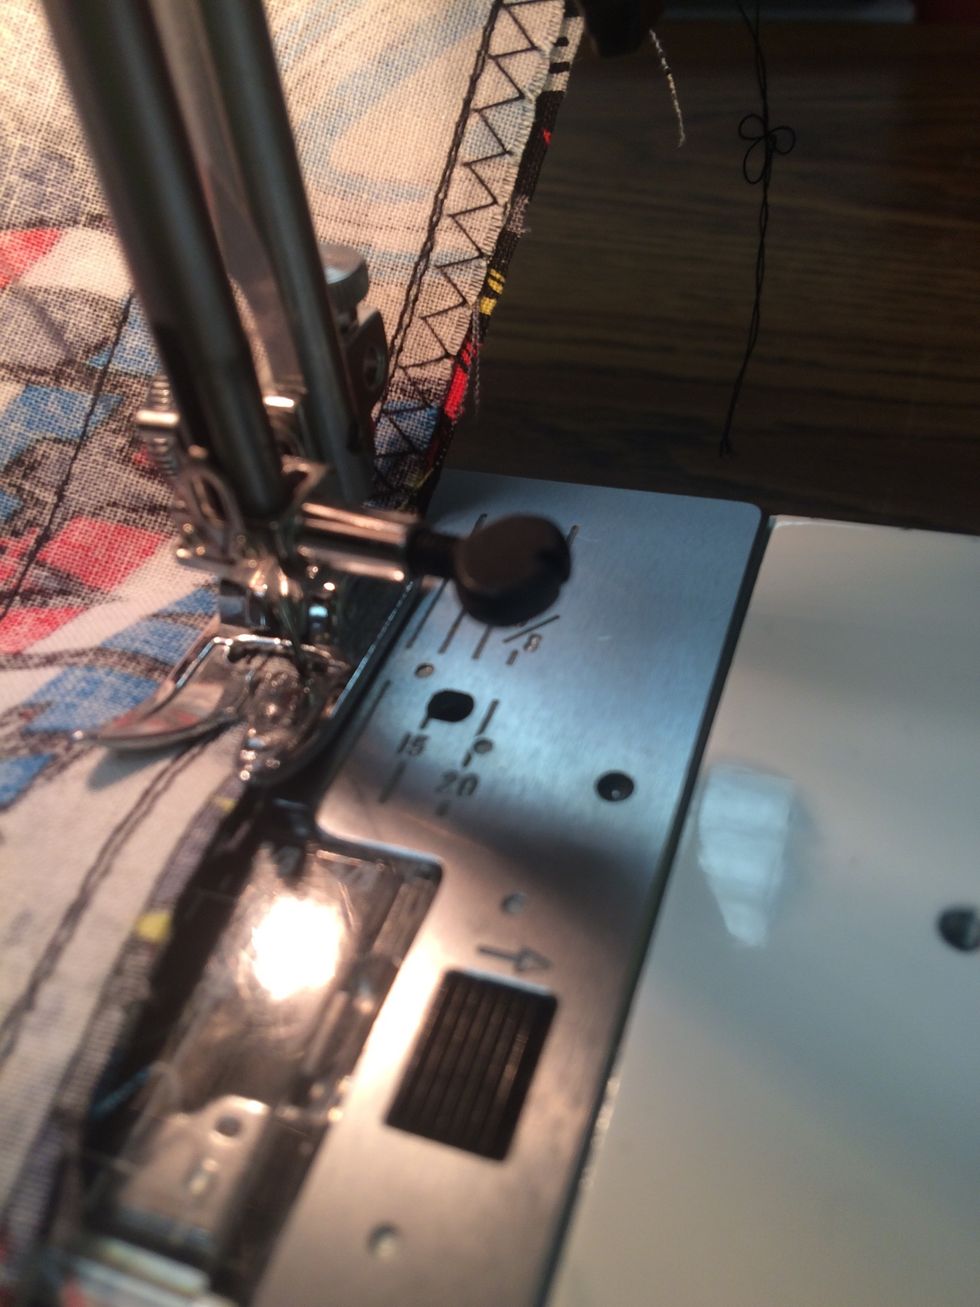
Trim 2 bottom corners to finish edges. Do not cut over the stitch line.
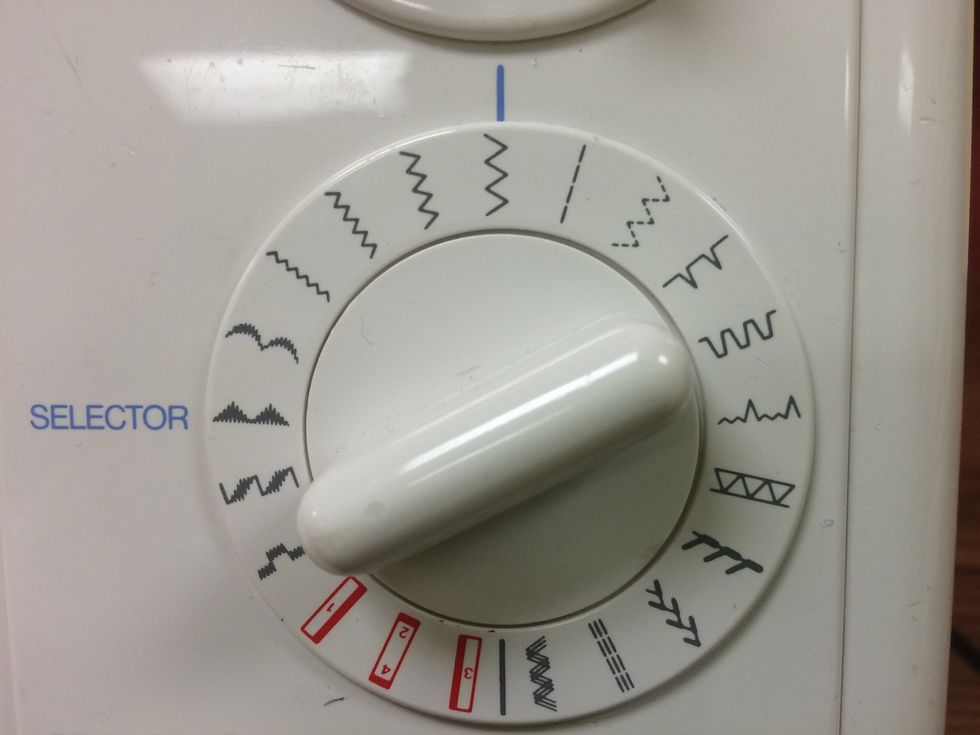
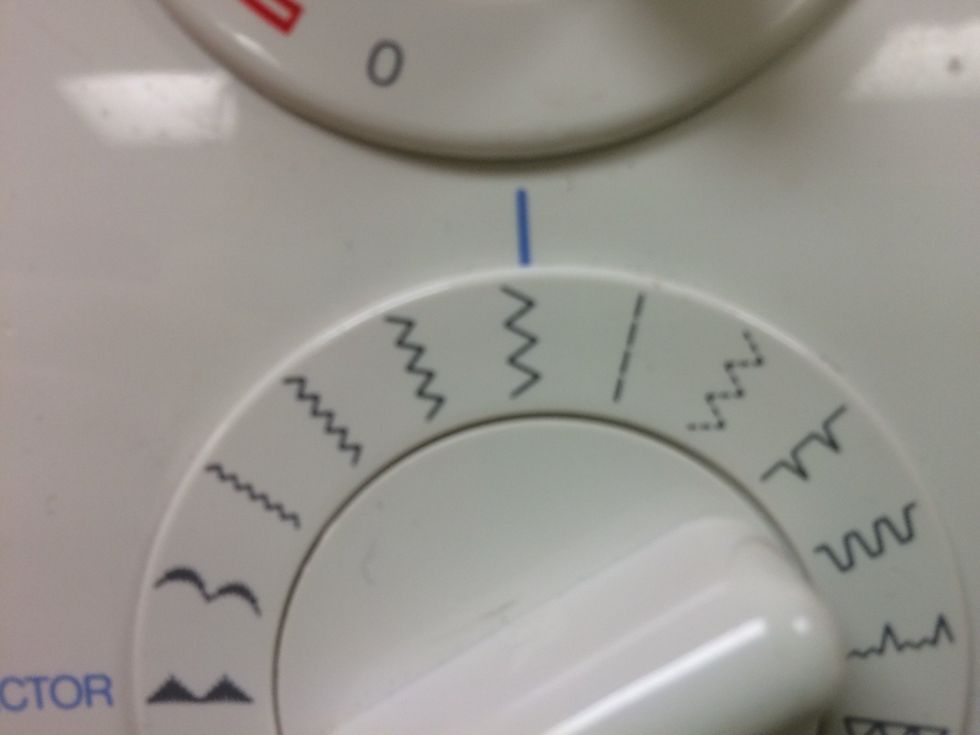
Turn to a zigzag stitch
Sew AGAIN along the side edges with a zigzag stitch in between the first stitch and the edge. This will create a more secure bag!!!
REMEMBER- Leave the hole open!!!! Repeat on other side.
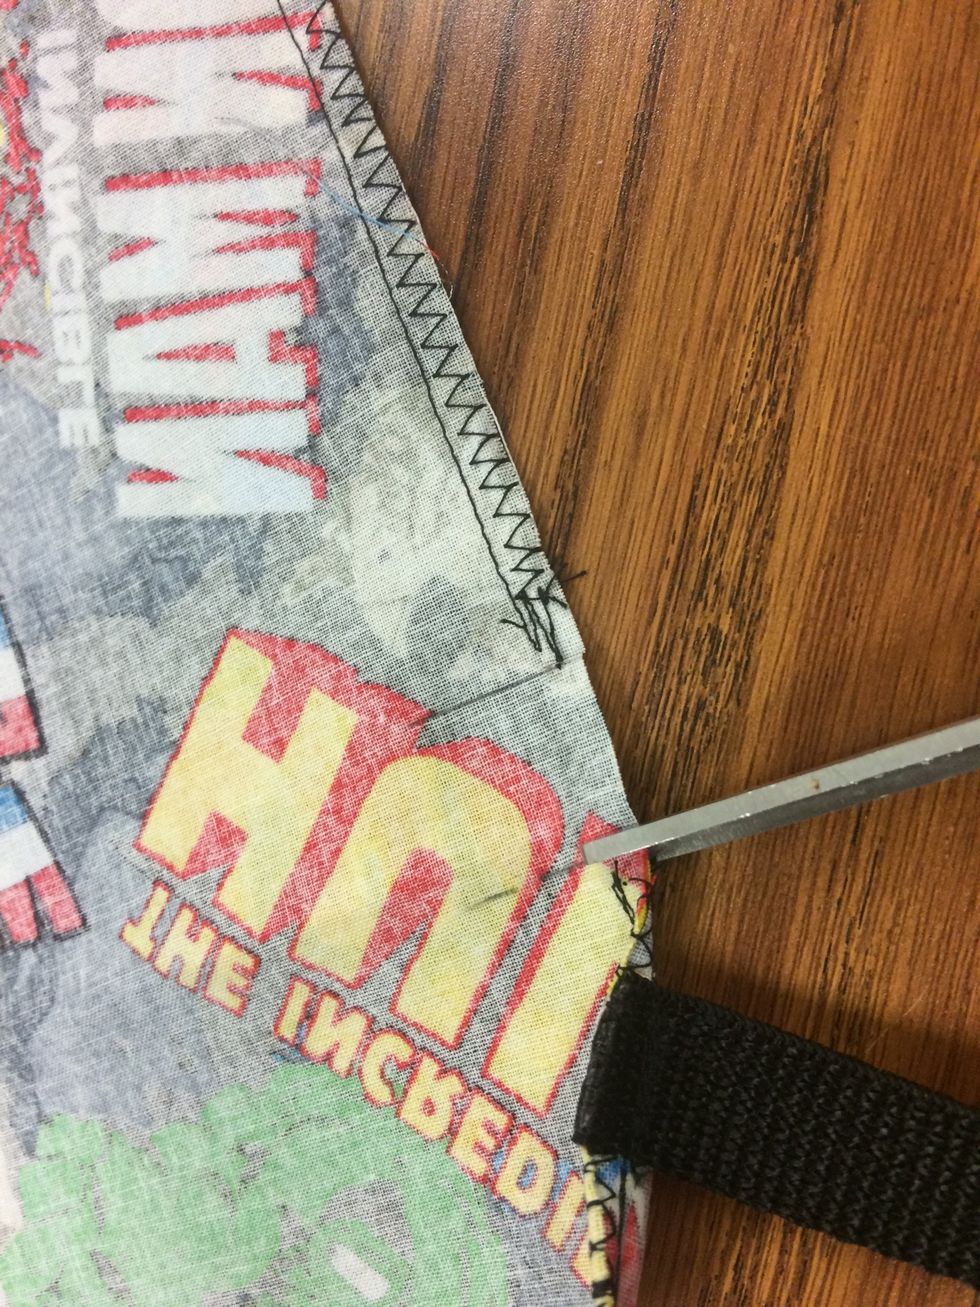
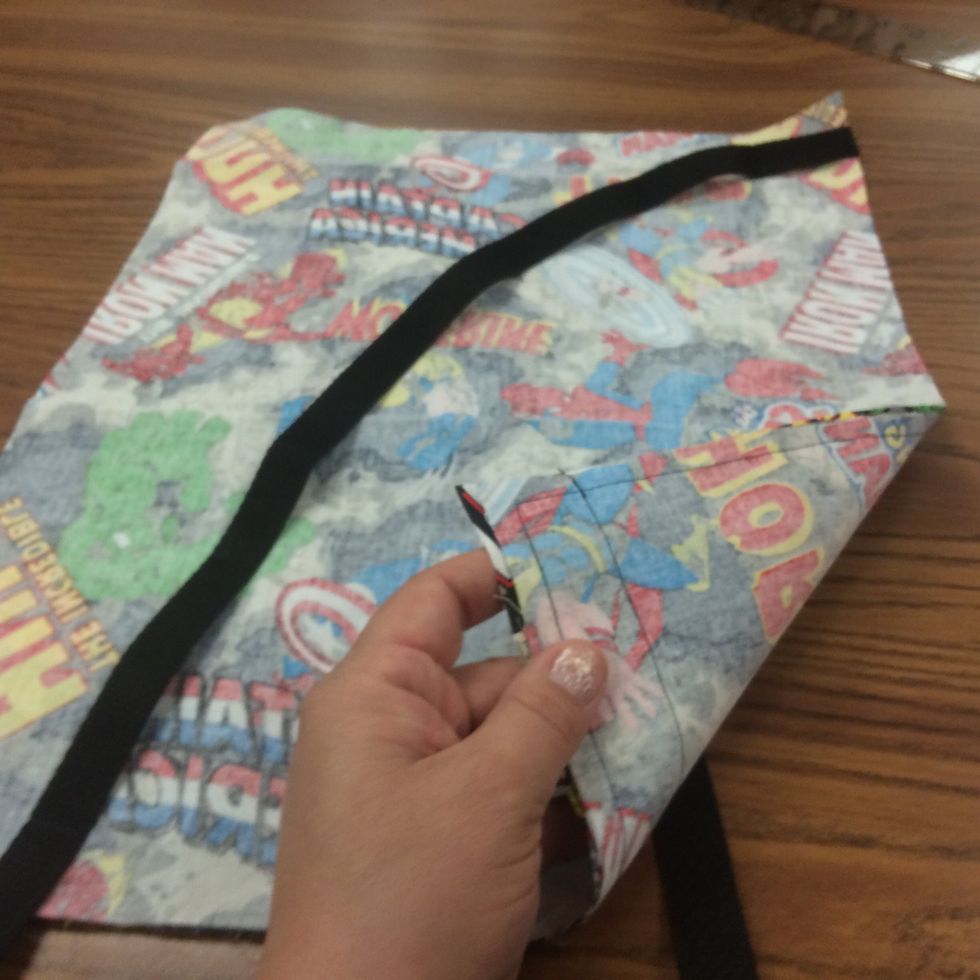
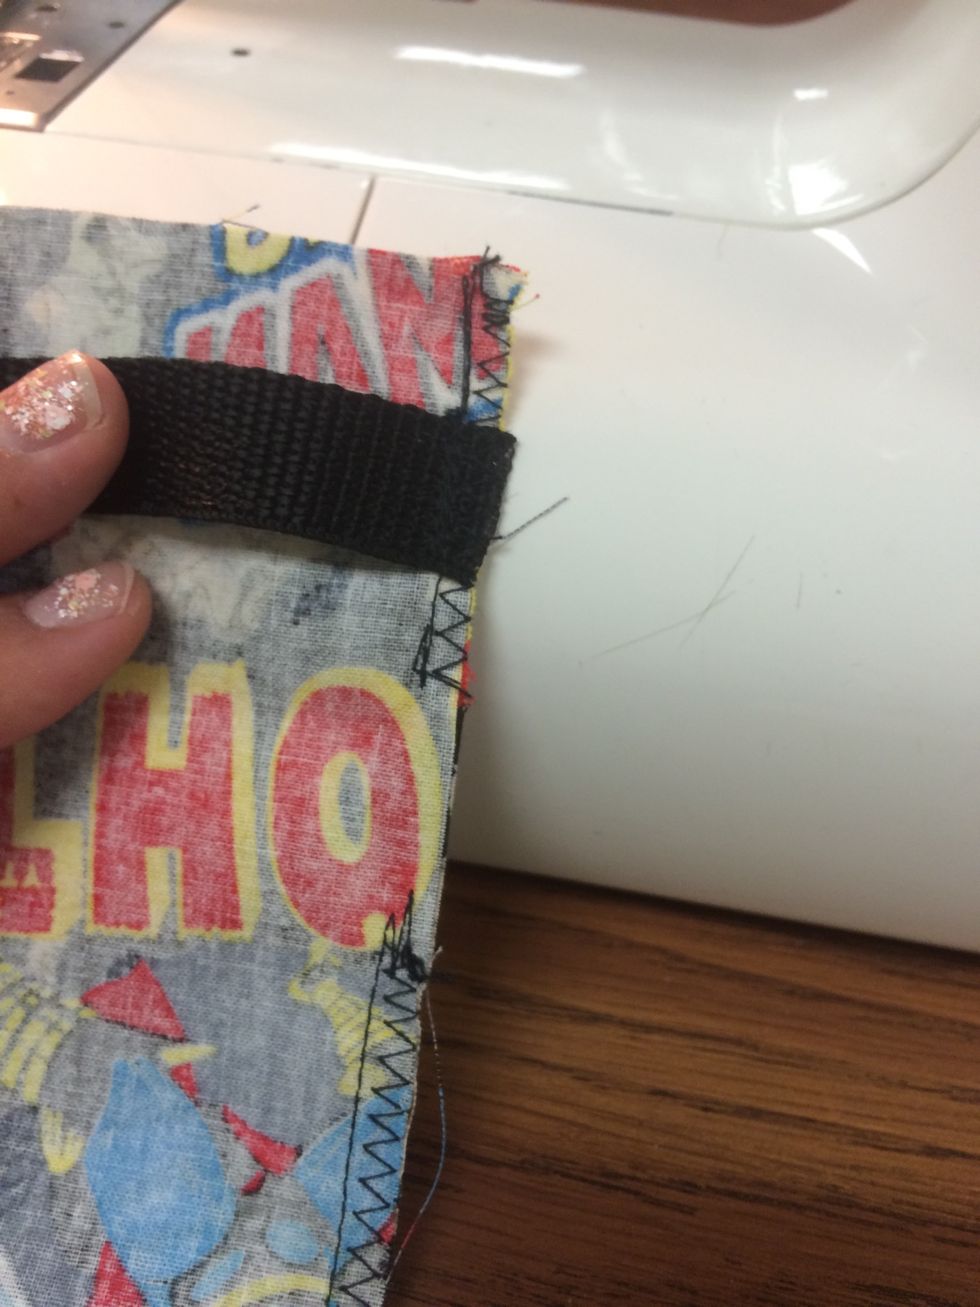
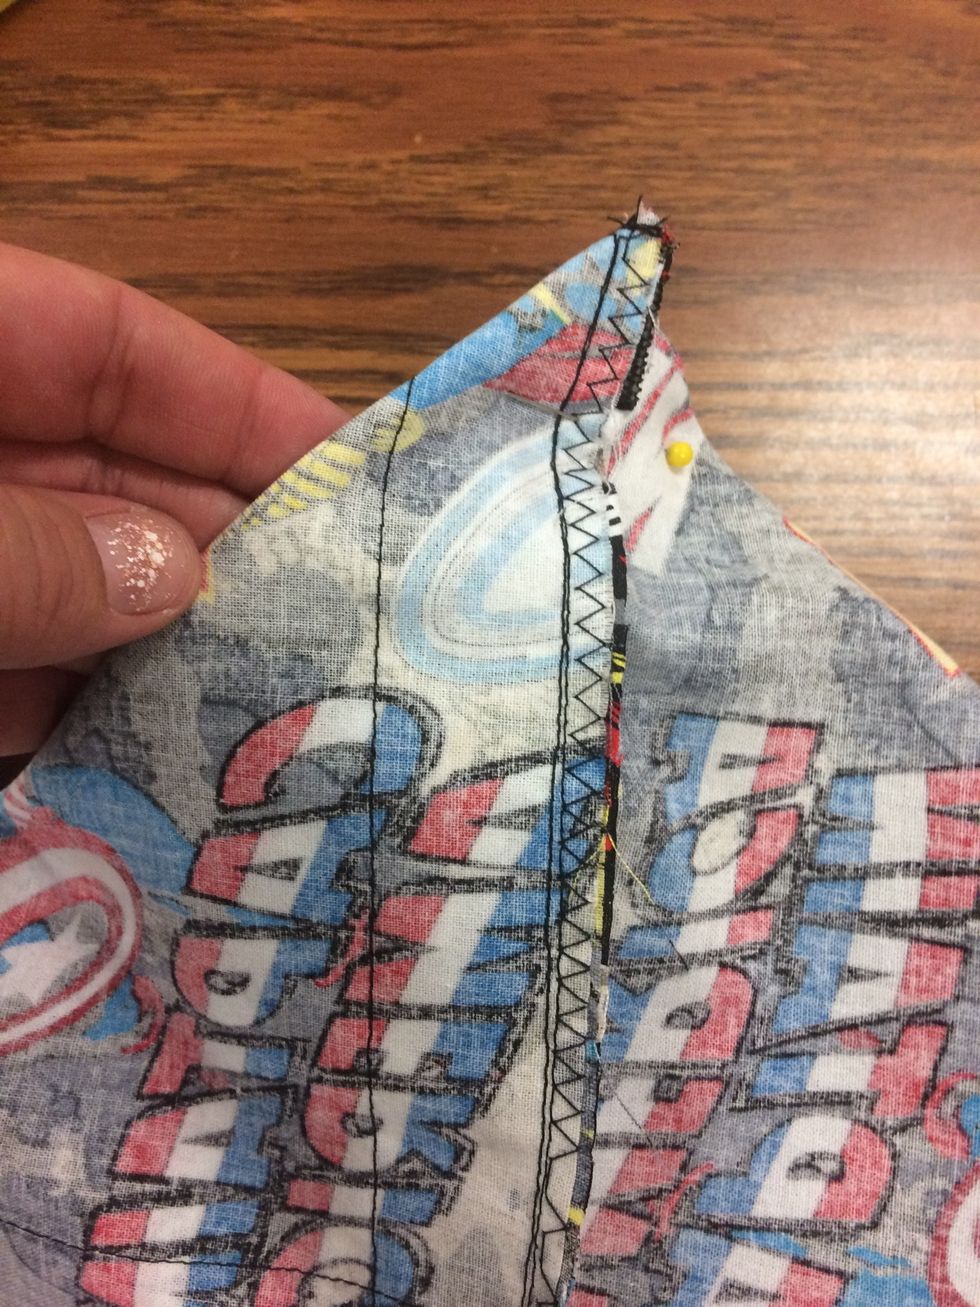
Make a VERY SMALL cut along the lines - cut as far as the stitch line. maybe 1/4 inch
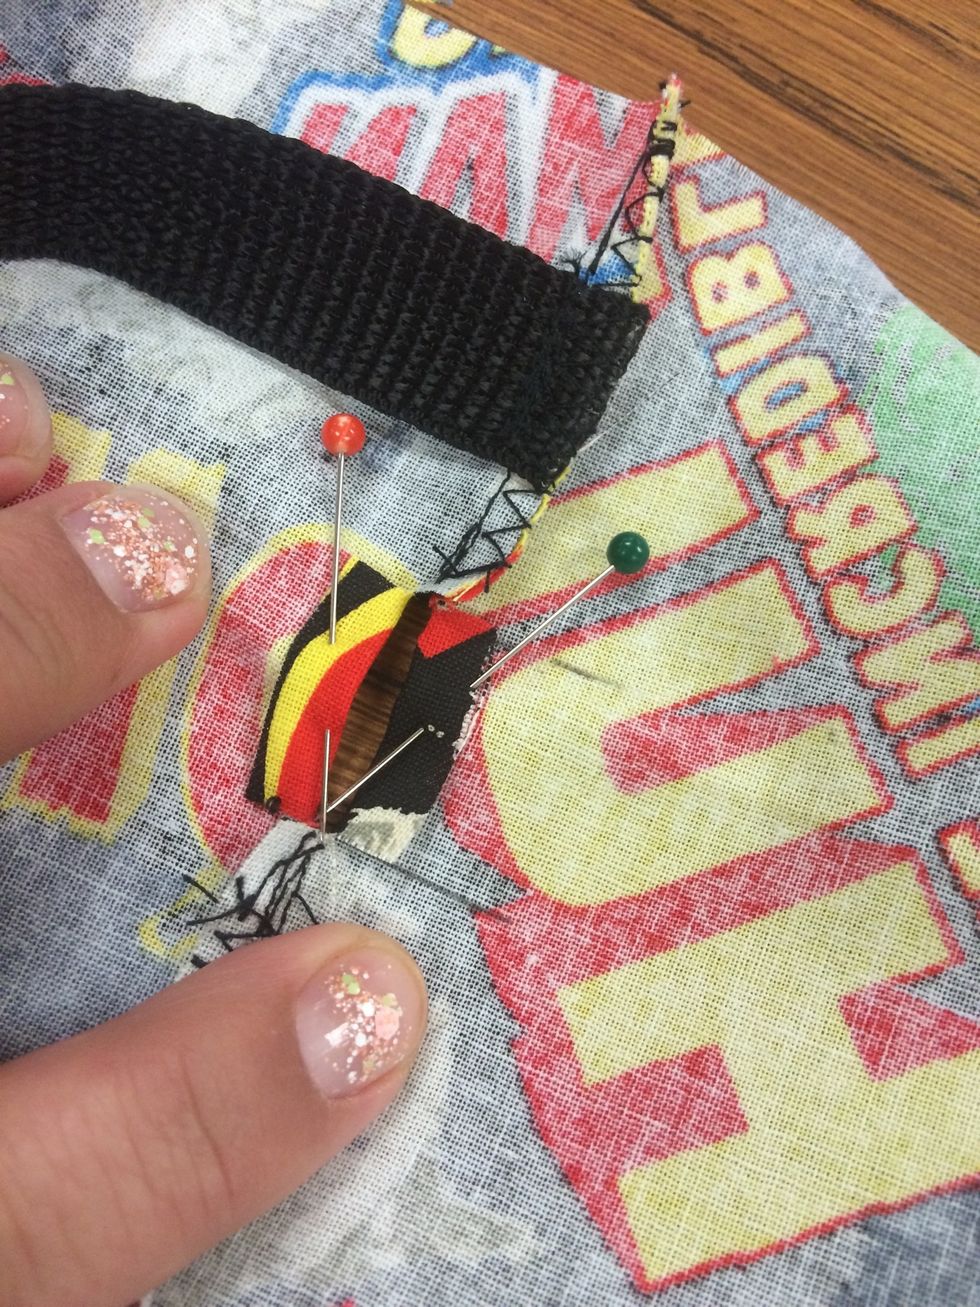
Open the seam from the inside of the bag. Pin each side so they stay open as shown. )you will be sewing around this opening for your straps to go through!)
Sew around the rectangle hole. Leaving the center hole open.
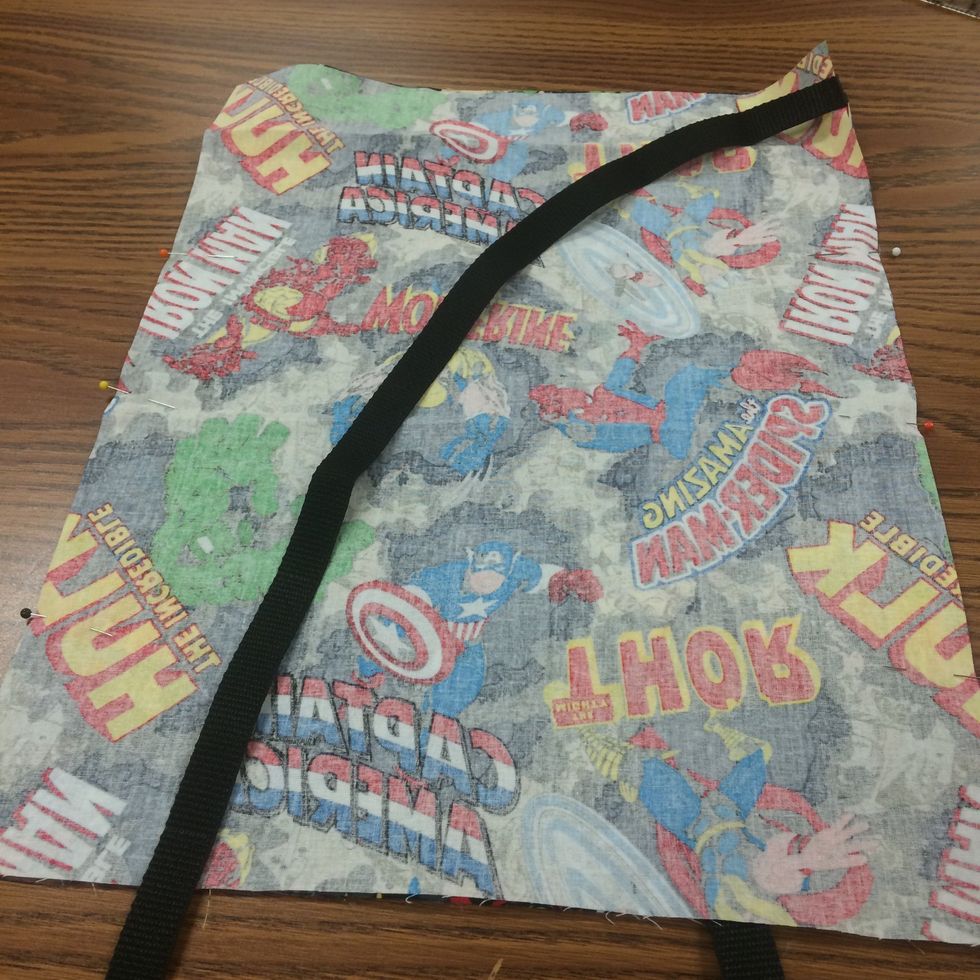
Should look like this when finished. Repeat on other side.

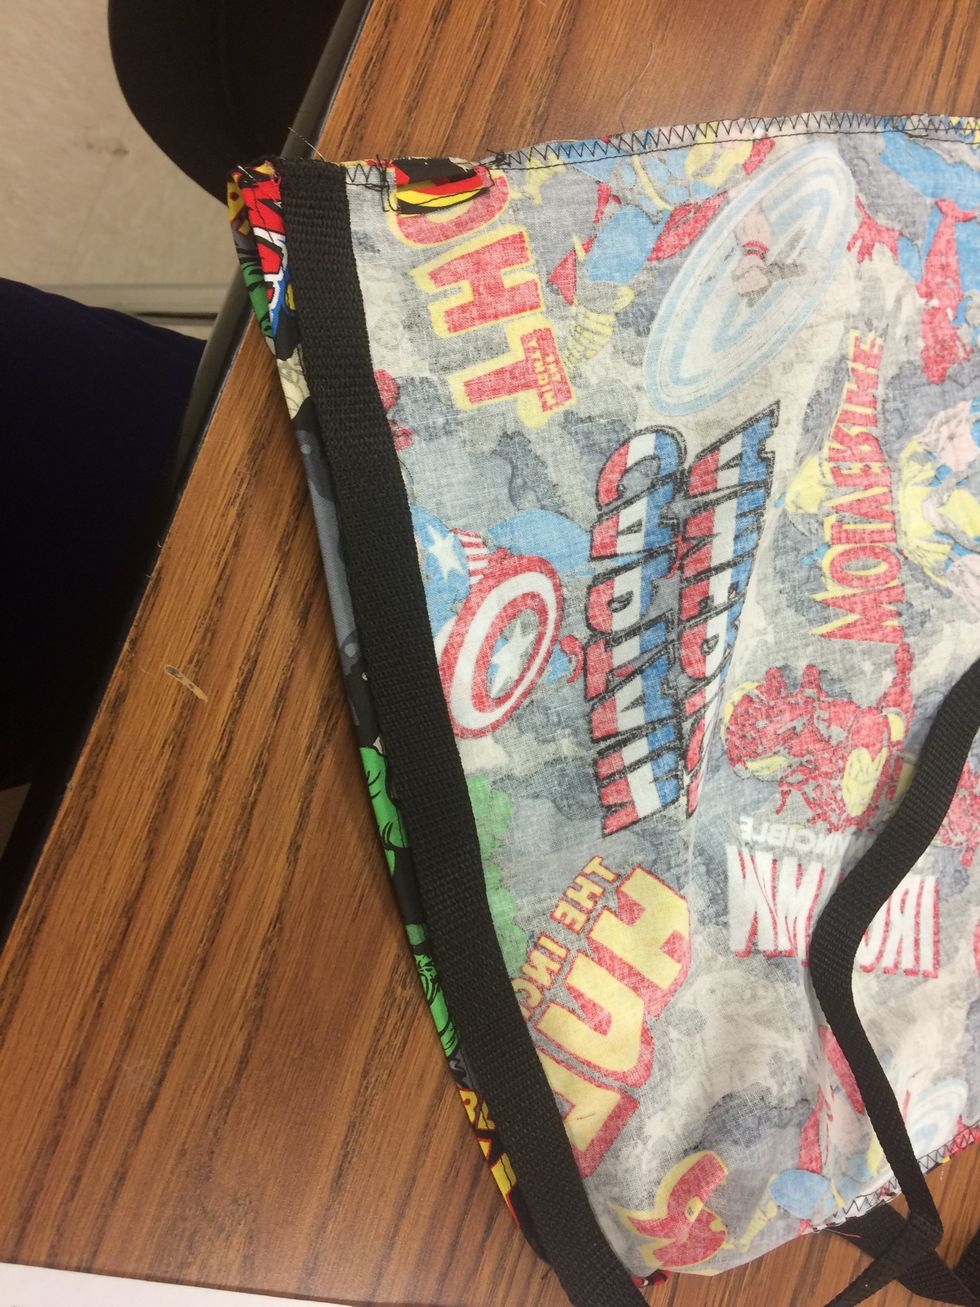
Step 10. Locate the top of the bag. Open it like a circle. Fold the upper edge of the bag to the wrong side 1/4" down and pin all around the circle. DO NOT PIN front and back together!
Take extension table off the machine- so you have room to sew around the top circle
Stitch in the middle along the top circle opening - again DO NOT SEW THE BACK TO THE FRONT!
Step 11. Lay the webbing (Straps) along the top fold
Fold the top edge 1 1/2" down (my example is folded too far down) this will be the casing for the straps along the top. You will guide the straps through the opposite hole along the top of the bag!
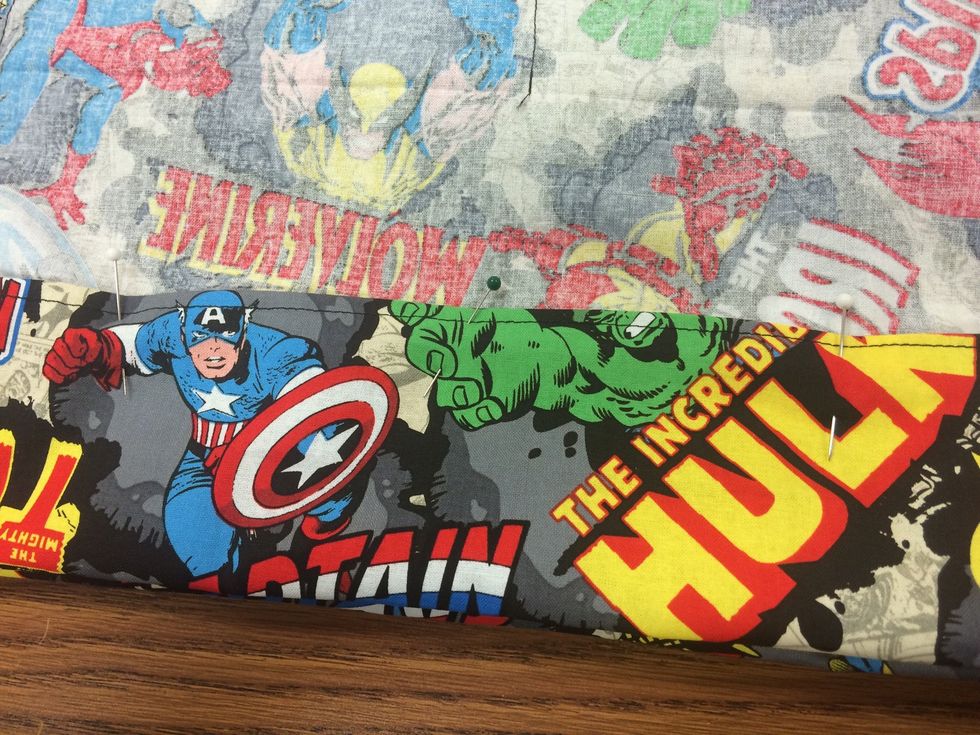
Should be 1 1/2" down. Make sure the webbing straps lay flat inside. Pull the straps out through the opening (hole) in the opposite seams. (see Mrs. Clark for this step- it can be confusing!)
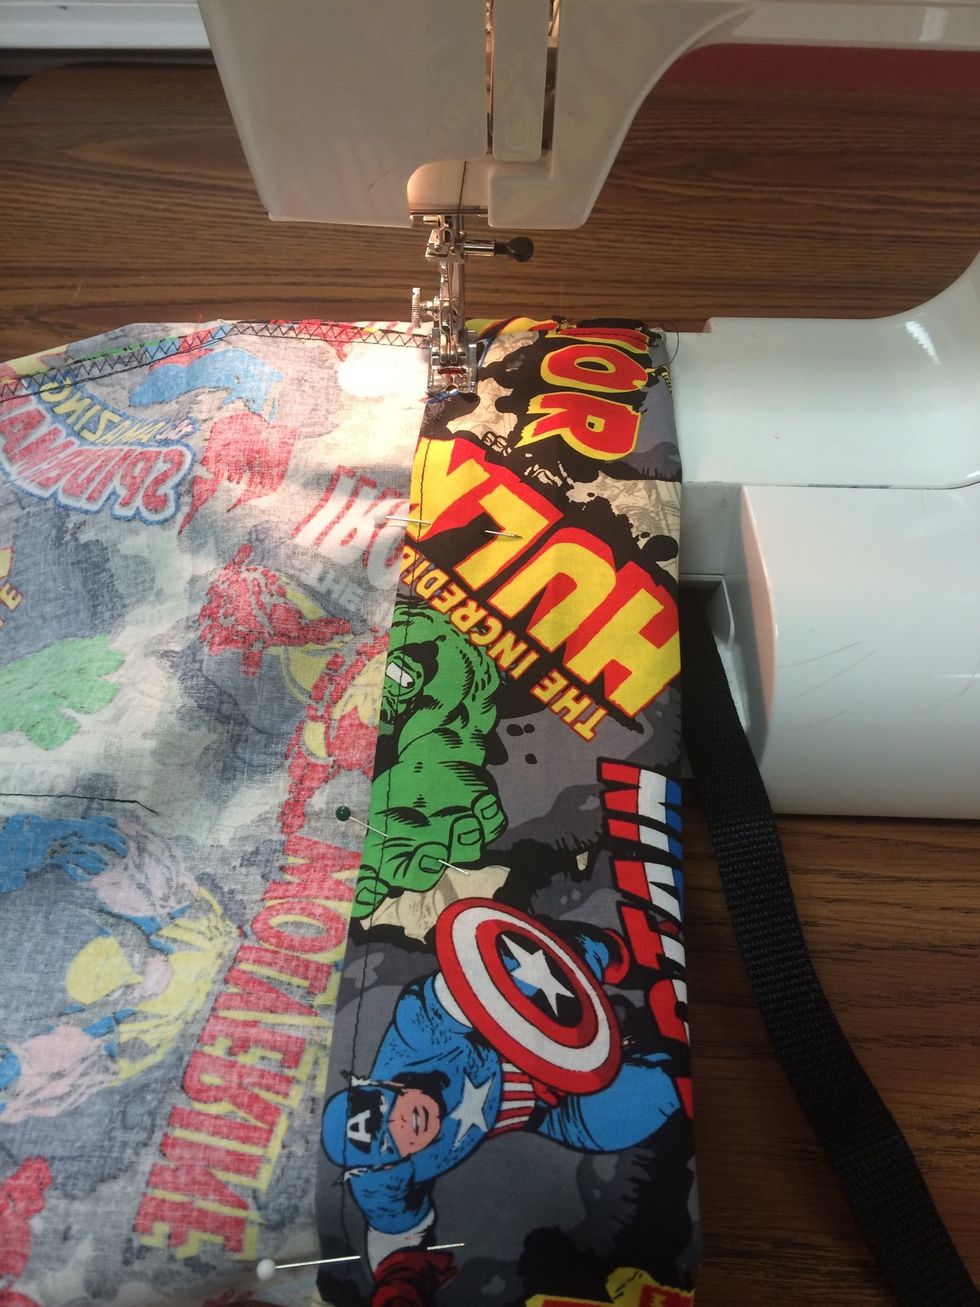
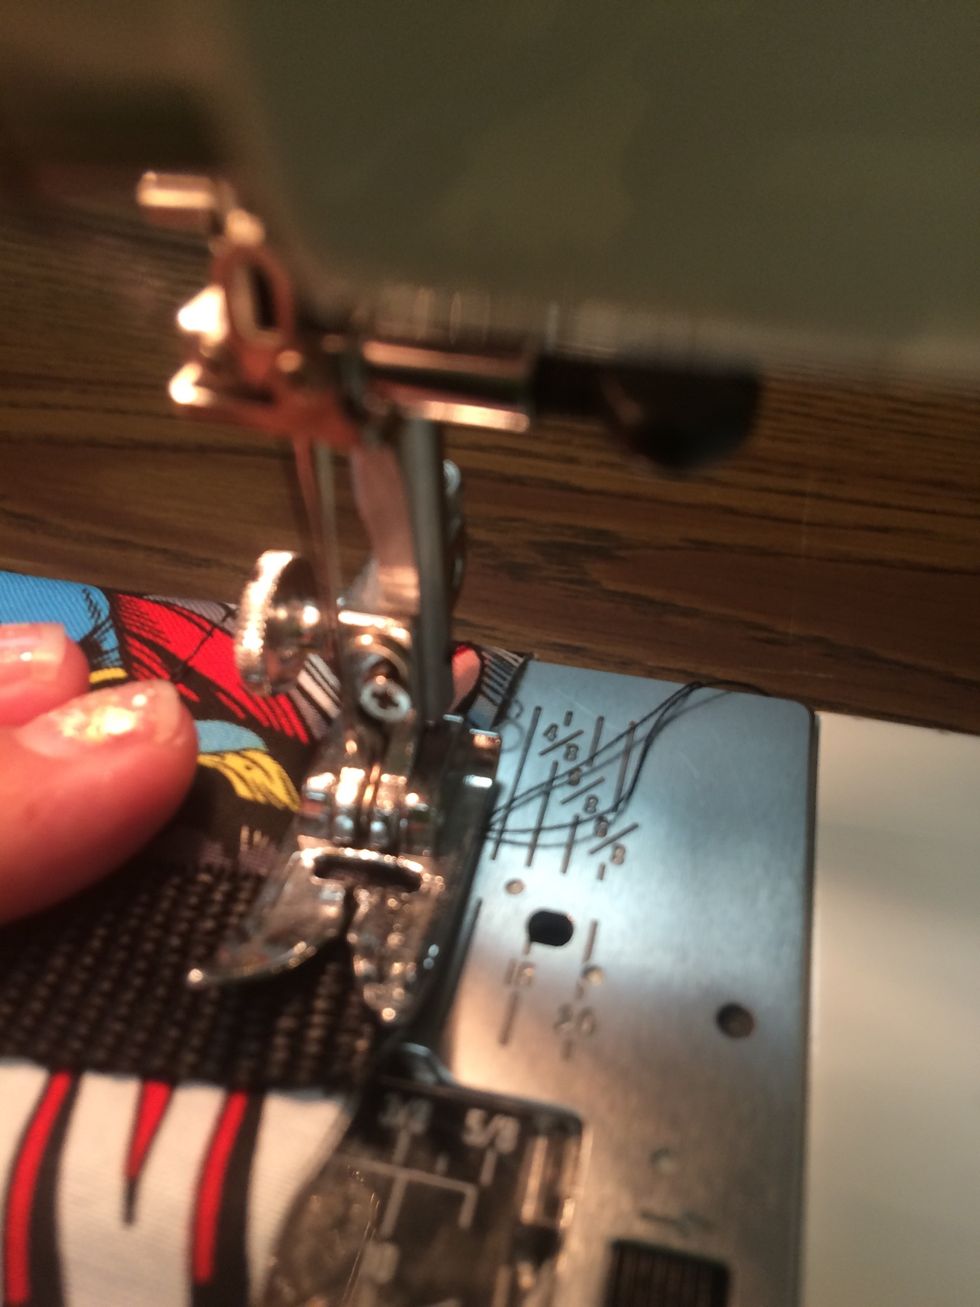
Stitch along the previous stitch line all around the top circle. Make sure you don't stitch the webbing strap. You are sewing under the strap!!!!
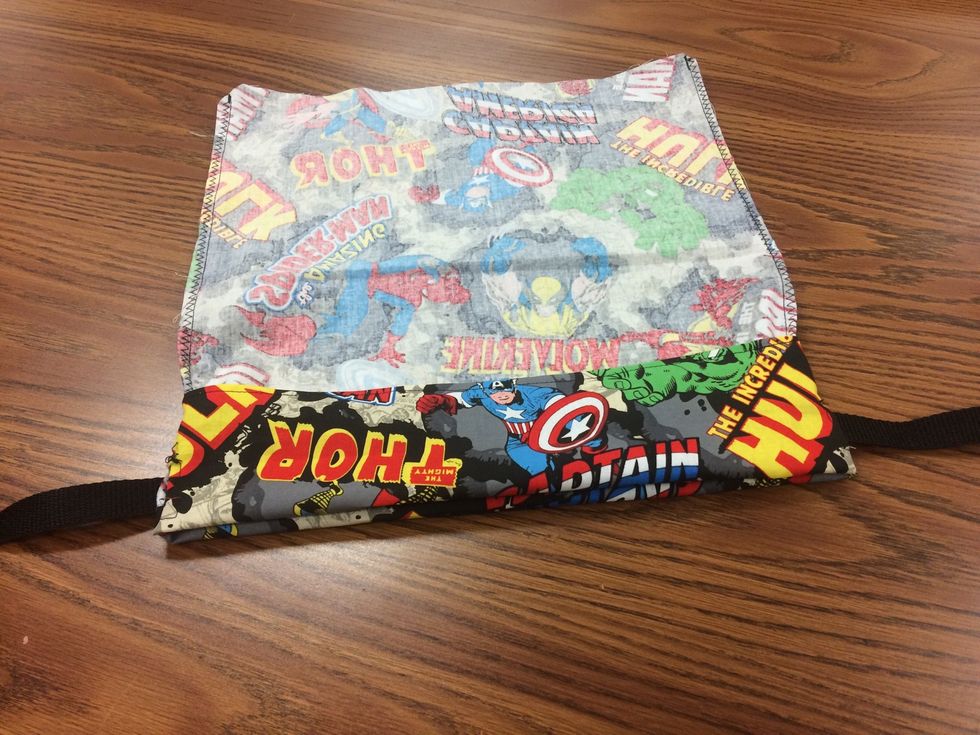
Flip bag right side out. Step 12. Be sure straps are not twisted. Line up outer edge of strap to the bottom line and pin as shown
Stitch across the strap to hold in place. REVERSE over the strap a few times to secure! Repeat with second strap
Flip bag INSIDE OUT (not as shown)

Step 13. line up and Stitch across the bottom edge securing the bottom of the bag.
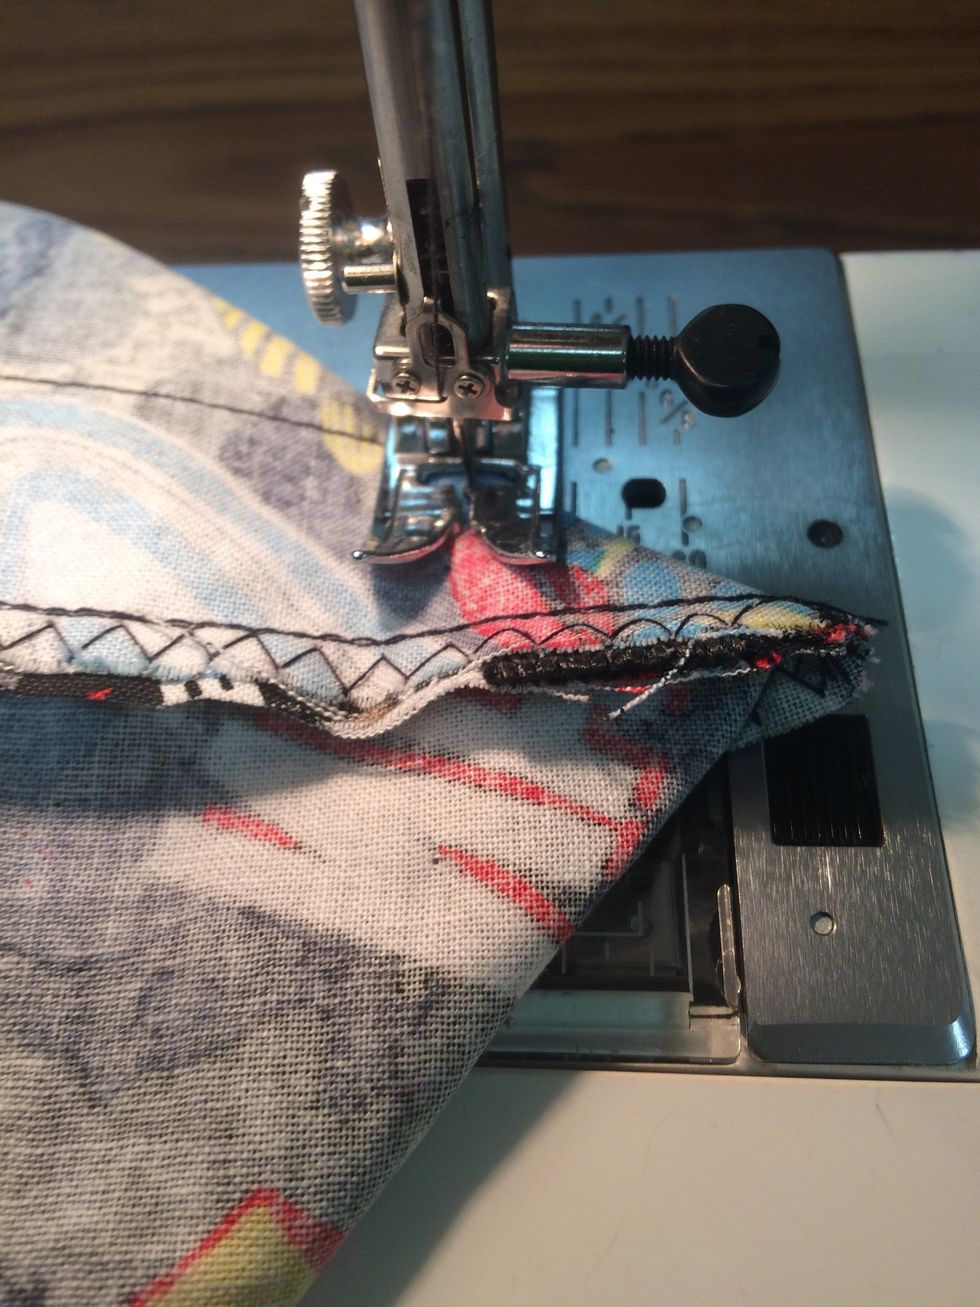
Switch to a zigzag stitch
Stitch a zigzag stitch in between the edge and the stitch to reinforce the bottom of the bag
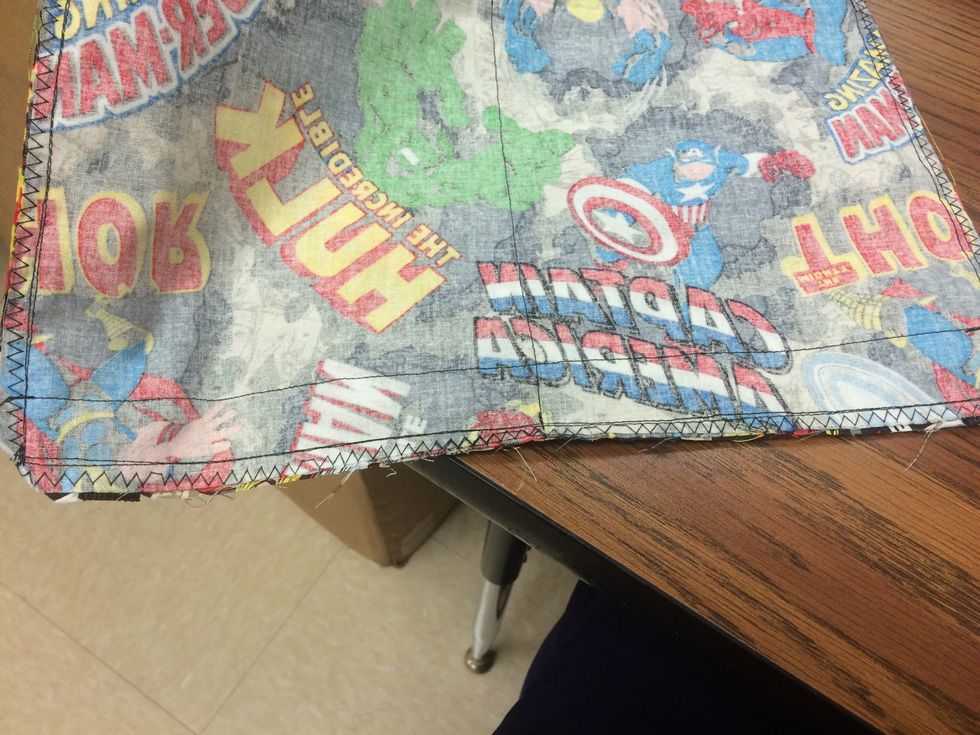
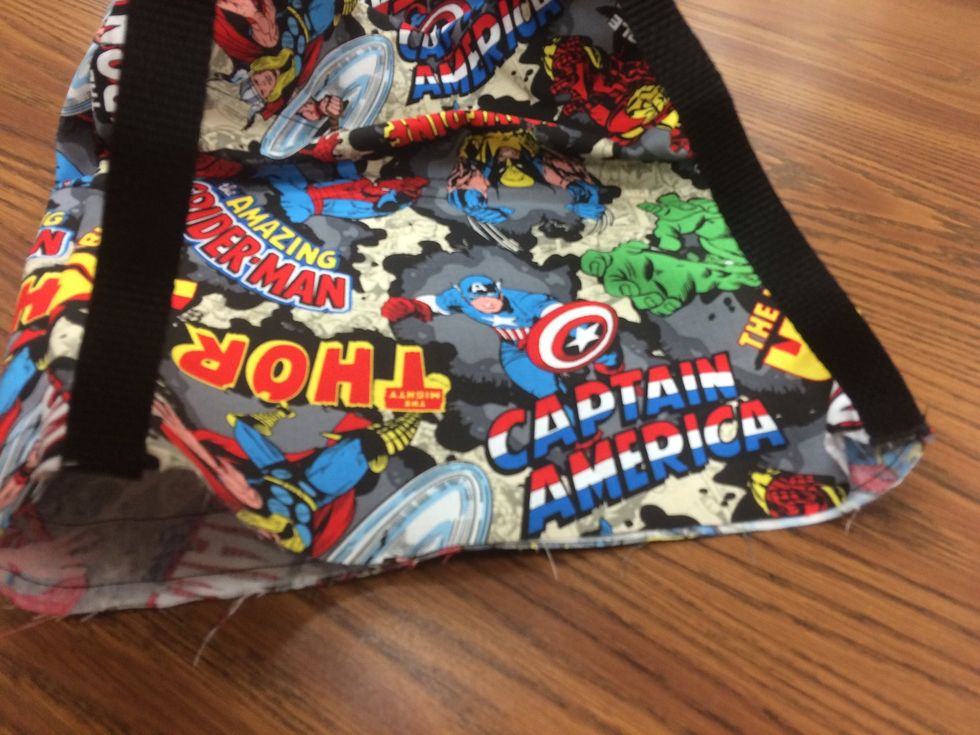
Finished bottom edge looks like this.
Step 14. To make bottom flat, make a dart or triangle on each bottom corner. (See instructions for details) pin in place.
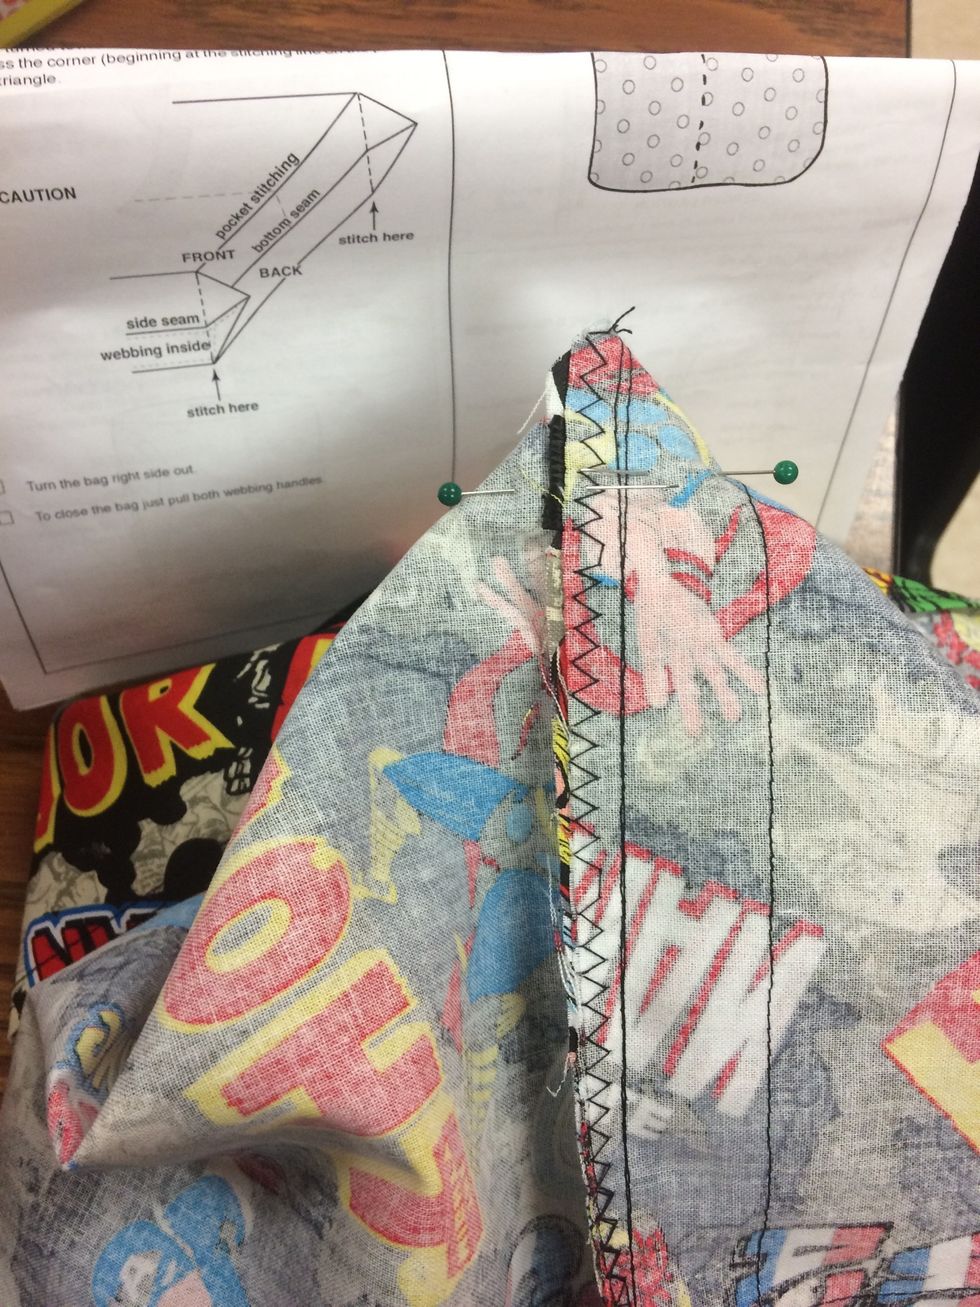
See diagram
Stitch along the bottom of the dart.

Repeat with other bottom side and trim threads
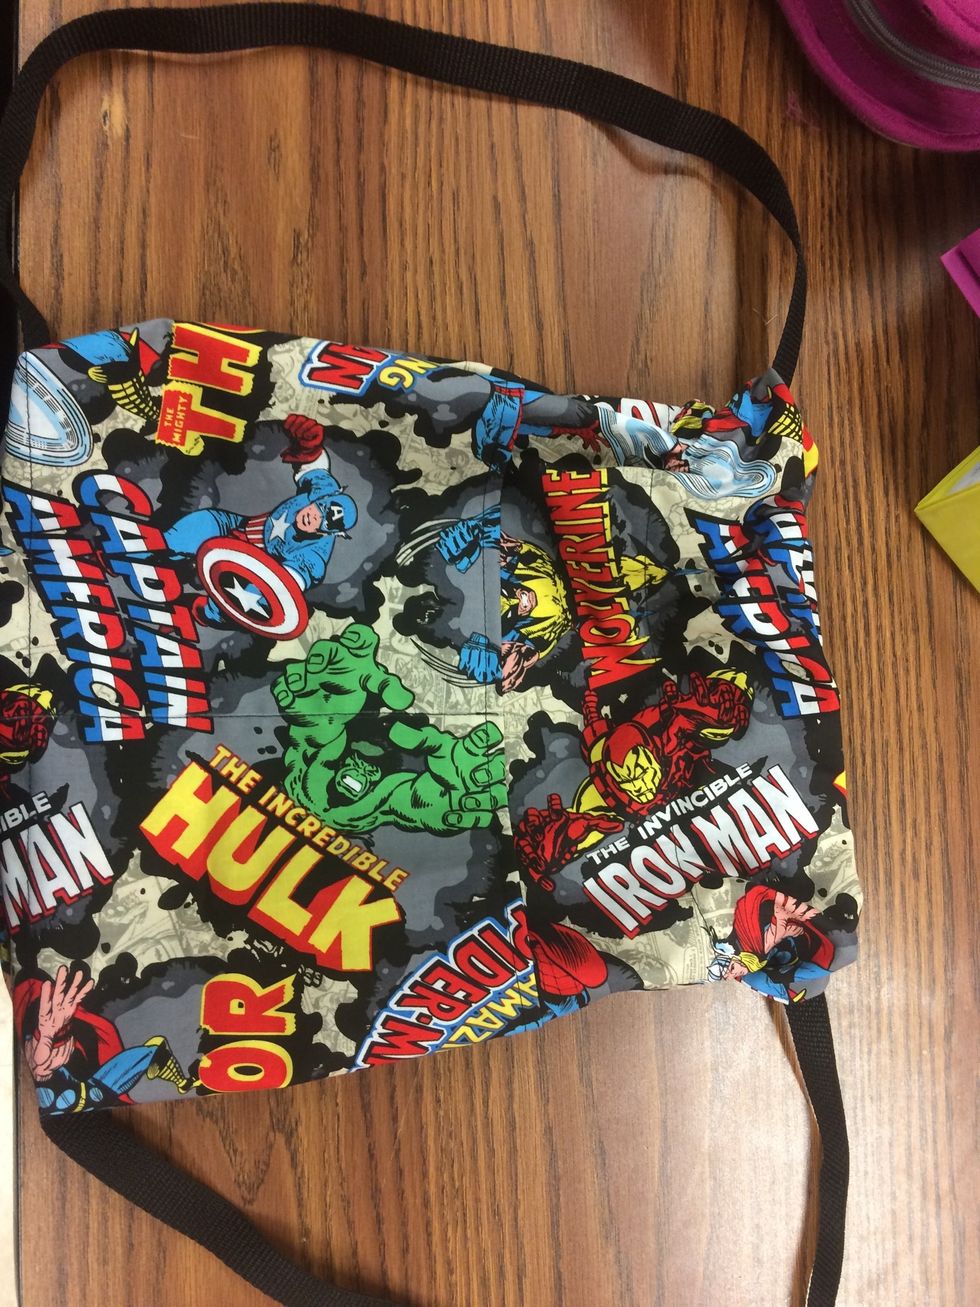
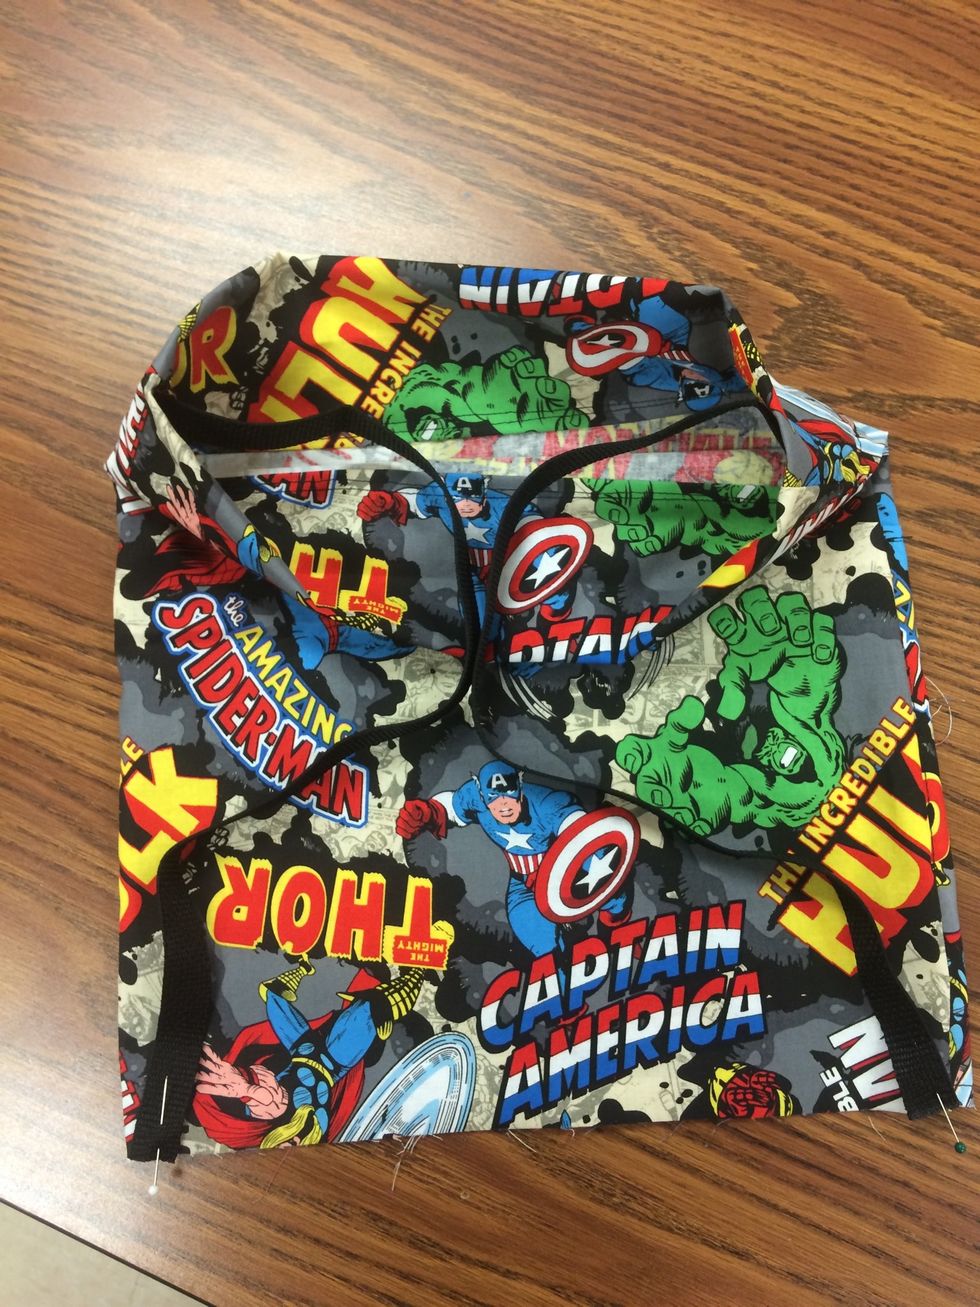
Turn bag right side out. Pull straps to close bag! Congratulations you are done!