The Conversation (0)
Sign Up
In this quick SnapGuide we will be showing you how to set up a business card template that is ready for print. We will be using Adobe Photoshop CS6.
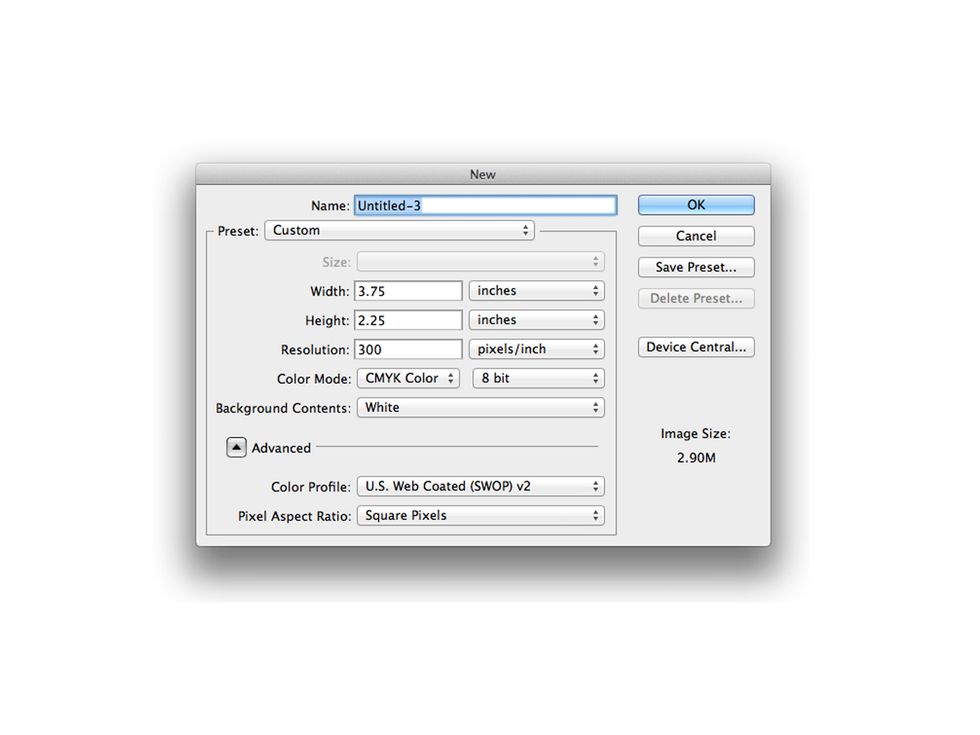
First we must set up our photoshop file. Here you can see I have a 3.75 by 2.25 inches photoshop file. This will include a trim line also. We will also be setting resolution to 300 PPI.

We now have a blank canvas to work with. The next thing we will want to add now is some guide lines.
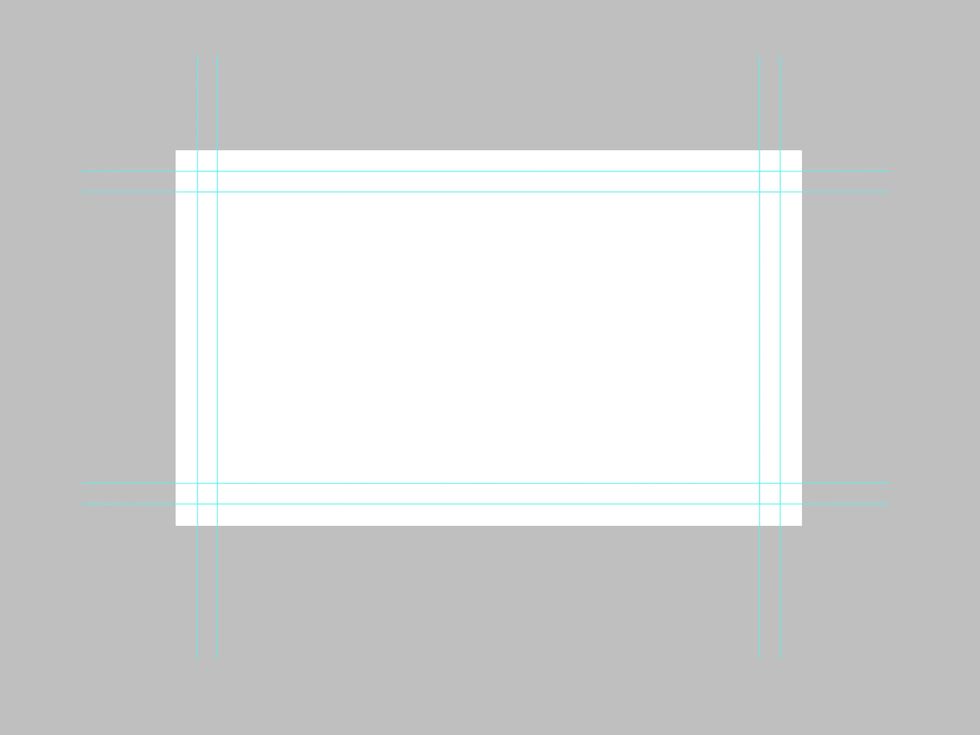
We have no added some guide lines. We have four 'Trim Lines' and four 'Critical Margins' lines now.
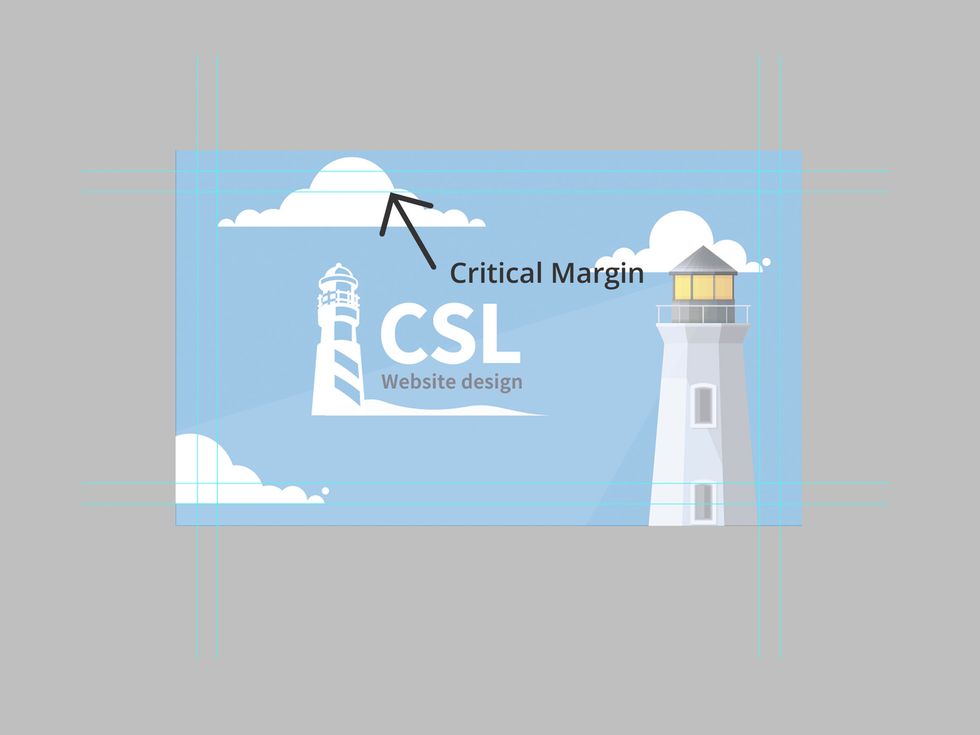
This is our 'Critical Margin'. Within this area is where all your important images and information will be held. These lines are 75 pixels away from our bleed lines.
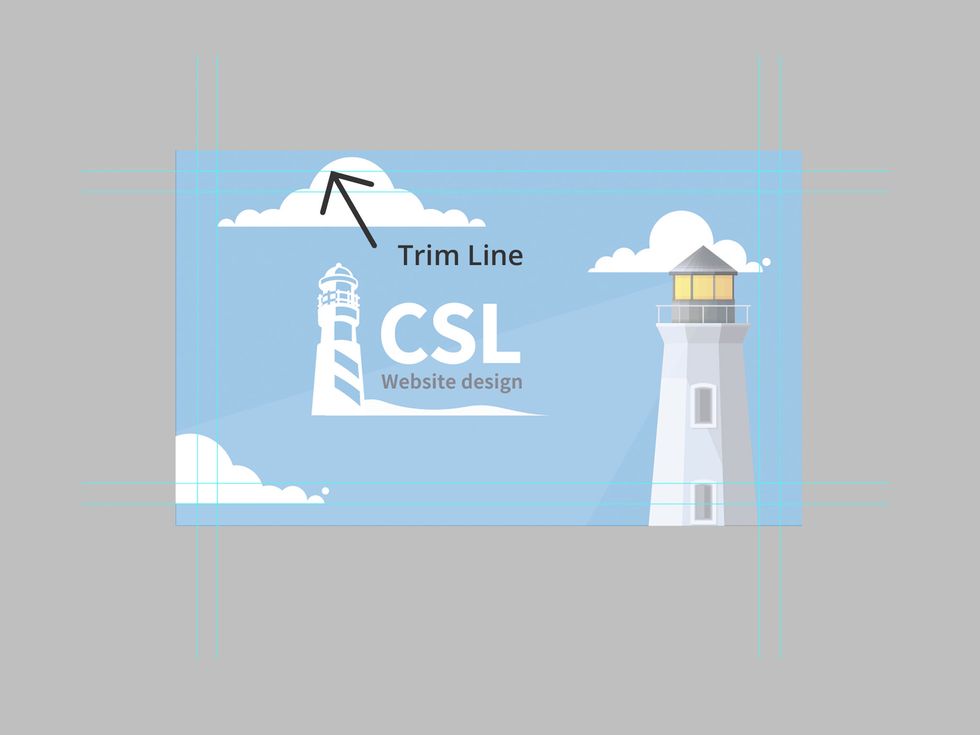
The next line is a 'Trim Line'. Anything between the bleed lines and this line will be what is cut off during the printing process. These lines are 38 pixels away from the bleed lines.
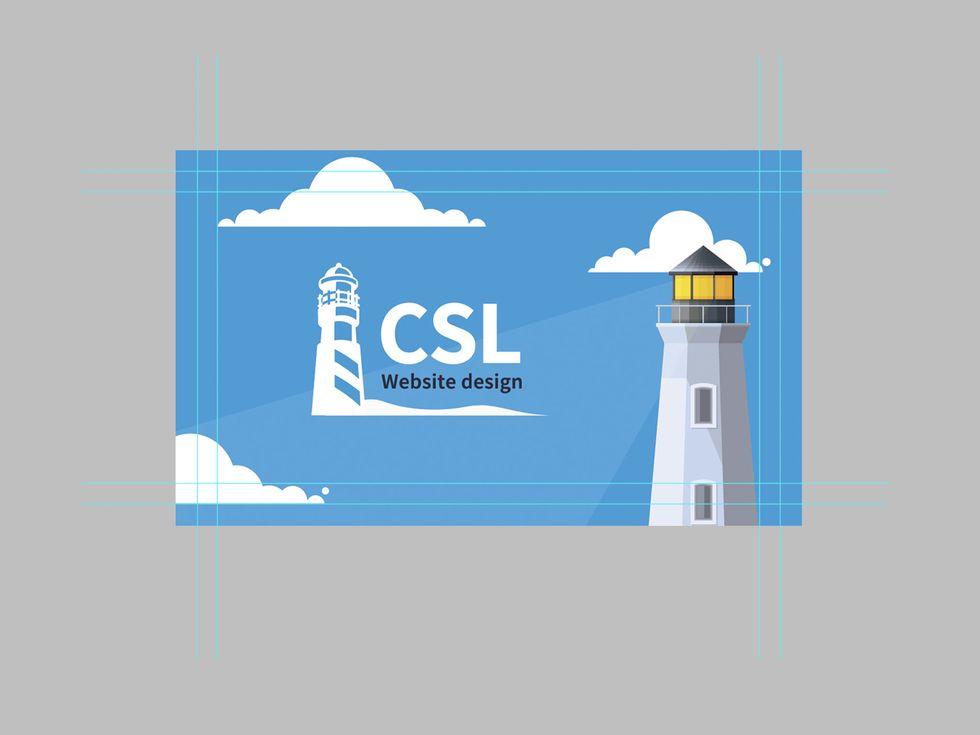
Here is our final design. As you can see we have made sure that all important information is around the center and away from the 'Trim Lines'.
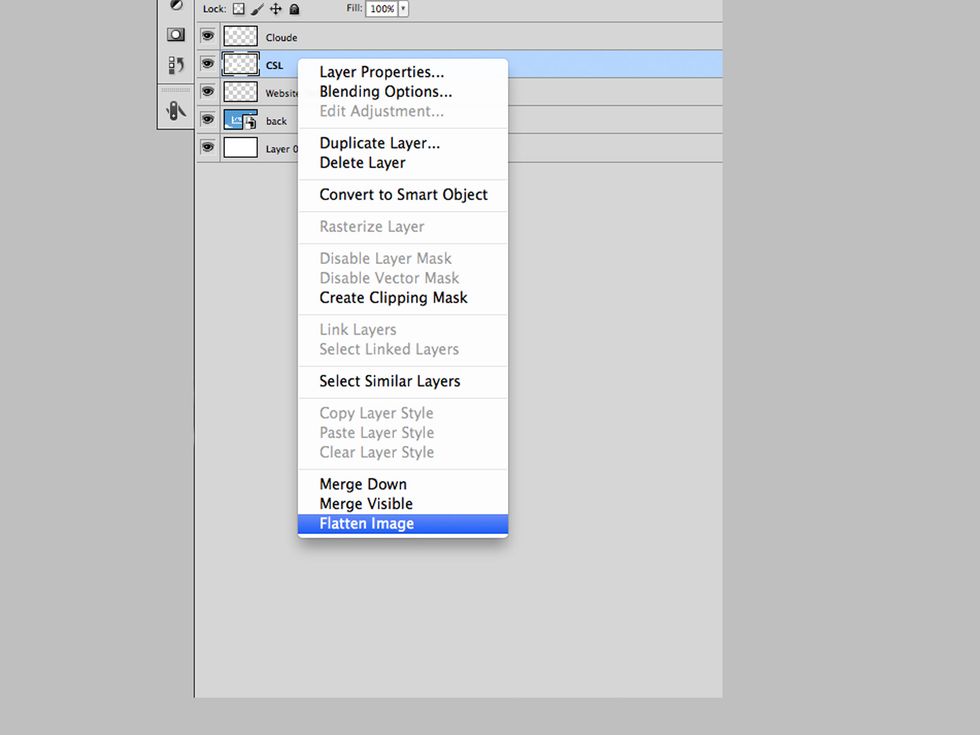
Once happy with your design its time to flatten the layers. To do this simply scroll over to your layers, left click with your mouse and select Flatten Image. This will turn them into one layer.
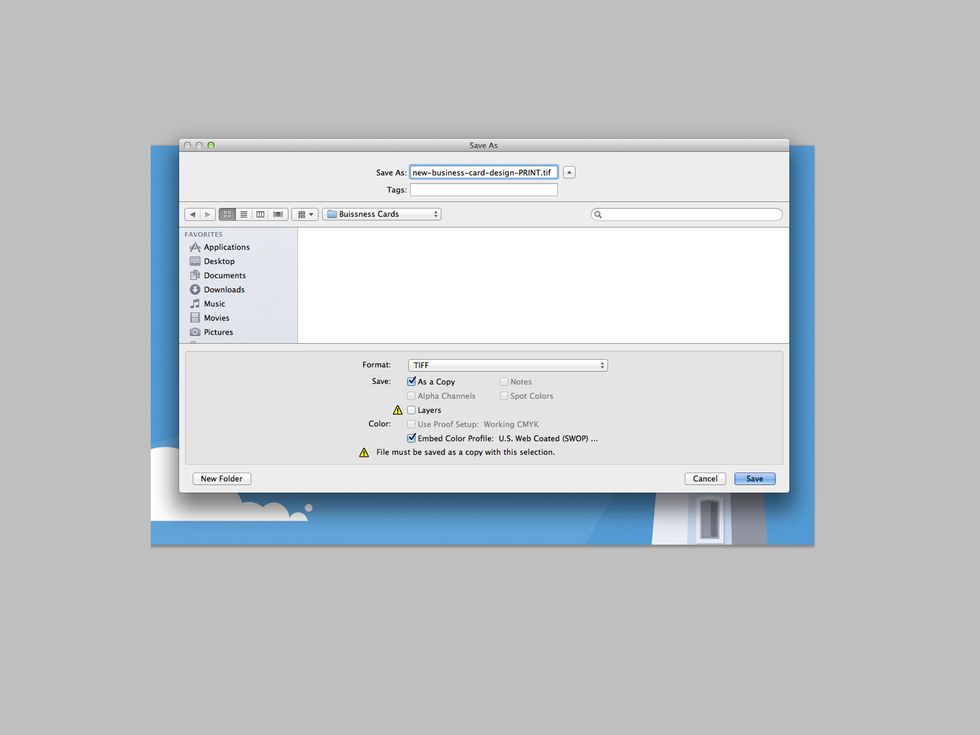
Now all that is left to do is save your file. Depending on how the printing company ask for your file will depend on what format you save it in. For us we will be using TIFF.
Now click save and then send the file of to your chosen printing company. This will also work the same for the other side of the business card.

This SnapGuide was brought to you by www.csl-web.com