The Conversation (0)
Sign Up
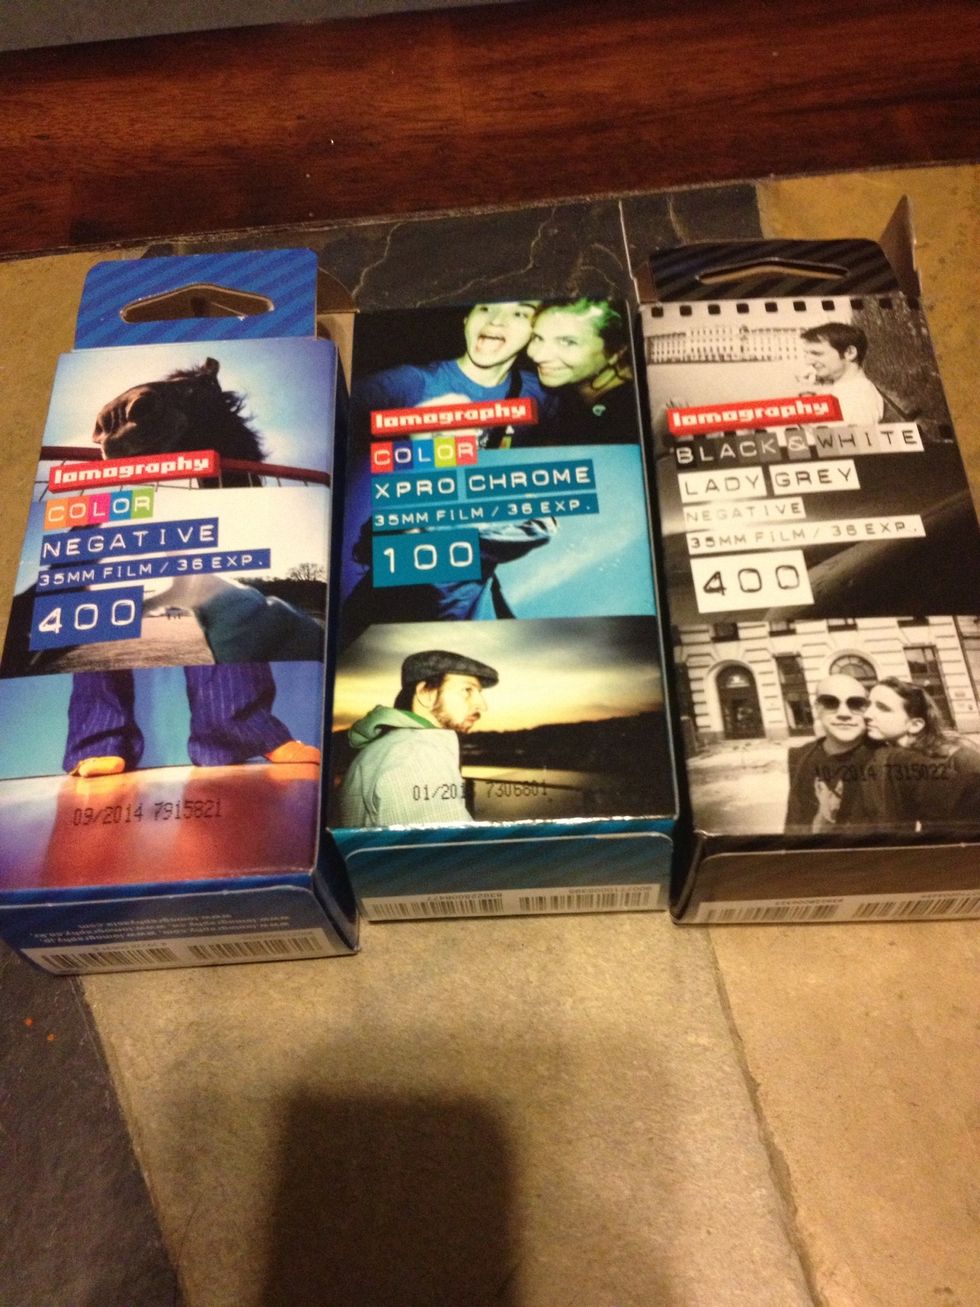
Choose your 35mm film. Lower ISO (100) for sunny days and higher (800) for darker settings.
While the camera is empty, press the shutter down.
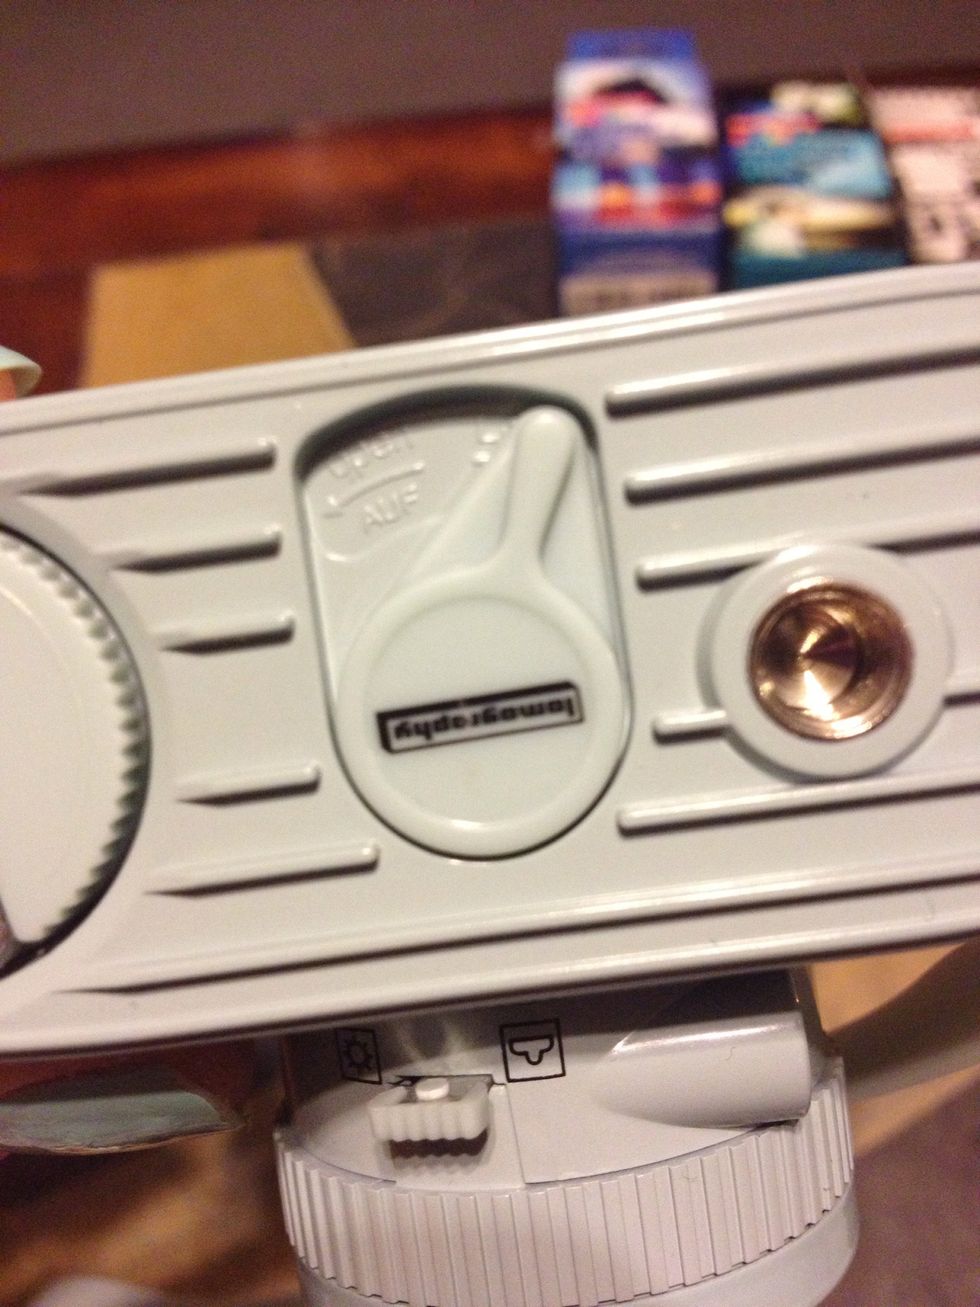
Open the back by unlocking the switch at the bottom.

Take the back off by sliding it down.
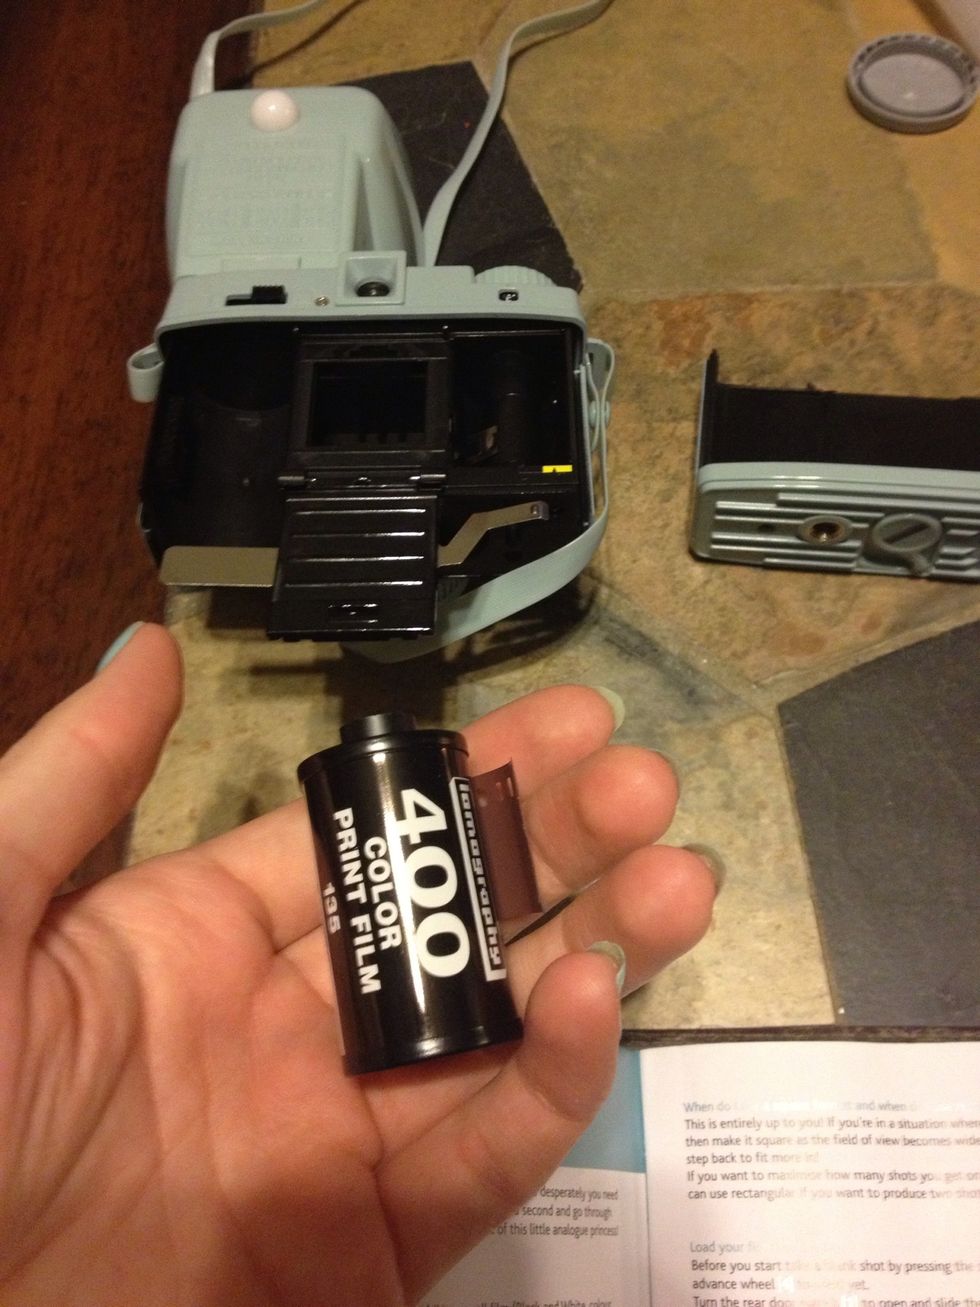
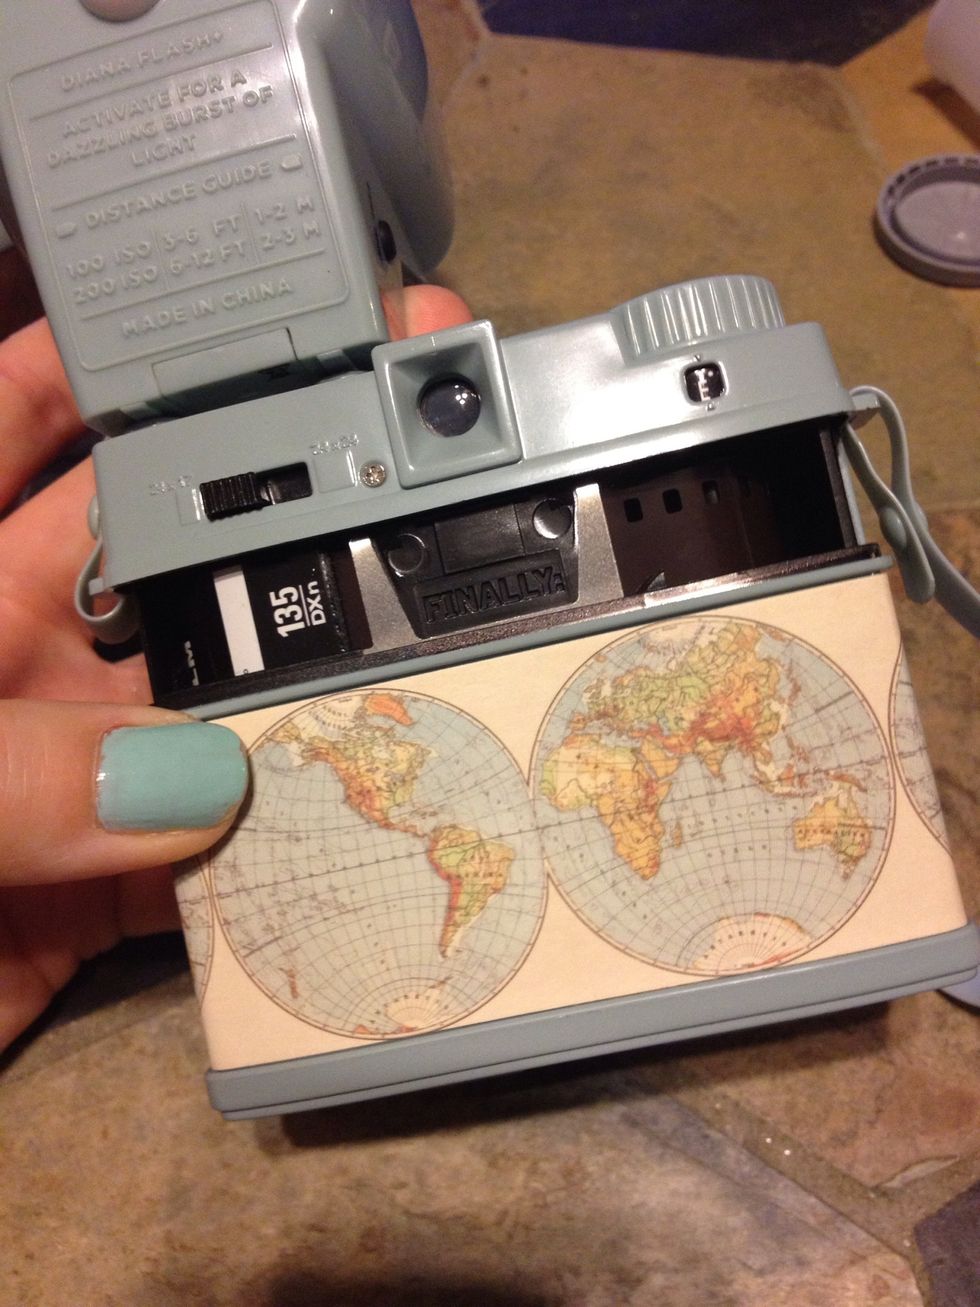
Pull the back flap down and get your film ready.
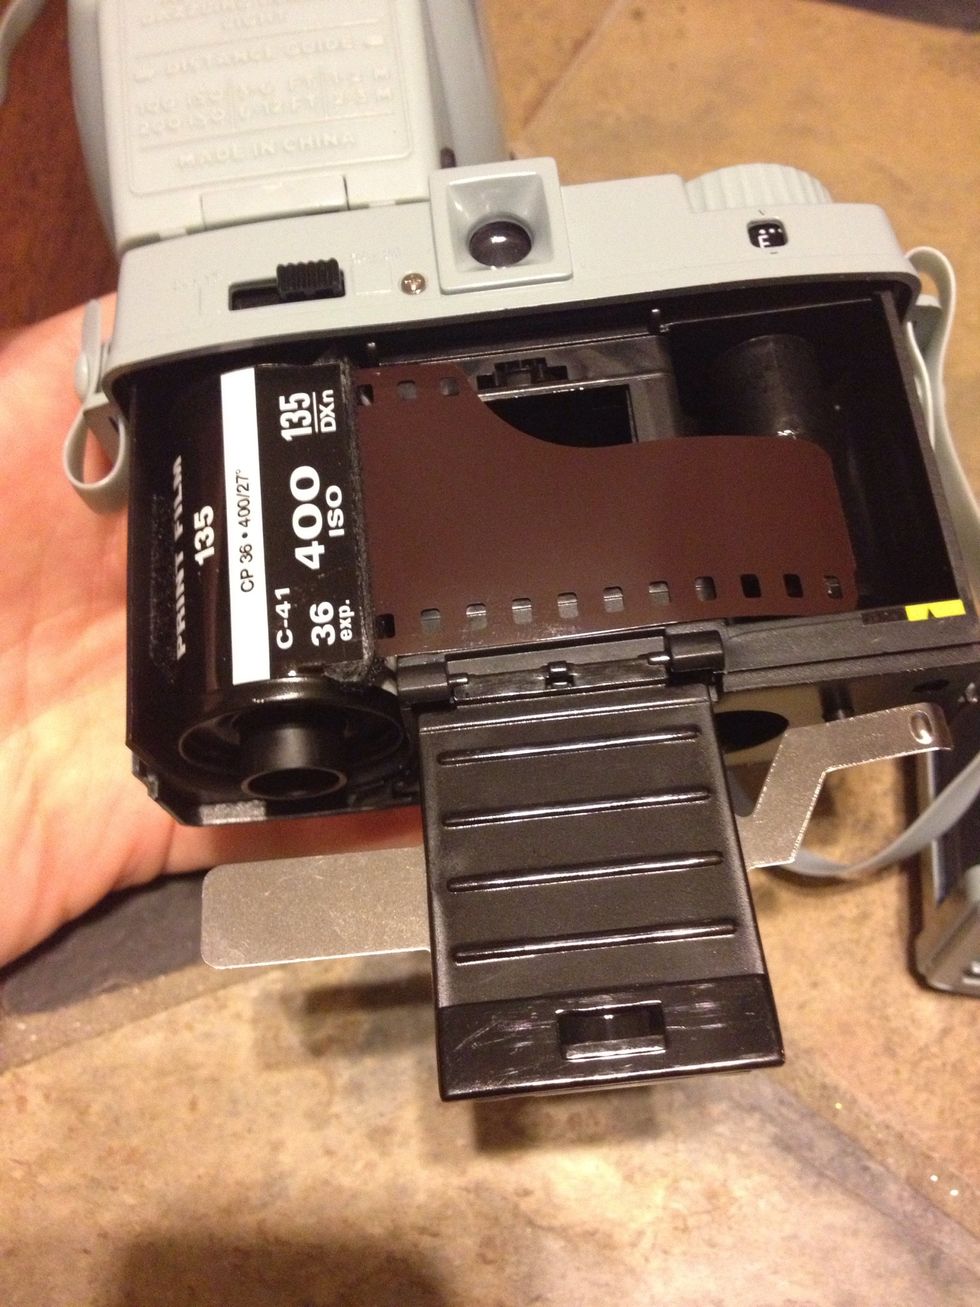
Load the film in so the knob is on the bottom. Make sure the film is pushed all the way up.

Choose rectangle format (2 photos/print) or square format. It's best to use one format for the whole roll so it's easier to process.
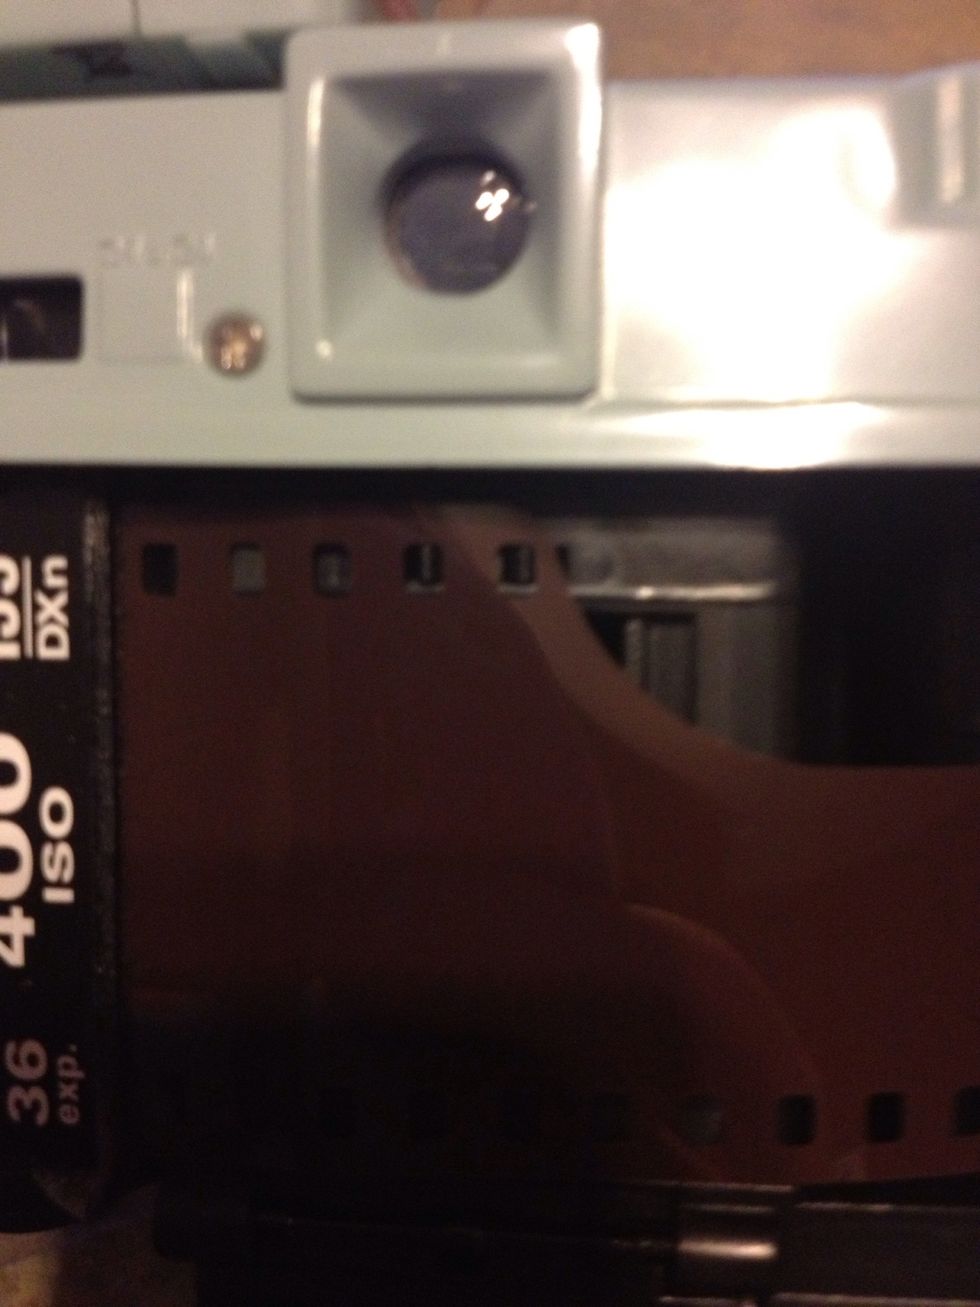
Hook the sprockets onto the little black knobs.
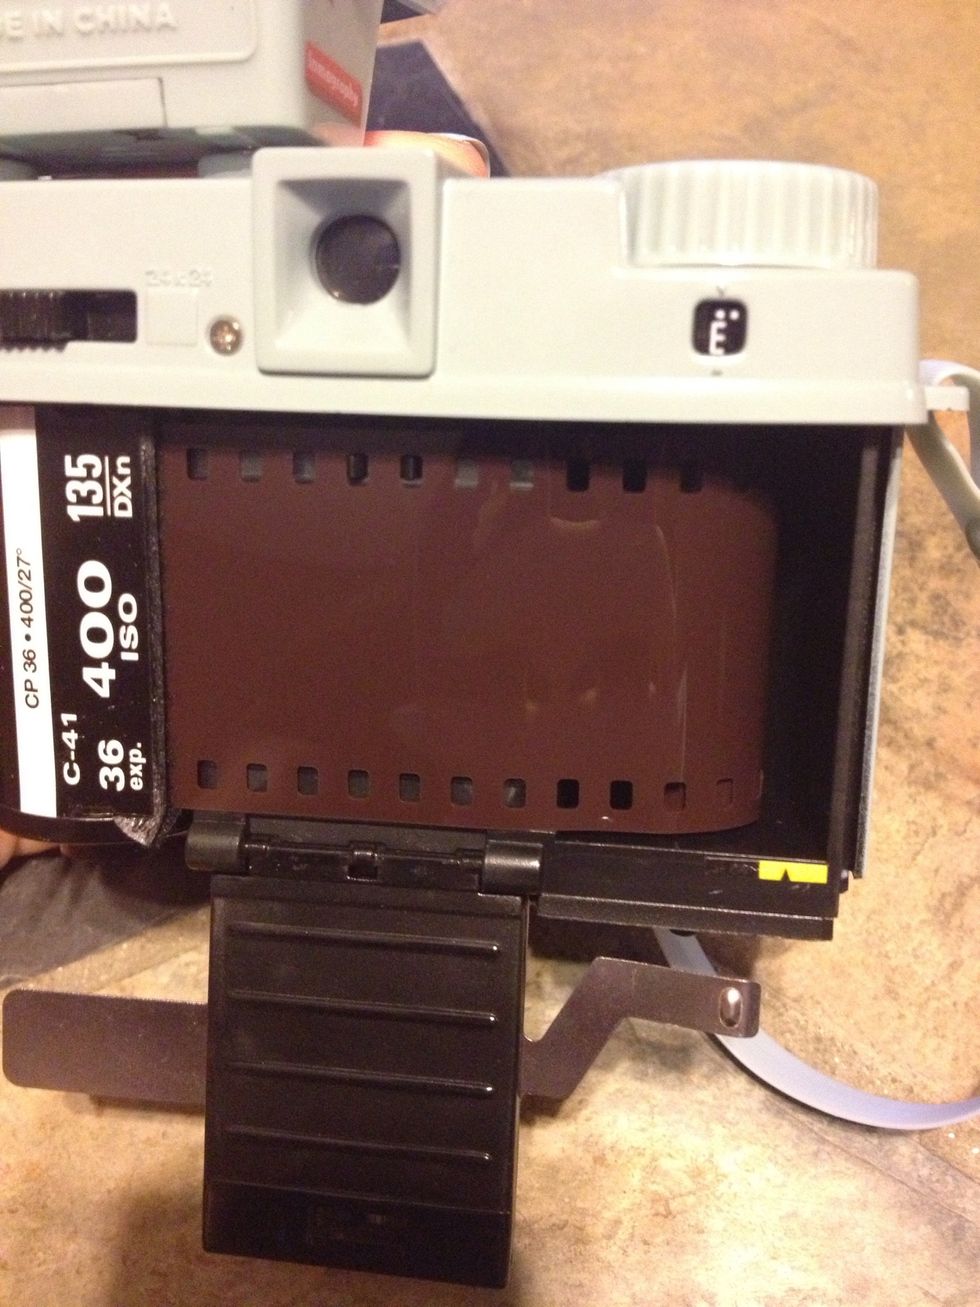
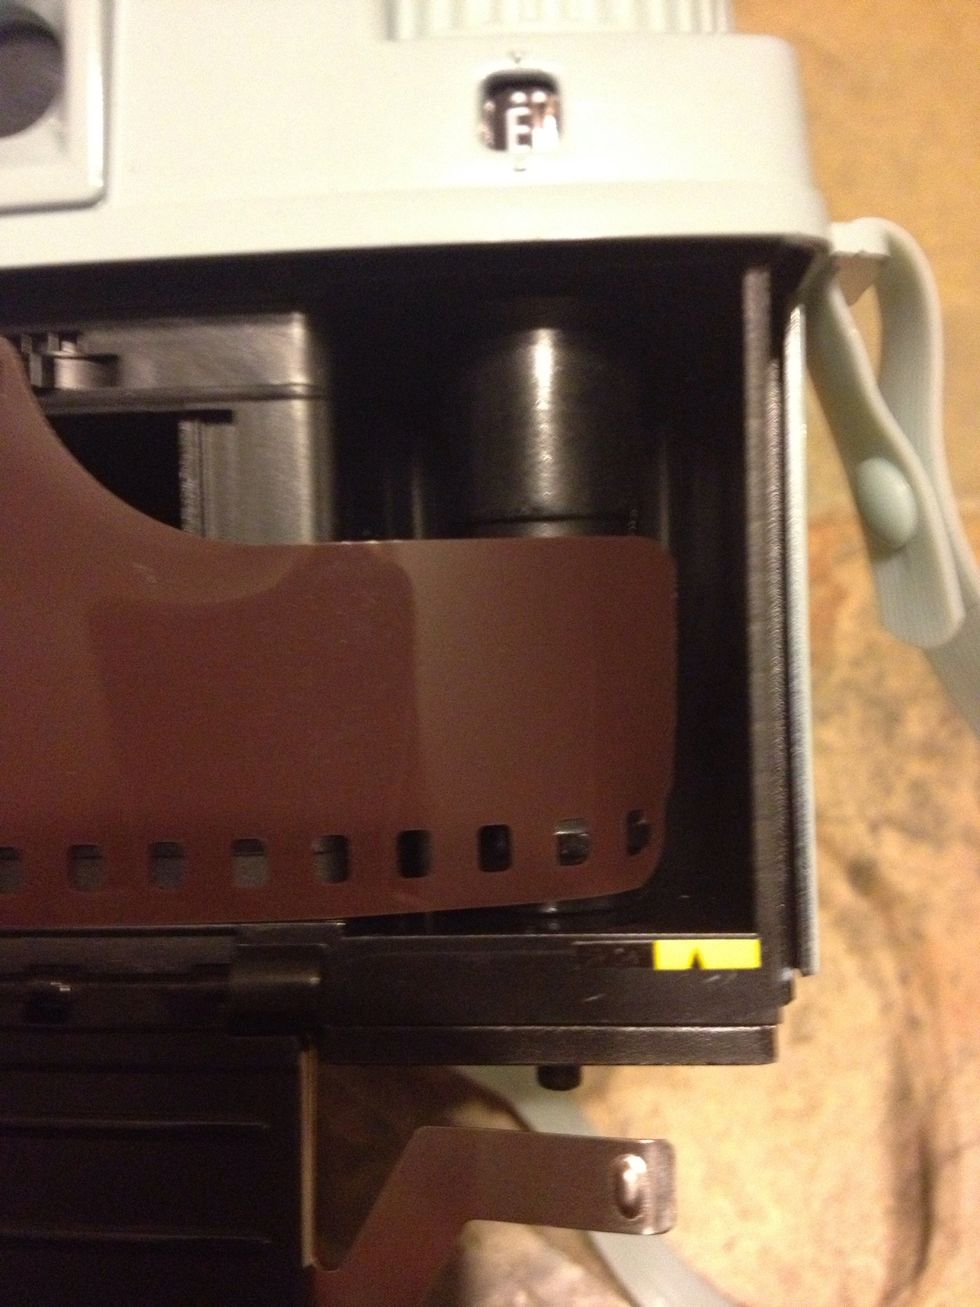
Wind the film using the wheel at the top until the full width of the film goes to the little yellow sticker.
Make sure the top holes are caught on the knobs too.
Flip the metal back up and slide the back up.
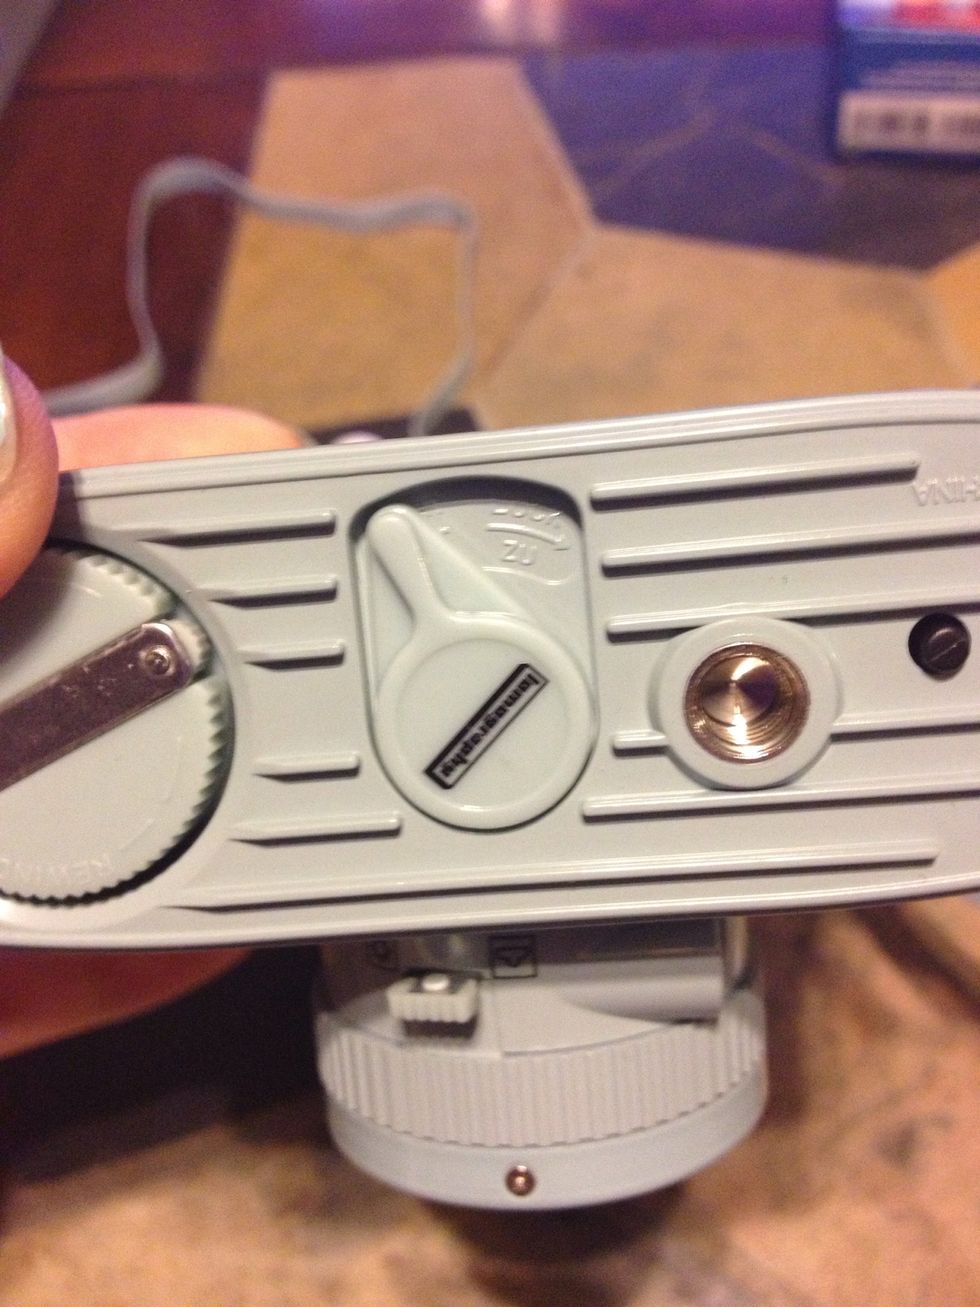
Close the bottom switch to lock it.
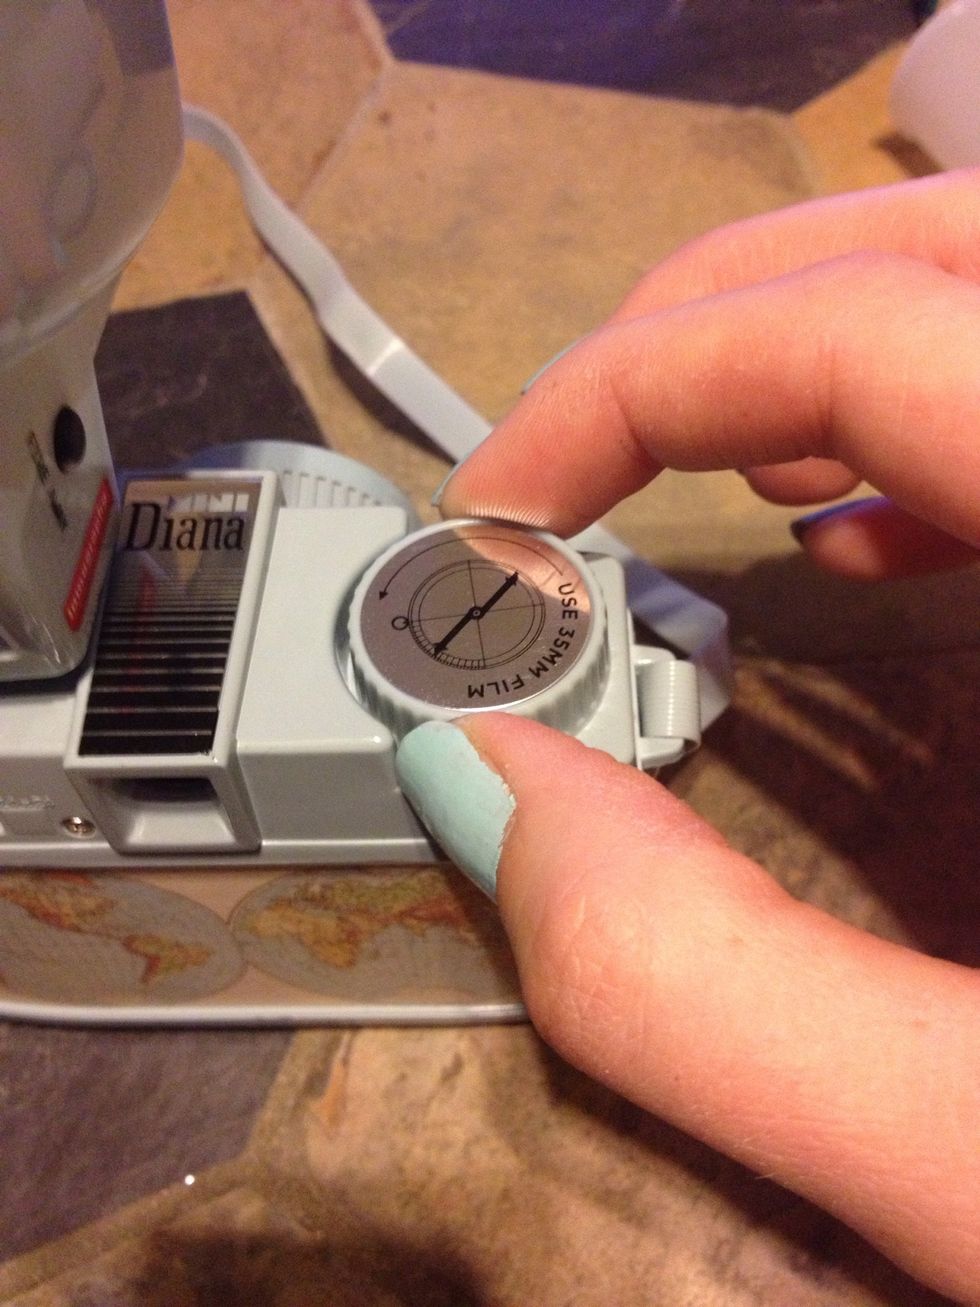
Advance the film.
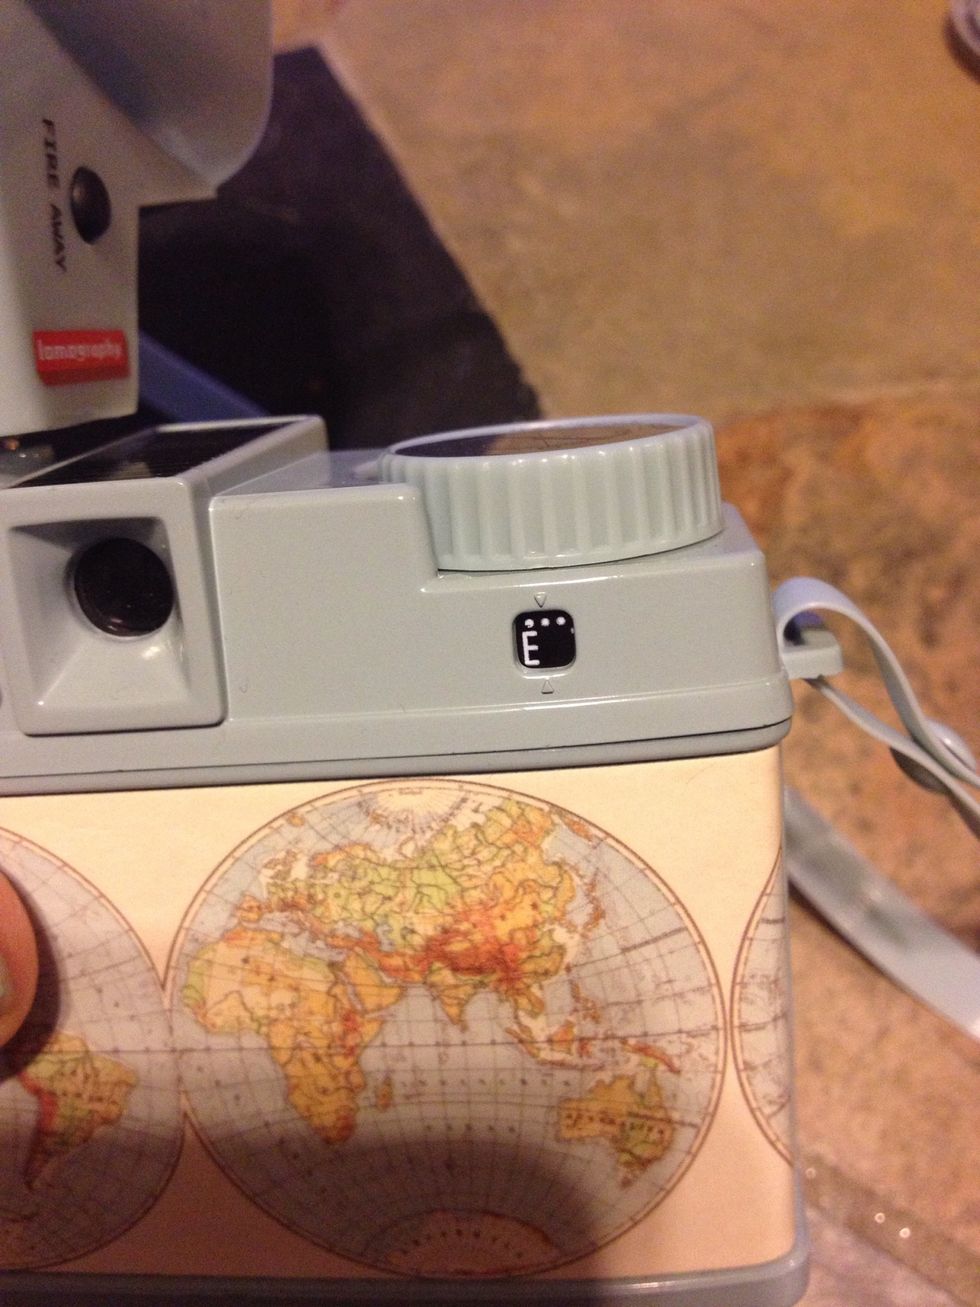
It should show that it's on exposure 1 now.

Set the shutter switch to Normal (most common) or Bulb for long exposure shots. If you ever set it to Bulb make sure to set it back to Normal right after in case you forget to check it the next time.
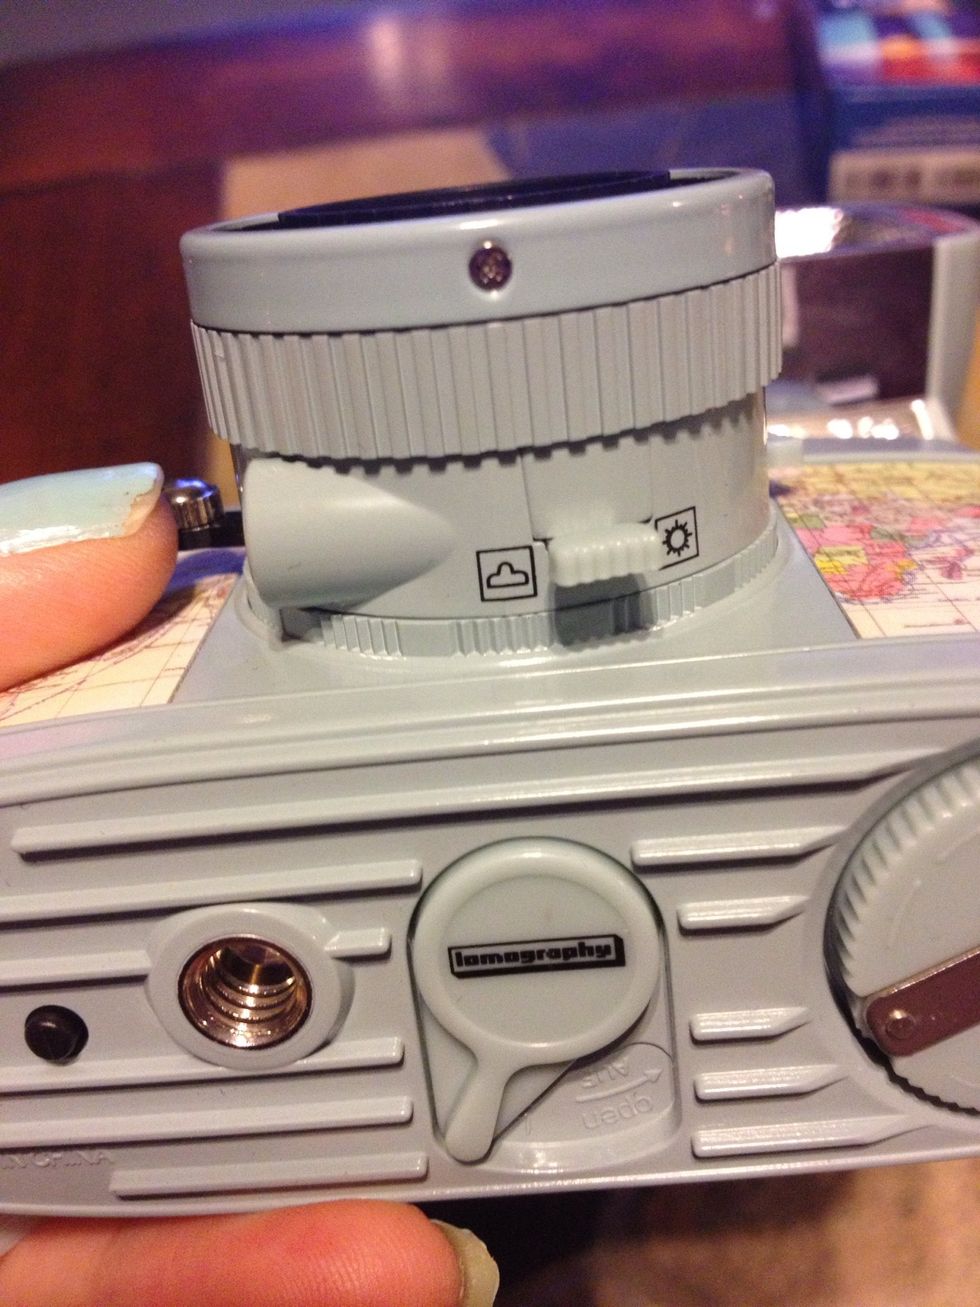
Set the aperture switch to sunny (F/11) or cloudy (F/8).

Set the focus by turning the dial depending on how far you are from your subject. If you do a close-up shot (0.6m) set it to 4m-infinity in case you forget to change it the next time.
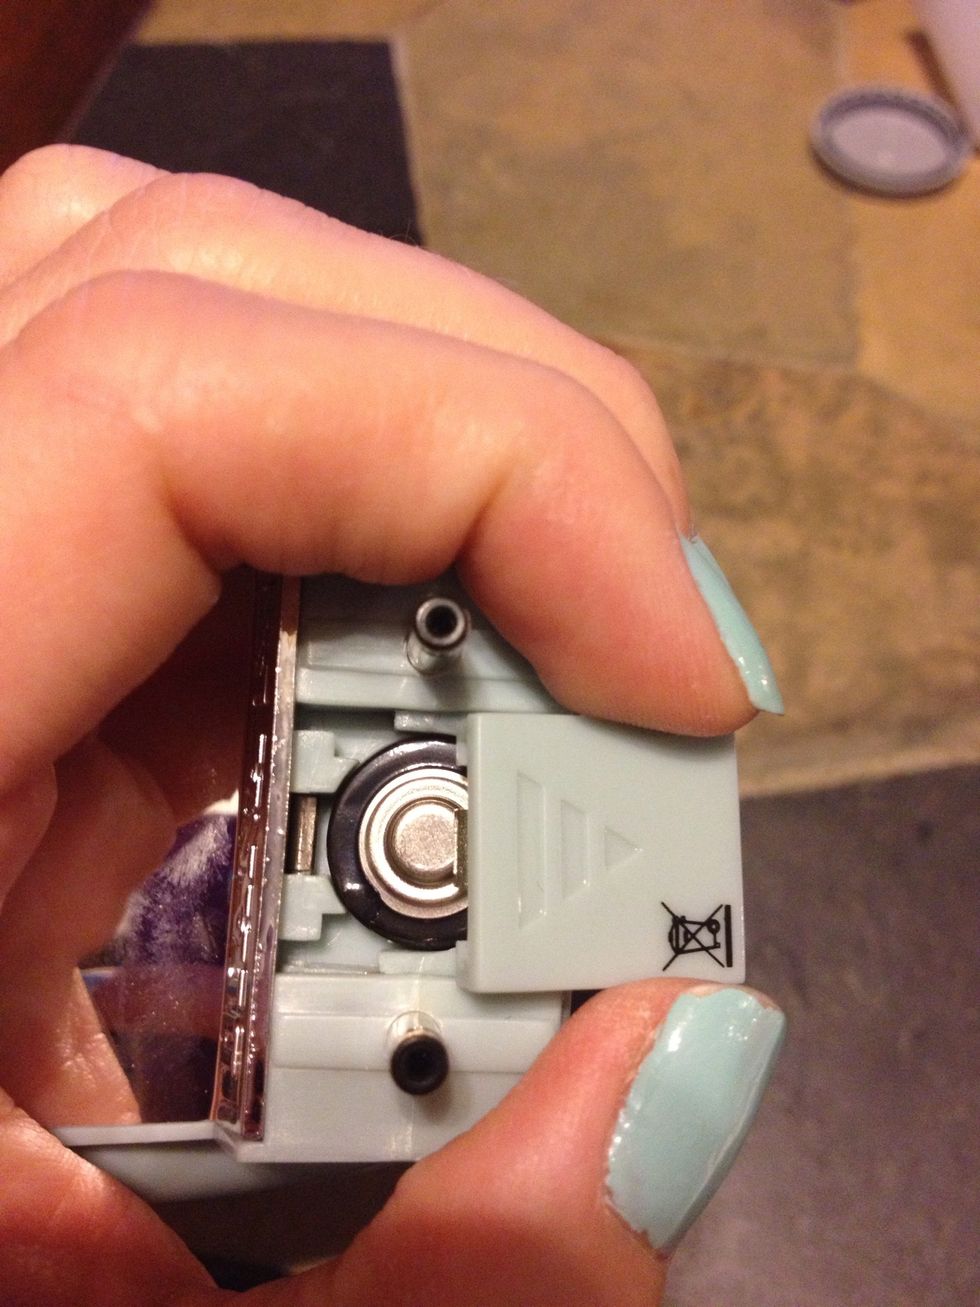
If you have a flash, slide off the bottom door off and insert a double A battery negative side in.
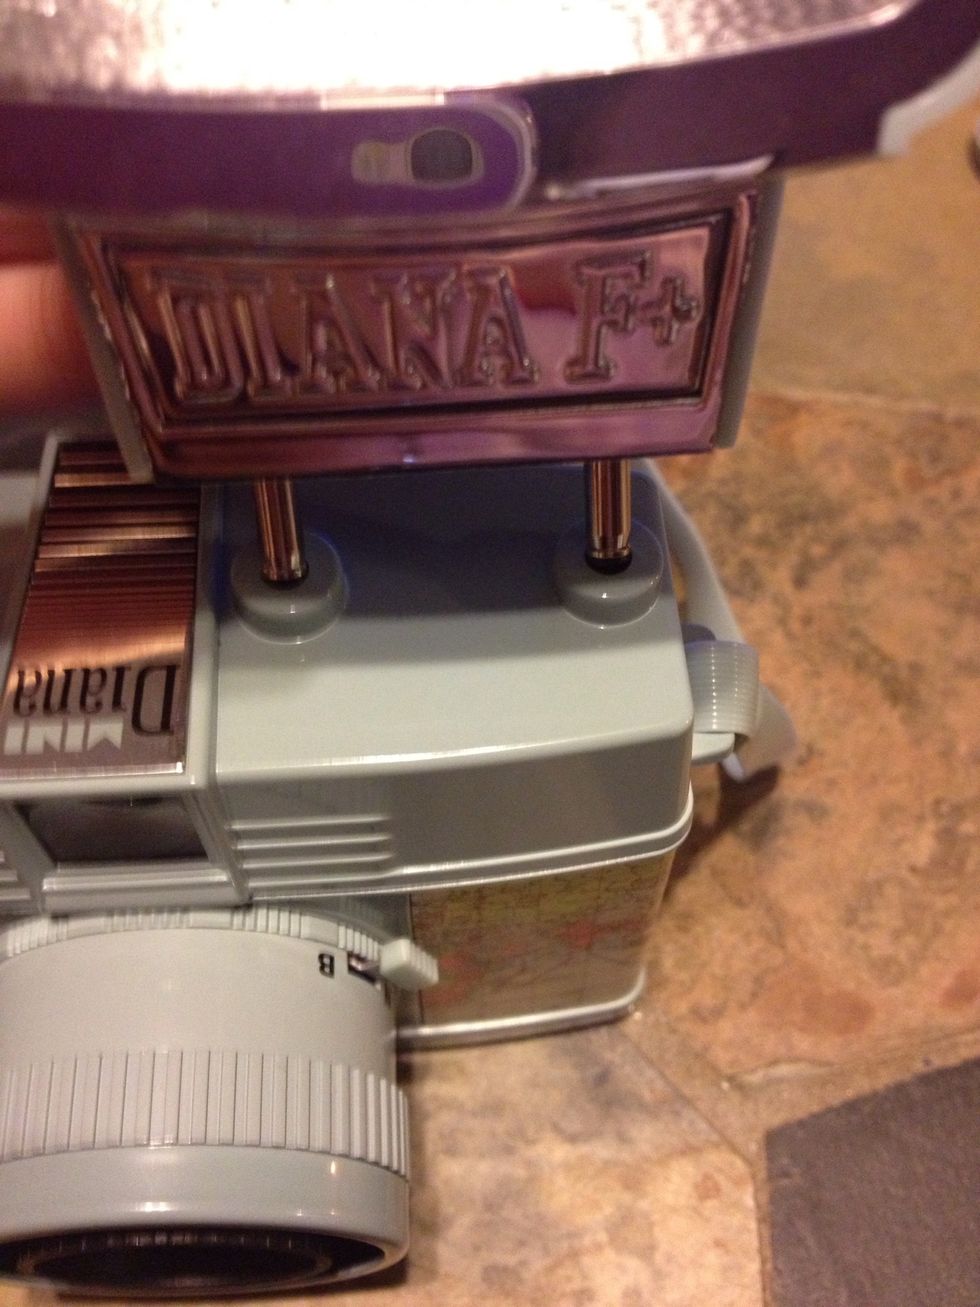
Close door and insert flash into the top of the camera.

Before using the flash, ensure the switch is on. Always wait about 6 seconds for the flash to reload before using it again. When you click the shutter the flash will go automatically.
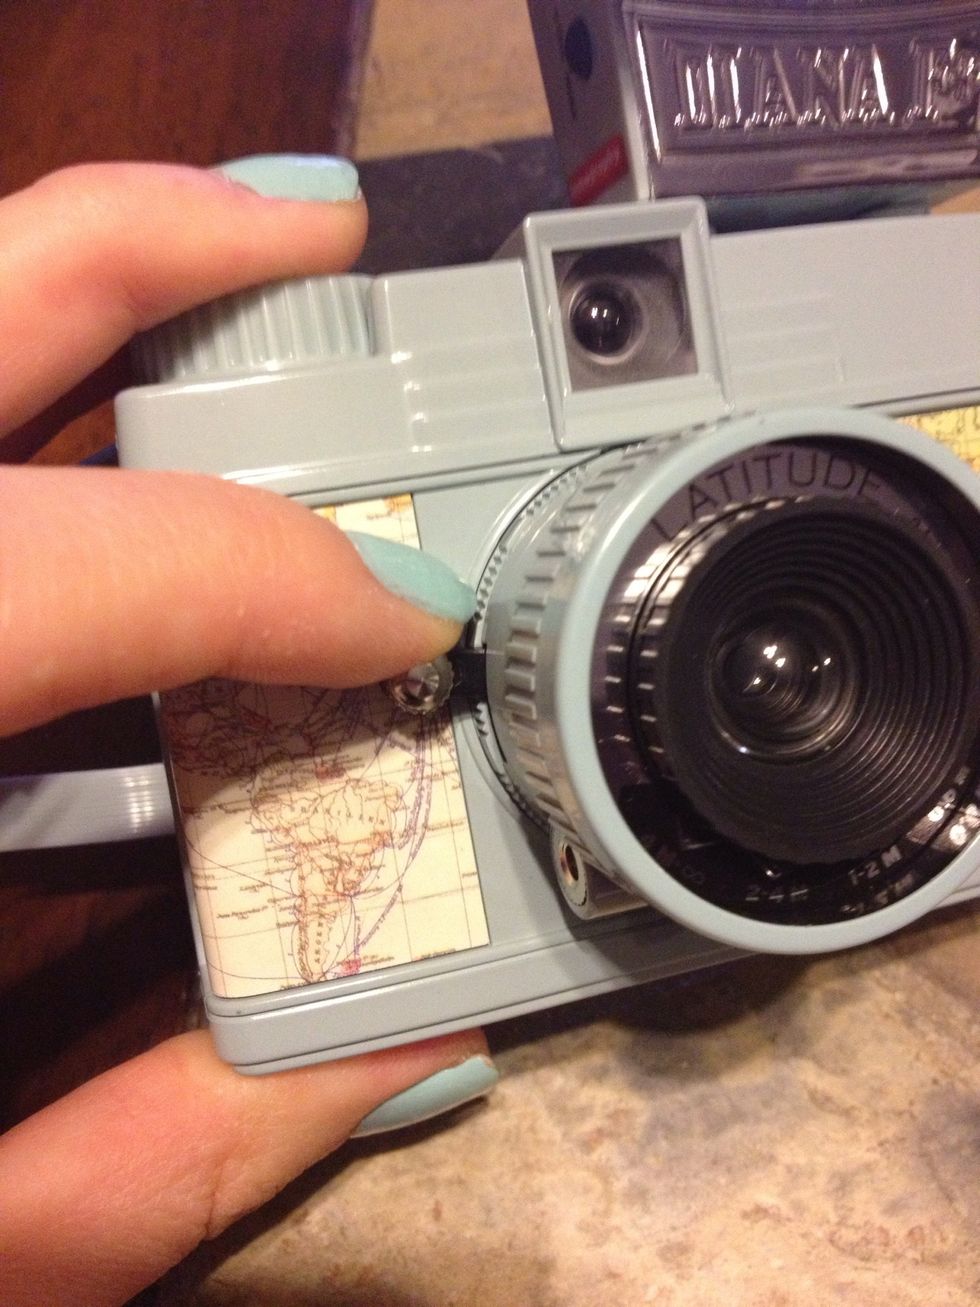
When you're ready to take a picture of your subject press the shutter down.

After you've taken your picture advance the wheel until it stops. Do not force it or the film could snap.
Be creative and have fun! Try taking two photos without advancing your film to have multiple exposures on one print! Look up diana mini groups on Flickr for inspiration and tips.