The Conversation (0)
Sign Up
"Shared Photo Stream" is a great way to share photos with your friends and family on your iOS device. This guide will show you how to turn it on and use it effectively.
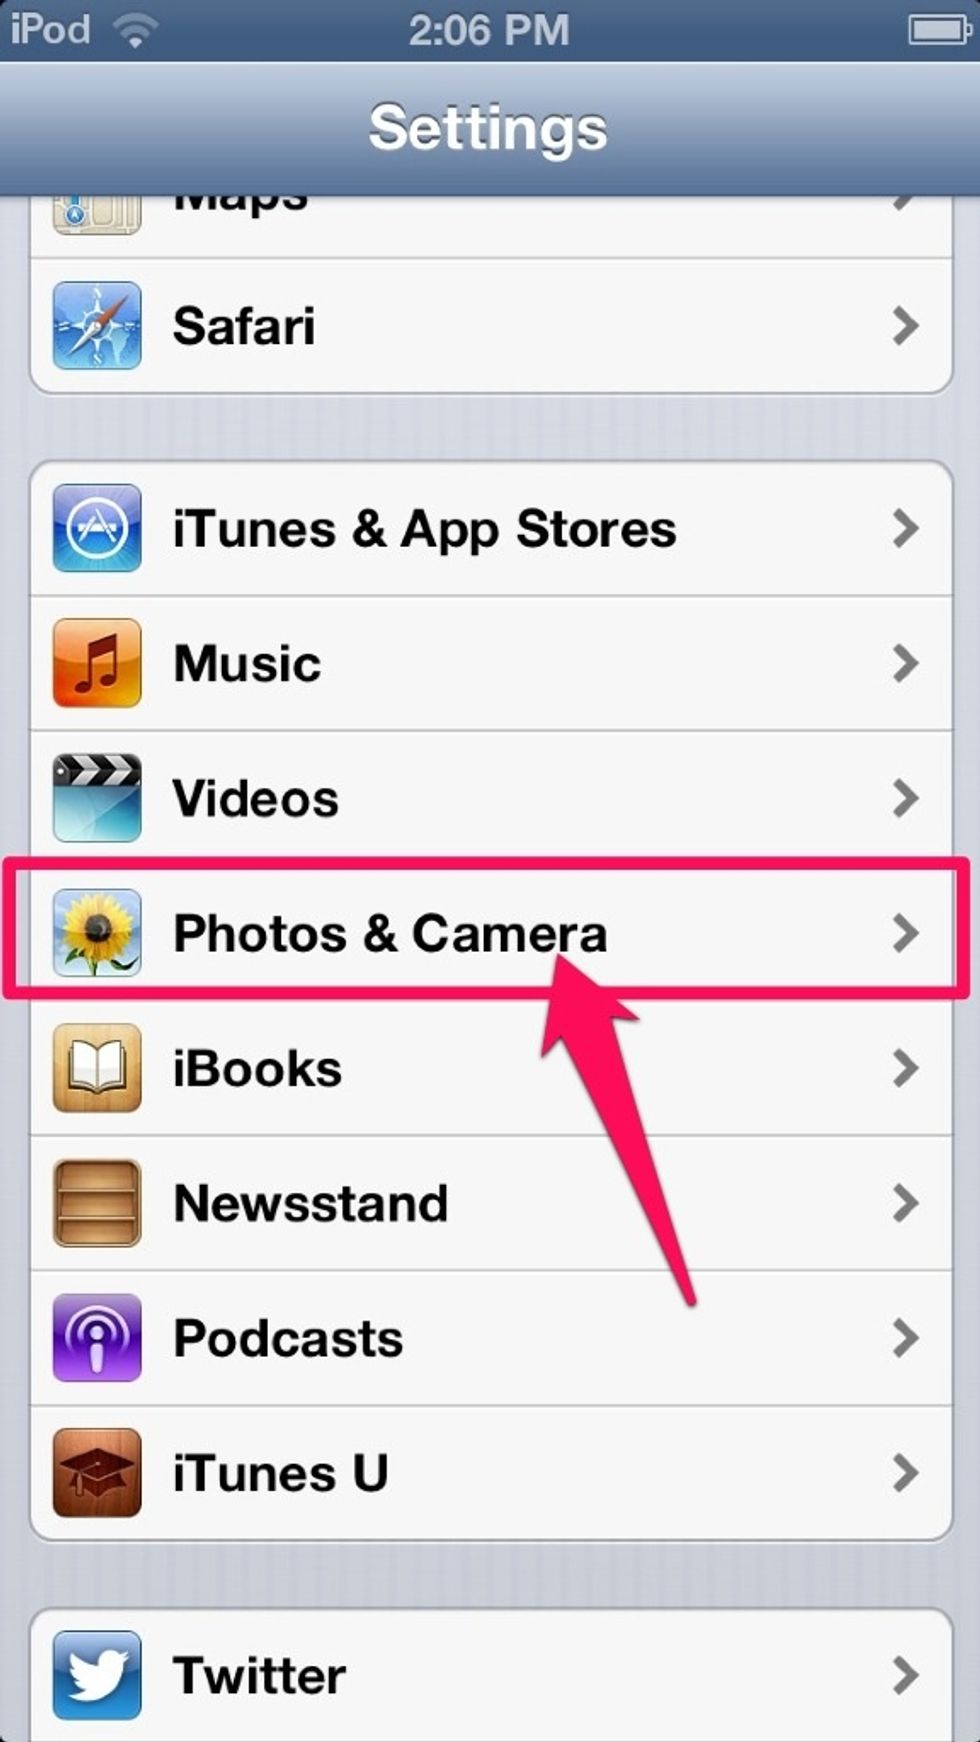
The first thing to do is open Settings. Then scroll down until you see "Photos and Camera", and select it.
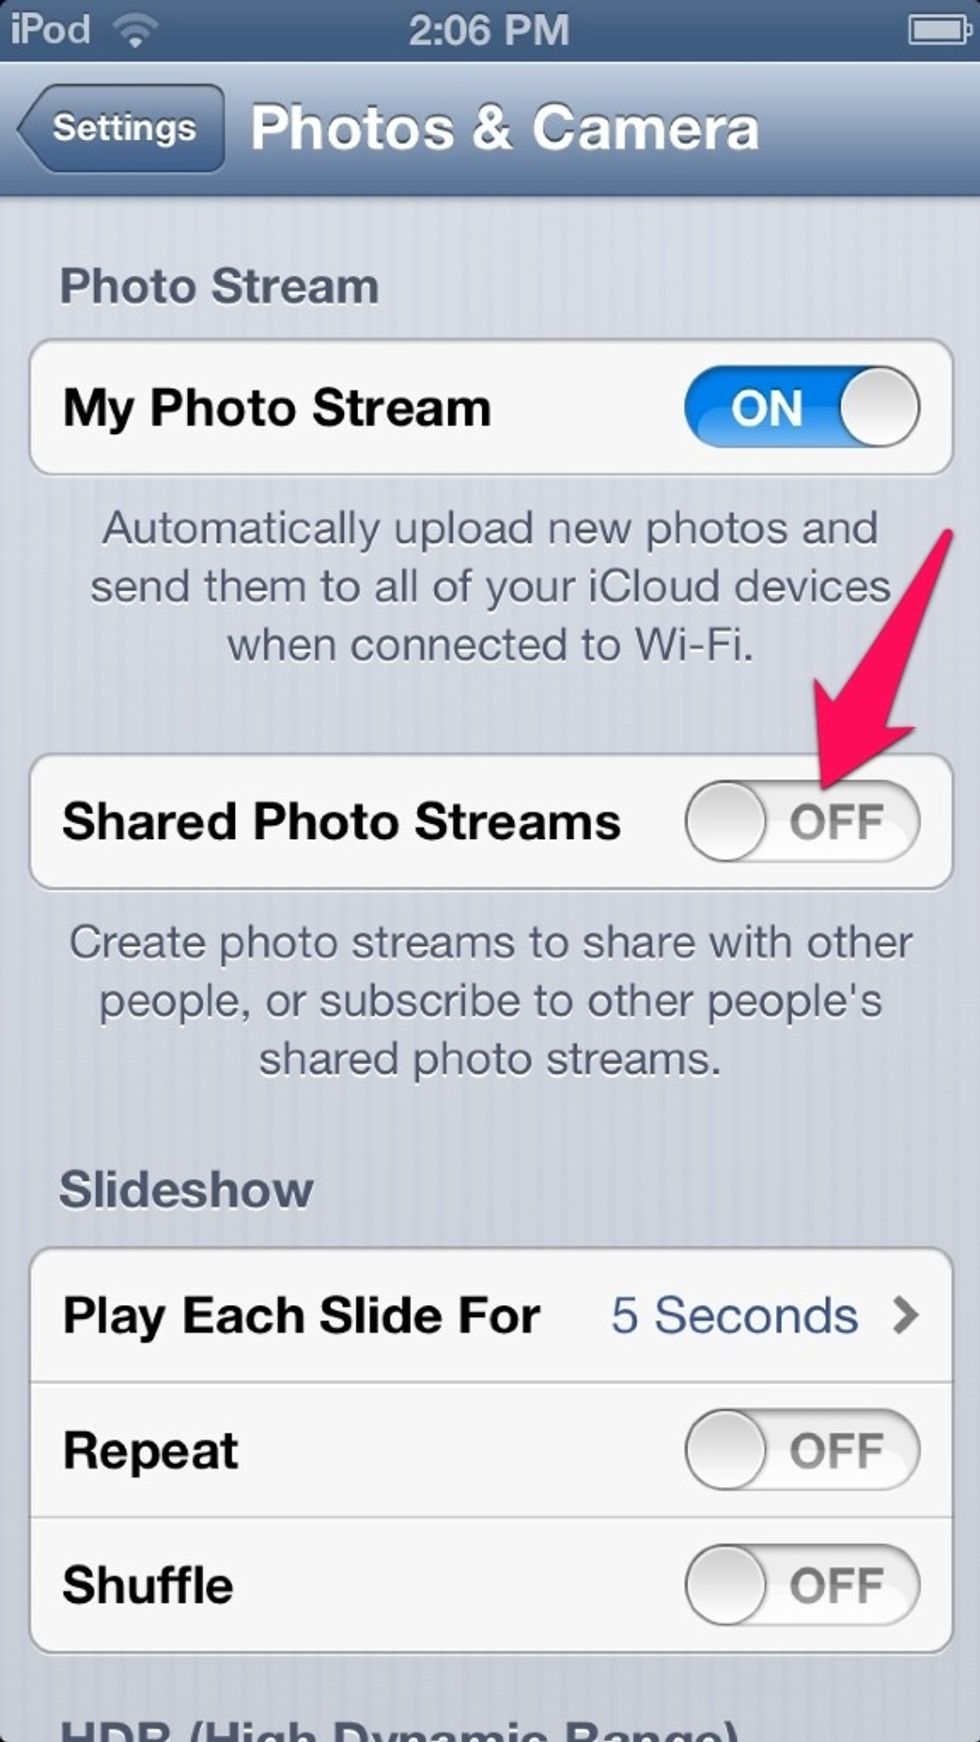
As you can see, your photo stream is on, but shared photo stream is automatically off.
Turn it on.
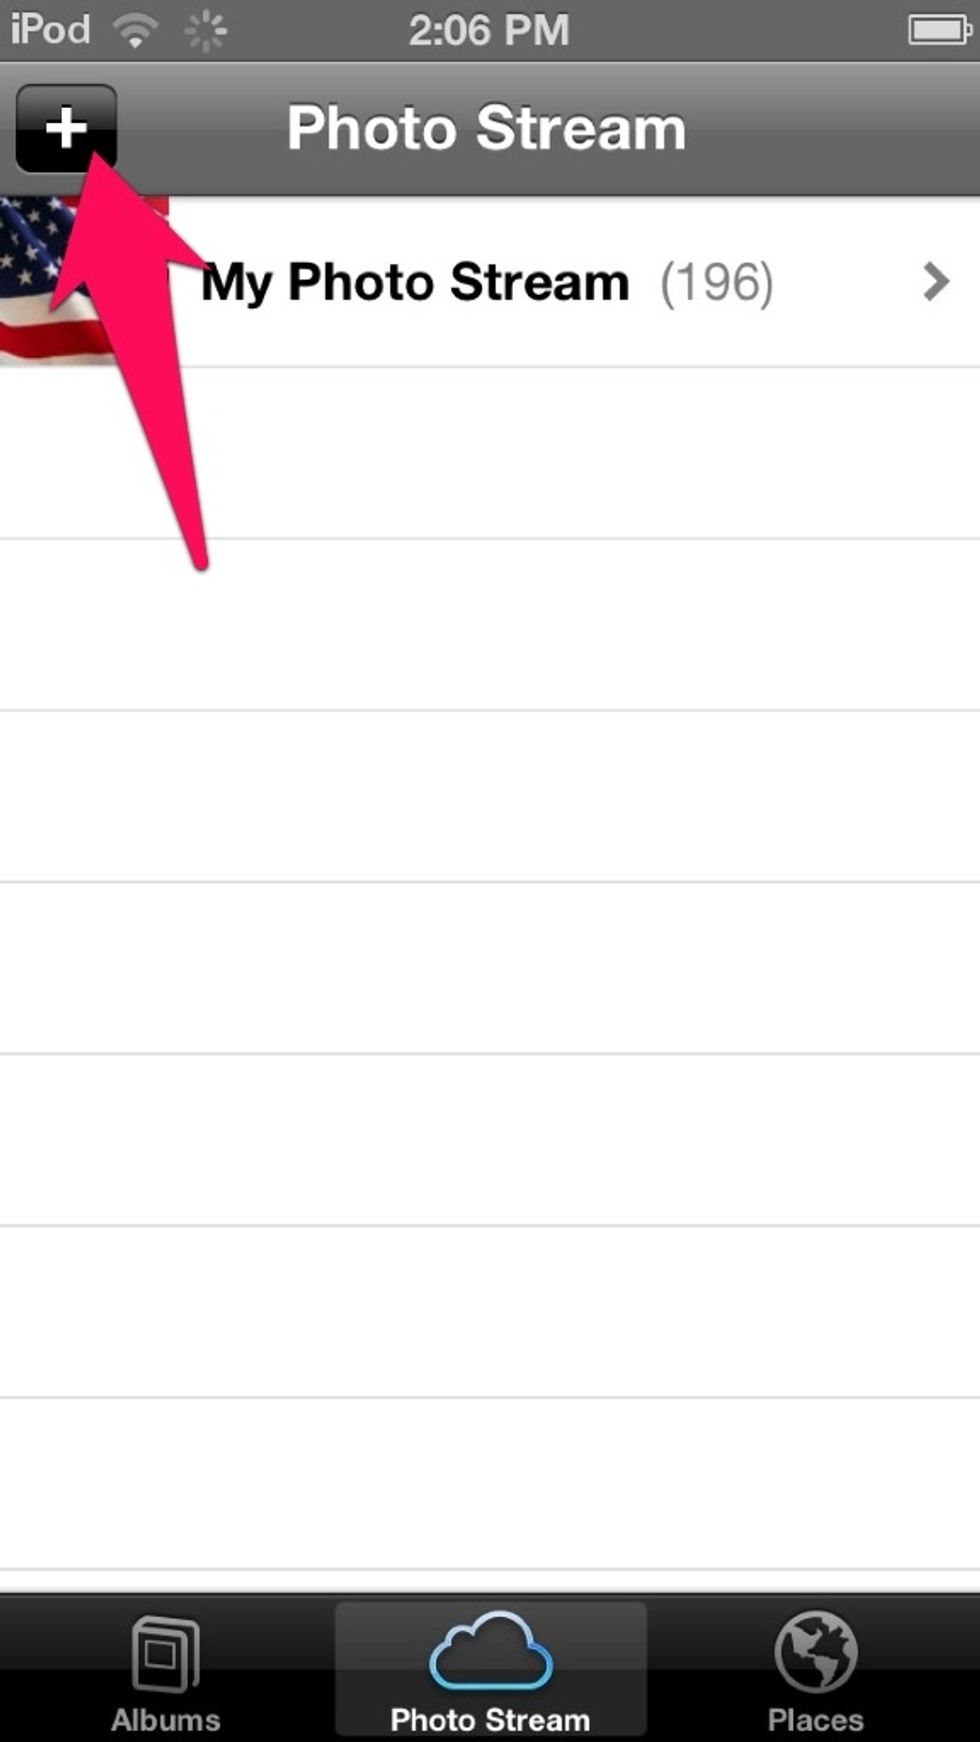
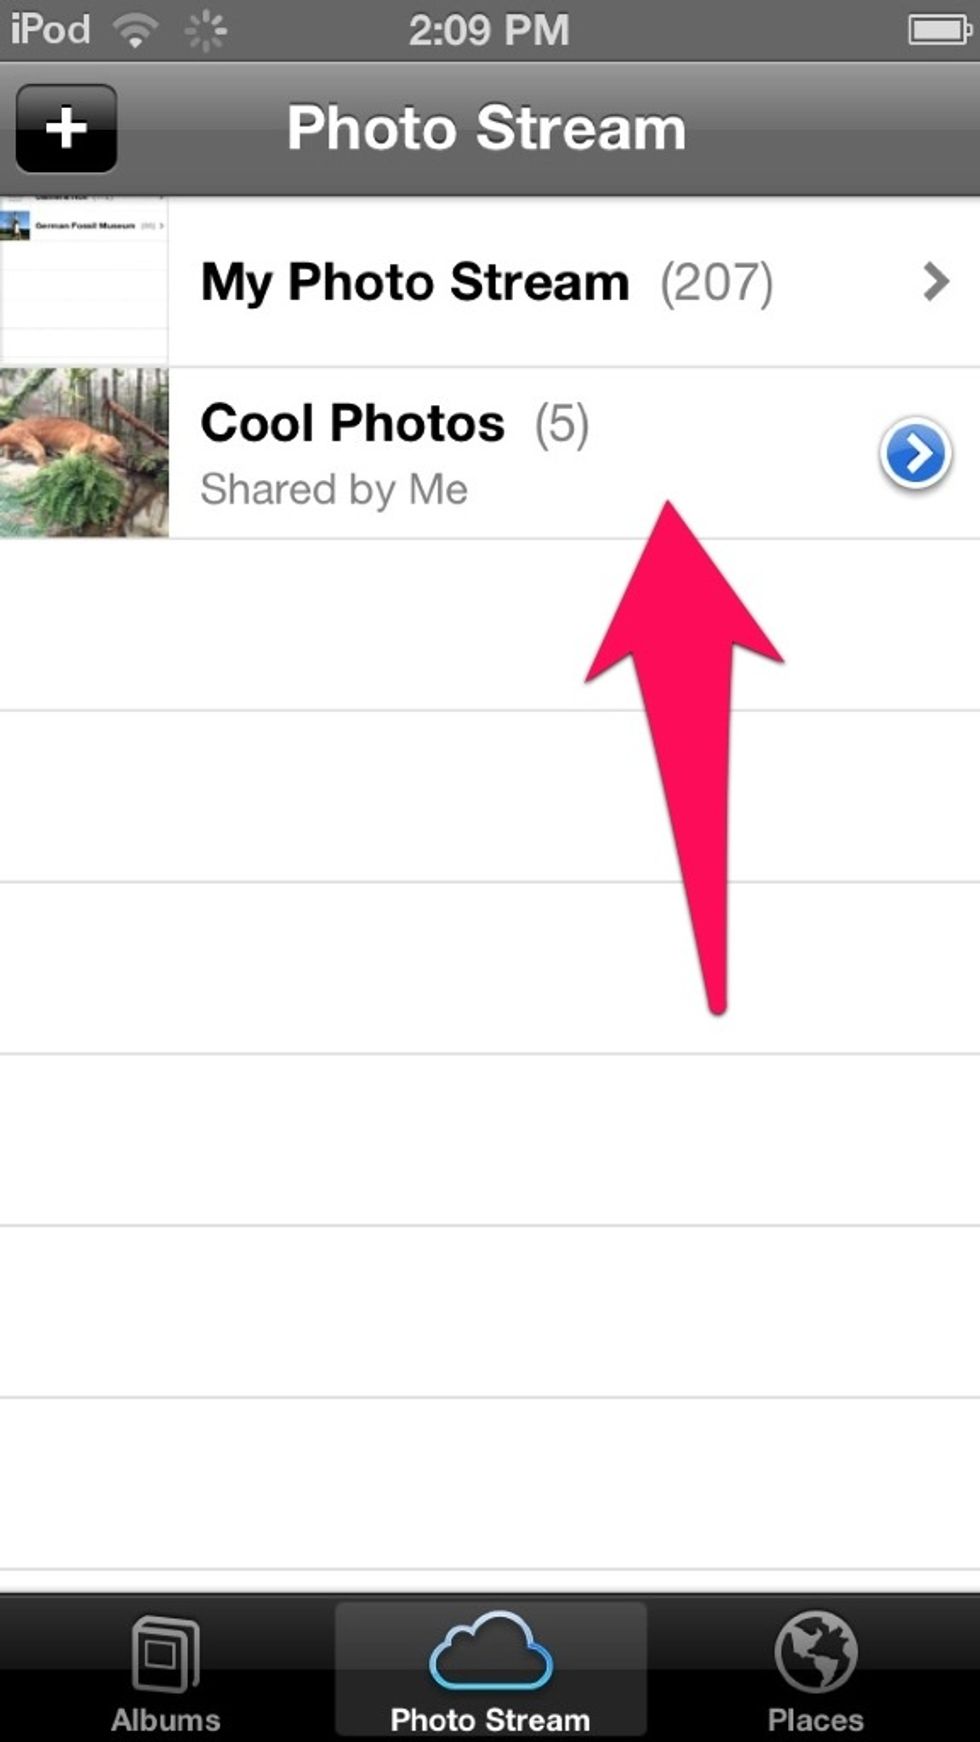
Then open the photos app. Select photo stream at the bottom. There you will see a "plus" button in the top left.
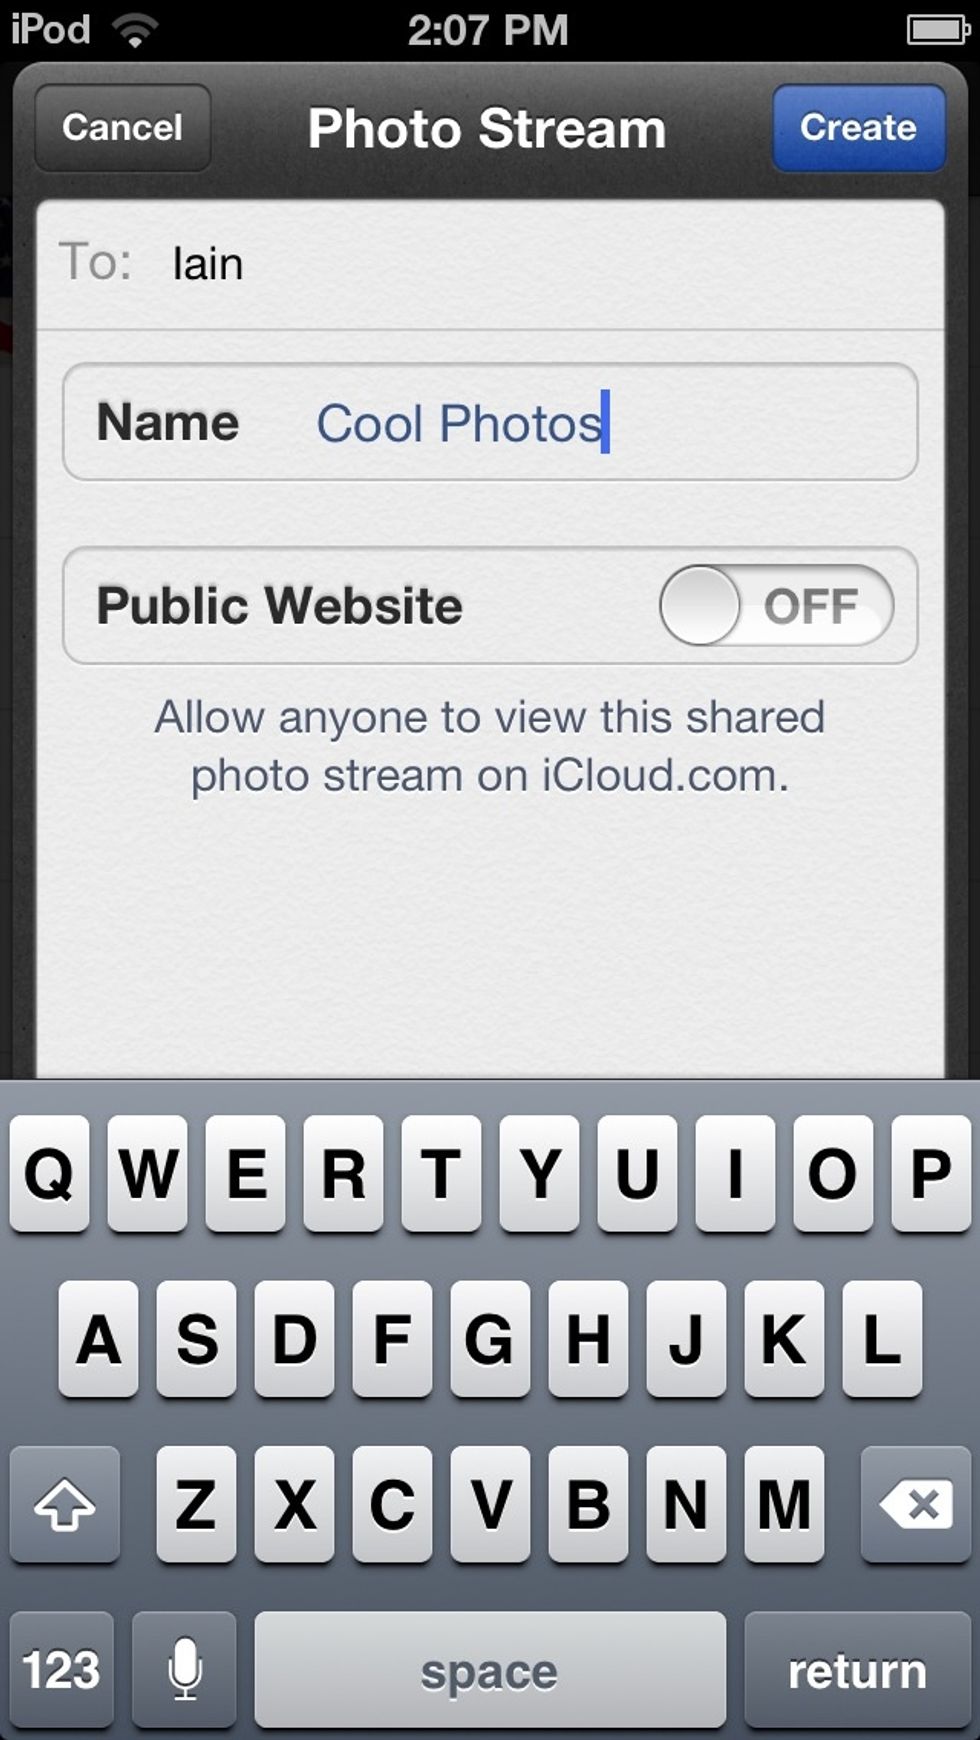
Tap the "plus" button. Then, this form will appear. Fill out who you want to share with and what the title is called.
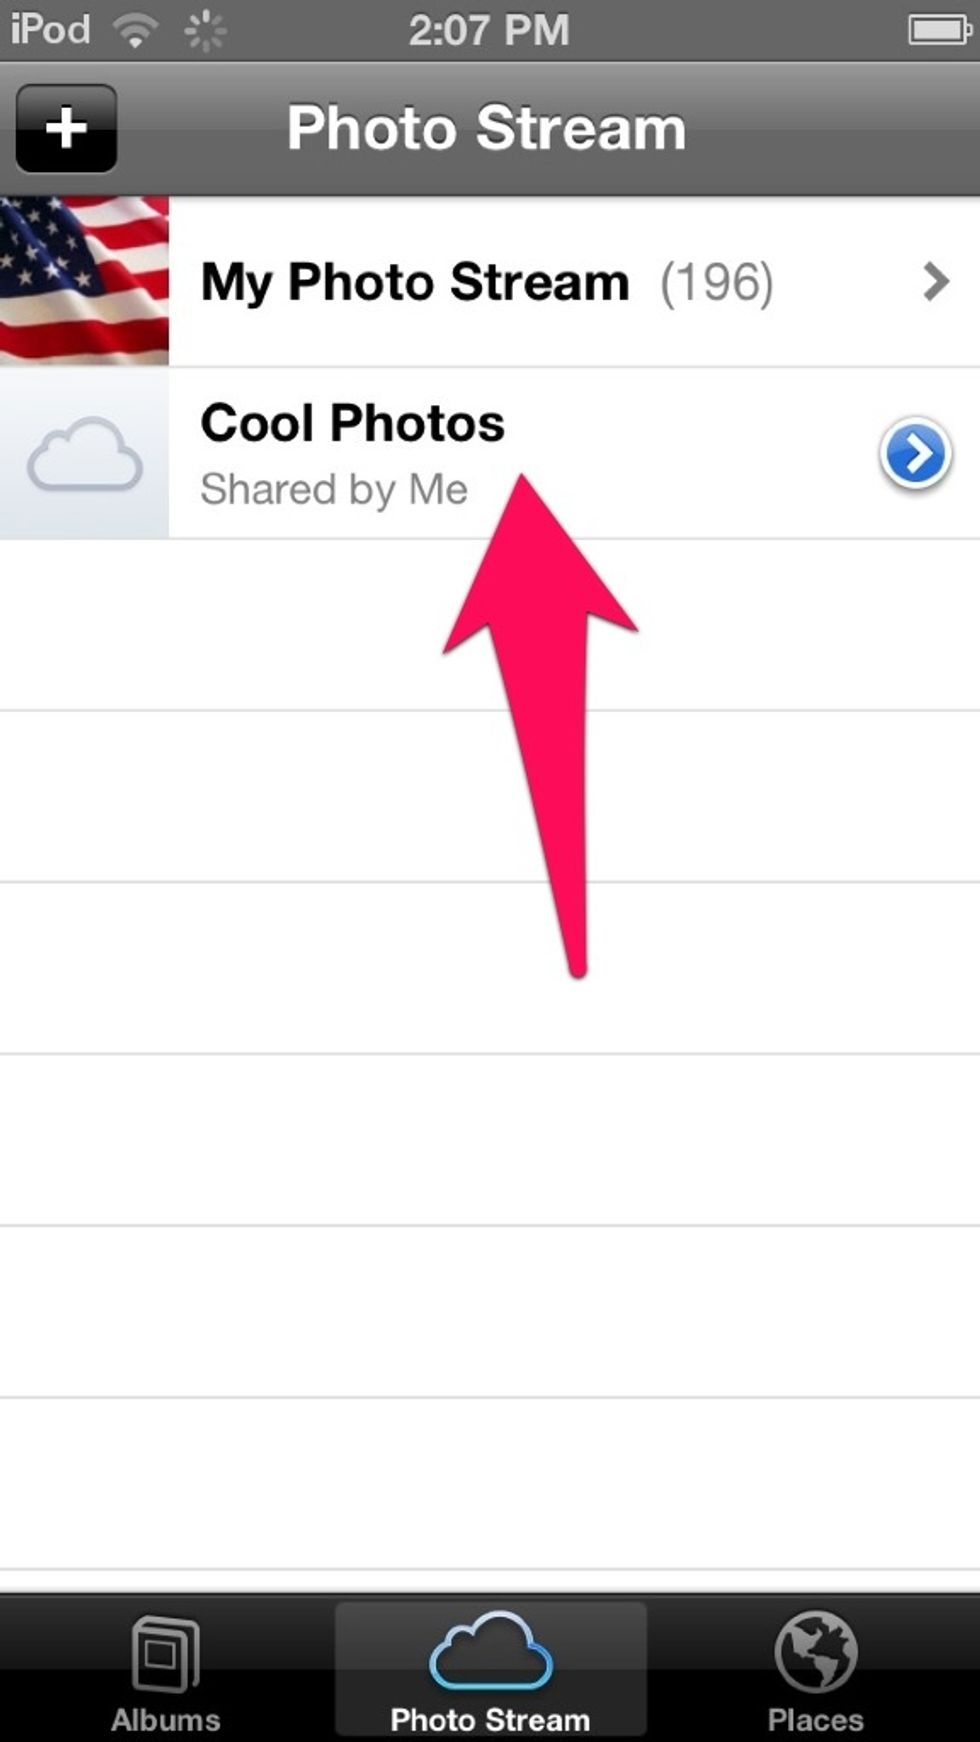
After finishing the form, you will want to add photos to it. Tap on your shared stream.
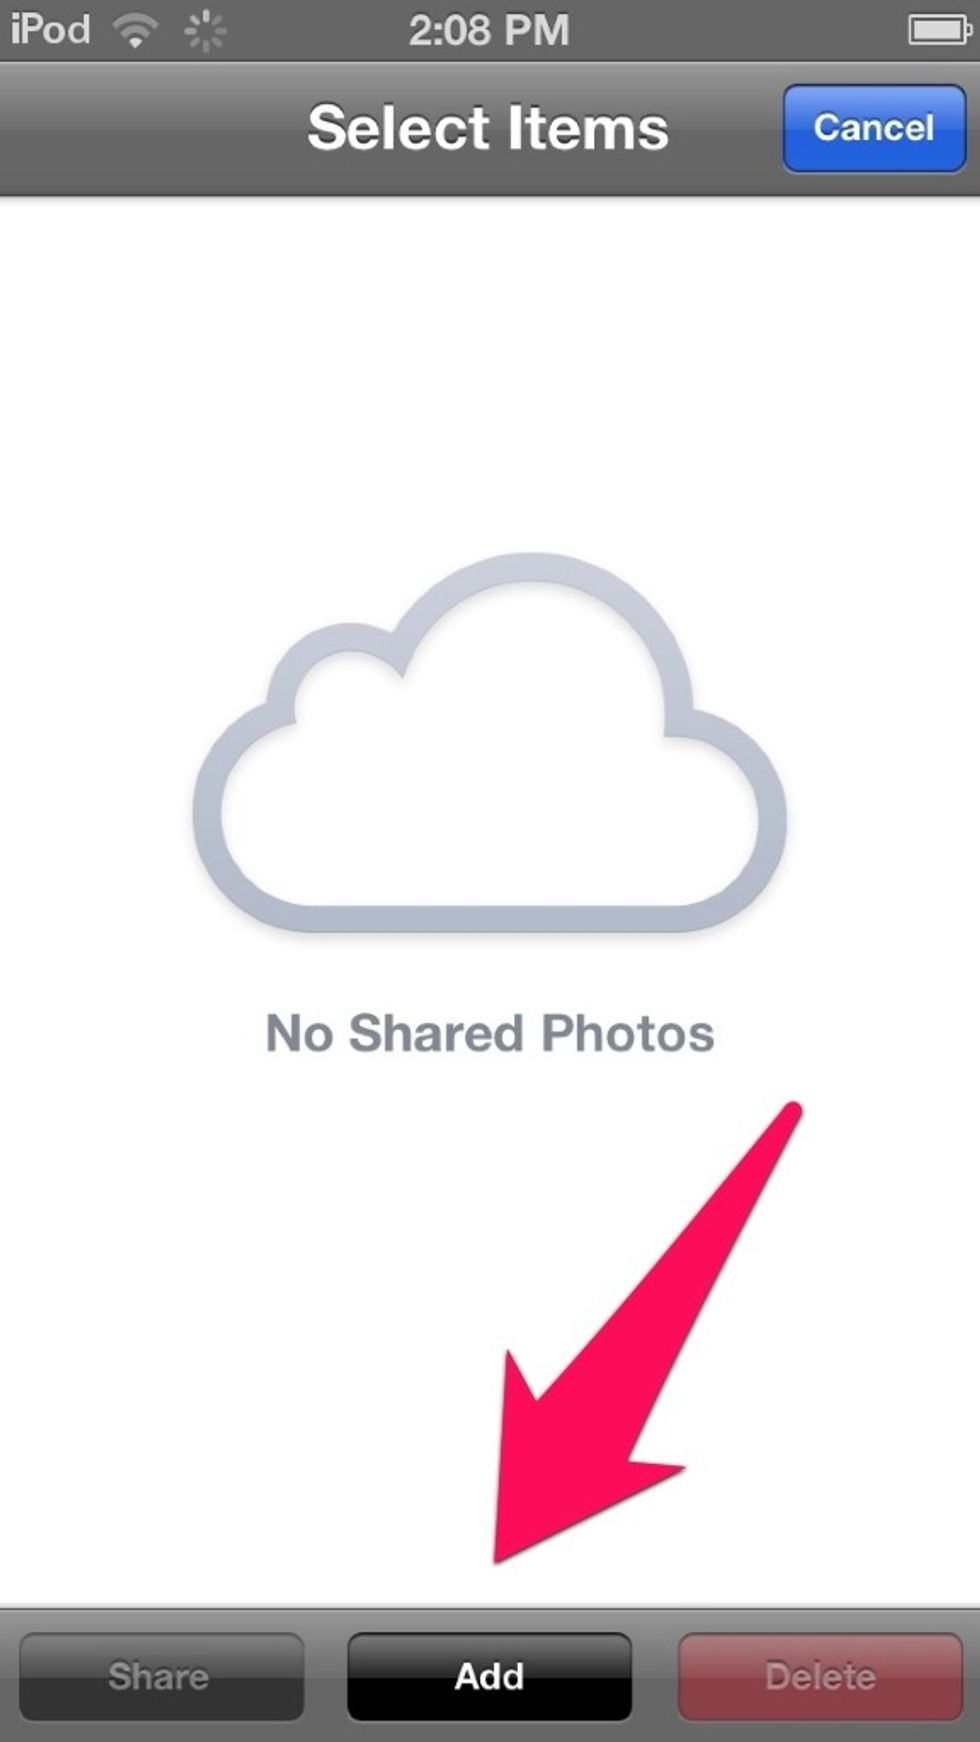
At the bottom, tap on "Add".
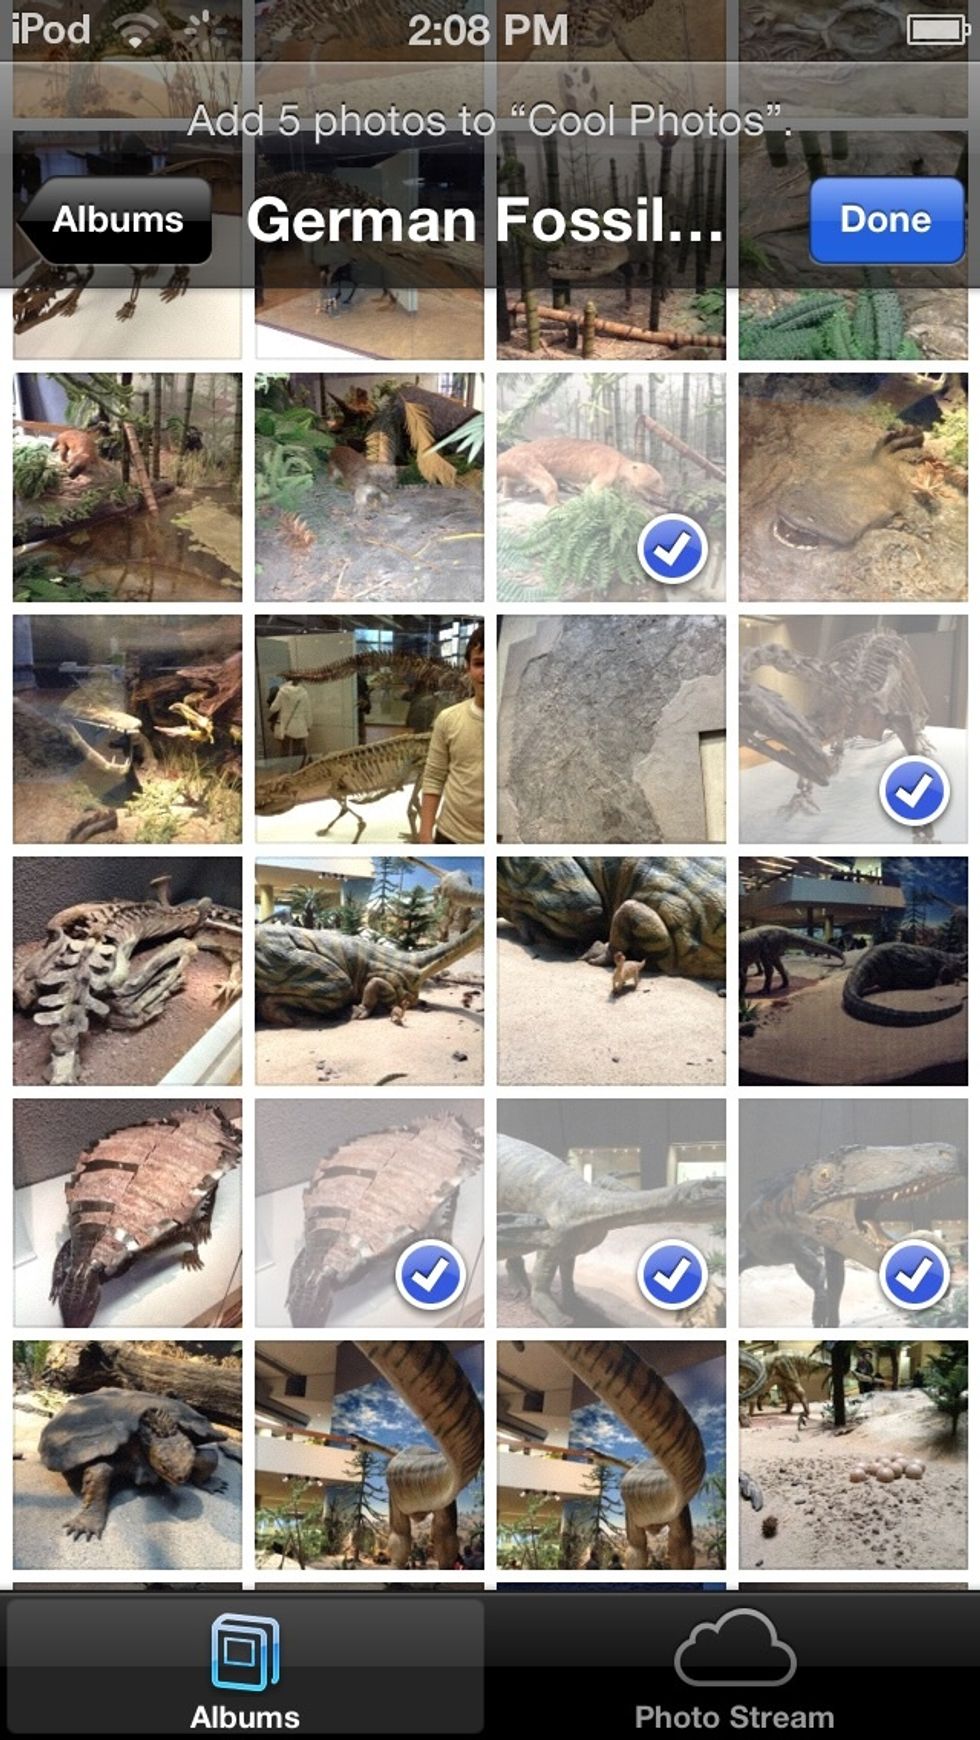
Select the photos you want shared, and tap "done".
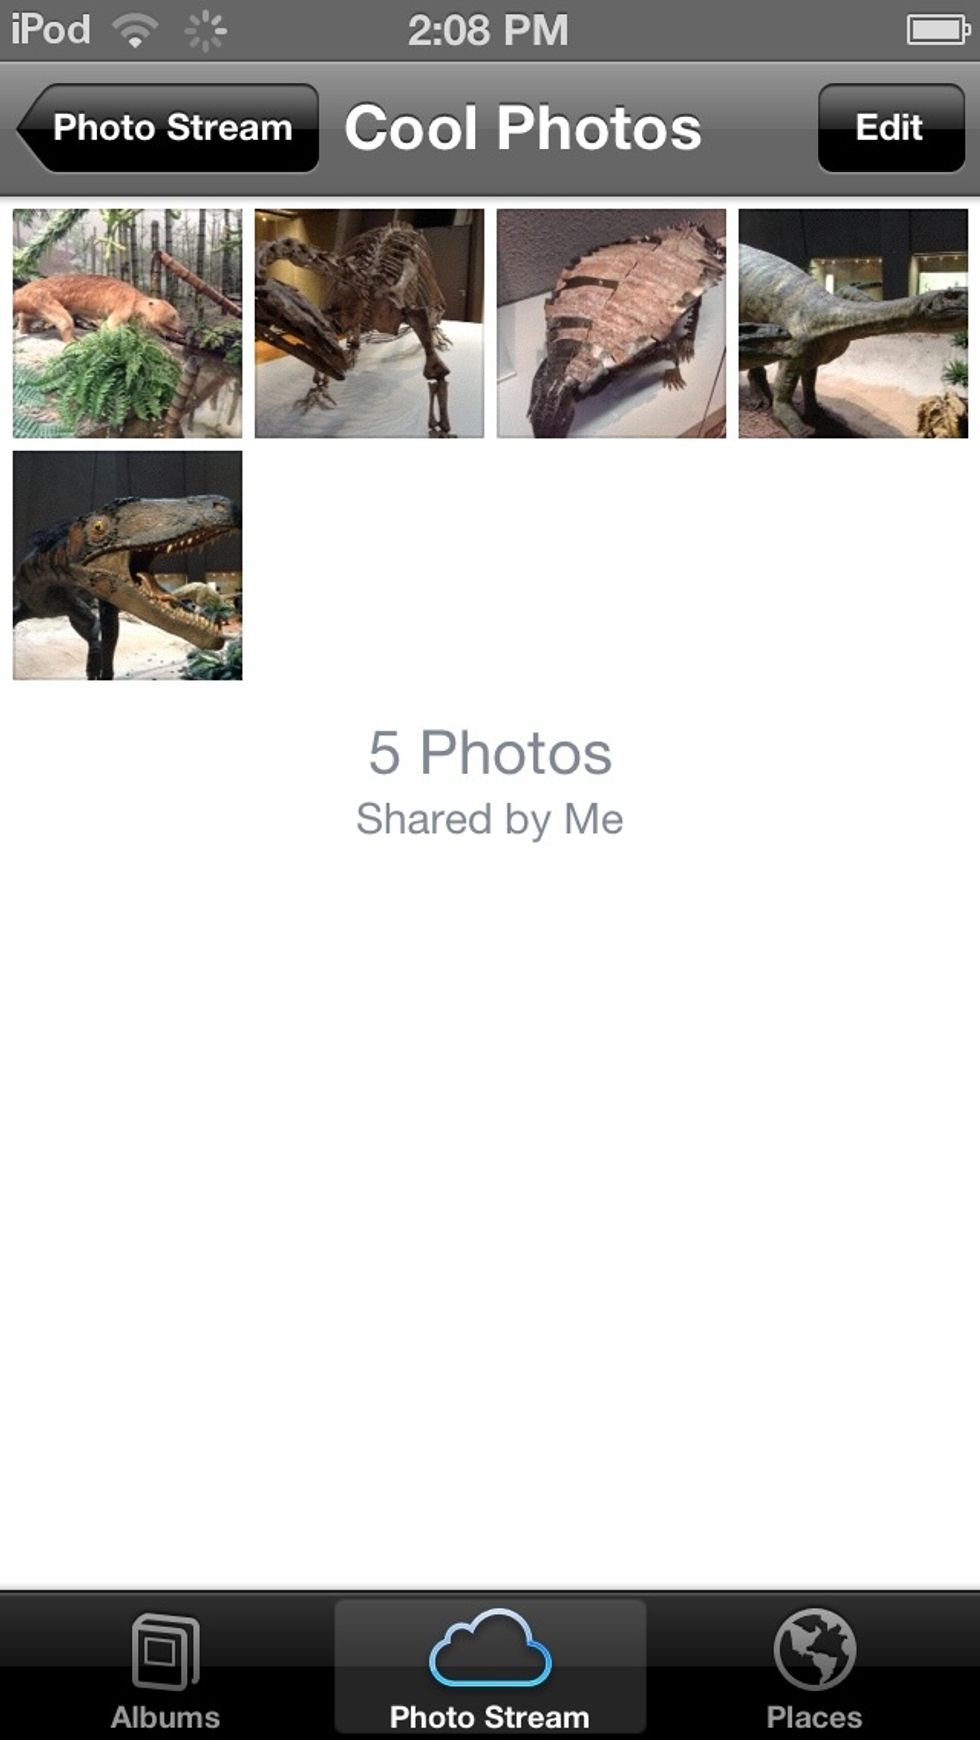
Those photos were added, and your friends can see them.
Finished! Now you can share photos to your hearts content.