The Conversation (0)
Sign Up
There are many different types of wormeries. You can buy different types, or you can make your own from wood, tyres, fish boxes, an old bath, or, as in this guide, from plastic trays.
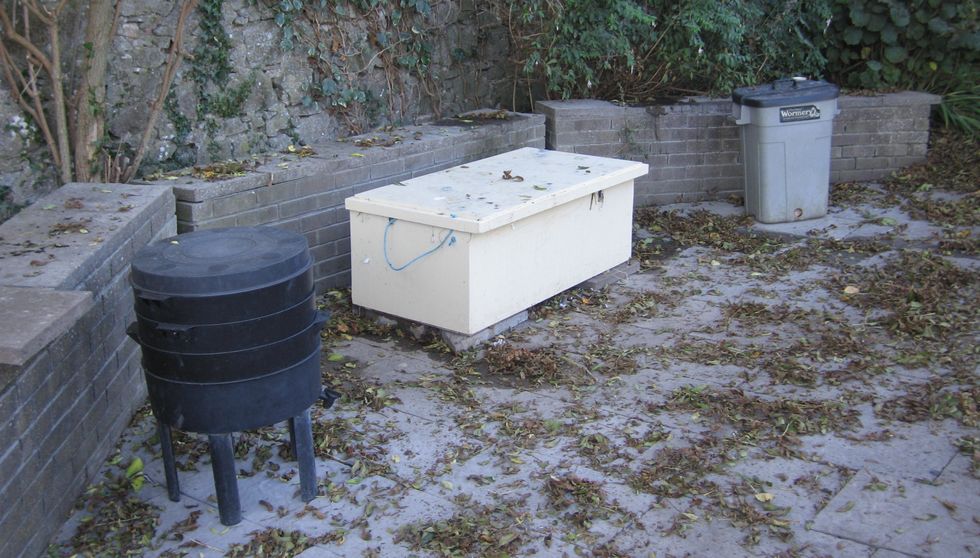
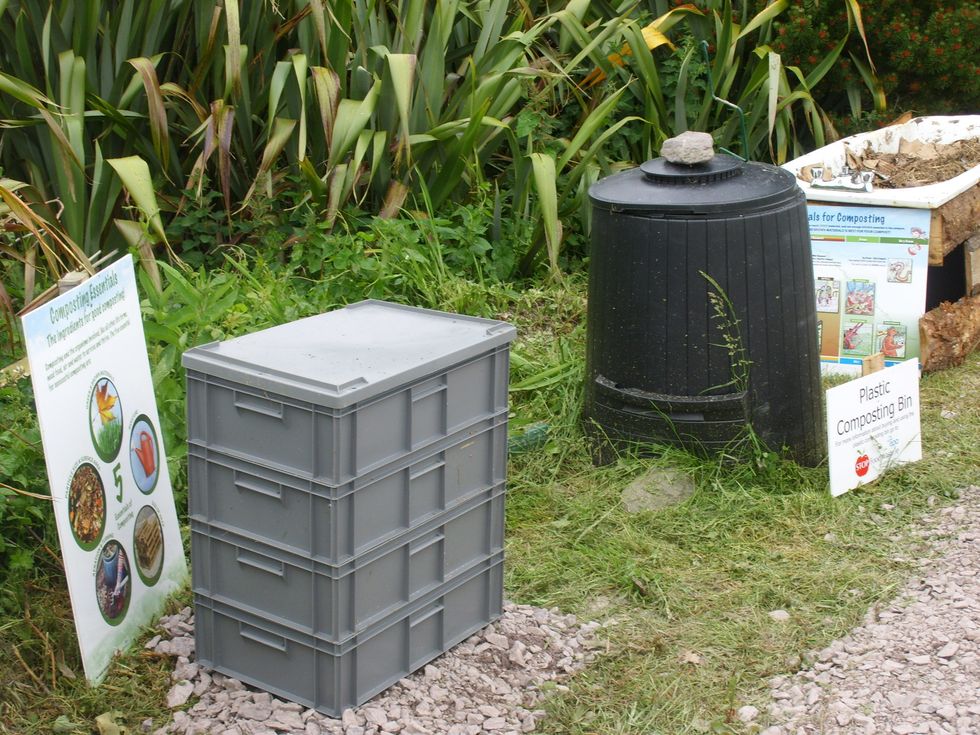
Here are three different types of wormeries that are in use in Sonairte Master Composter demo site in Co. Meath.
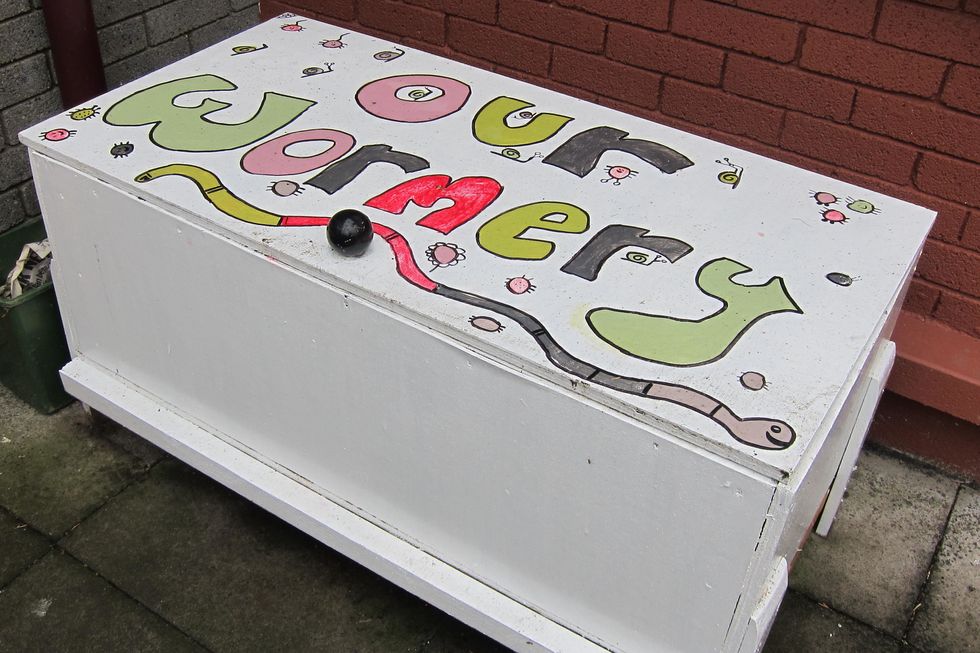
This wooden wormery is used by Ballygarret National School and the plans for this type of bin are available at: http://www.stopfoodwaste.ie/home-composting/building-my-own/
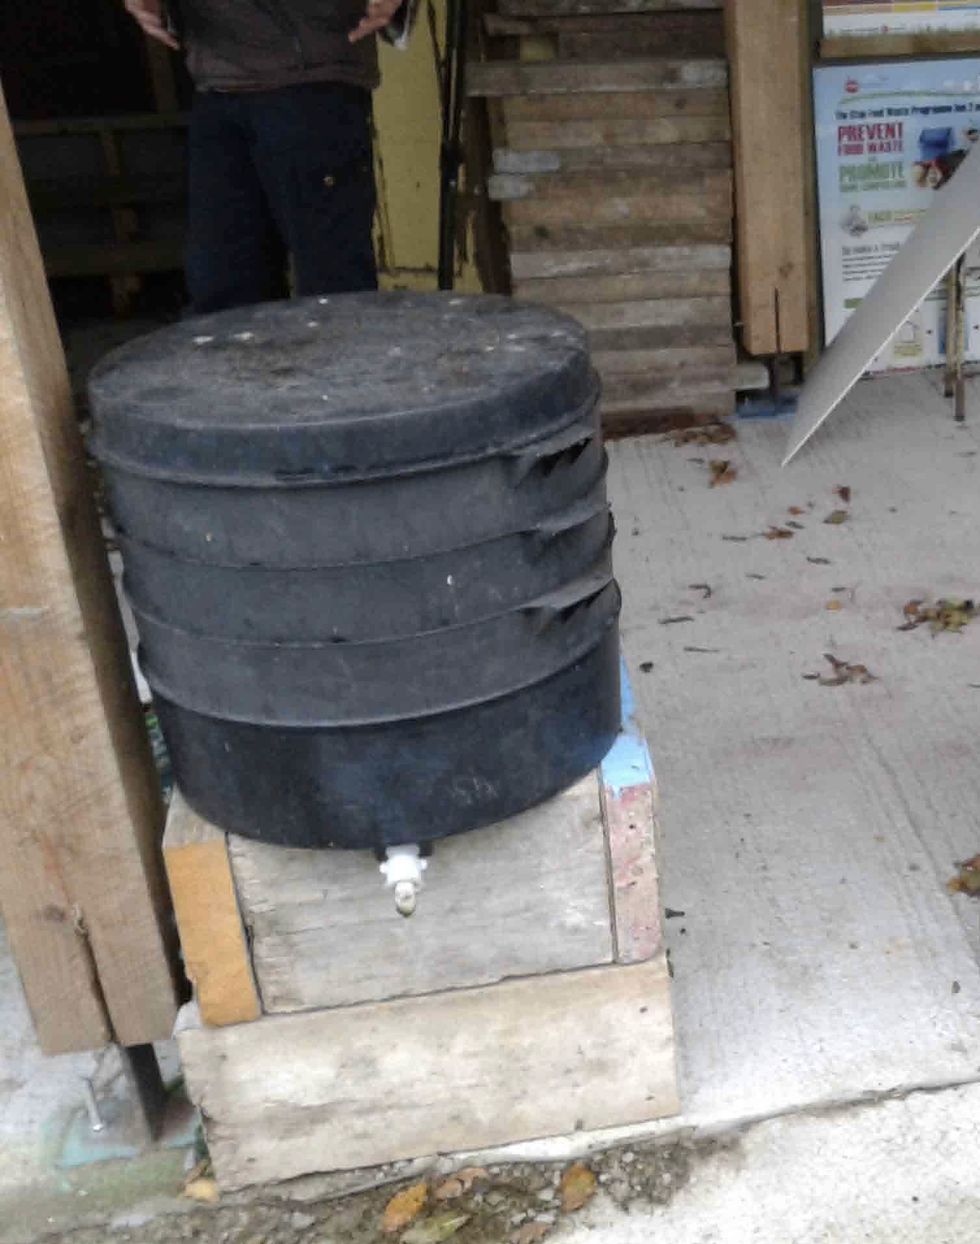
This shop-bought, plastic, stackable tray wormery has a drainage tap on the bottom. This allows the valuable worm tea to be drained off and used as a fertiliser.
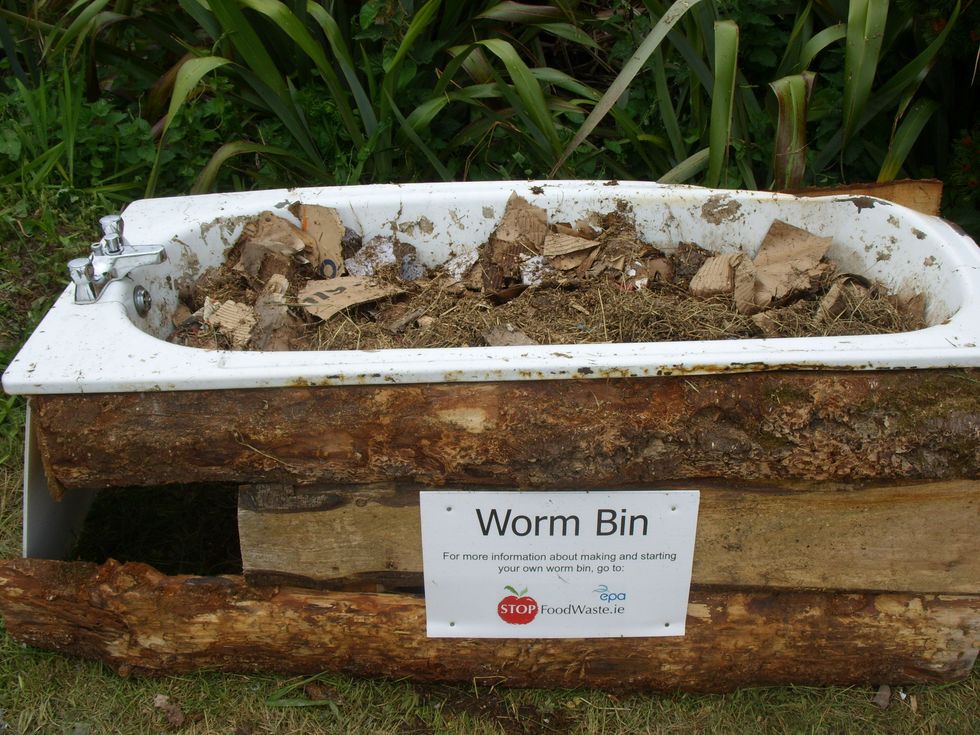
Here we used an old cast iron bath, filled with bedding and worms. The plughole provides a ready-made drainage for the worm tea. Be sure to make a tight-fitting lid or rodents may be a problem!
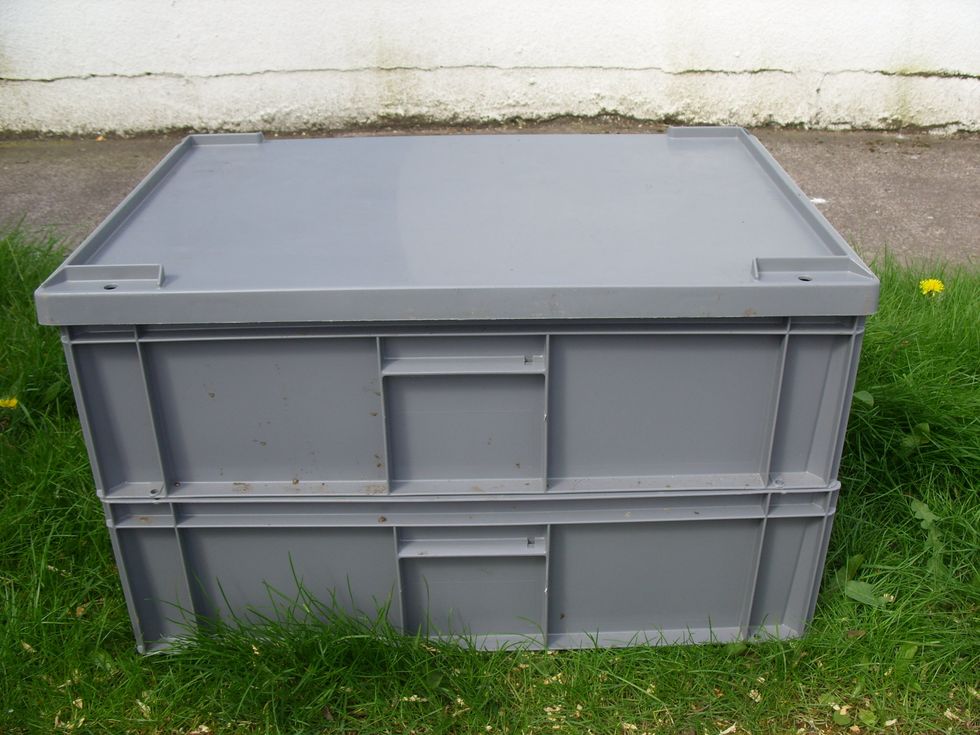
Using stackable plastic boxes is a great way to make your own easy to use, modular wormery. This type of wormery can be moved around which is a great benefit in winter as worms don't like the cold.

Ok, start with a number of stackable boxes. We bought 4 of these ones from a local supplier. They fit nicely together and also came with a a tight fitting lid. Next, you'll need to drill some holes!
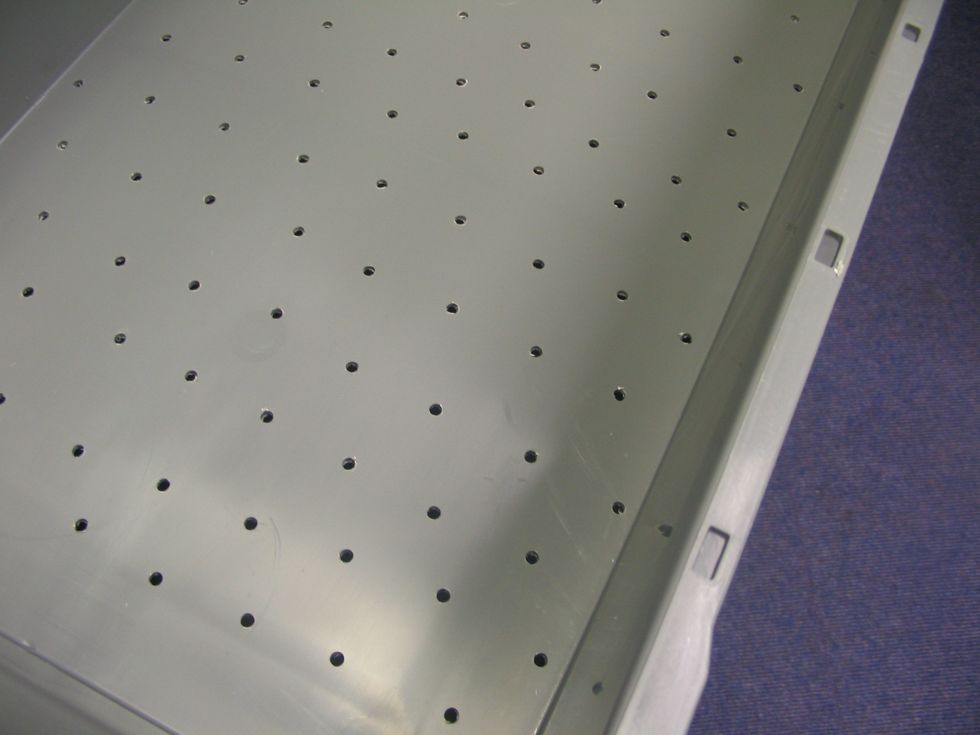
Using a drill with an 8mm bit, drill a series of holes in the base of three of the trays. By marking out lines with a marker first it is easy to make sure that you drill the holes symmetrically.
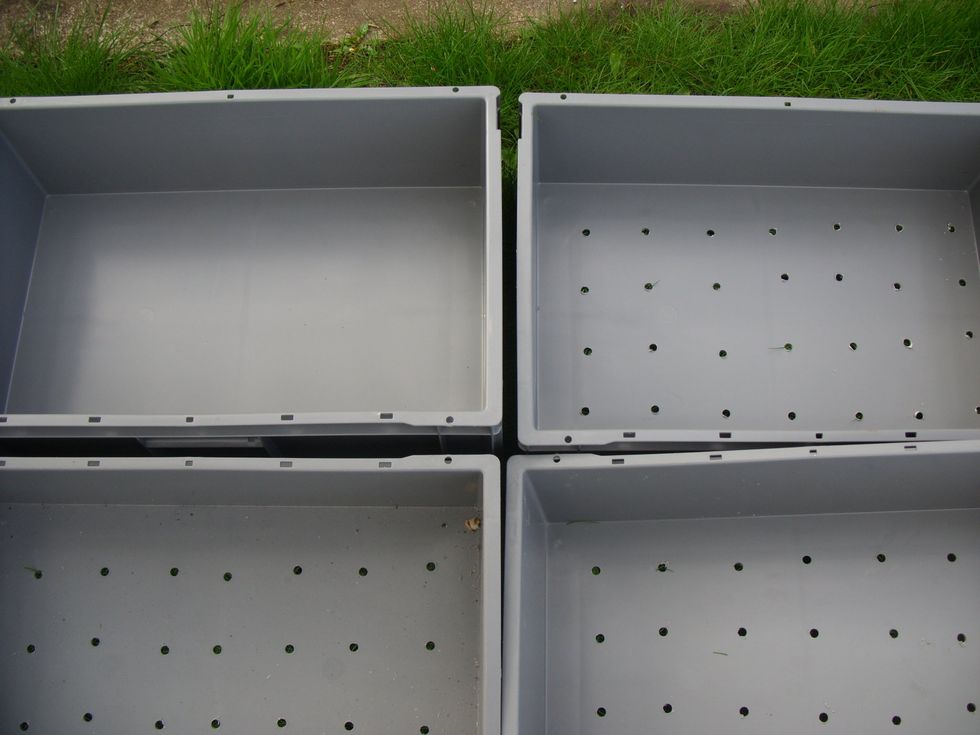
One of the trays is left intact to collect worm tea at the bottom and the others are for the worms. The holes allow worm tea drain as well as for the worms to migrate upwards as the lower trays fill.
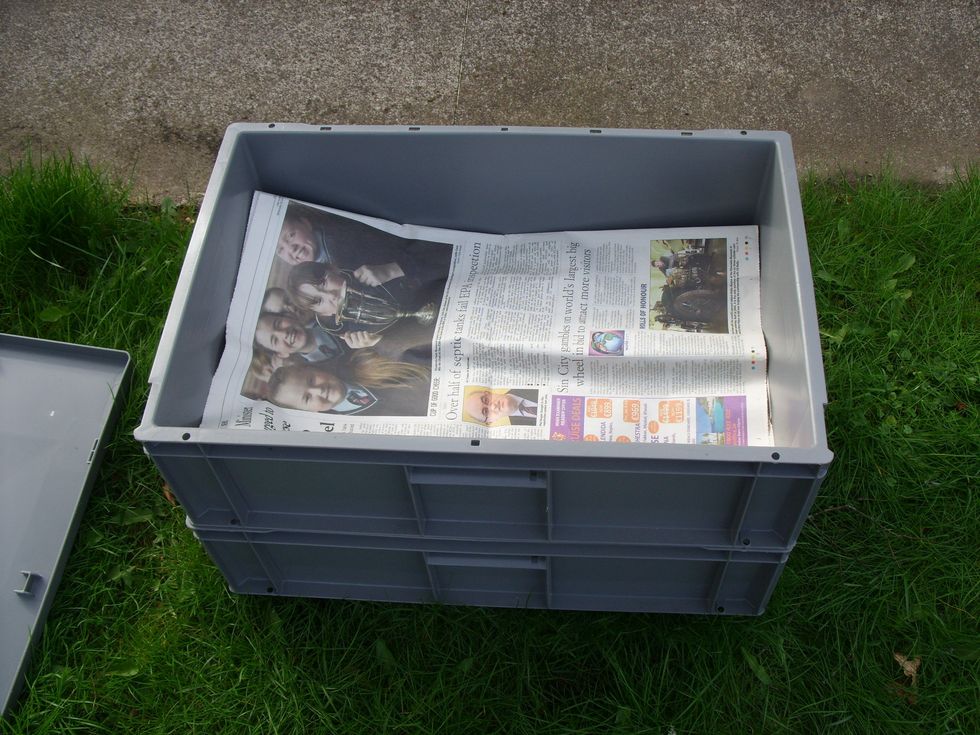
To start put one of the pre-drilled trays on top of the intact drainage tray. Line the base of the upper tray with newspaper so that the worms don't fall down before they get used to their new home!
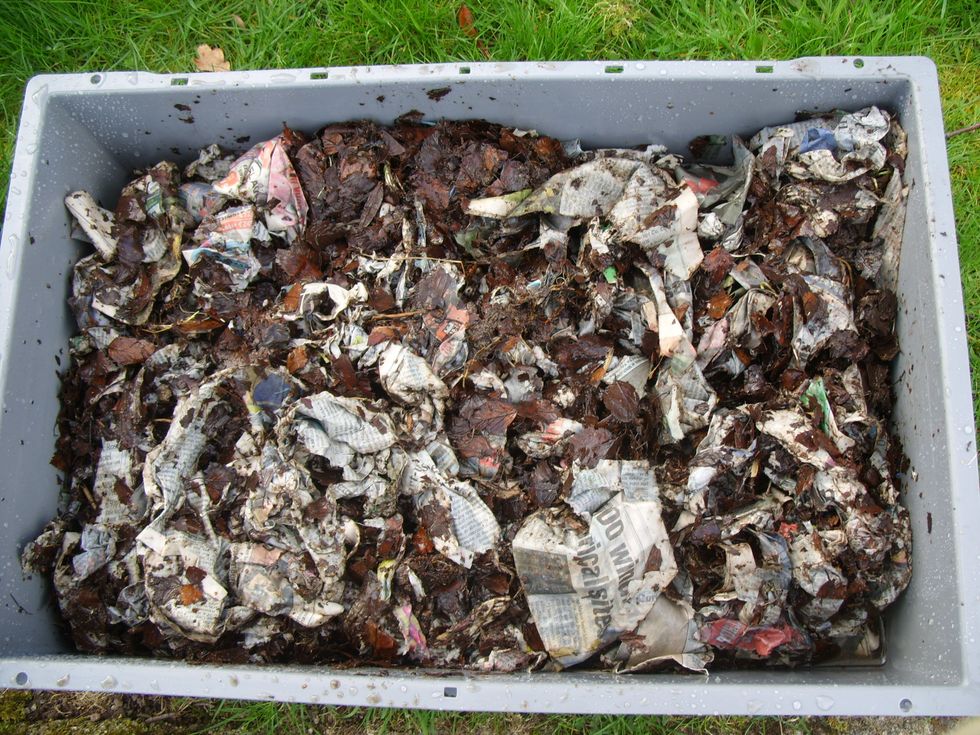
Soak a mixture of shredded newspaper/cardboard/leaves/straw/sawdust/compost in a bucket or wheelbarrow. Add it to the upper tray - the excess moisture will drain down into the moisture catching tray.

Next, add the worms - we used 1 kg for this wormery. You can buy composting worms, or collect your own from a compost pile or manure heap. The earthworms you find in soil do not work in wormeries.
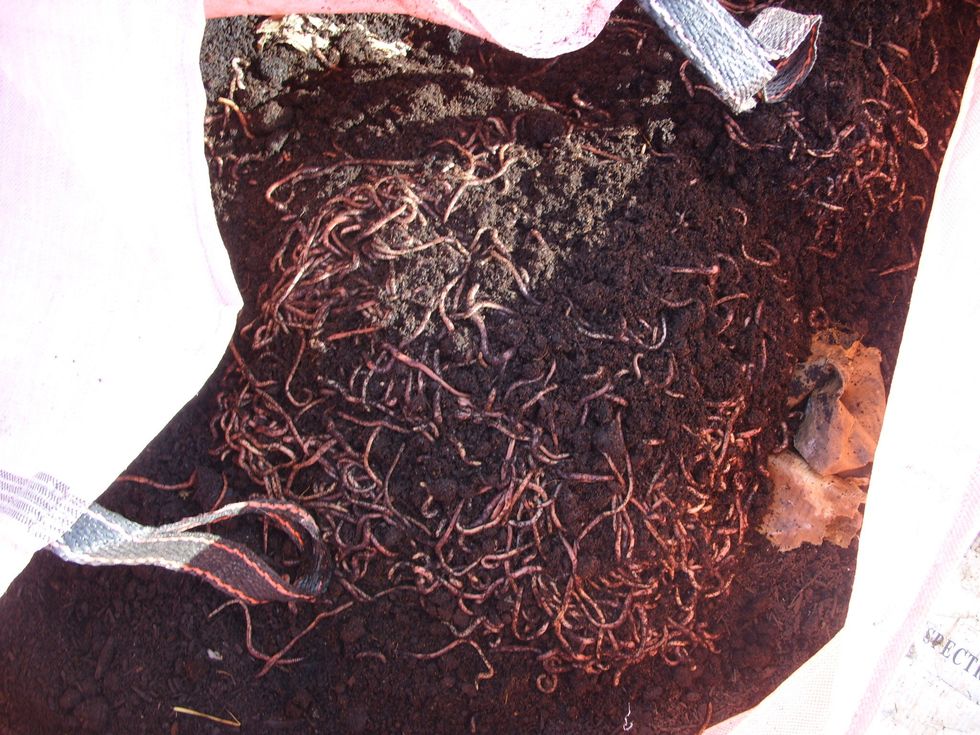
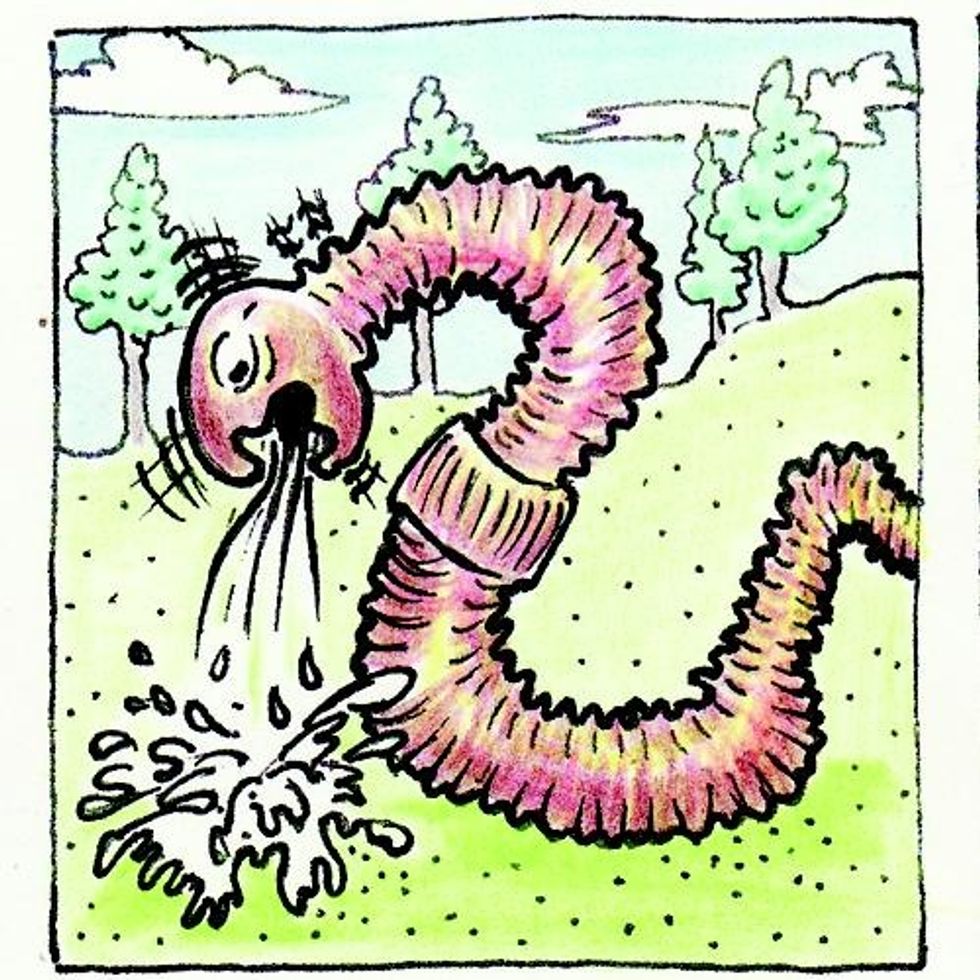
The worms you need are called tiger worms (due to their colours they are often called red wigglers!). They are surface dwellers ("epigeic") and unlike earthworms they do not need to live in soil.
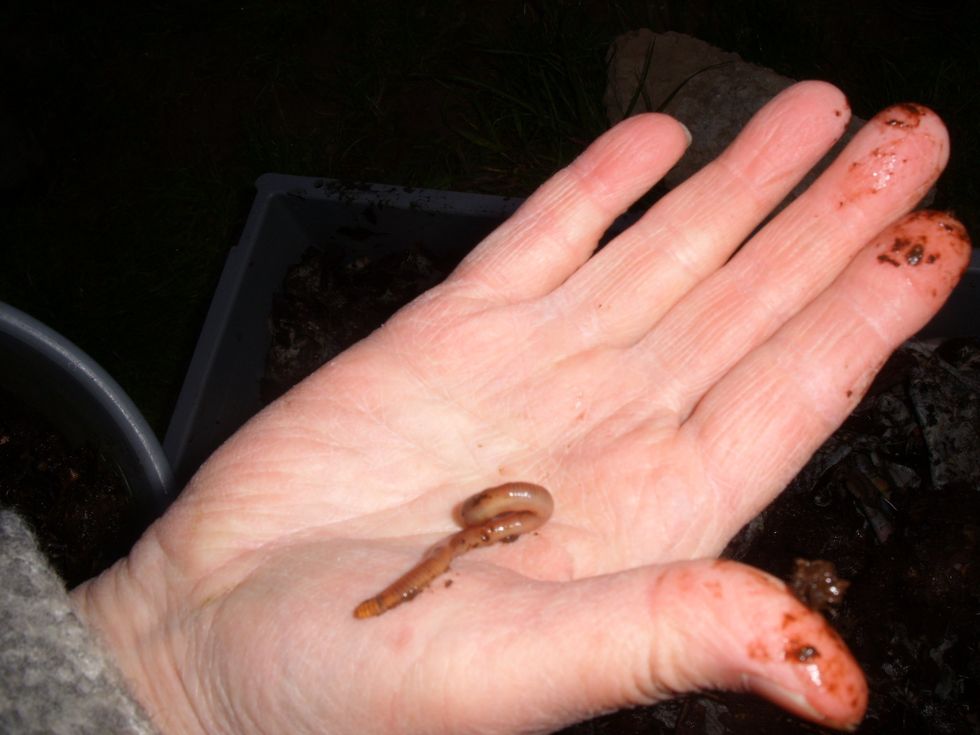
Tiger worms are surface feeders who eat 2-5 times their own weight in food each week. They are more active in warmer weather. The best place to find them is in piles of well rotted horse manure.
A day or two after adding the worms, you can start to bury vegetative food scraps into the bin. Use a small hand trowel or your hands to dig a shallow hole in the bedding and bury the food waste.
You can just place the food on the surface, but it's better to bury it in the bedding. This cuts down on the possibility of smells or flies, and the worms are most active a little beneath the surface.
At the start add food scraps to your wormery once a week. Start off with small amounts. After a few weeks you can gradually increase the quantity of food, as the worms have got used to their new home.
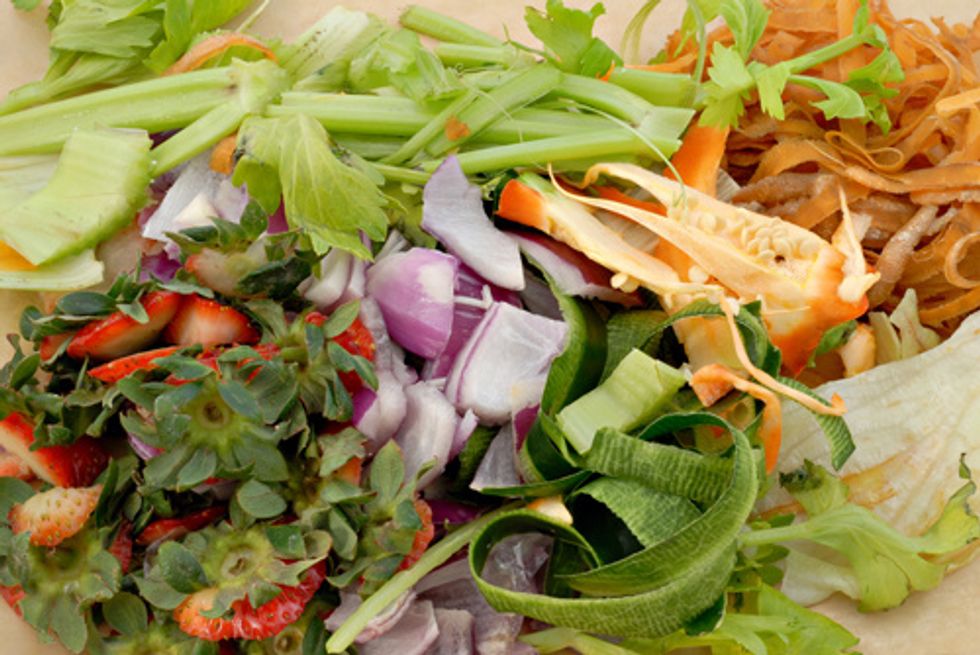
The best food for your worms is fruit and veg peelings and waste. They don't naturally eat meat, and really can't handle anything that contains much salt or curry, or food that is very acidic.
Worms like a moist environment so make sure to keep the lid on the top tray and out of direct sunlight. This will help keep it damp, protect it from rain as well as from animals trying to get in.

When your feeding tray is full to the brim, place another drilled tray on top (bedded with moist material as before) and start feeding into it. The worms will then start to migrate into this new tray.
When this tray is full, place the third drilled tray on top and repeat the bedding/feeding steps as before. Keep on feeding into this tray until it too is full.
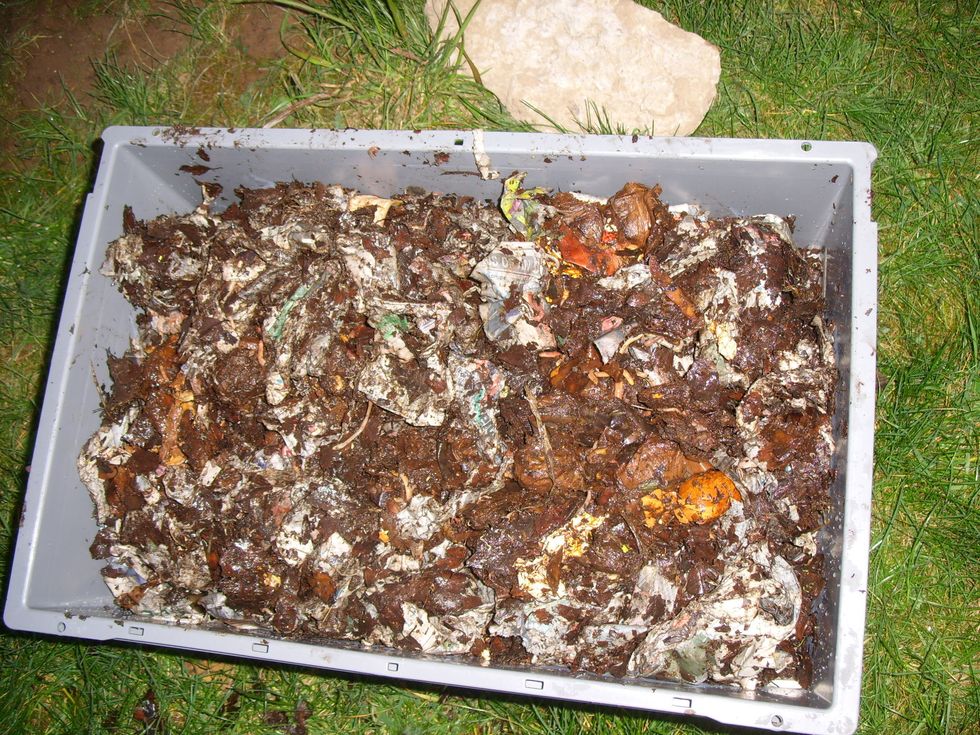
By the time this third tray is full, the contents of the first drilled tray should be completely eaten and turned into compost or "worm castings" and the worms will have moved to the other 2 trays.

You can now empty the bottom drilled tray and use the great compost your worms have made for your garden or potted plants. This empty tray can now be used on top as the next tray, and so on!

As soon as the worms start digesting food they will produce worm tea. This wonderful fertiliser can be used, diluted 1 part to 10 parts water, on your garden, potted plants and on your veggie patch.

You can download our users guide for this type of wormery in the Worm section at: http://www.stopfoodwaste.ie/home-composting/building-my-own/
For more information on all things worms go to: www.stopfoodwaste.ie/wp-content/uploads/2013/compost%20pdf/Detailed%20Version/Wormeries-2013.pdf