The Conversation (0)
Sign Up
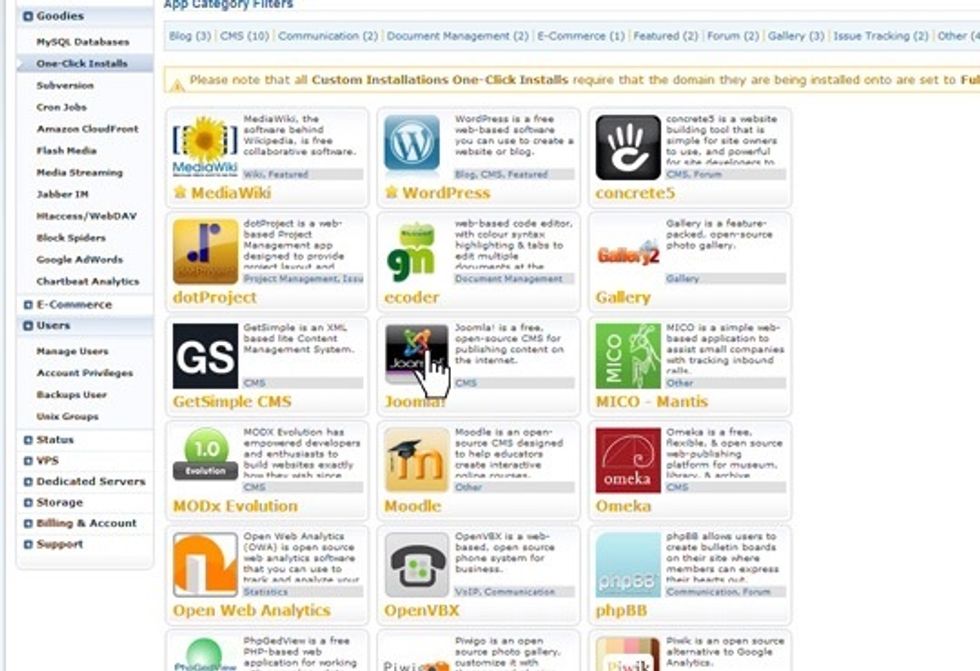
You need to have some sort of hosting sight set up. I prefer dreamhost.com. Inside, dreamhost allows for one-click downloads.
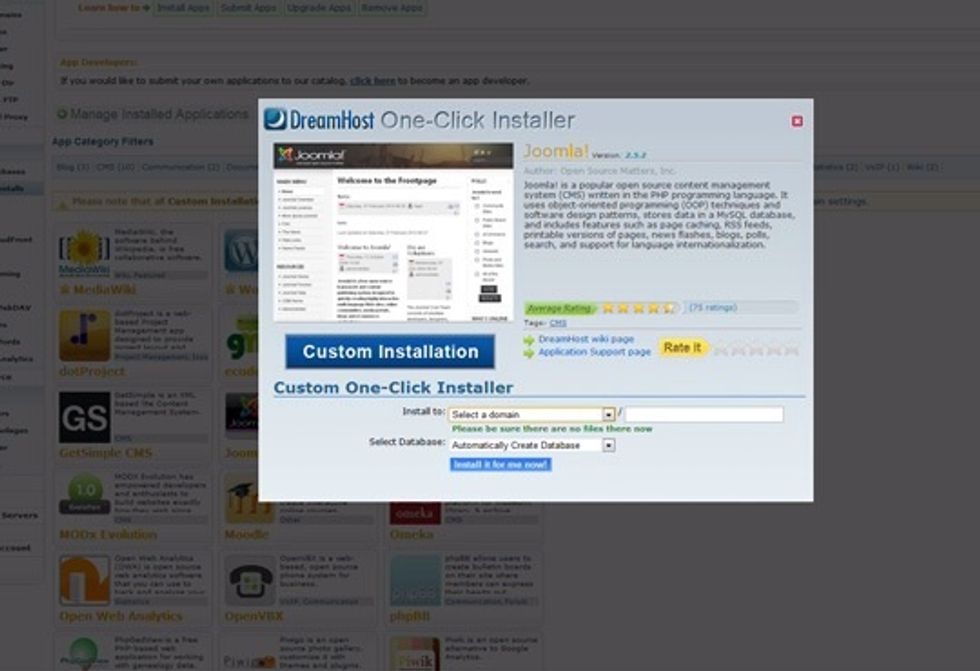
You must already have a URL that you've purchased as well. Again, I use dreamhost. Select the website you want to use for uour Joomla blog. You cannot have anything else installed on the site.
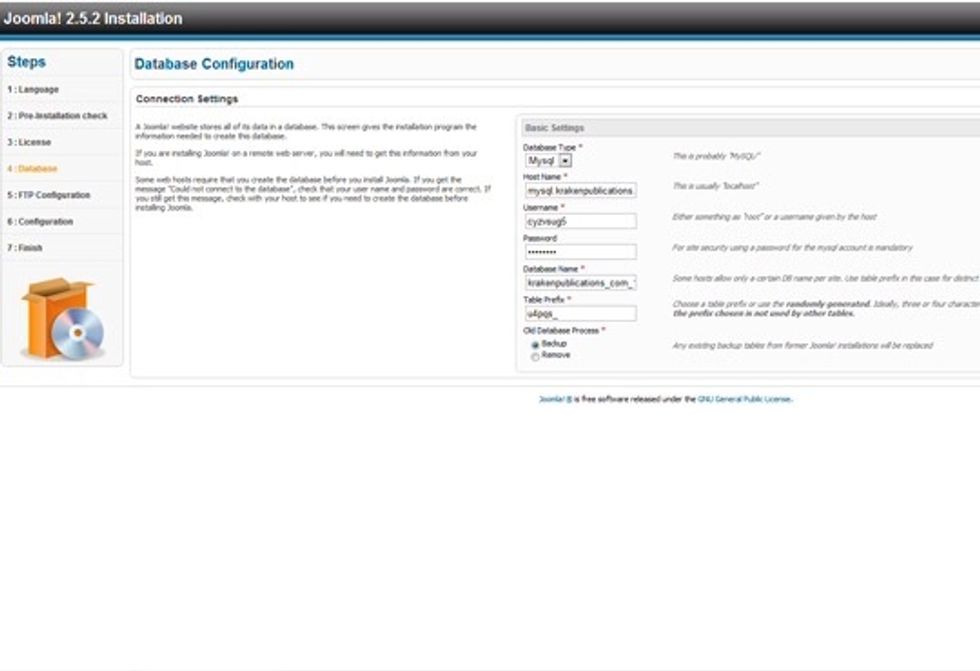
Once you have used the one-click install, you will receive an email with directions on how to set up your admin site. Follow the directions.
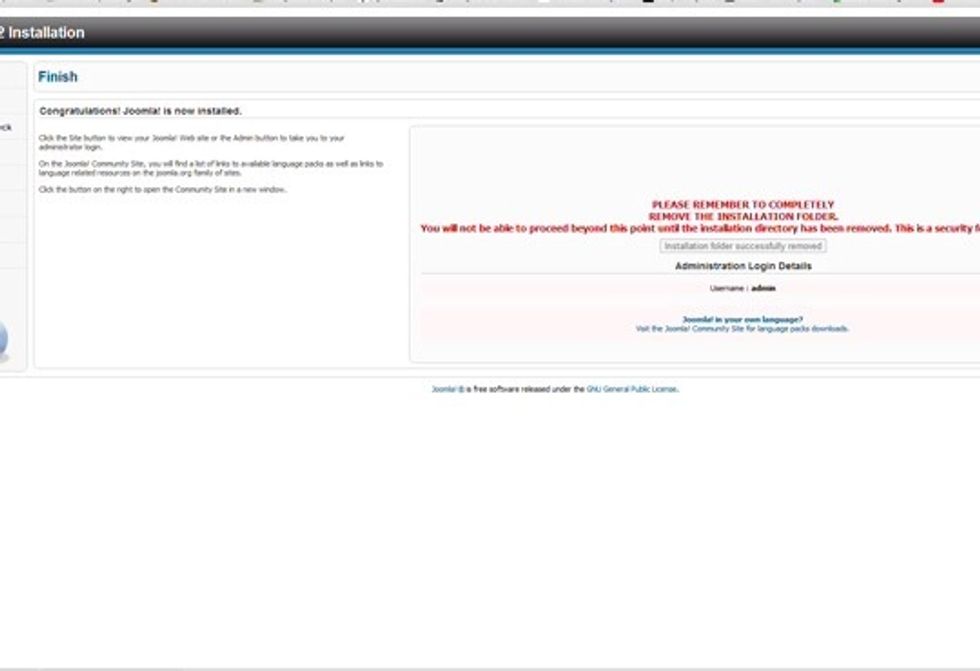
Once you have finished the admin set up, dreamhost requires you to remove the installation folder.
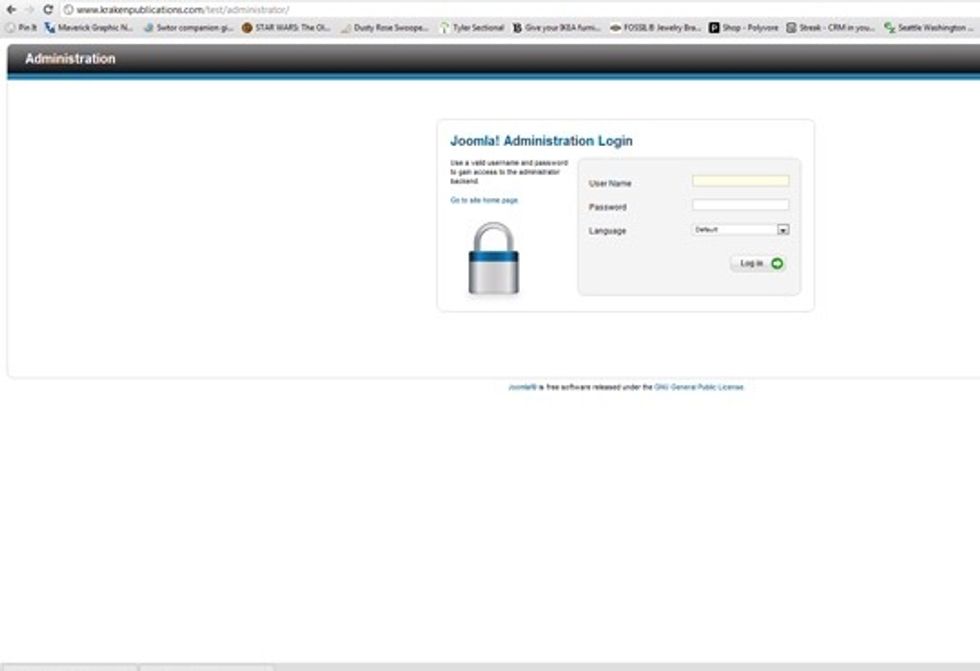
Go to your admin page. It should be whatever your URL is followed by /admin or /administrator. Use the log in name and password you just set up during the final installation to log in.
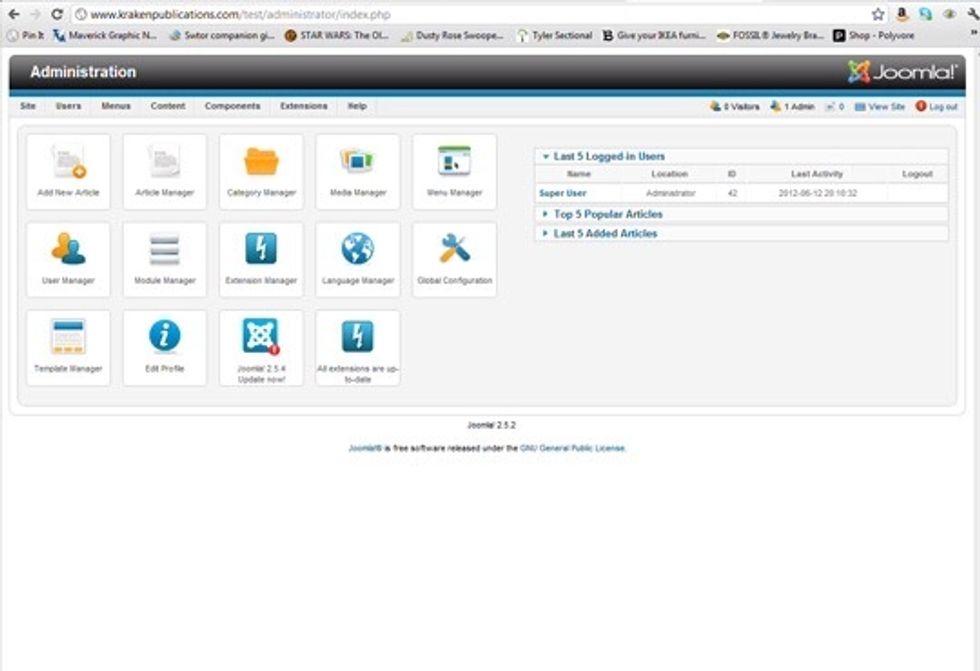
Now you need to set up the front end of your site, where readers will see your blog. We are going to use a template that I purchased from rocketrheme.com. Click on extension manager.
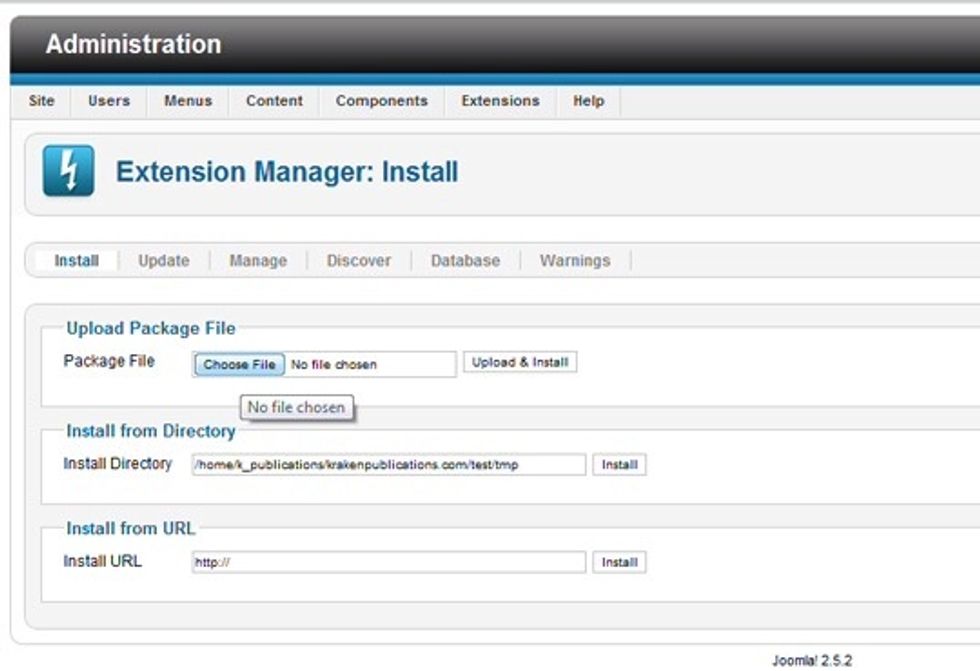
Uploaded the zipped theme file that you have chosen to use. Then return to the admin page and click navigate to the template manager page.
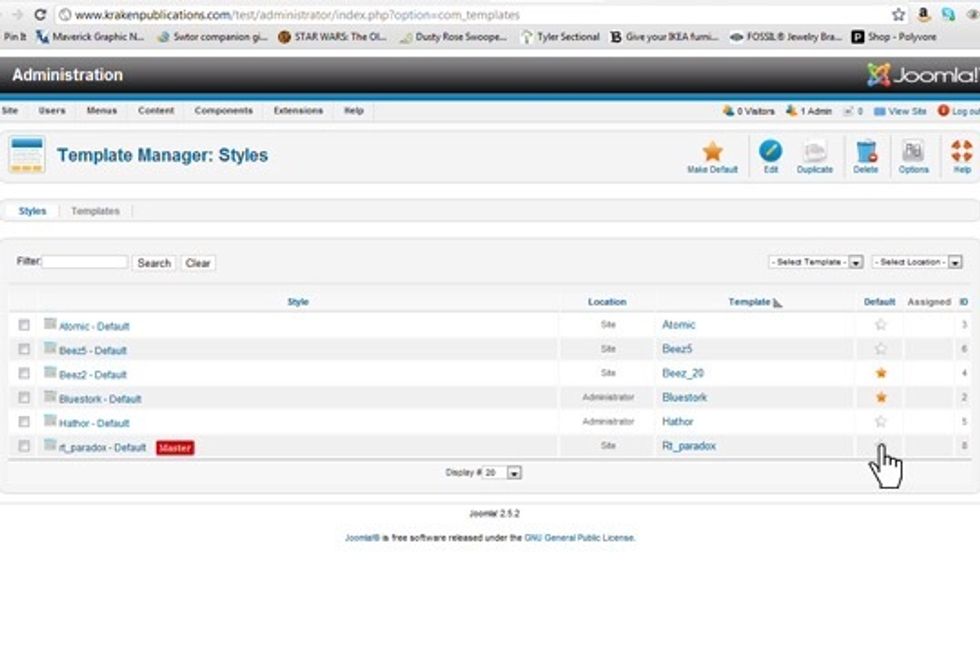
Make your template the default by clicking on the little gold star next to it. Do not unclick any other templates. There should be two: one for the site, and one for the administrator.

Now, when you go to your site, it will have a template applied with no content. Keep the tab for your site open so that you can see the changes as you make them moving forward.
On your admin site, navigate to the article manager. Because of how Joomla is set up, we have to write the content for the "about" page, before we add it to the menu. Choose "new".
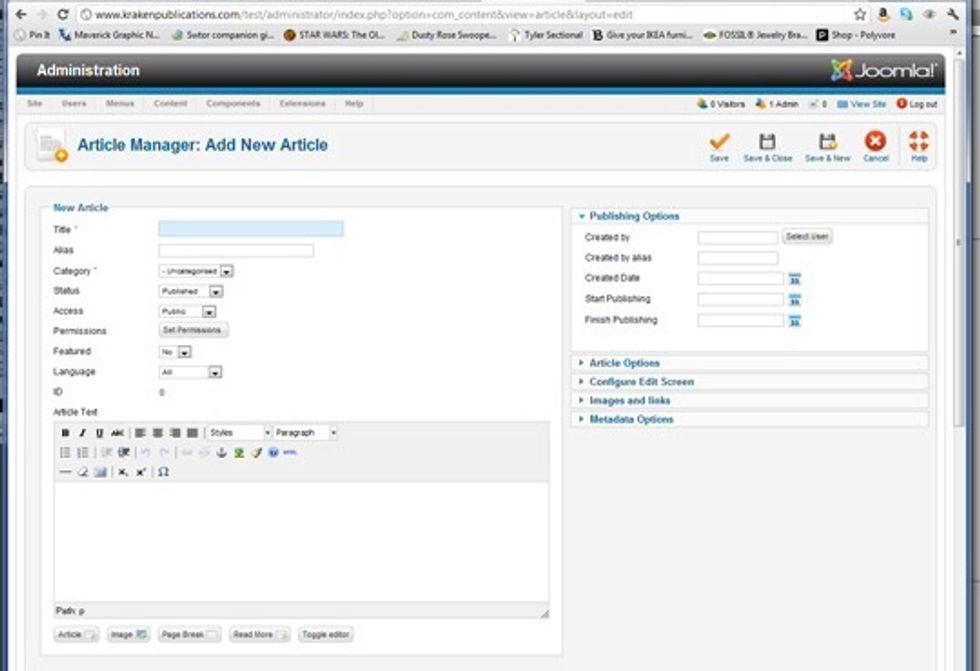
Fill out the title and article text with your "about" content. This page can be "uncategorized".

To add an image, click image and then upload your chosen image to the media manager. You must have your image sized appropriately before you upload it. Then choose your image and alignment. Insert it.
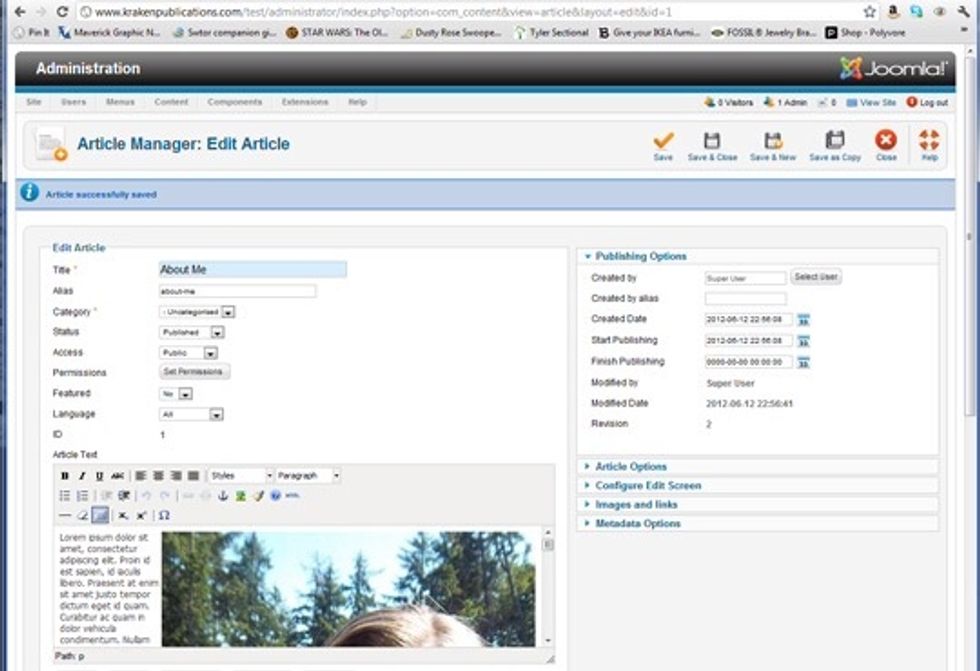
Once everything is filled out you will save and close the article. You can always come back and edit it later.

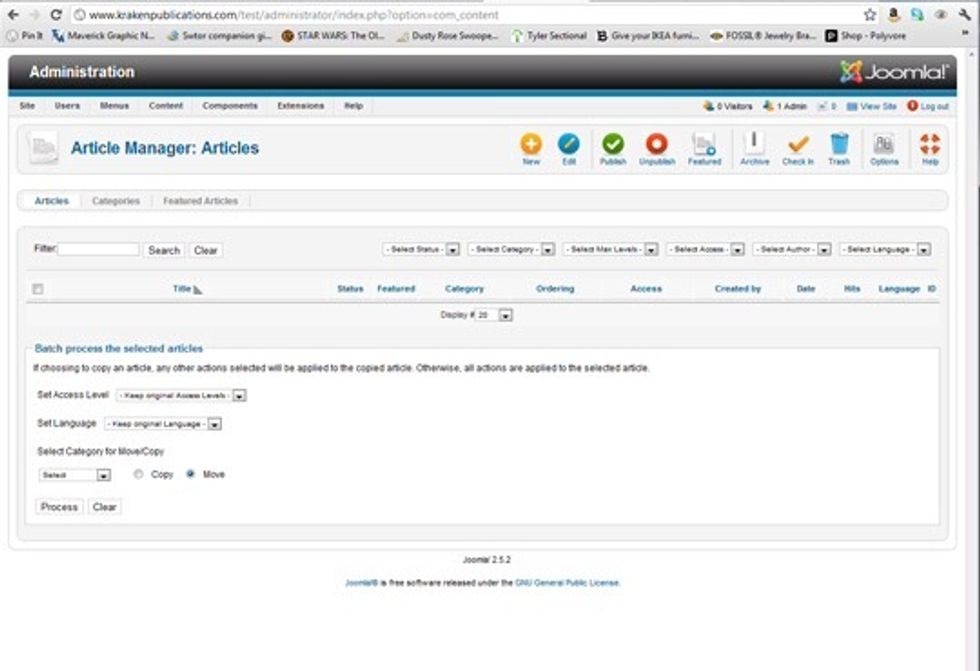
Navigate to the menu manager and then click in main menu. It will show you all of the pages set up. Click new, so we can create your "about" page.
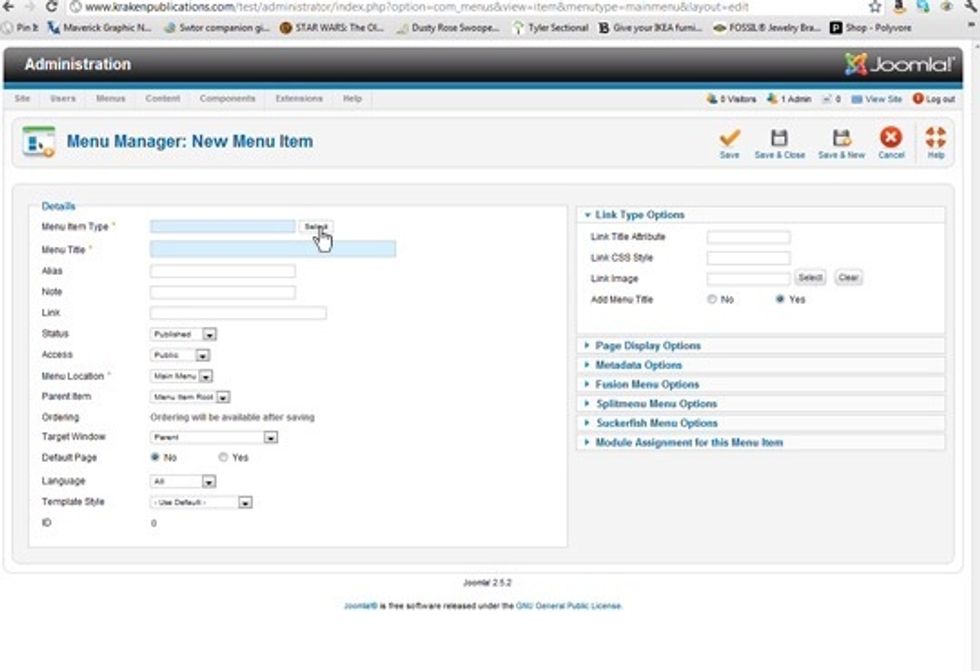
Once inside the menu creator, you must select a menu item type.
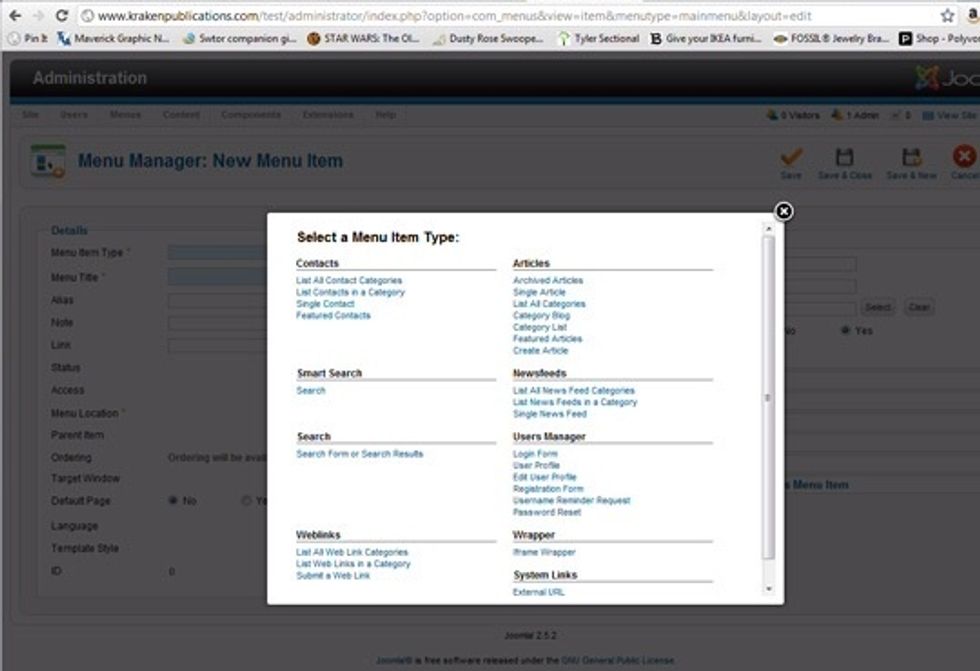
For an about page, choose "single article" on the right hand side. The about page will be a single, mostly static page.
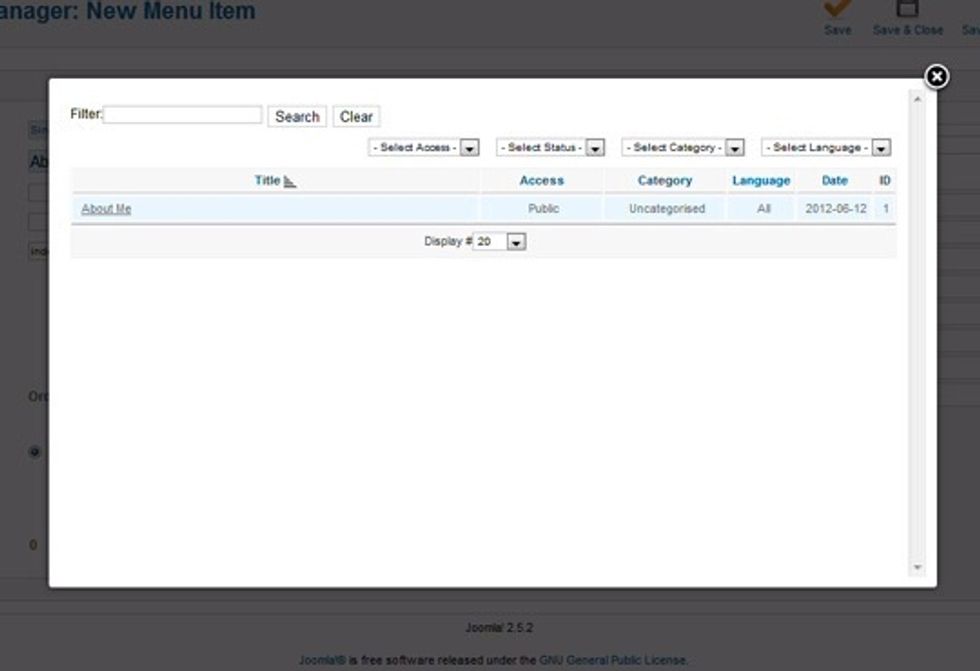
You must choose an article to populate the page. This is because it is a single article page. Choose the "about" article you already created, then save & close.
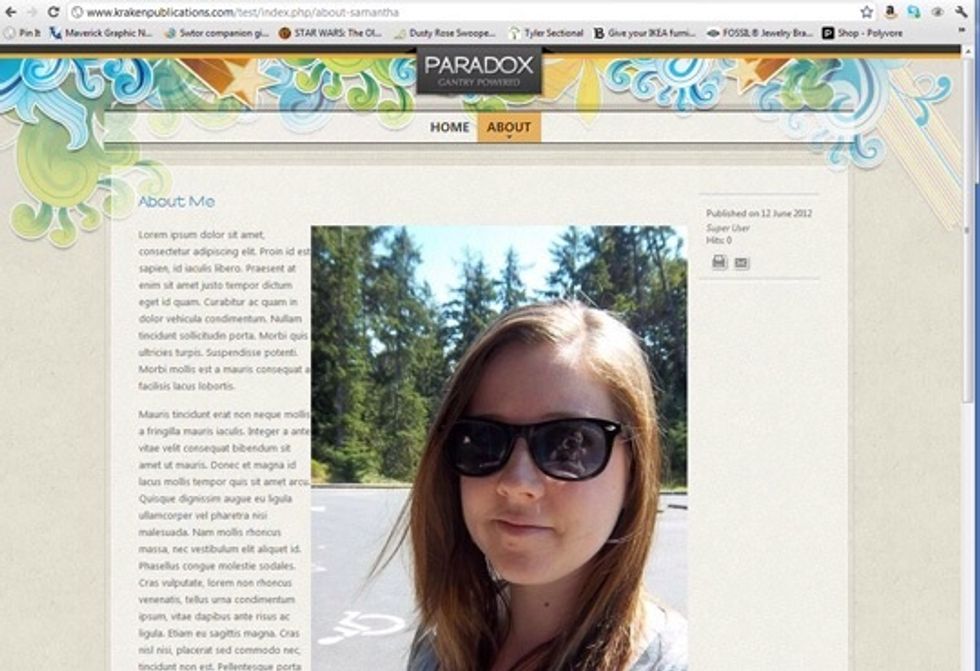
If you refresh your site, you will see there are two pages now, and the about page includes whatever information and images you added. Obviously, I need to resize my image.
Now, we are going to create a category. Categories tell your menu pages what articles belong to them. It also tells plug-ins where to get their content from. We are just focusing blog posts.

To add a new category, go to the content drop down bar, category manager, add new category.
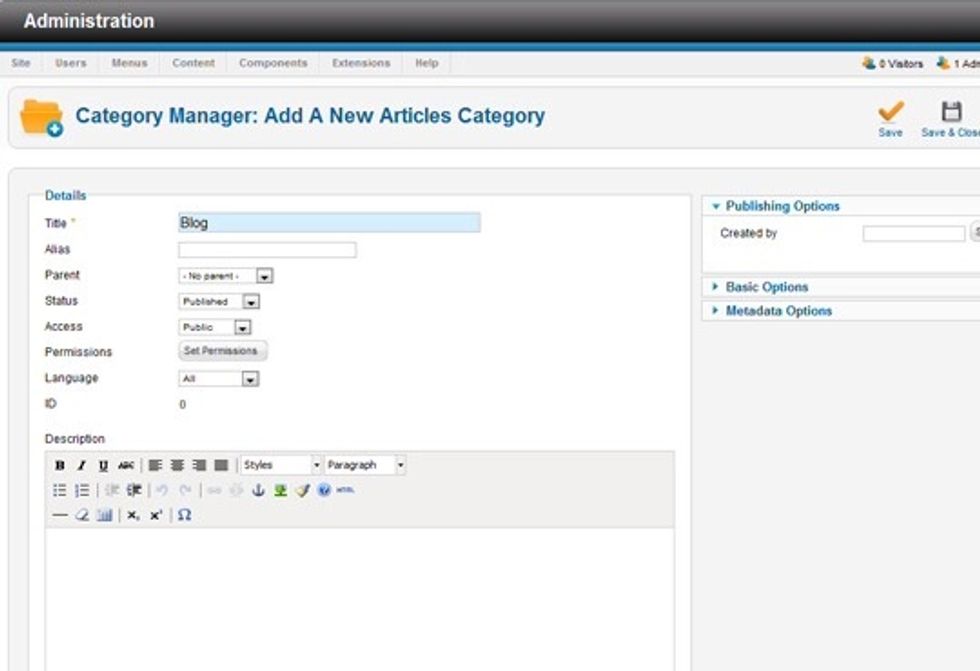
Adding a category looks like adding a new article. All you do is name your category, then save & close.
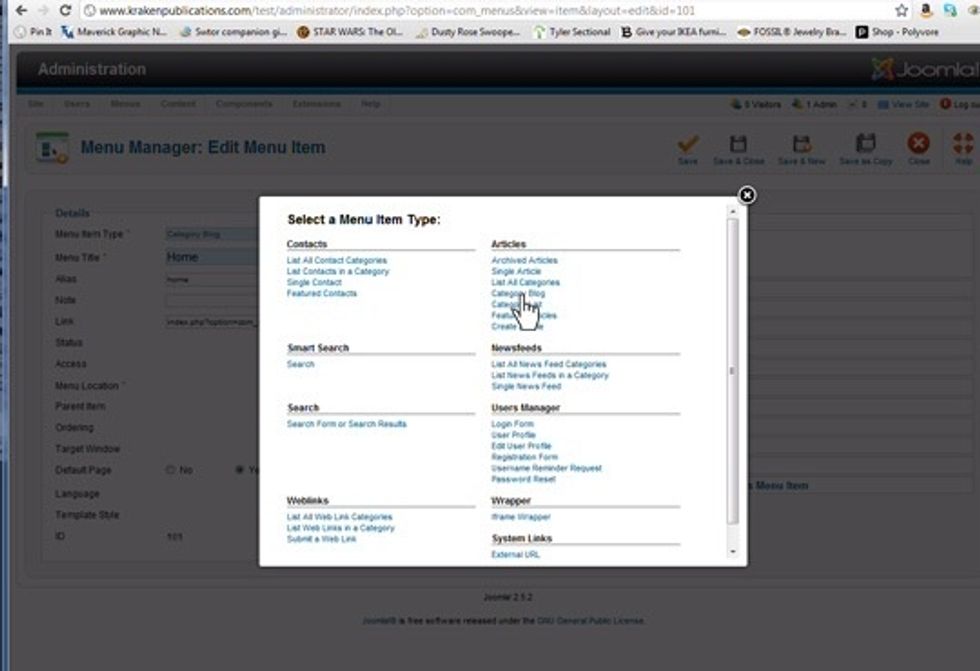
Navigate back to the menu manager where we added the "about" page to our site. Click on the home page to edit it and then select a "menu item type." Choose "category blog"

On the right hand side of the screen, choose the category that you created for your home/blog page. Save & close.
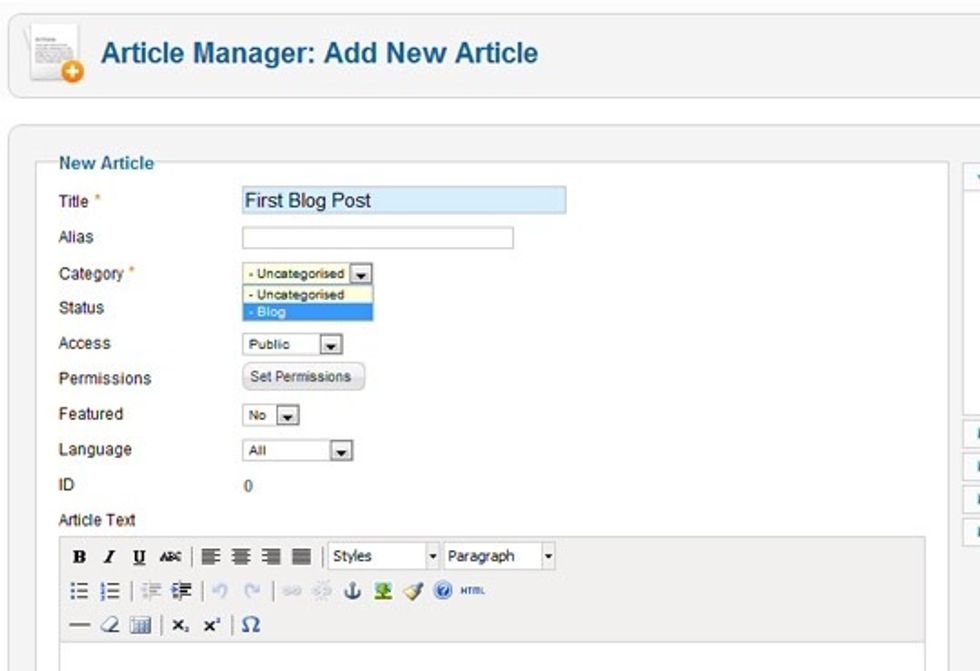
Navigate back to the article manager. Now you can update your blog! Fill out the article and make sure to choose your "blog" category that you created for the home page. When done, save & close.
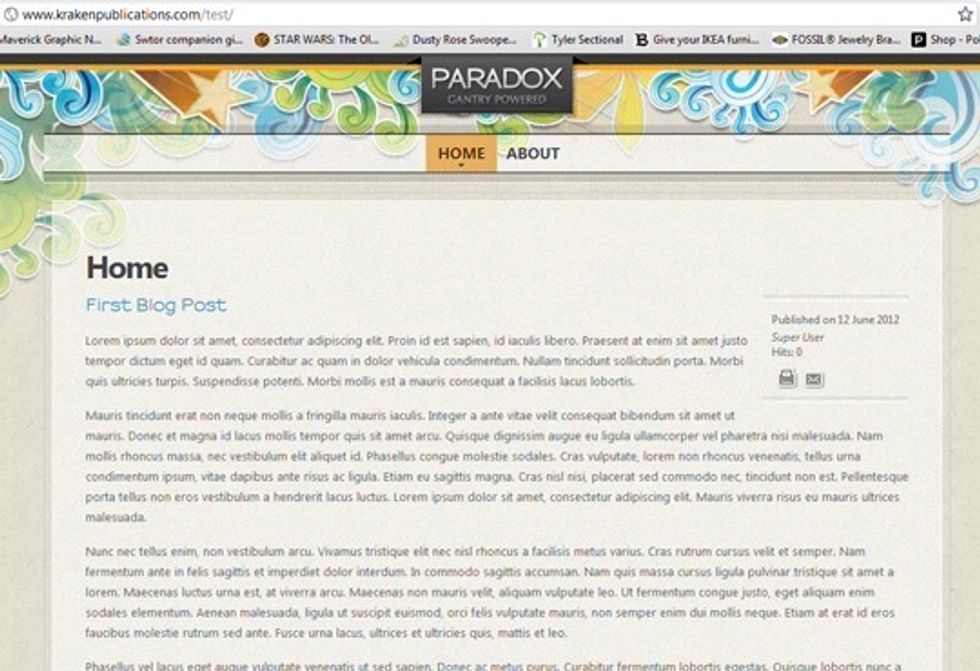
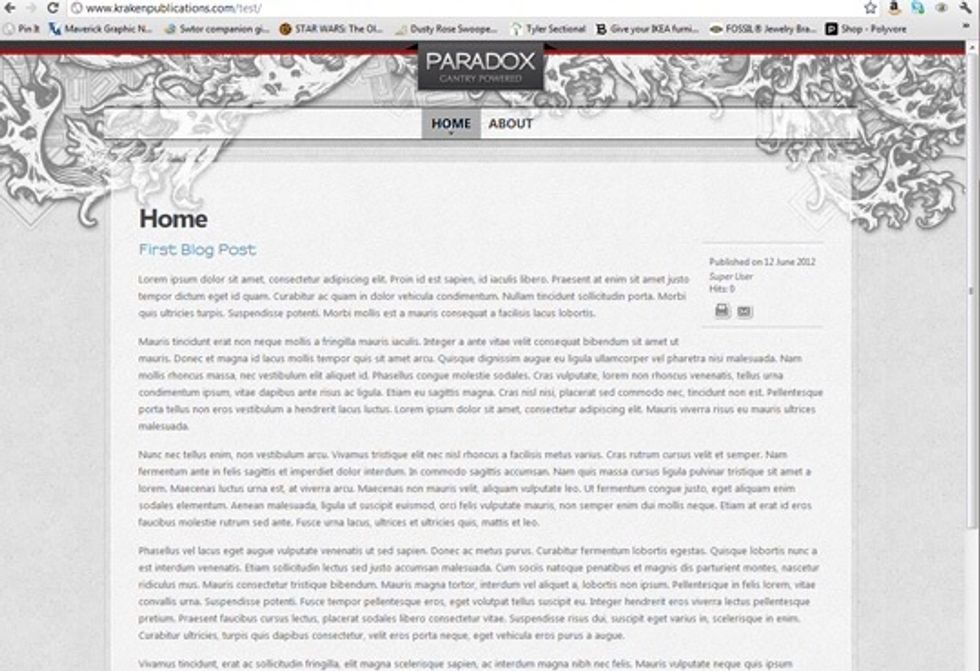
Refresh your blog page to see your new post updated.
These are the very basic concepts for creating pages, articles and categories in Joomla. You can also add plug-ins. For plug-ins, use the module manager. Available locations will depend on your theme.

If your theme comes with different styles, you can change by navigating to the template manager and clicking on your template.
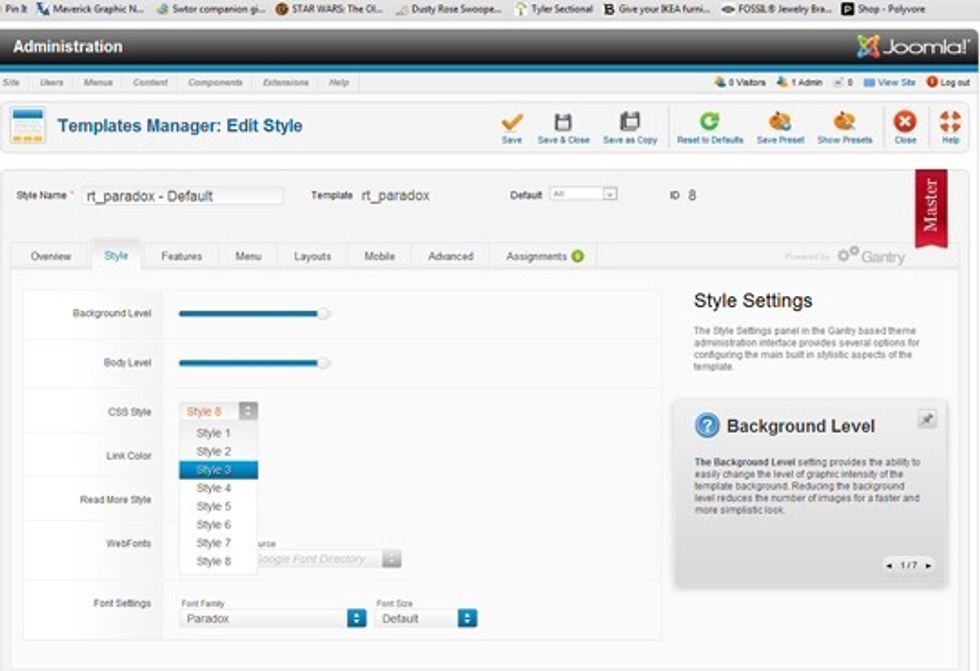
Then choose the style tab, and pick your CSS style in the drop down box. Save & close.
Refresh your site to see the new style.