The Conversation (0)
Sign Up

Hey there! If you're reading this it helps if you already know the basics of using Tikly. Check out my first guide for "Tikly Basics" (there's no quiz. I promise). Or dive right in. I'm cool with it.
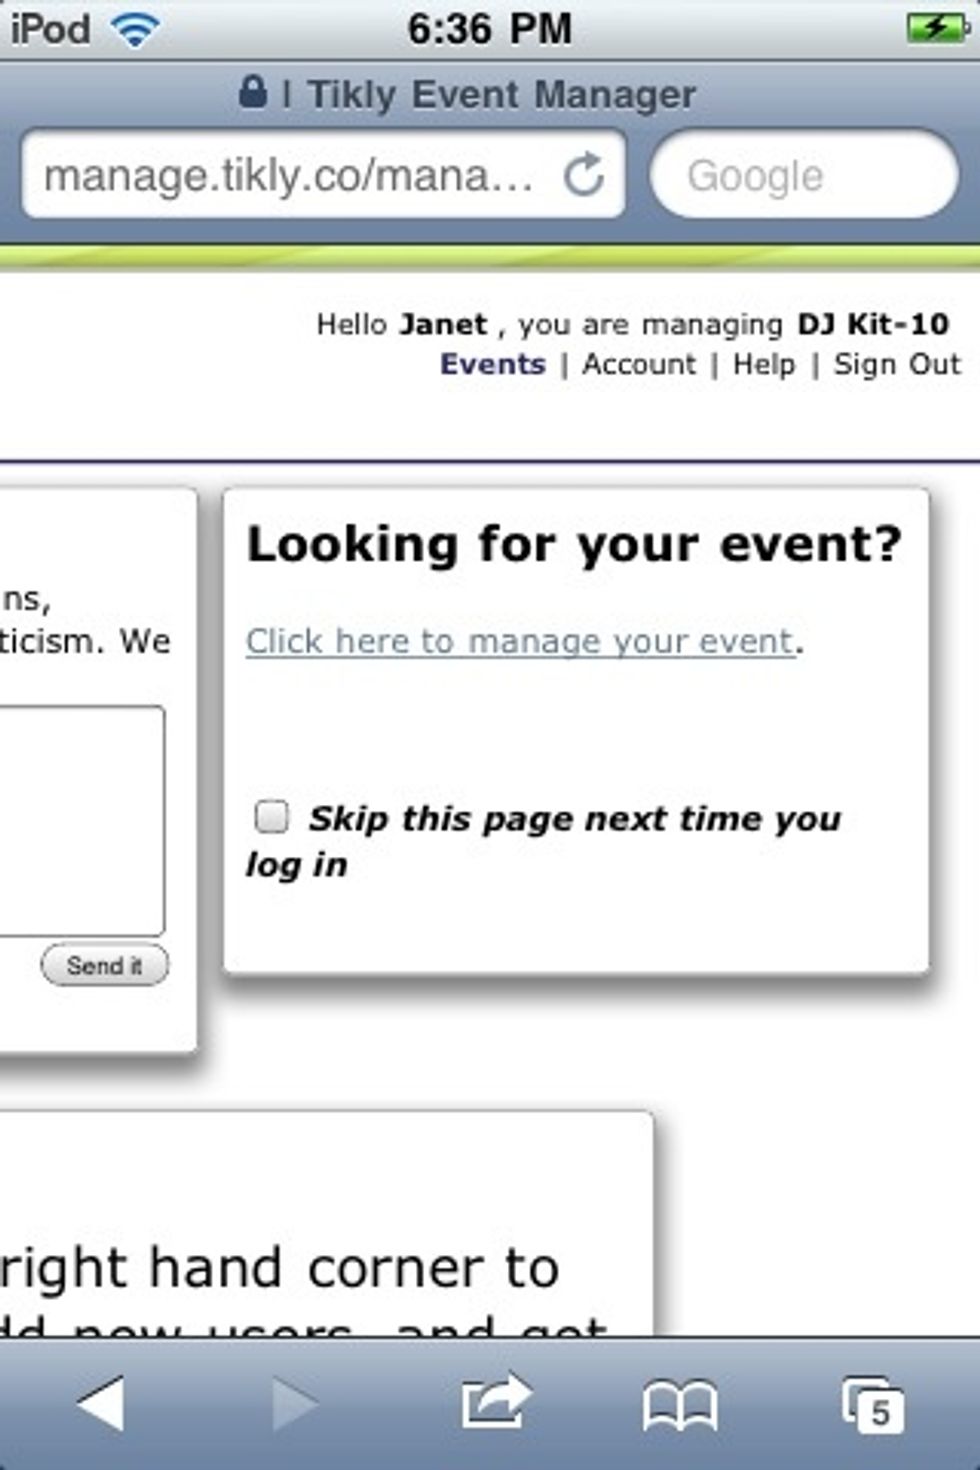
So! Head over to Tikly.co and log in. Once logged in, click "manage your event" (you can also check the box to skip this page in the future).
Now click on the event you'd like to edit, and we'll get going! Let's start with snazzing up your event page to make it awesome enough to host your tickets. Go to the "event info" tab.
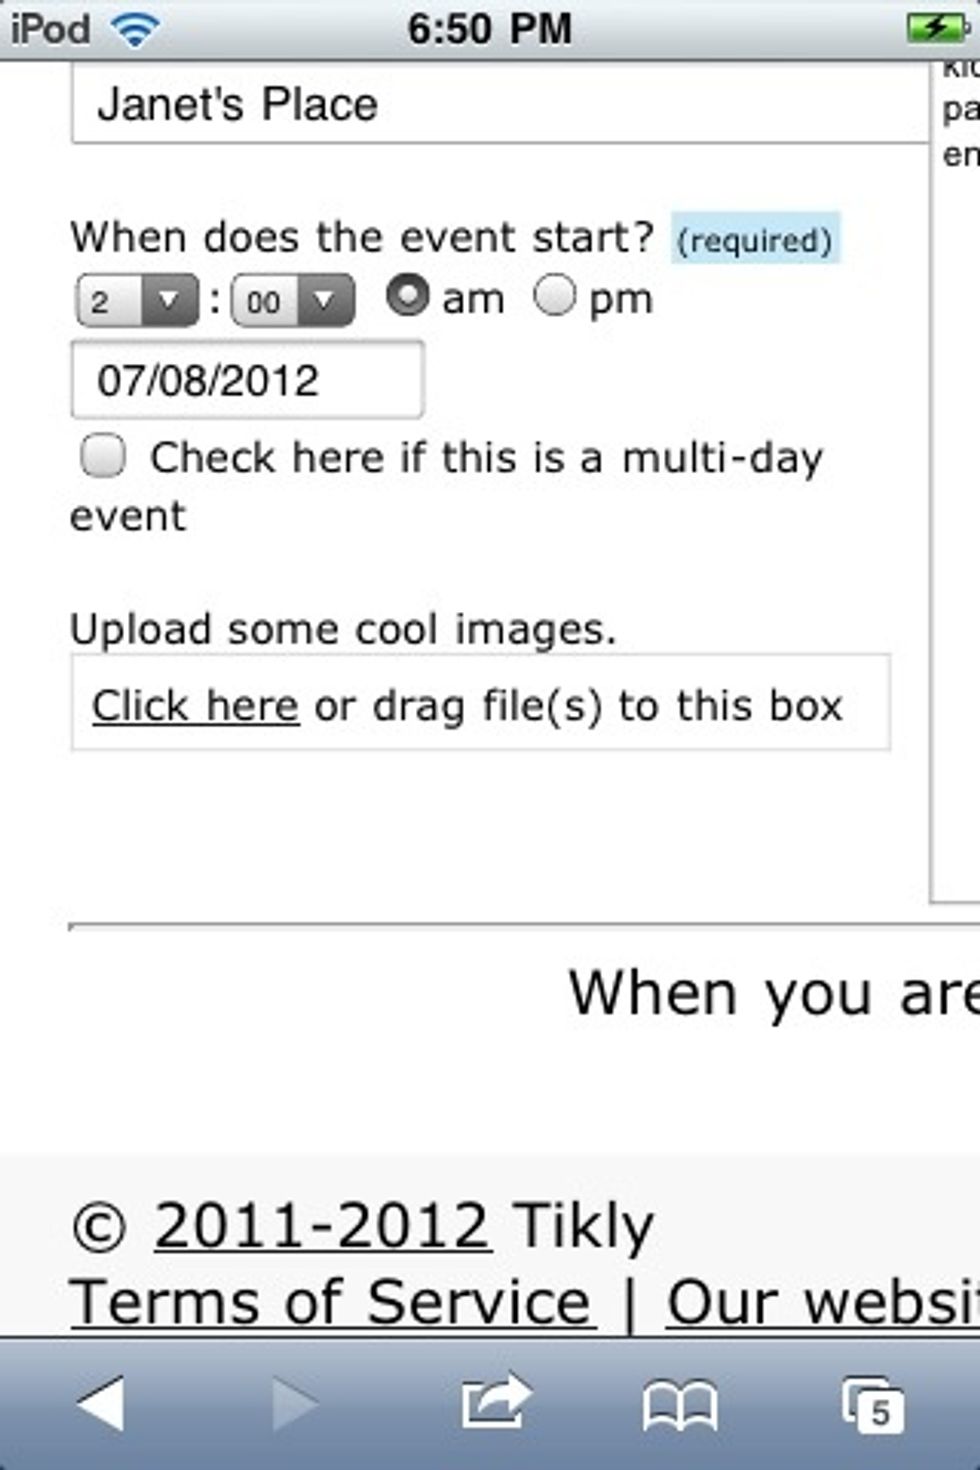
Now add some cool images to your event page-- you know you want to. You can choose a background image and one for the description.
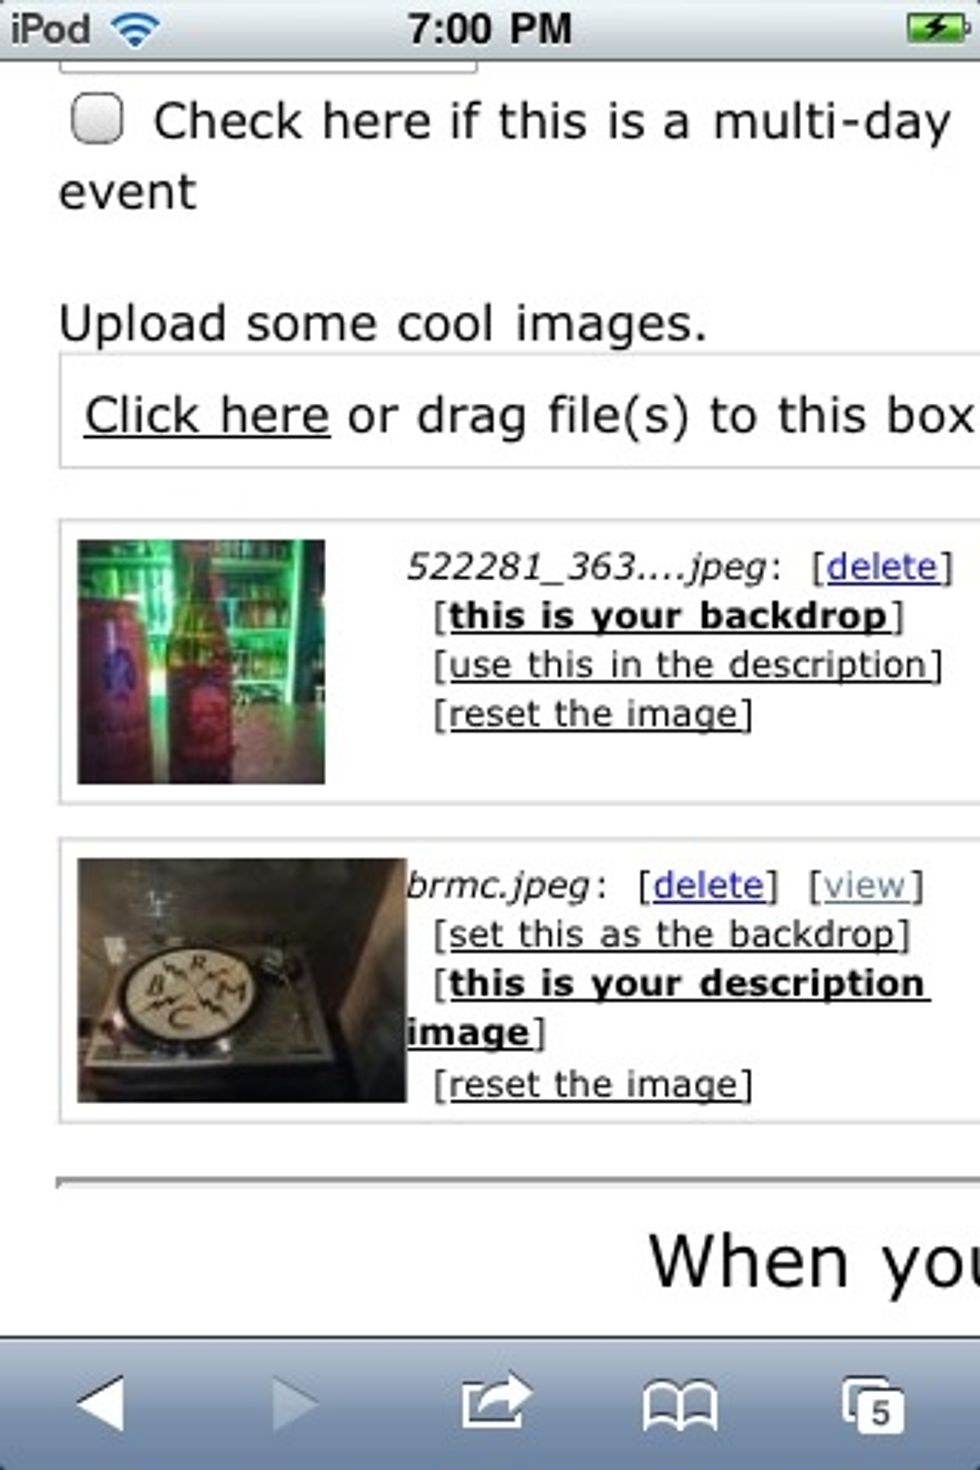
Once uploaded, your images will appear as thumbnails. The top image will be my background; the bottom one will be chilling in the event description. Nice!
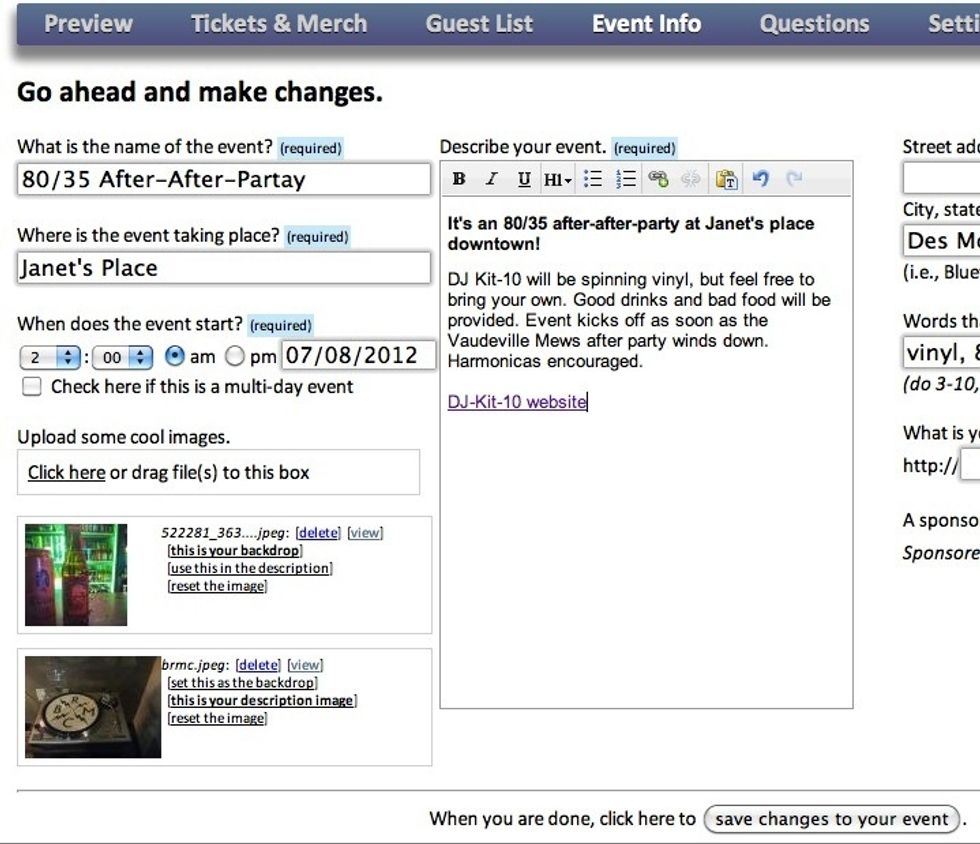
Oh hey! Feel free to edit the description while you're here. You can switch up your headings, add links, and tell fans when tickets will be on sale. Be sure to "save changes to your event" afterwards.
Pssst! To add a link, highlight the text you want to be linked ("DJ Kit-10's website"), click the icon with the little plus sign in the format menu, then paste your URL, and hit submit. Voila!
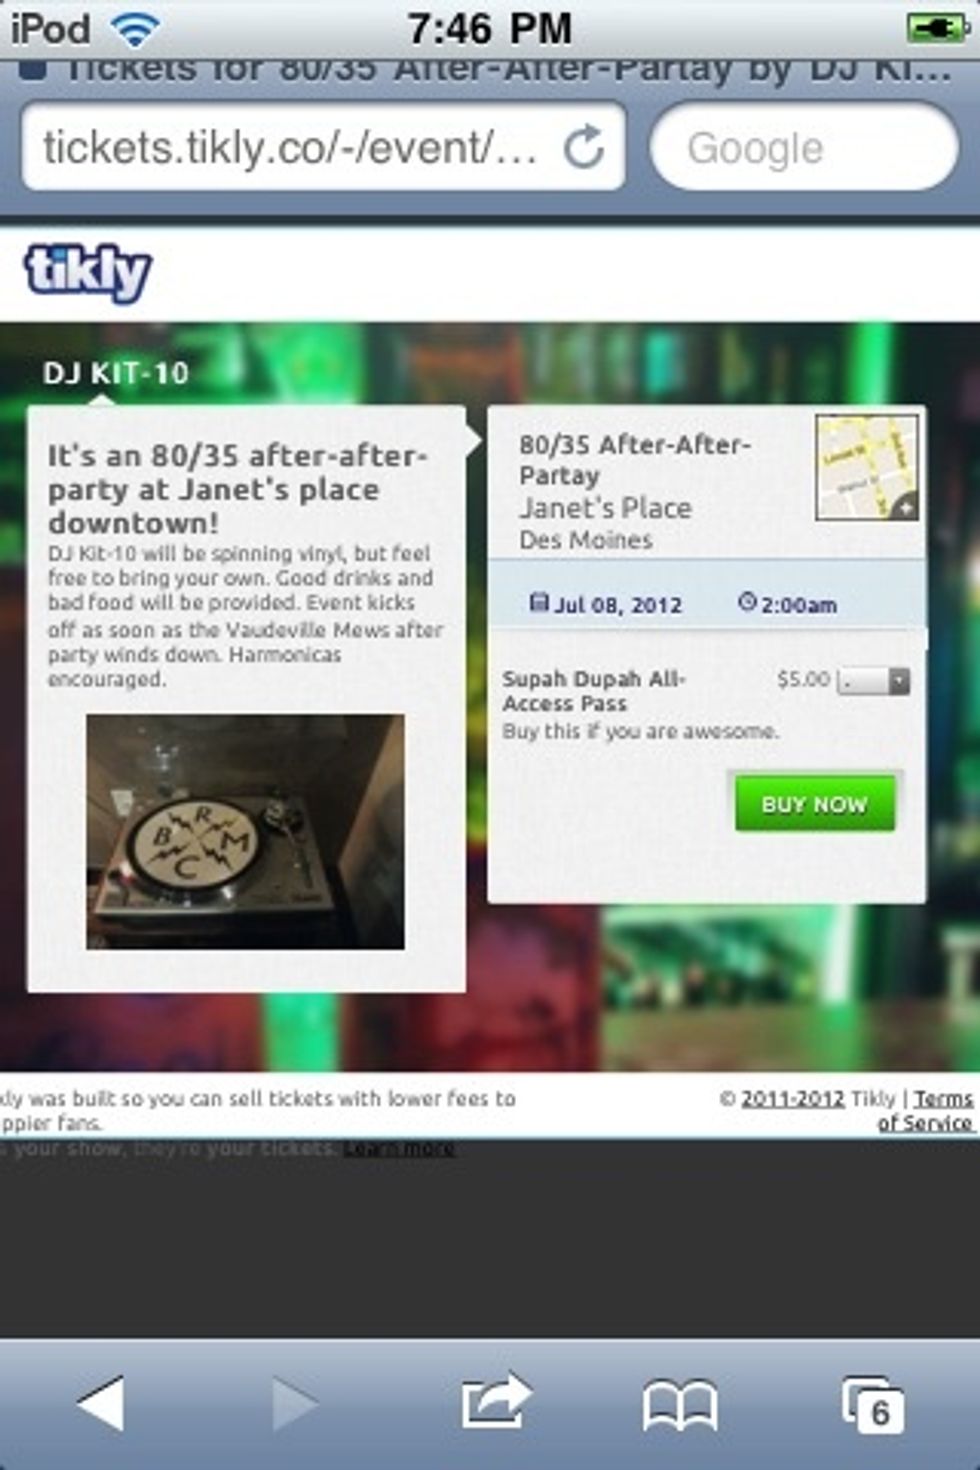
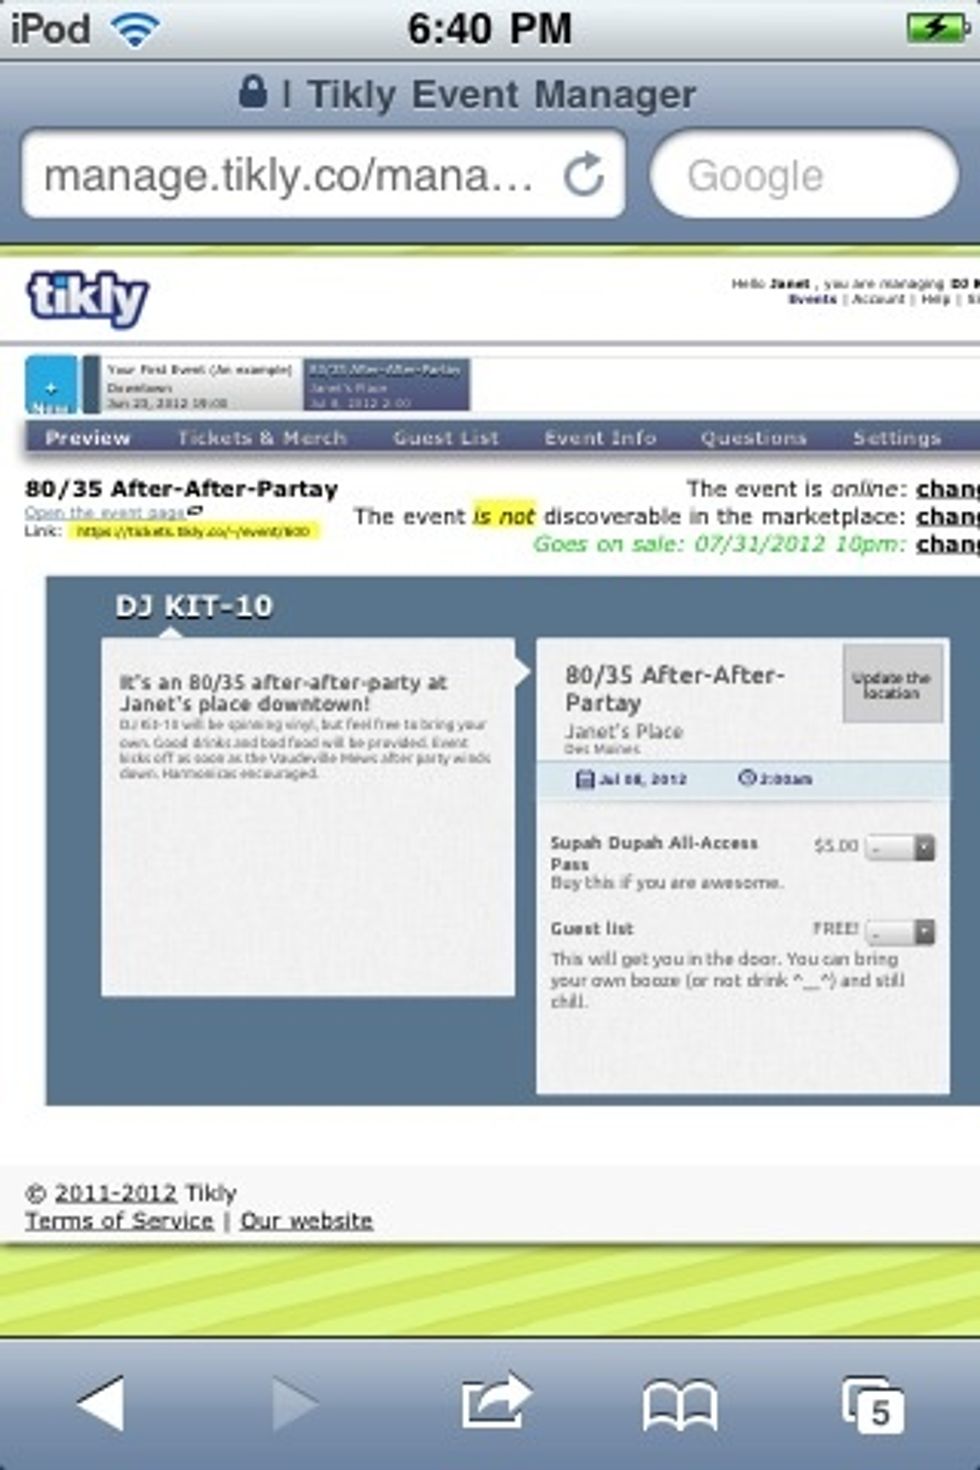
Once saved, go to preview tab, then "open the event page". This is what my ticket buyers will see when they're directed to my event page (fear not, the little map in the corner expands). Pretty cool!
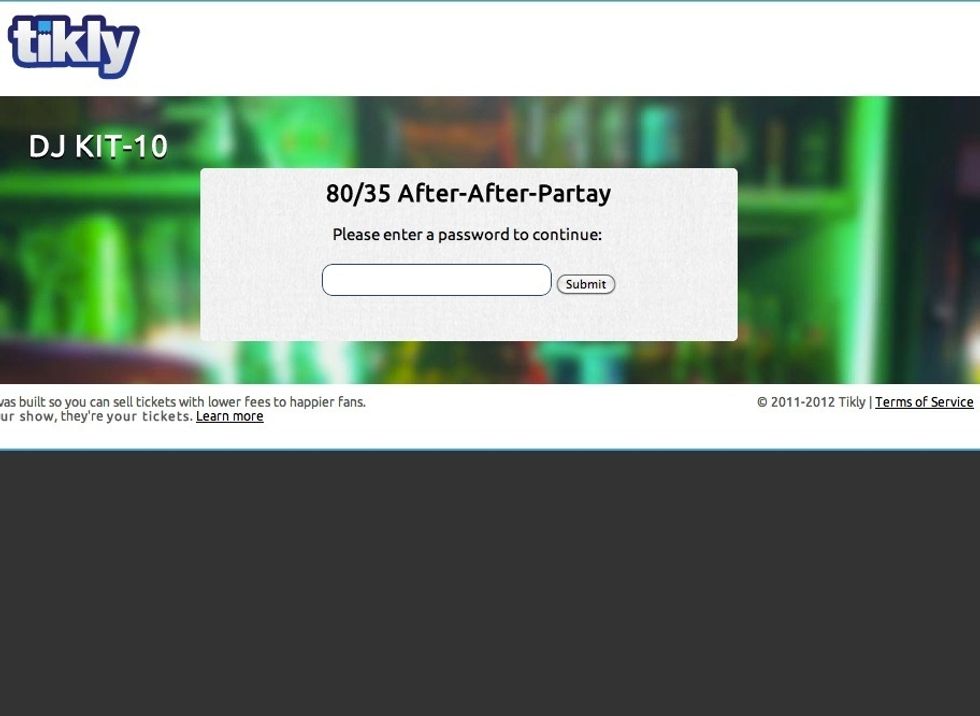
By-the-by, if you set a password for your event (under "Settings") this is what your guests will see when going to the event page. They'll have to enter the password to view the event/buy tickets!
If your page says "tickets to this event are not available online at this time", don't panic. You're either outside of the time frame you set for tickets to be sold or your event is in "offline" mode.
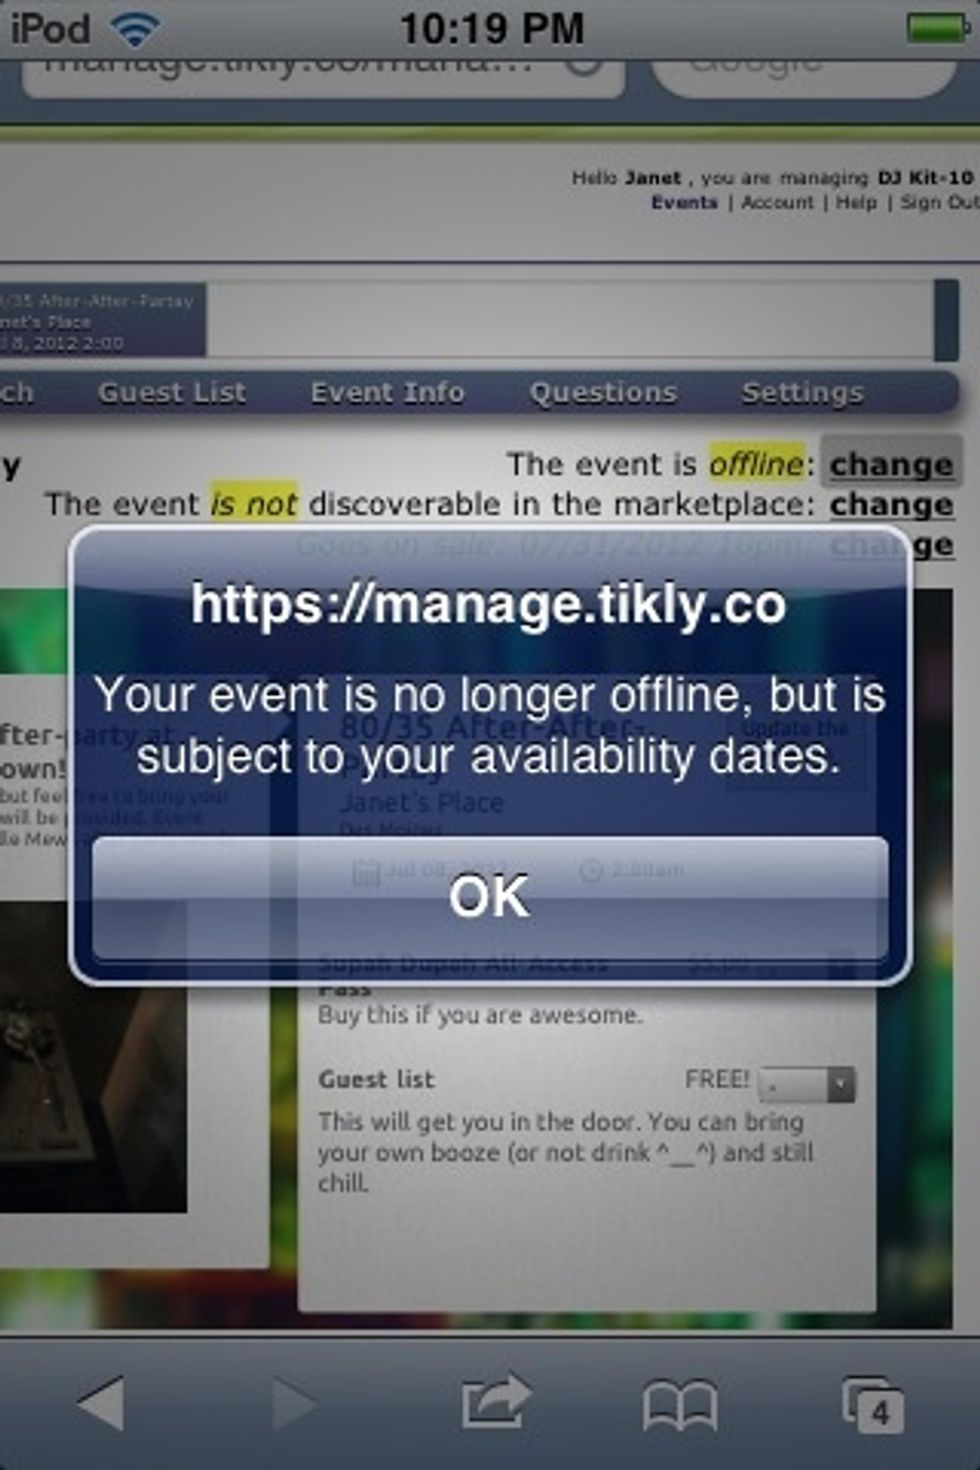
Go ahead and return to the "preview" tab. To put your event "online" or "offline", just hit "change" in the upper right of your screen. This cute message will pop up!
FYI: An "online" event means that tickets will be available inside the selling time frame you set. Taking an event "offline" overrides any time frame. No tickets are sold if an event is offline.
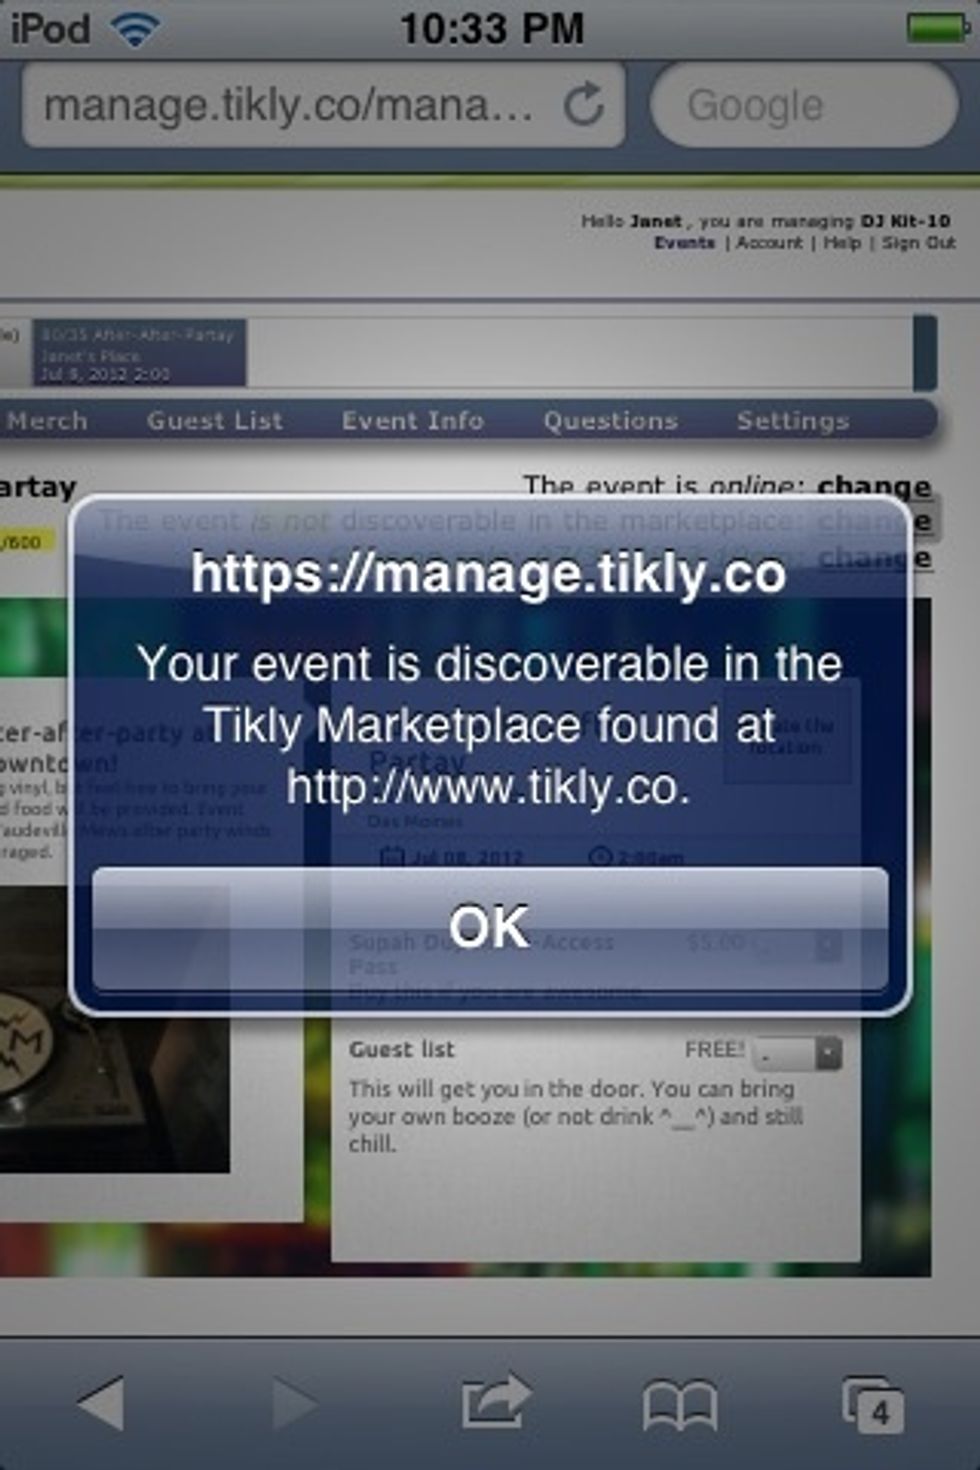
Now that your awesome event is online and snazzed up, your next move should be making it discoverable in the Tikly marketplace. So! Click that "change" button right below the online/offline option...
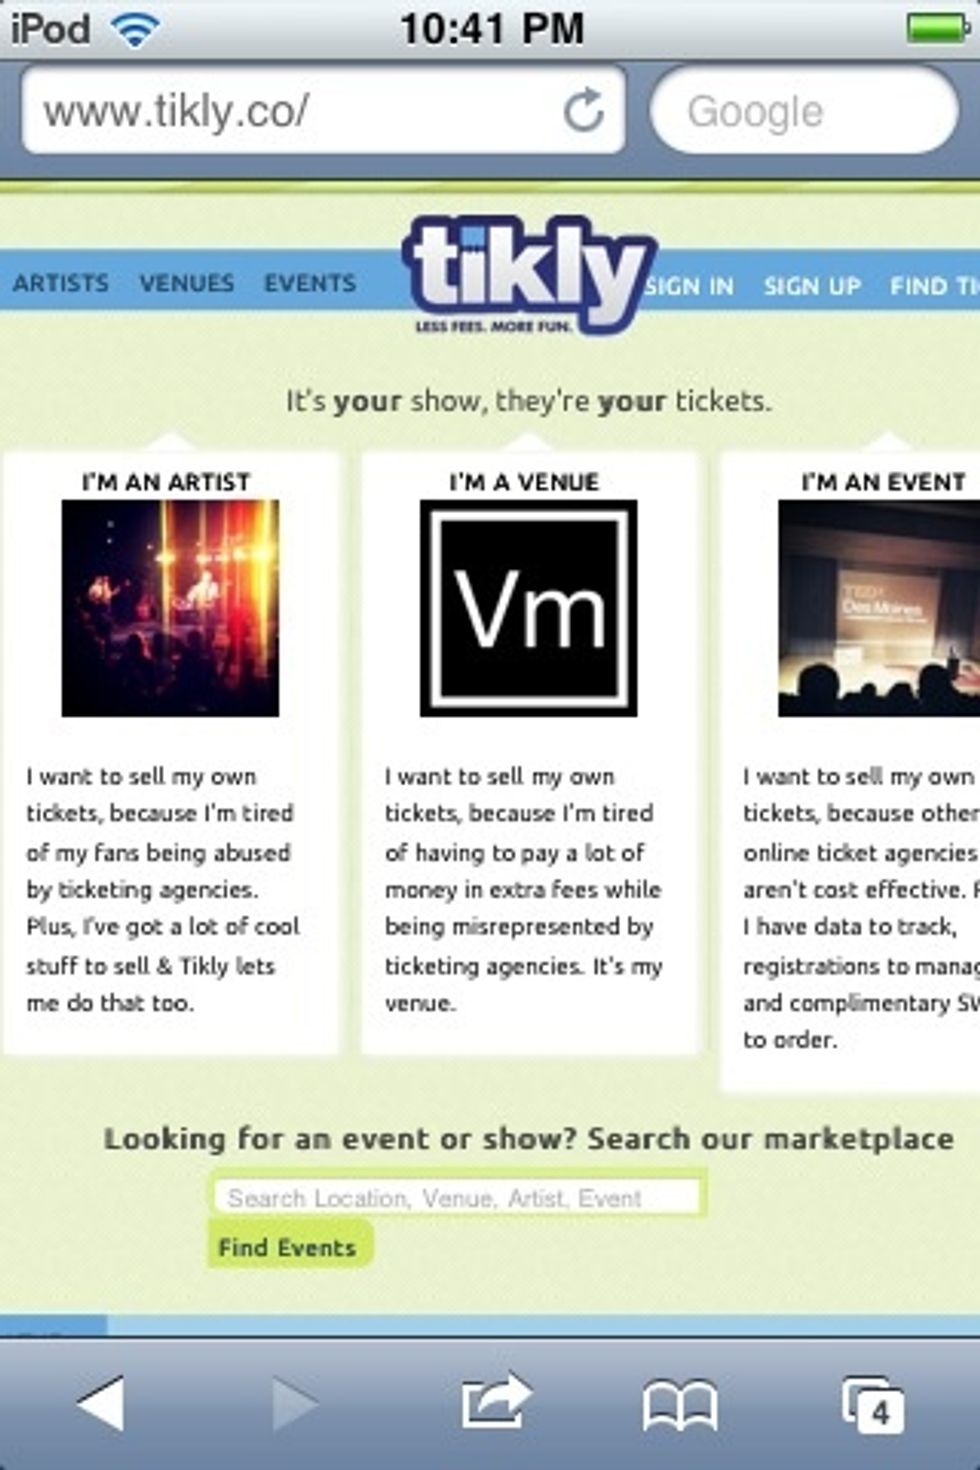
...neato!! Now fans can also find your event via the Tikly main page! Note that offline events are still discoverable in the marketplace-- tickets just won't be available.
Now I've heard there's a little thing called "Facebook" that's popular with the kids these days. Let's link your Tikly event page to the Facebook page of your band, venue, or organization.
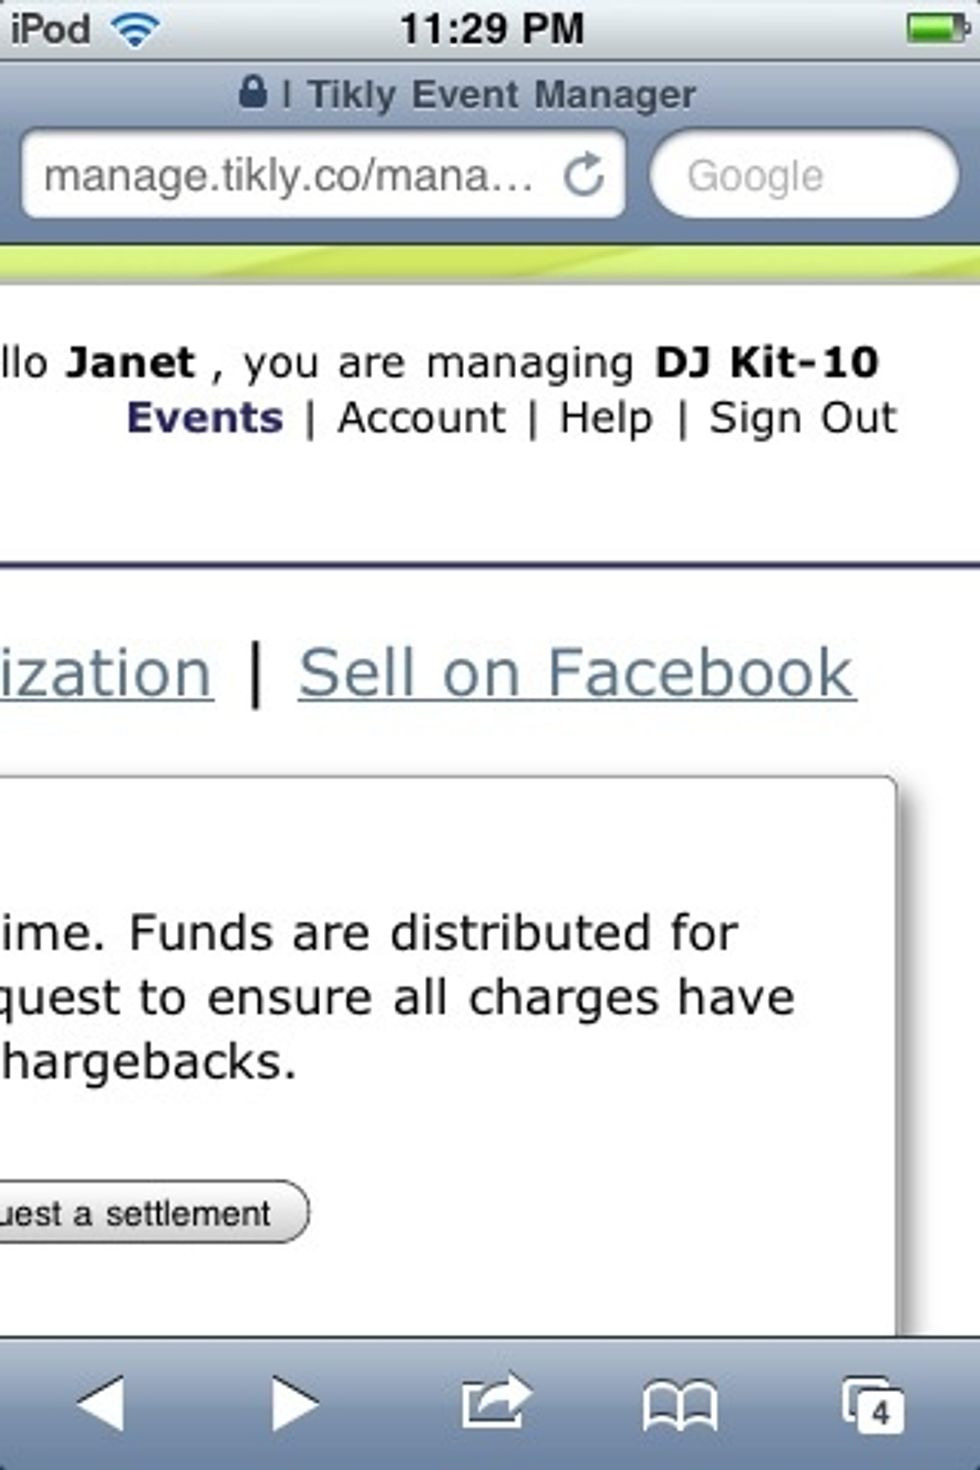
Go to "Account" at the upper right corner of the screen. Now hit "Sell on Facebook".
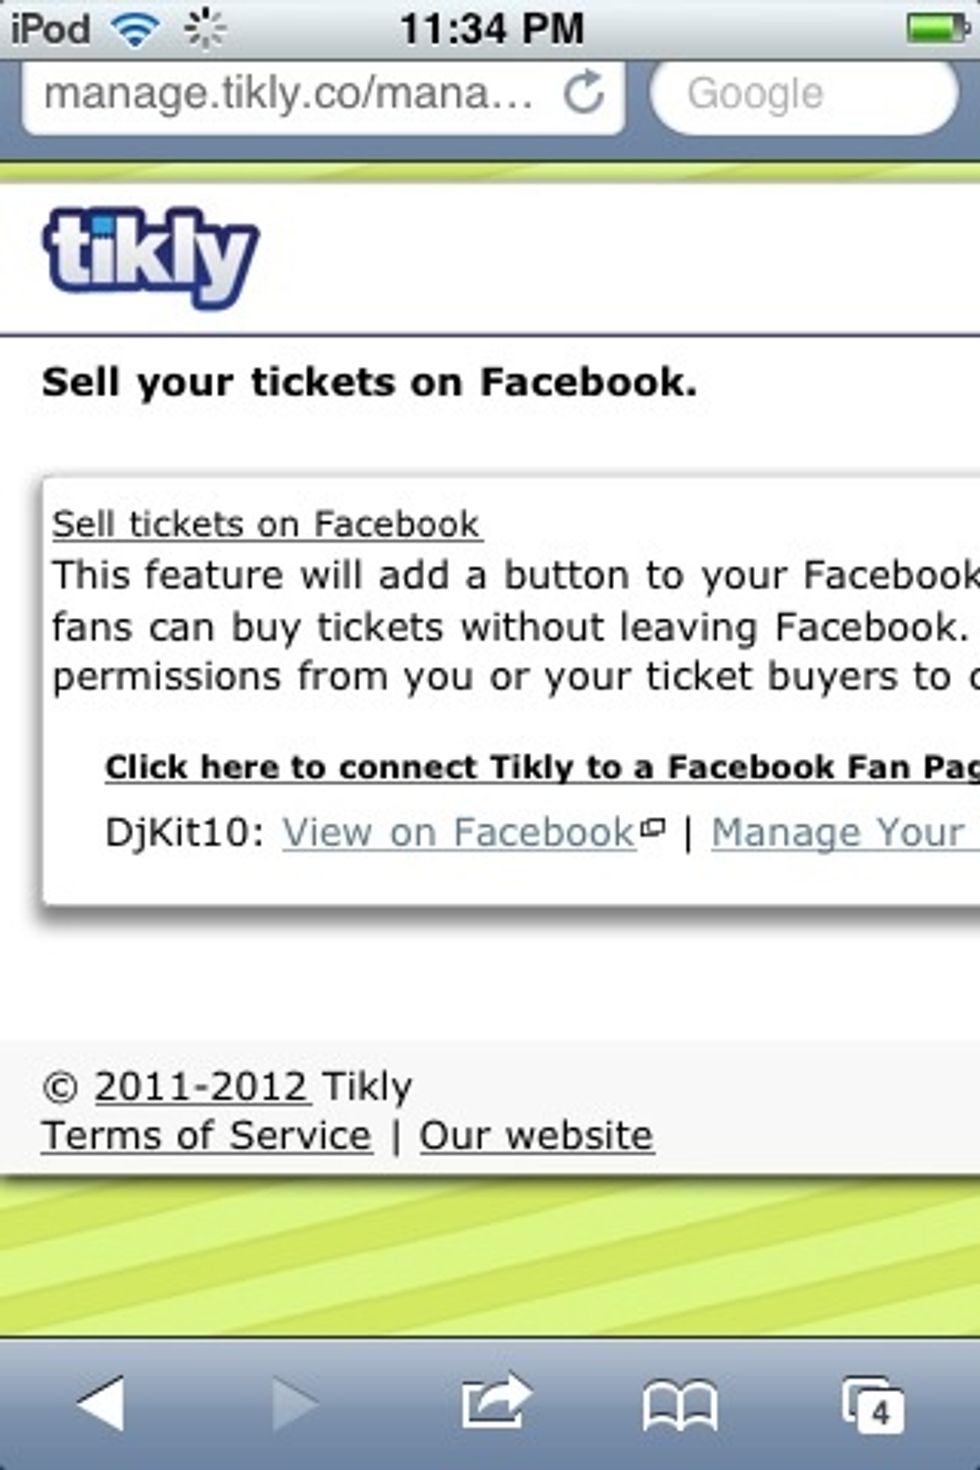
Now click the link to add a Tikly tab to a Facebook fan page you manage. If you like you can check out your handiwork by viewing it on Facebook.
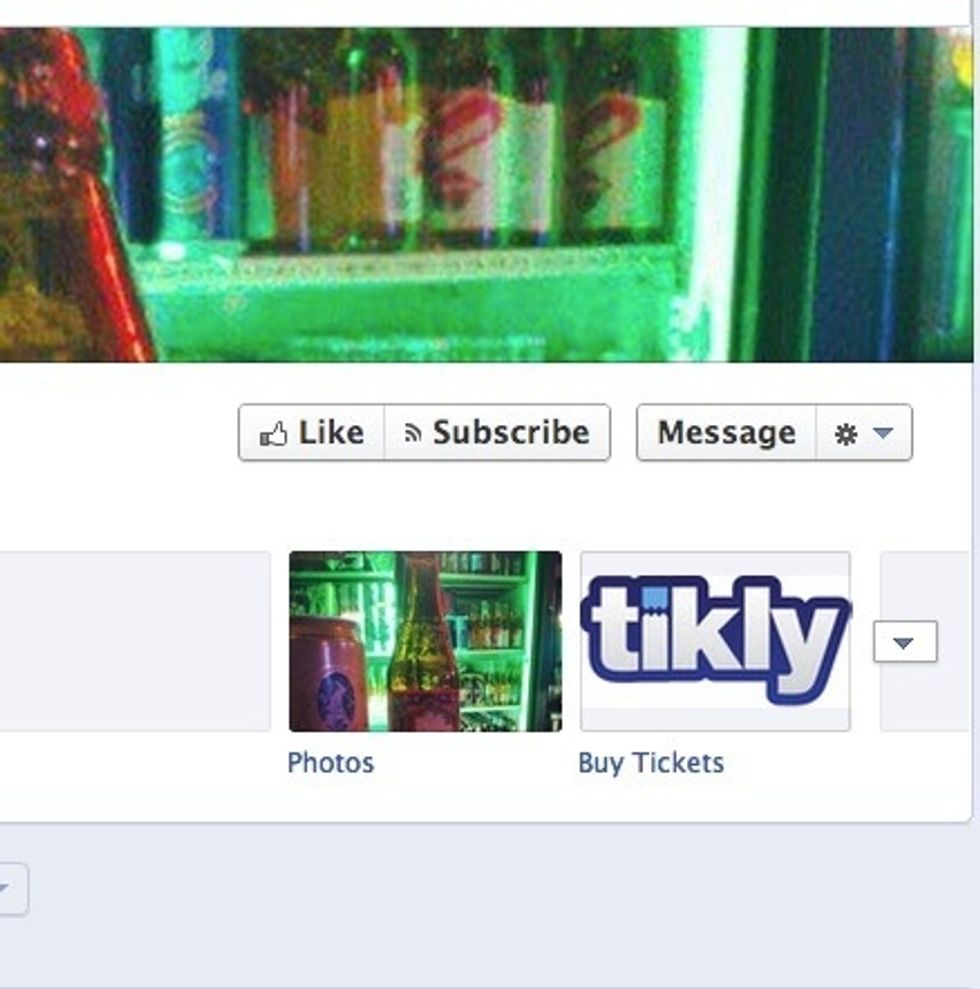
Wow! A super cool Tikly button has appeared on your page. Click buy tickets!
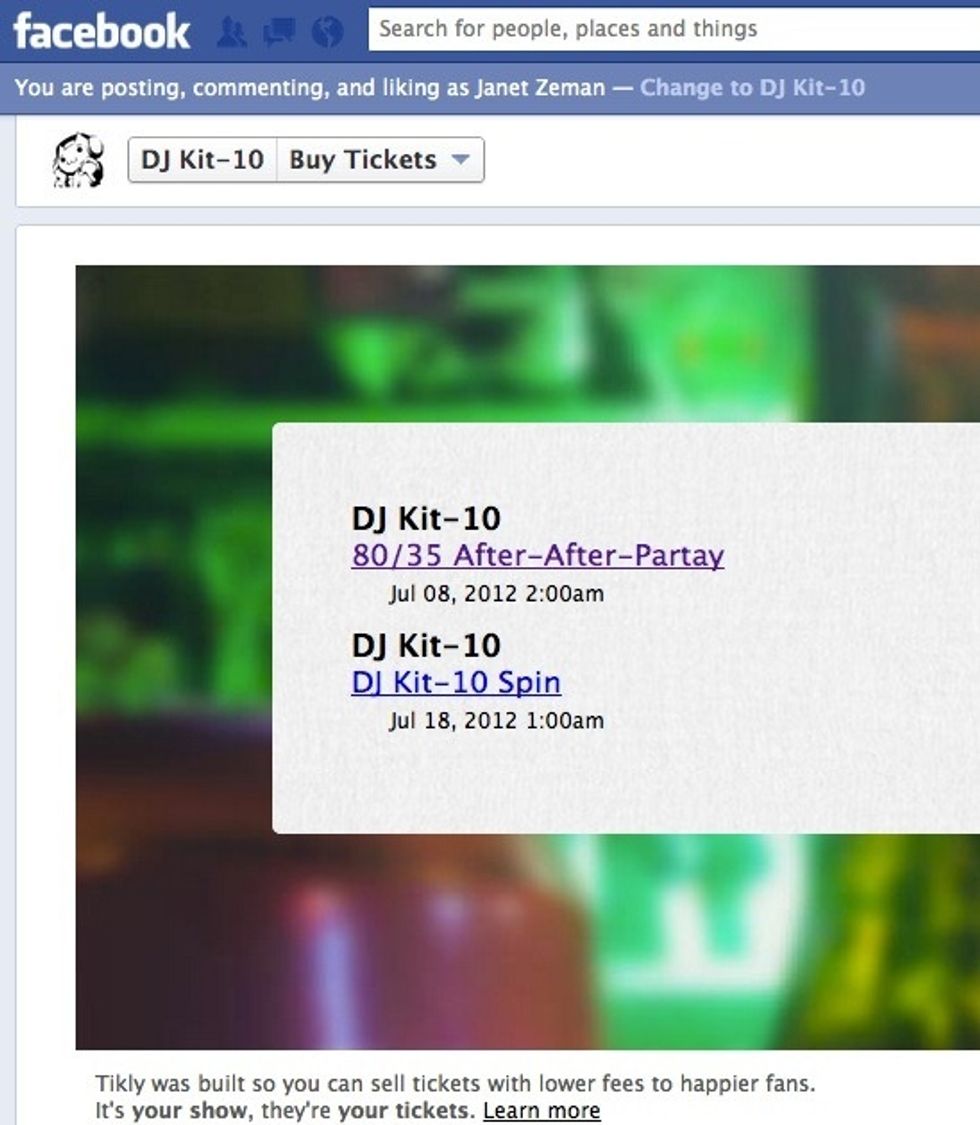
If you have more than one online event scheduled for this artist (which I do!), they'll be separated like so. Clicking one listed will show the event page as before, just embedded within Facebook!
The really cool thing about this step is your attendees don't need to add any apps or permissions from Facebook to buy your tickets-- so no extra hassles for your fans.

Woo! That concludes this guide. You've become quite the Tikly'er. Give yourself a well-earned pat on the back! Stay tuned for more advanced Tikly'ing!