The Conversation (0)
Sign Up
As a company chock-full of creatives, we’re constantly bowing many heads together on one project. With the help of Curate Snacks, we’re taking on another collaborative art project: a DIY wall mural!

Our inspiration comes from the brilliant flavor combinations found in Curate bars, a company that is definitely thinking outside of the (snack) box when it comes to their recipes.

Now, onto the epic wall mural! First, we taped off the space our artistic gals would be working within.

We went with two super bright and happy paint colors as our base.
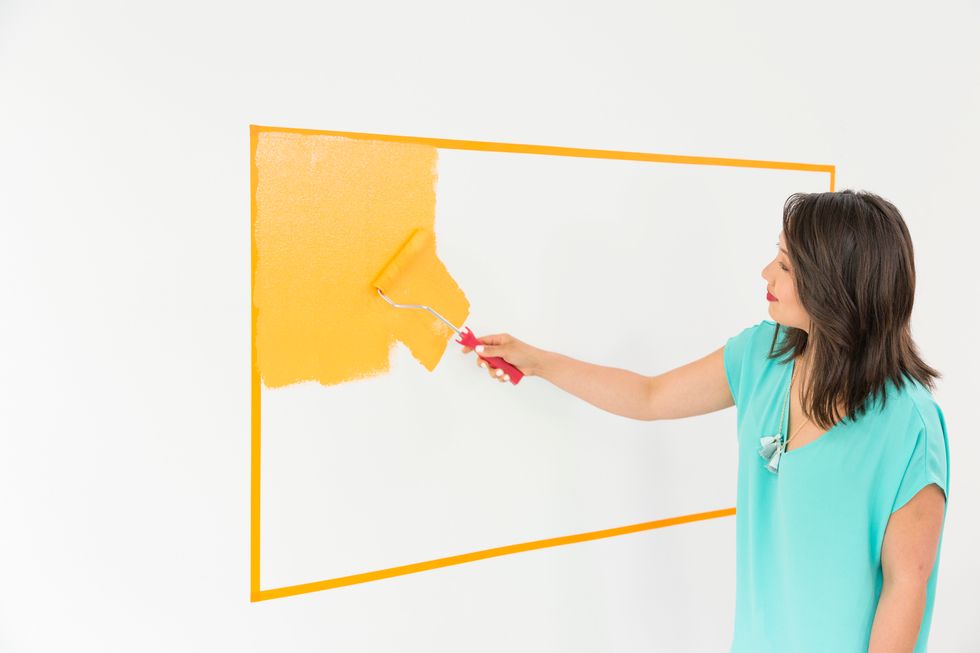
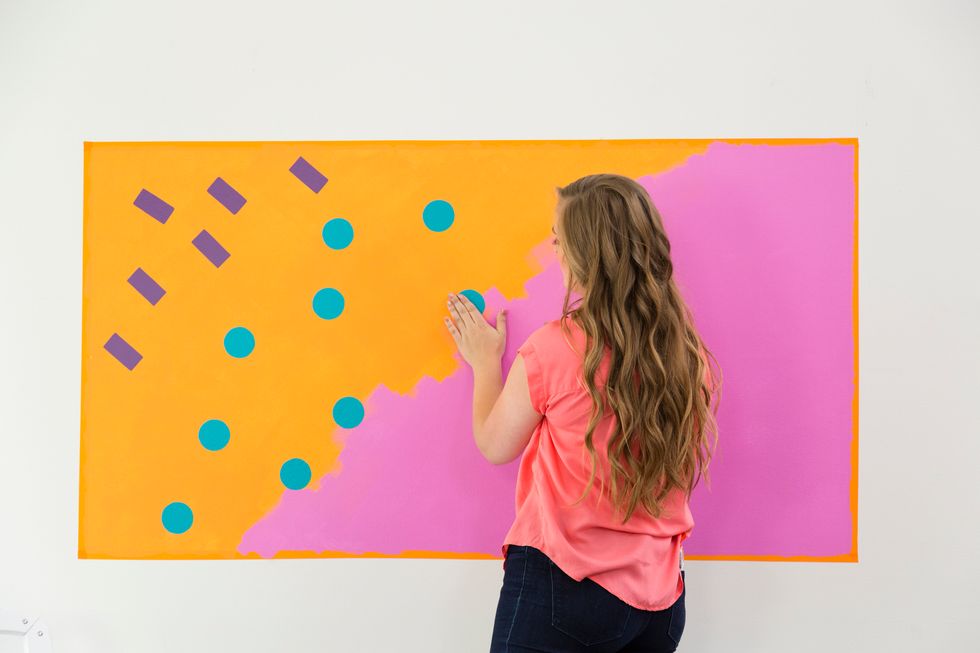
We painted roughly half of the taped-off section with orange and let it dry.
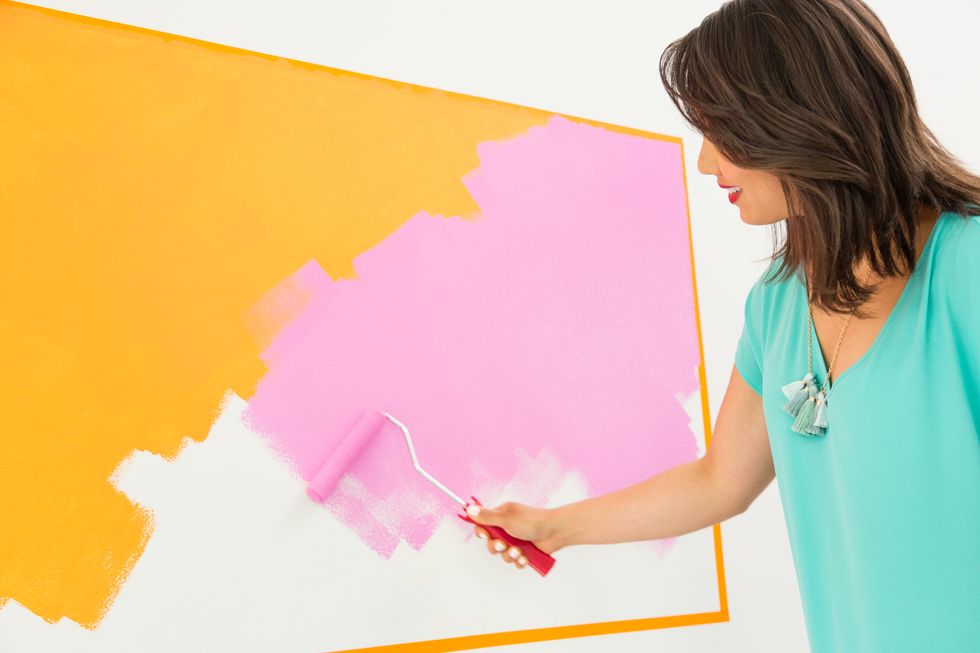
Then, we covered the other half with a milky pink. We left the center lines as raw paint roller marks.
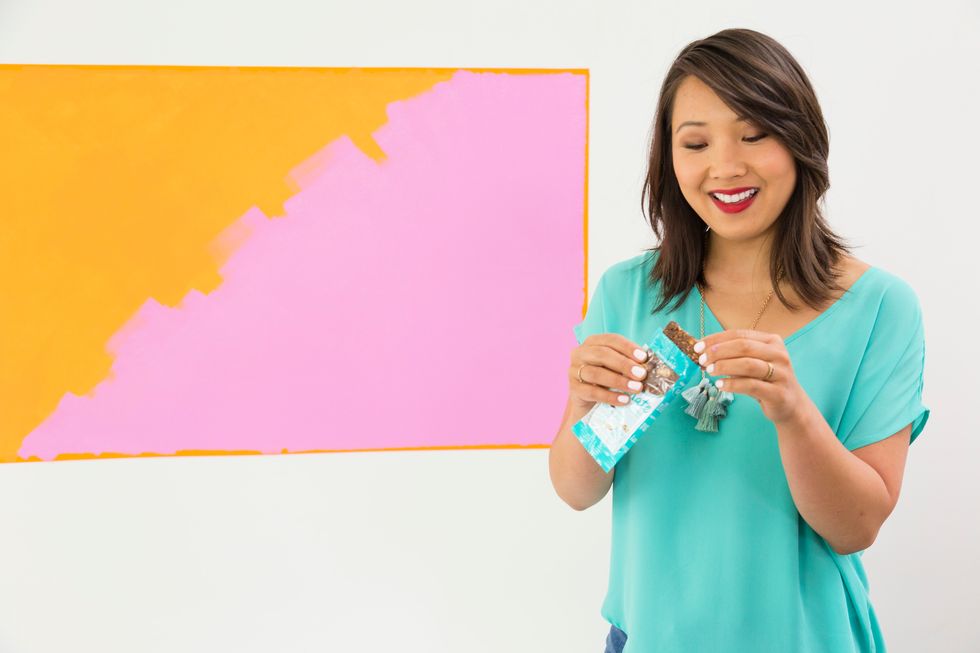
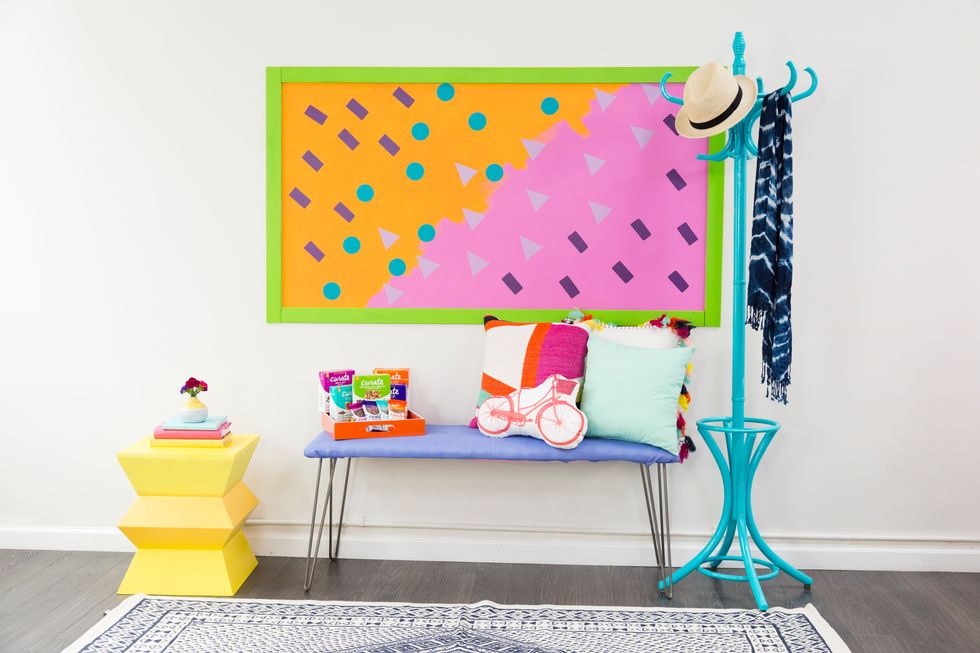
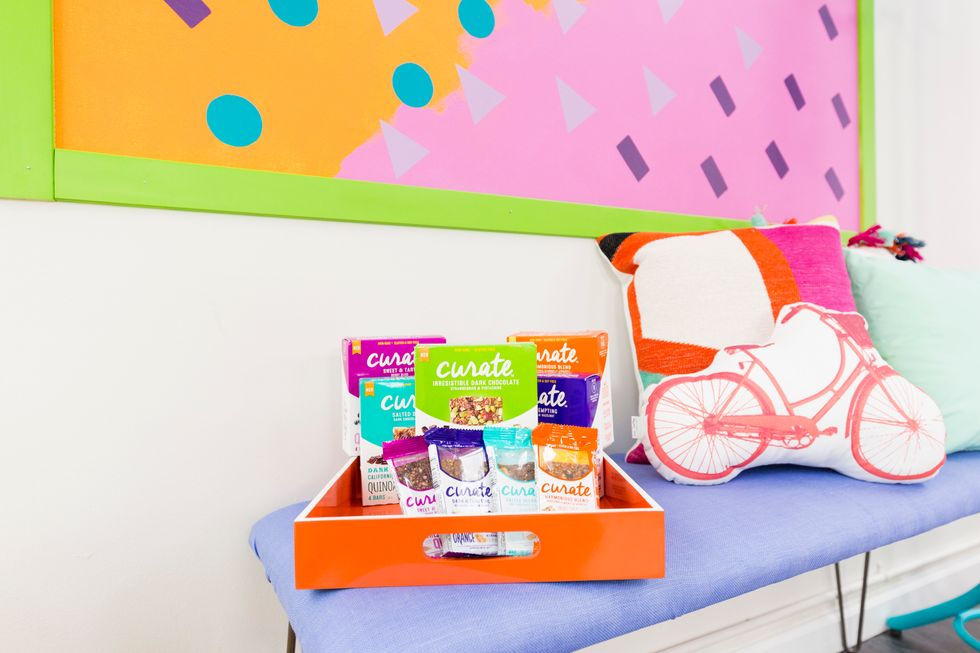
Don't forget about snacktime!
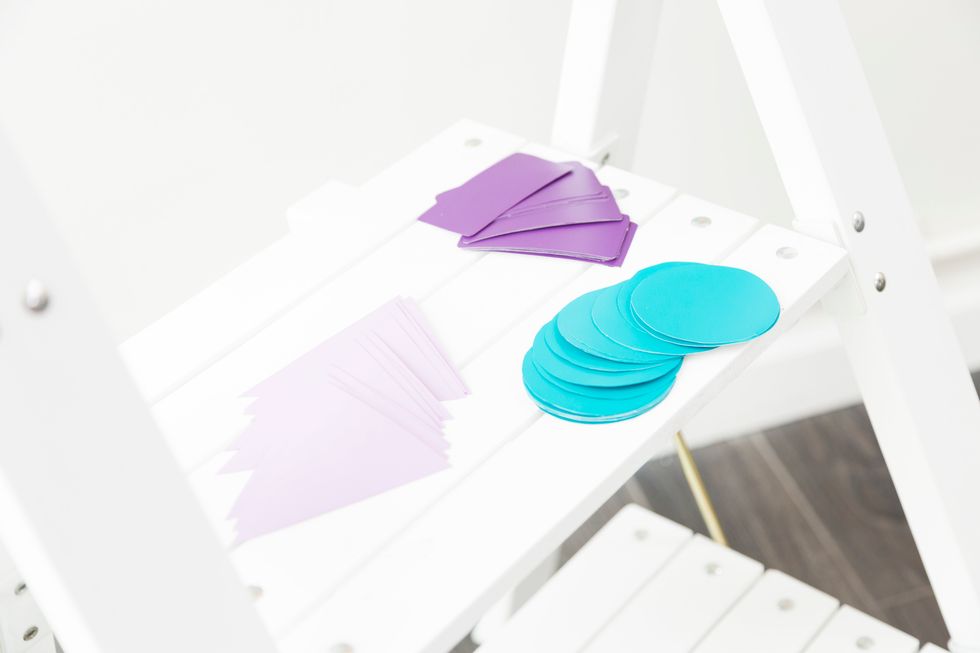
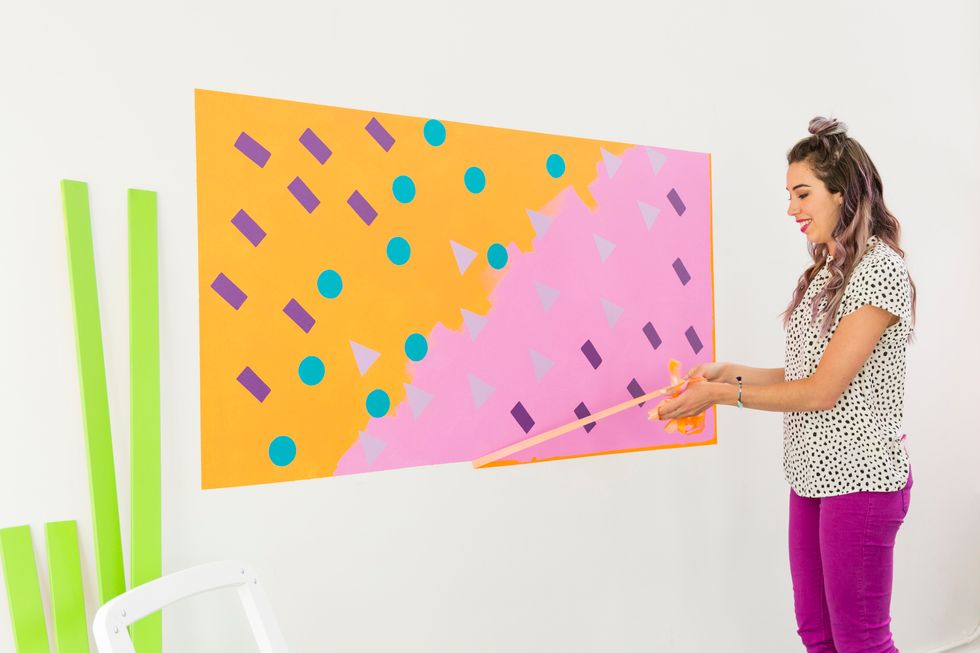
Next up, we added some adhesive vinyl that we cut into colorful geometric shapes.
The beauty of adhesive vinyl is that it functions as a giant laminated sticker, so it’s super easy to apply.

Also, we’re totally digging this cheerful color combo and 90s vibe.
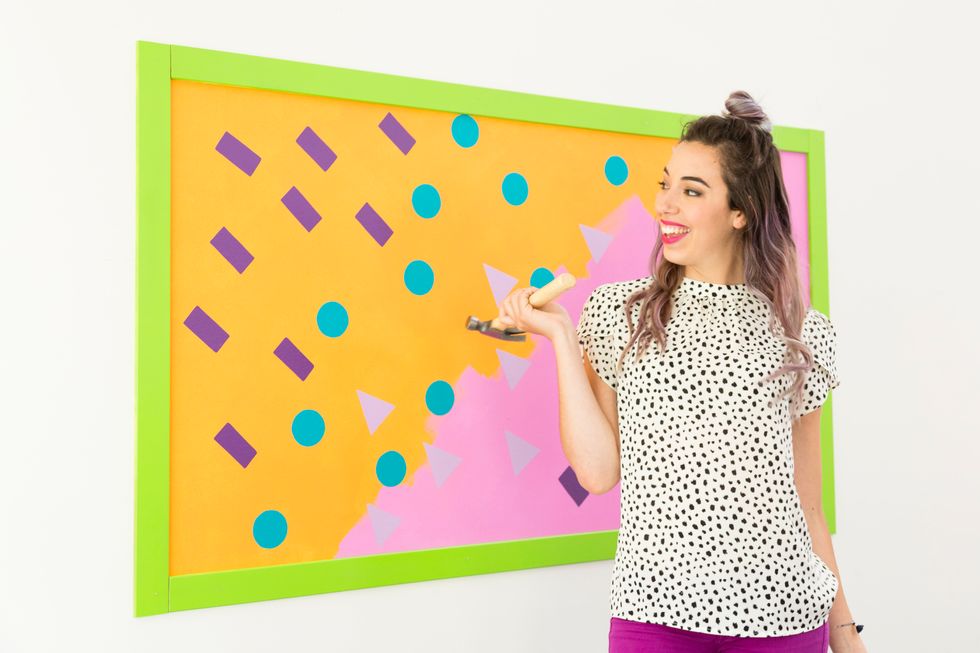
Lastly, we put our pro DIY skills to work by framing it up with colorful wood trim. But first you gotta remove that tape, girl!
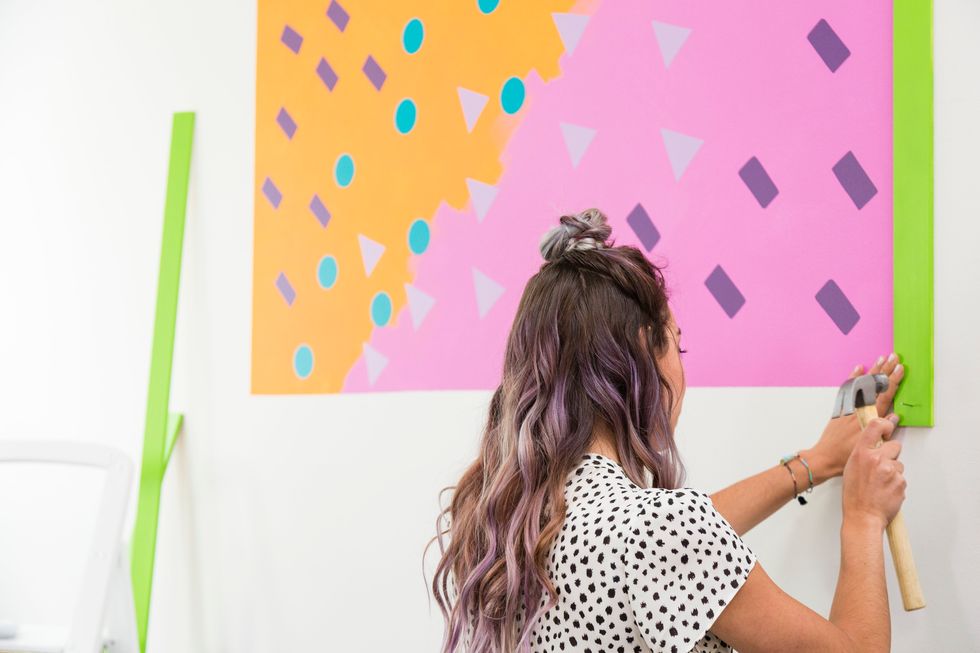
We cut thin wood trim to size, painted in in a bright lime green, then hammered it onto the wall.

Psst — giant frames can be CRAZY expensive, so DIYing one is a smart way to save some cash.
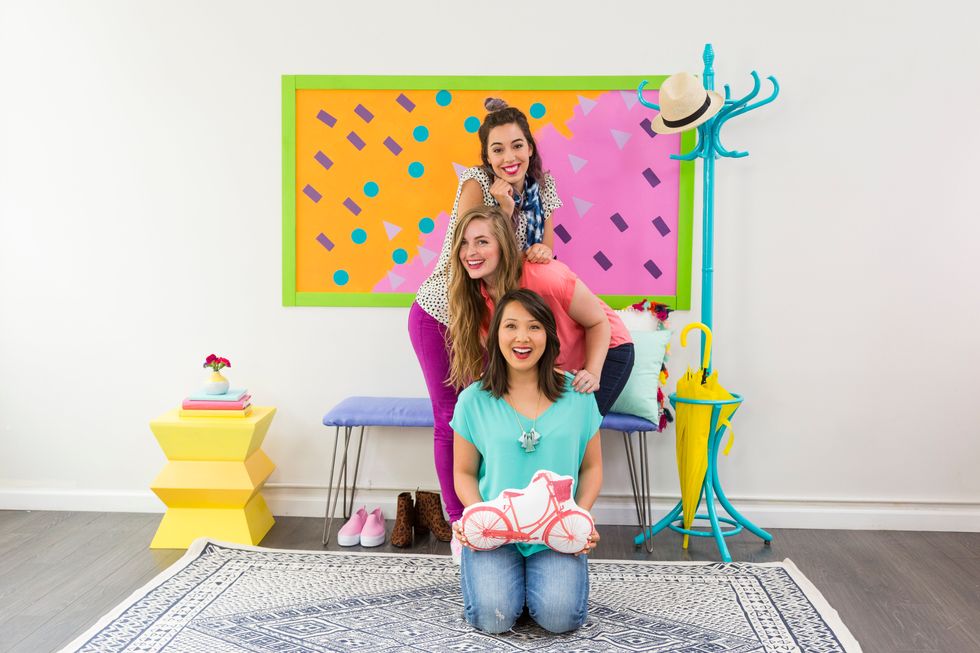
Just like that, the mural is done!
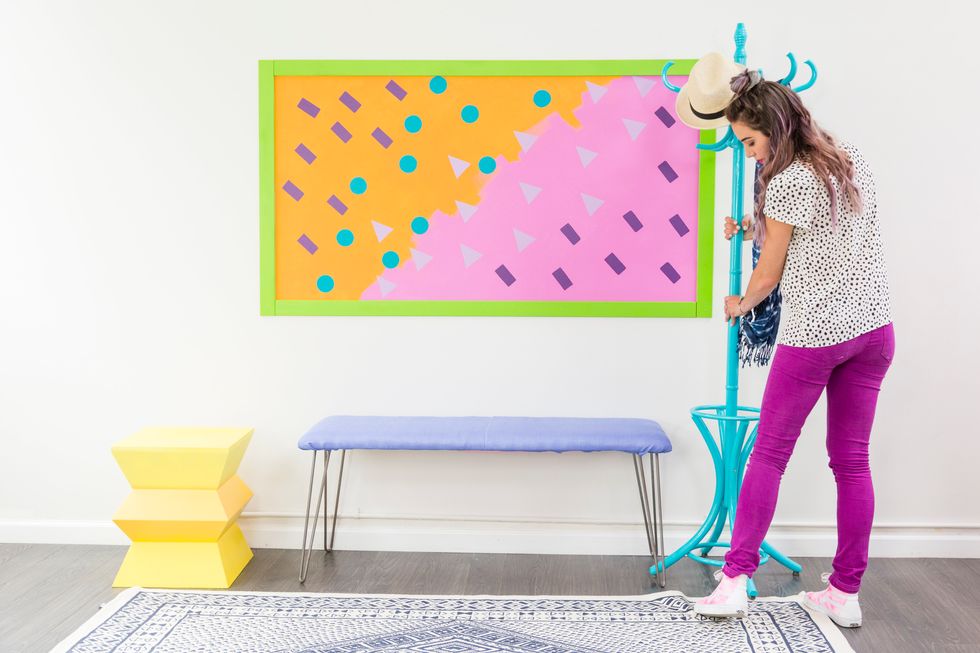
Now for some styling...
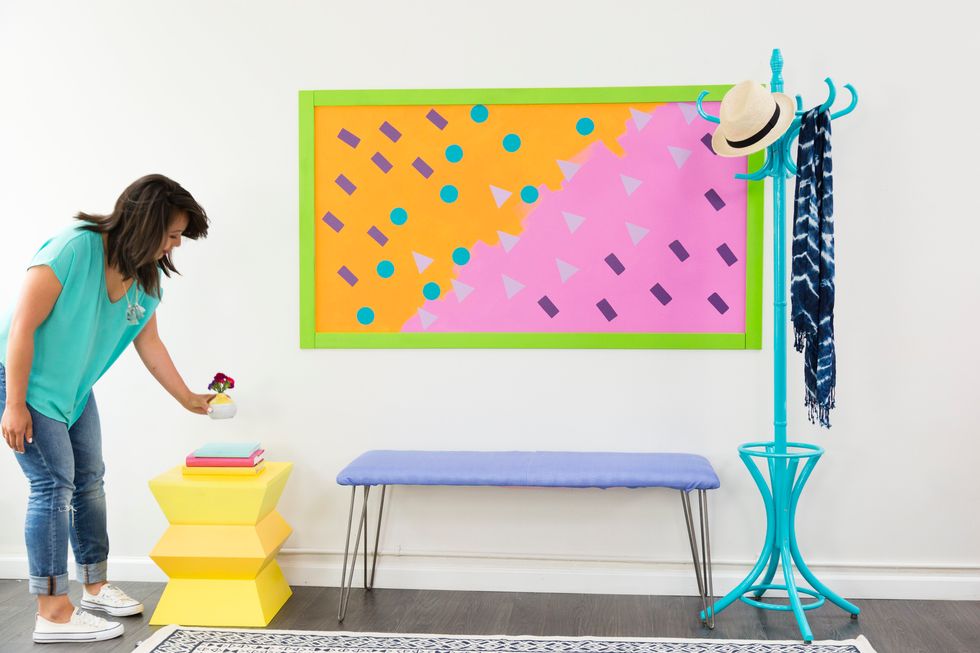
The girls chose decor items for the foyer that would organically frame up the mural to ensure it was the focal point of the space.
All done!
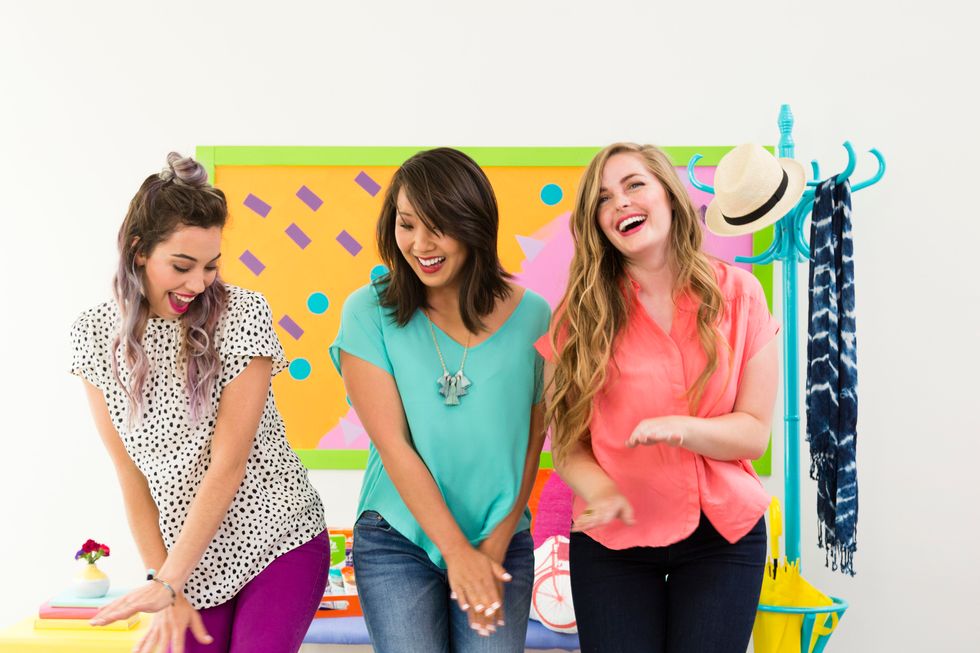
Onto a very necessary dance party in the newly decorated space. ;)
Thanks for the brilliant inspo, Curate Snacks!