The Conversation (0)
Sign Up
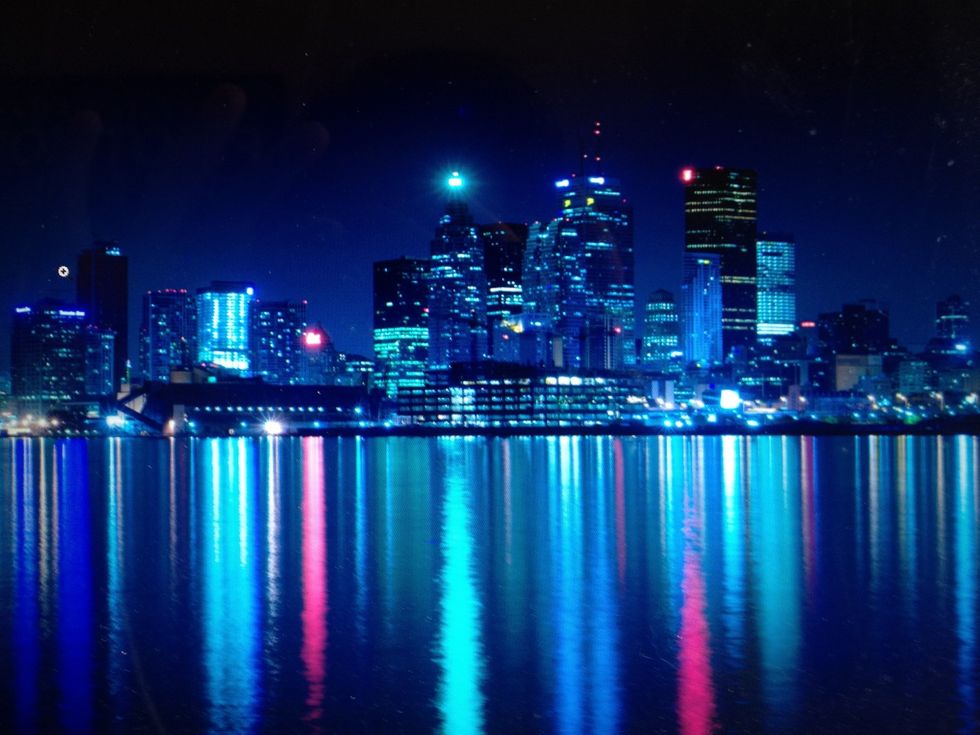
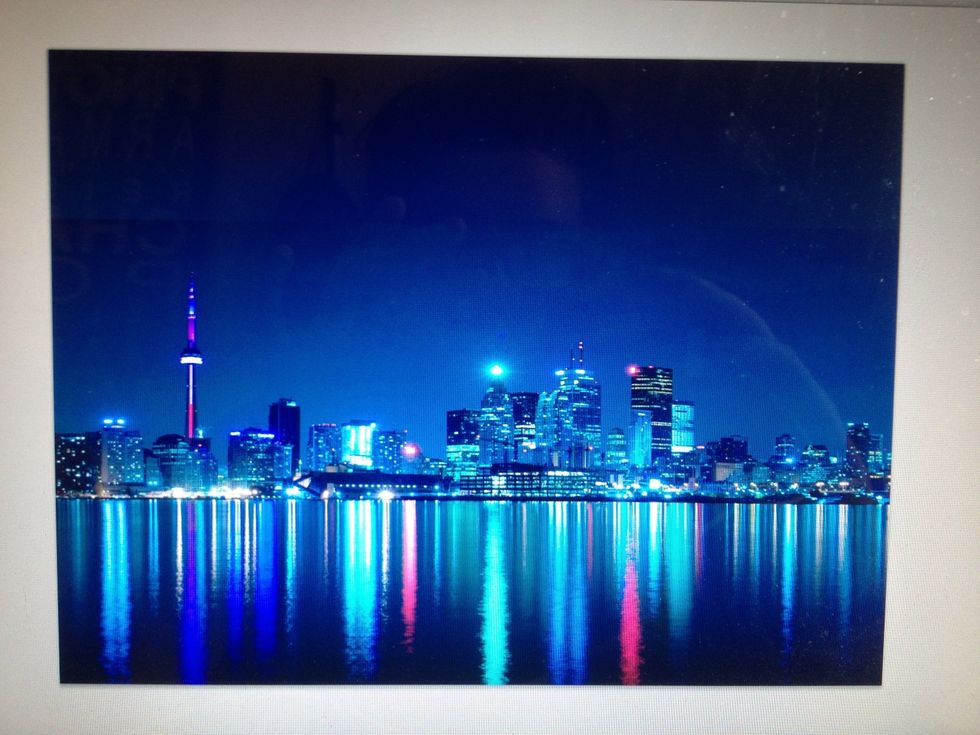
Grab your first image. I'm using a Toronto skyline photo found on Google. As a tip if there is an area with a blank space like above the skyline. It helps the blending process a lot.
My second image comes from http://taenaron.deviantart.com.
Open photoshop. All versions will work for this guide!
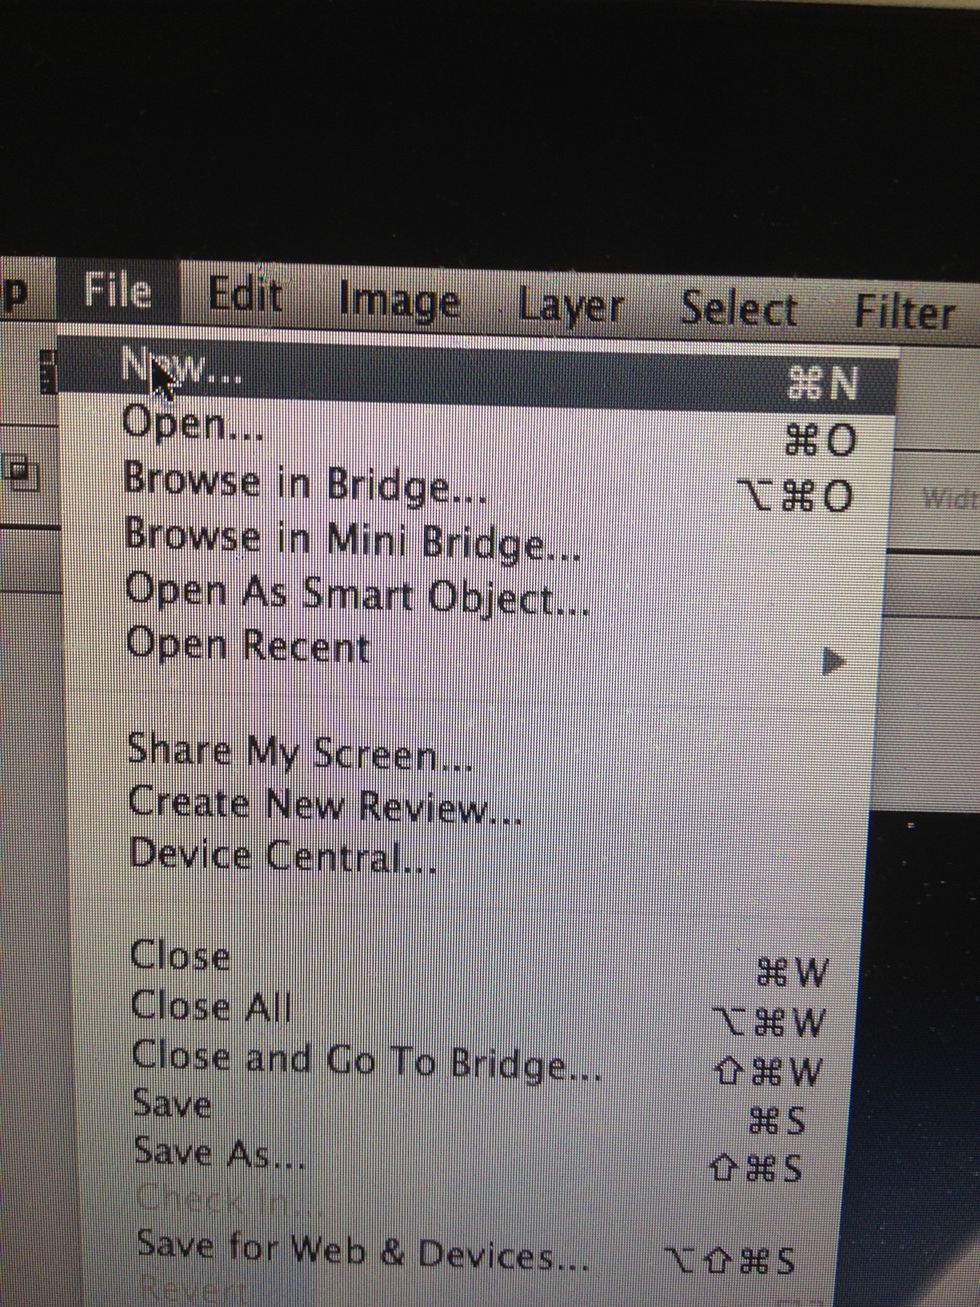
Open a new document in photoshop so we can have a canvas for both o our images. Command + N in Mac and Control + Shift + N on PC. I am using a 1024 x 768 canvas for this guide.
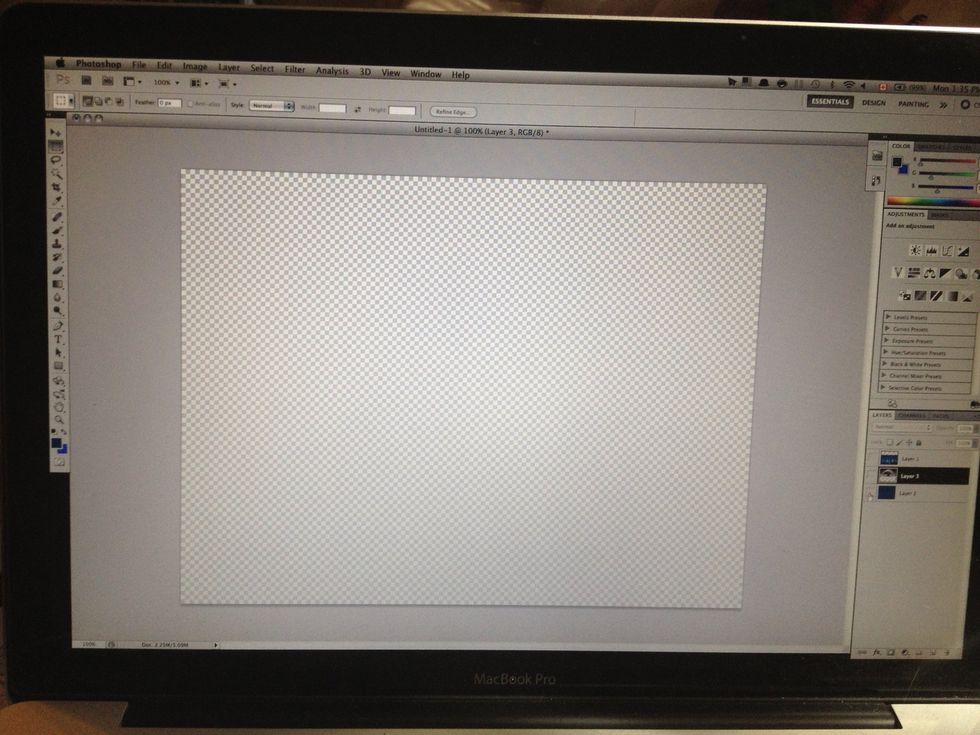
My canvas. Time to drag my photos in!

I have an idea of my blend already. The planet behind the skyline. So I first place my skyline onto my canvas.
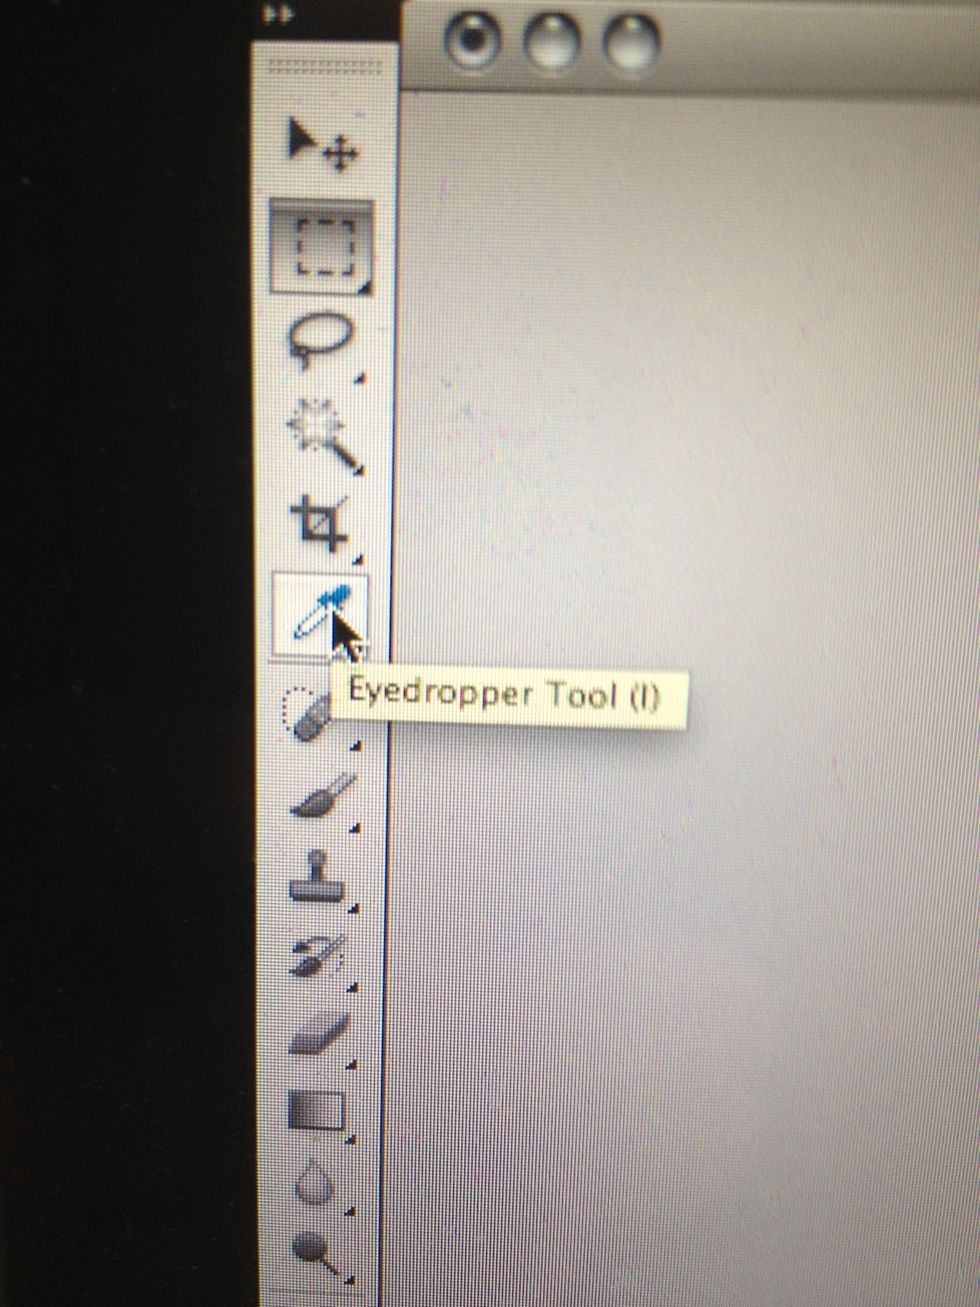
Now an important and often overlooked part that can help a seamless blend a lot is the color match with the eye dropper tool. Select the eye dropper and take it to your base image.
Select an area where you think the two images will meet. What the eye dropper tool will do is choose a color from the spectrum that matches the area selected.

As you see the eye dropper automatically adds it to your color palette.

Now grab the paint bucket tool and fill the background checkered layer with the color selected by the eye dropper
Note: when creating a new document the checkered (transparent) layer will be listed as background and your image is automatically a new layer. So fill the 'background' layer with the selected color!
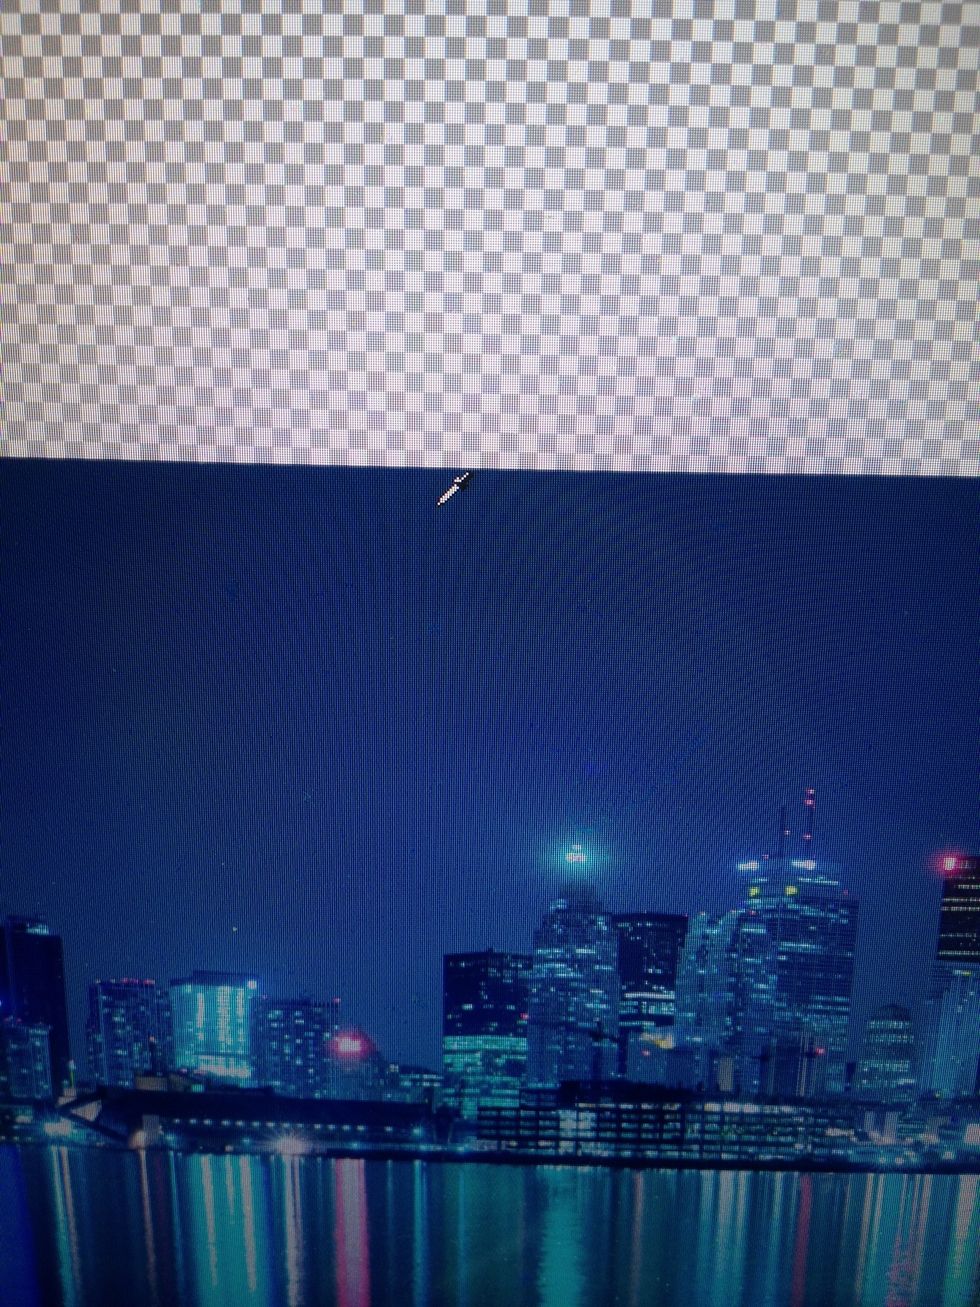
Result from filling the background! Looking great already. Now grab your other photo!
Looking ugly now. But It will all be better soon. Time to add the layer mask!
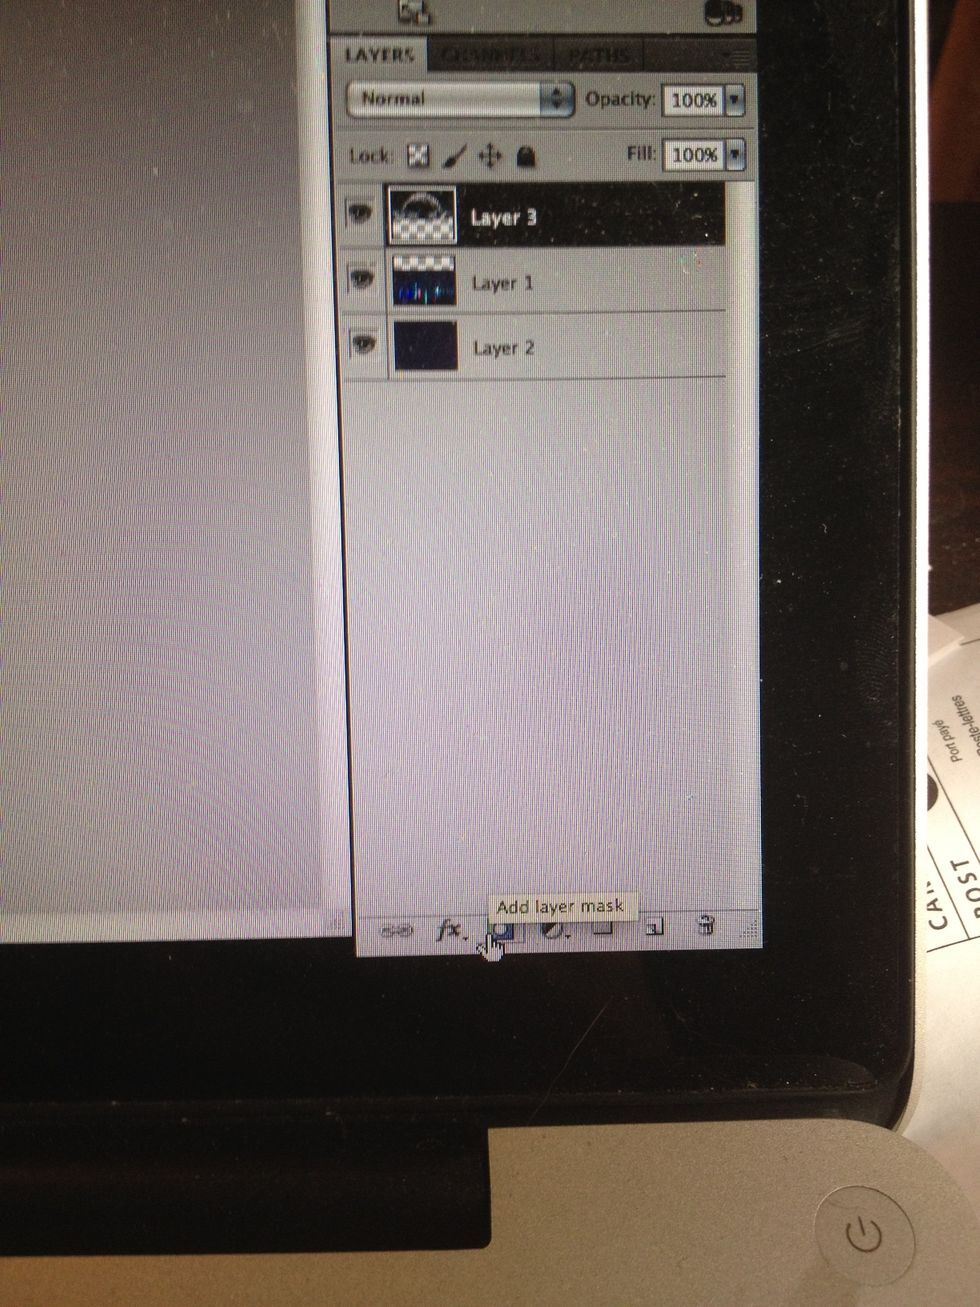
At the bottom of your layers section you will see what looks like a rectangle with a circle in it. Make sure your layer that you will be vanishing is selected. As you can see, my planet photo is.

I now have added a layer mask to my planet photo. The layer mask is what enables us to blend. It's the most important thing.

Grab your gradient tool. Remember where the paint bucket is from a prior step? Well the gradient tool is there too! Click and hold your mouse over the paint bucket to access a second option.
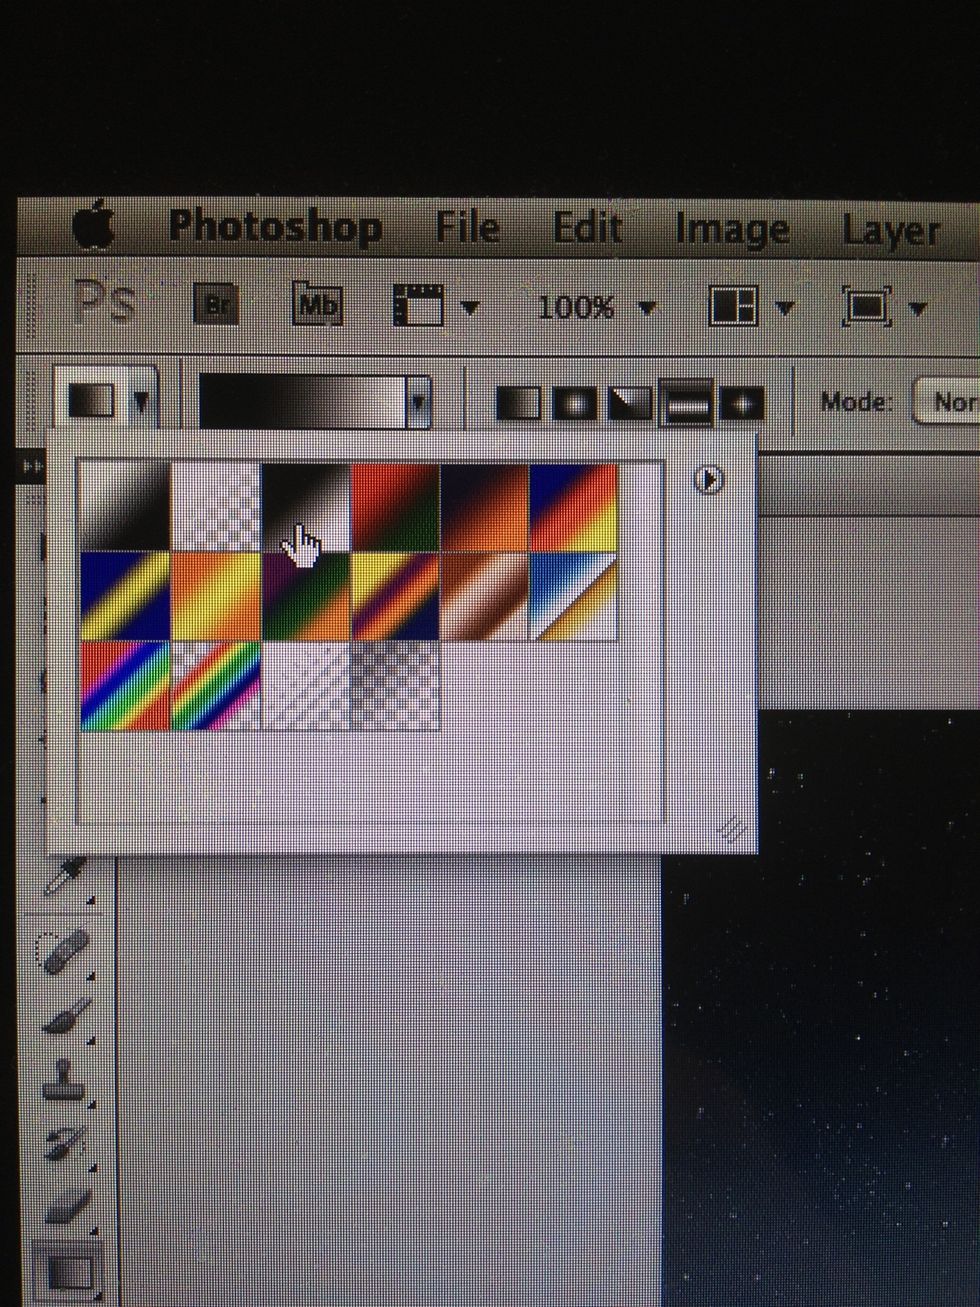
An important step is choosing the black to white gradient swatch and choose the reflected style of modes. As seen above. Reflected mode is the little icon to the right of the swatches.
Now to blend!
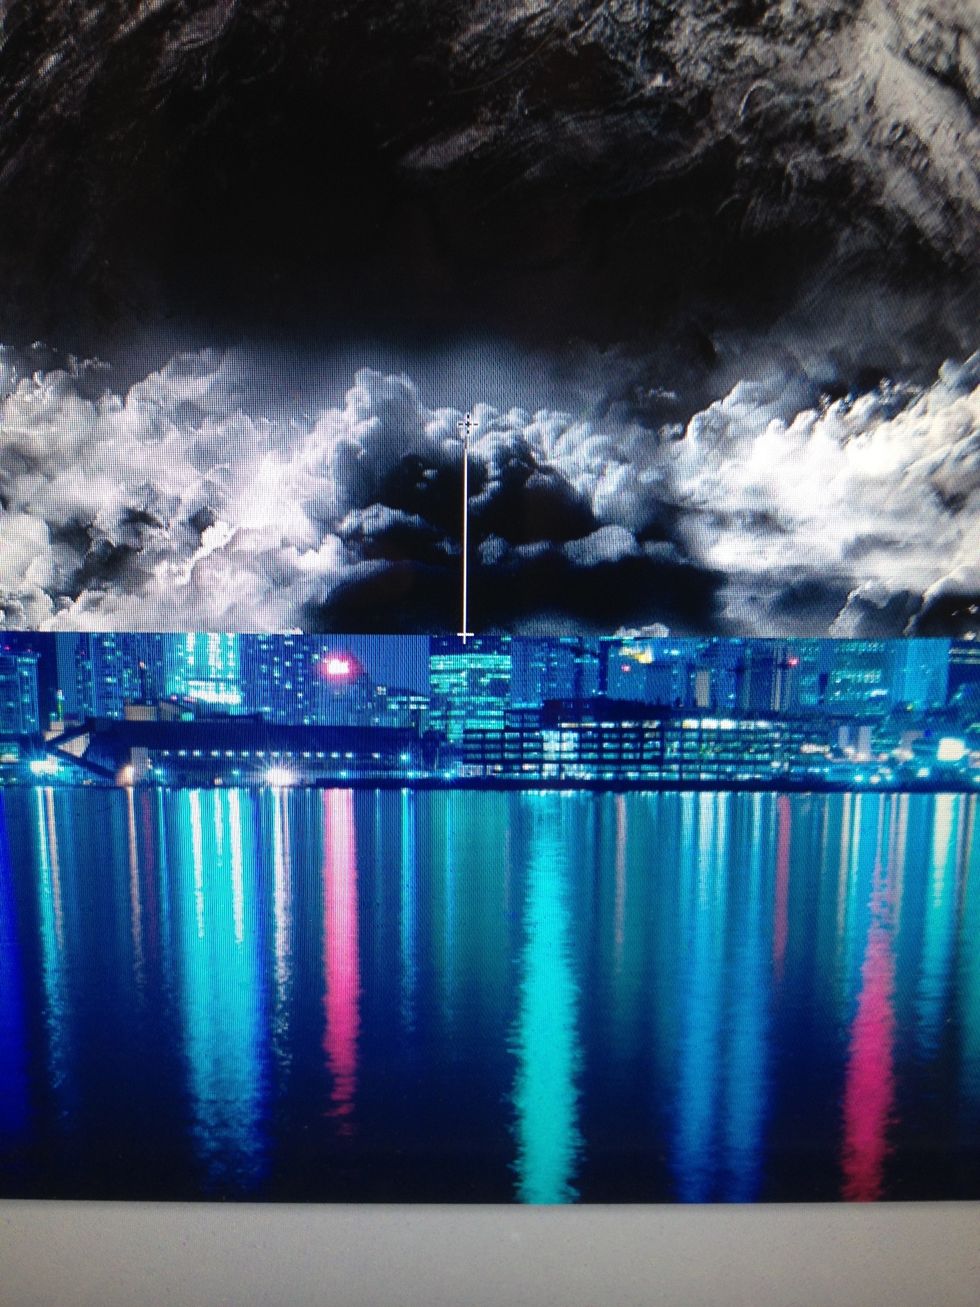
Now with your gradient selected. Drag it from the bottom of the photo you are blending vertically into the photo as seen here.
Keep adjusting the gradient as much as you need until you are satisfied with the product!
TIP: you can also use the brush with the shade black selected to add finer blend points if the gradient is not doing a desired job

How mine turned out. Looking cool!
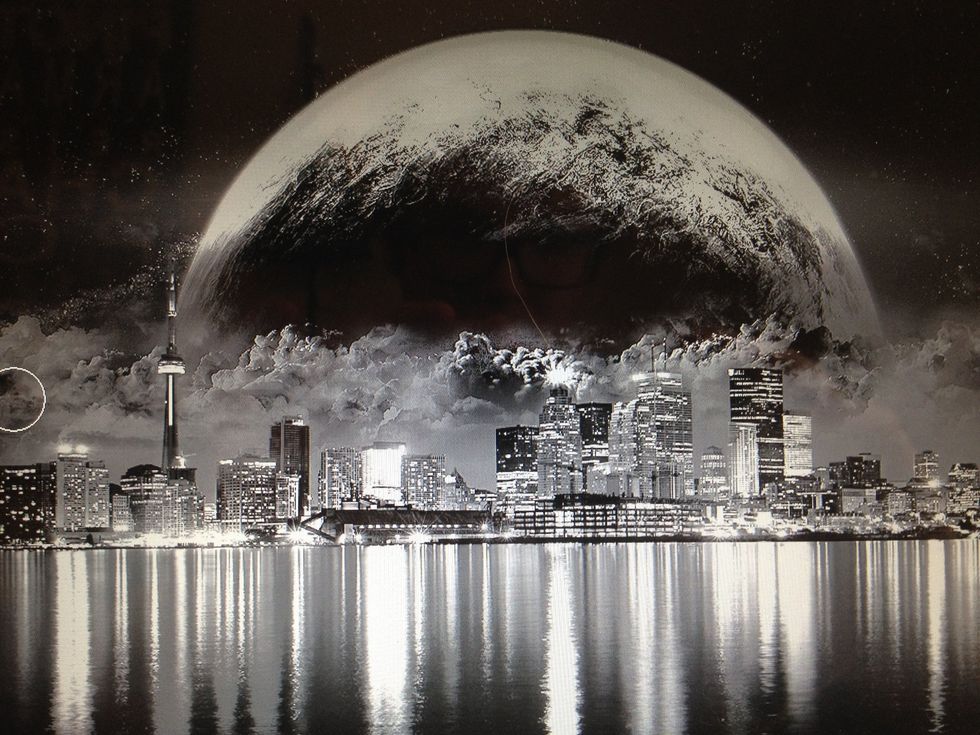
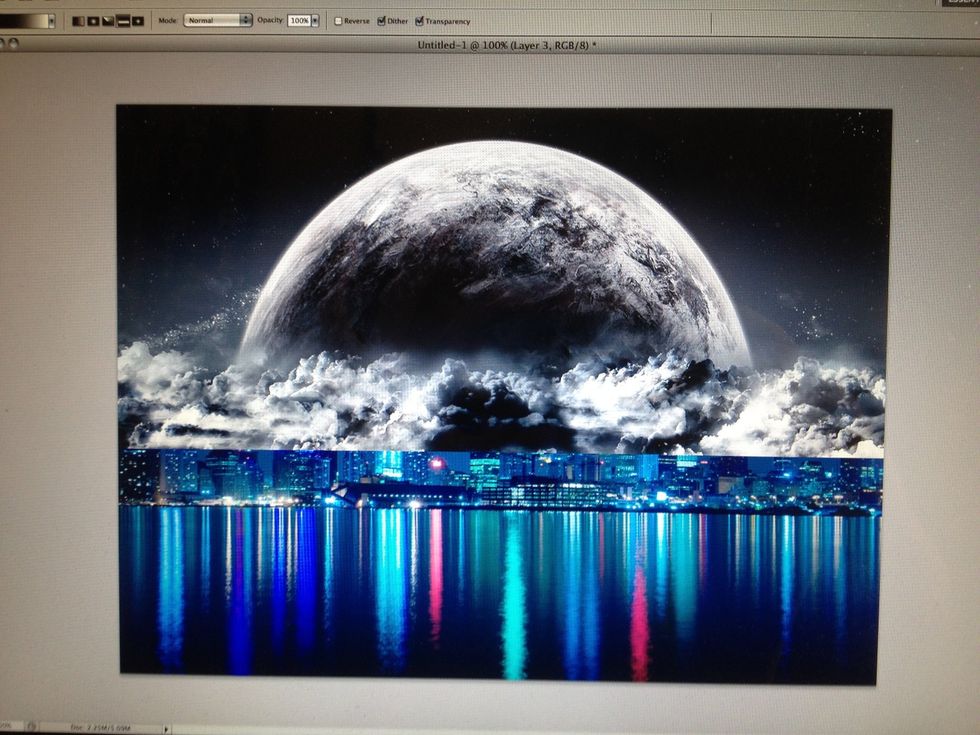
My finished product after some color adjustments!
Remember: this will take practice but it is a great fundamental technique. I know this was long and the photos could be better as they are off my screen. Take your time and have fun!!
I will answer as many comments as I can in the comments section. I made this as clear as I could. Good luck and remember that you can do this with as many photos as you'd like! Imagination is key!