The Conversation (0)
Sign Up
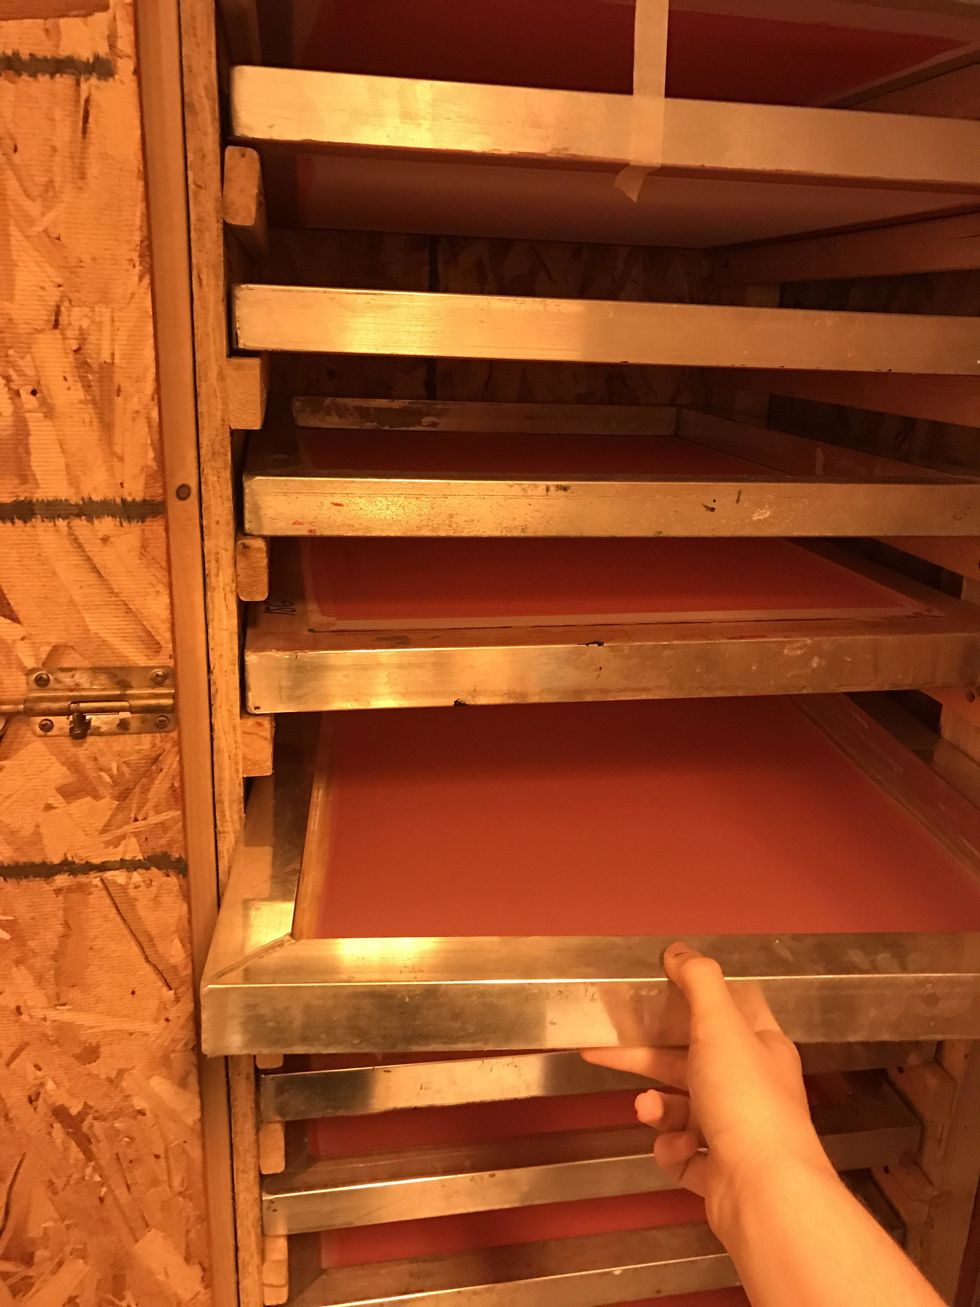
Find a screen with emulsion on it that is smooth and even. Pick between either a 110 screen which is used for more simple designs or a 156 screen which is used for more detail designs.
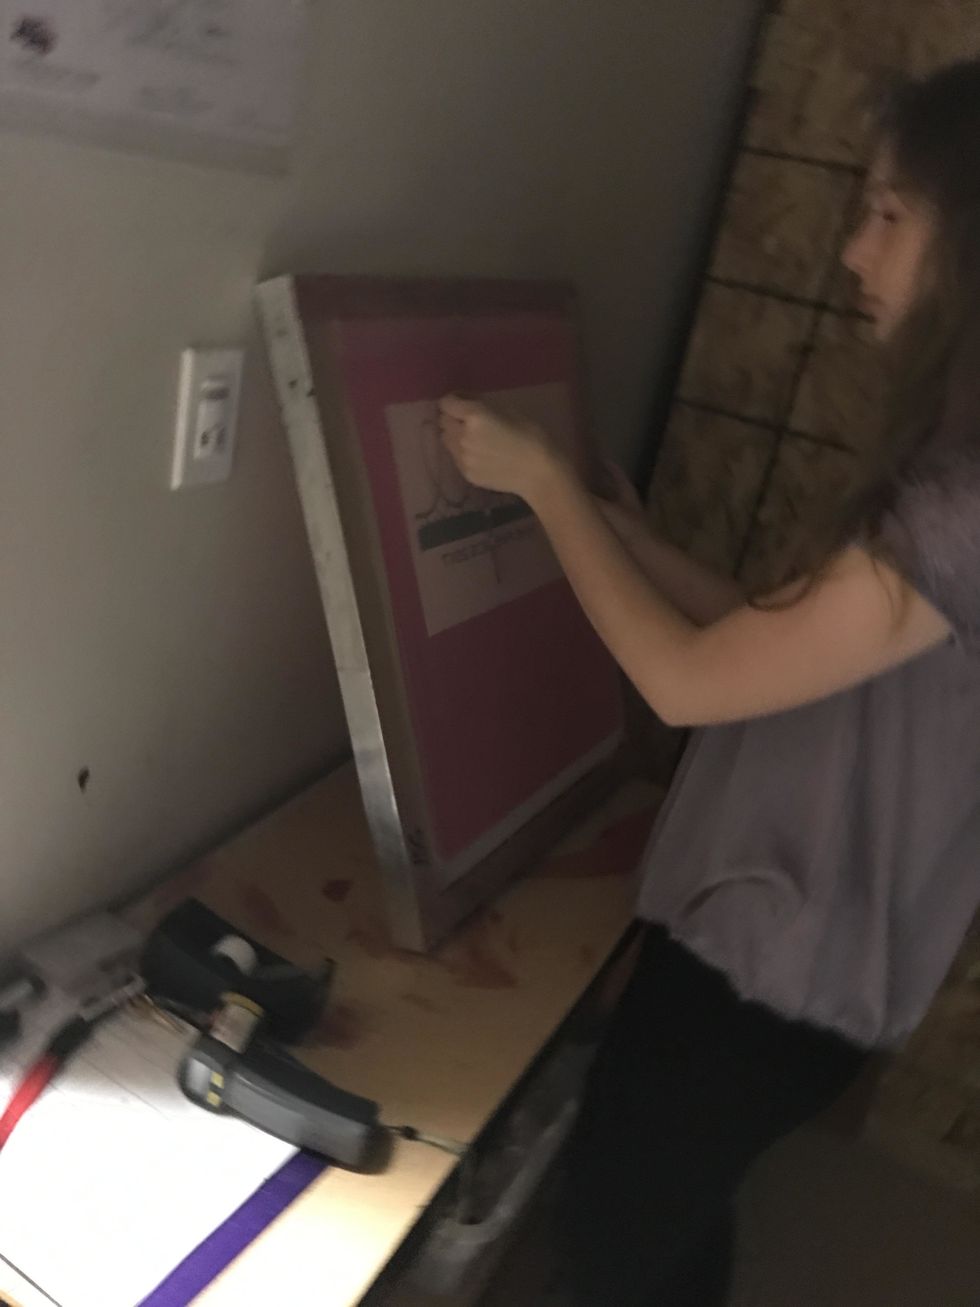
Next, line up the vellum to the back of the screen. Use t-squares to make sure the design is centered. Tape corners of design after it is lined up. Be careful because the screens are light sensitive.
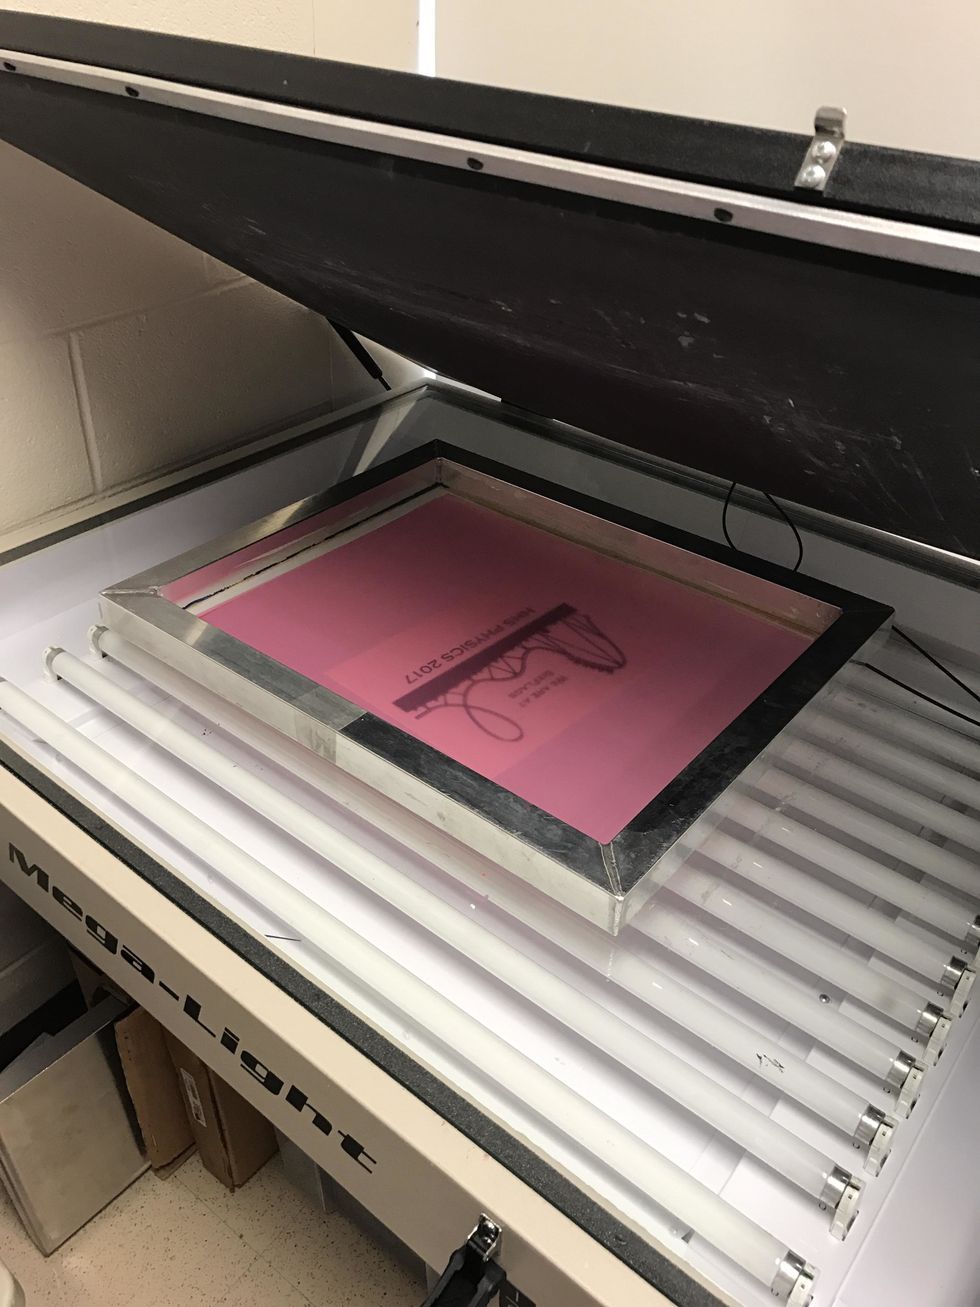
Put the screen face down in the light table. Put the strings on the screen, but not on the design. Close the top and secure it.
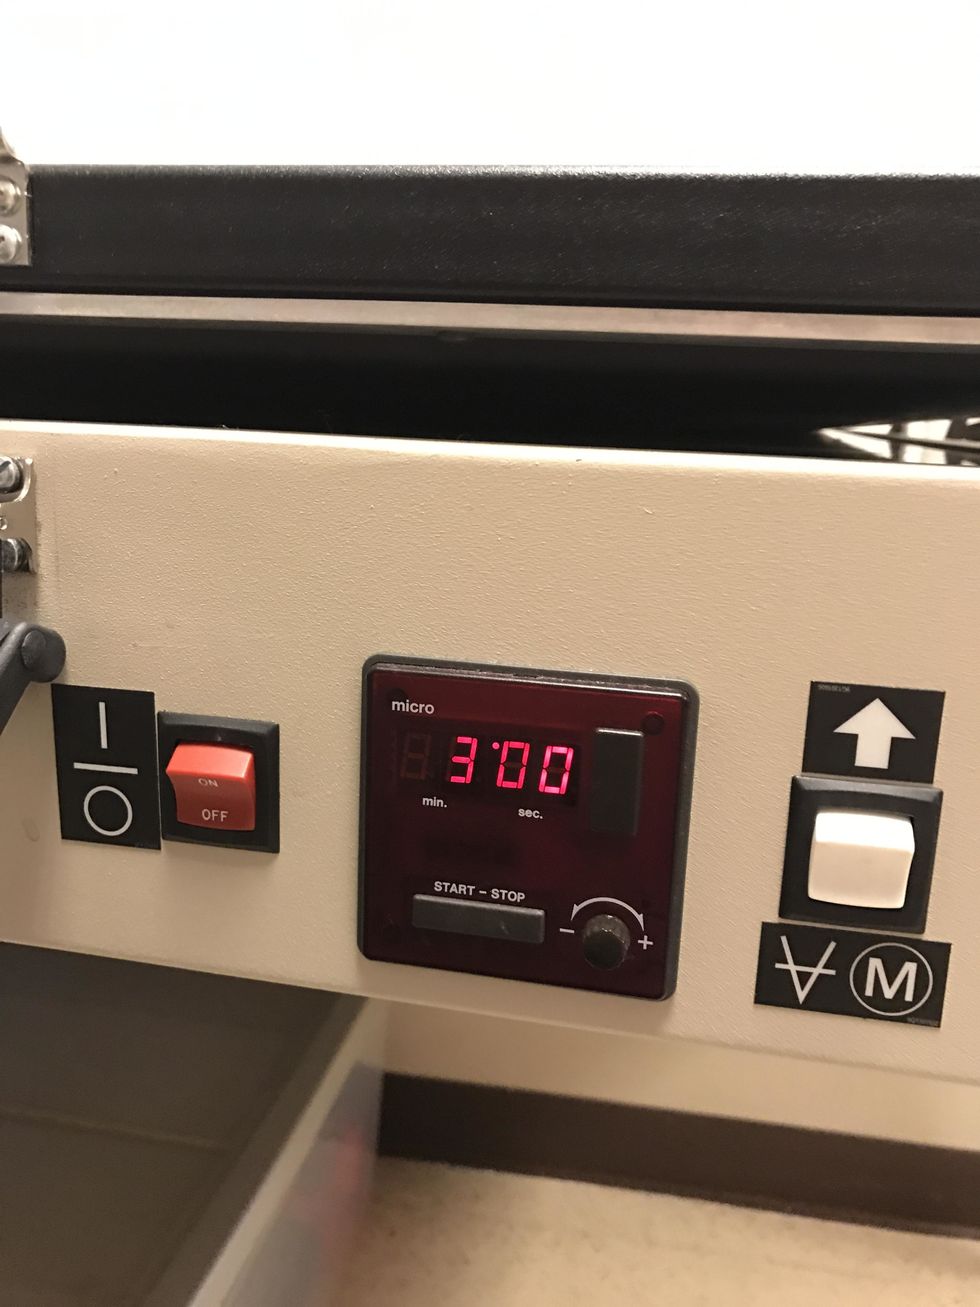
Turn it on and set timer for 3 min. Then press start, and wait until the time is up. Make sure to watch the time because it does not alert you when the time is up.
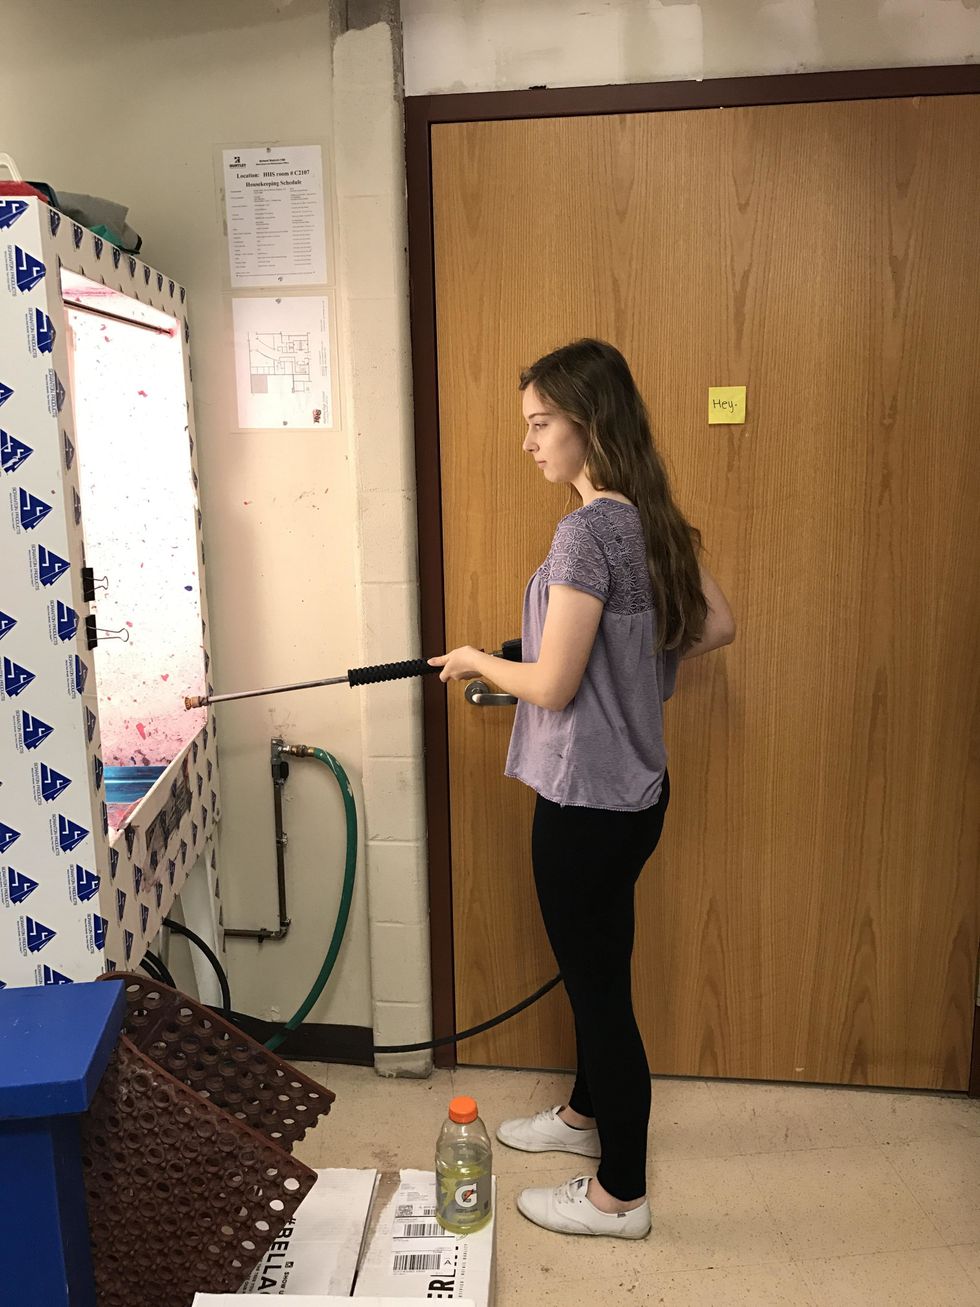
Take the vellum off and blow the screen out by spraying it with water . Let it sit for three minutes and then continue to wash it out without using pressure.
Keep washing it out until the design is blown out of the emulsion. It should have crisp edges and should be clear to see through. Once it is done, you can begin to line it up.
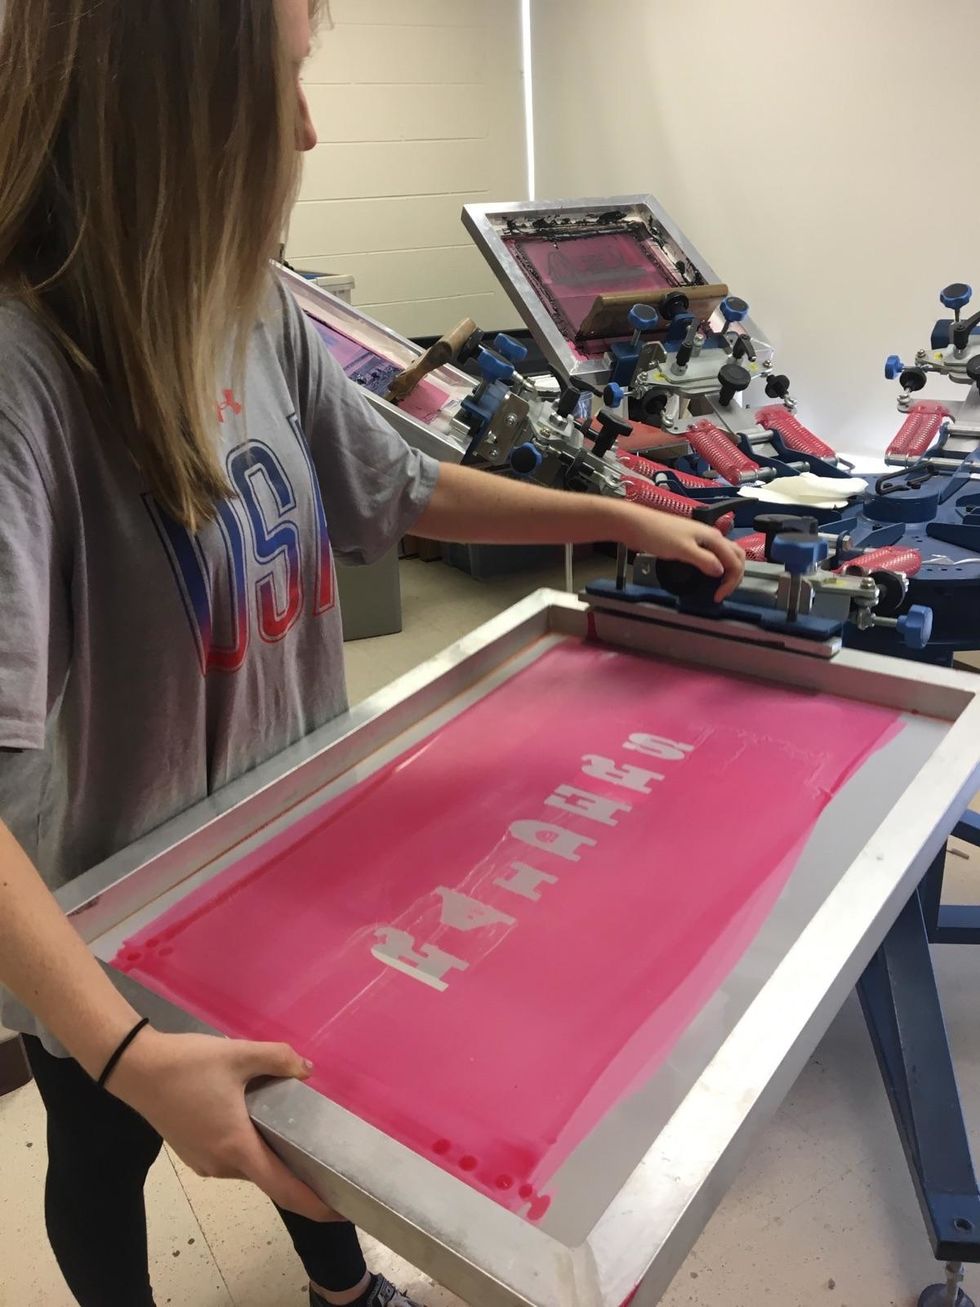
Use one or two t-squares to line up the screen to the palette. Once it is centered, tighten the screws to secure the screen in place.
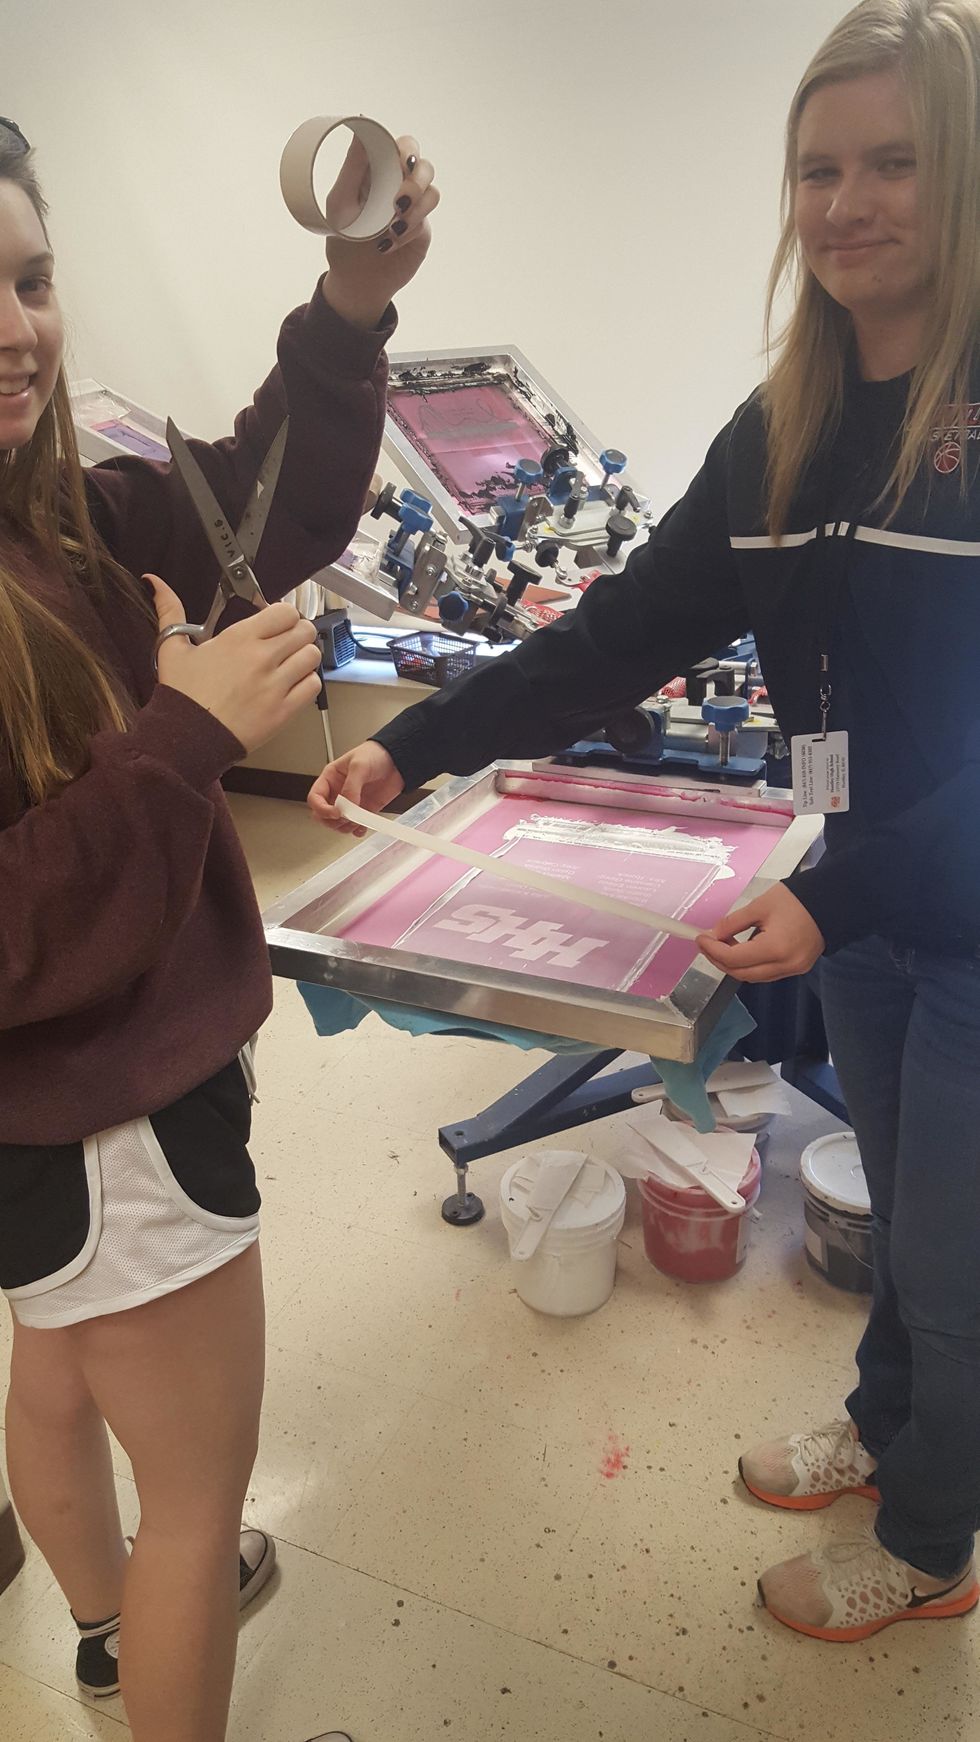
Before applying ink, make sure to tape the edges and all corners of the screen so that no excess ink gets on the shirt!
Now that your screen is ready to go, you want to practice on a practice shirt so that if something is wrong, the real shirts do not get ruined. Pick out a practice shirt.
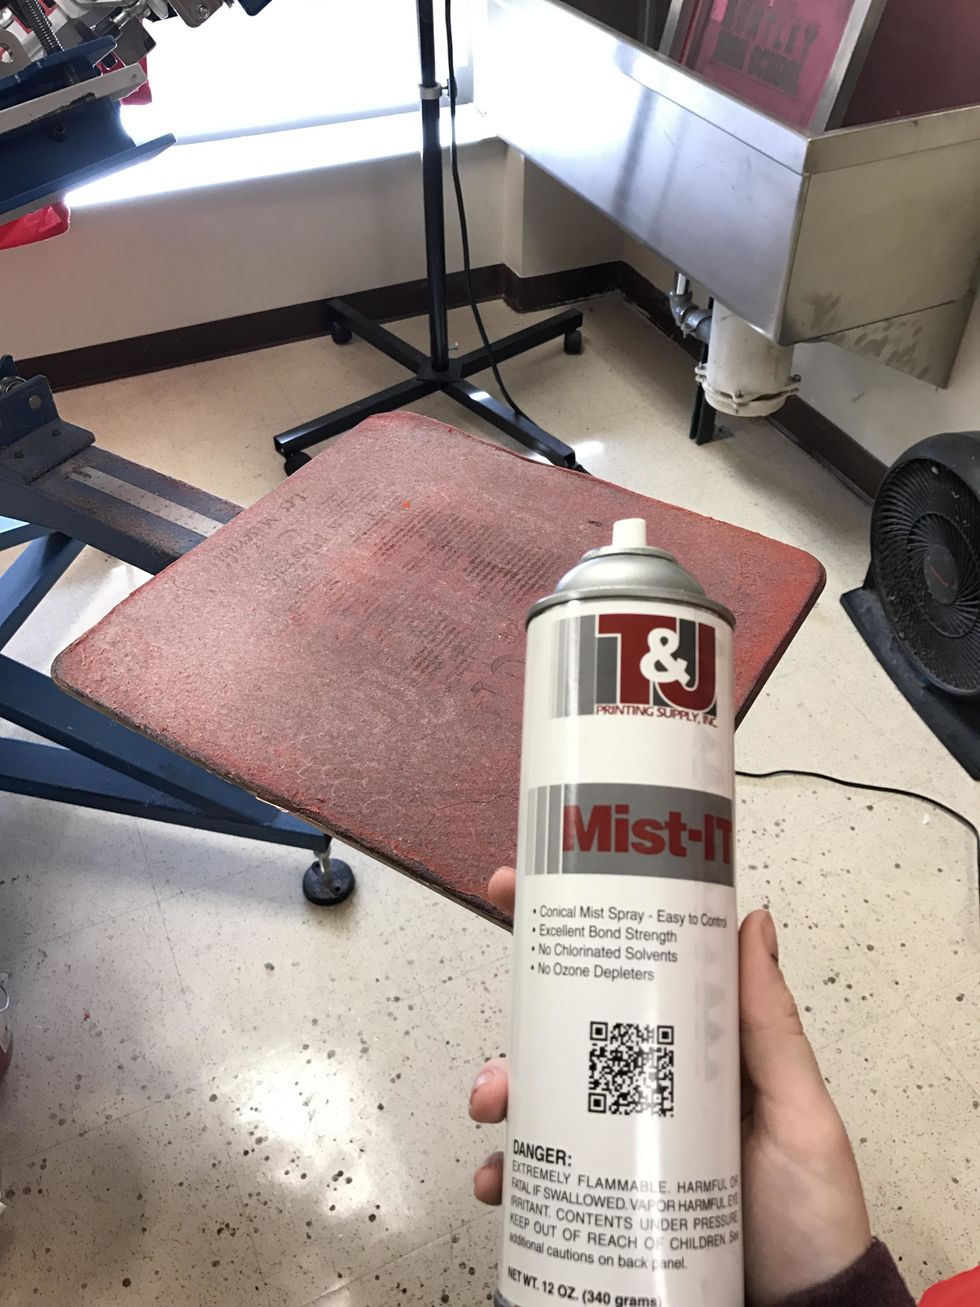
Before putting the shirt on, use mist-it to spray the palette so the shirts stick and do not move around.

You can now put the practice shirt on and put ink on the screen.
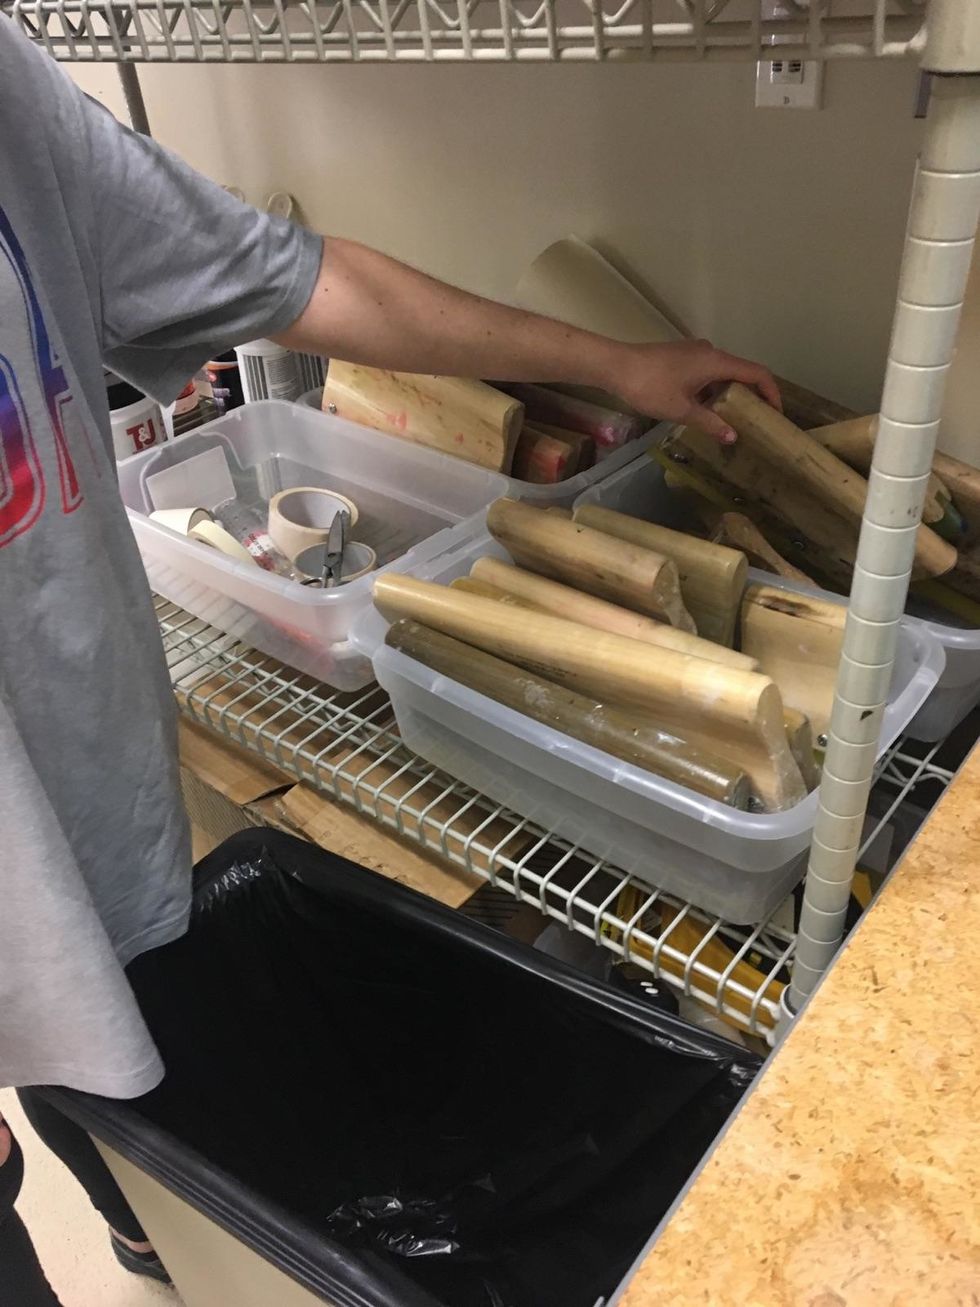
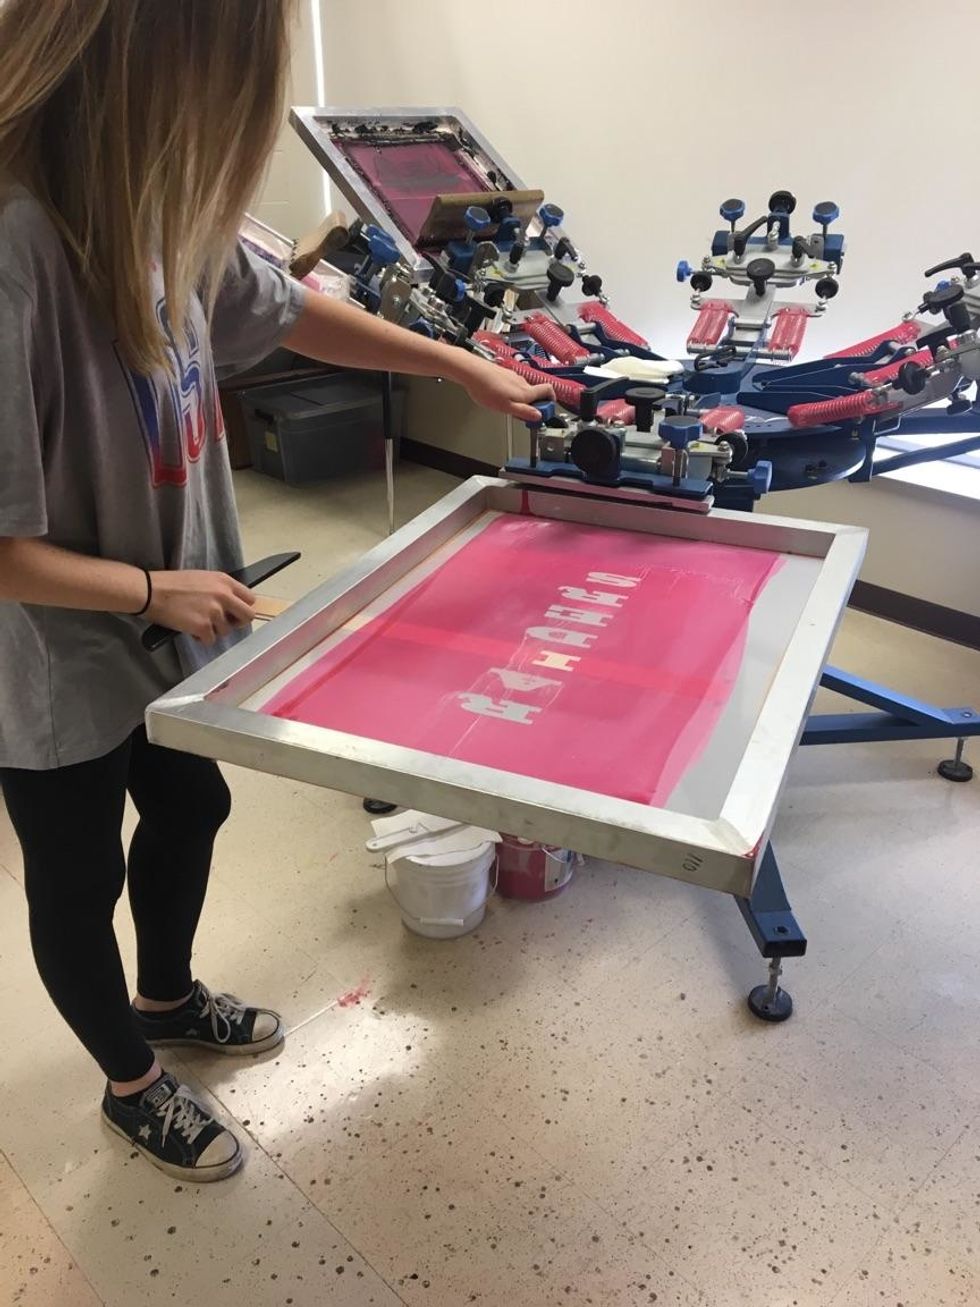
Now try to find a squeegee with the same color ink stains as the ink you are using.
Now you may begin to print on the practice shirt. Make sure to look for holes on the screen. If you see ink in places it shouldn't be, make sure you tape it up on the backside of the screen.
After the practice shirt has the ink on it, put it in the dryer. Make sure the dryer is at 975. Check the practice shirt after it comes out to see if it turned out ok.
As the practice shirt comes out, use the heat gun and make sure they dried at the correct temperature. If everything turned out ok with the practice shirt, you may now begin!
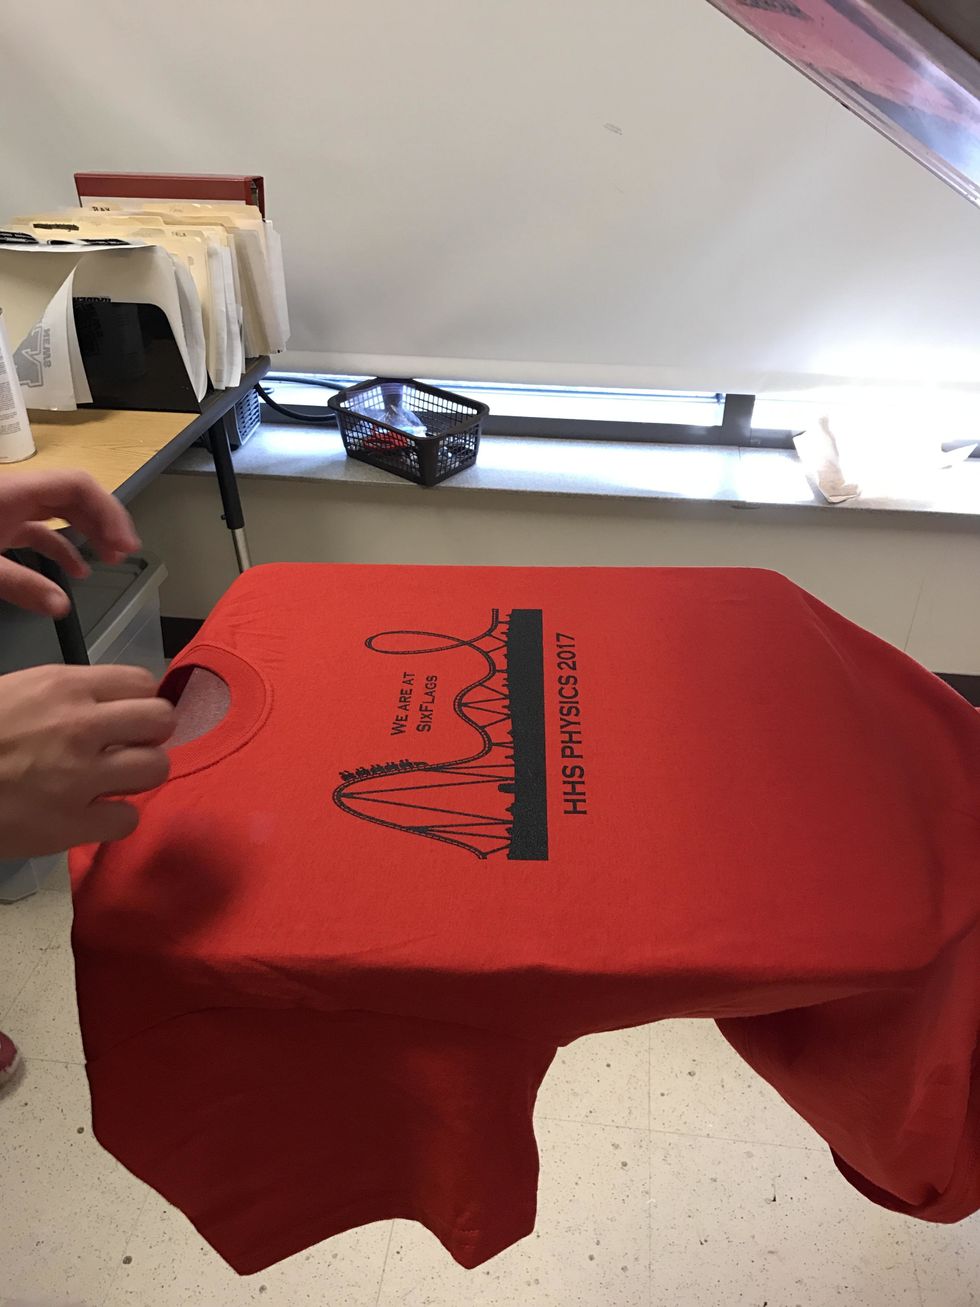
Now put the real shirt on the palette. Line it up by checking the distance from the armpits to the palette and by using the lines on the palette.
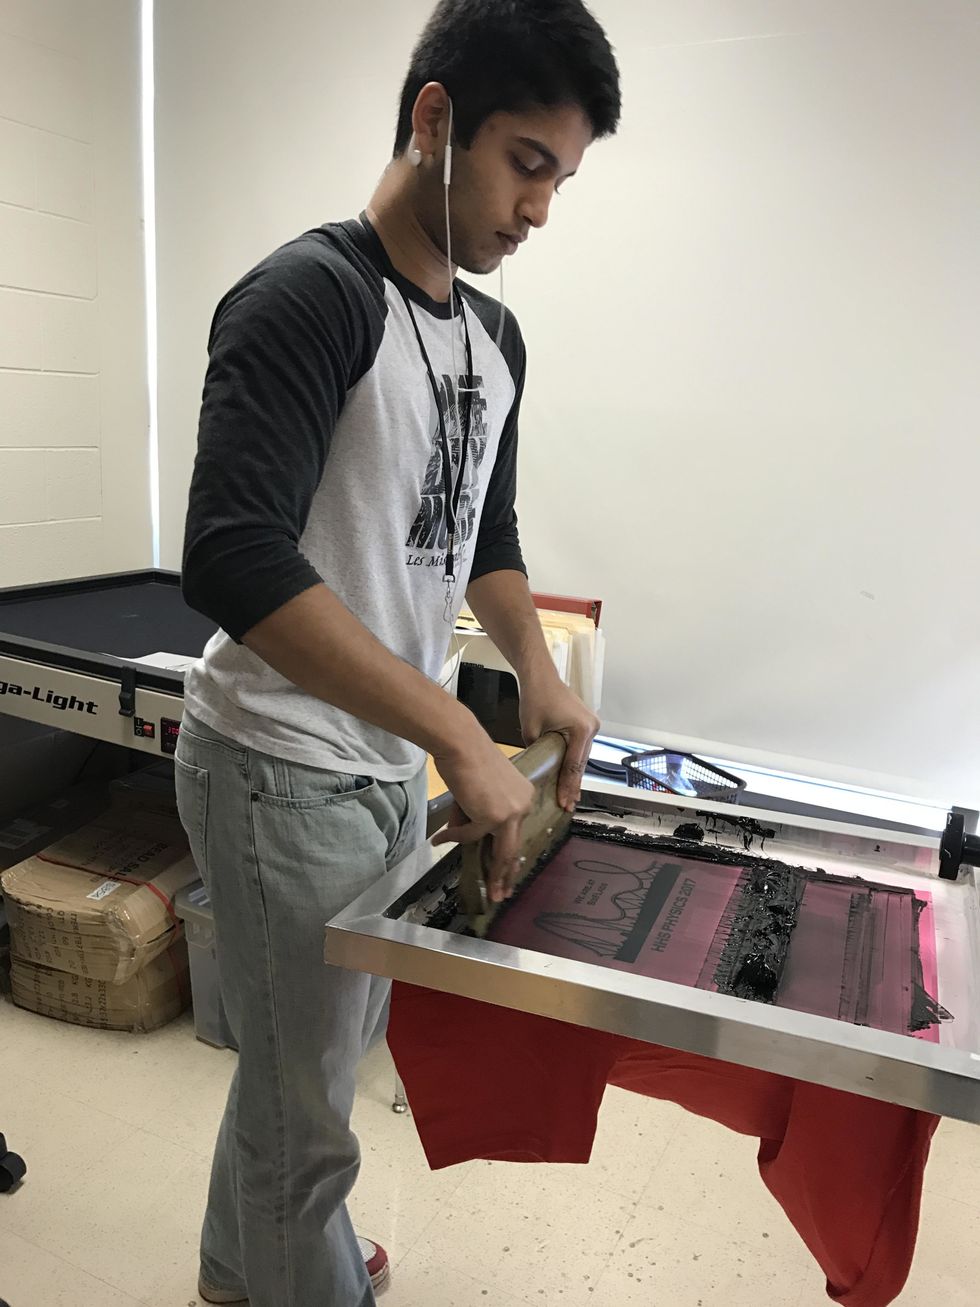
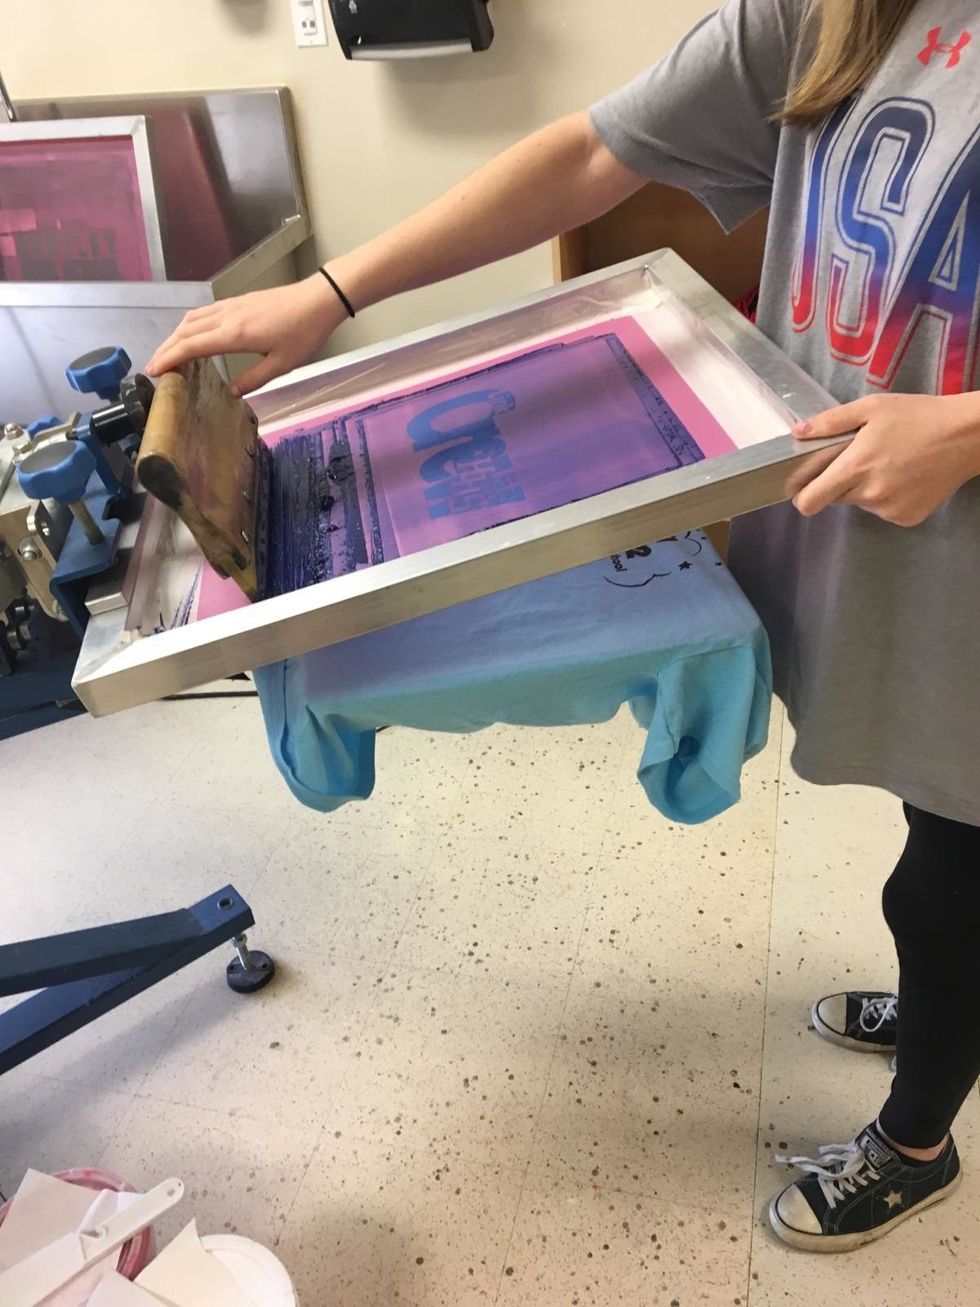
Squeegee.
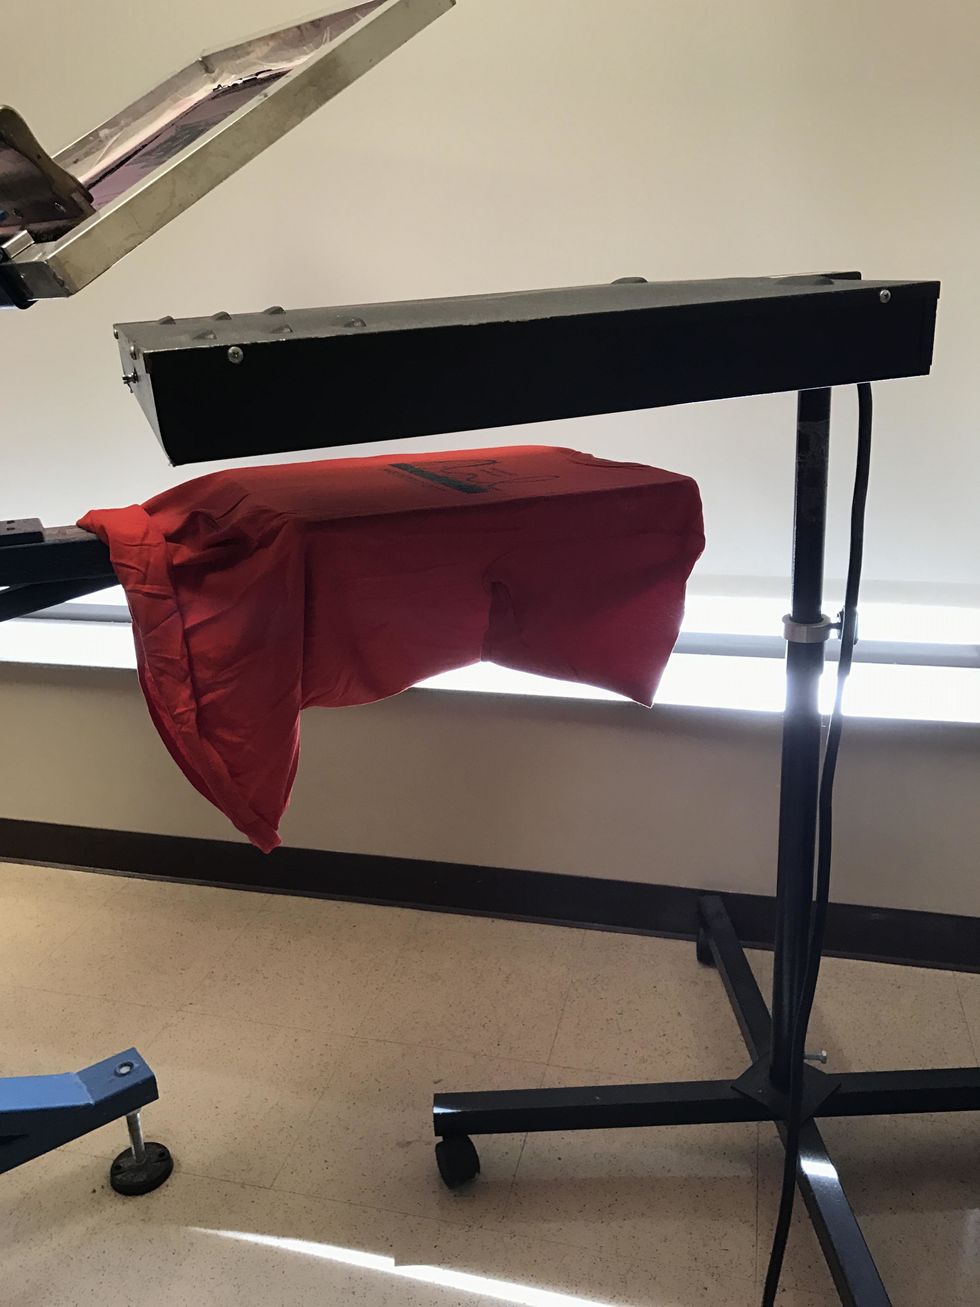
if it is two color process, you would put it under the heat lamp until the ink is dry. Touch the ink with your finger to check if it's dry, and if it is, then continue to squeegee the second layer.
Once the shirt is complete with the final layer of ink, do not put it under the heat lamp. Instead, carefully take the shirt off and take it straight to the dryer.

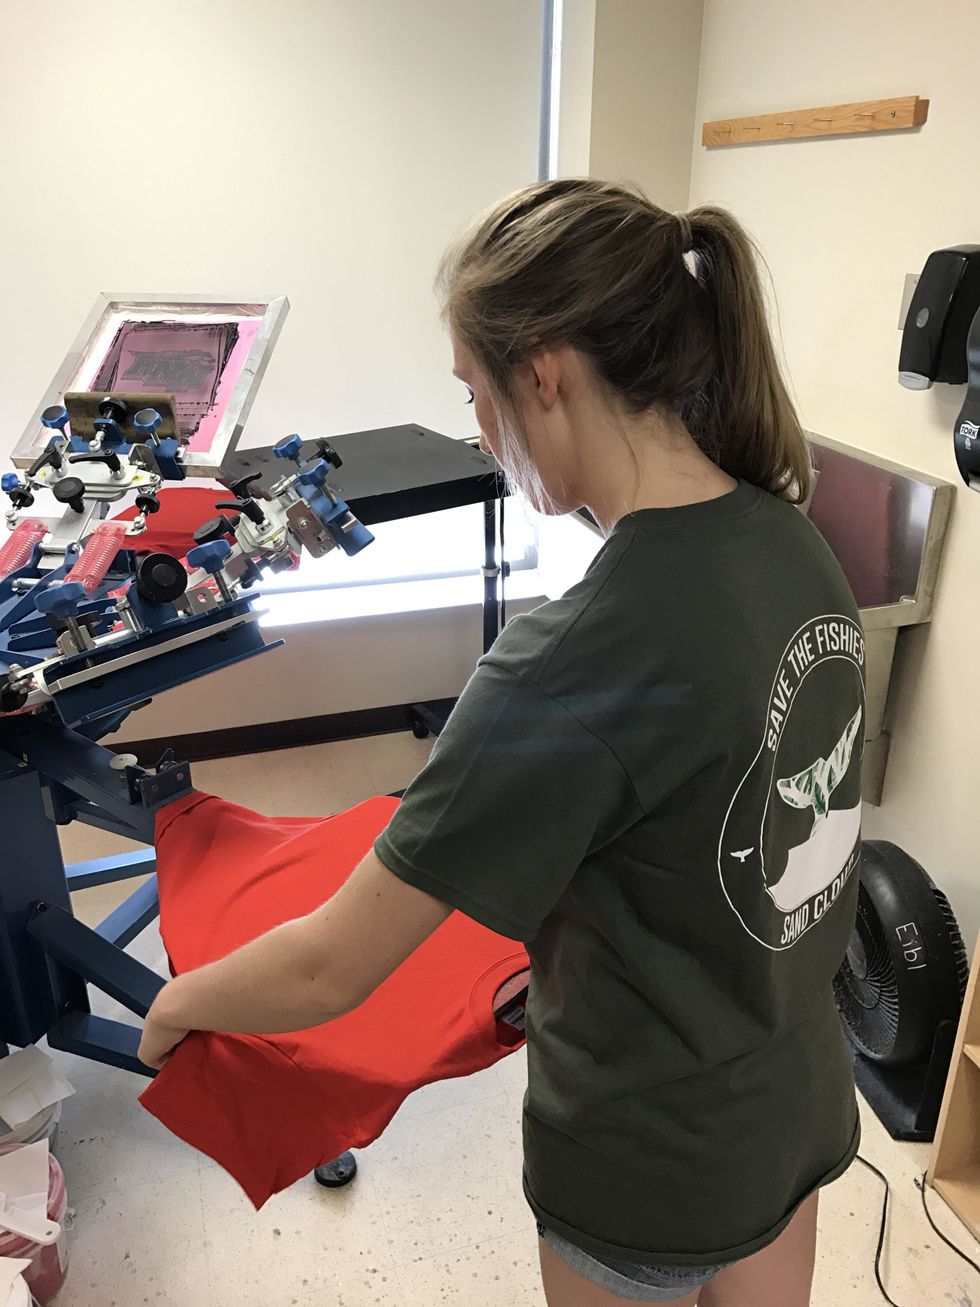
Just like Jackie is doing.
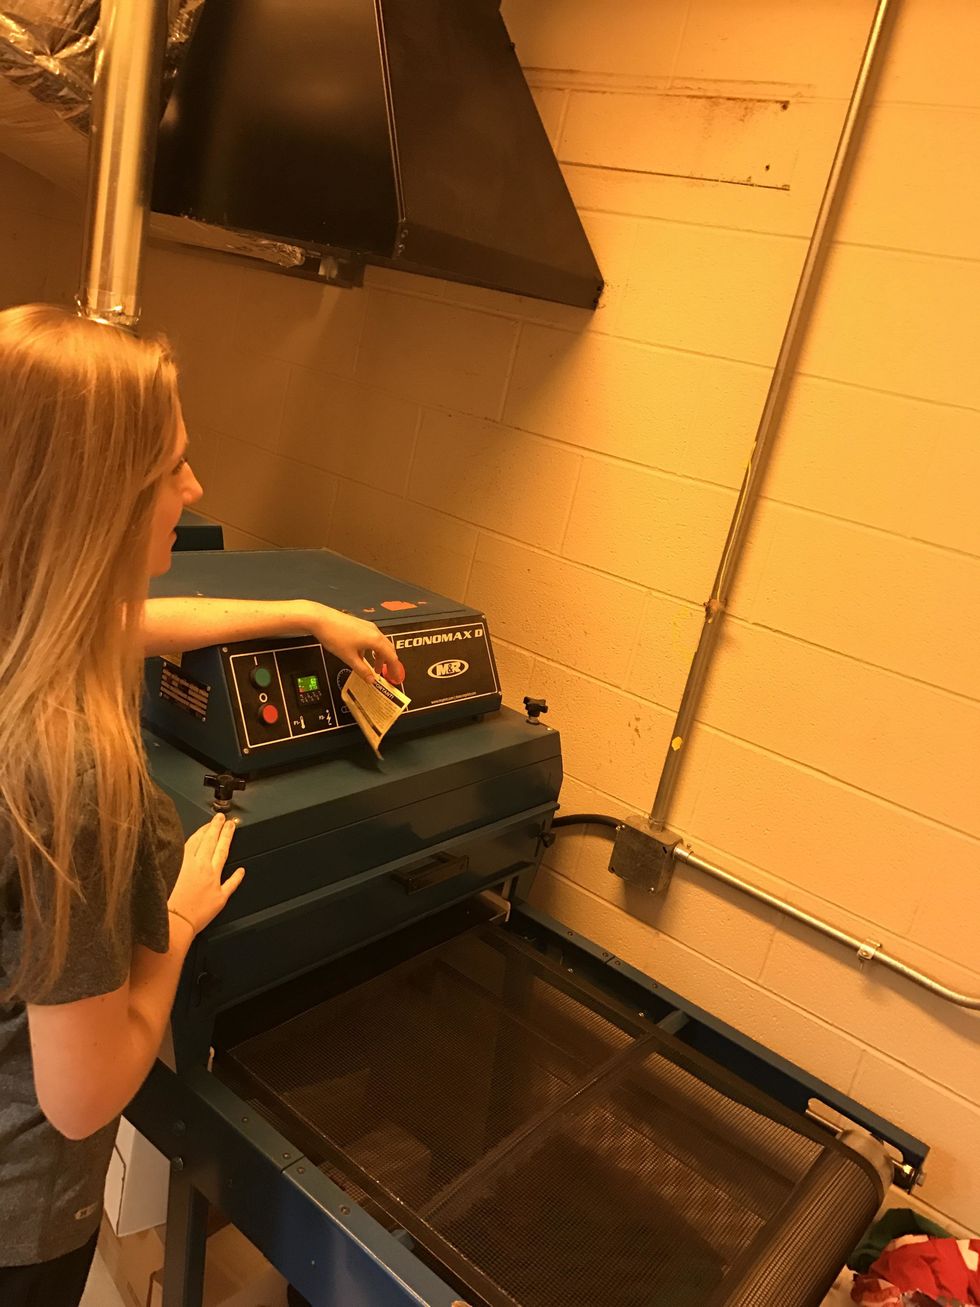
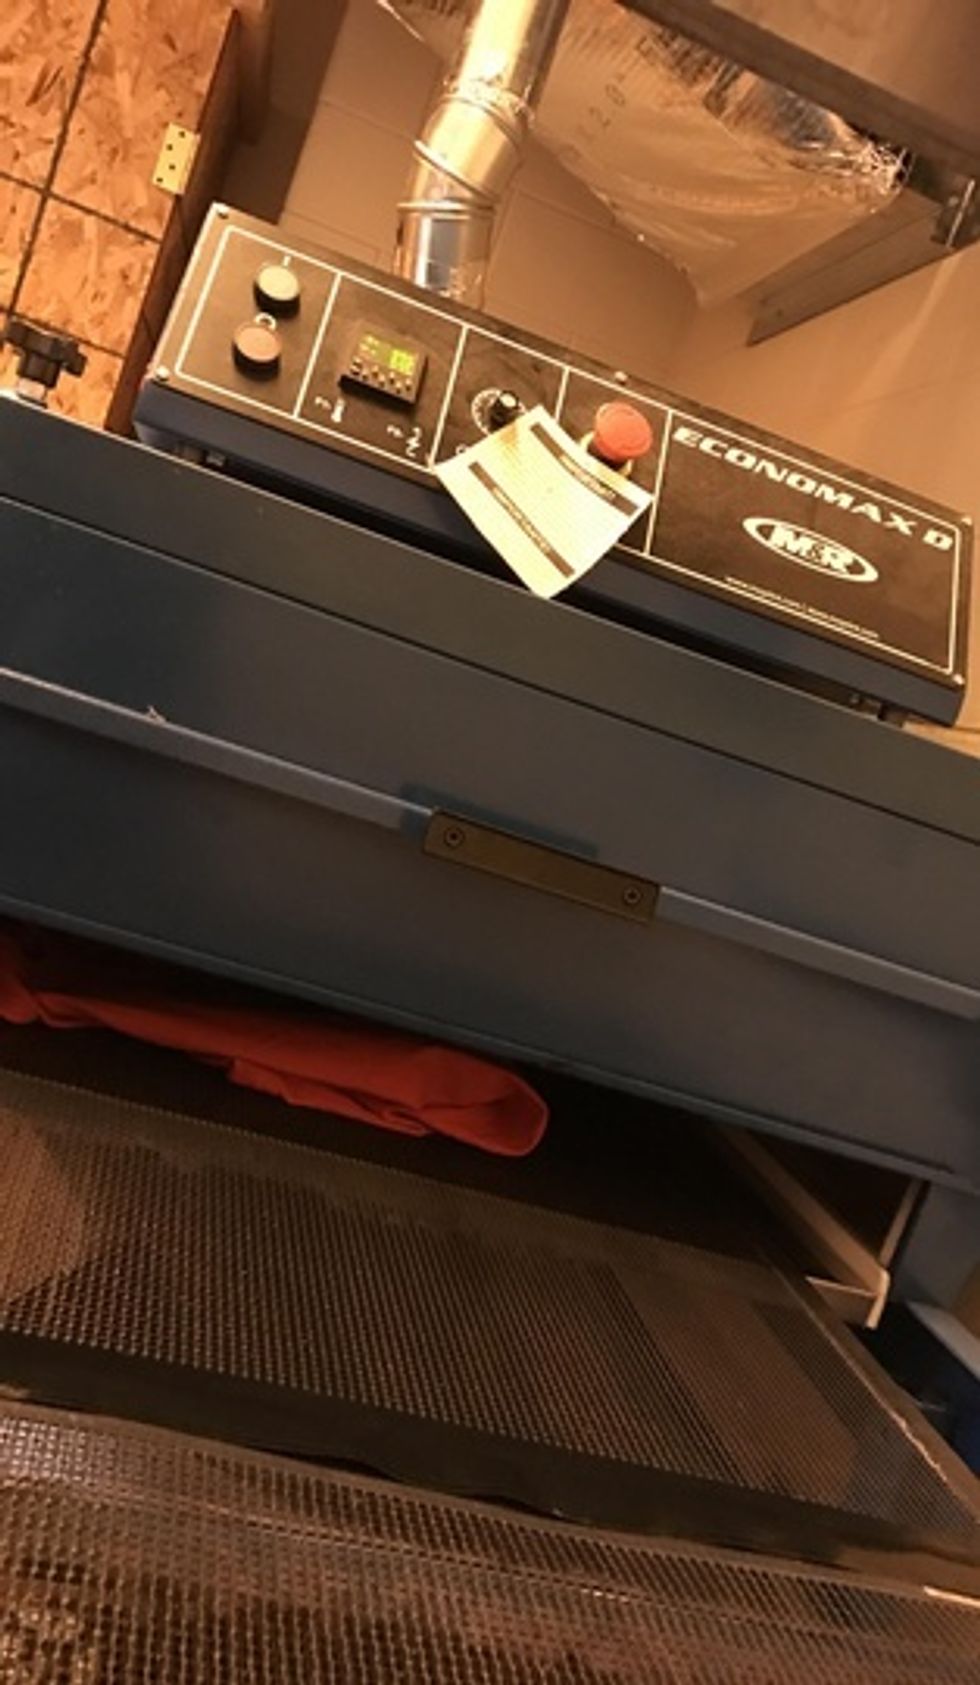
Again, double check the dryer unit is on and still set at 975, also make sure it is set at the correct speed at about 1. If the shirt is thinner, you may want to speed it up to avoid ink bubbling.
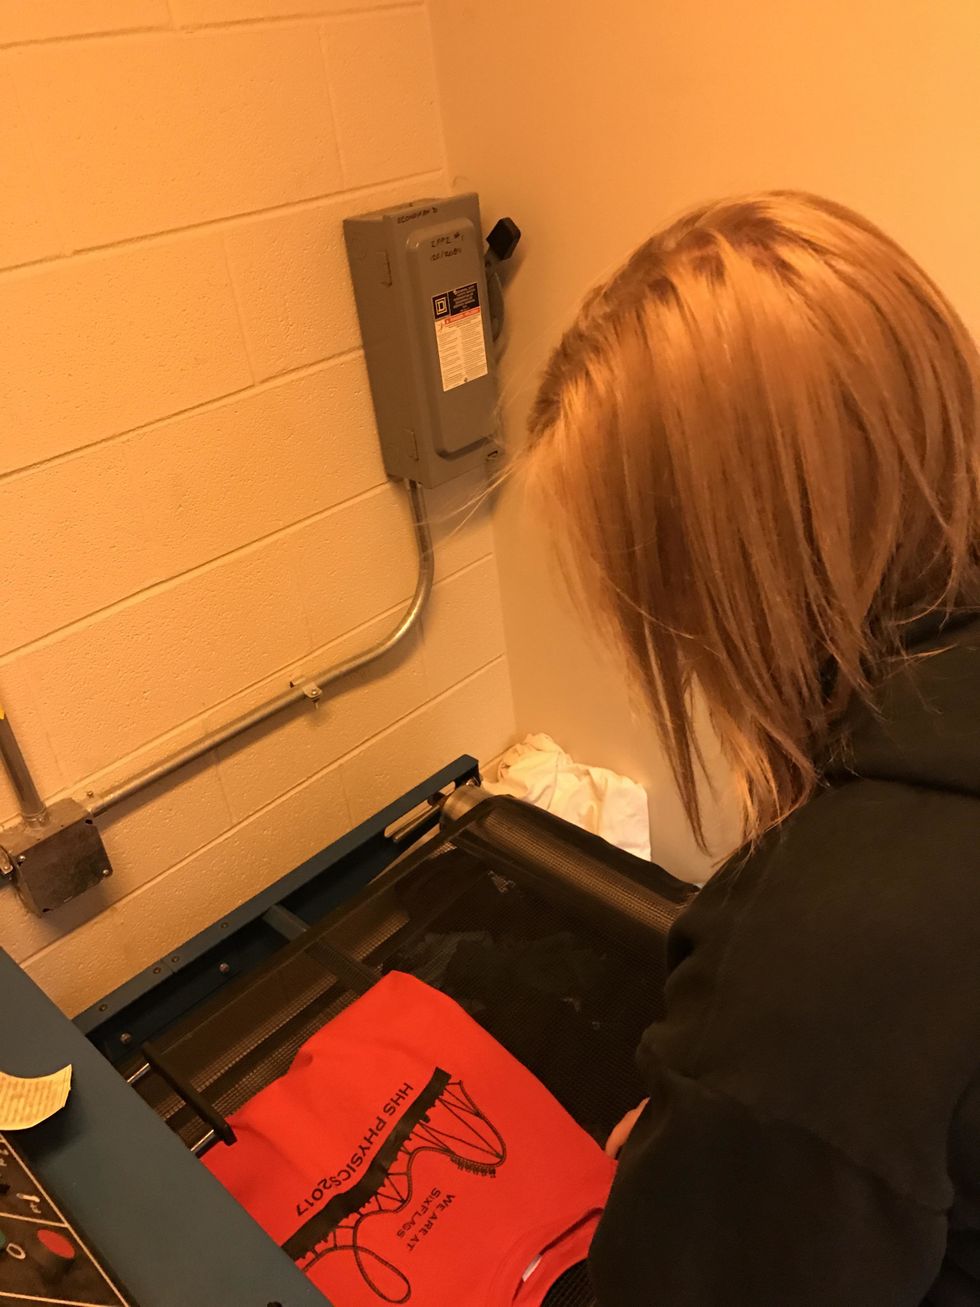
Put the shirt on the conveyor belt making sure the design is not touching any other part of the shirt.
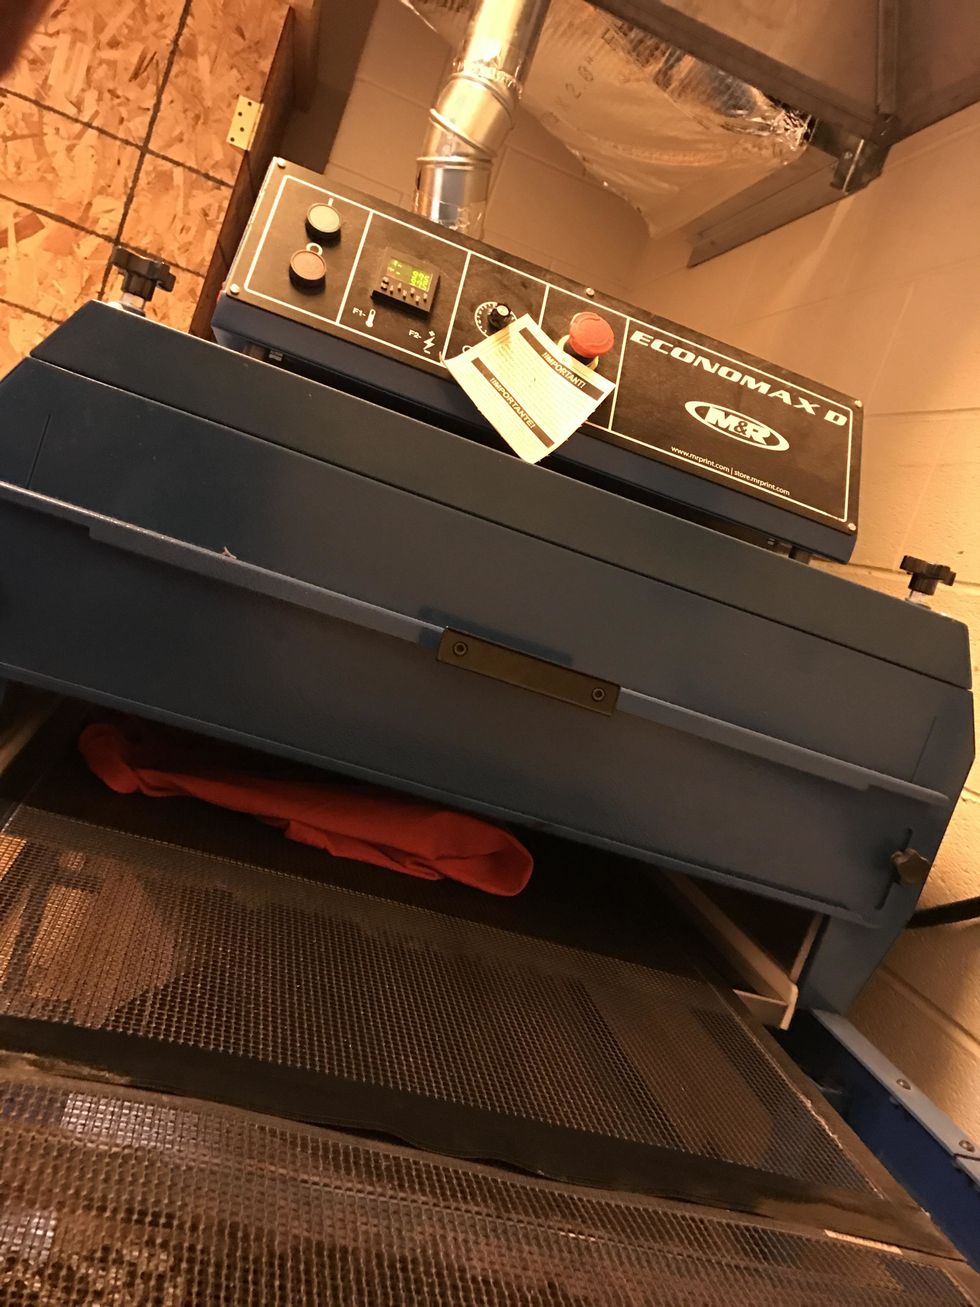
The shirt will go through the dryer.

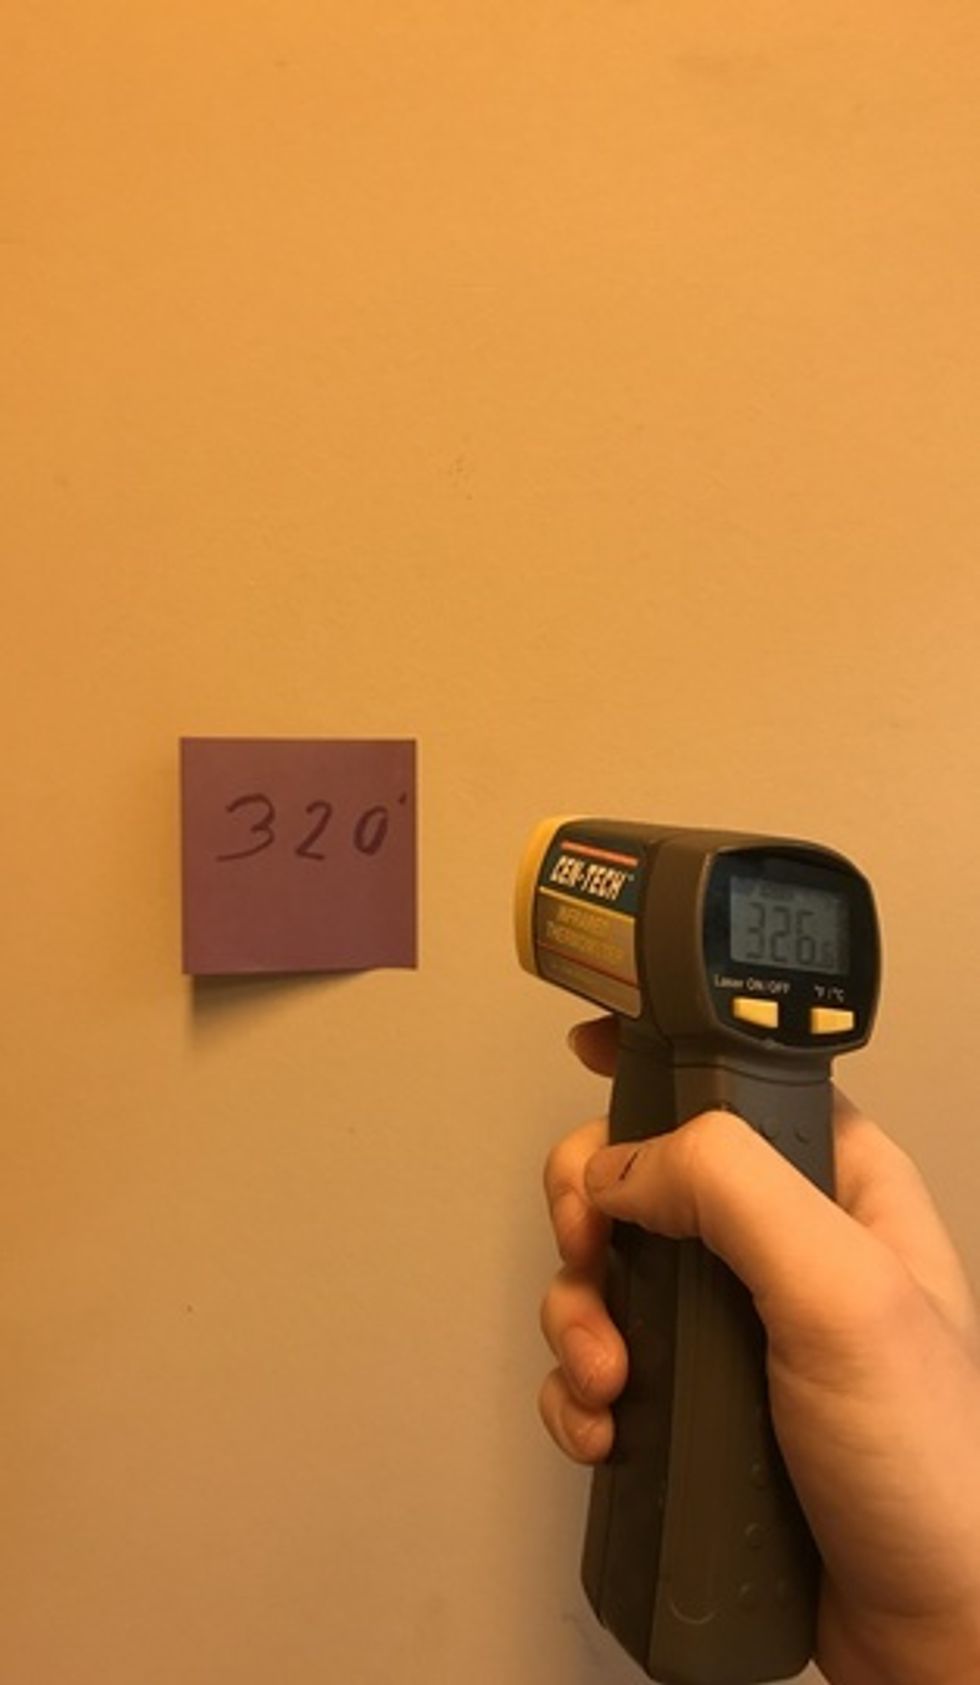
Measure the temperature of the shirt with the heat gun pointing the laser at the ink on the shirt.
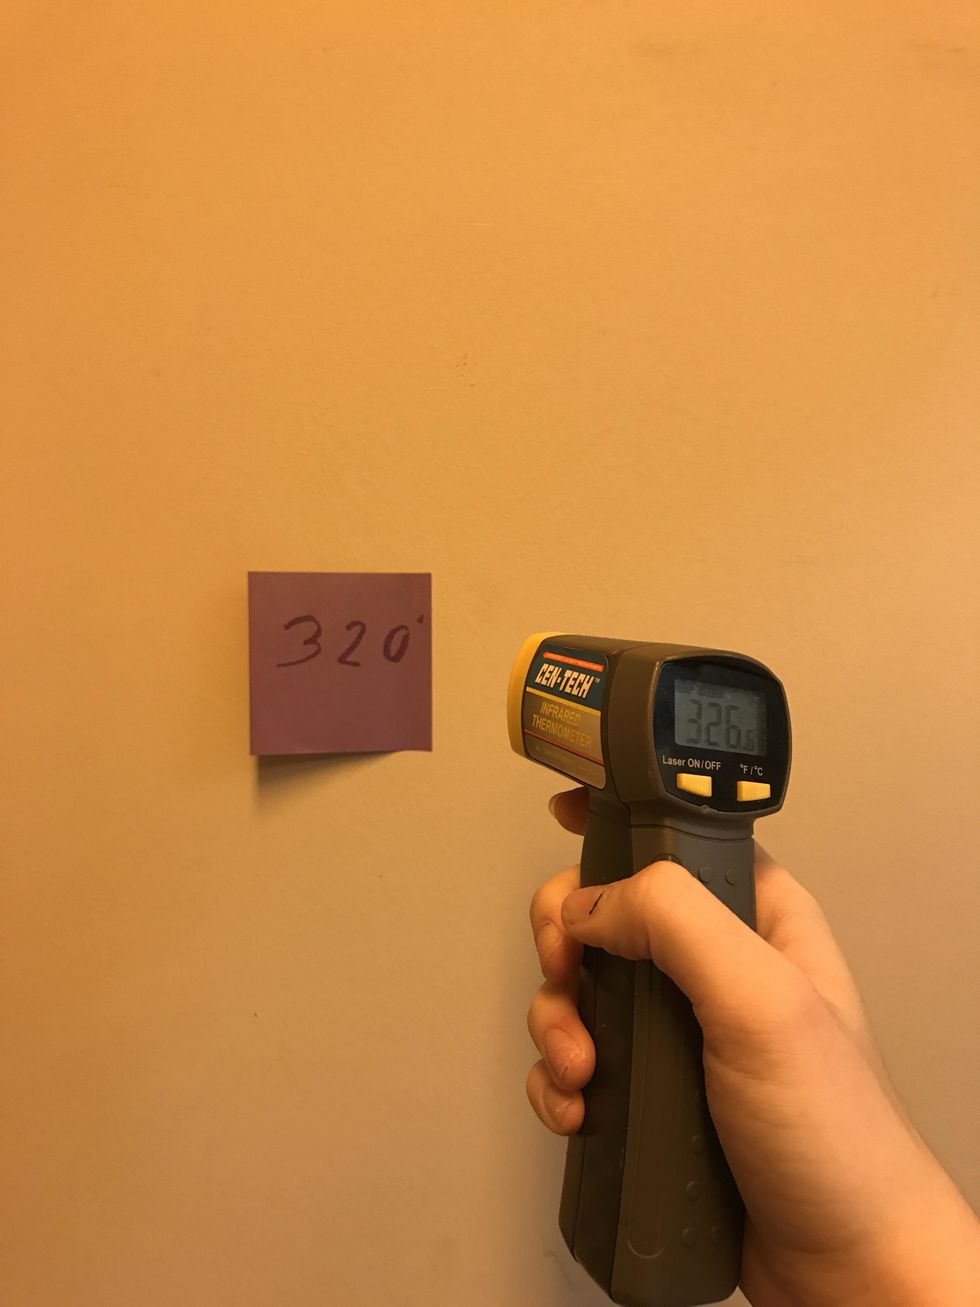
The heat gun should read 320 degrees when coming out of the dryer pointed at the ink.
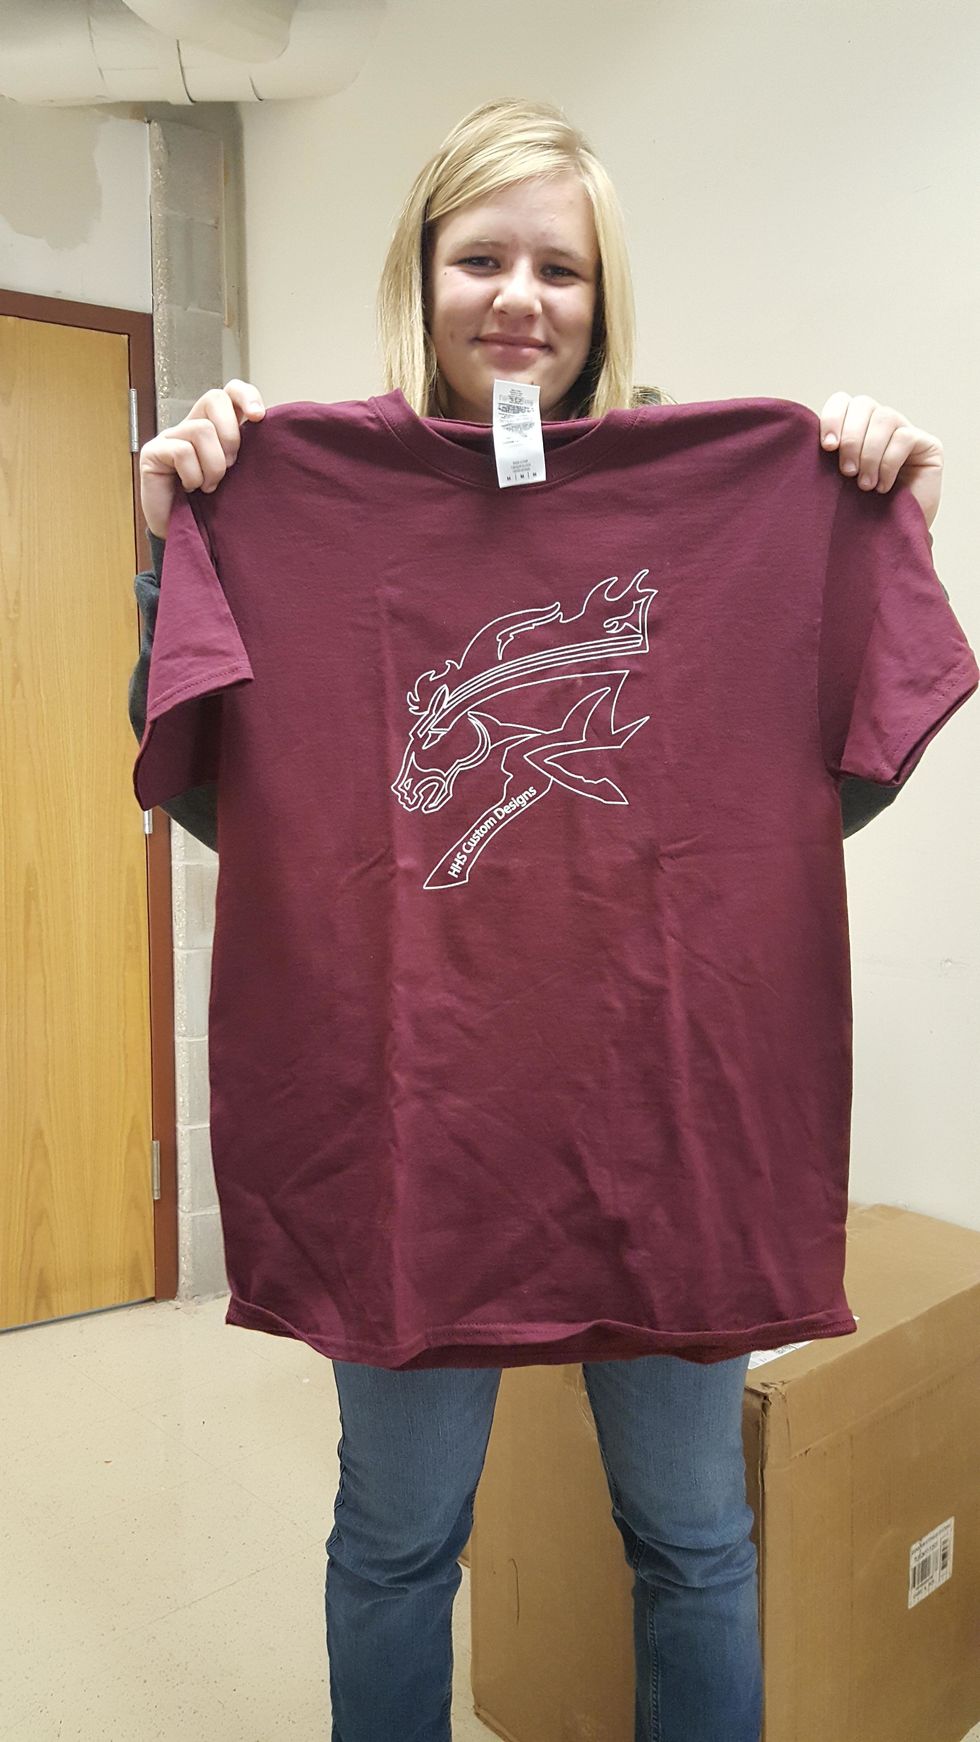
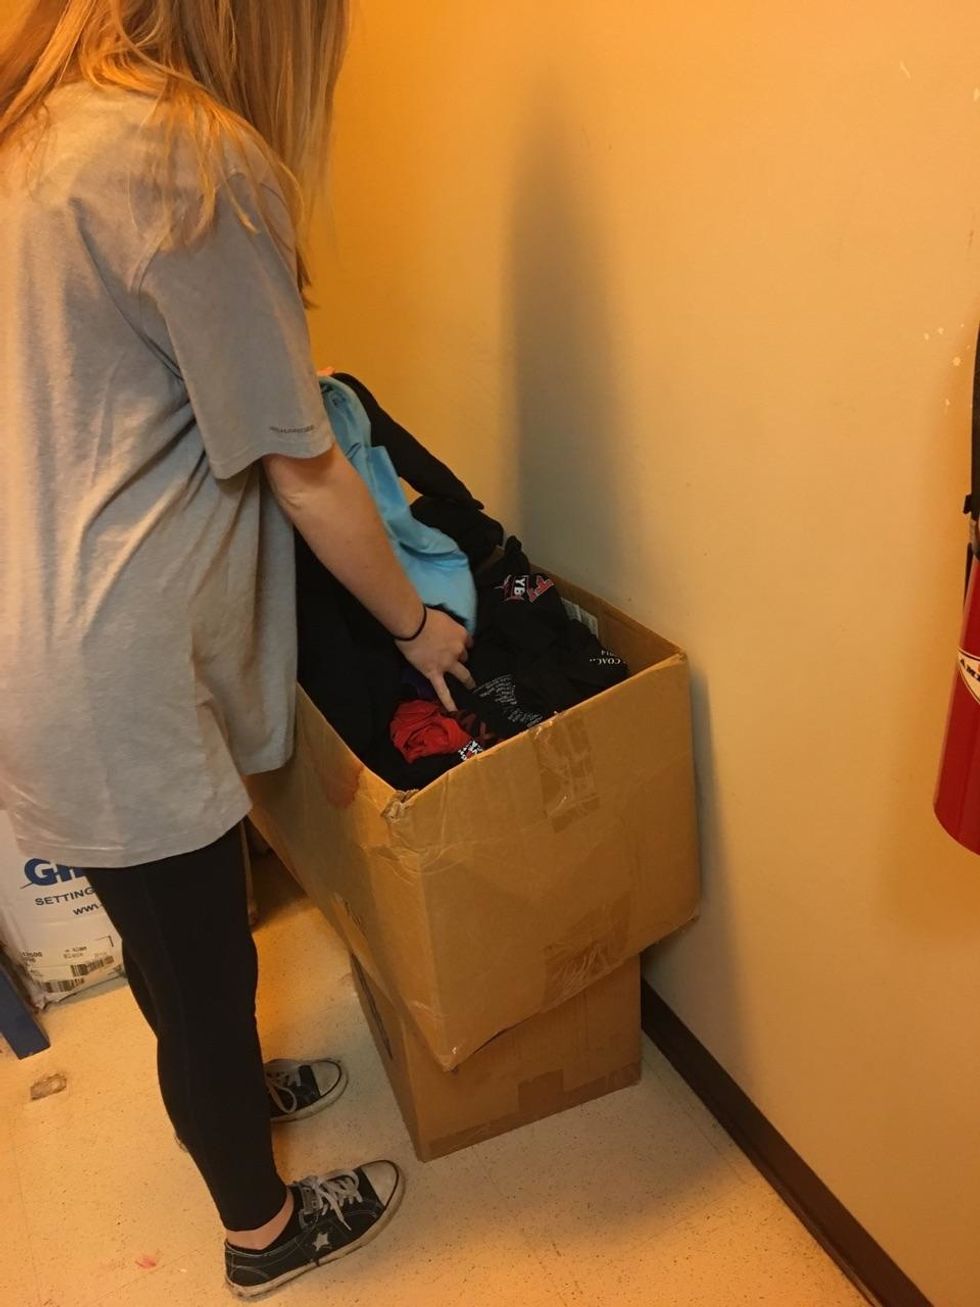
Now your shirt is complete! They are ready to be sorted, folded, counted, and delivered if needed.