The Conversation (0)
Sign Up
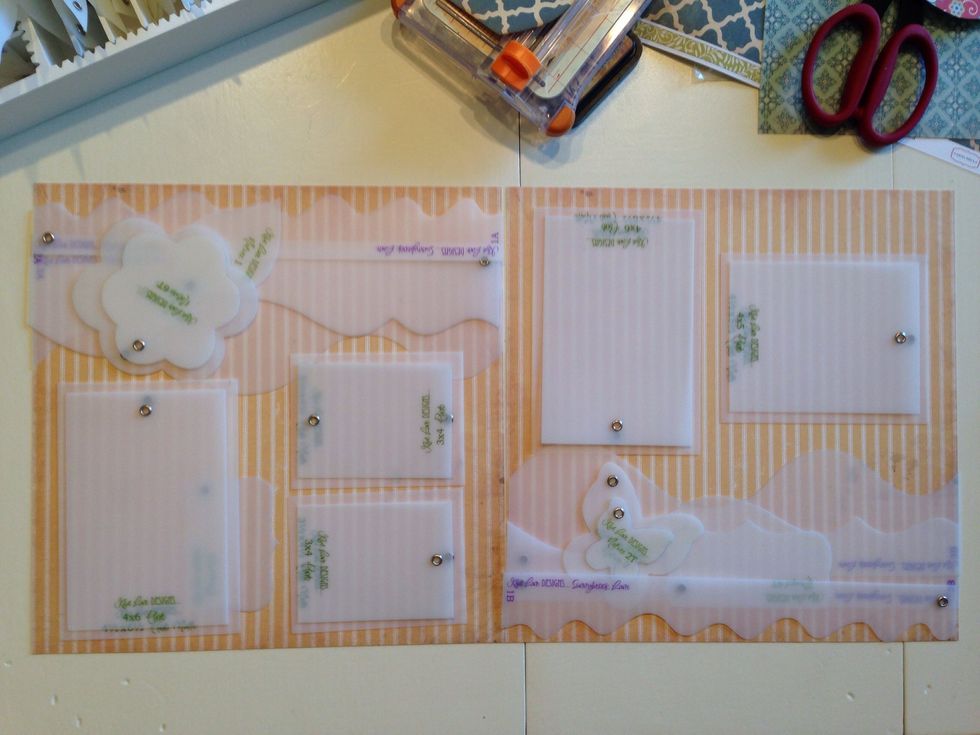
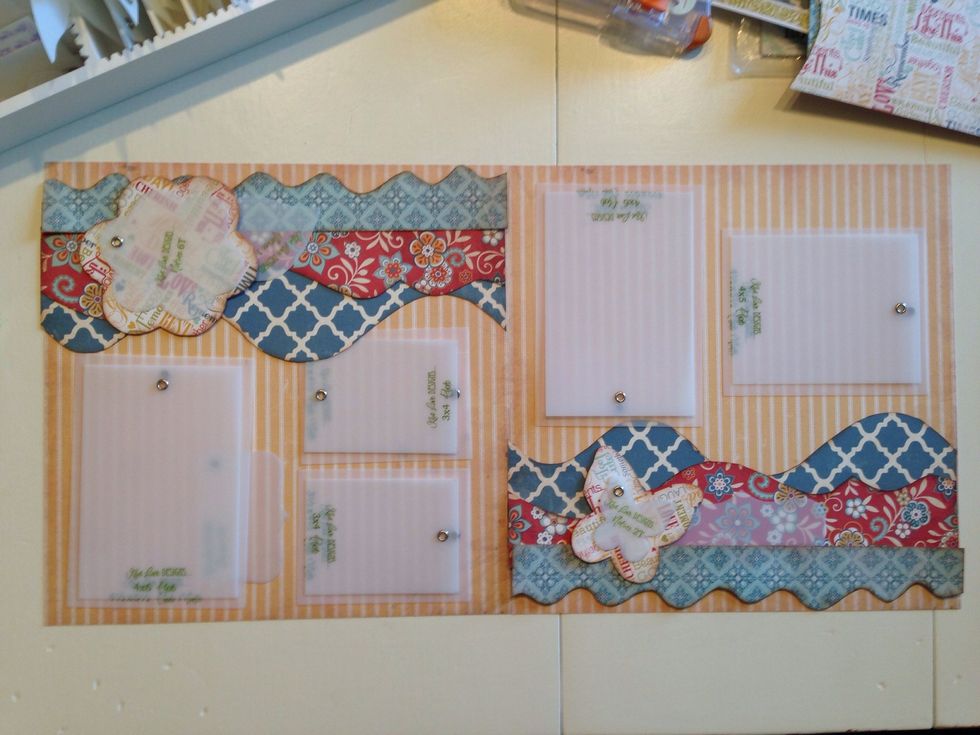
Using the Kiwi Lane Designer Templates, first visualize your layout. Play with the templates until you come up with a design that you like before you cut into your paper.
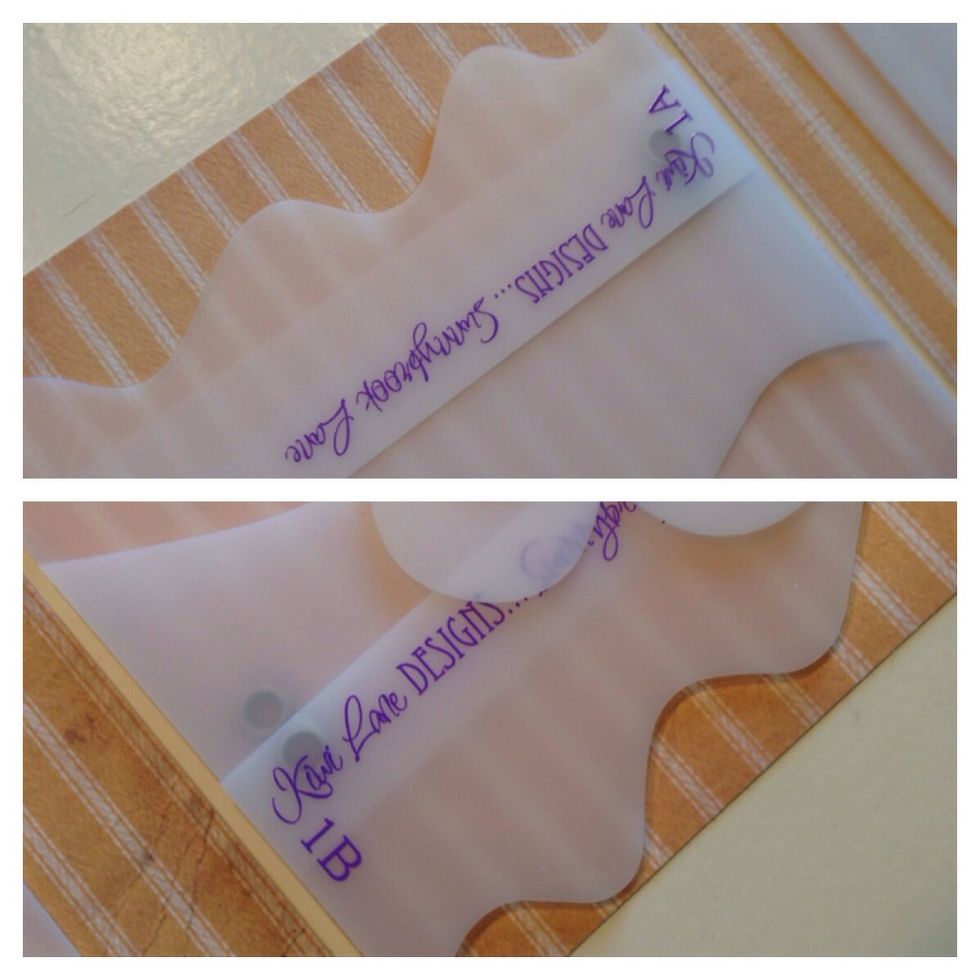
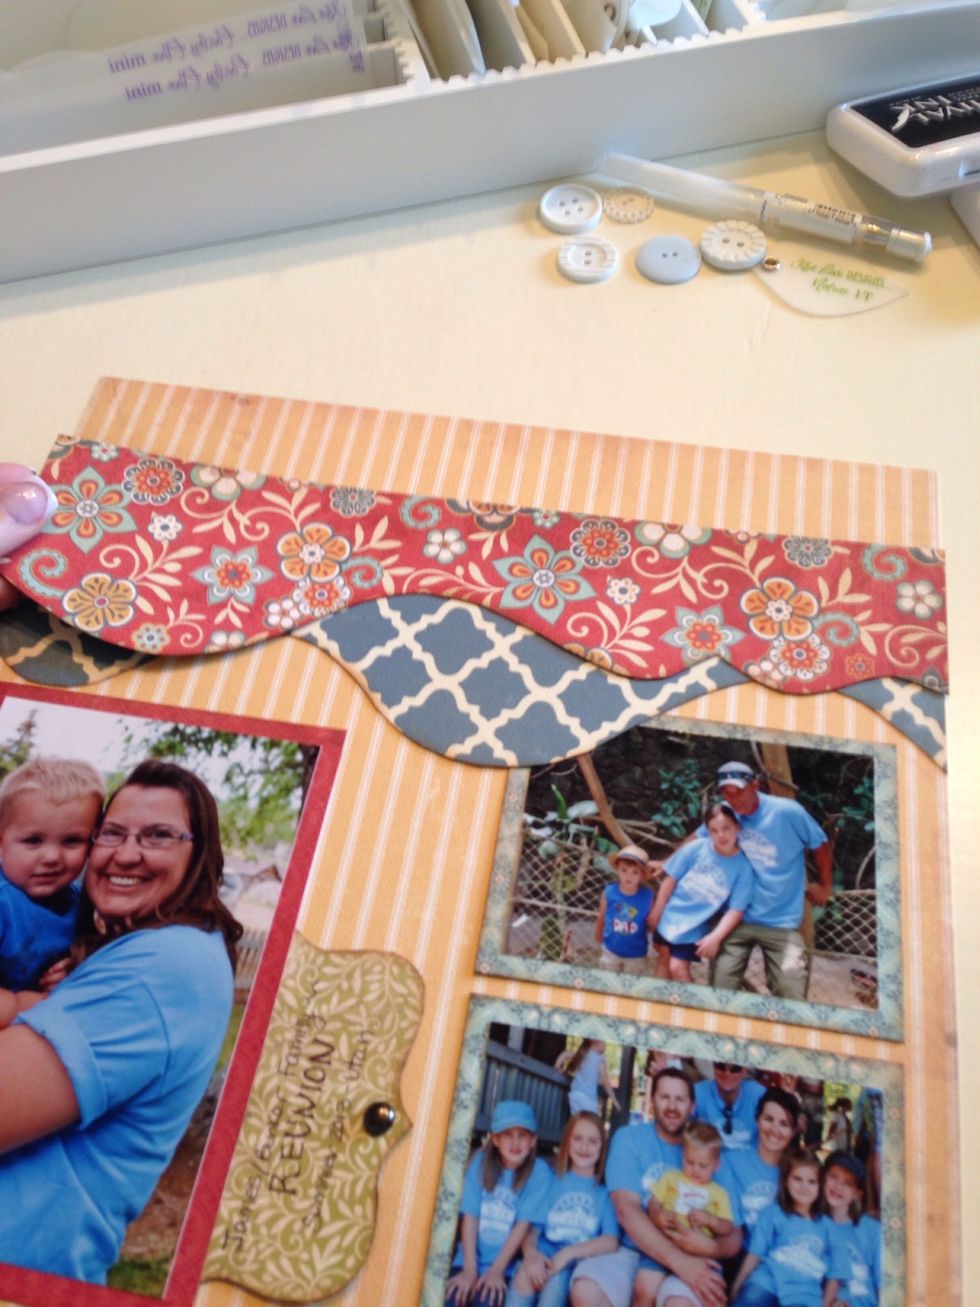
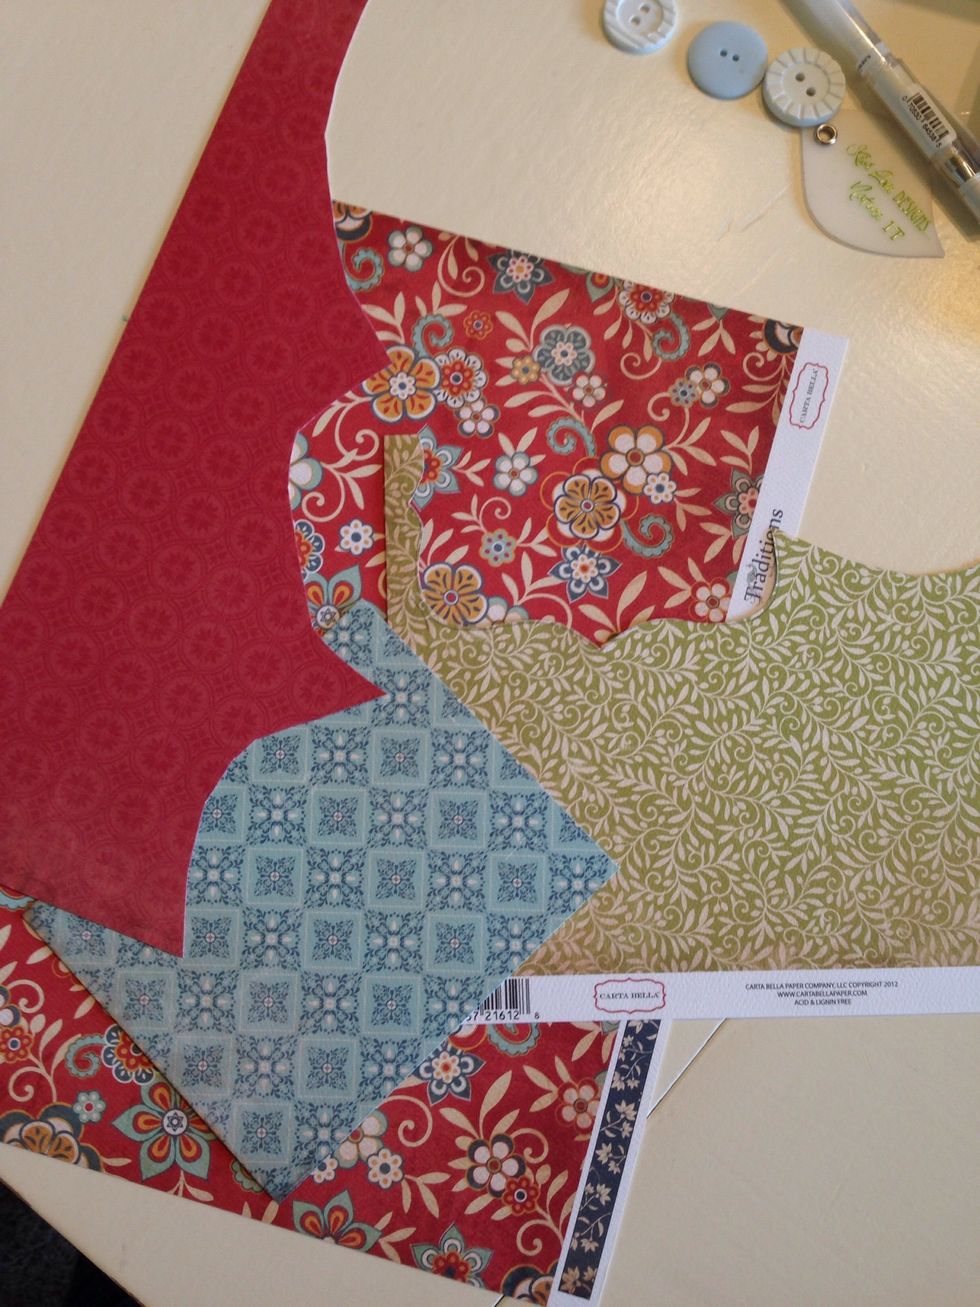
Then, starting with the borders, pick up your matching A and B templates.
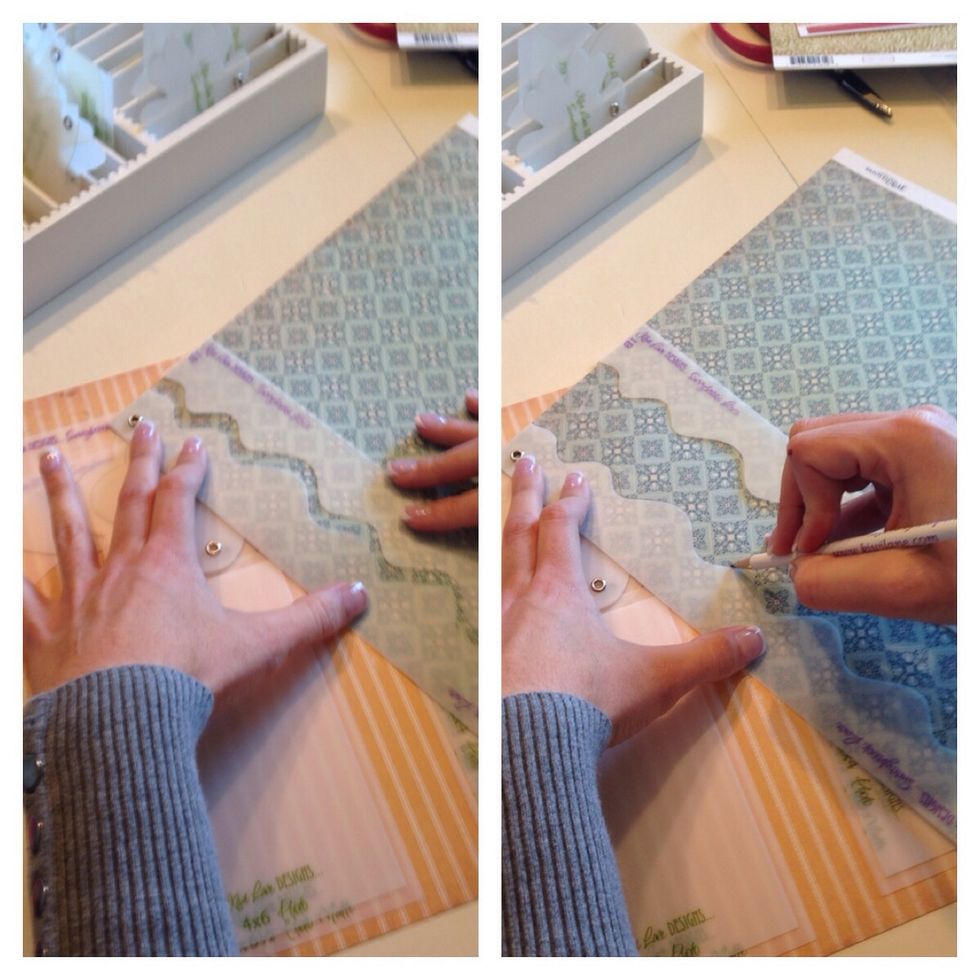
Take the two pieces and trace them out together on the same coordinating paper. Line your Template A up with the edge of your paper. Trace along the edge.
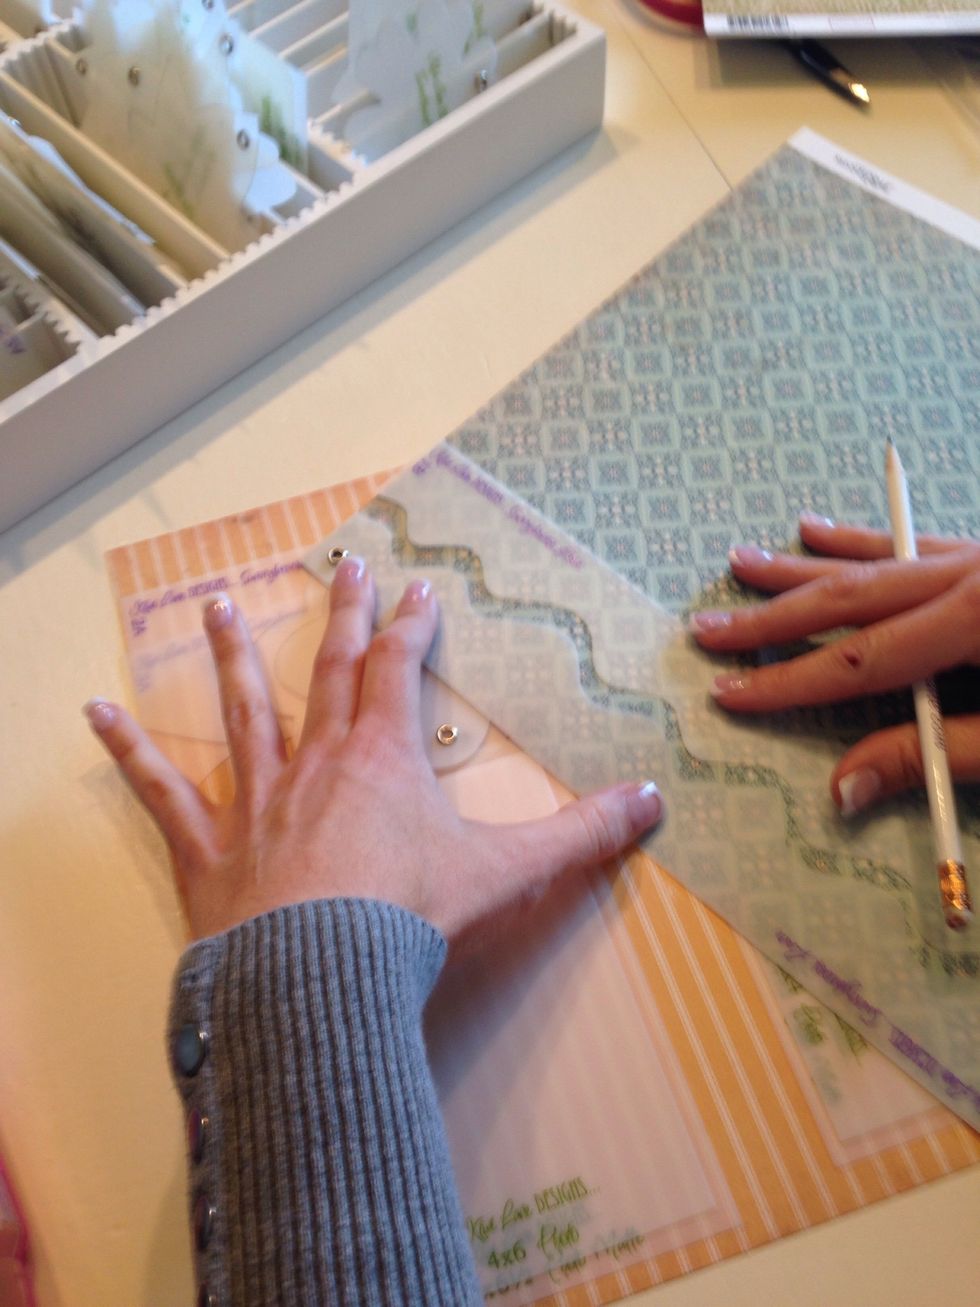
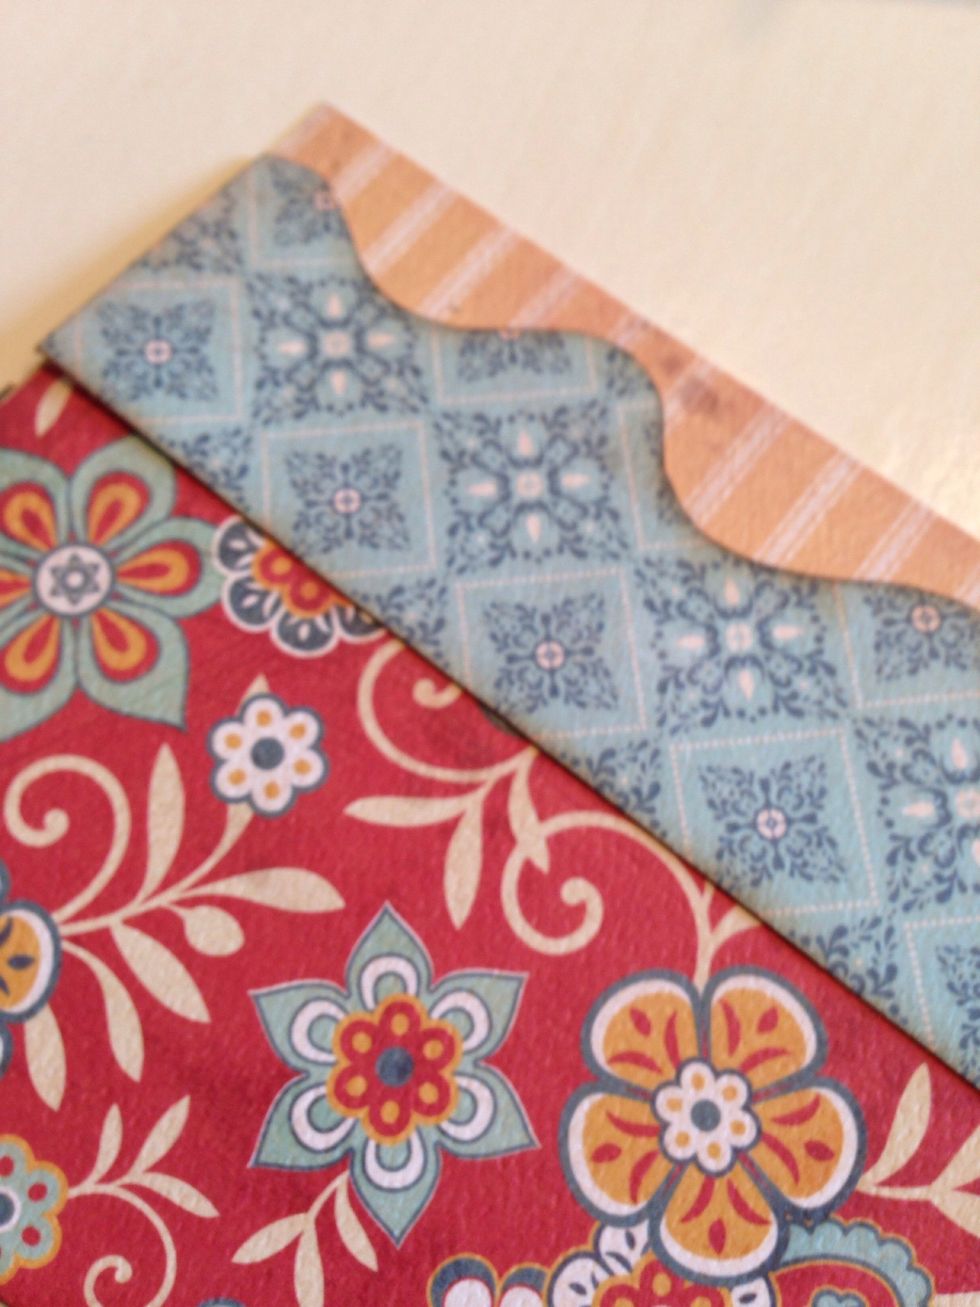
Take the matching side B and place it against side A.
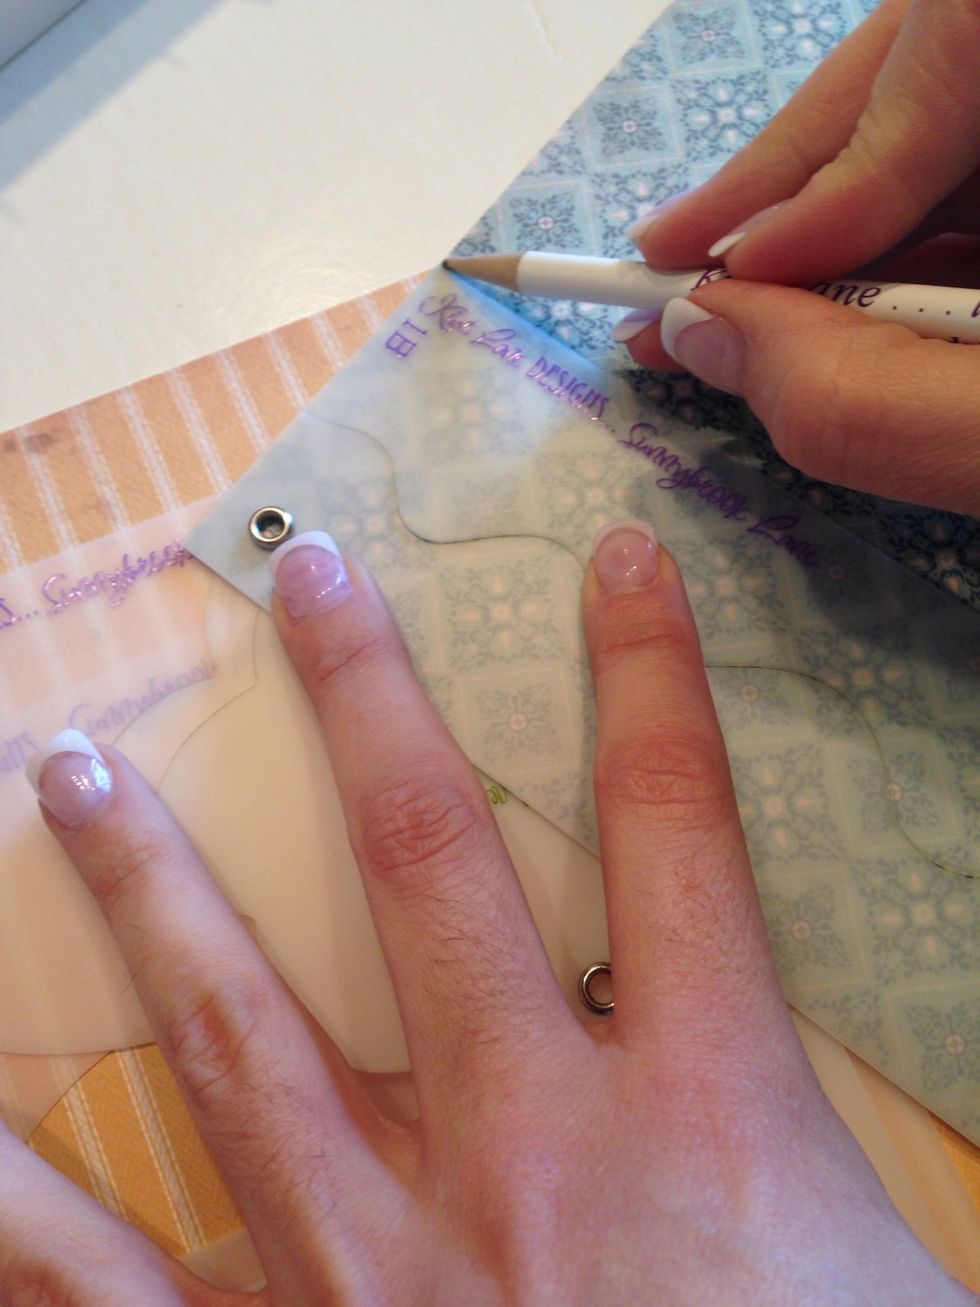
Make a little mark at the edge of the template. This is going to let you know where to do a straight cut with your paper trimmer.
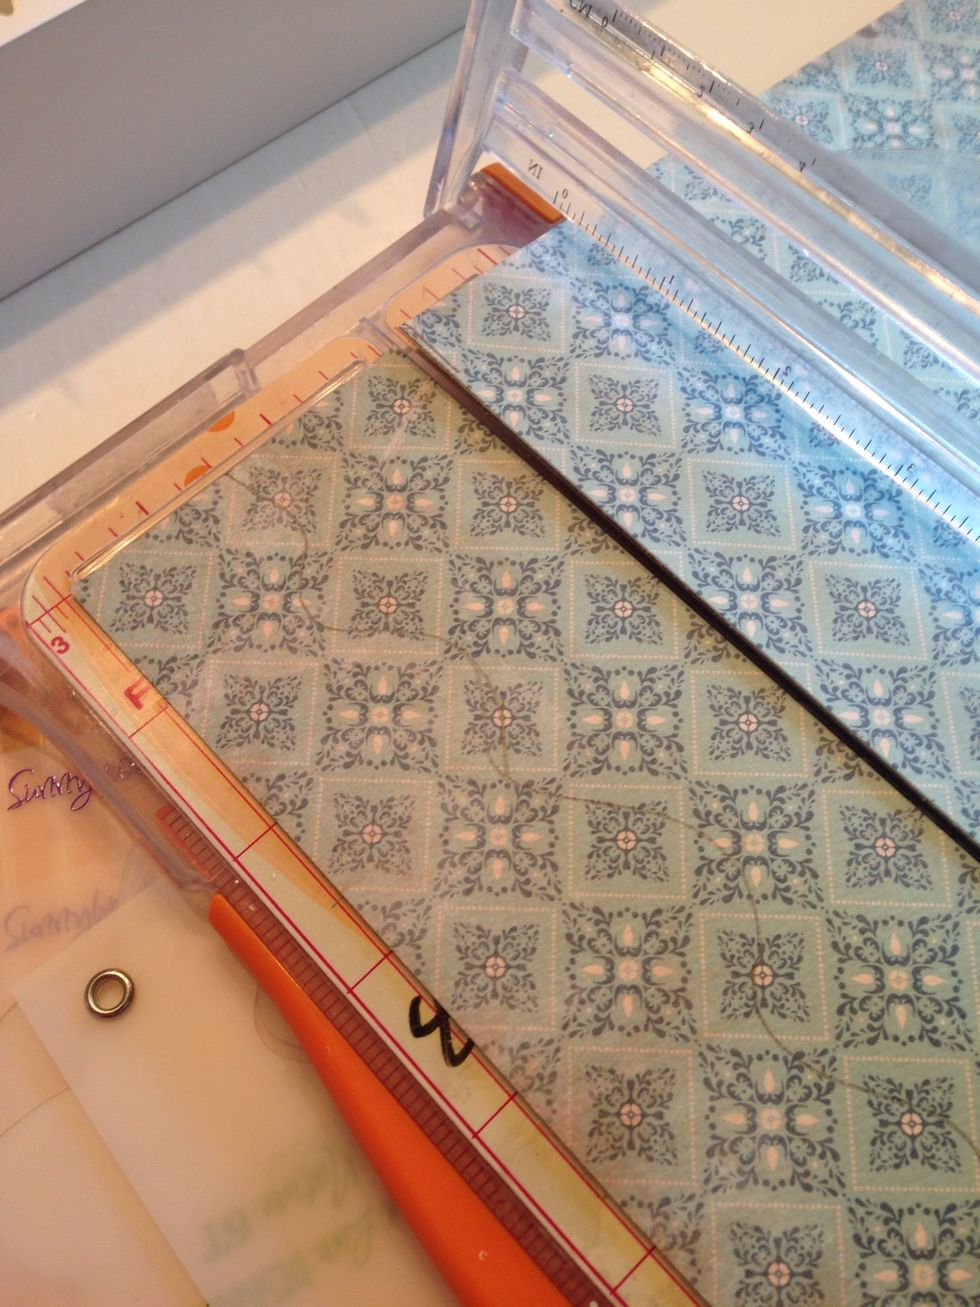
Use your paper trimmer to make a straight cut where you made the mark.
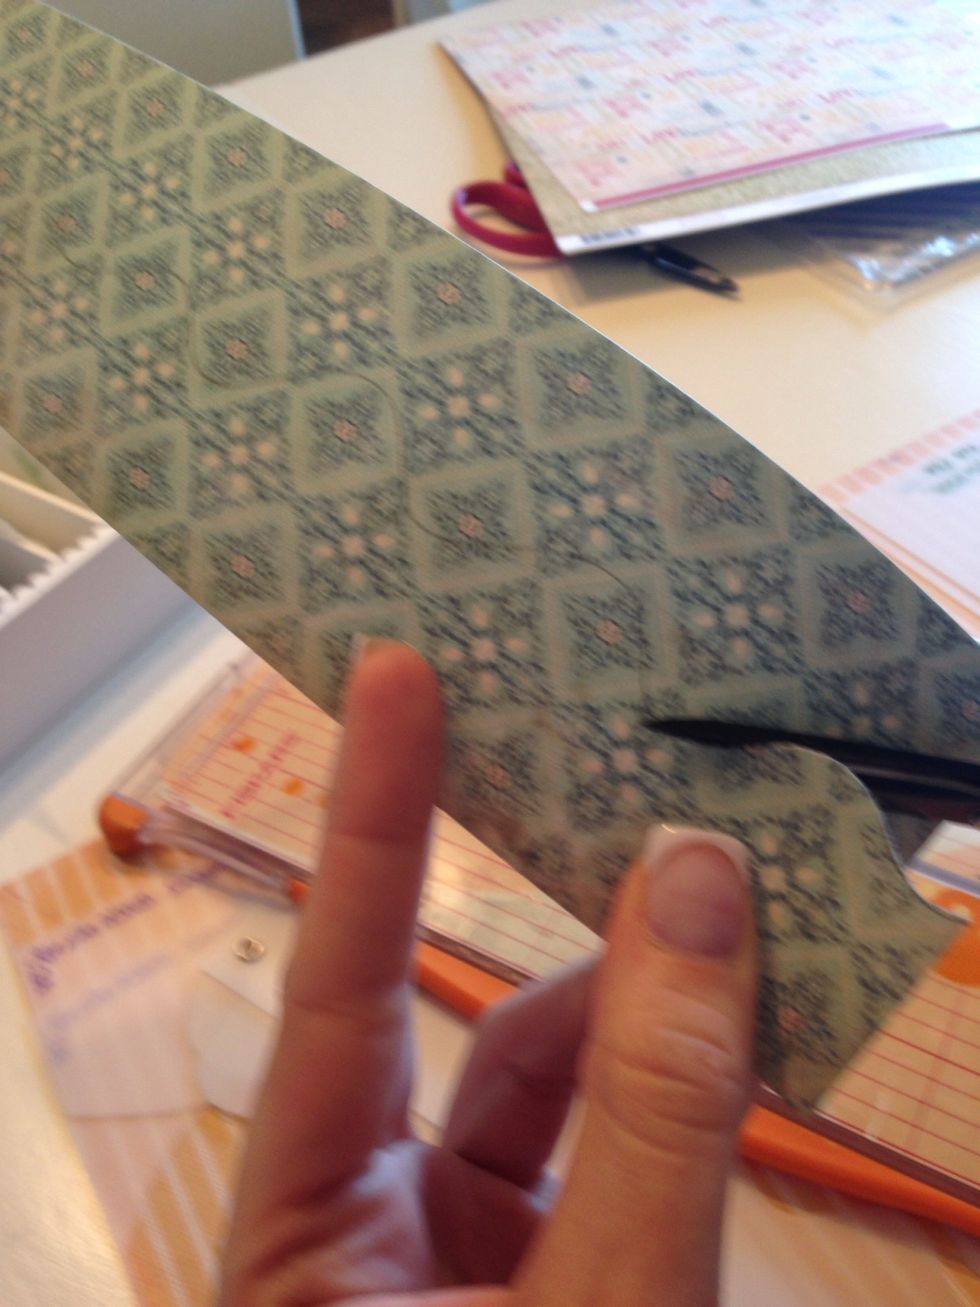
Using a small pair of sharp scissors, make one cut up the center following your line.
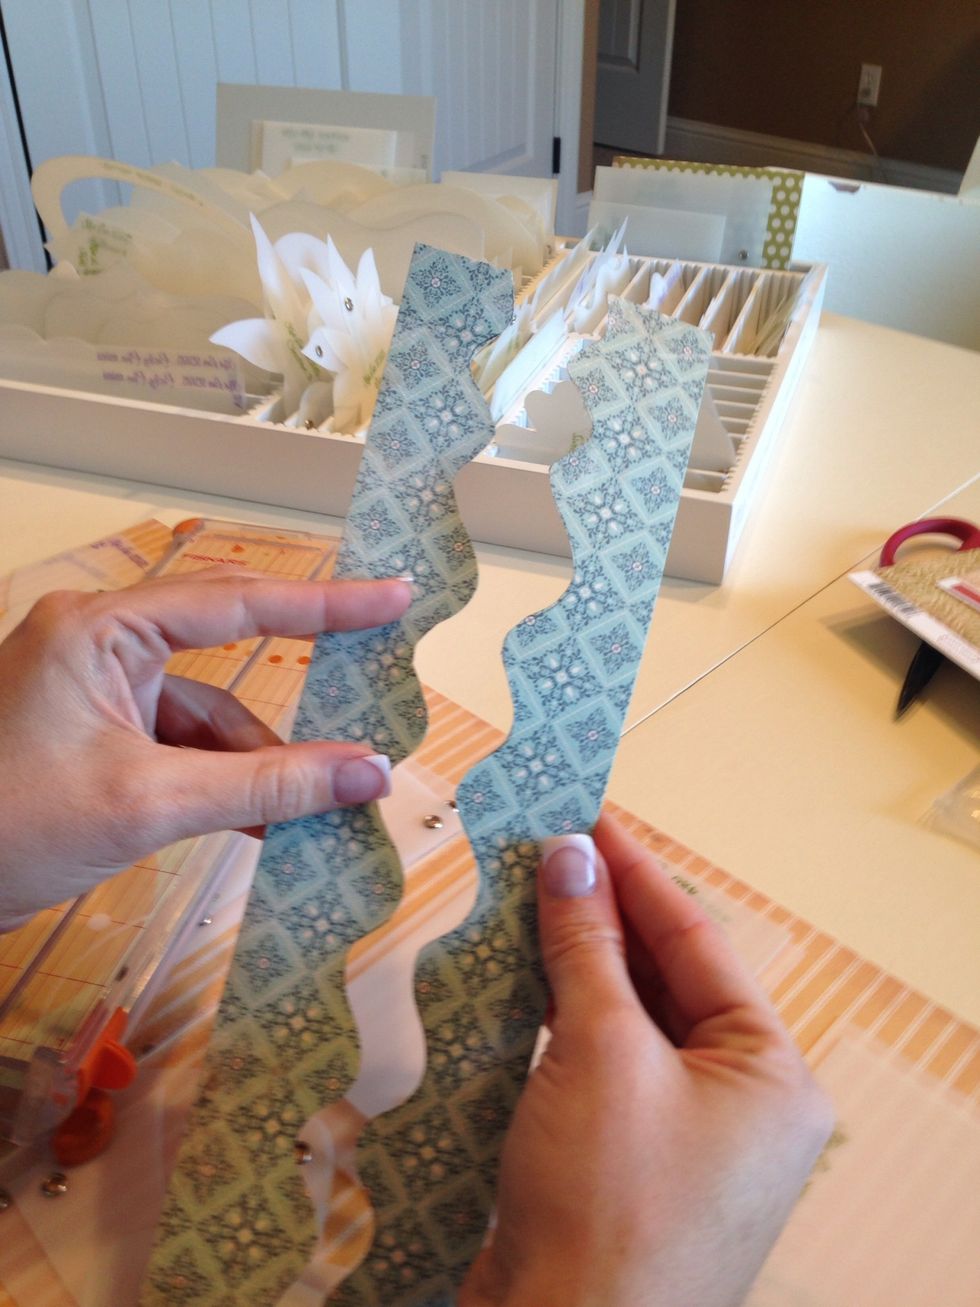
One cut gives you two pieces.
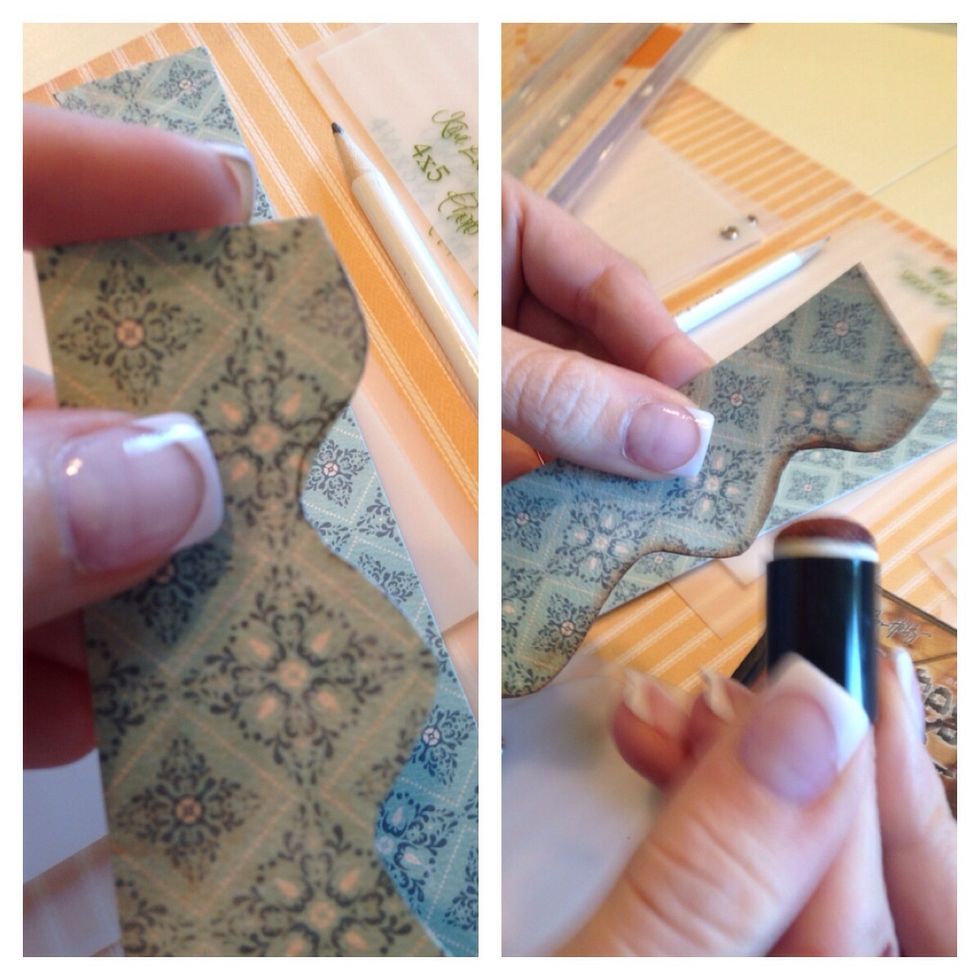
If you have any pencil marks, no worries! Just add a little ink to the edges. It covers pencil and any blemishes from your cut. It's amazing!
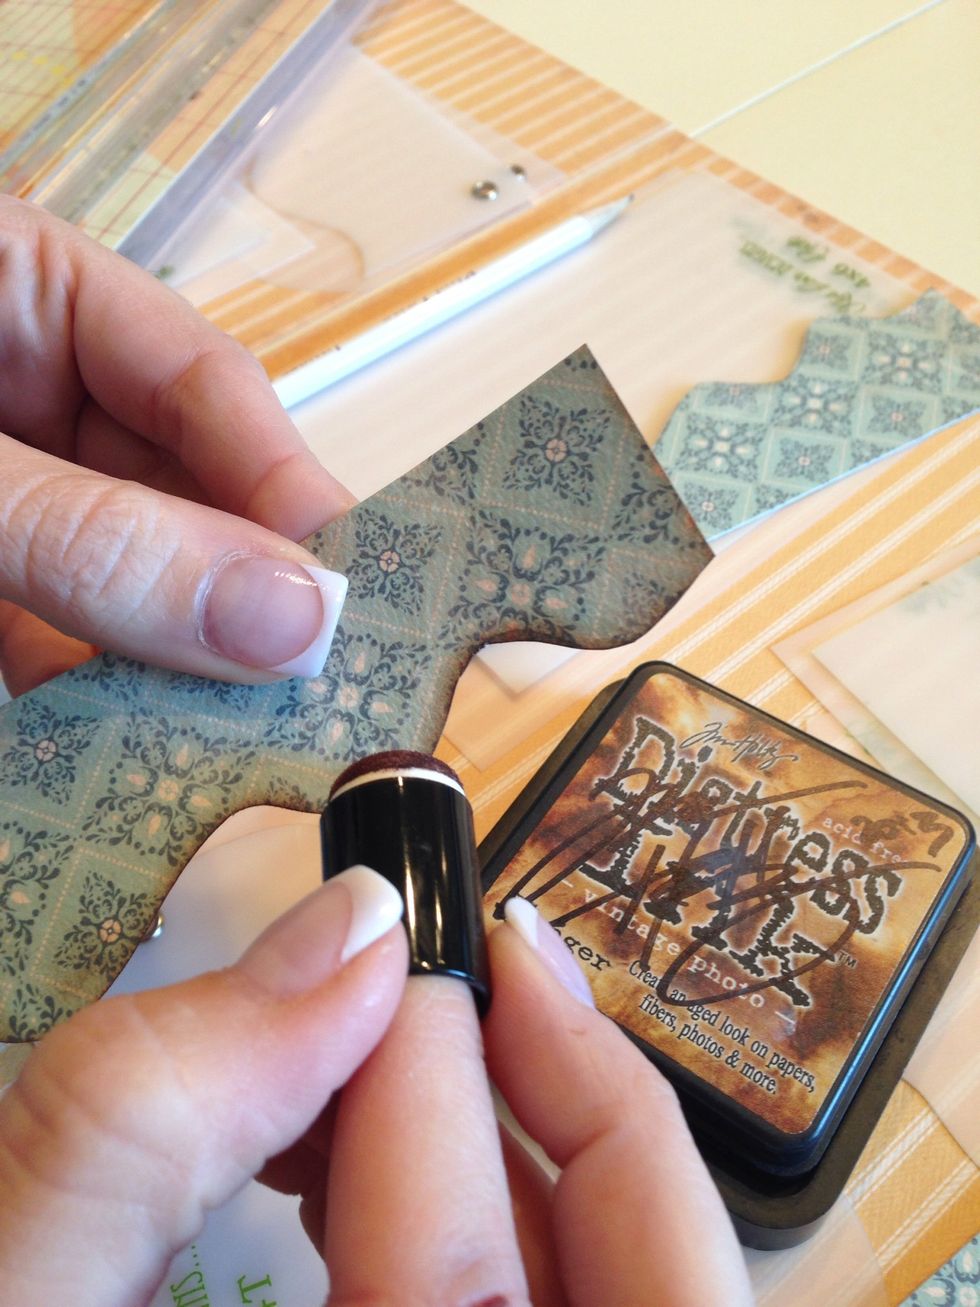
We use a medium shade of brown on all of our pages. Inking is also great because it gives everything a nice finished look and helps with the contrast between the different patterns and colors.
Replace the template with the paper.

Repeat the same steps for each of the borders, using double-sided paper and different patterns for each layer. TRACE.... CUT.....INK!
REPLACE!
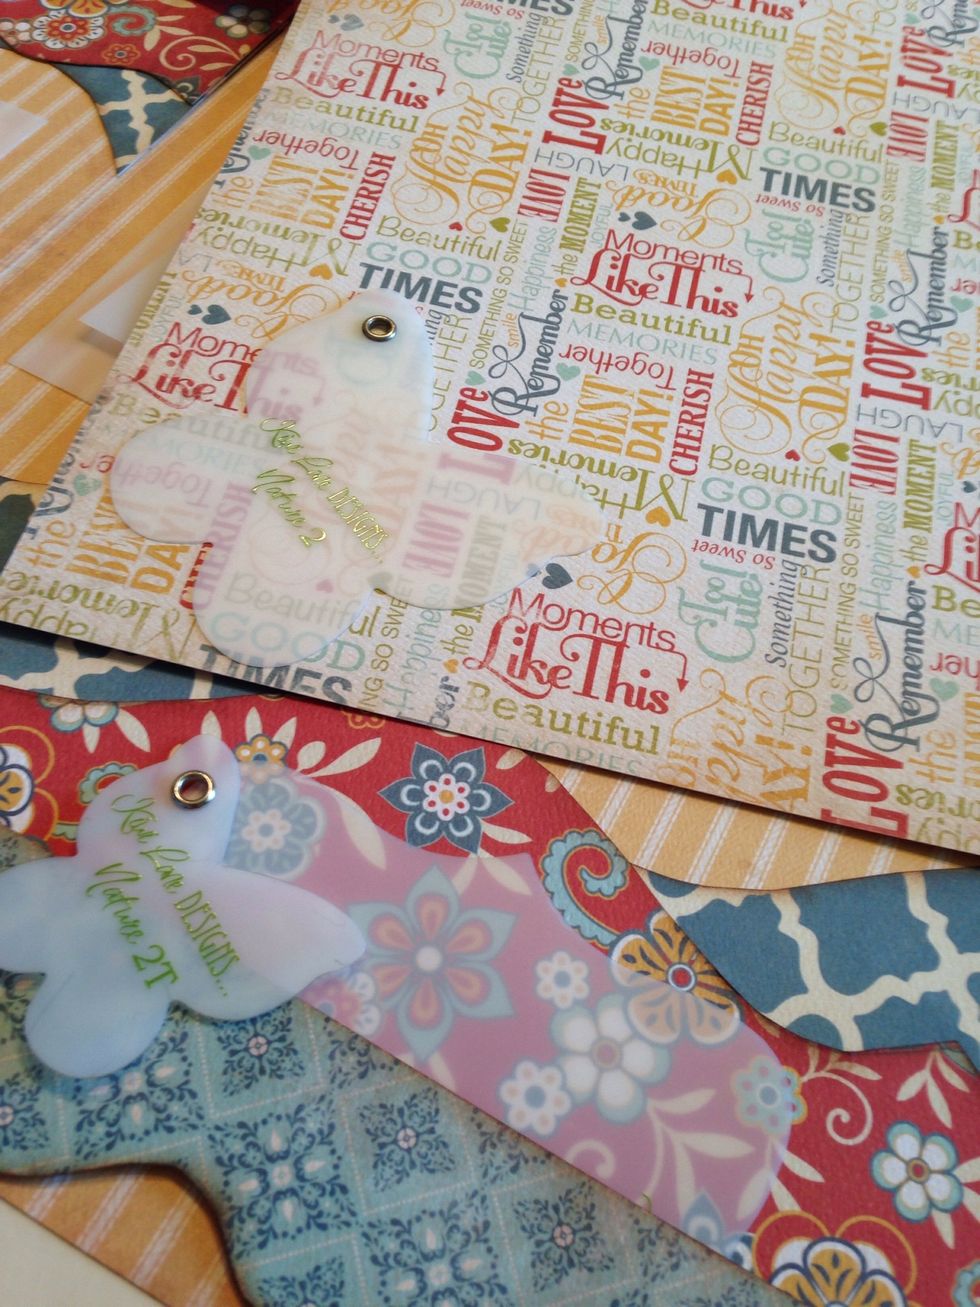
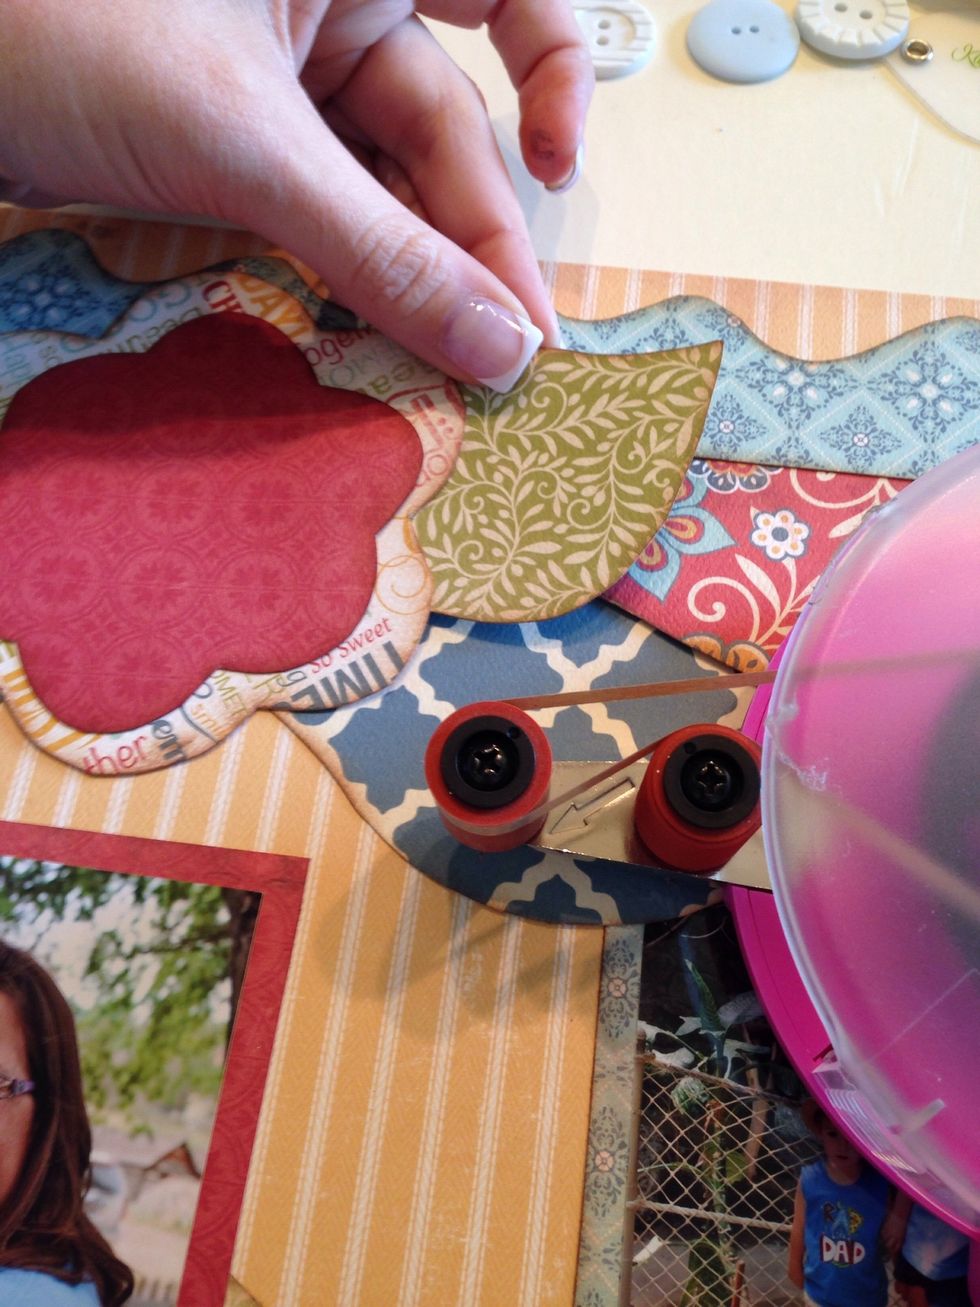
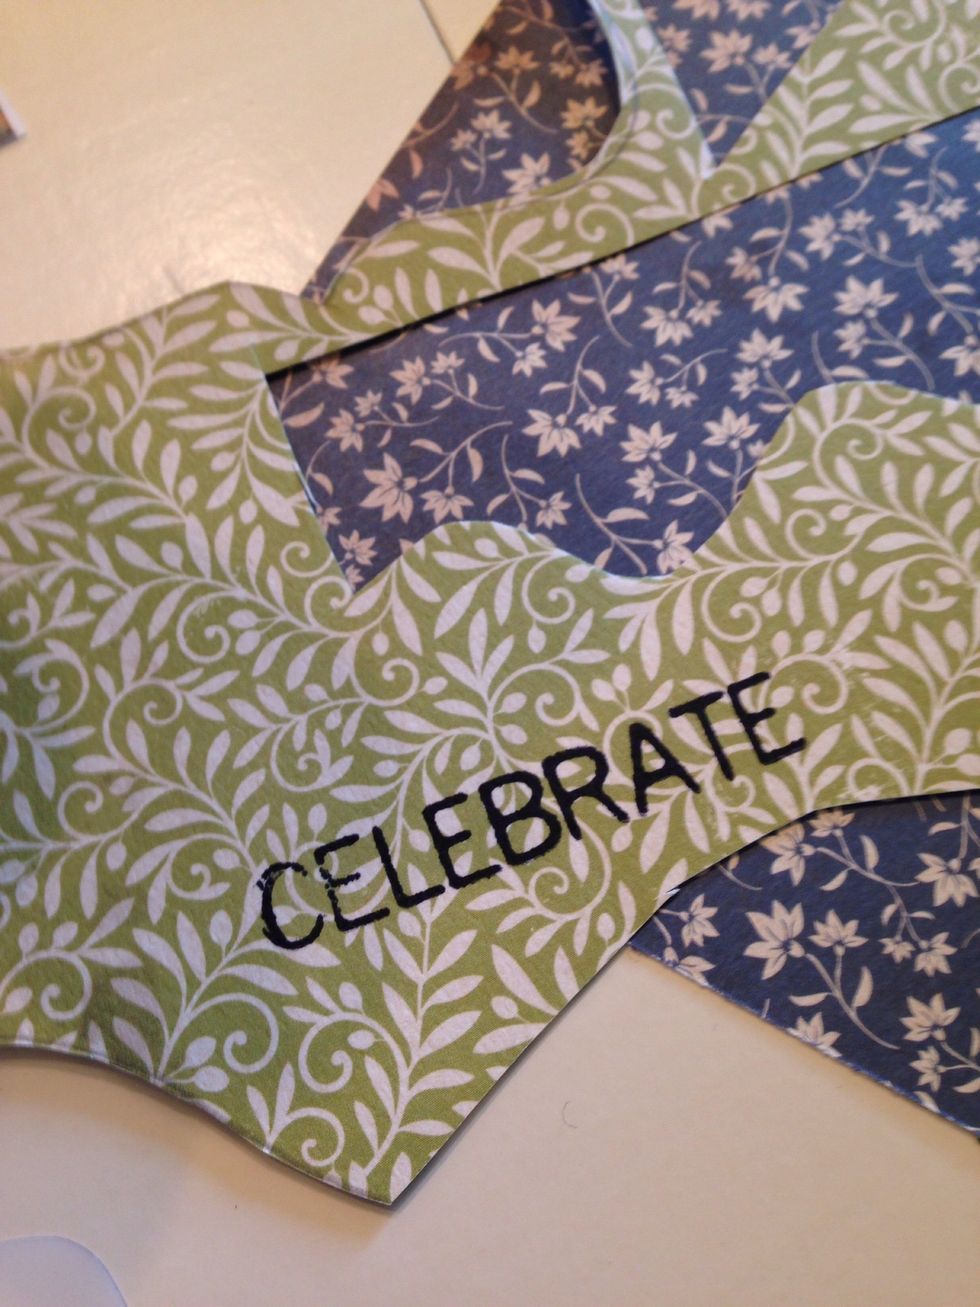
Do the same thing with each of your accessories. Pick a coordinating pattern paper to trace it onto.
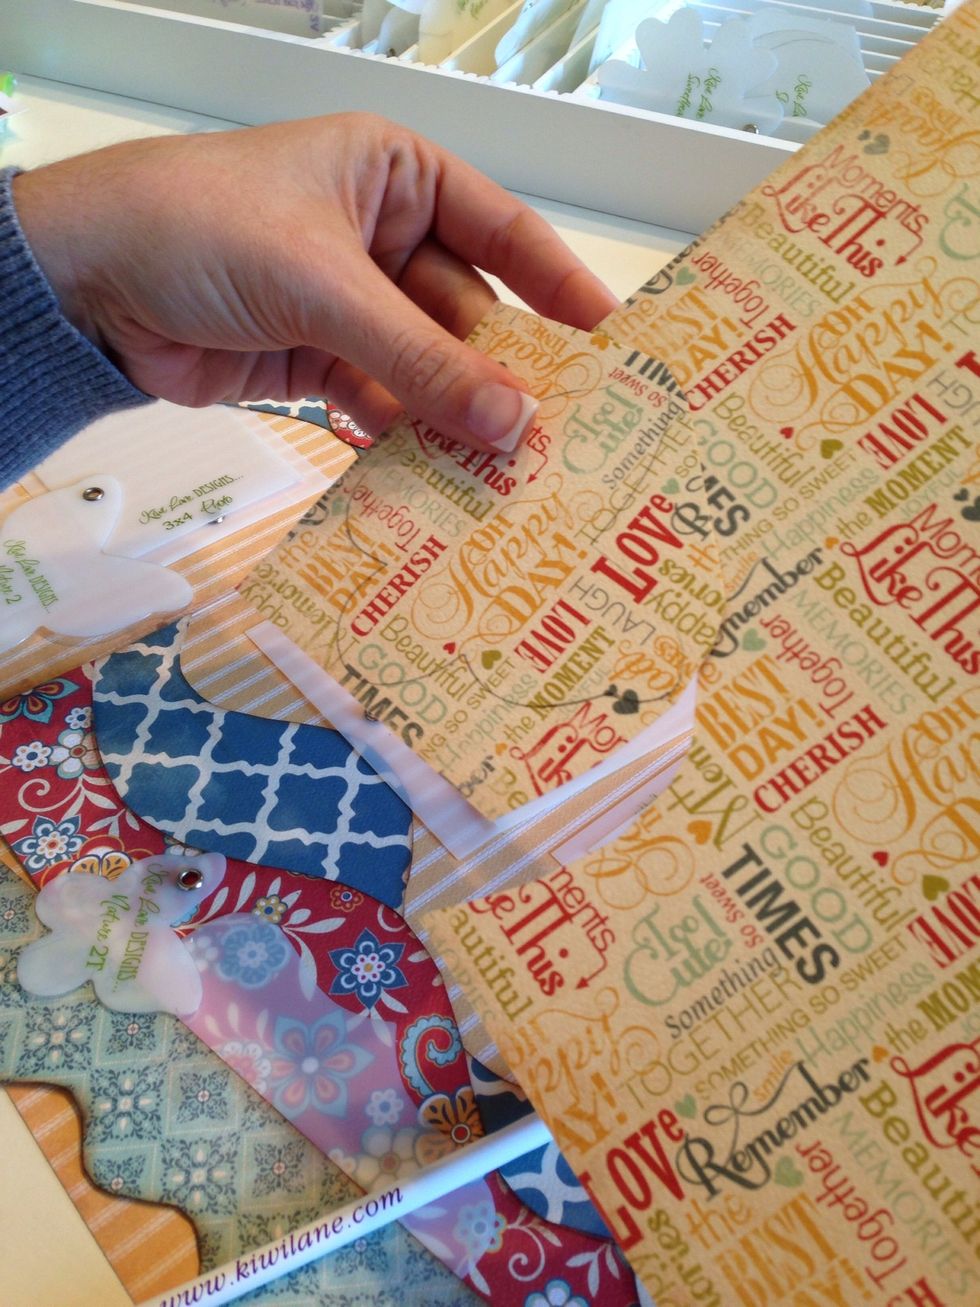
After you trace the design, first cut around it so you are not working with a big sheet of paper.
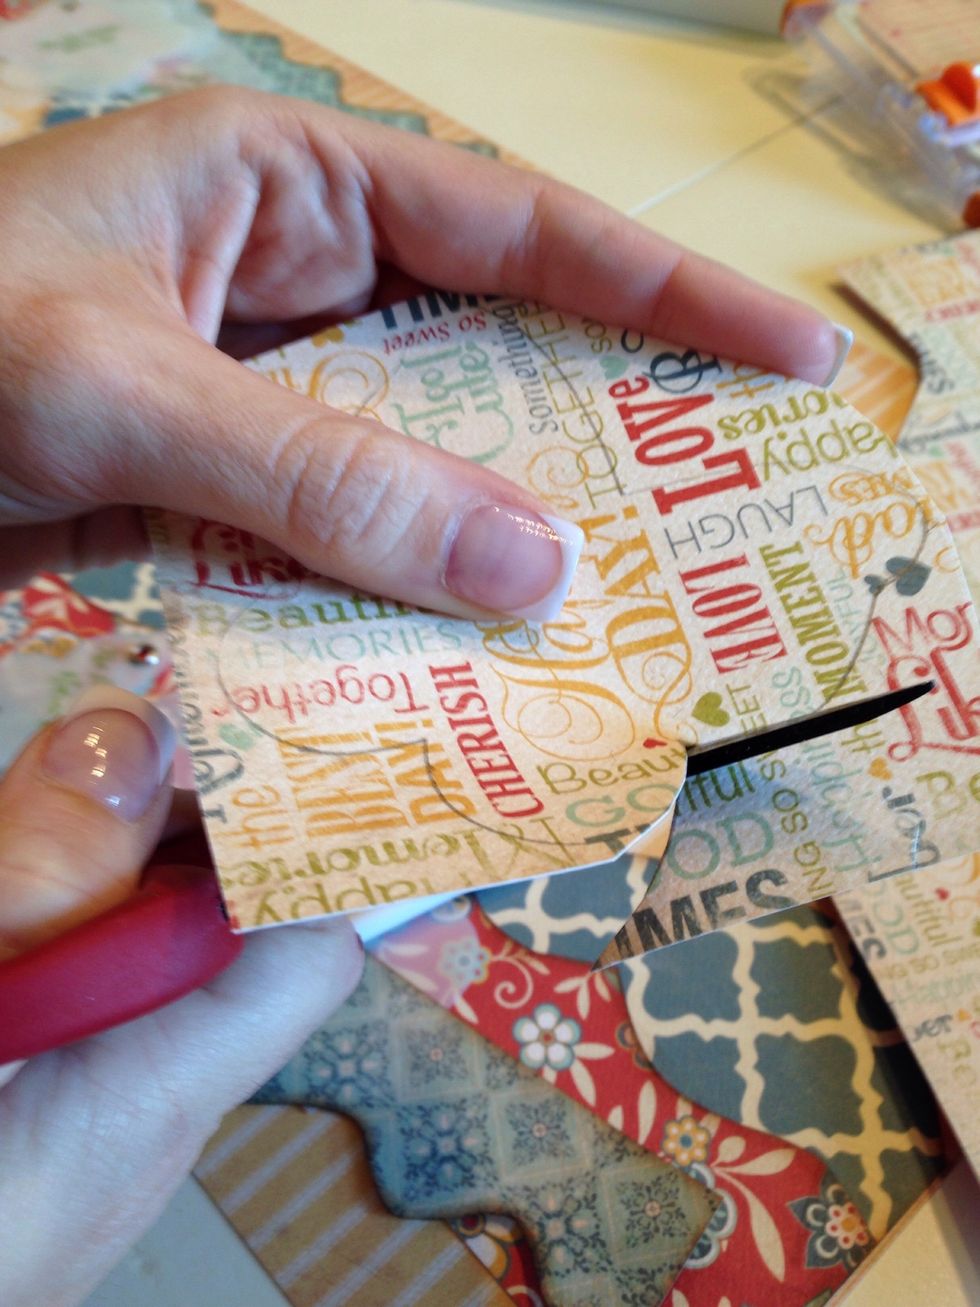
Then follow your lines and cut out the design.
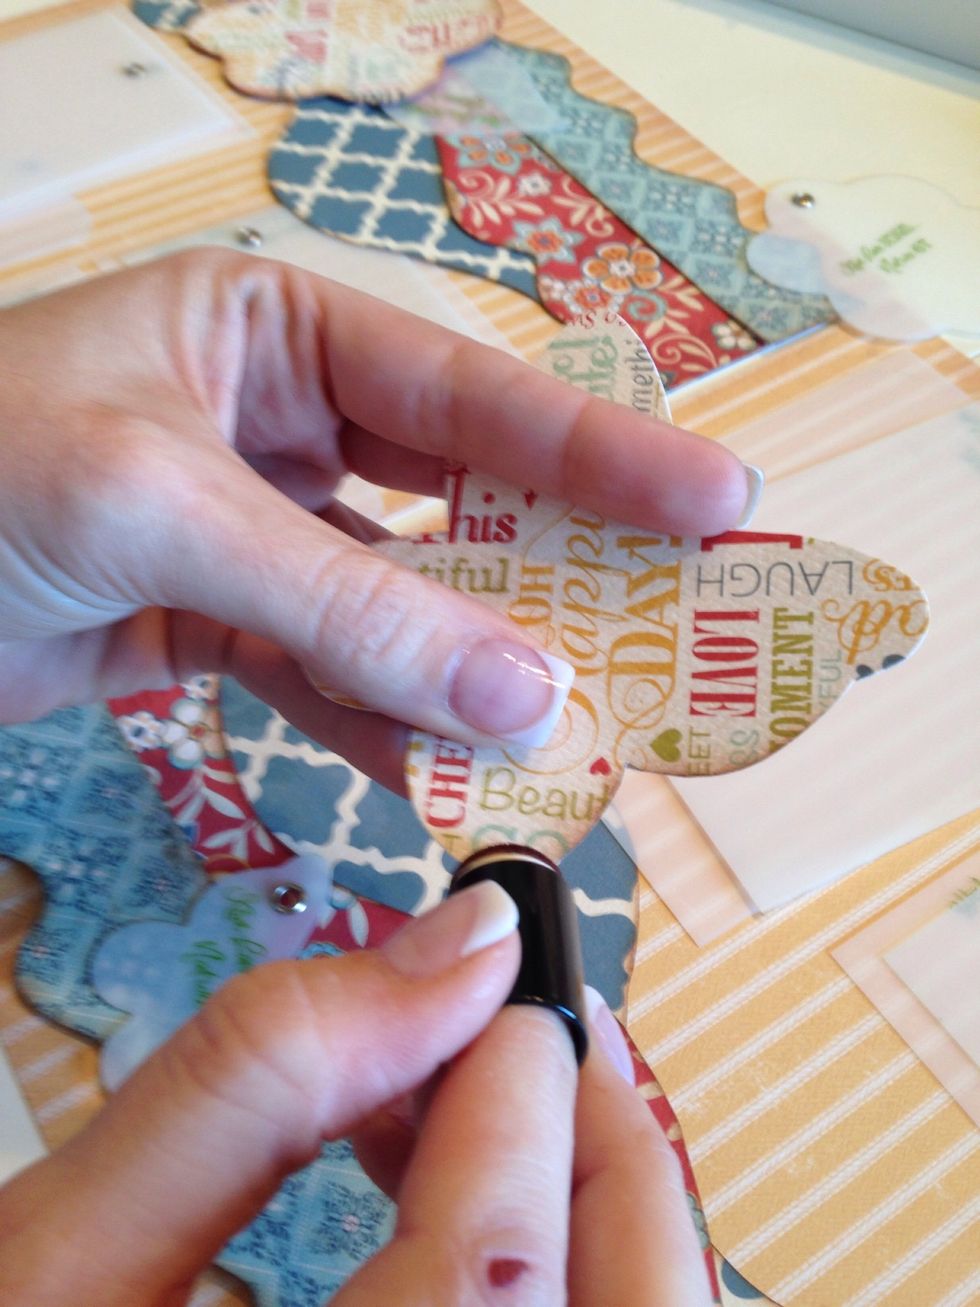
INK!!!!!
To keep the patterns balanced for a two page layout, use the same pattern paper for an accessory on each side of your layout.
Do the same thing for each accessory.
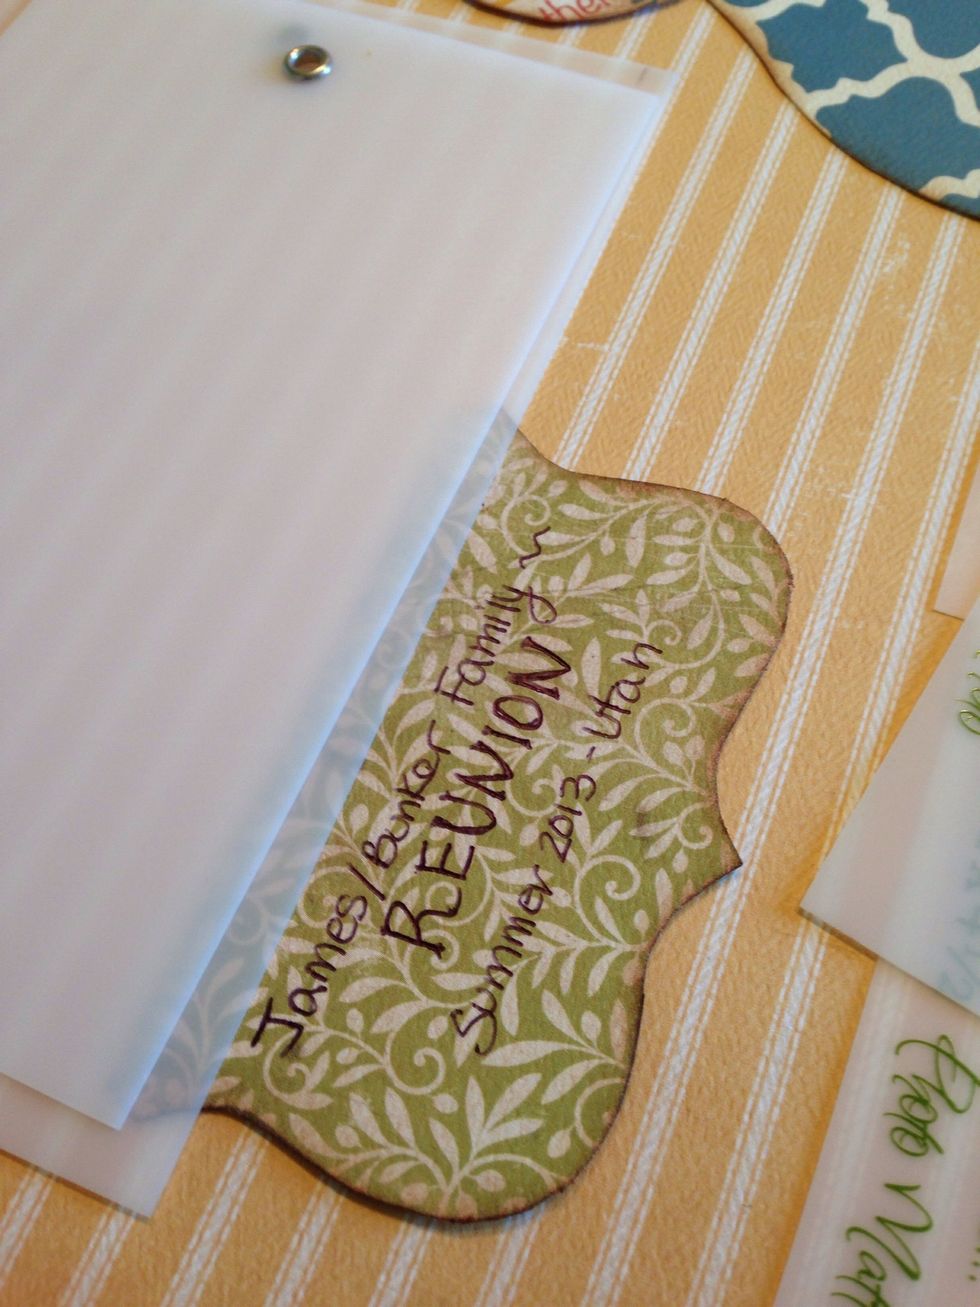
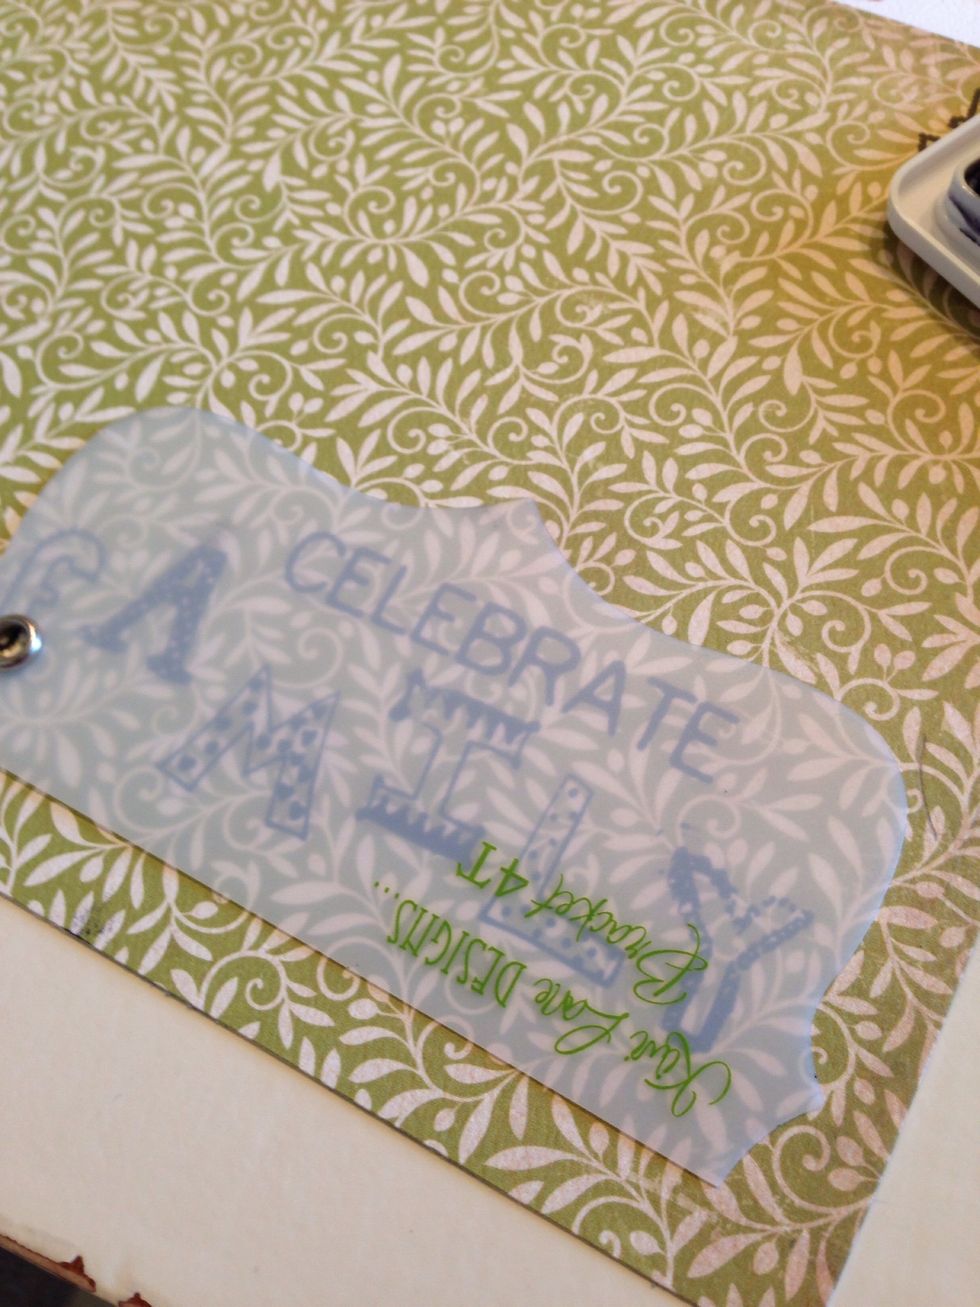
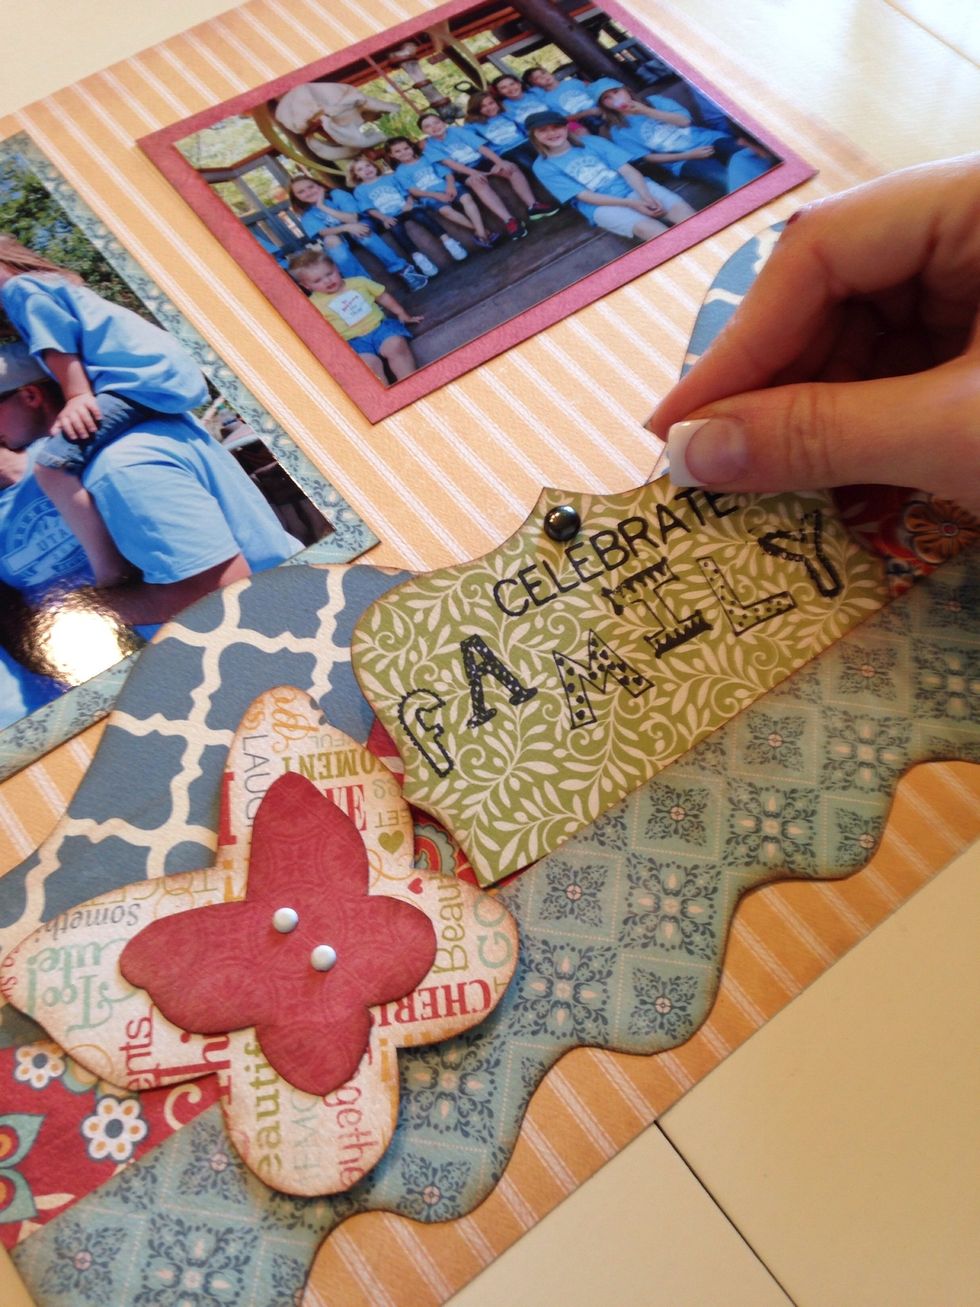
Because you are using pattern paper as your embellishment, it creates a perfect place for you to add journaling to your layout if you would like.
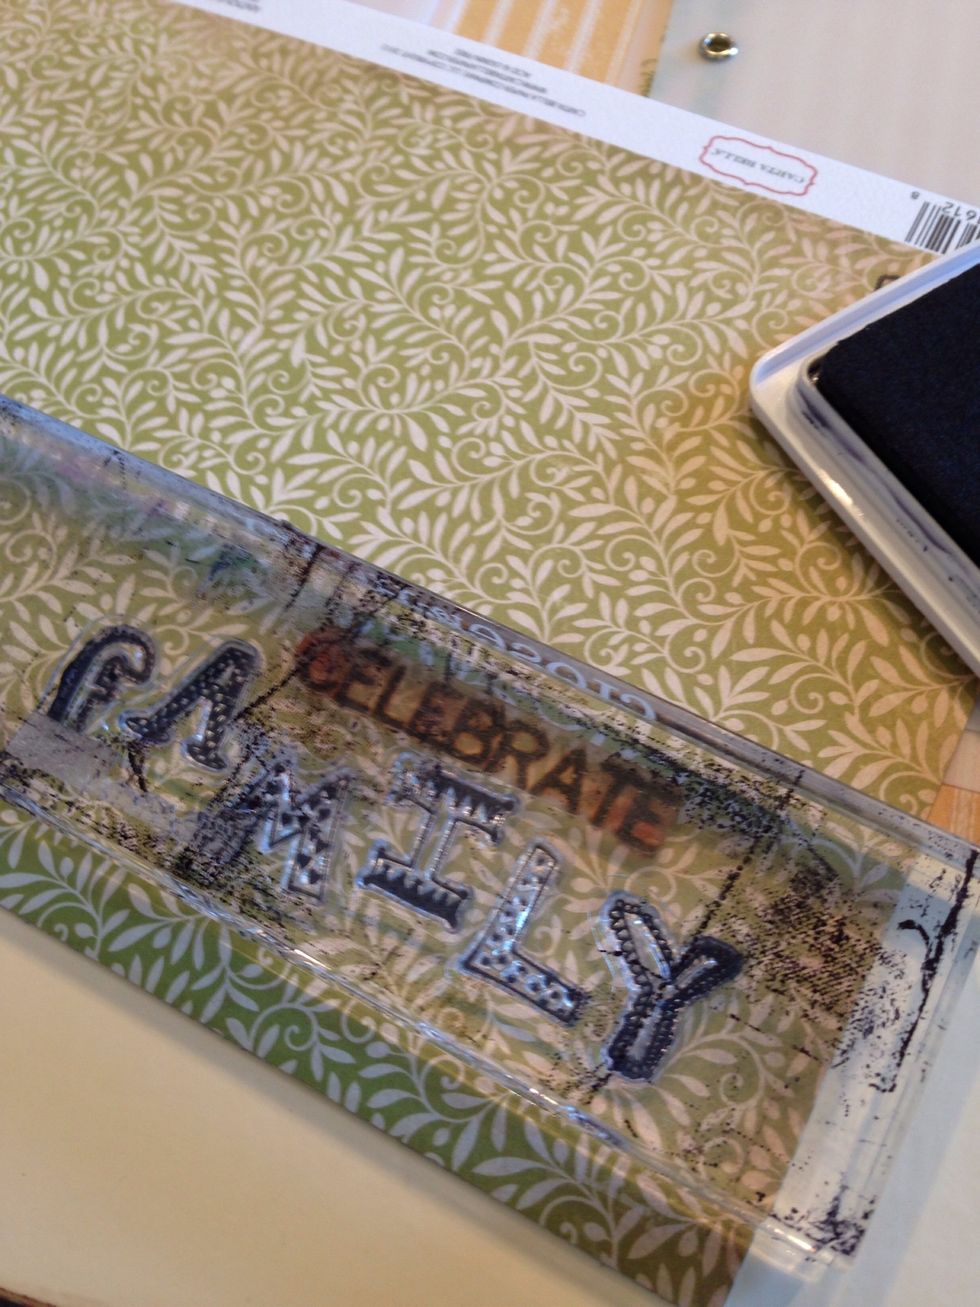
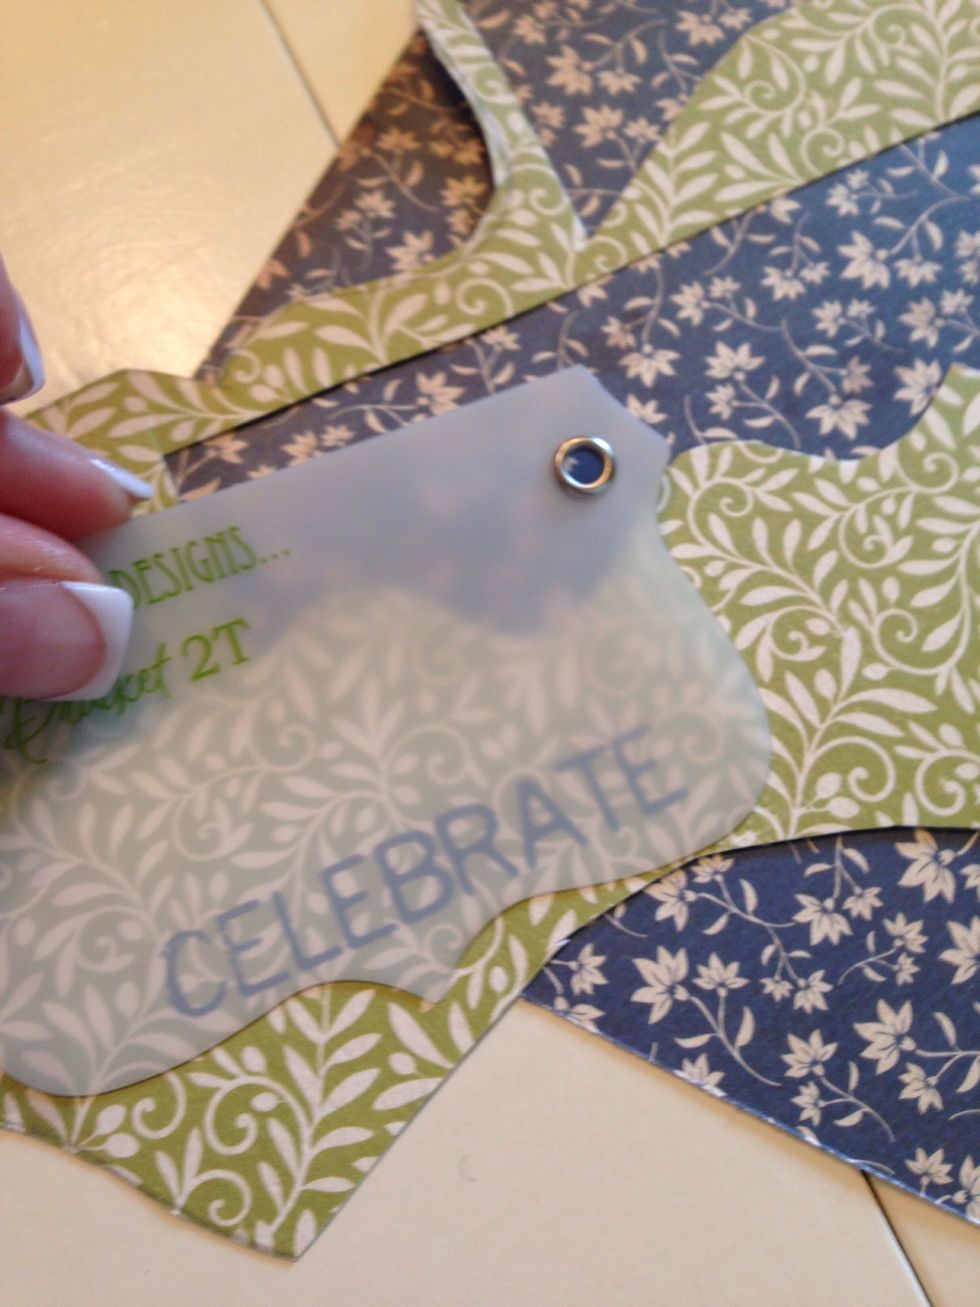
The designer templates even make stamping easier. No worries if you don't stamp straight. Simply stamp your design onto your paper first.
Then take any template shape that you would like and make the adjustment when you go to trace it out.
Replace those layers on your page.
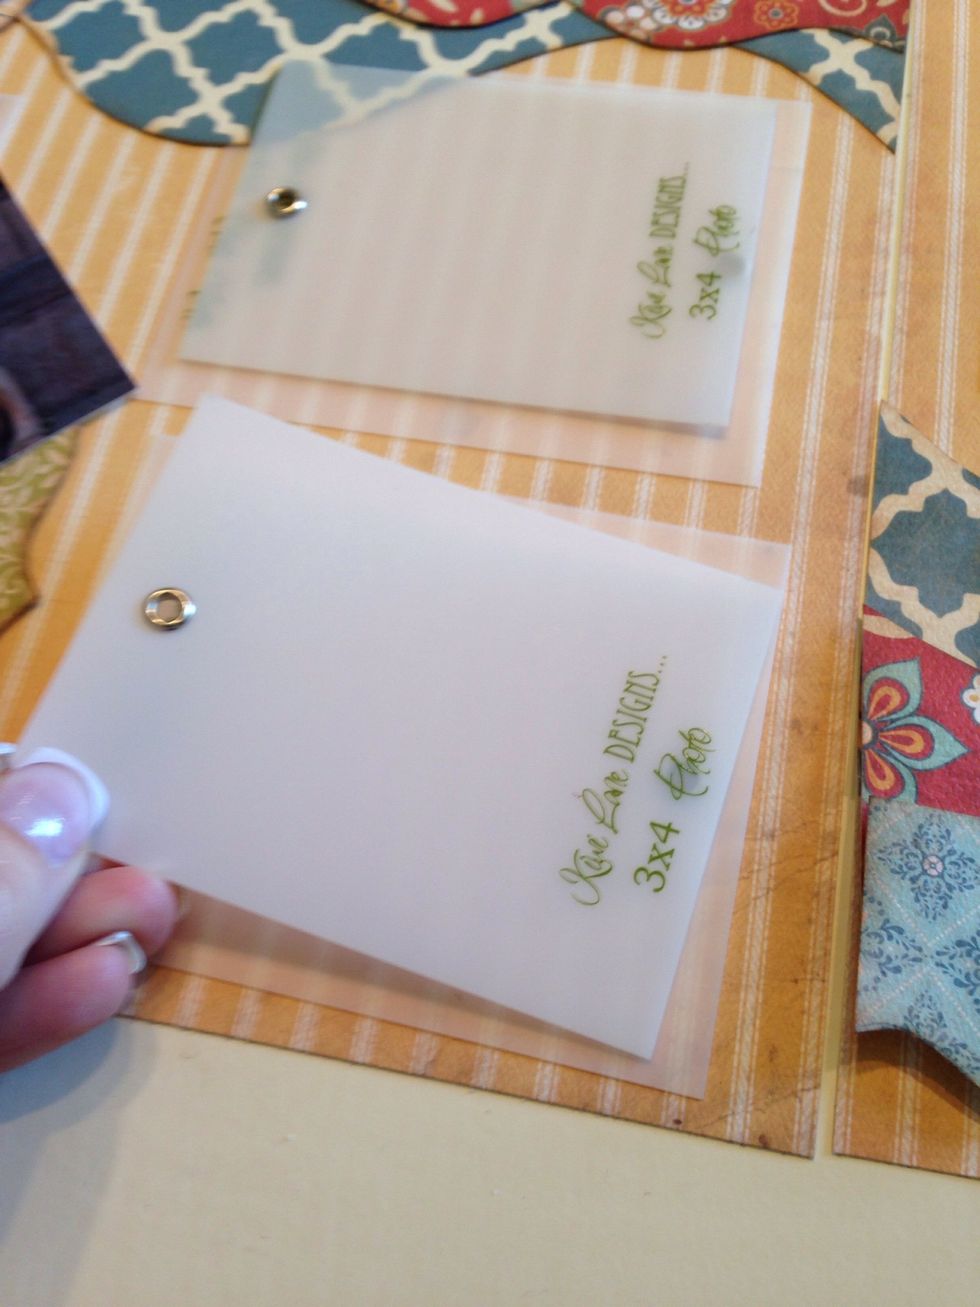
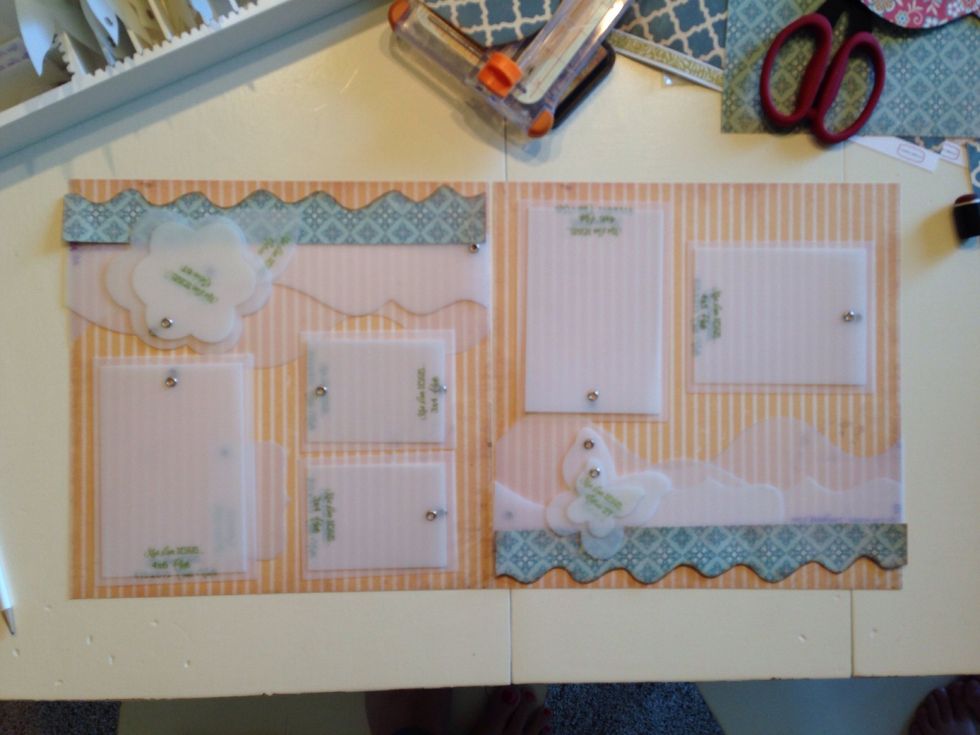
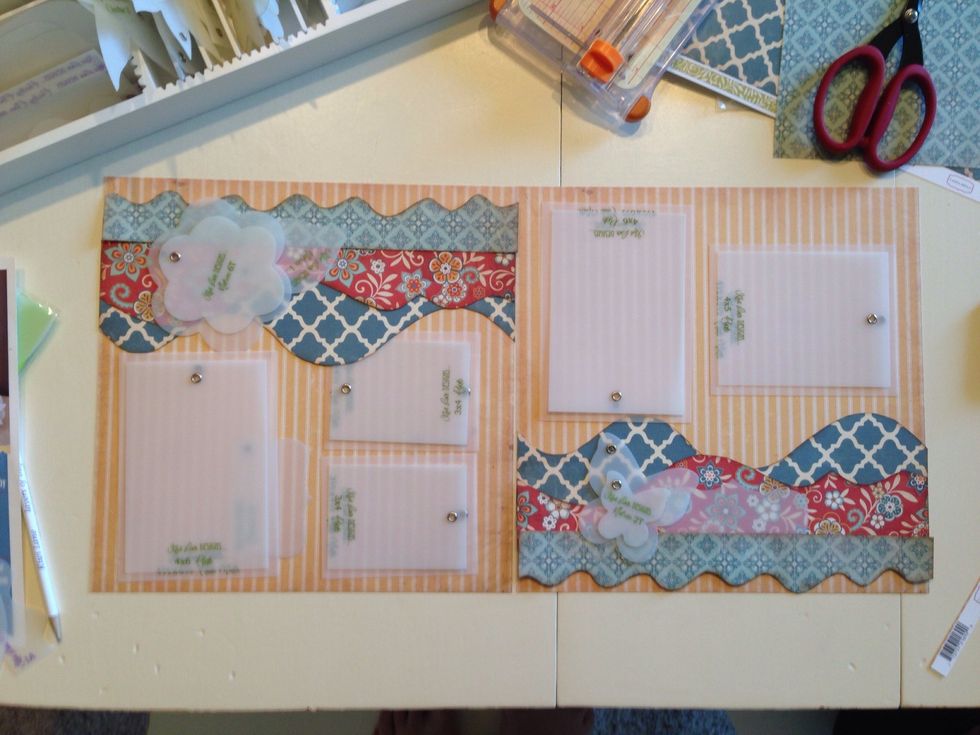
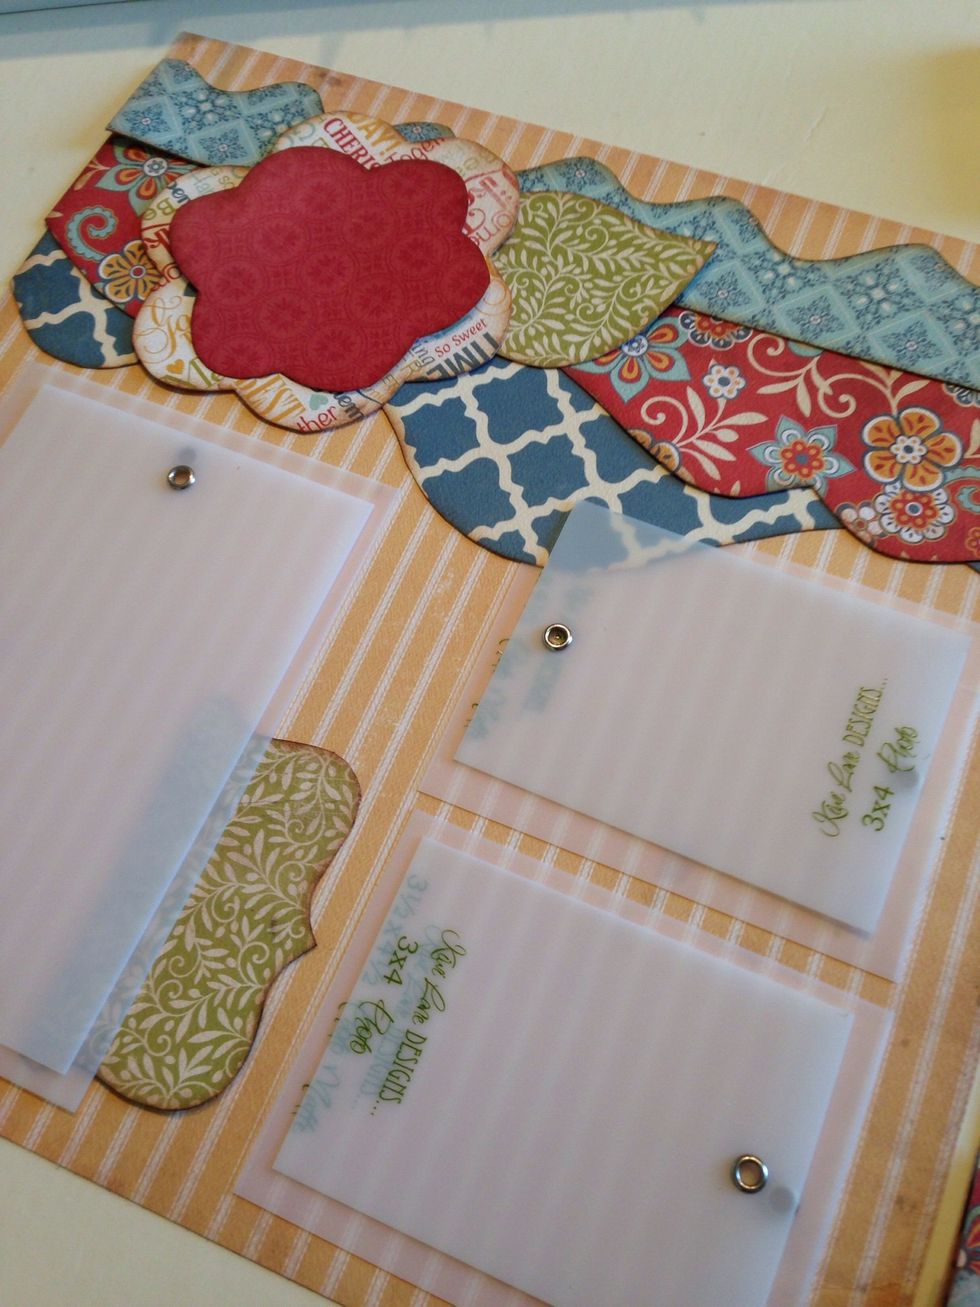
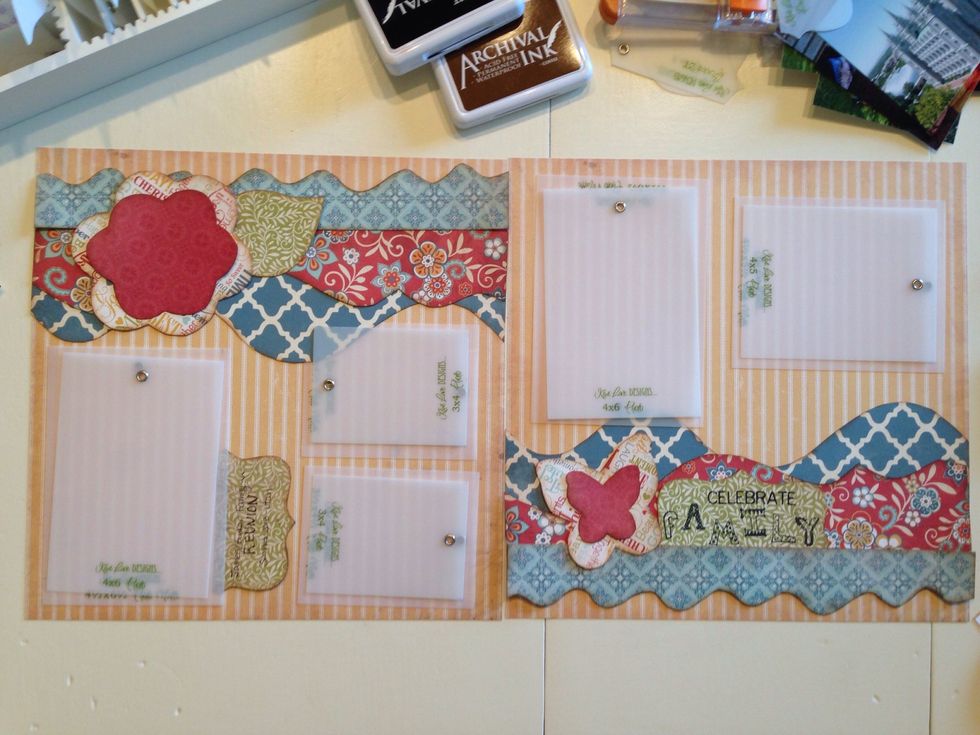
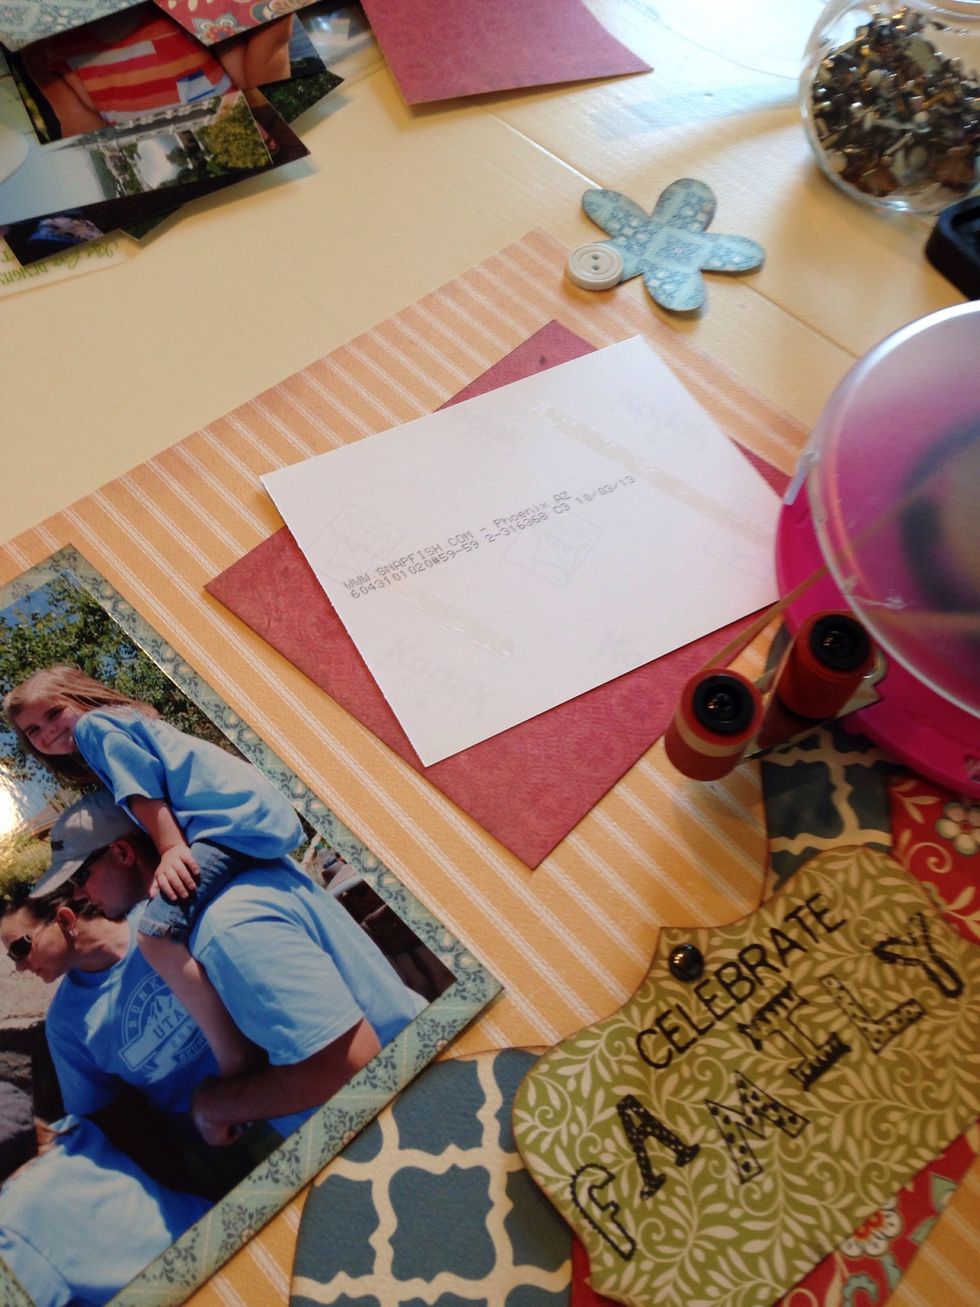
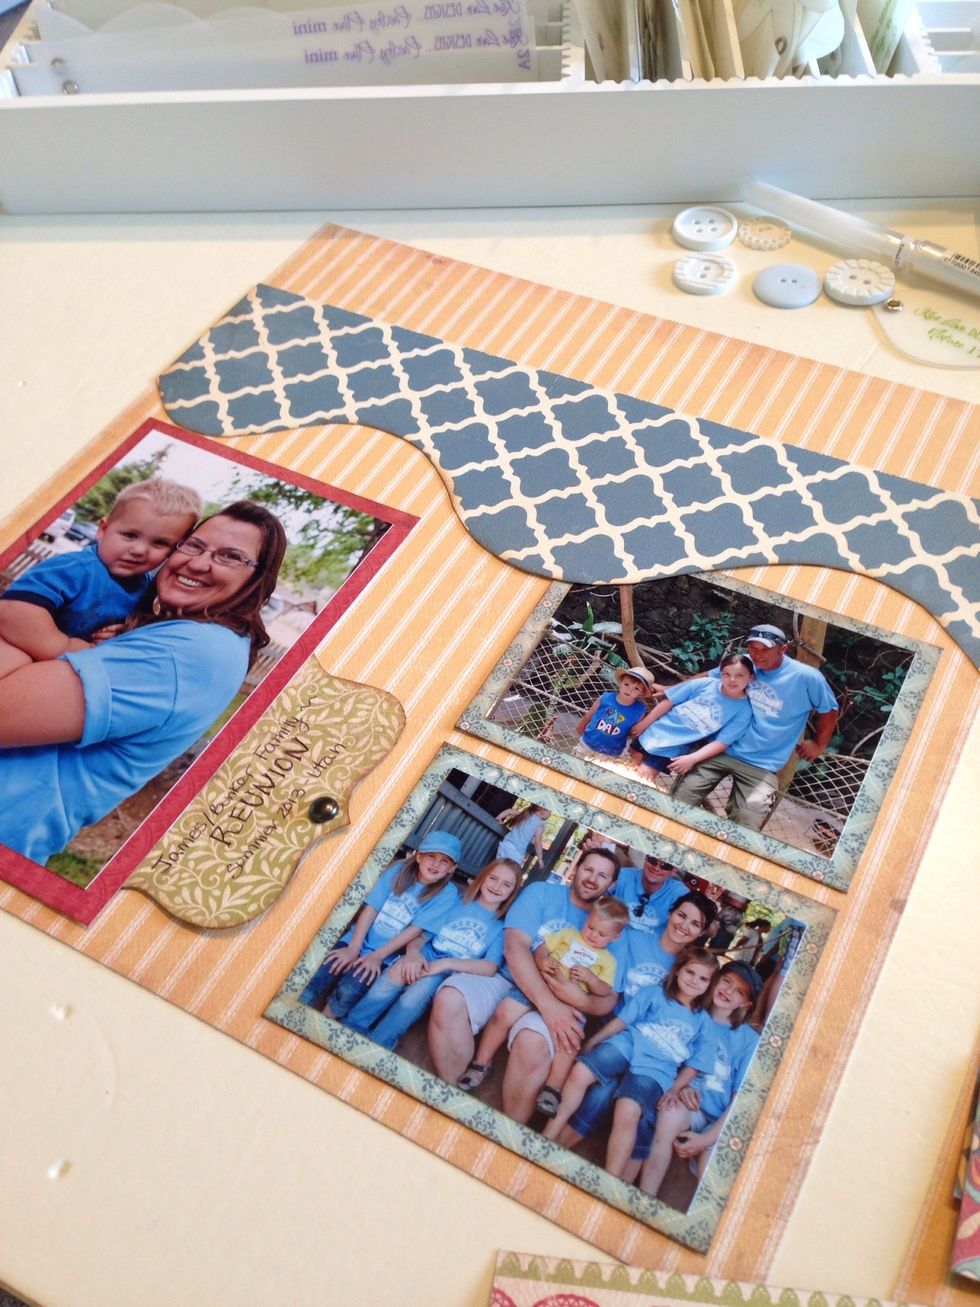
Saved the best for last! Adding your pictures to the frame that you created. It's really easy with the photo templates.
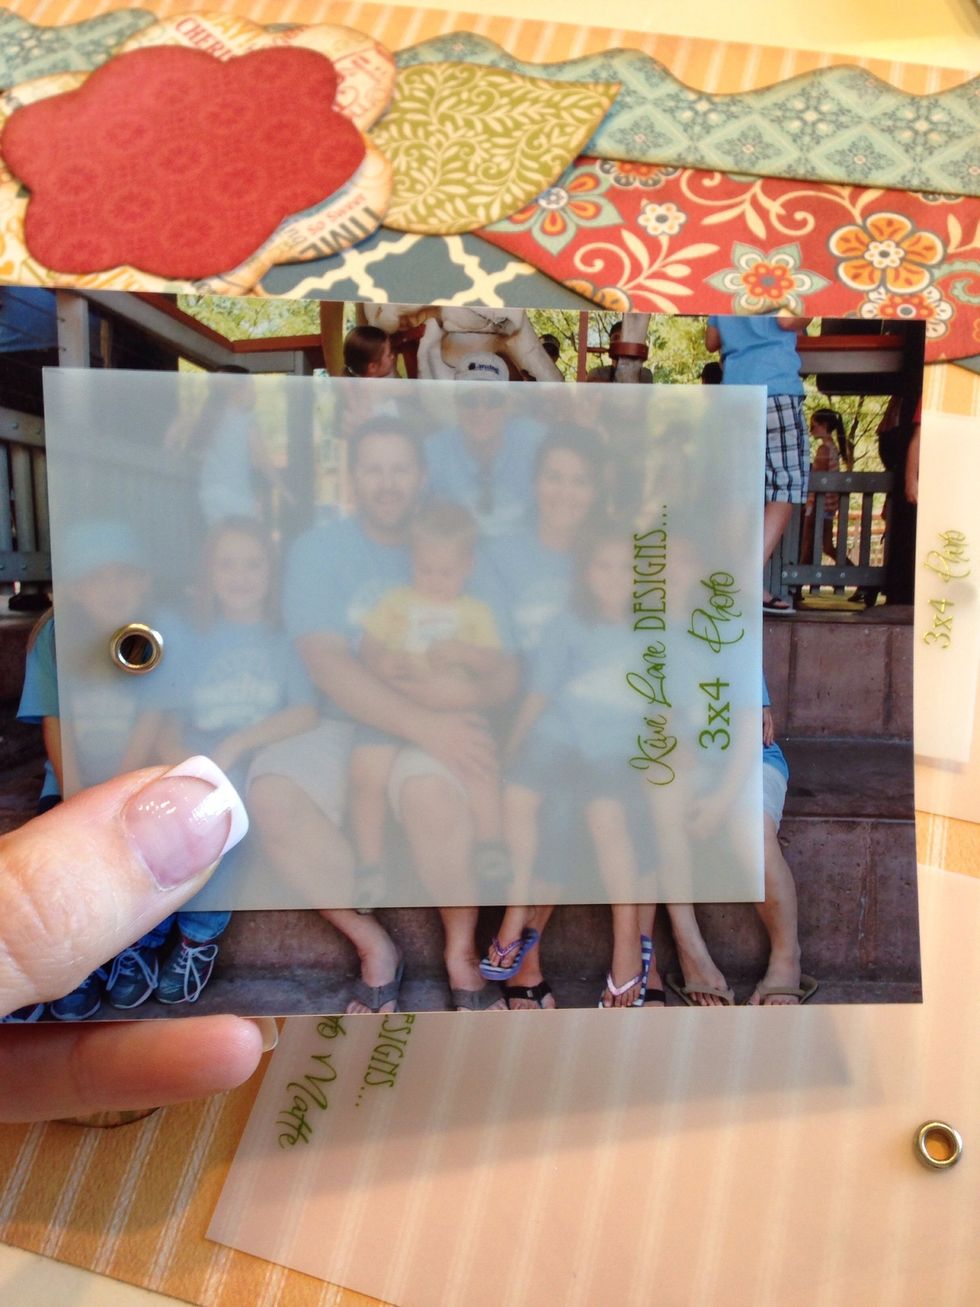
Simply place whatever size you would like your photo to be over your picture to check the cropping before you cut your picture.
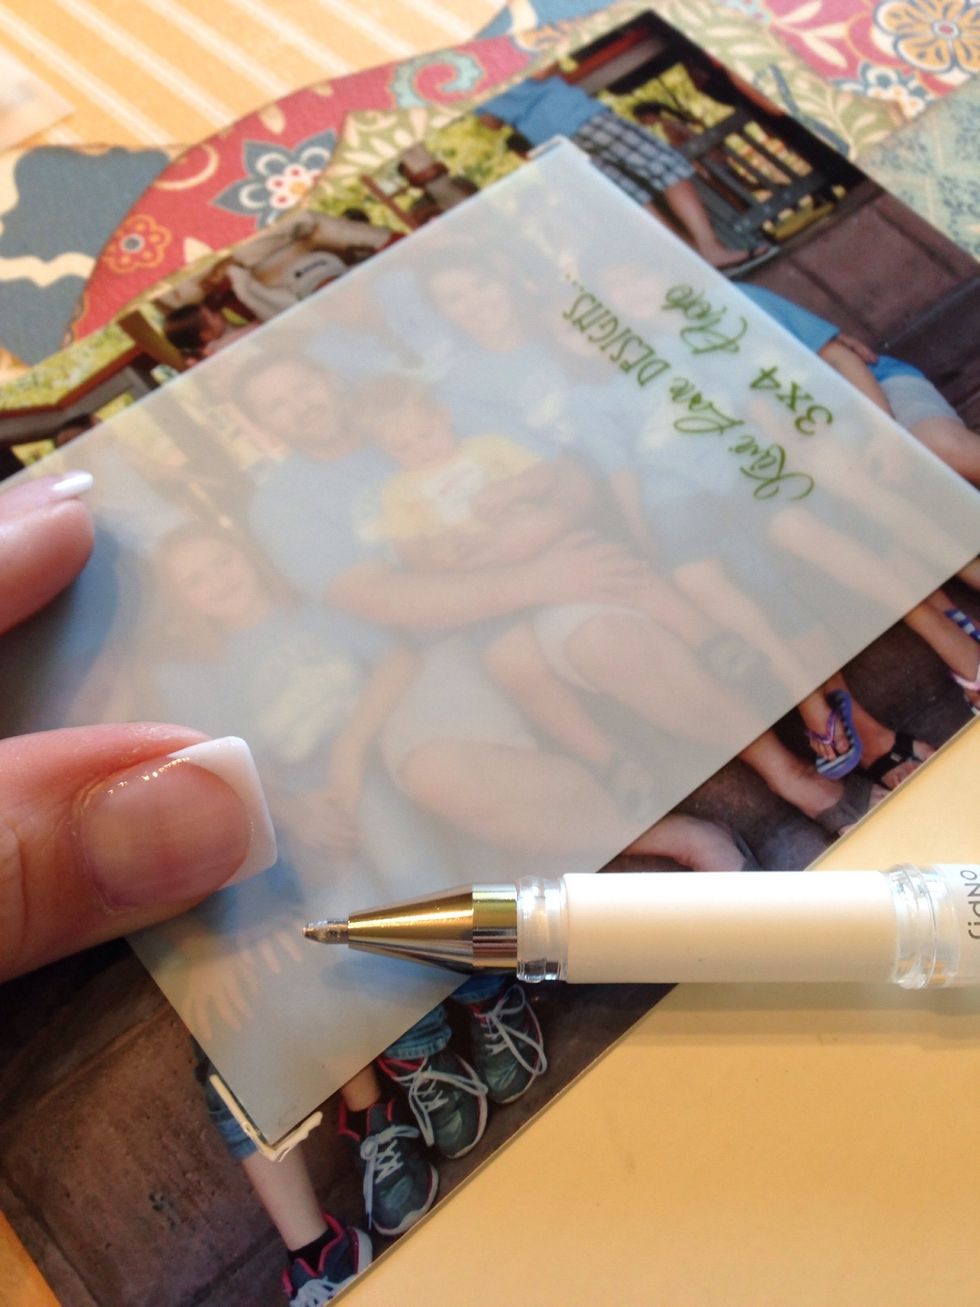
Mark two corners that are opposite of each other where you would like to crop your photo.
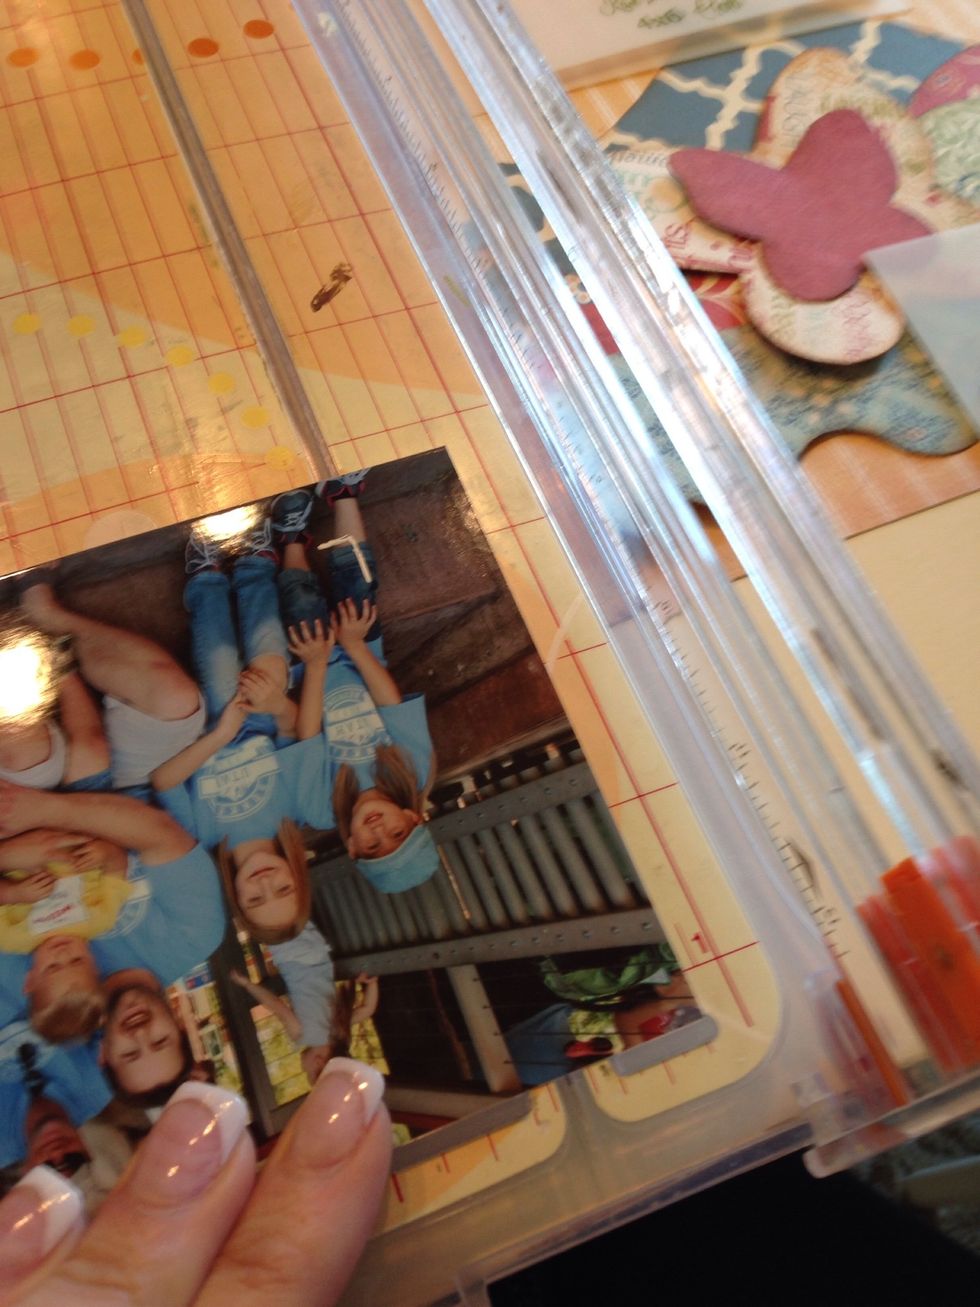
Line the marks up with your paper trimmer and trim down your picture to the exact size you need.

No more worries of cropping anyone out of your pictures or guessing what size would be perfect.
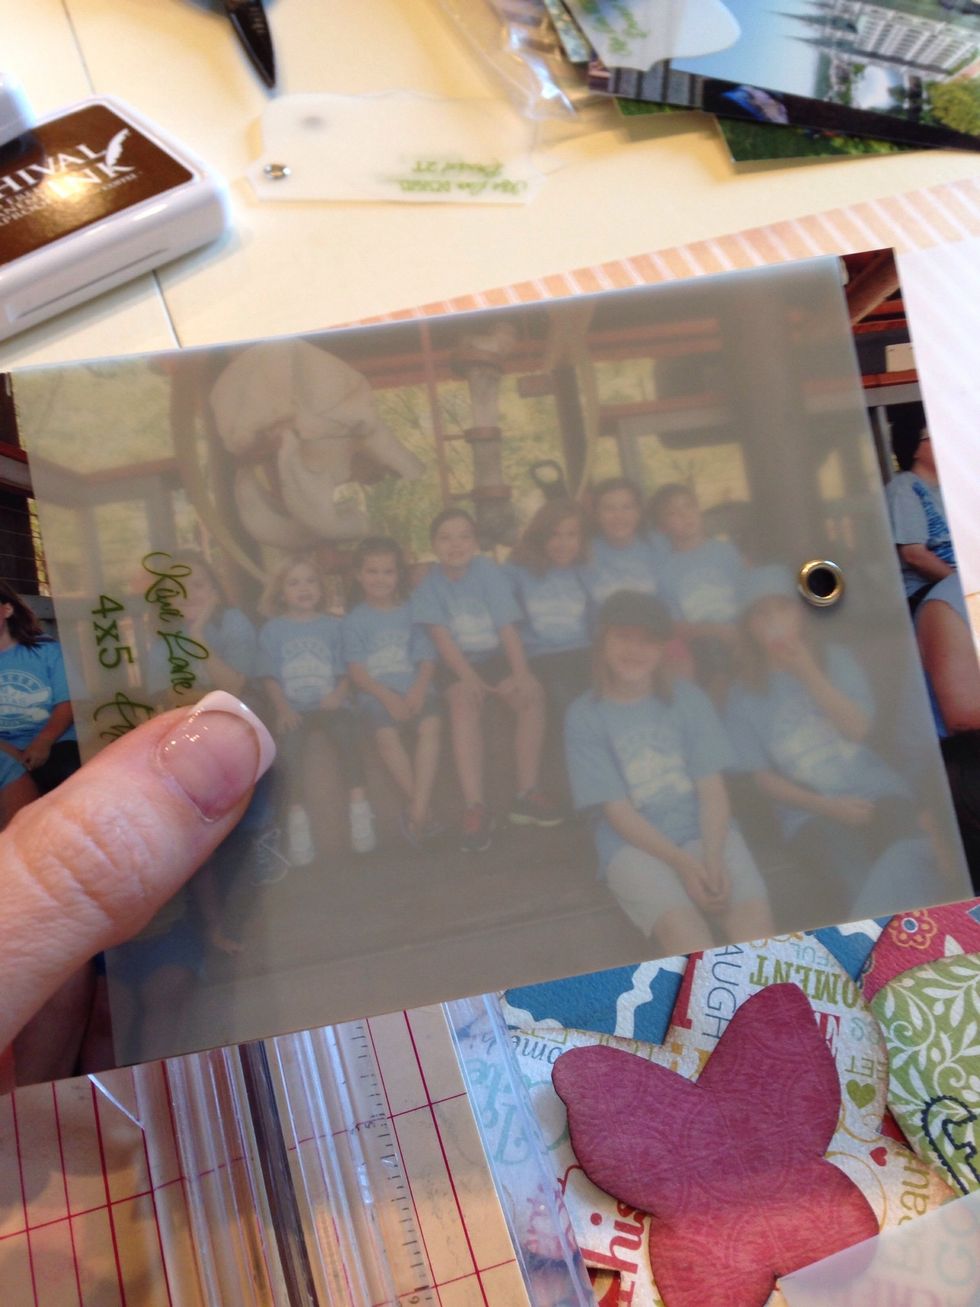
Do the same thing with each of your pictures.
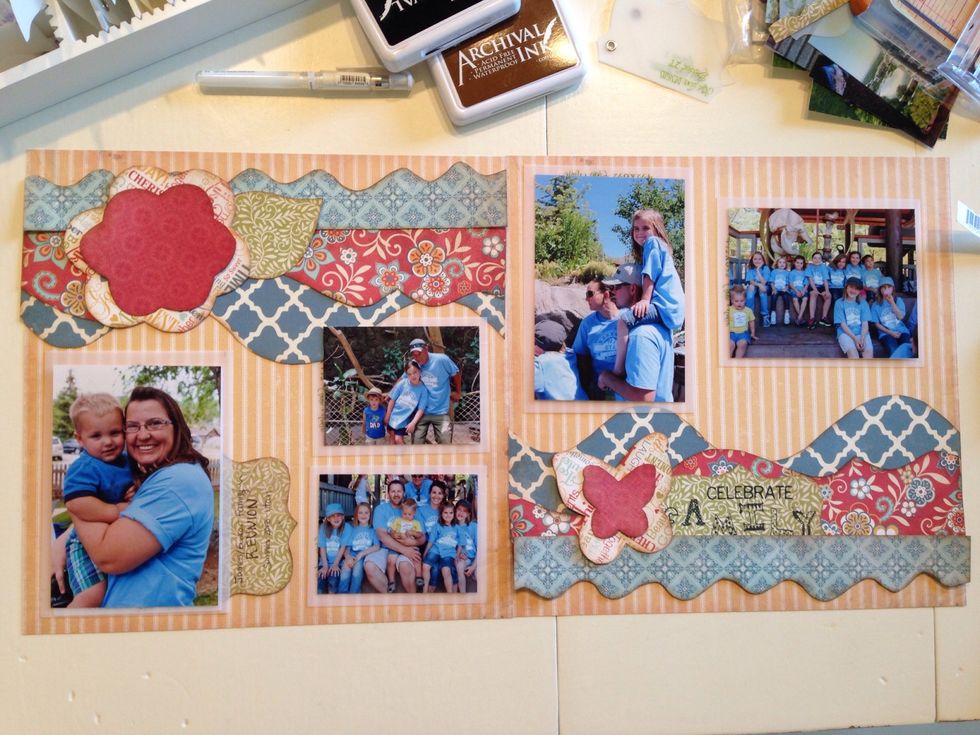
Place your pictures on your page.
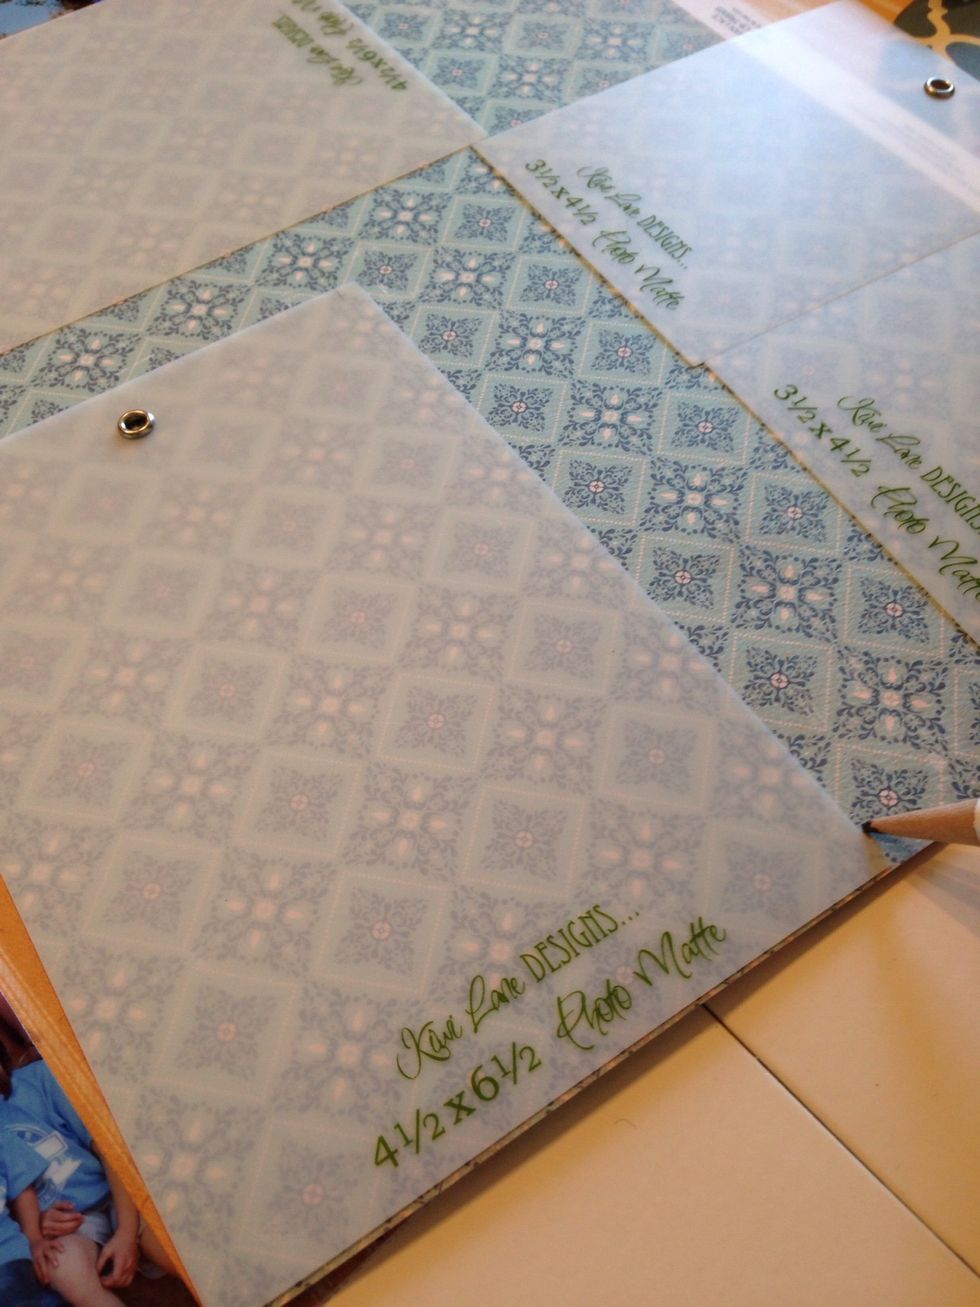
Using the photo mat templates, you can easily get the right size mat for your pictures. Lay the template on your paper and mark the sides to let you know where to trim your paper.
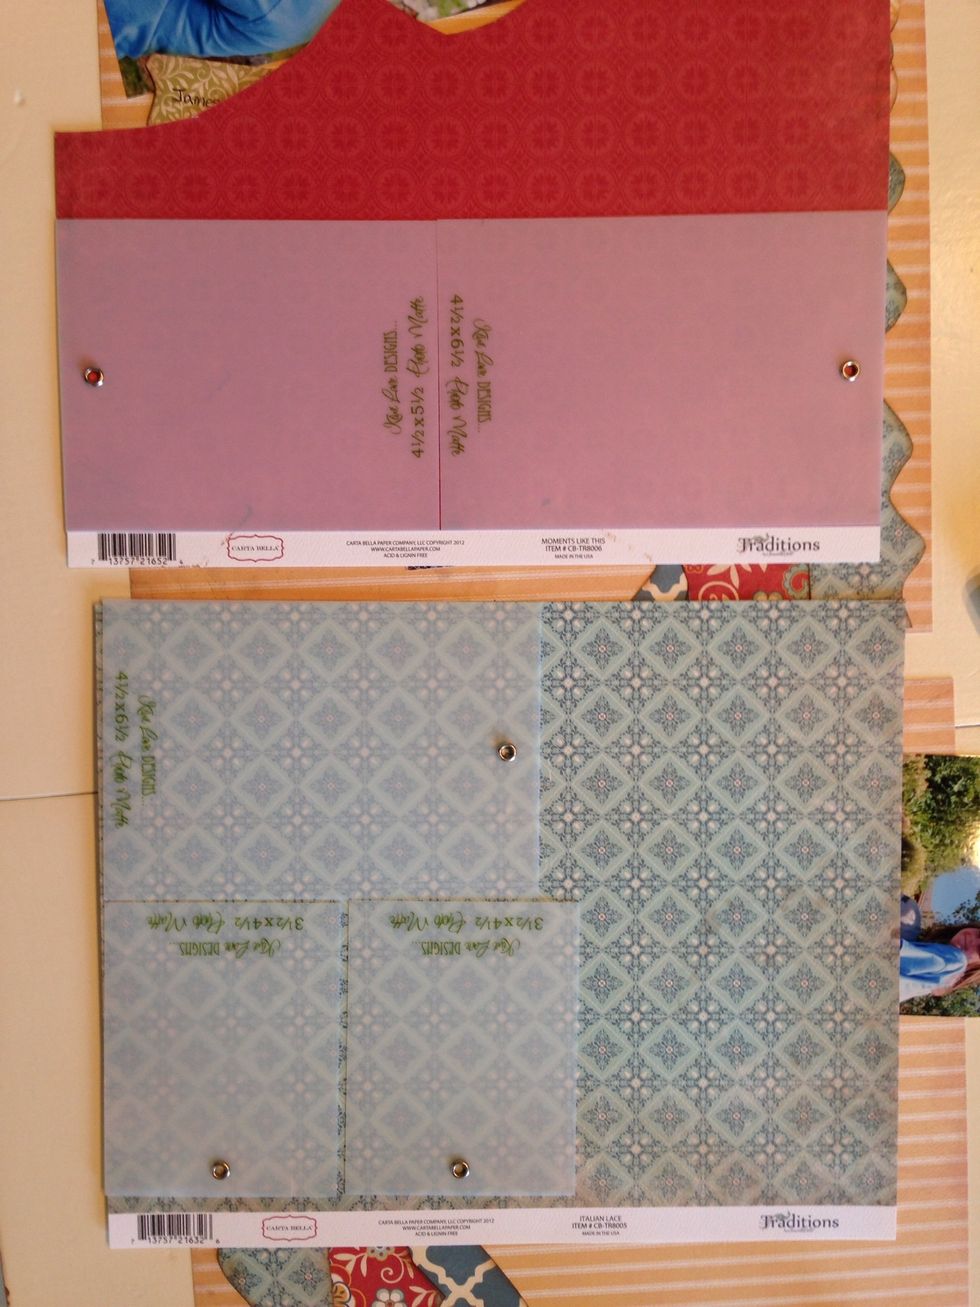
You can also use the different sized photo mats to map out how to get the most out of your paper. I used my scraps of paper to mat my pictures.
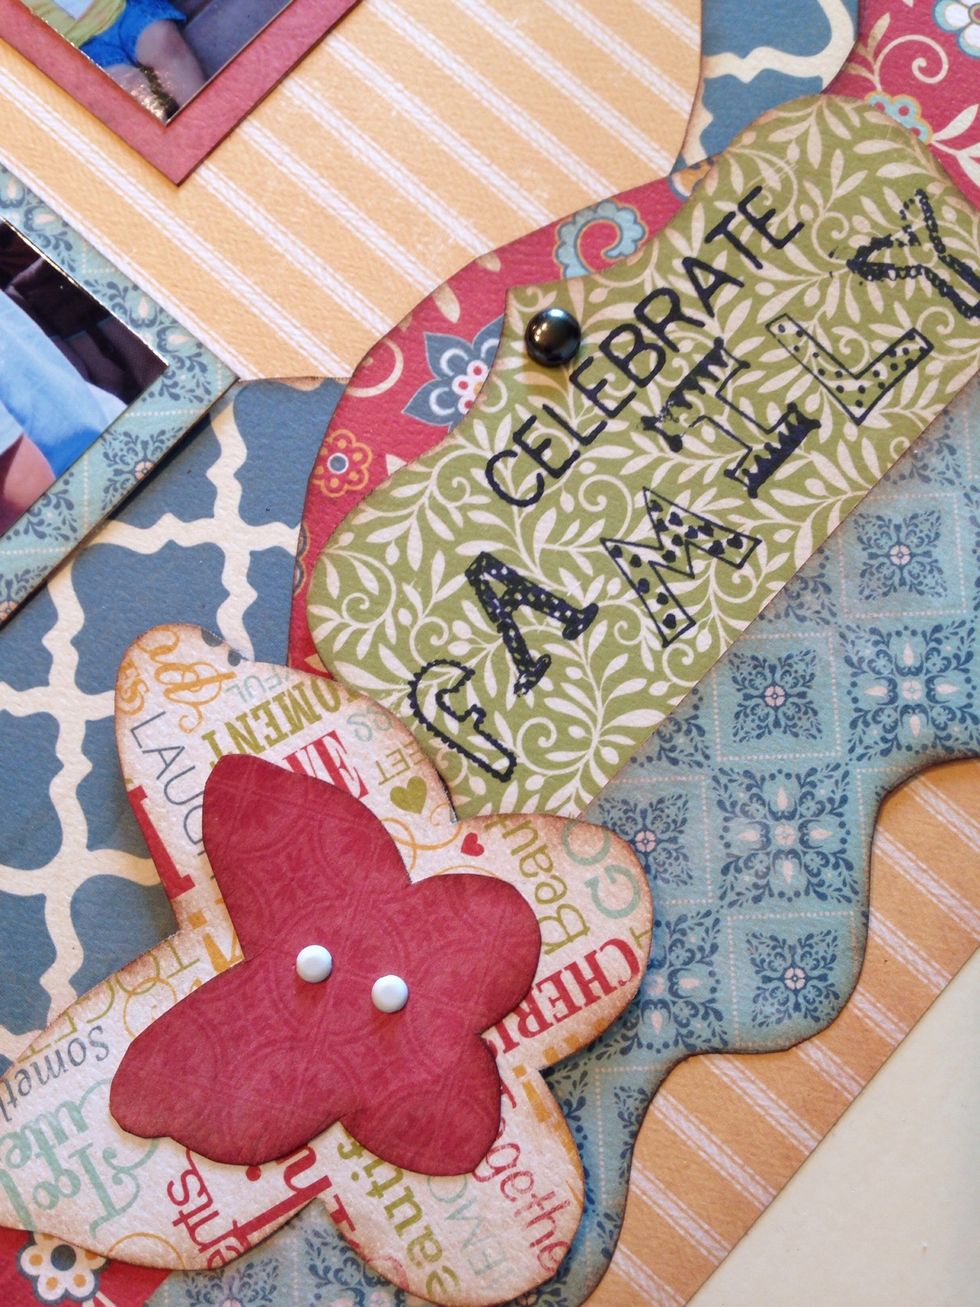
To finish your page, add some small embellishments like brads and buttons.
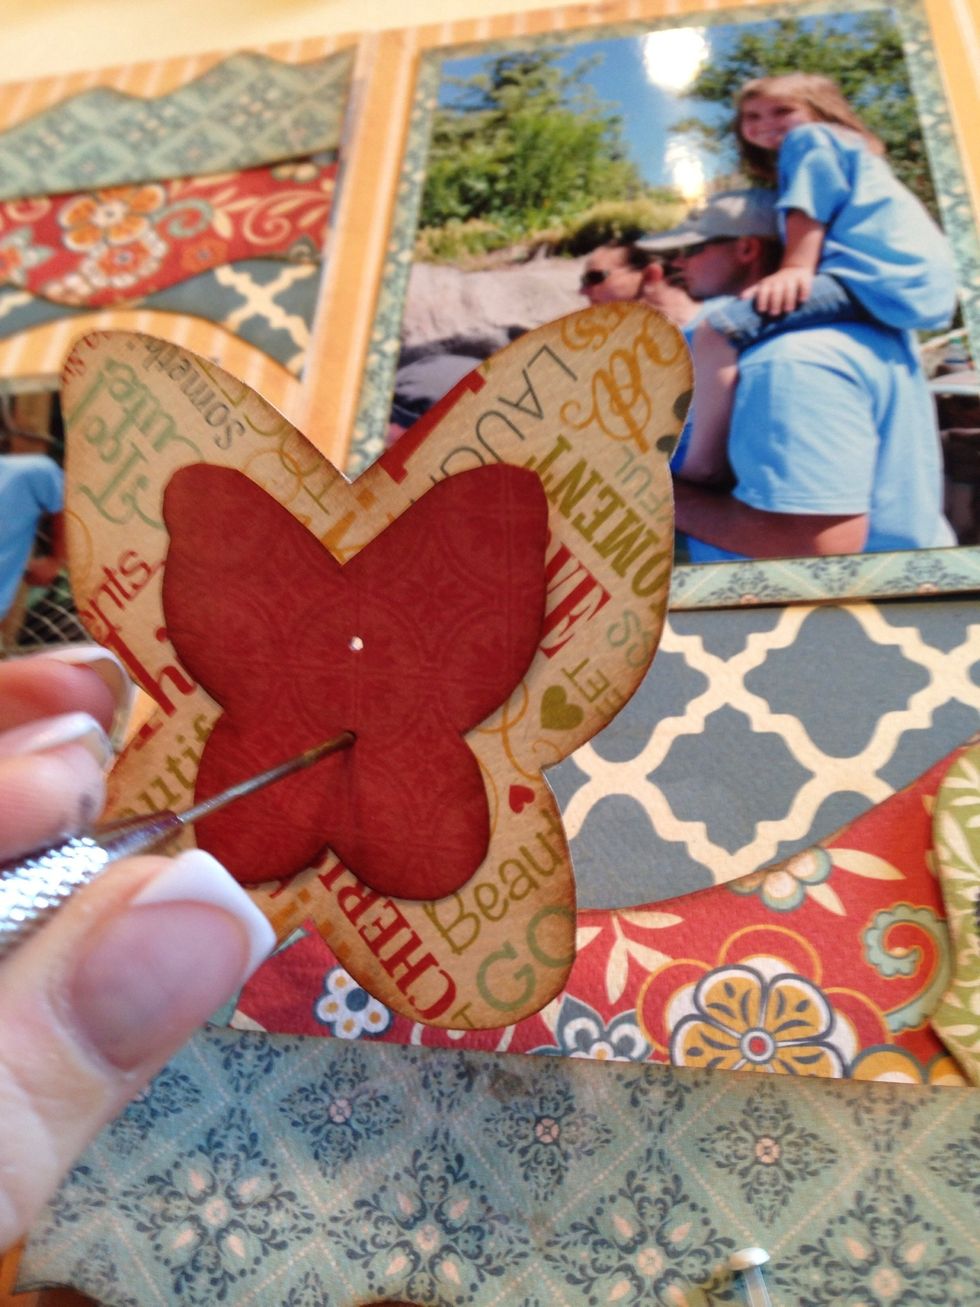
Note: To make it easier to add brads to your page, first poke a little hole through the paper.
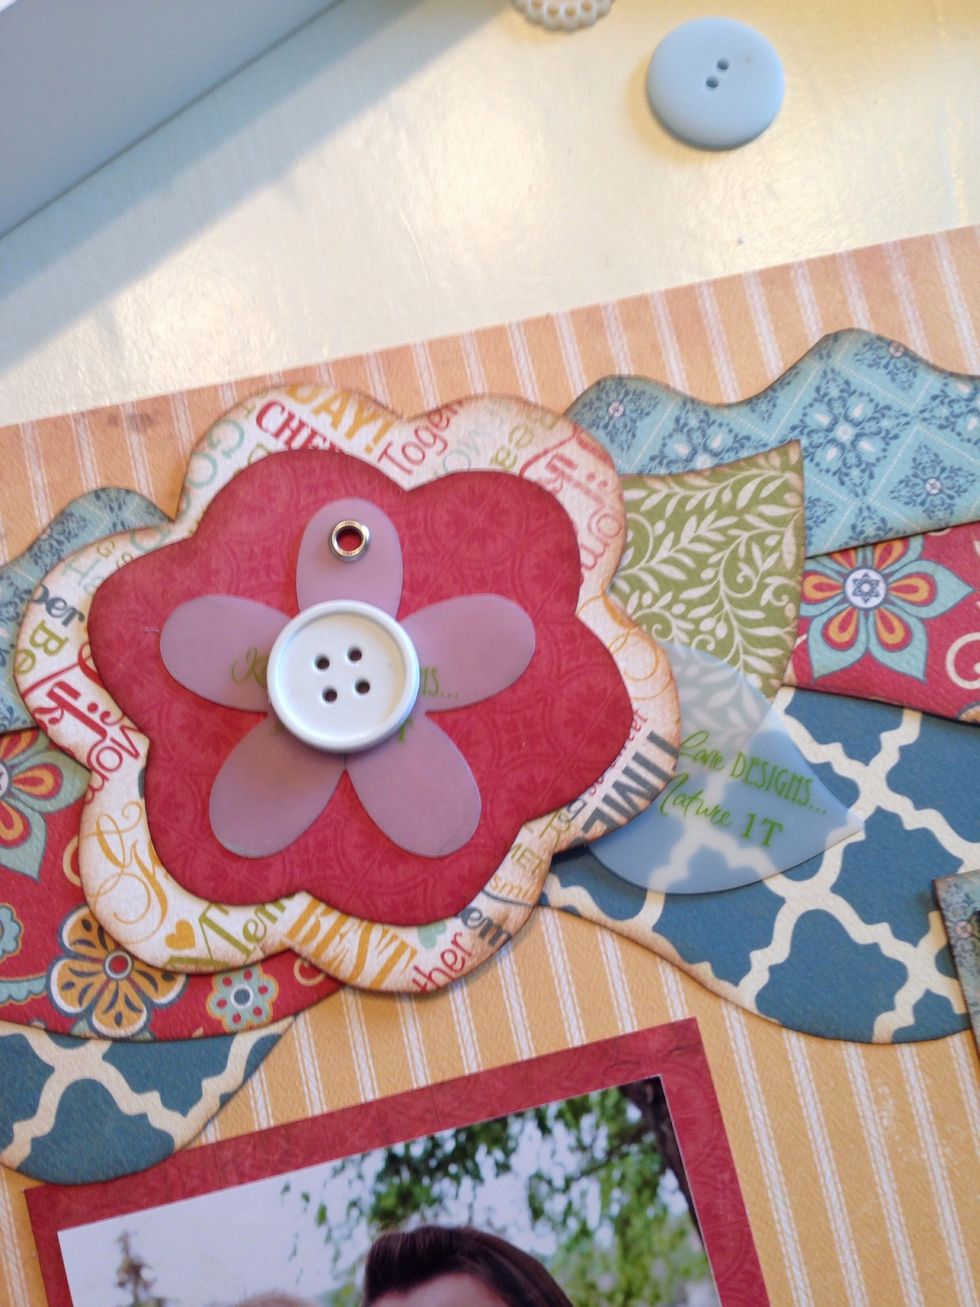
If you want to add more layers using your scraps....just add a couple of accessories to your design where you feel it is needed.
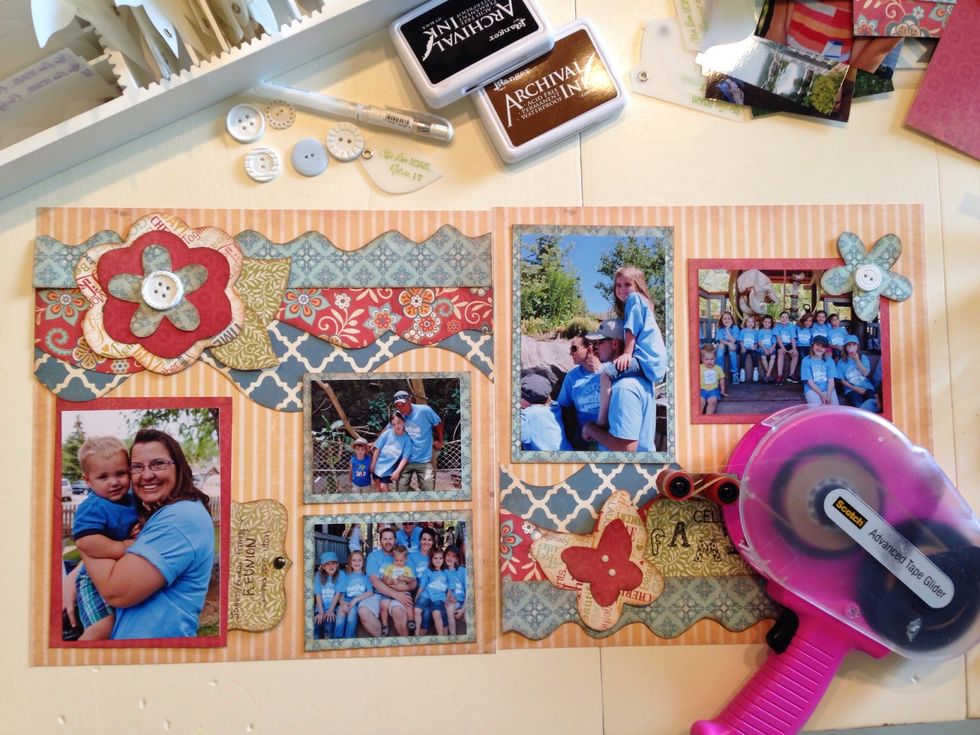
You're almost done. Just use an adhesive and adhere each element down to your paper.
Starting with your pictures, add a little adhesive to each side.
Then adhere the bottom layer of your borders.
Then adhere the next border depending on your design and how many layers you added.
Make sure to ink any edges of all the pieces that show.
Add a little adhesive to the back of your accessories and place them down, or if needed tuck them in.
Do the same thing to both sides of your layout.
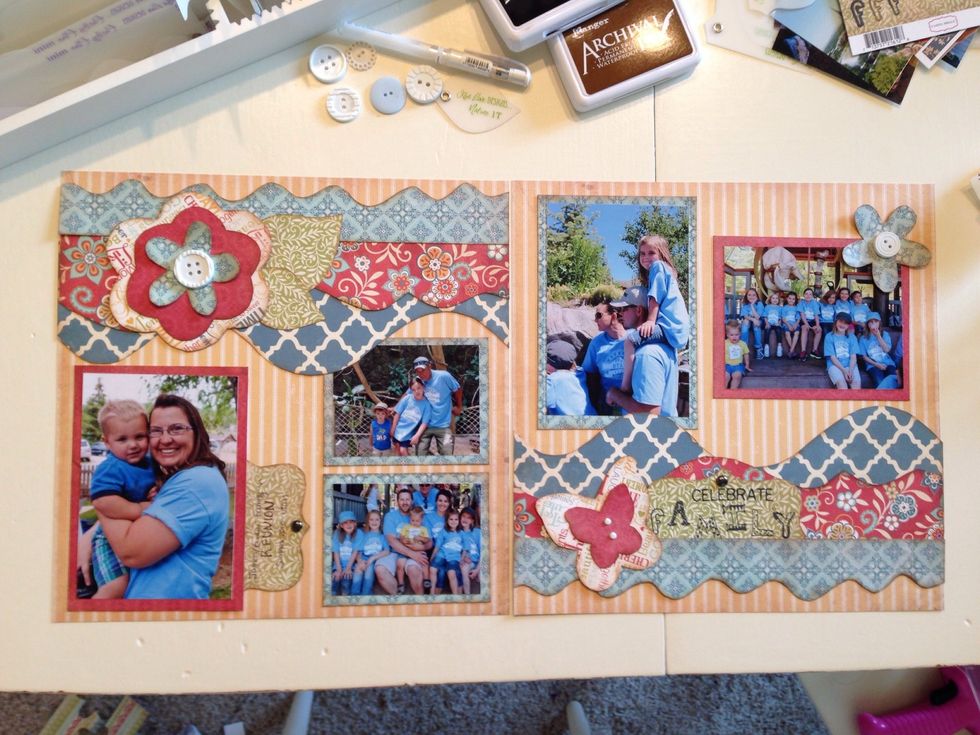
And you're done! You have a beautiful layout to preserve your memories and share with loved ones!
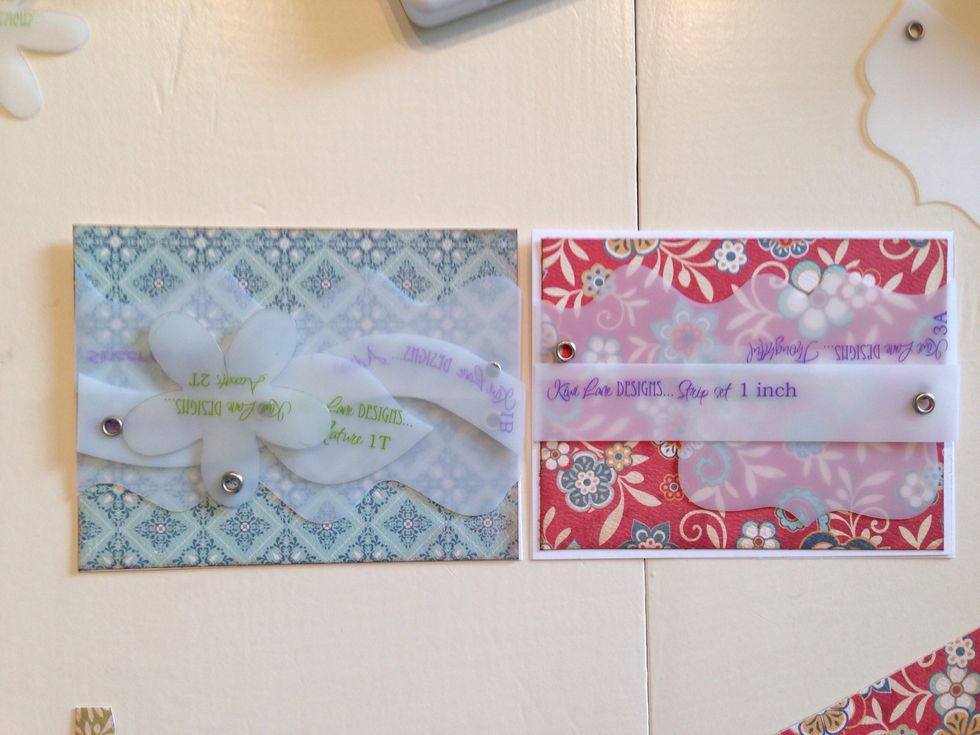
Now what to do with your scraps? With 5-6 double-sided papers, you can get a beautiful layered 2 page layout plus 1-2 cards using your scraps.
How to use your scraps to make a card? For the base of the card use an 8.5 x 11 inch piece of cardstock.
Cut it in half at 5.5 inches.
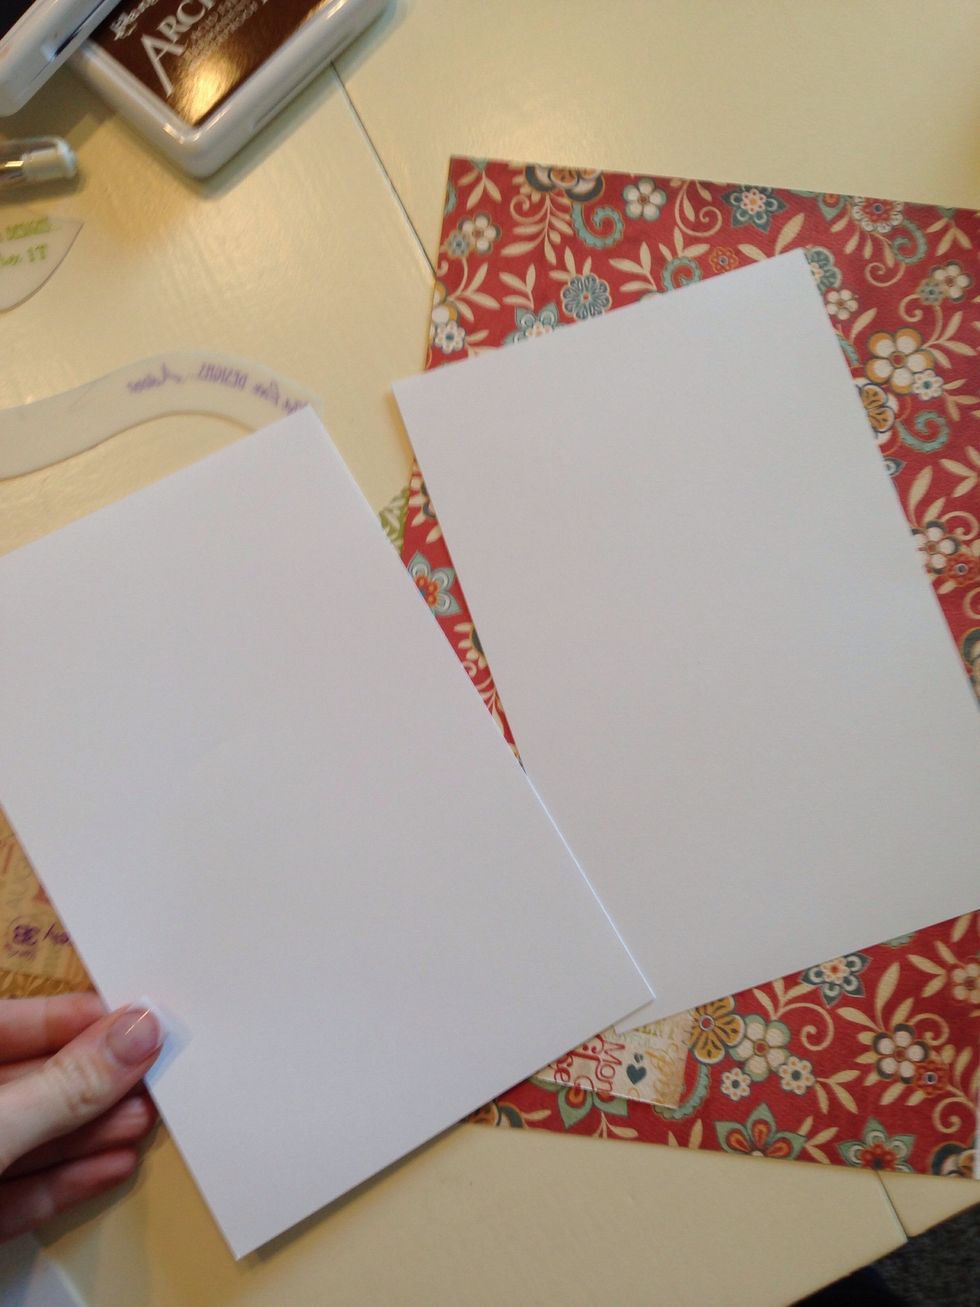
Giving you two pieces.
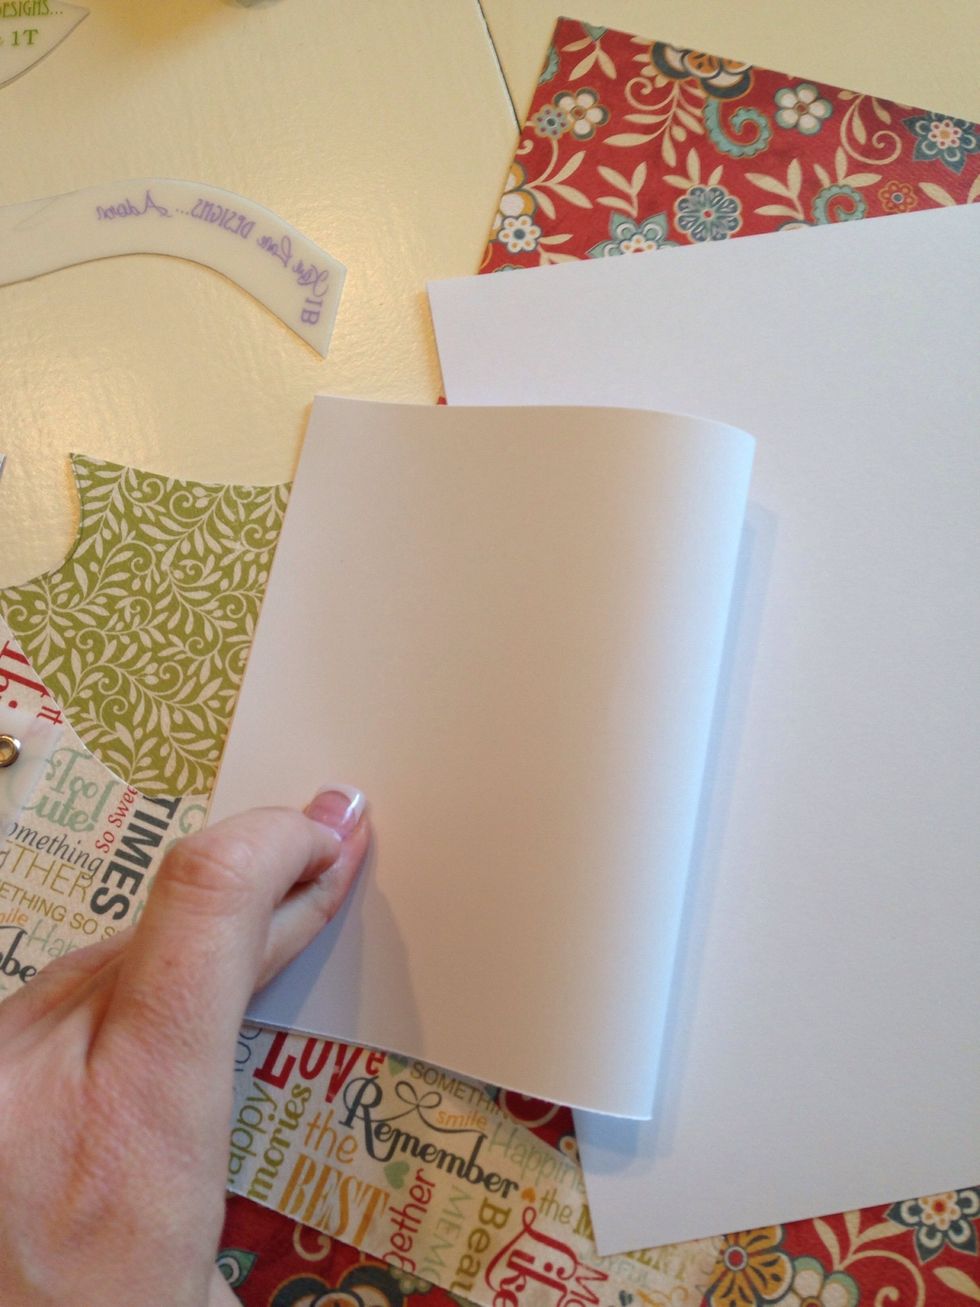
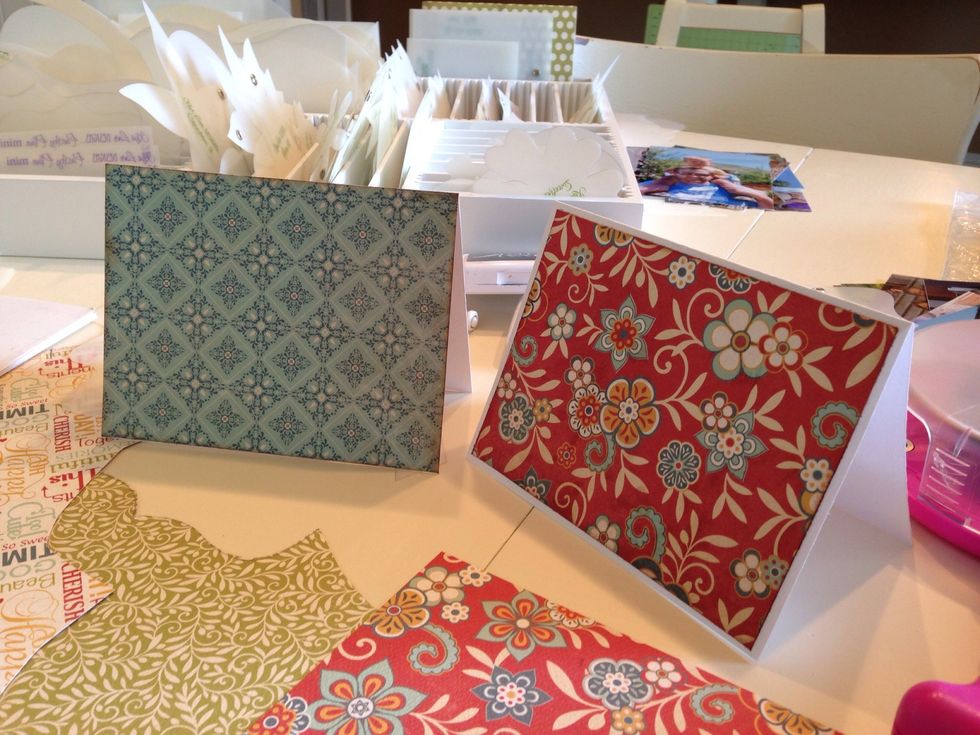
Fold each piece in half creating a card
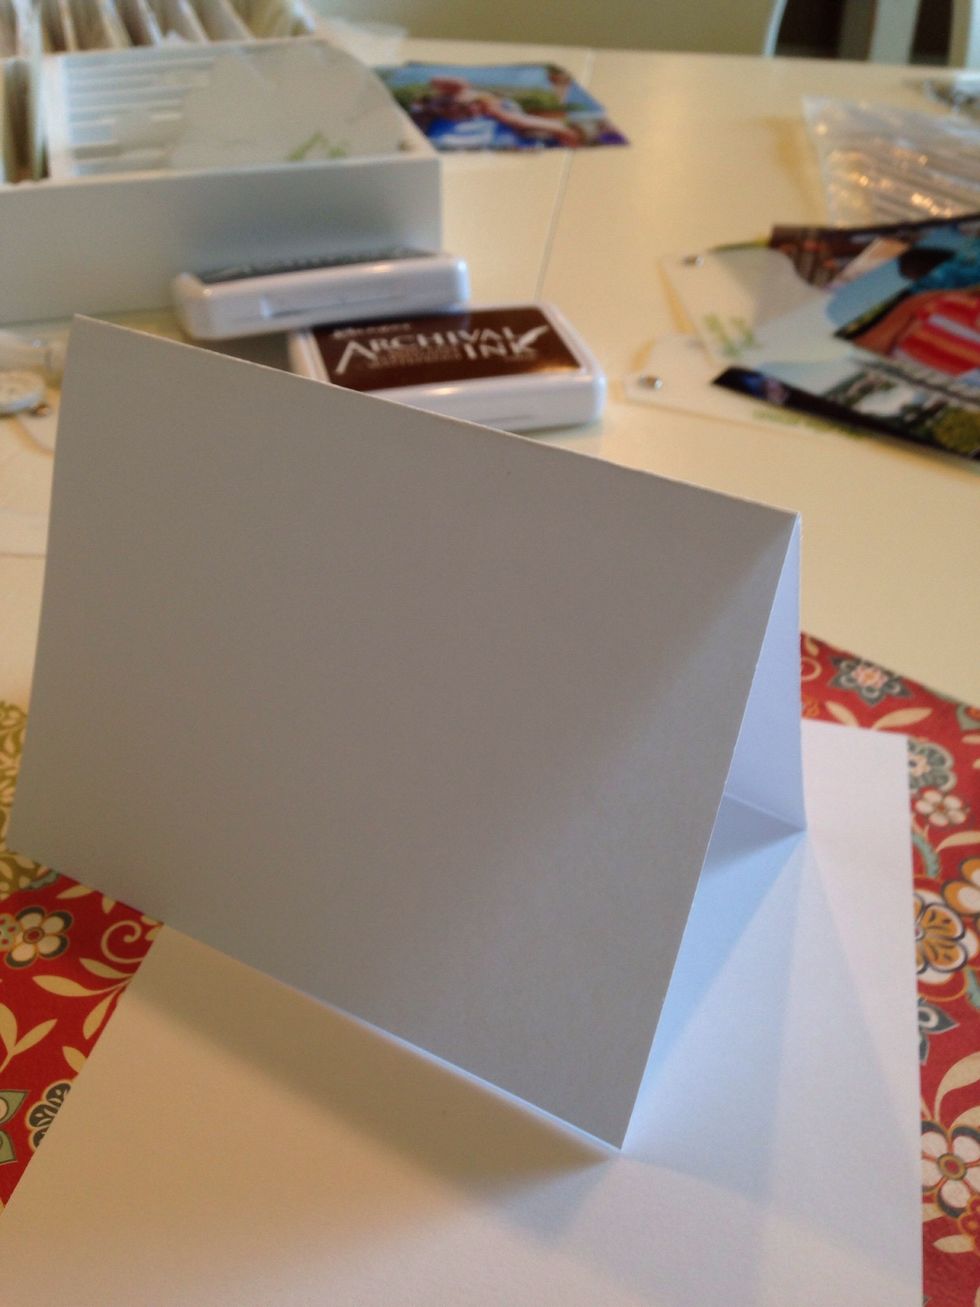
Decide which direction you want your card to face.
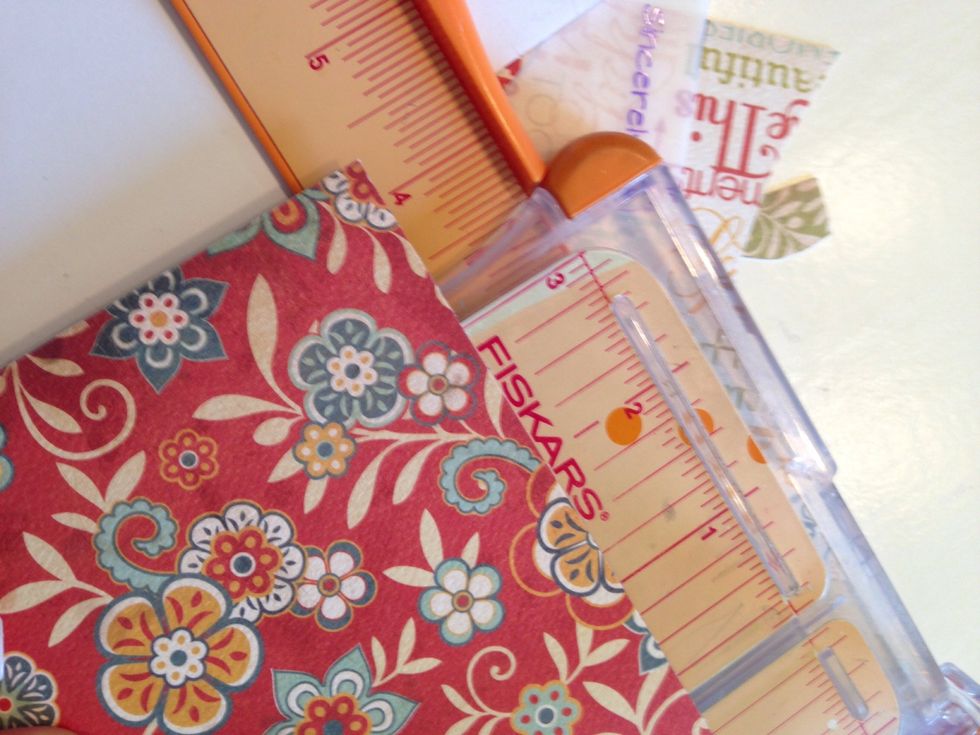
Trim down a piece of pattern paper to 5.5 x 4 1/4 inches.
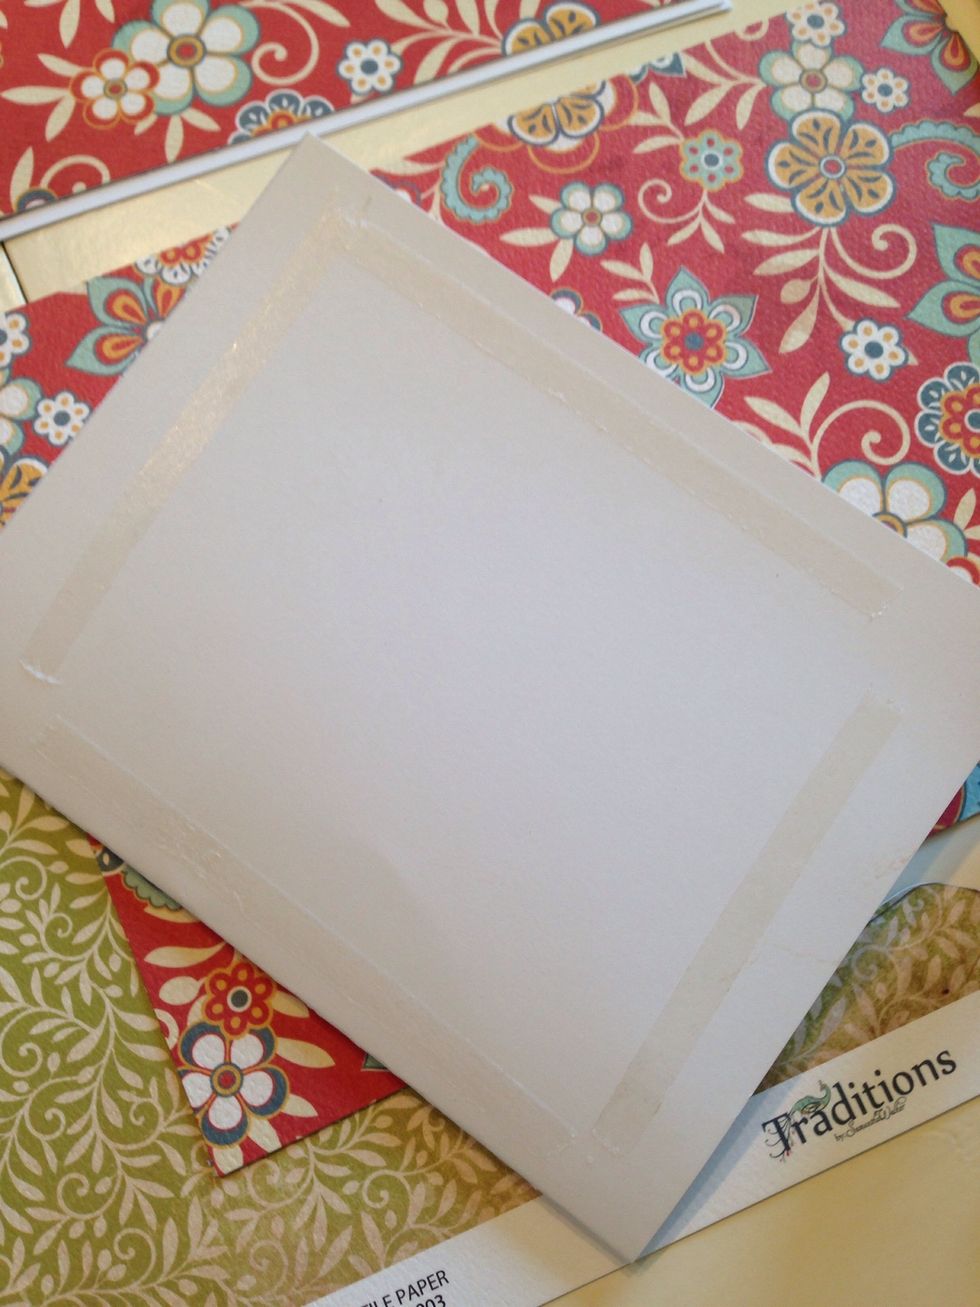
Add adhesive around all the sides of the top of your card.
Cover the front of your cards.
The card borders have a side A and a side B just like the larger borders.
If you use double-sided paper, you can do a back-to-back design by flipping the side B over.
Design your card using the Designer Templates. Keep In mind how many scraps of paper you have to work with.
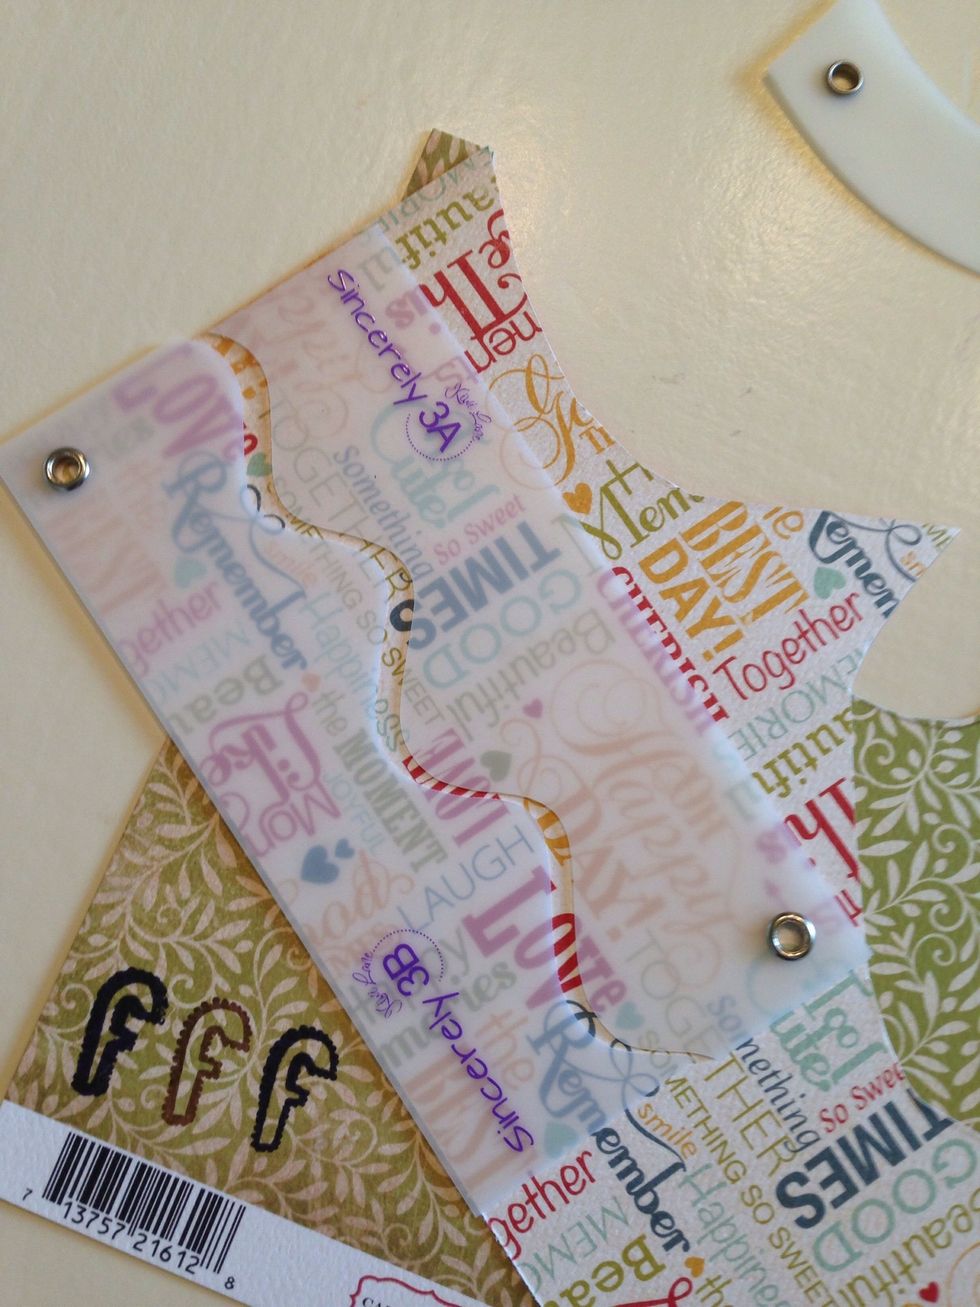
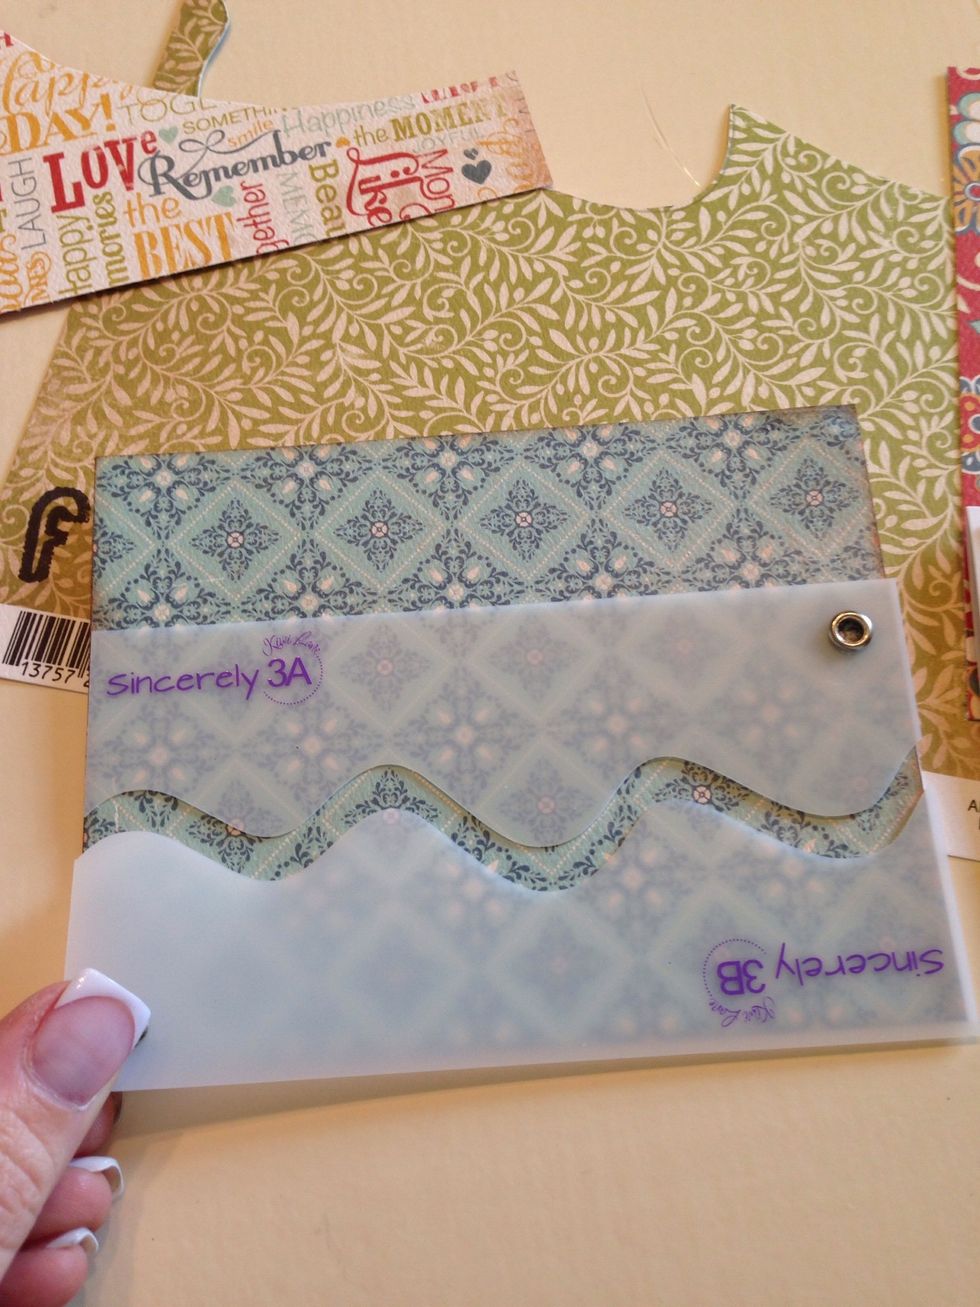
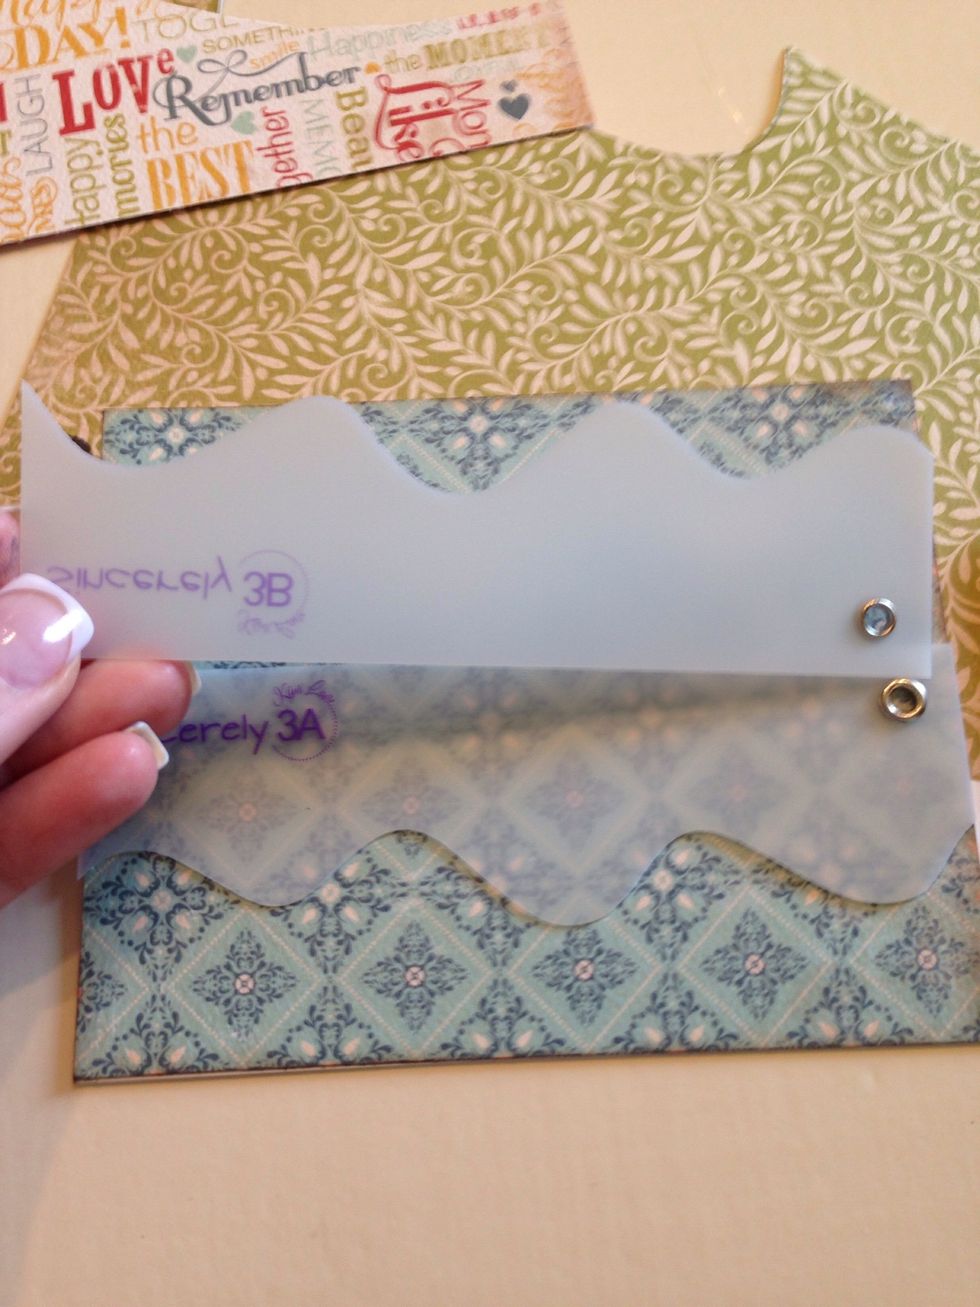
Trace the side A and side B onto your double-sided paper.
Make one cut up the center.
Flip side B over to use the pattern on the other side.
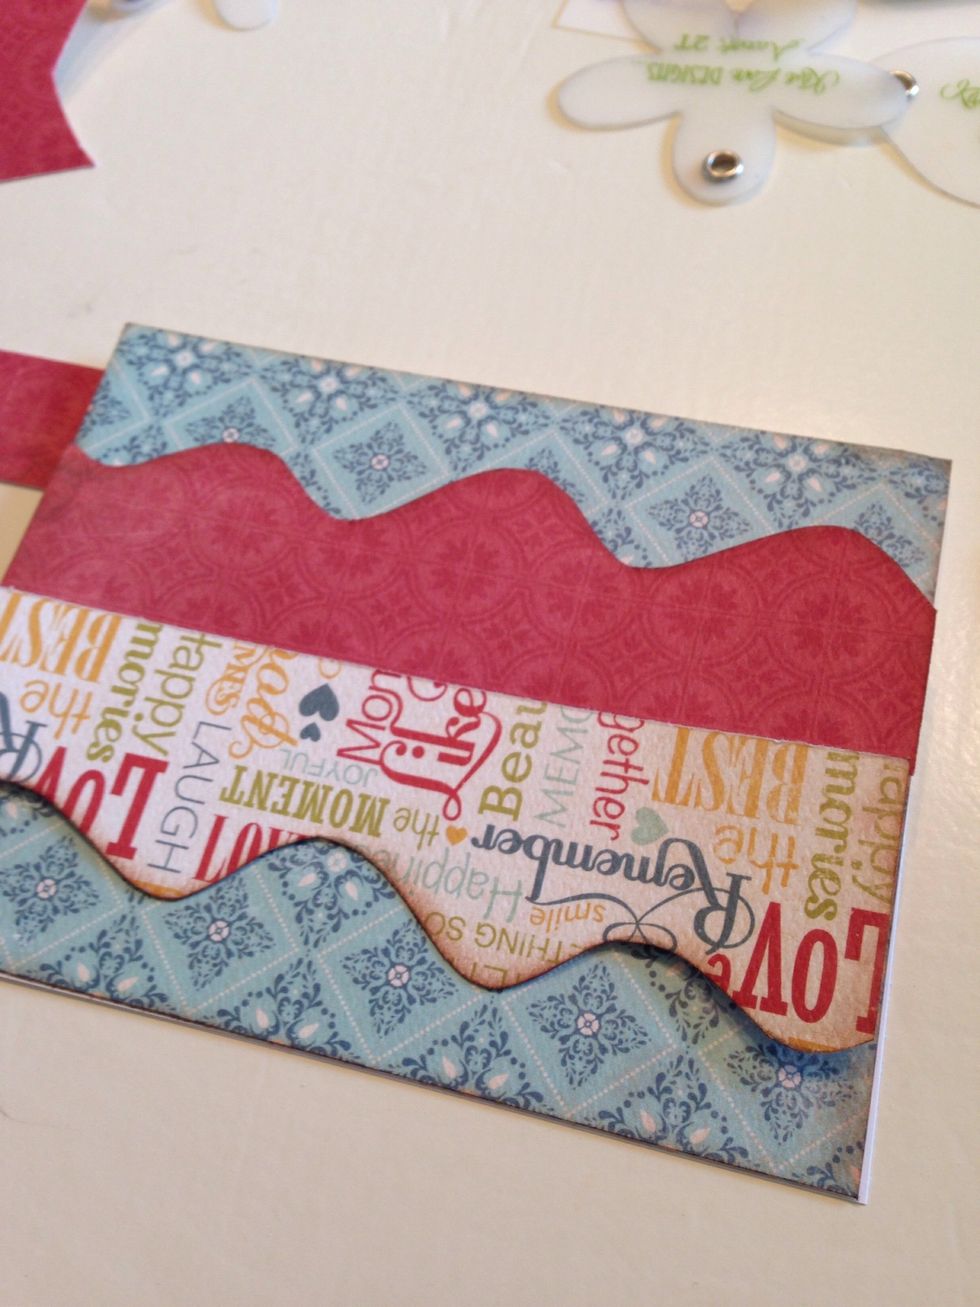
One cut gives you two borders for this adorable back-to-back design.
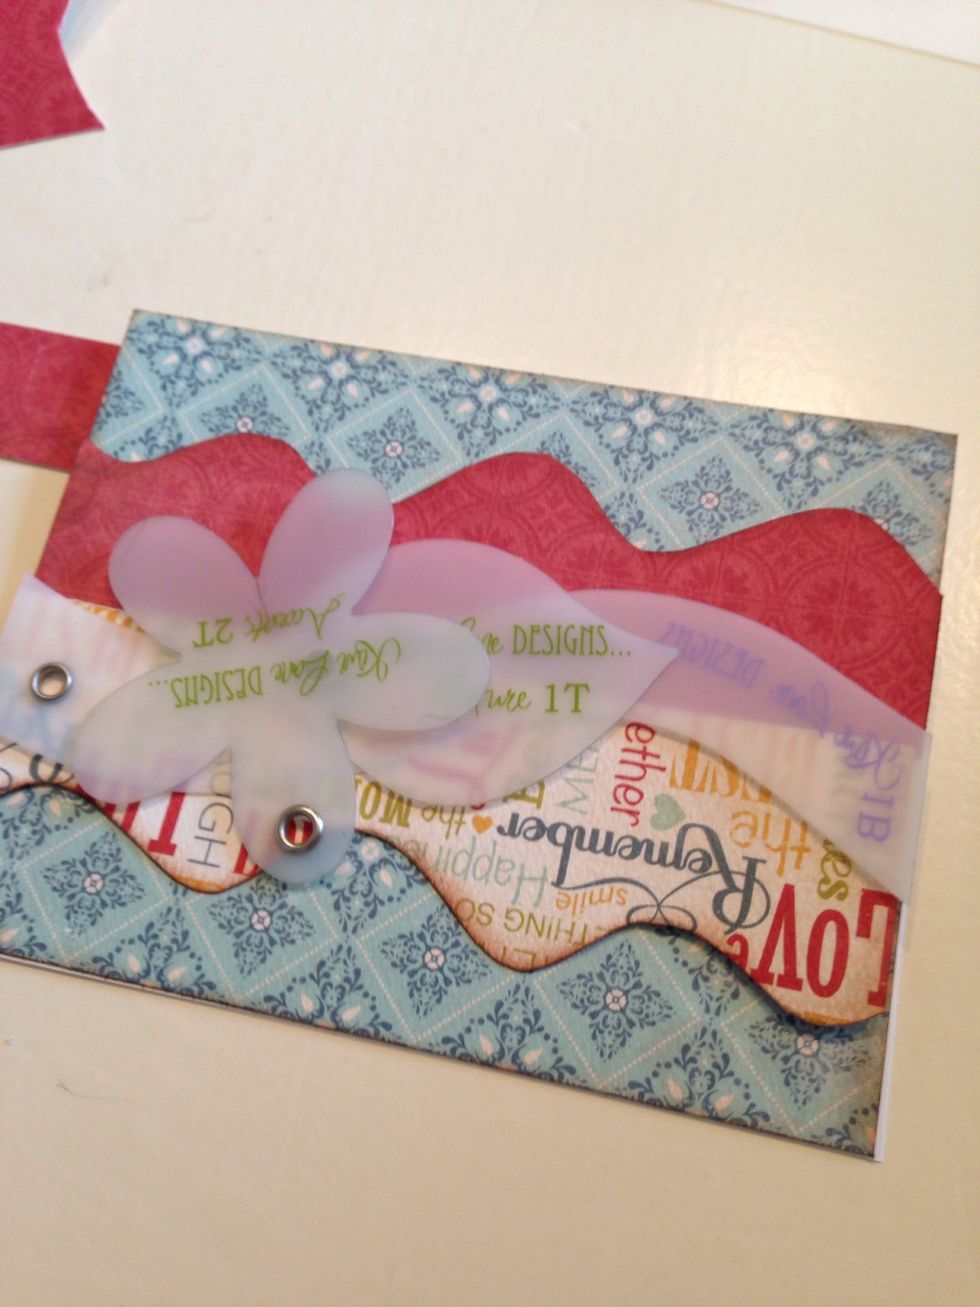
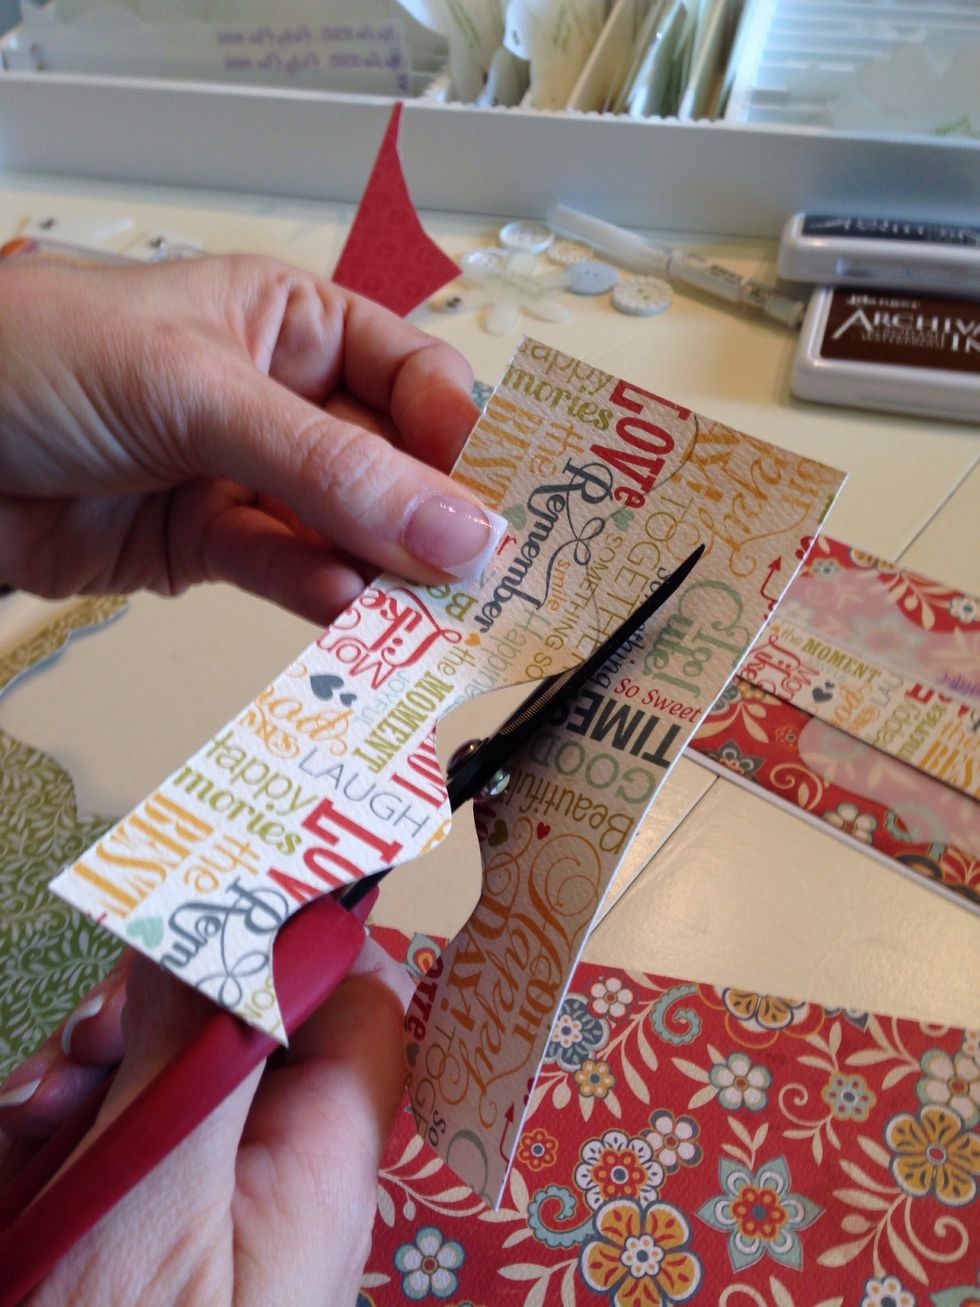
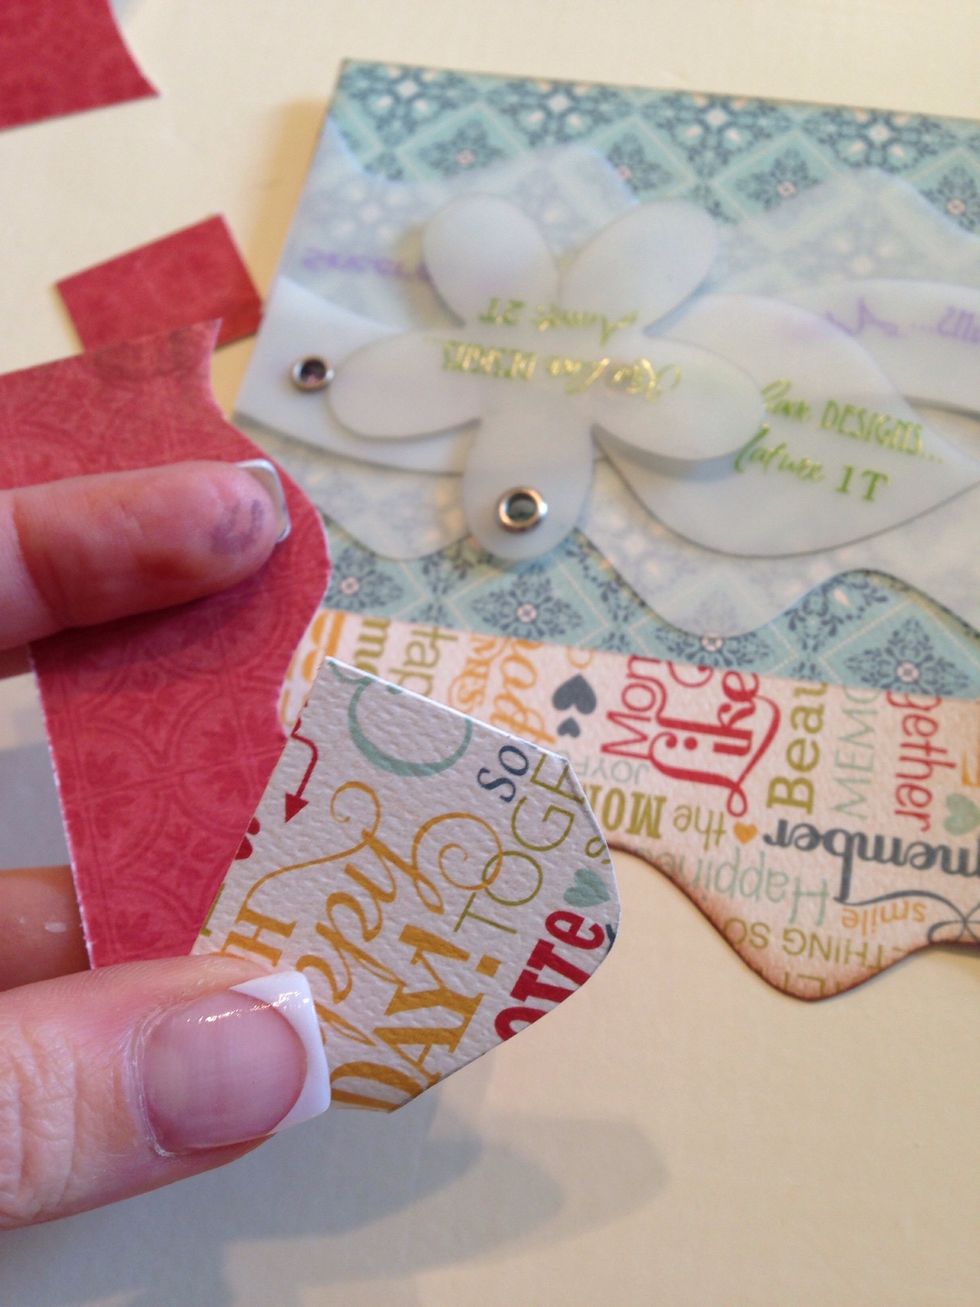
Trace and cut each of the other layers out of your coordinating scraps of paper.
Stamp your sentiment onto a scrap of paper.
Place your template over and then trace it out.
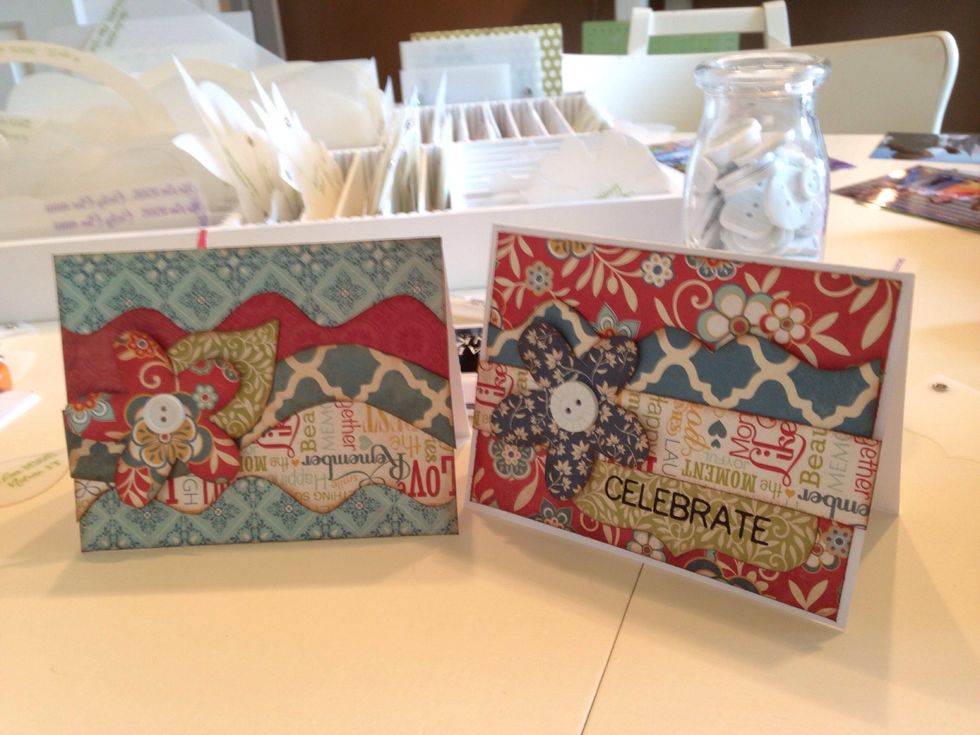
You now have two beautiful cards from your scraps of paper to give to someone special!

www.kiwilane.com