How to roll out a clay slab tile for wall installation
Roll Out a Clay Slab Tile for Wall Installation
170
STEPS
TOOLS
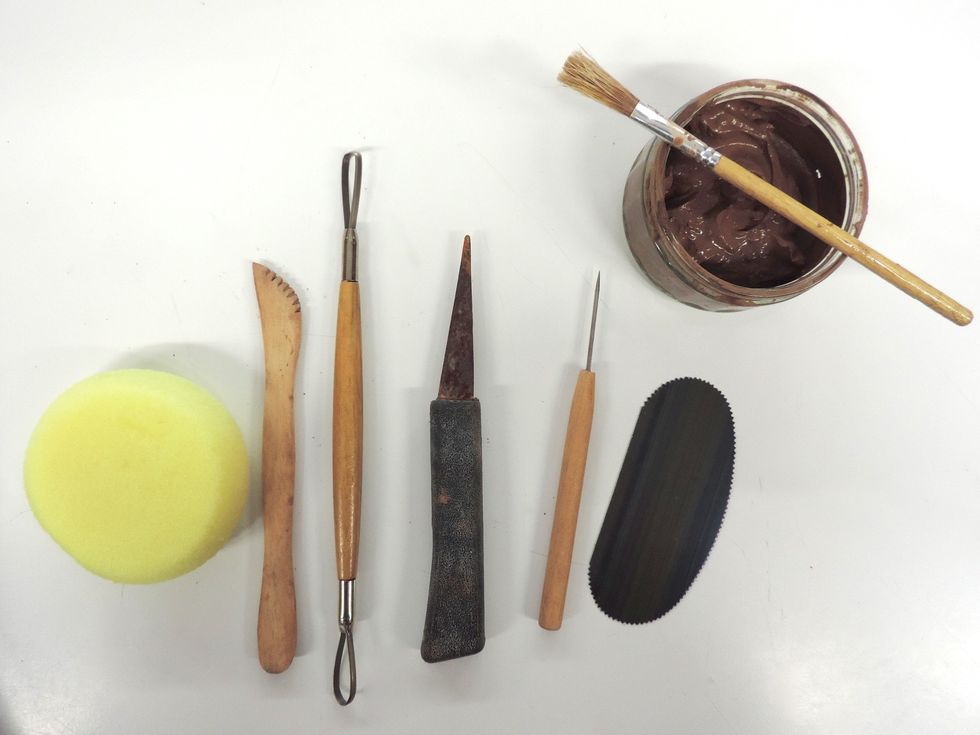
Gather tools and canvas board
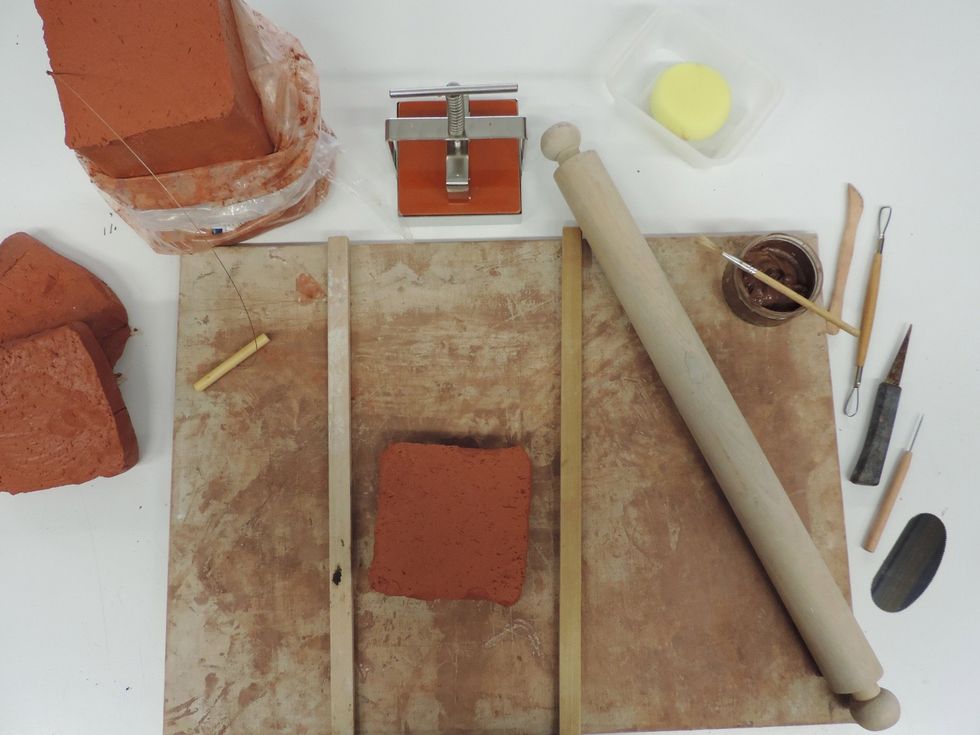
Centre cut slab of grogged clay in centre of board with plenty of space on either side for wooden dowel guides.
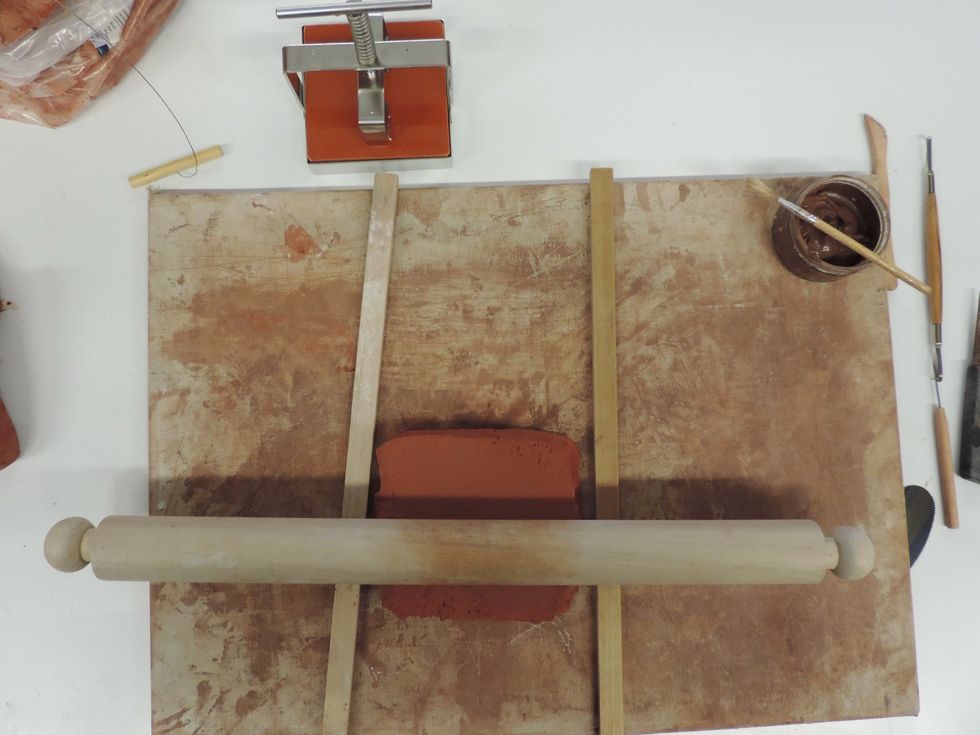
Roll slab using palms flat on either end of rolling pin smoothly from end to end. Avoid adding pressure to middle making a dent.

Flip slab over and continue rolling with a smooth action.
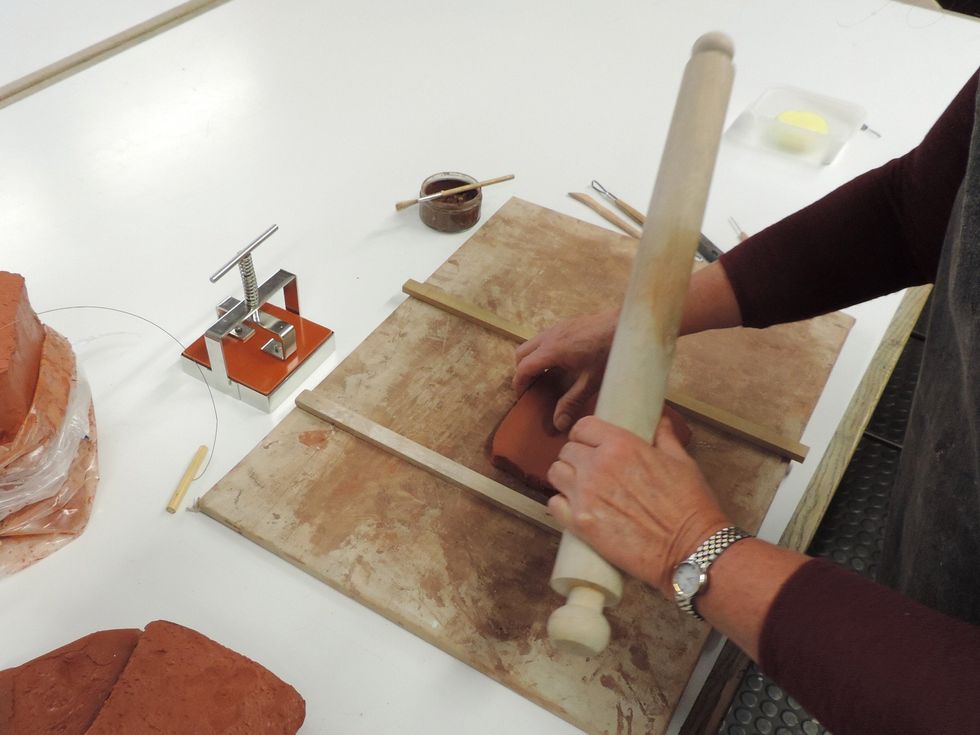
Carefully lift slab and turn over using both hands to lift by edge.
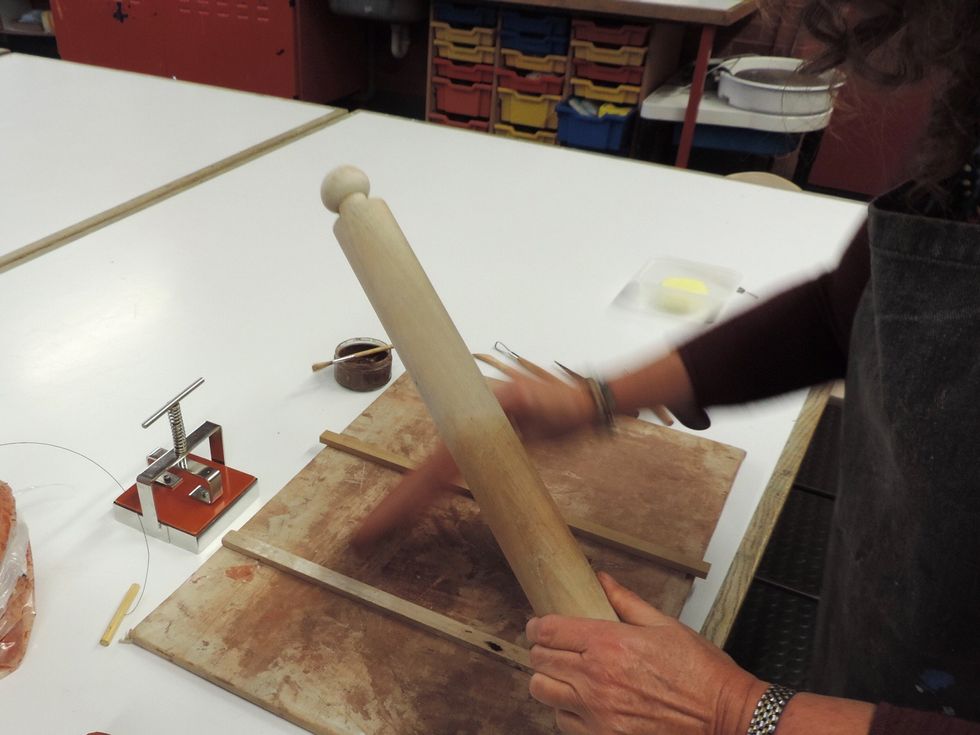
Continue rolling, flipping and partial turning to make an even thickness in slab.
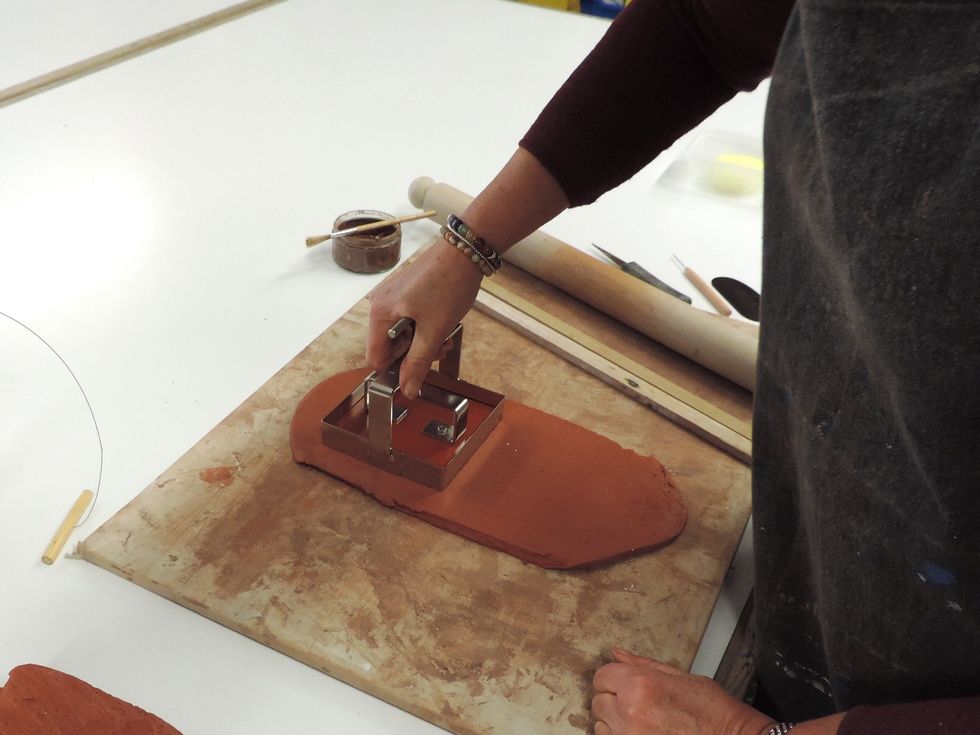
Position tile cutter at on end of slab making sure to not catch edge. Press firmly and lift straight up.
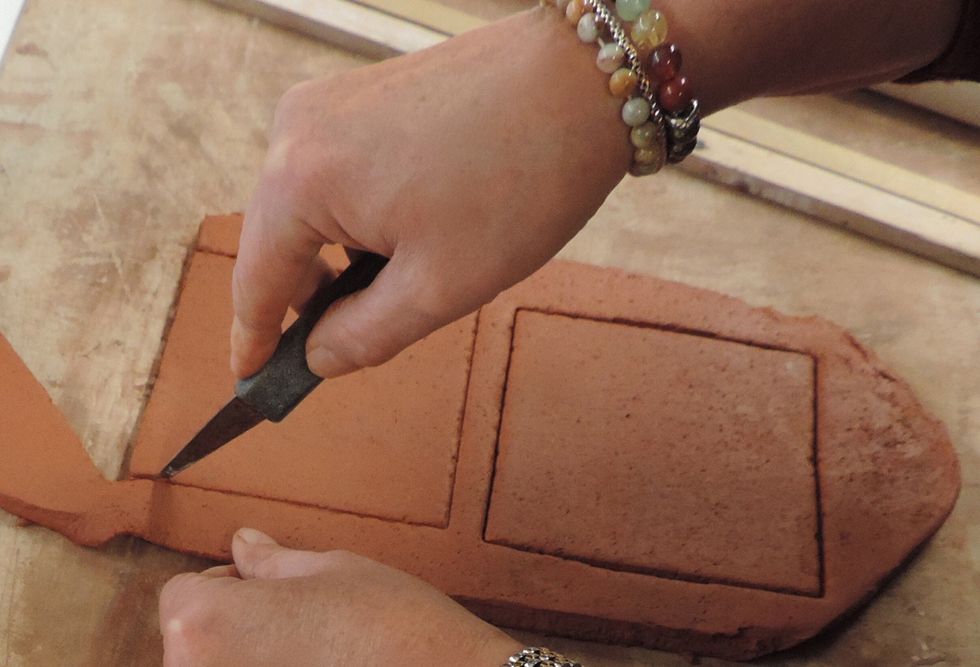
Use tile cutter on lower half of slab.
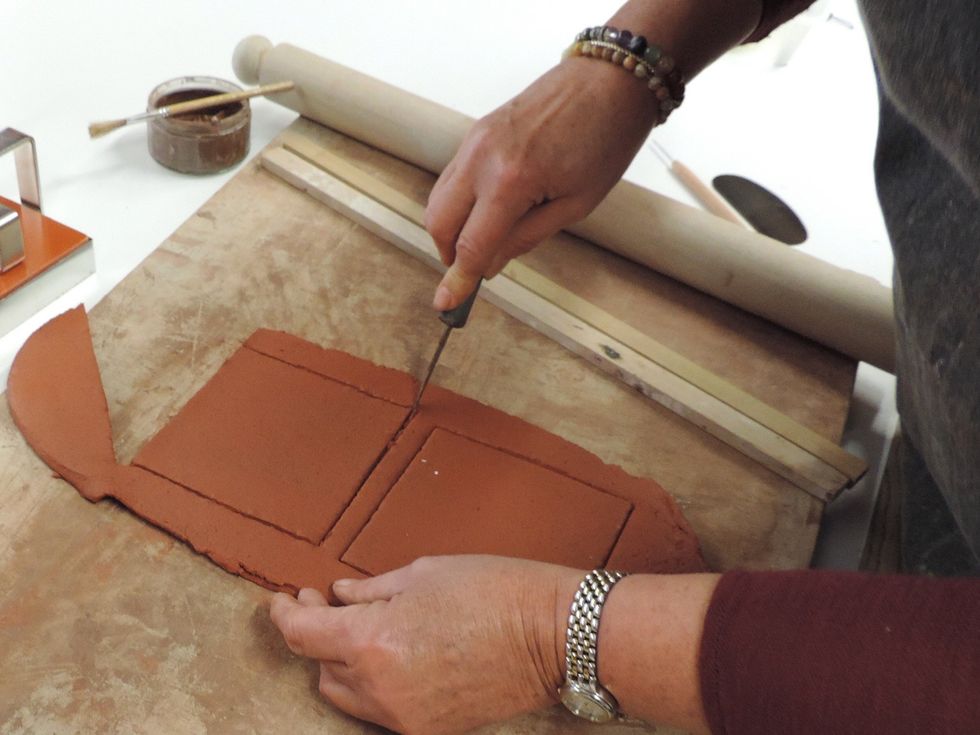
Trim out square tile using potter's knife.
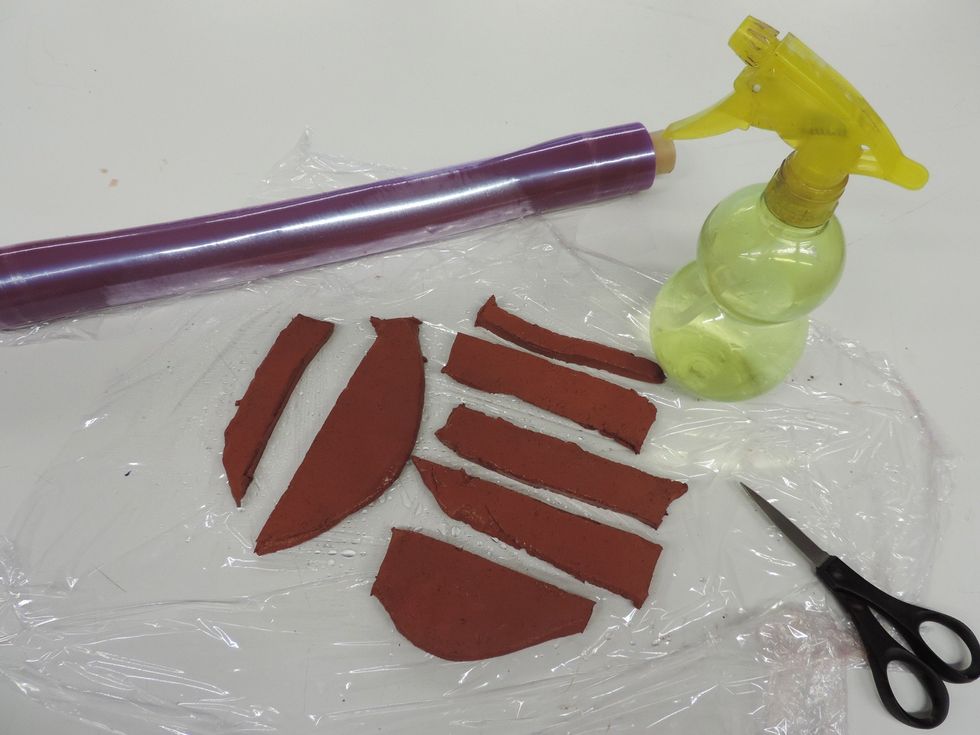
Keep excess clay trimmings flat and place on sheet of cling film.
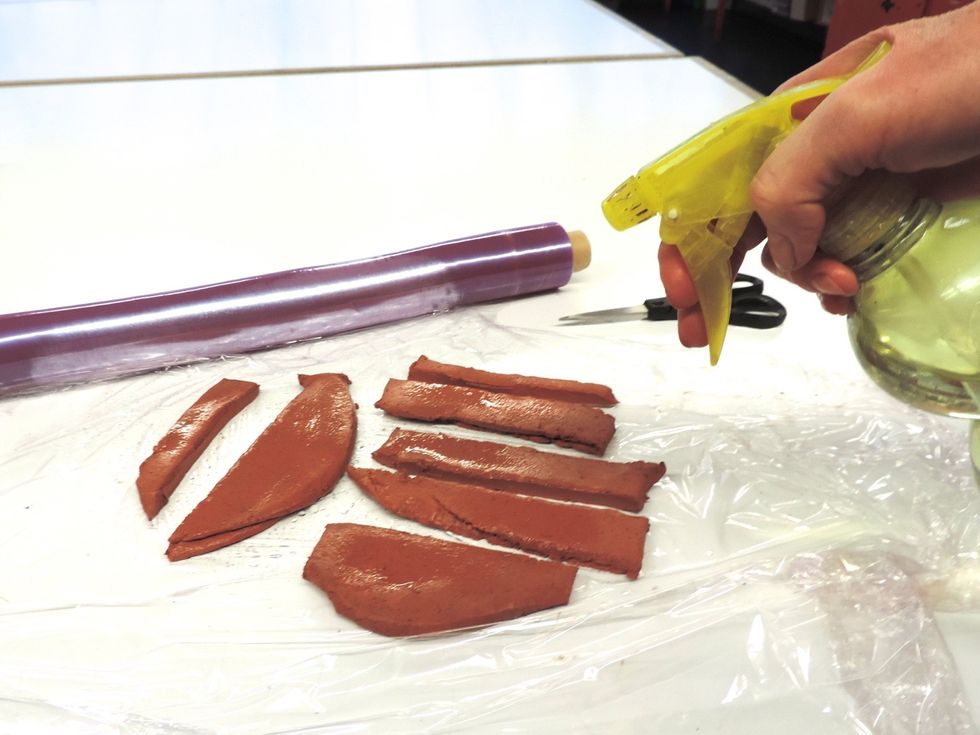
Give a light mist of water to keep these moist. You will use this scrap (plastic state) clay for adding surface design details later.
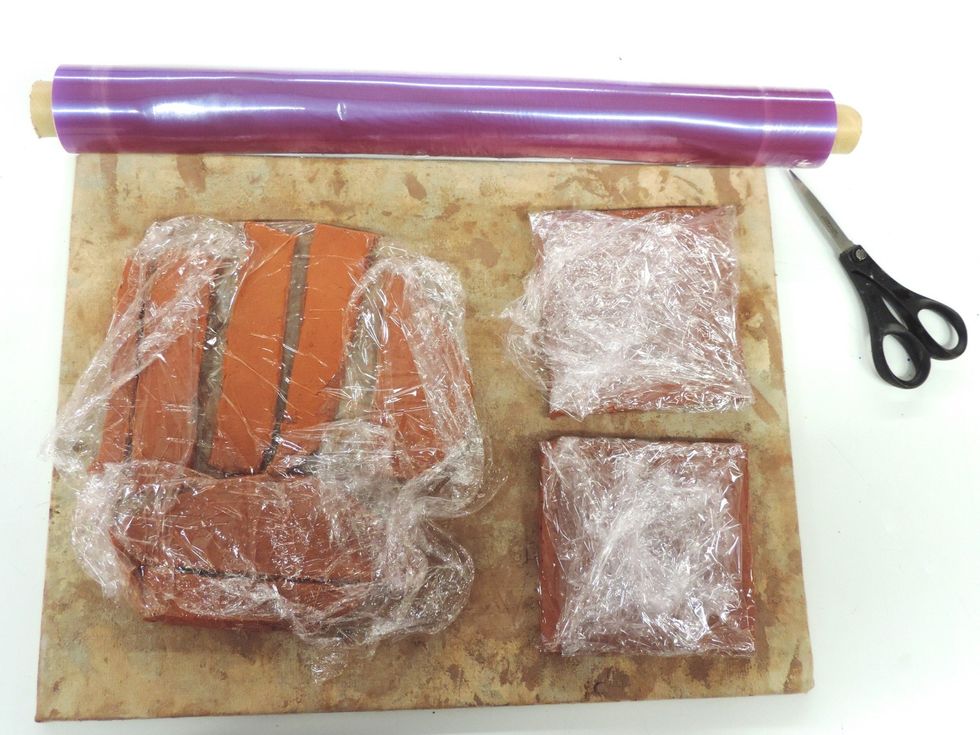
Wrap both tiles separately, but DO NOT mist with water tile needs to go to slightly drier leatherhard state.
- Canvas Board
- Wooden Roller
- 2.0 Wooden Guide Dowels 1/4 inch
- Tile Cutter
- Serrated Metal Rib
- Slip & Brush
- Needle
- Hollow Tip Tool
- Wooden Modelling Tool
The Conversation (0)
Sign Up