How to roast your own coffee beans
You haven't had coffee till you've had fresh roasted coffee
382
STEPS
INGREDIENTS
First, you will need a hot air popcorn popper. If you have an older one already or can find one at a second-hand store or a garage sale that will work best.
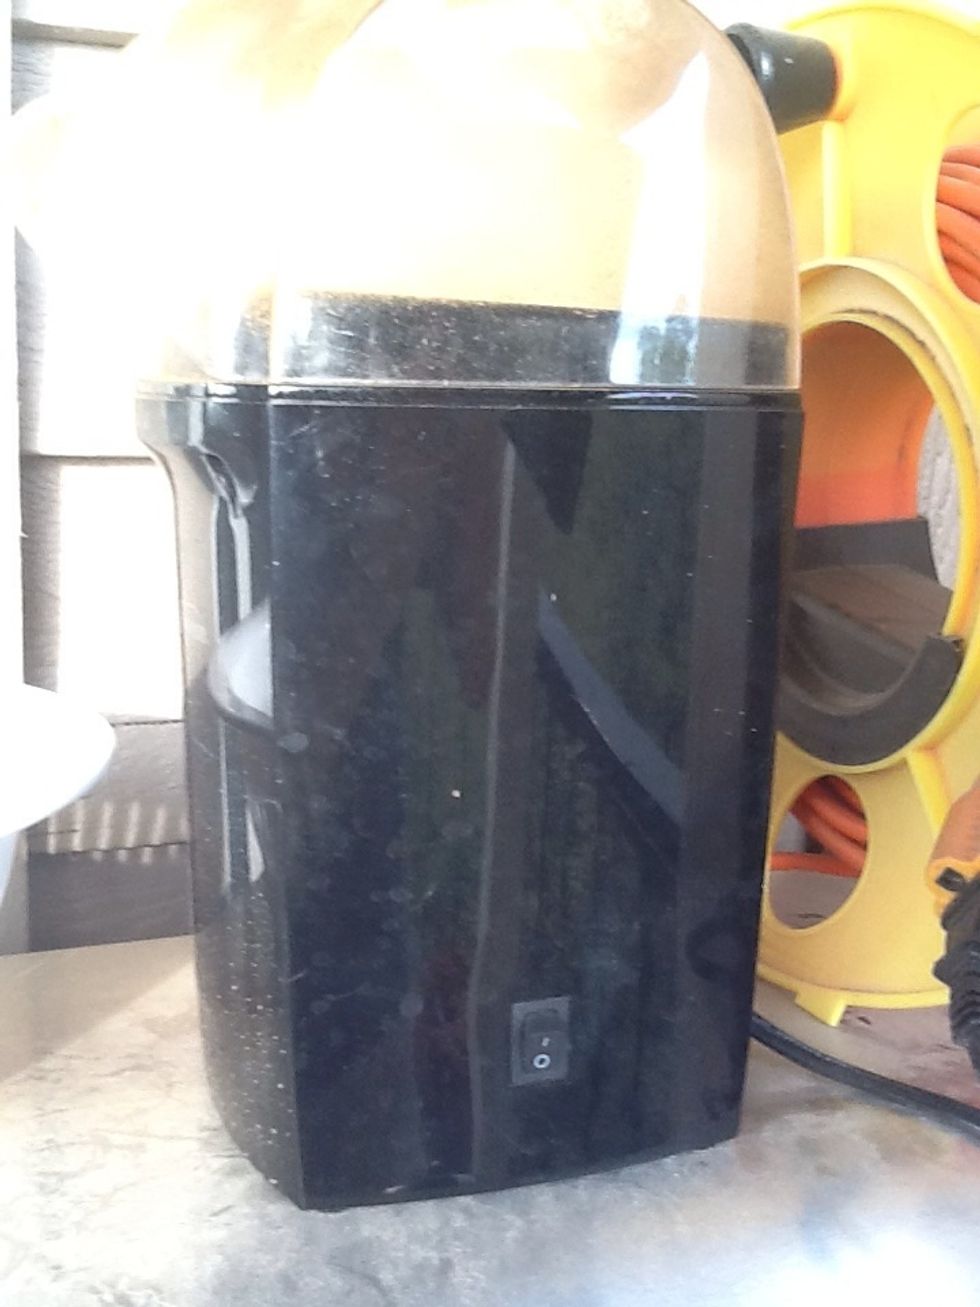
This is a newer popcorn popper that I've "voided the warranty" on so it will work as needed (that's for another Snapguide).
You will need to have purchased some "green" coffee beans. That's right, they don't come off the plant brown.
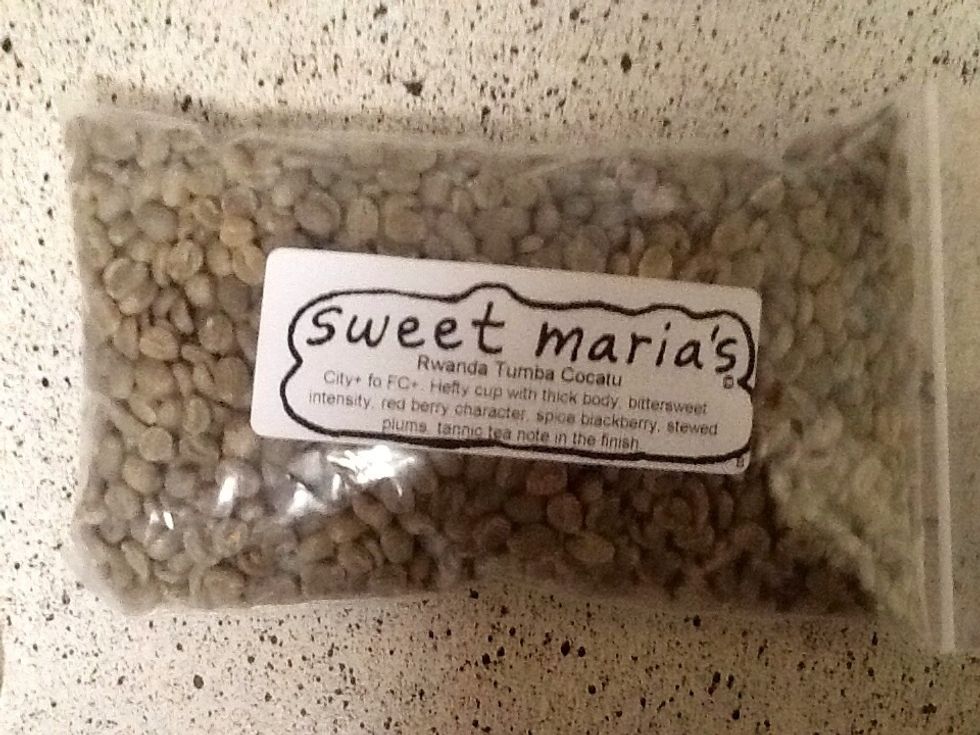
I order my beans from an importer in California. Check out his website at www.sweetmarias.com

Measure out about 1/2 cup of green coffee beans and pour them into your "roaster"

The beans should come up to the halfway mark in your roaster
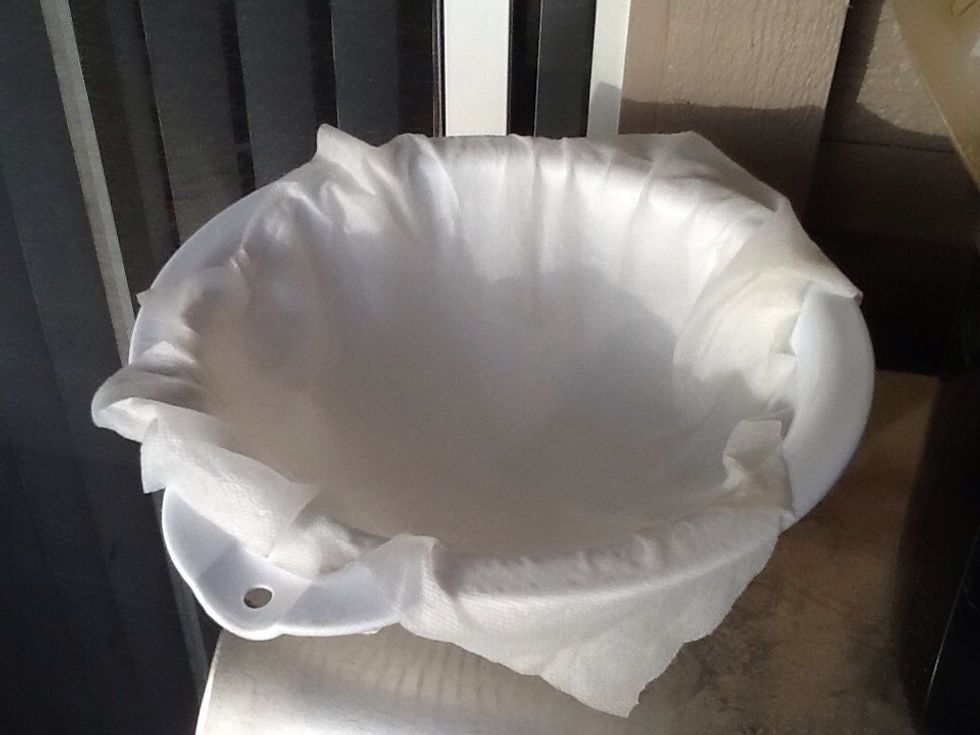
Dampen a couple paper towels and use them to line your colander.
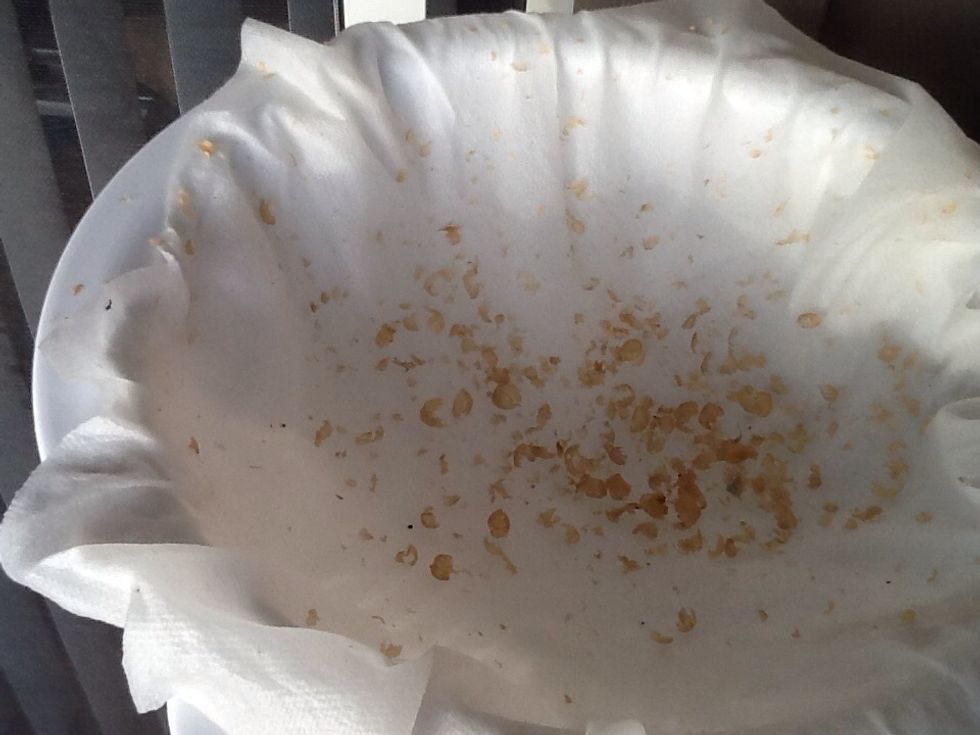
Place the colander next to your popper in order to catch the husks that fly out as you roast your beans
You'll want to do this outdoors. I for one don't mind the smell of roasted coffee in my home, but this process does produce some smoke and the smell will linger for a few days.
Now you're ready to turn on your popper and begin roasting your coffee. On average this process takes about 8 minutes. There are a couple audible cues that you should listen for to help you along.

The first cue is called "The First Crack." This is when the water inside the bean vaporizes and causes the bean to POP! This typically occurs about 4 minutes into the roasting process.
Now I am doing a medium roast for this coffee. You'll notice from Step 4 this coffee is from Rwanda and African coffees lend themselves well to a medium roast.
There is a second cue called "The Second Crack" that has more of a crackling sound. For a medium roast coffee you should stop before this occurs. Typically, 2.5 - 4 minutes after the first crack.
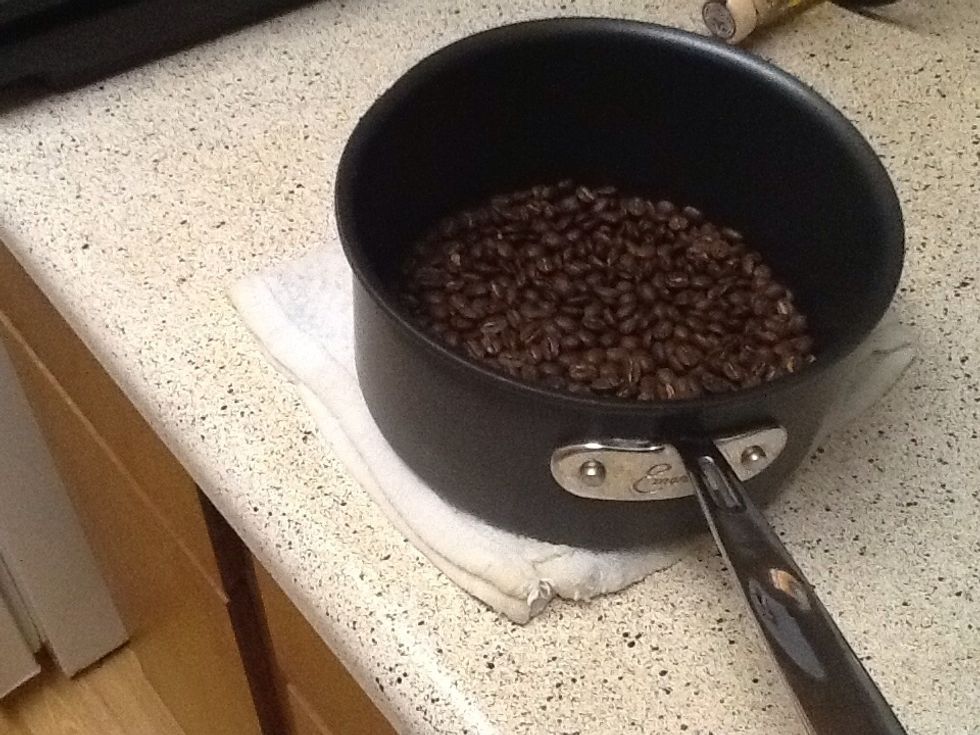
Turn off your popper and pour your beans into a metal pot, and place it on a damp cloth. This is done to cool the beans quickly, because they are still cooking even after you turn off the popper.
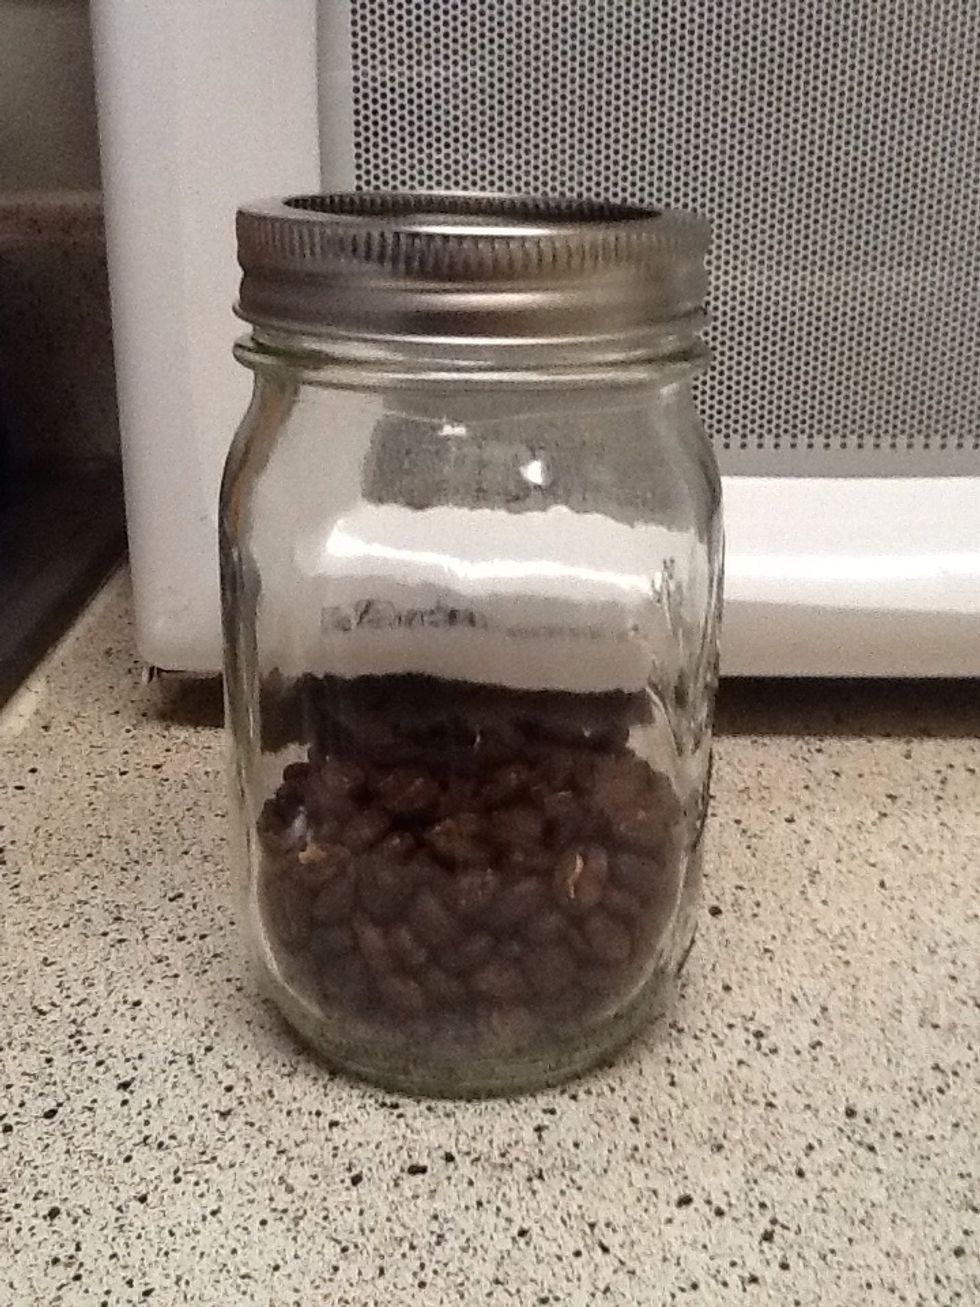
After the beans have sufficiently cooled, pour them into a clean mason jar and repeat the process two more times to fill up the jar.
Once you've filled your jar you should let the beans sit for at least 12 hours before grinding or brewing. This will allow the flavors to develop that you aren't used to tasting in coffee.
Also, don't screw on the lid tight, leave it a little loose. The roasted beans will produce some carbon dioxide during the first day and pressure will build up in the jar if the lid is too tight.
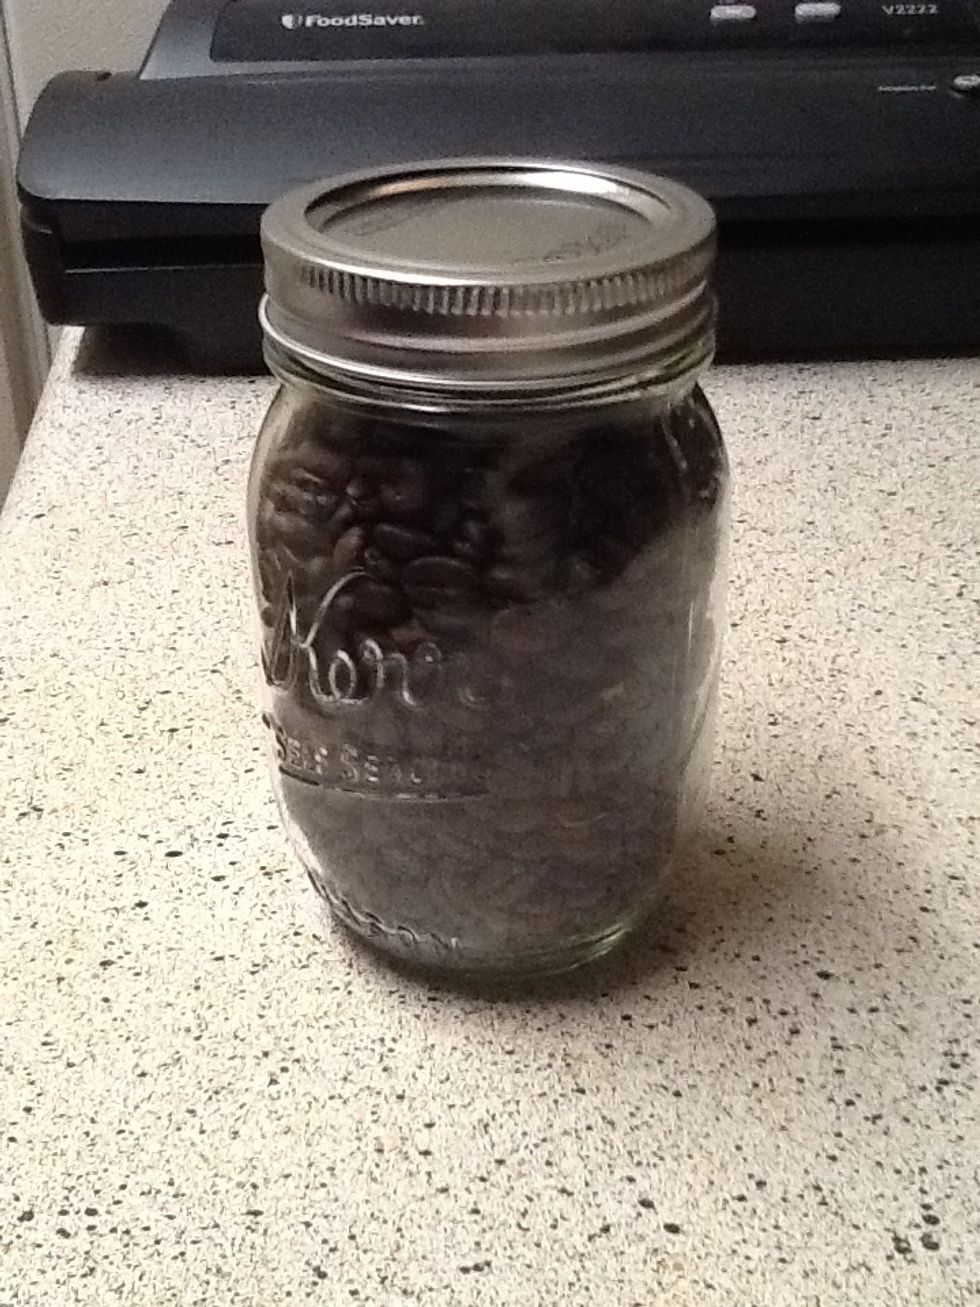
Now you're ready to grind and brew to your hearts content!
- Green Coffee Beans
- Colander (or large bowel)
- Hot Air Popcorn Popper
- Paper towels
- Metal Cook Pot
- Mason Jar
The Conversation (0)
Sign Up