The Conversation (0)
Sign Up
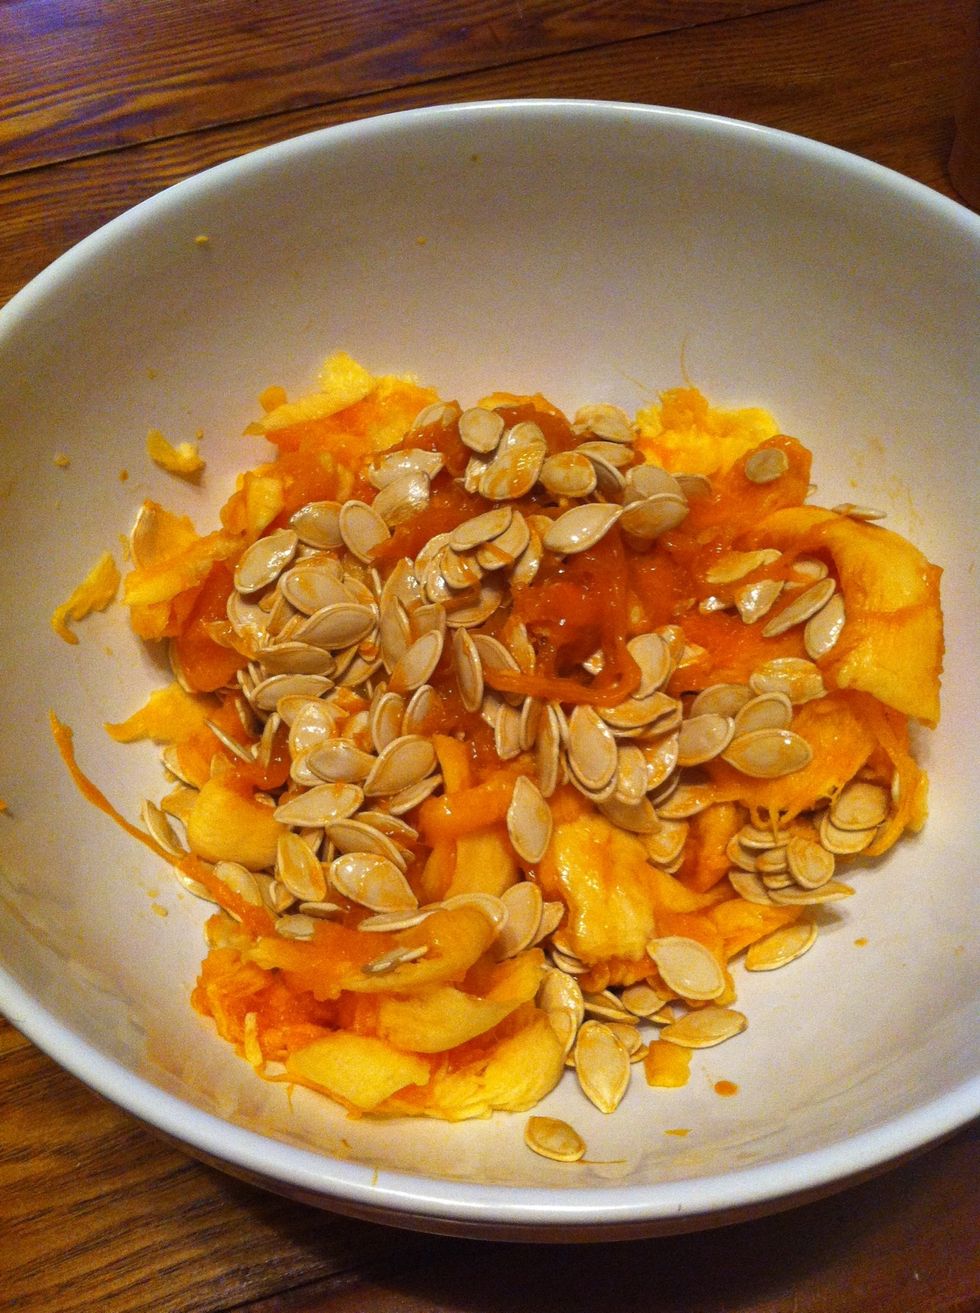
Ok, so I'm going to skip the part where you scrape the guts out of the pumpkin. But here's what you should be starting with. Just throw 'em all in a big ole bowl.
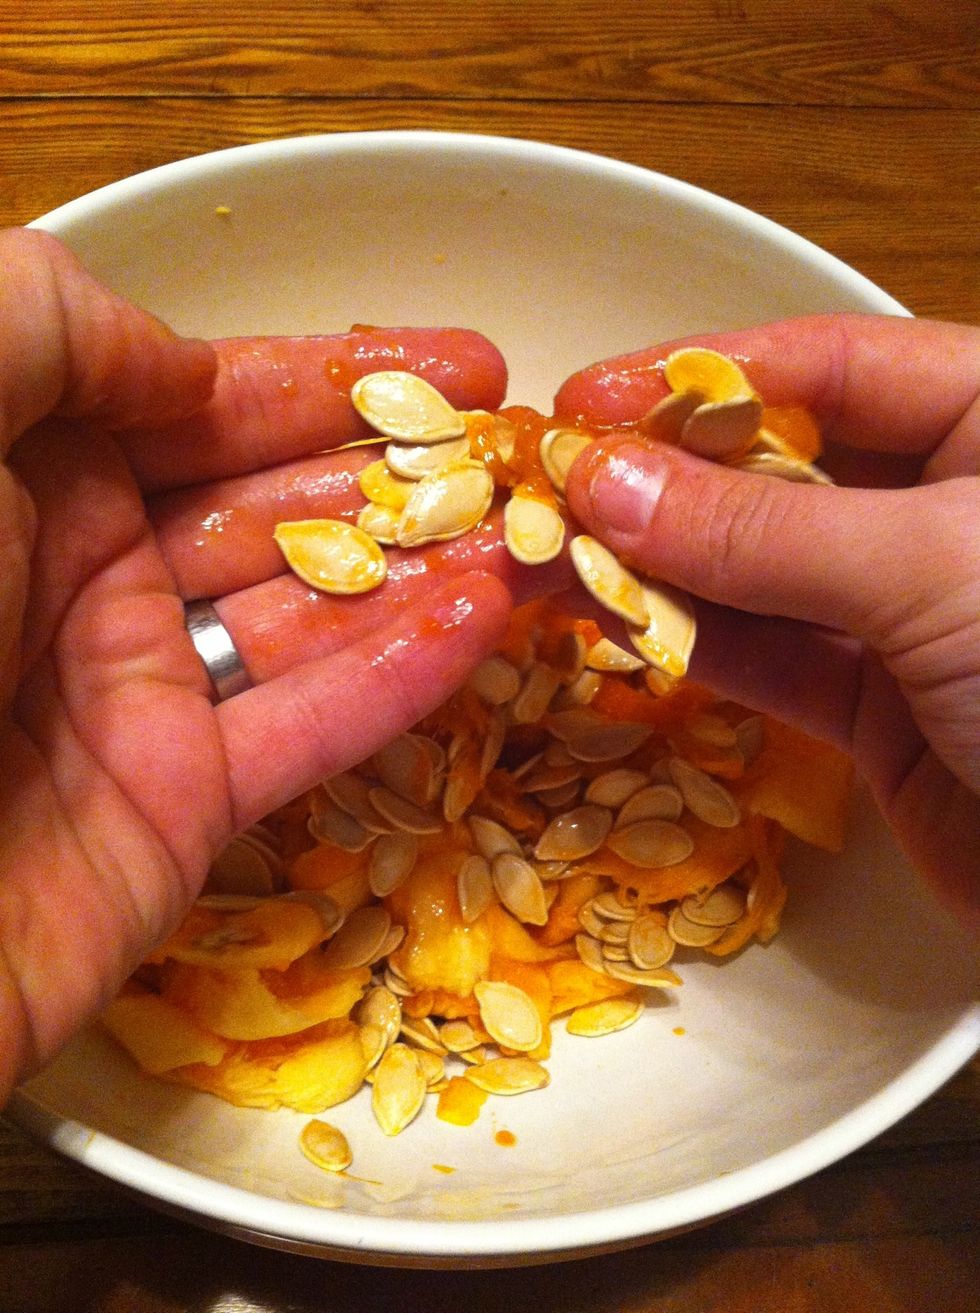
This is the fun (but messy) part. Separate all the seeds from the rest of the guts. If you've got young children around, they love helping out with this part!

Don't worry too much about the seeds being a little slimy. You'll be rinsing them off next.
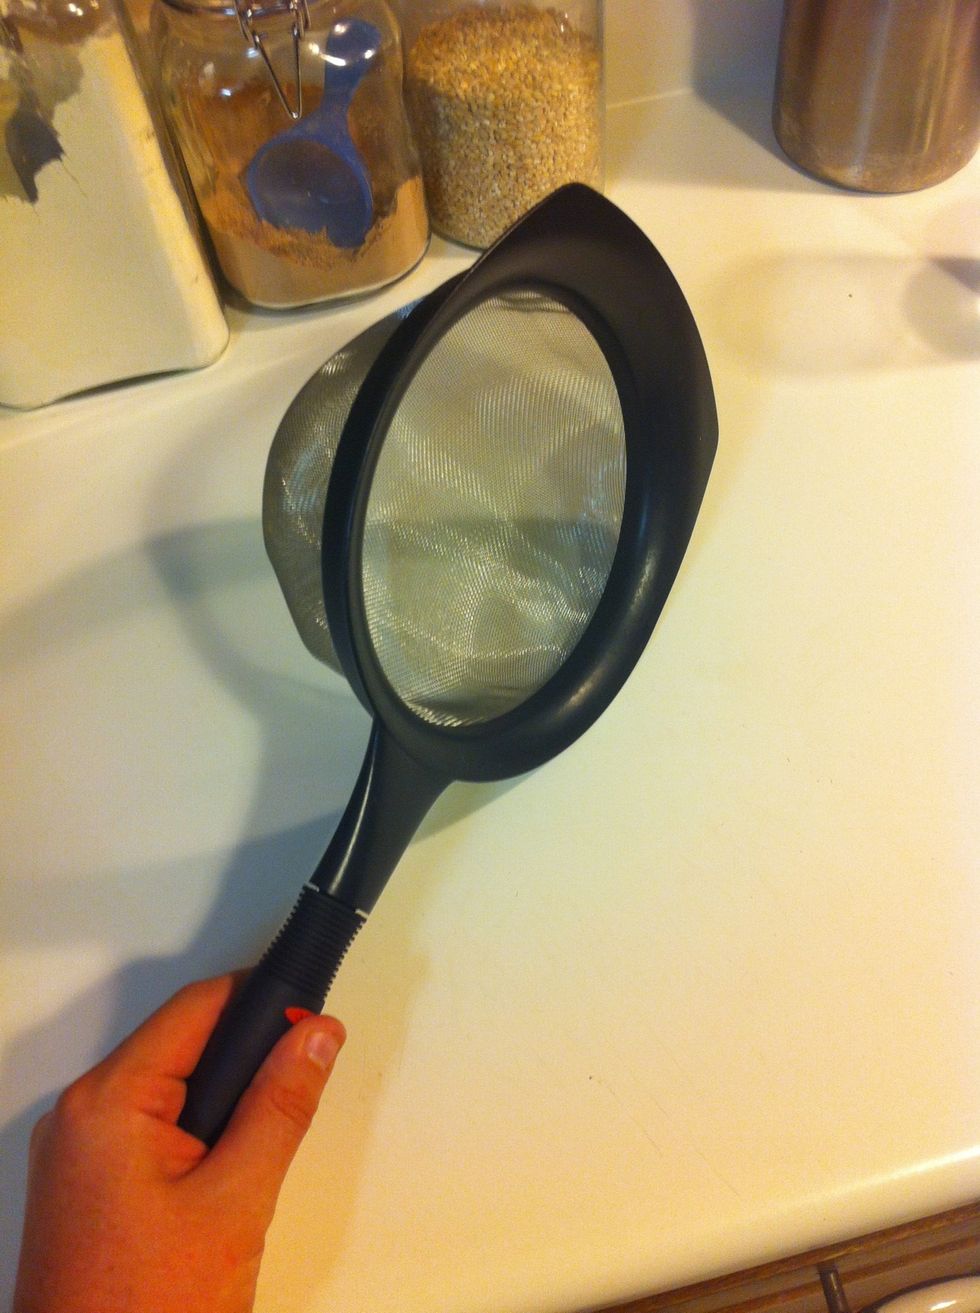
Time to get your strainer out. I use my trusty mesh strainer because it keeps the seeds from sliding out while rinsing. (*as a general kitchen utensil, this is an invaluable tool, so go get one!)
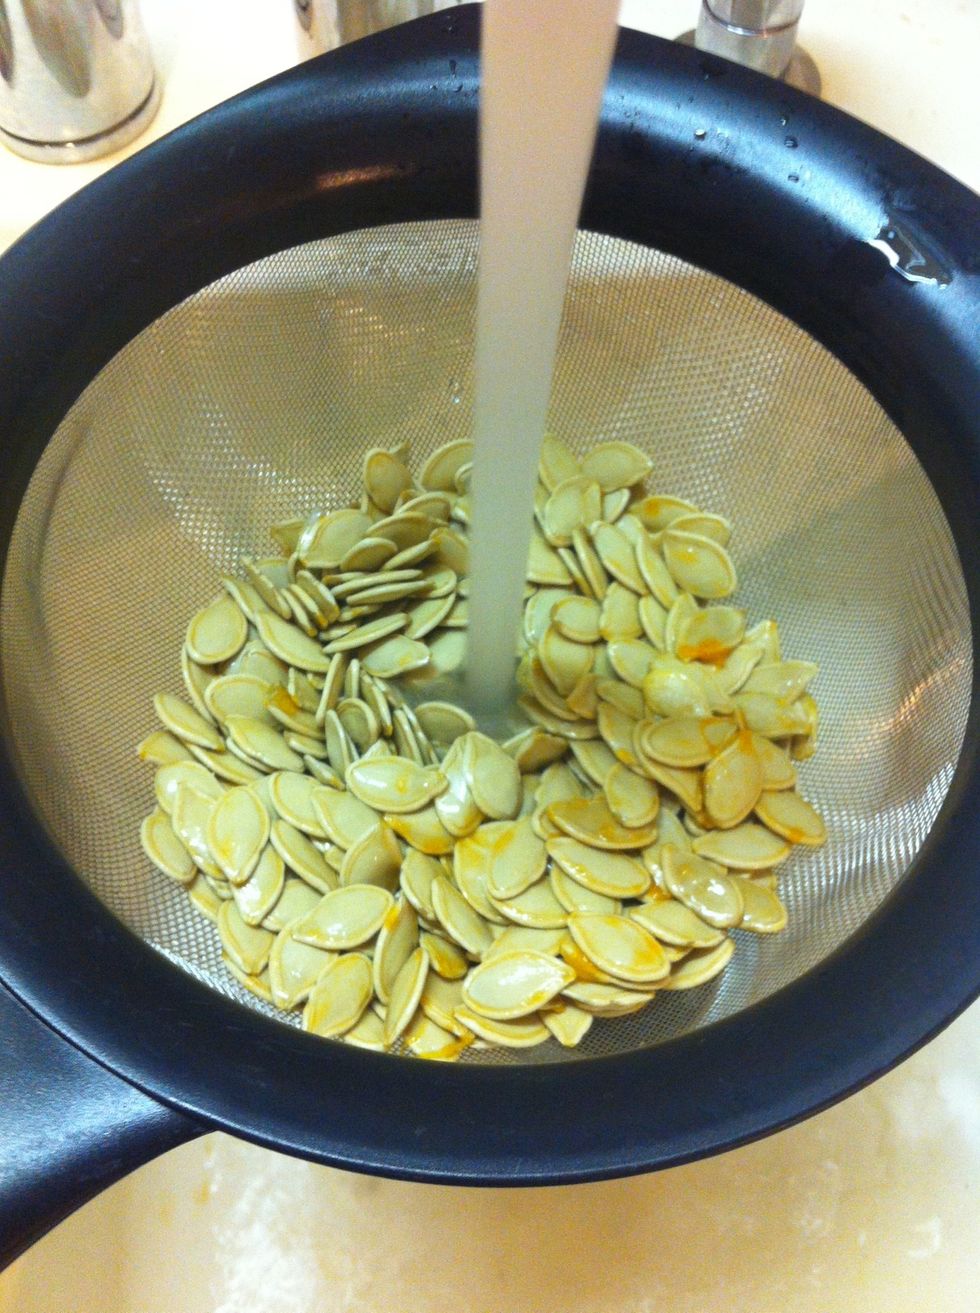
Give your seeds a good rinsing. With the mesh strainer, some of the slime will settle at the bottom. That's ok. Just make sure your seeds are as clean as possible, then clean your strainer later.
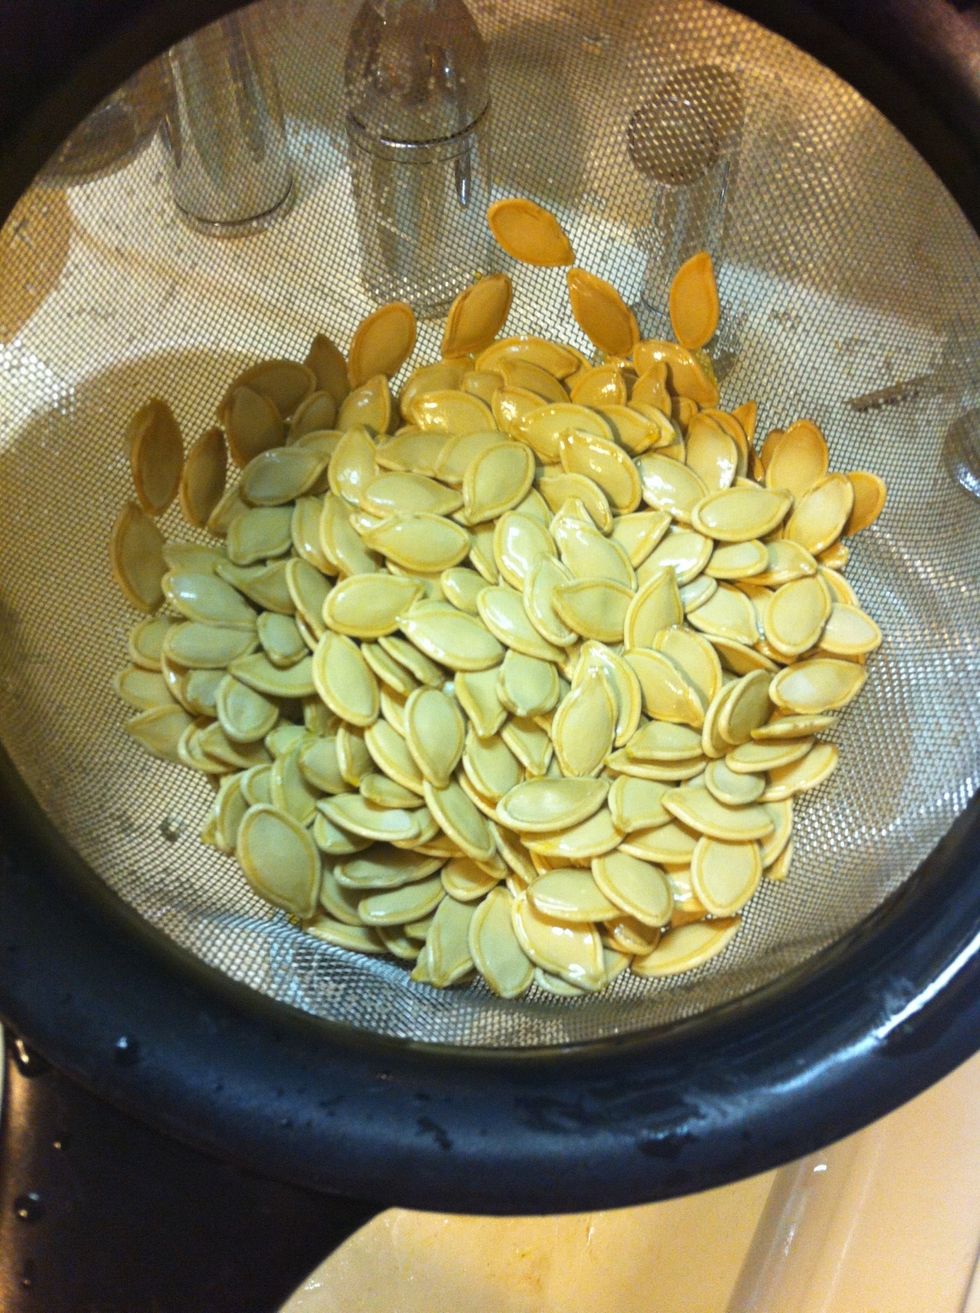
Yep. This looks pretty clean. I can work with that!
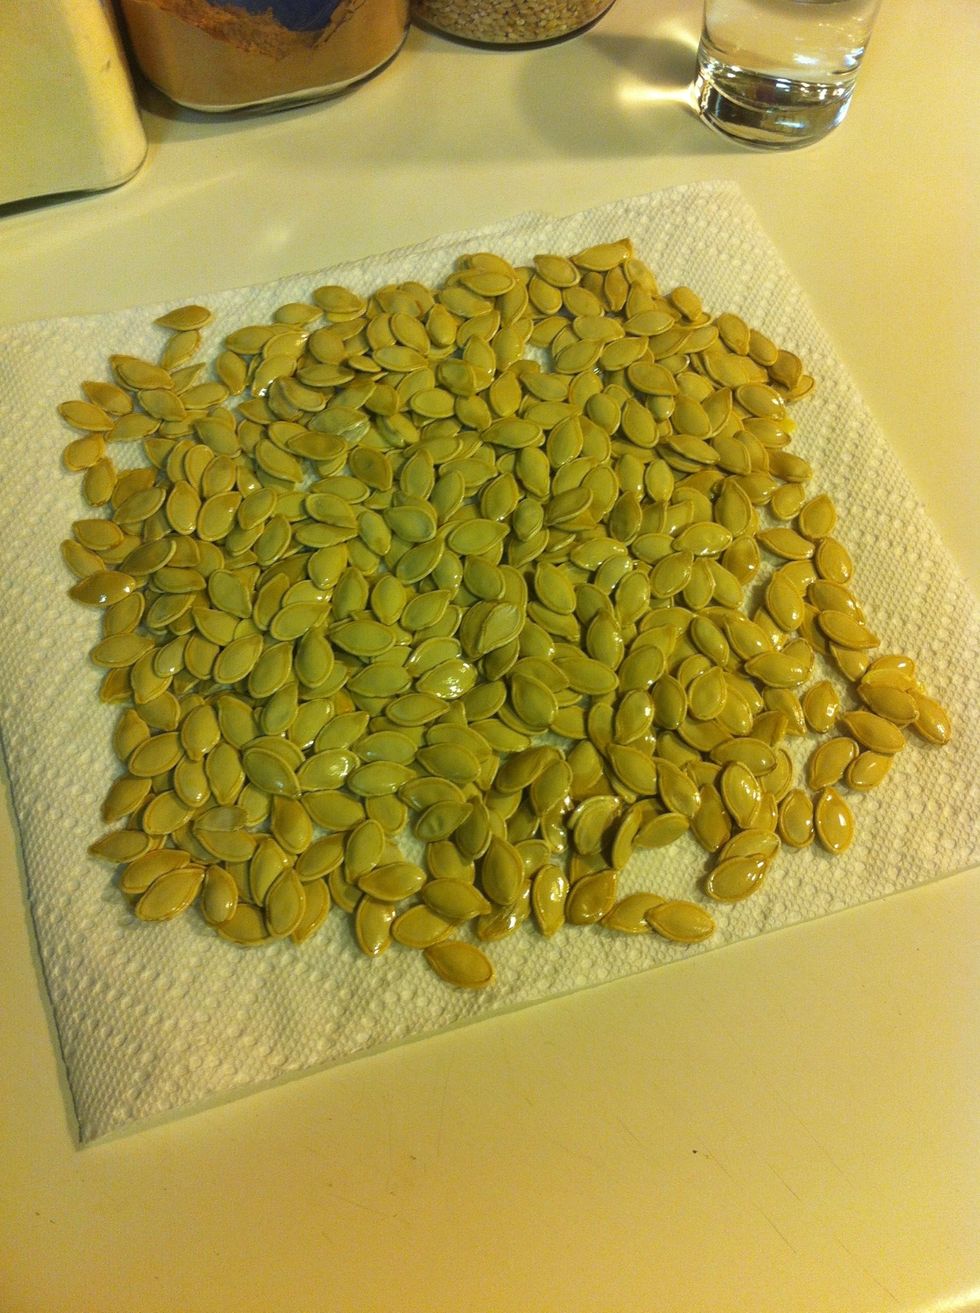
We are going to toss the seeds in oil in the next step, so I like to get excess water off. This can be done easily by laying out some paper towels and letting the seeds sit for 5-10 minutes.
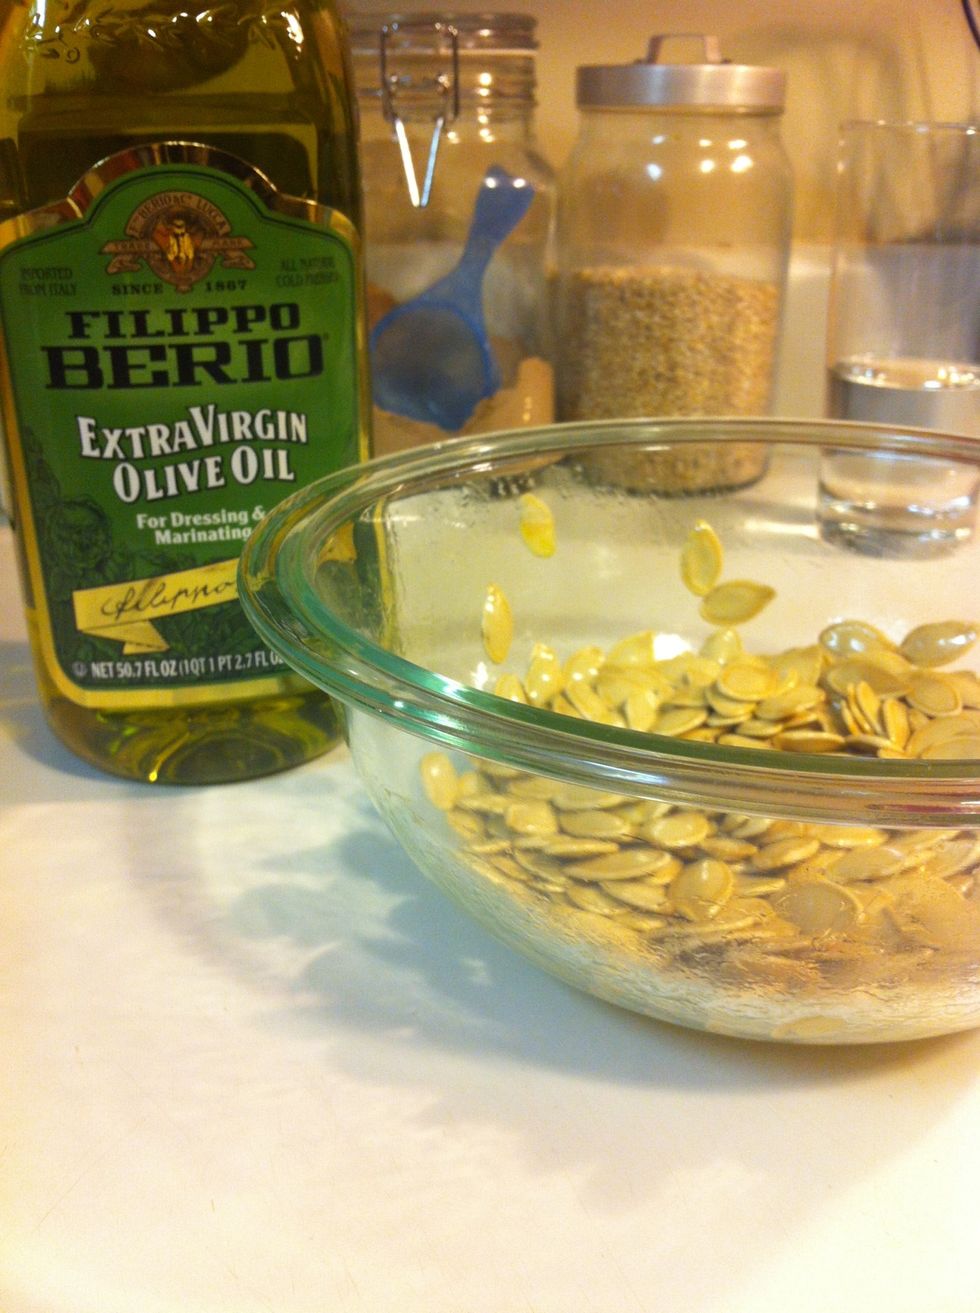
Toss the seeds in a bowl with about a tablespoon of oil. I don't measure the oil here, so you may prefer more or less. Just eyeball it, but remember, you can always add; you can't always take out!
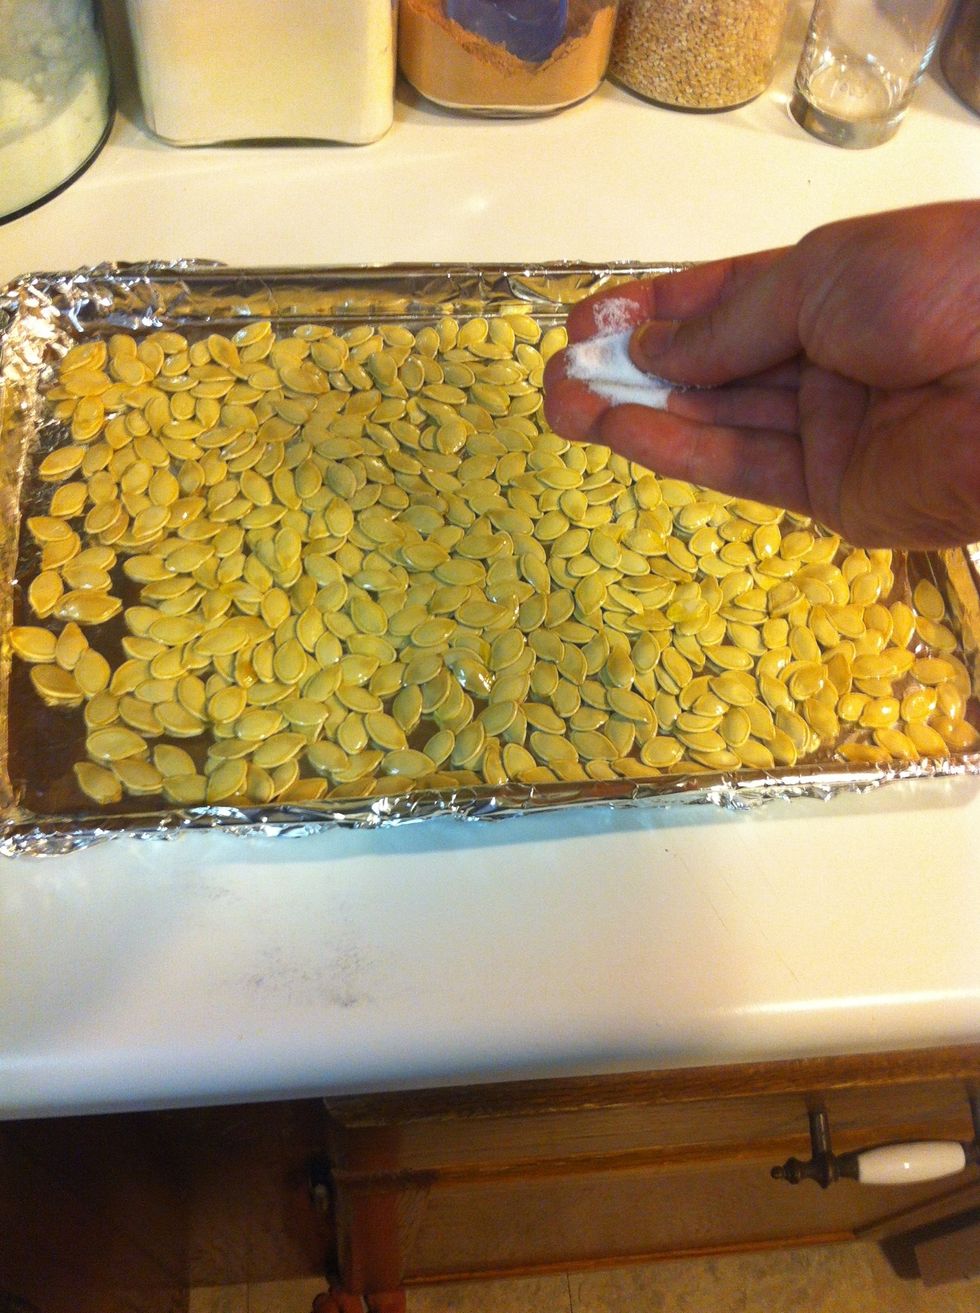
Lay seeds out in a single layer on a foil covered baking sheet. Sprinkle evenly with salt (or other seasonings), keeping in mind your dietary restrictions.
Bake seeds at 325 degrees for 25-30 minutes stopping once to stir seeds around. (*be careful while handling the hot baking pan. You'll need all your fingers for shredding on your air guitar later)
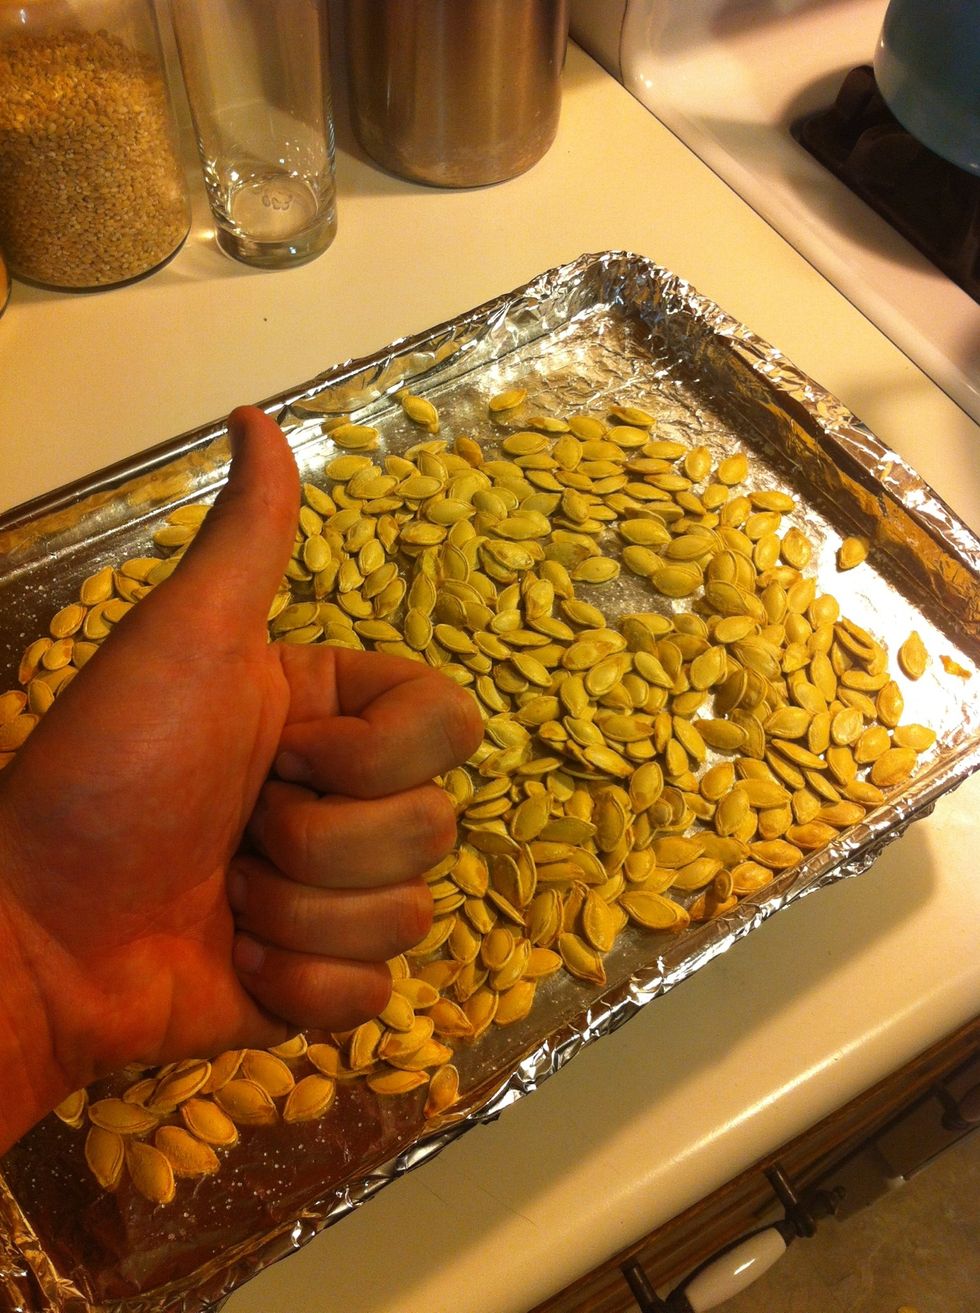
What you're looking for in the finished product is a good "roasted" look. A little brown is a good thing, and they should have a bit of a crisp texture on the outside when you bite.
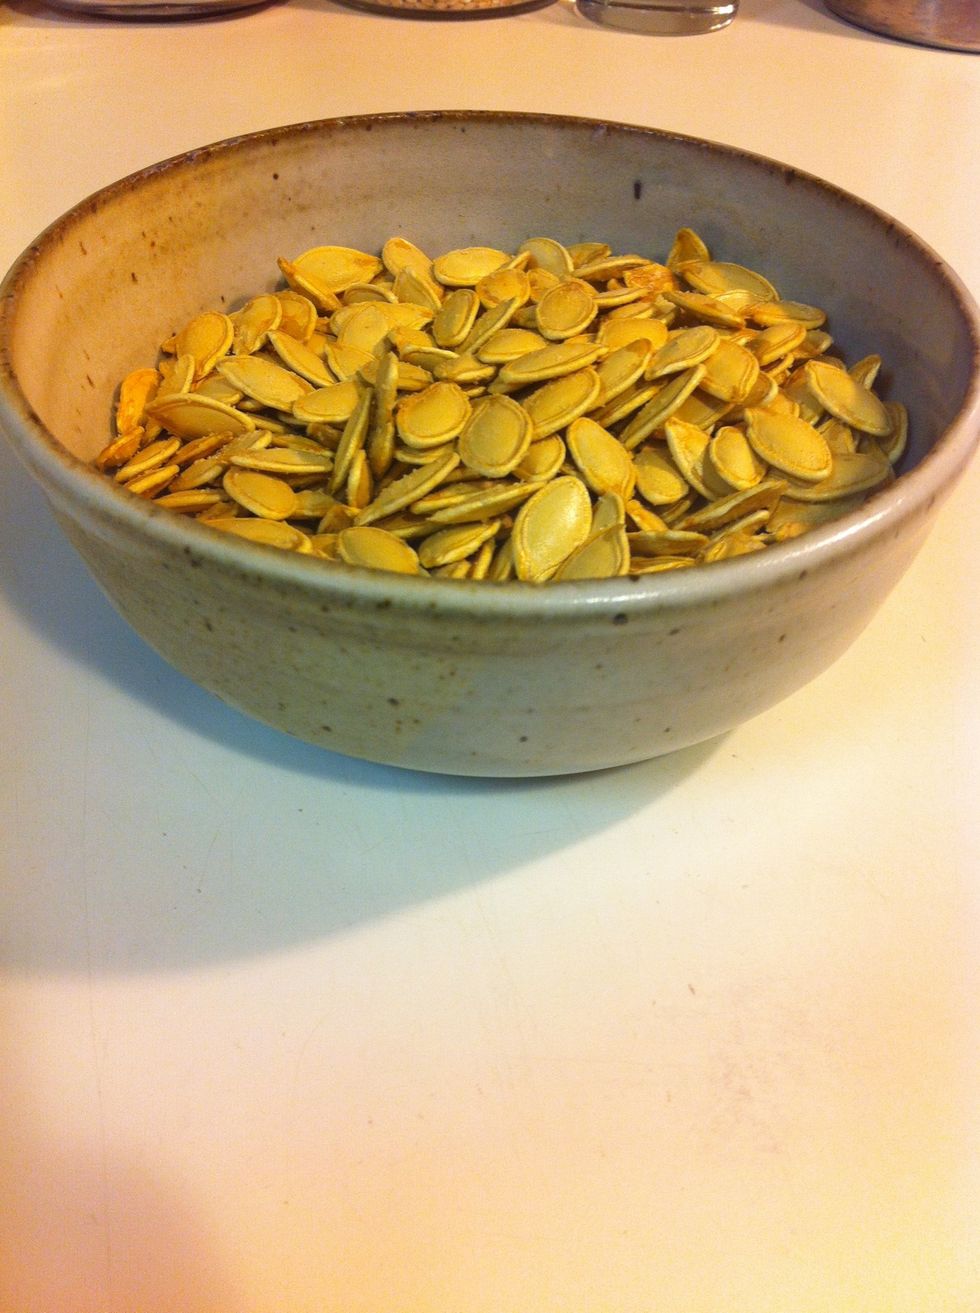
Go find yourself a snazzy bowl to put your seeds in. It's up to you whether you want to share or not.
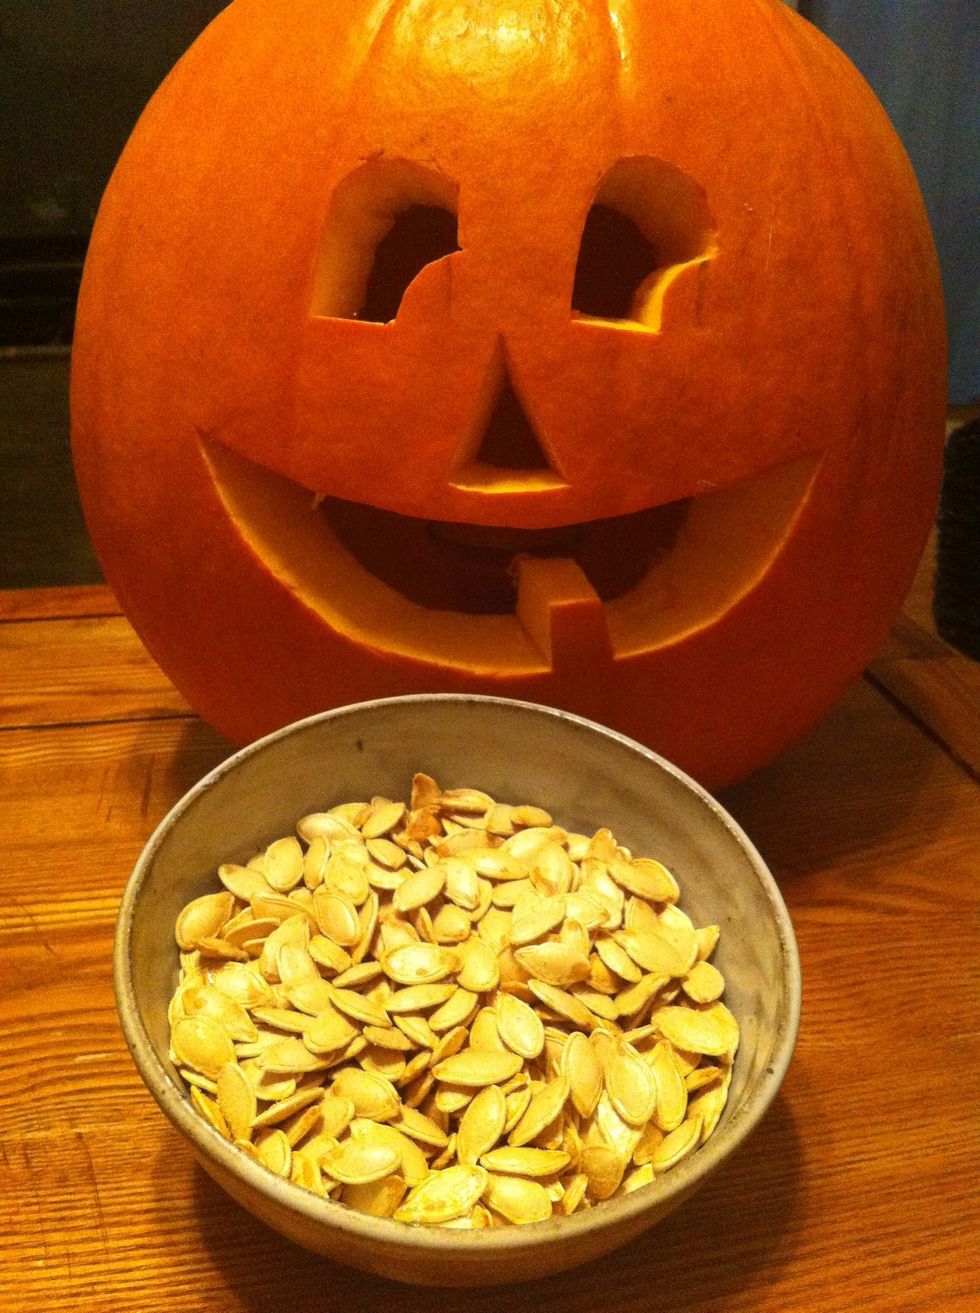
If you did it right, even your pumpkin will approve!