The Conversation (0)
Sign Up
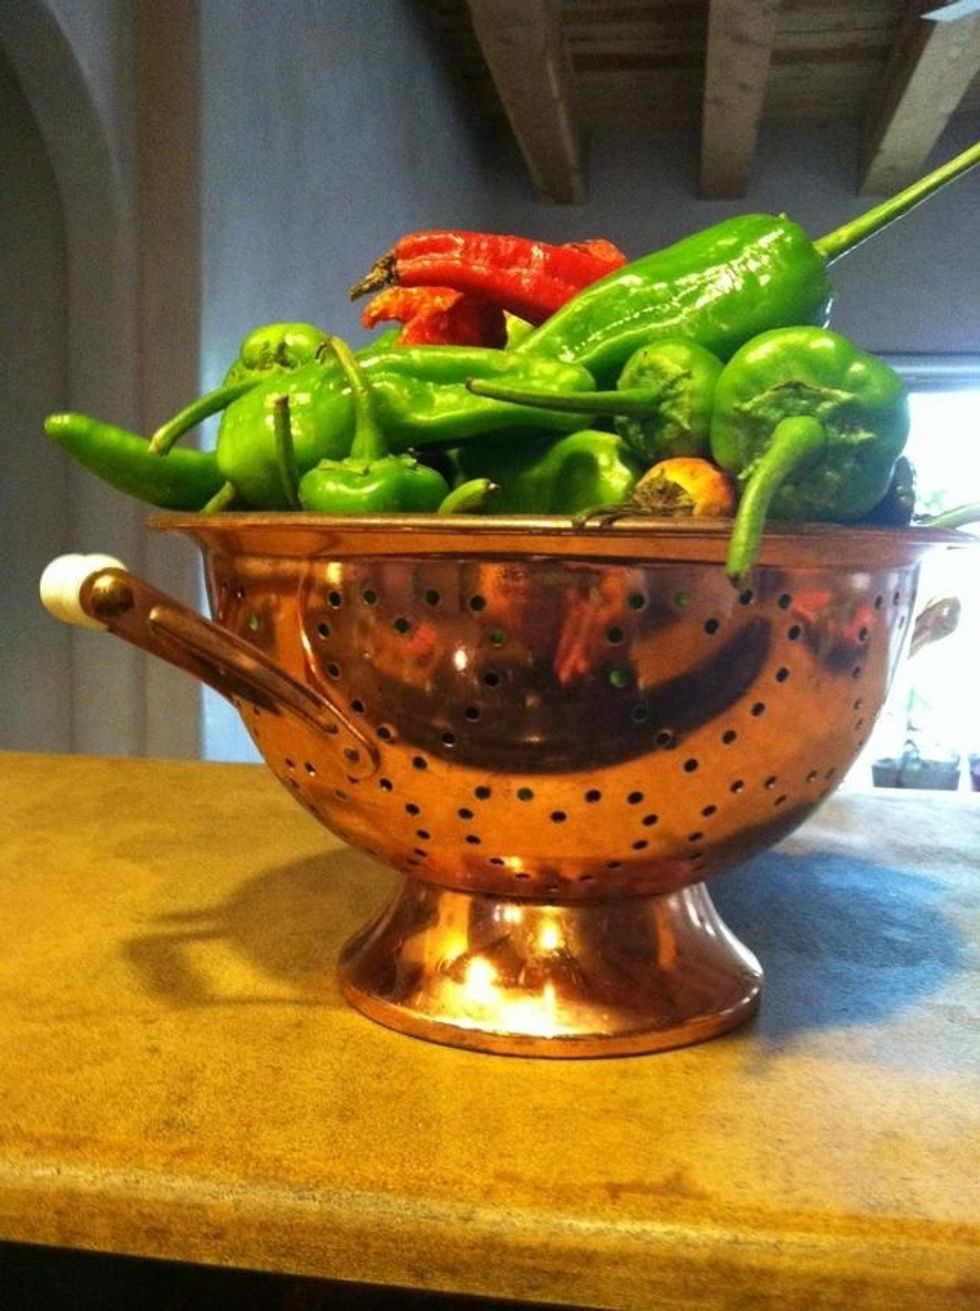
It is important to have the freshest chile possible. You'll want to roast your chile not long after you get it. I buy mine from a specific grower at my local farmers market.
If you buy chile at a grocery market, you can often get it roasted at little or no cost. That's the easy out, though, and you're viewing this because you want to take satisfaction in your hard work.
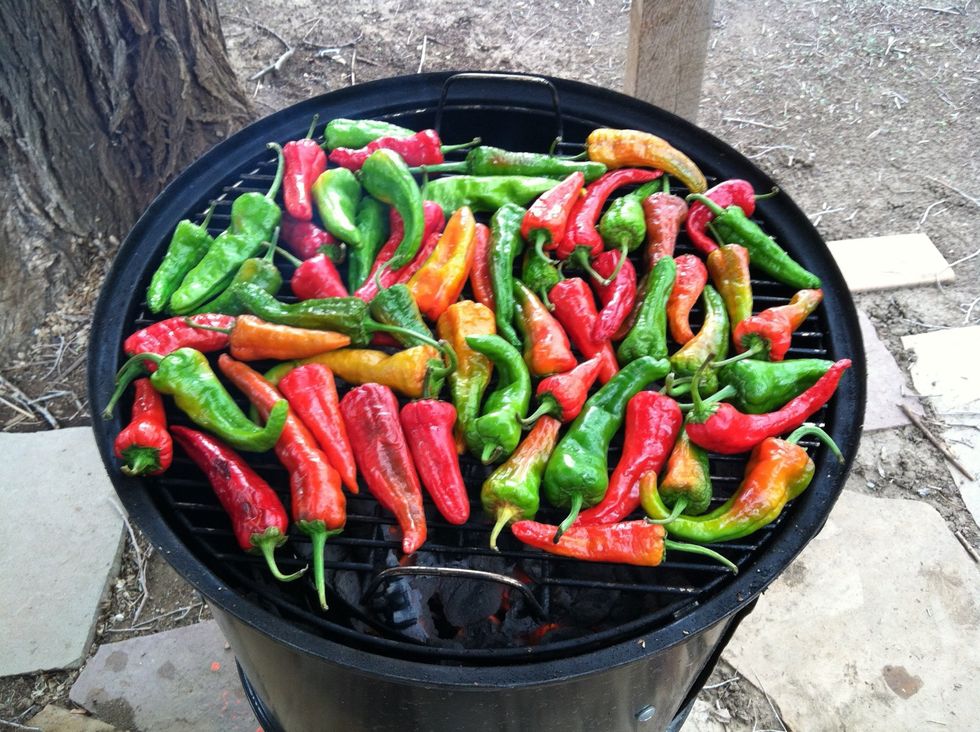
Put the chiles on a hot grill. I prefer to roast my chiles with mesquite or applewood. You can also use gas. I'll save the grill lighting instructions for another guide.
Grab a cold beverage. You'll be at the grill for awhile.
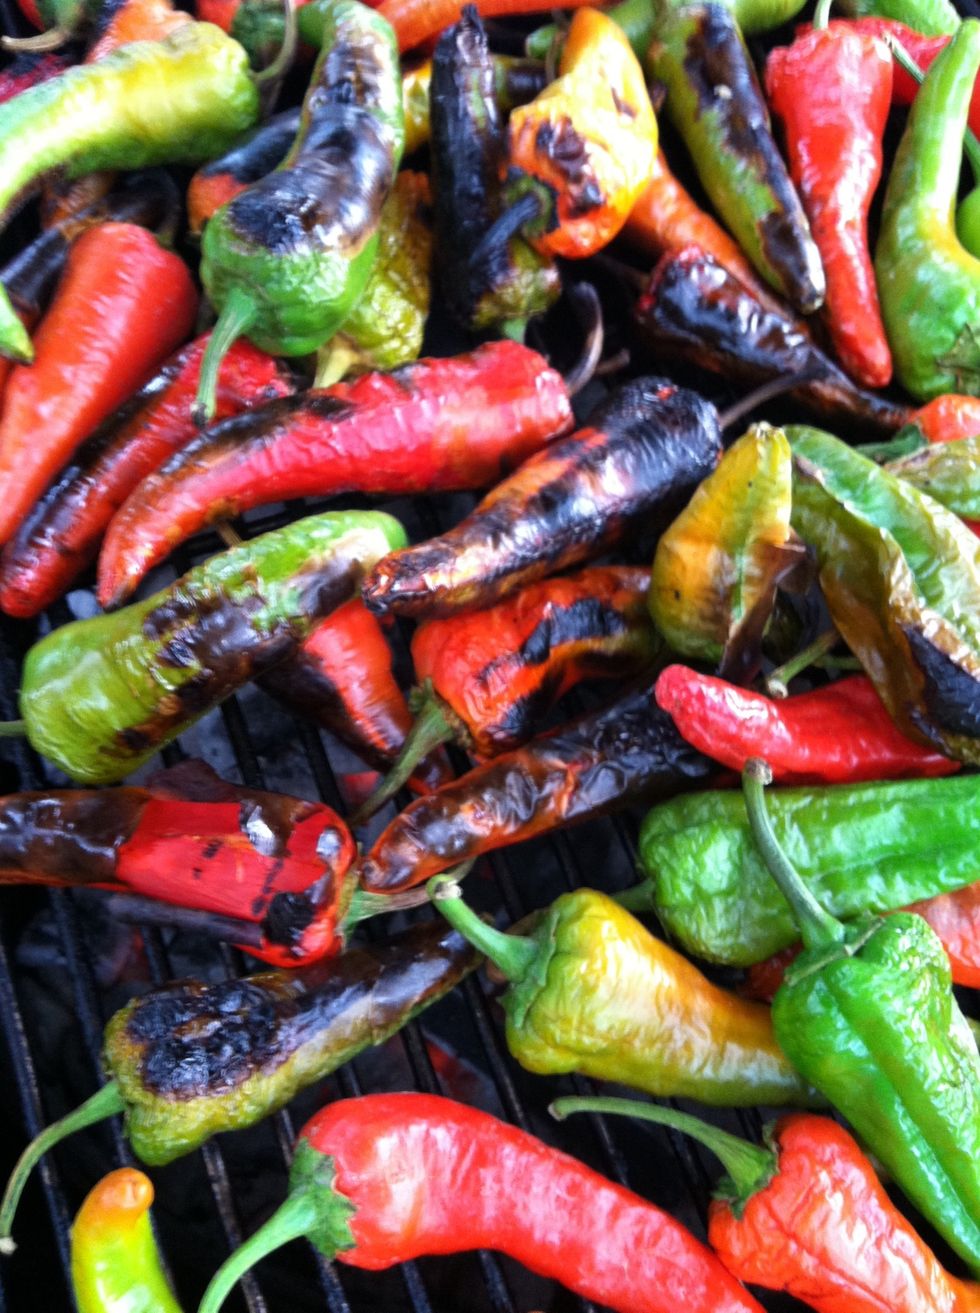
Turn the chiles frequently. This ensures an even roast. Burned chile is bad chile, regardless of the color.
The chile skin should begin to resemble a leopard print.
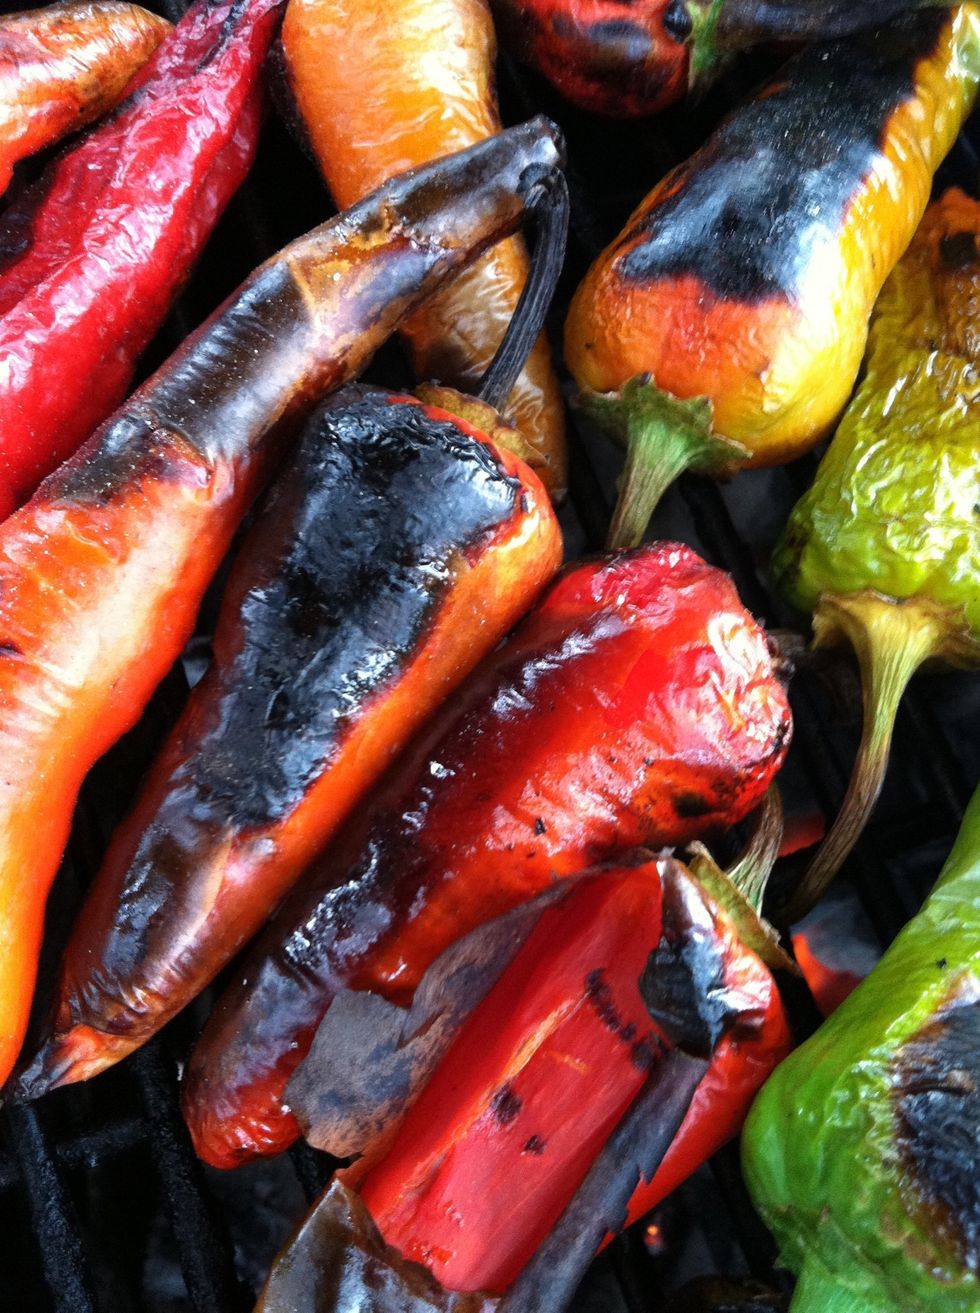
The chiles will expand as the water inside them heats up. Just keep turning the chiles over. Once the skin starts cracking, the peppers can be pulled off the grill.
Place the chiles in a bowl and cover the bowl tightly with plastic wrap. You also can put the chiles in a large plastic bag. I prefer a bowl. The chiles will be hot and can melt the bag.
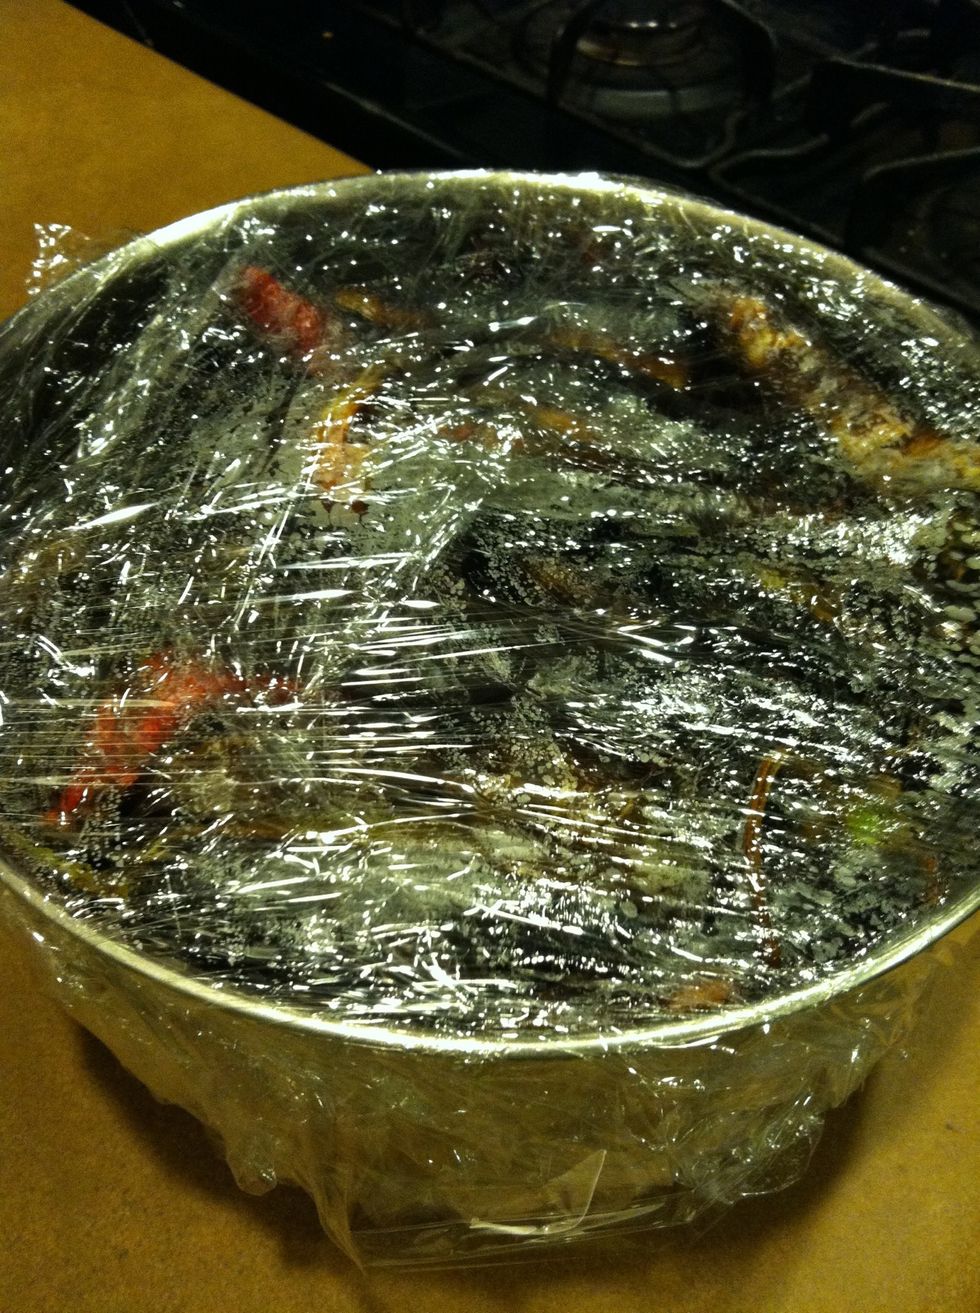
Let the chiles sweat for about 20 minutes. Use food-grade gloves to protect the chile from contamination and your hands from burning. DO NOT EVEN THINK ABOUT RUBBING YOUR EYES!
At this point, you can peel and freeze the chiles, or just leave the skin on and freeze. If you prefer your chile hotter, leave the skin on and freeze it.
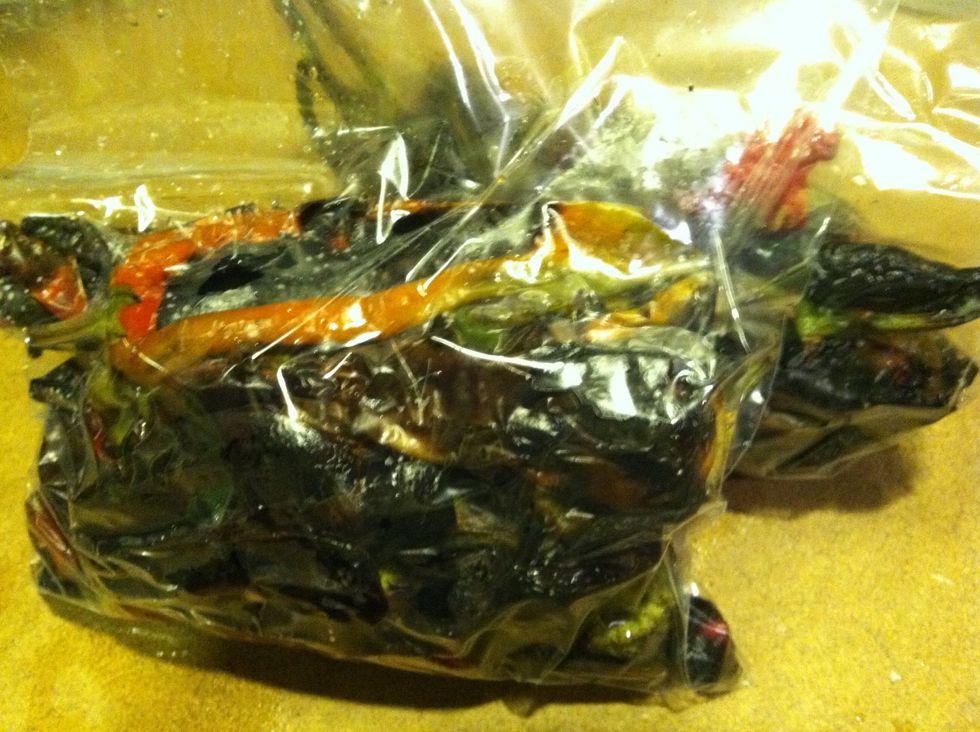
Squeeze as much air out the bag before you seal and stick it in the freezer. Congratulations! I'll cover peeling and preparation in another guide.