The Conversation (0)
Sign Up
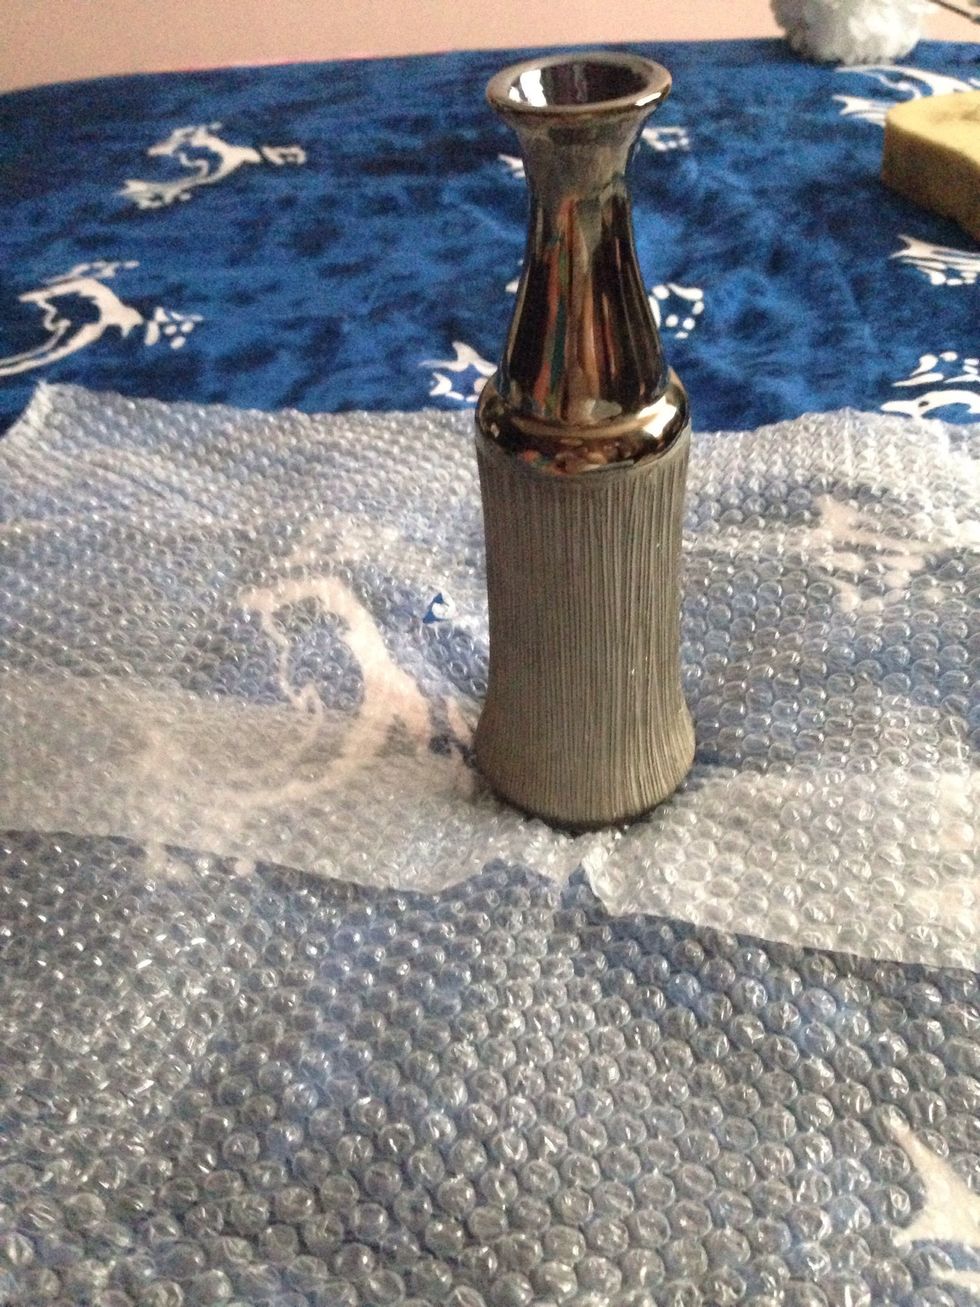
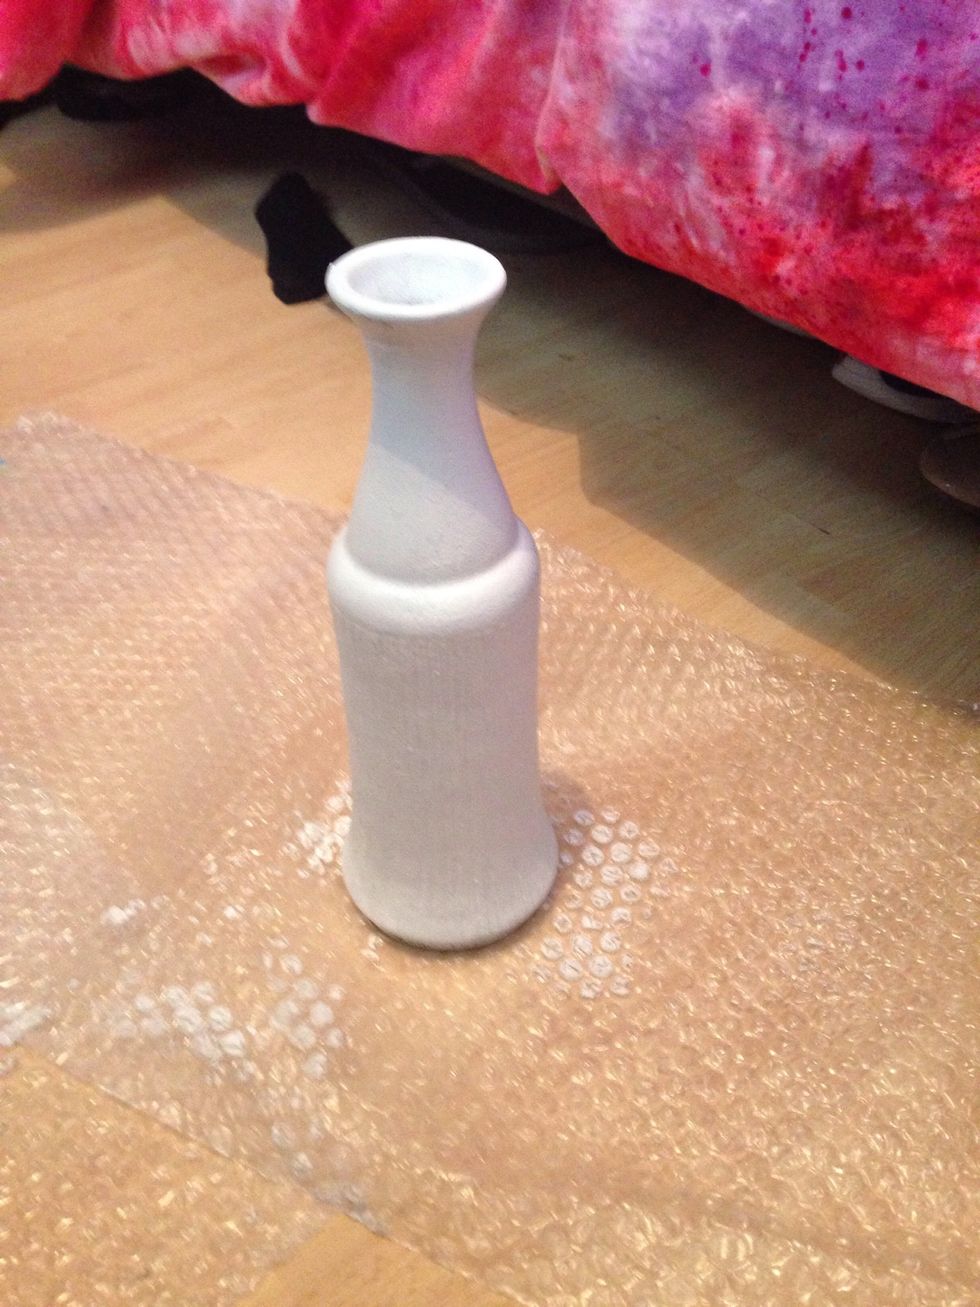
Before shot of the vase
Left over white emulsion from re-decorating will come in handy for a great base coat 😊
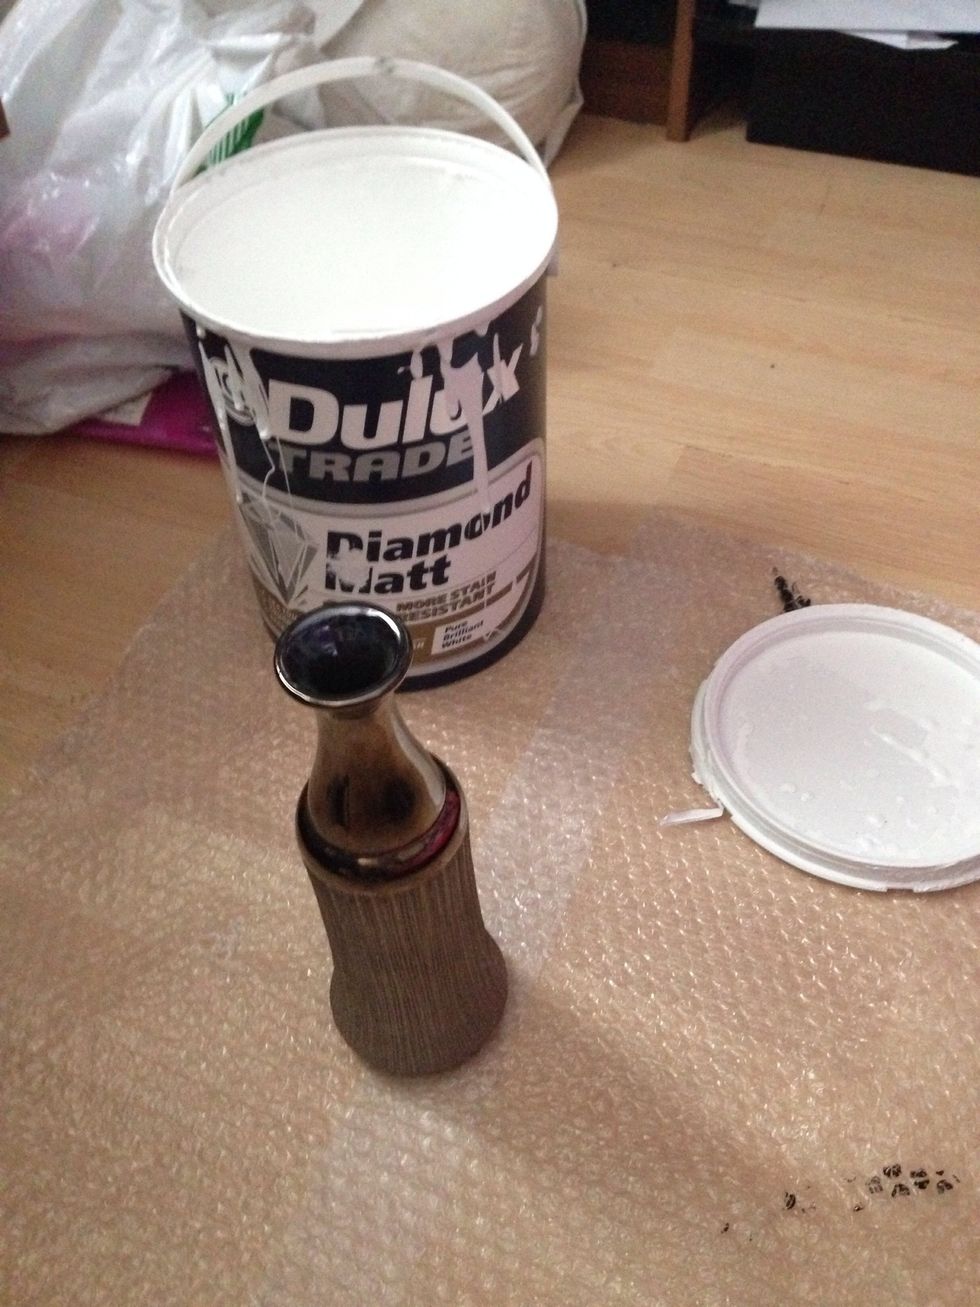
Set up! You want to use a paint brush to do your first coat!
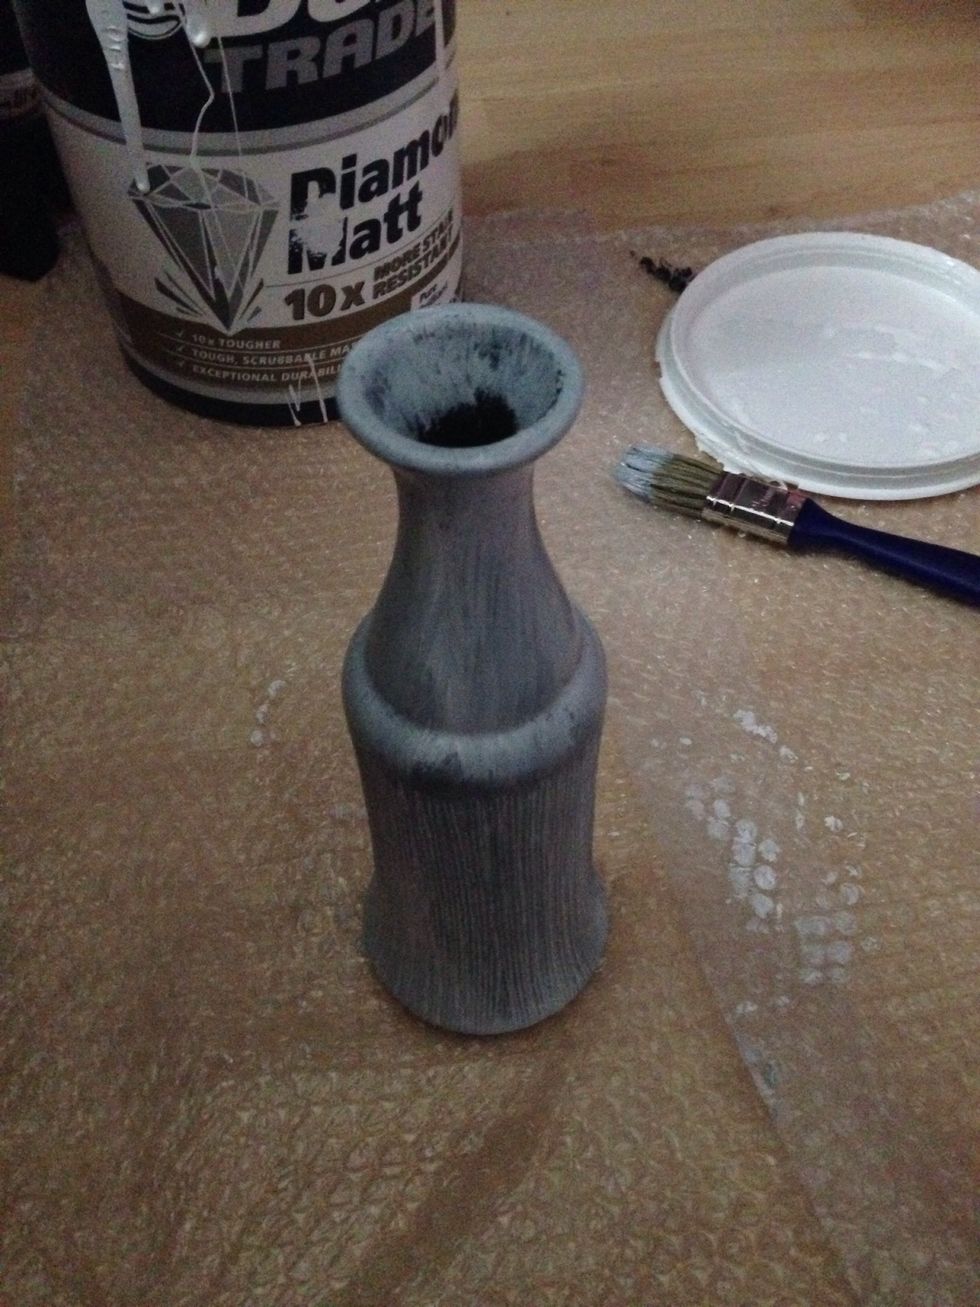
Don't get it to perfection it's only a base coat :)
For your next step use a sponge to achieve a nice even and effective finish
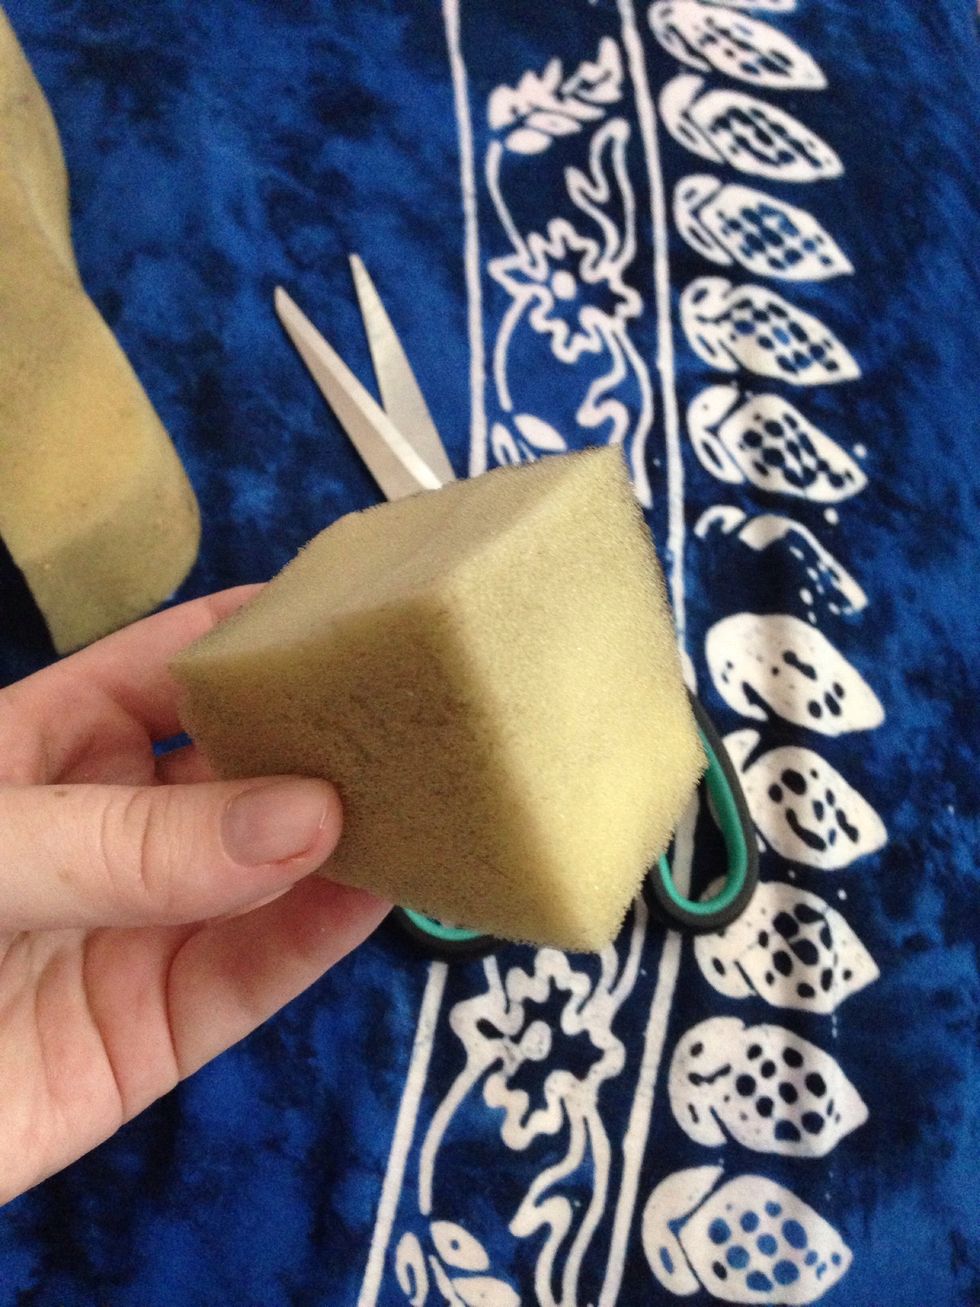
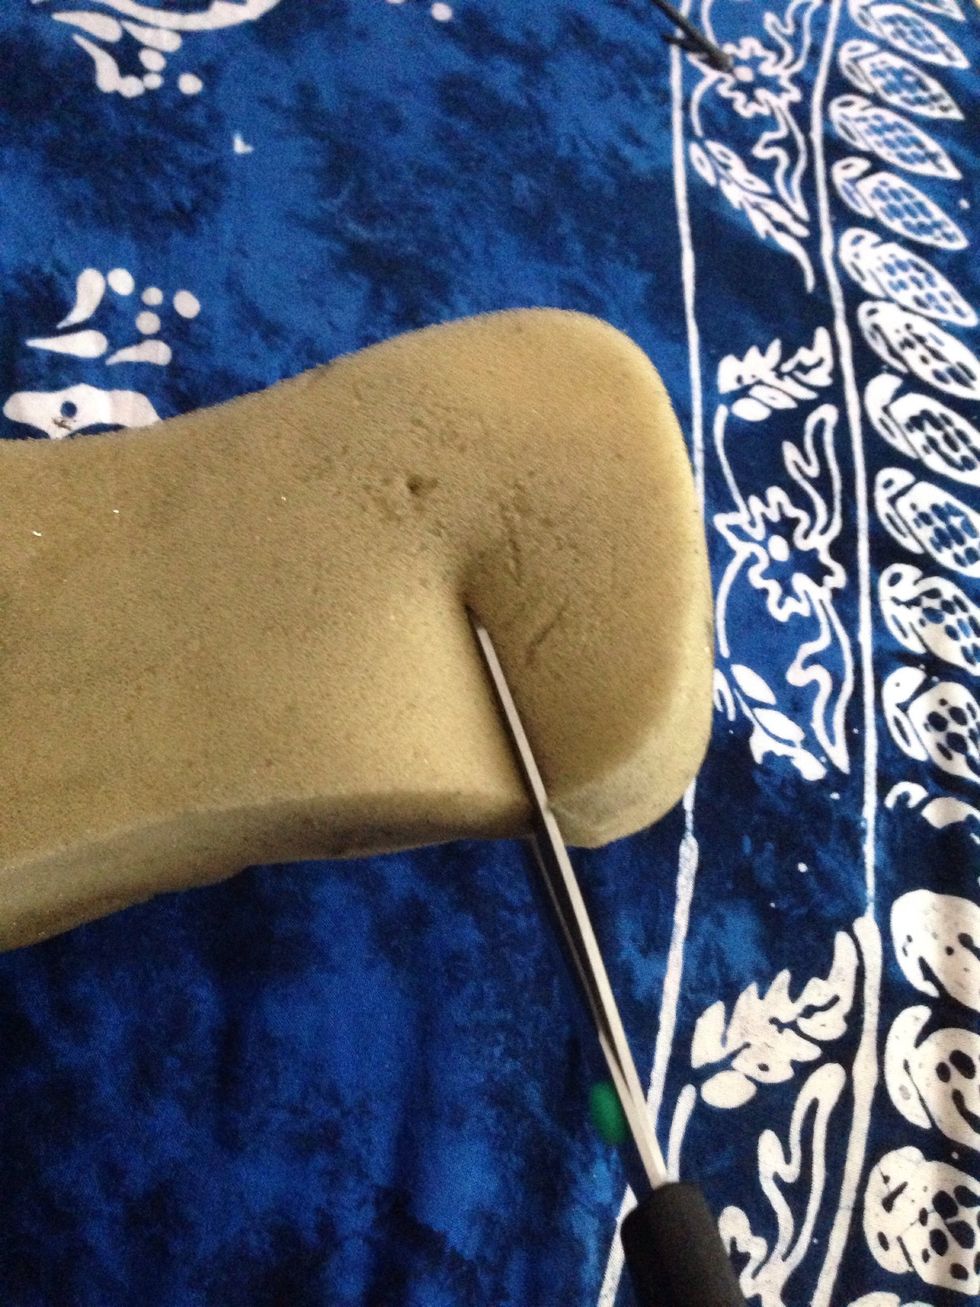
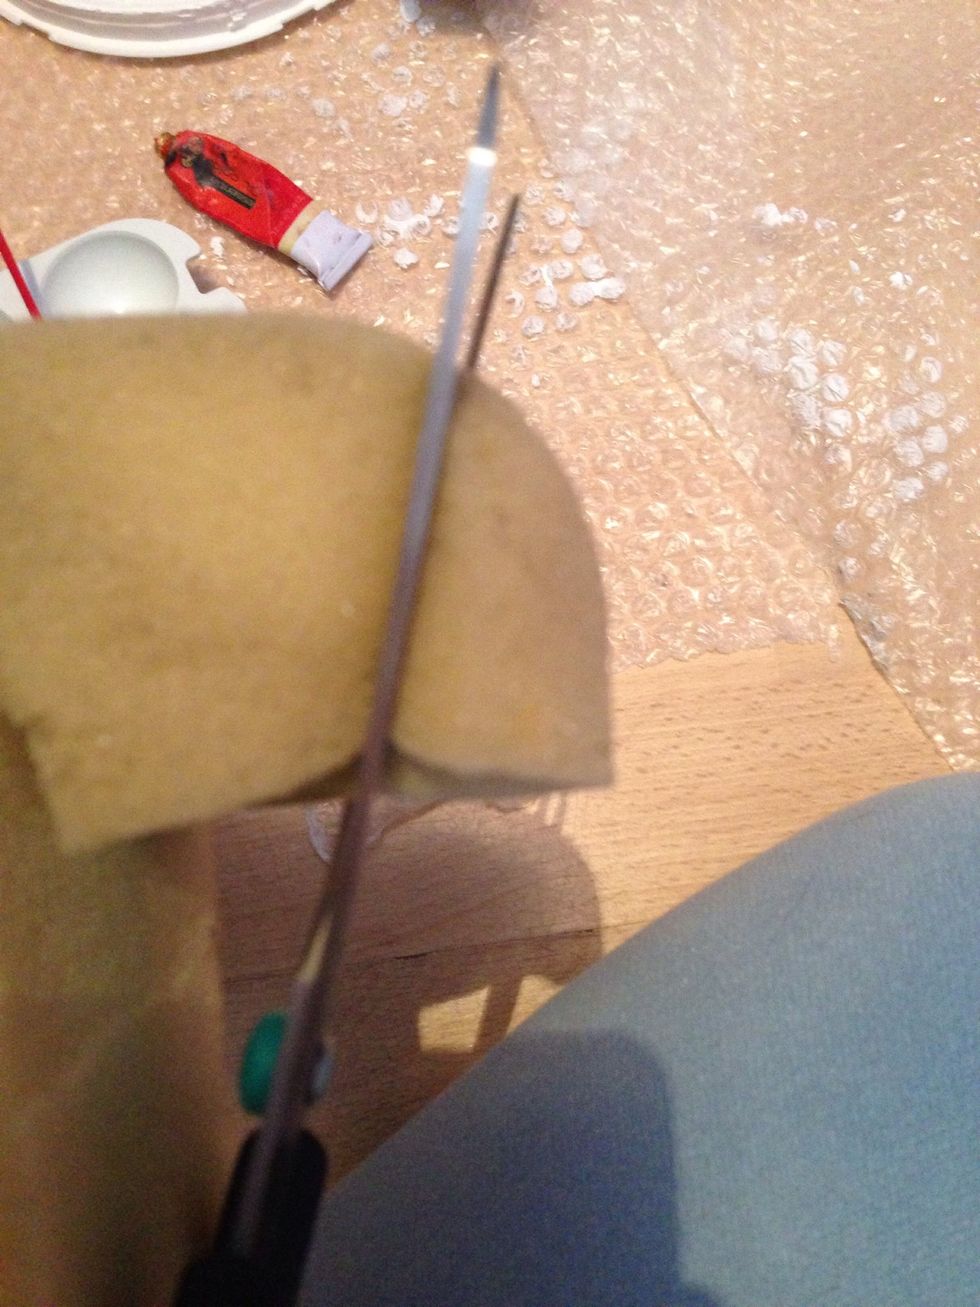
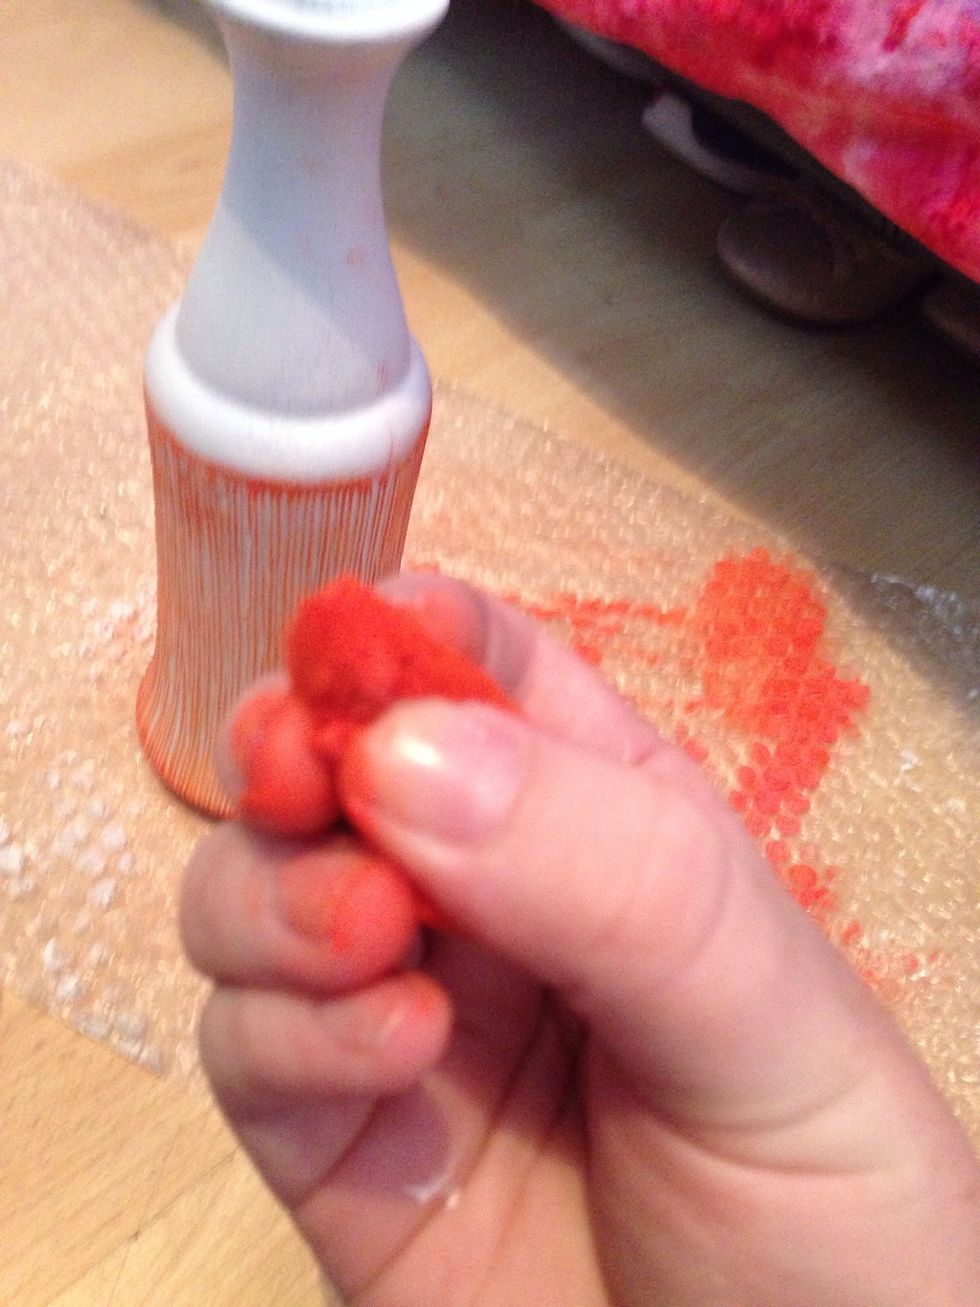
You want to just snip a corner to a size ideal depending on your vase
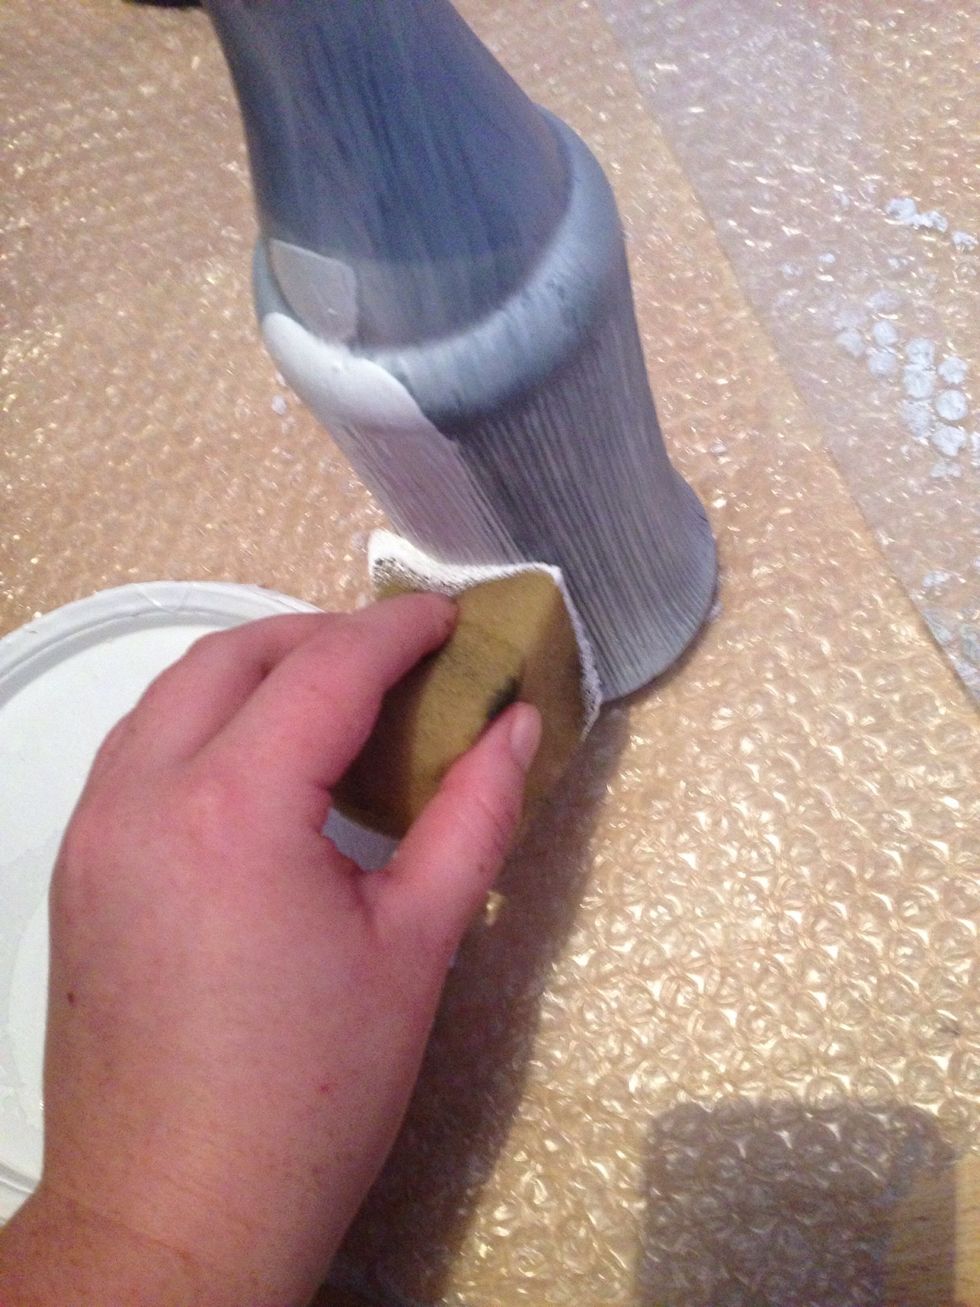
Sweep the sponge across any detail first to make sure the paint takes an even finish
For the middle of the vase just squeeze the sponge together and let go the again use the 'Dabbing' technique to create the same finish throughout
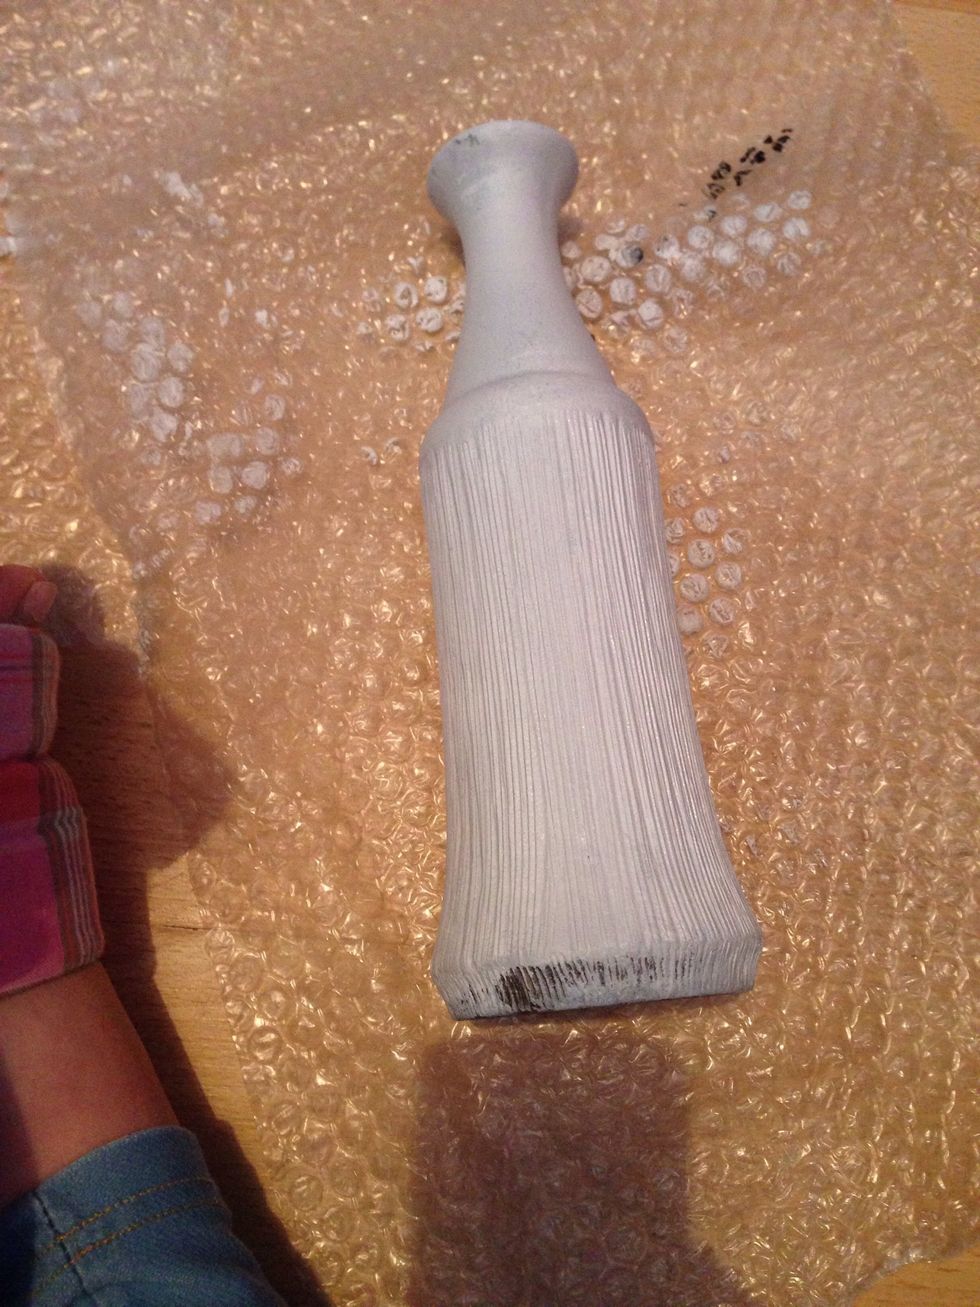
The effective base coat now finished time to make this vase stand out (once dry of course)
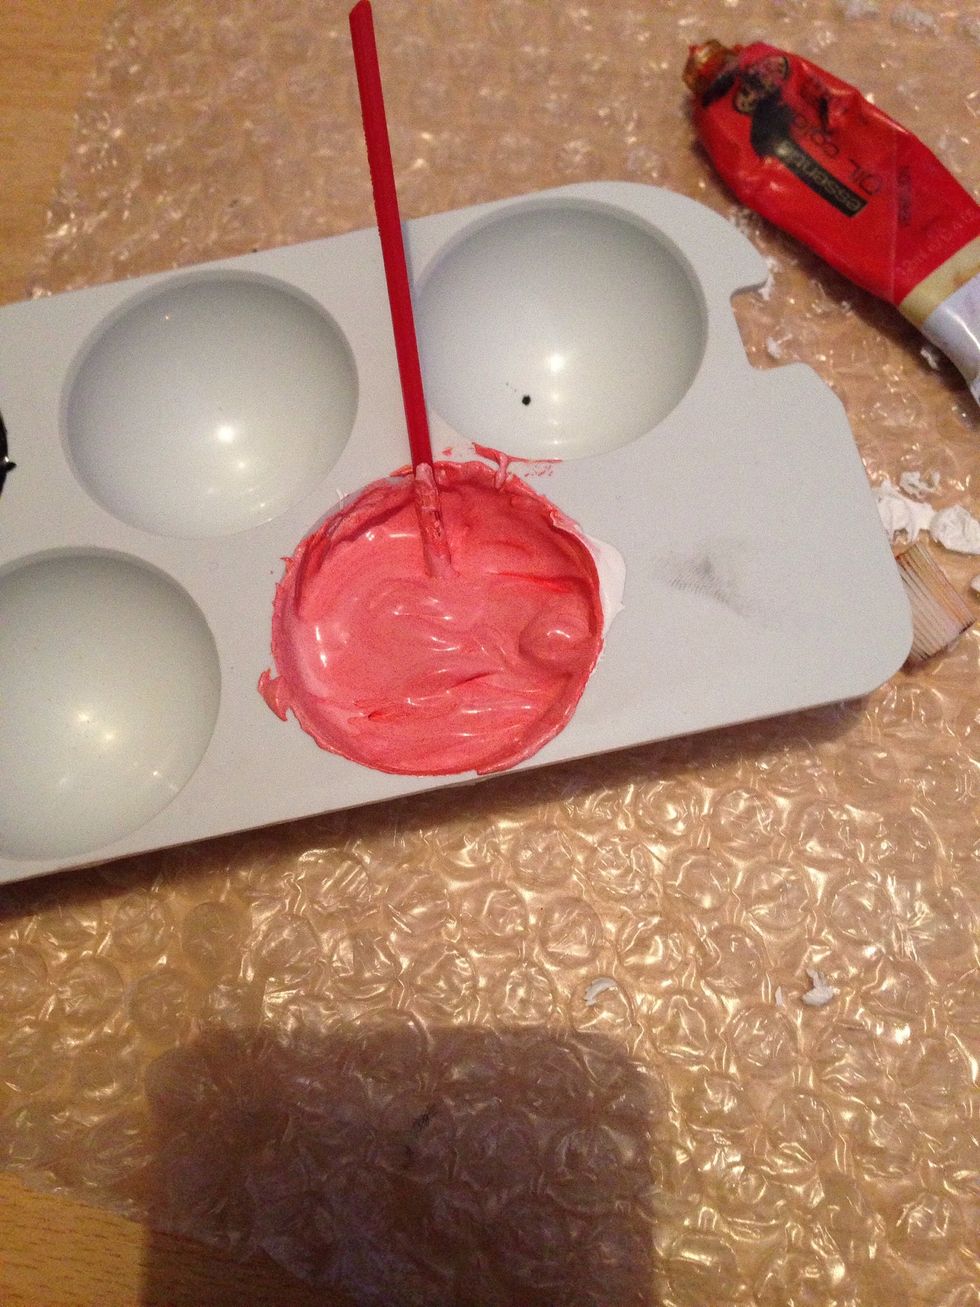
Now choose a colour of your choice to go with your room. I've mixed a pinky orange colour but a gold would look great you can always re-paint for another colour 😊
Now again snip a corner off a sponge a lot smaller than the first one you used. If your vase has detail in like this one even the base try and cut the sponge at a triangle for best effects
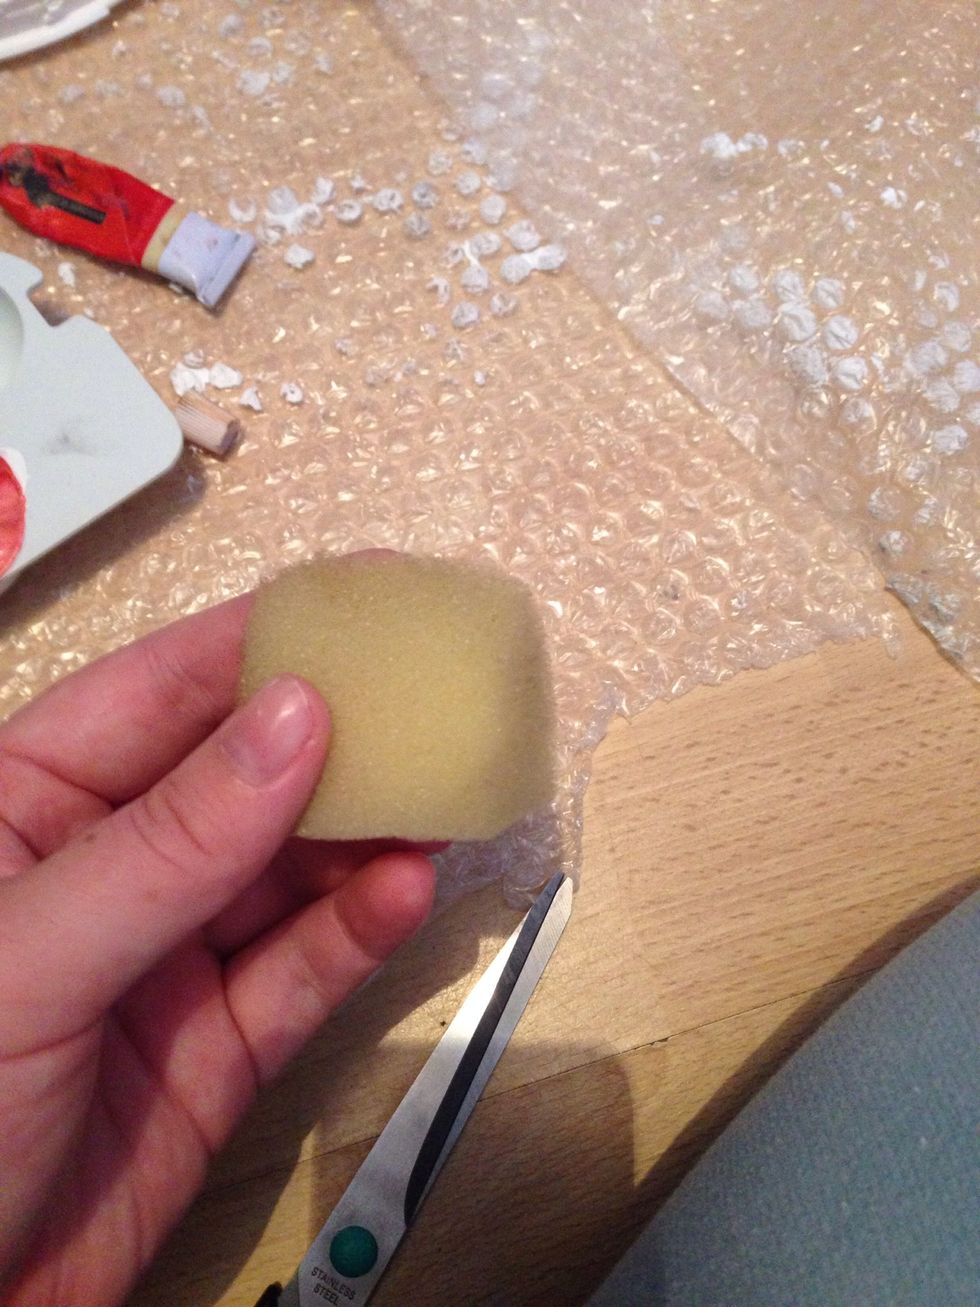
See the pointed tip of the sponge
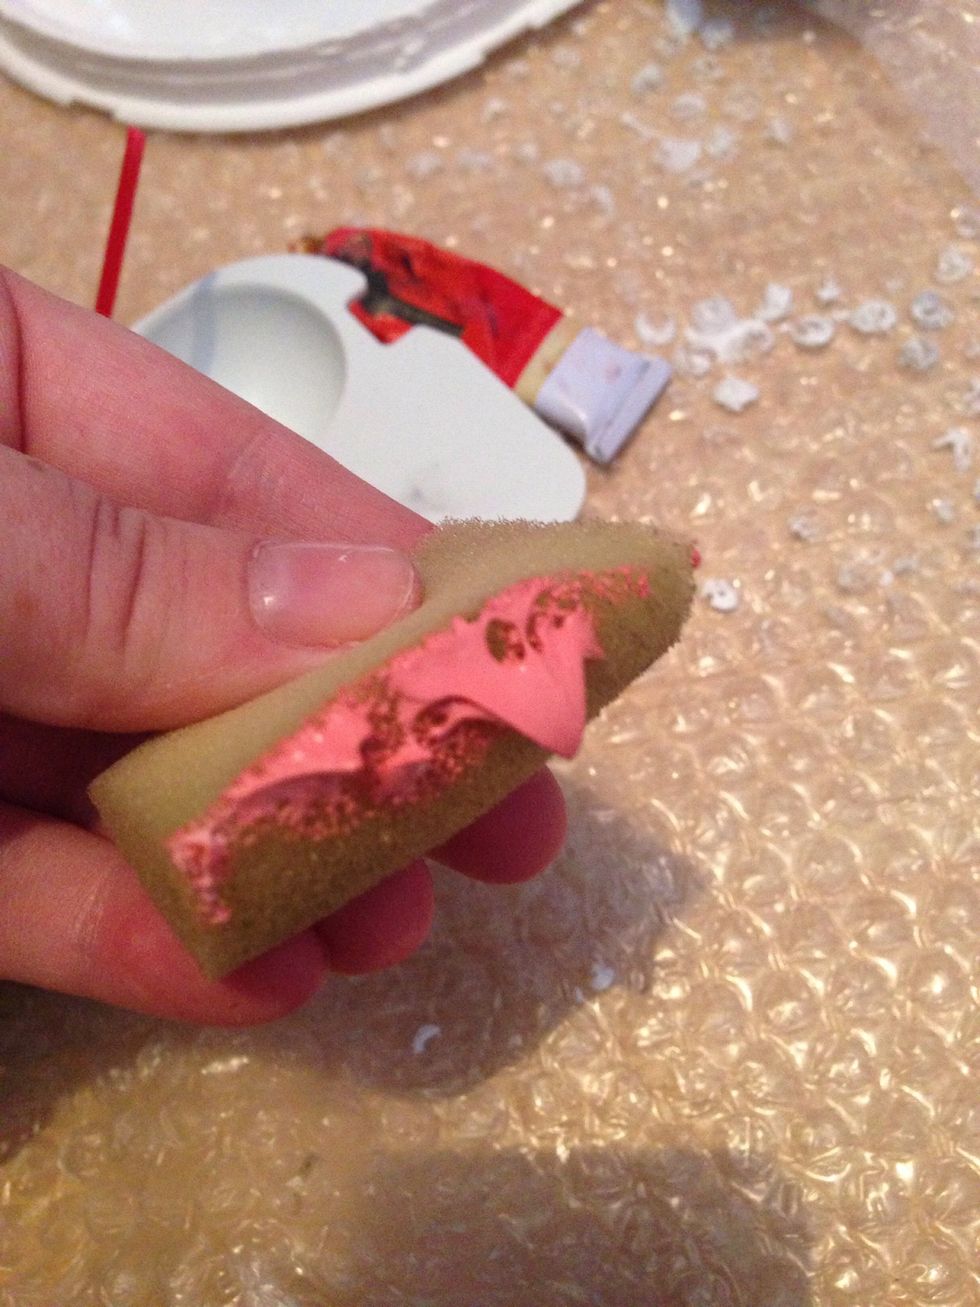
Add paint to the edge of sponge
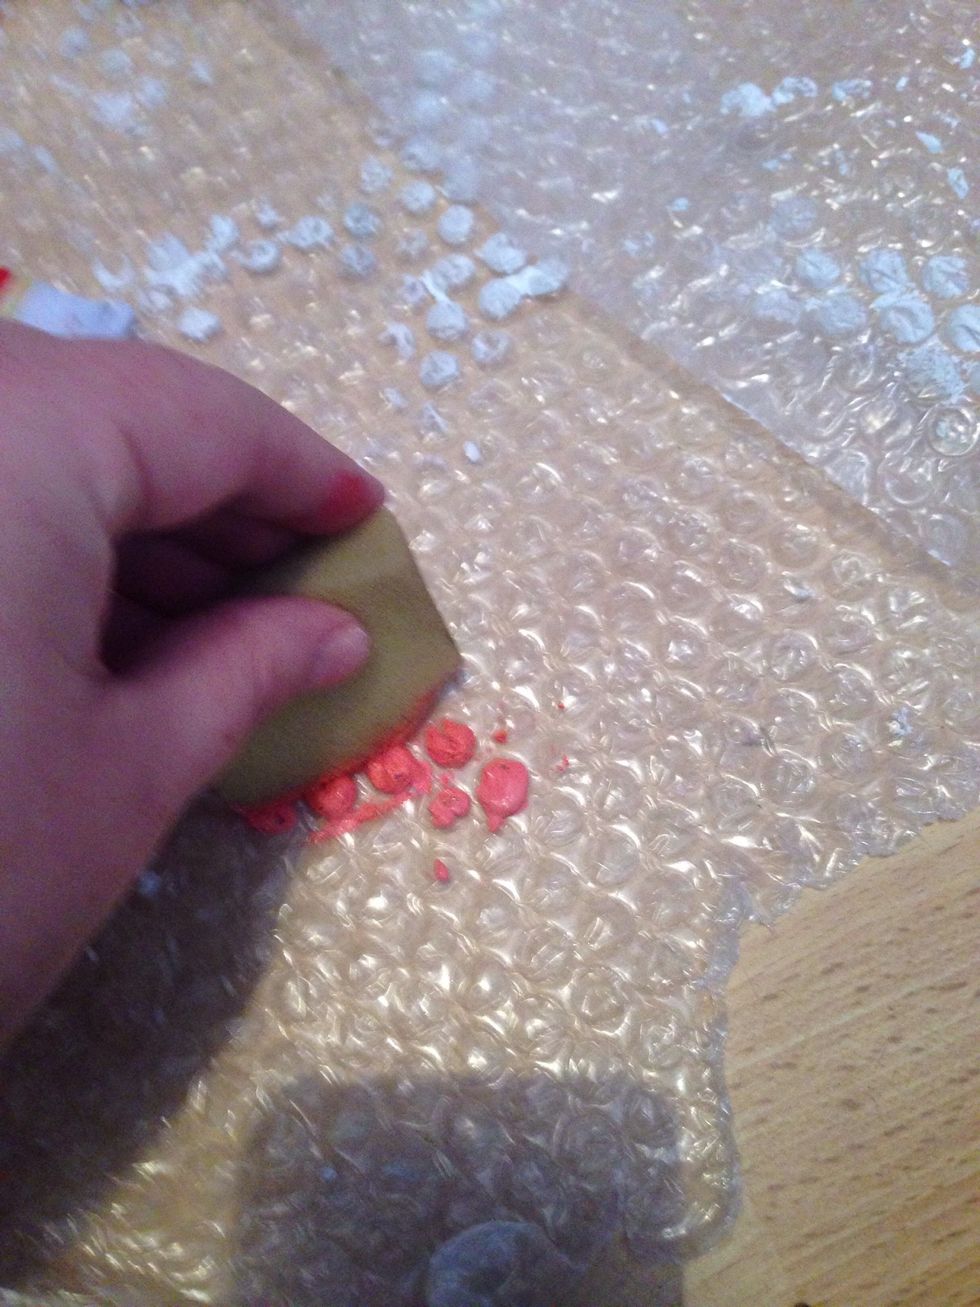
You don't want a lot of paint so dab the sponge on something scrap to remove any access paint
Lie your vase flat. As you can see I've missed abit don't worry
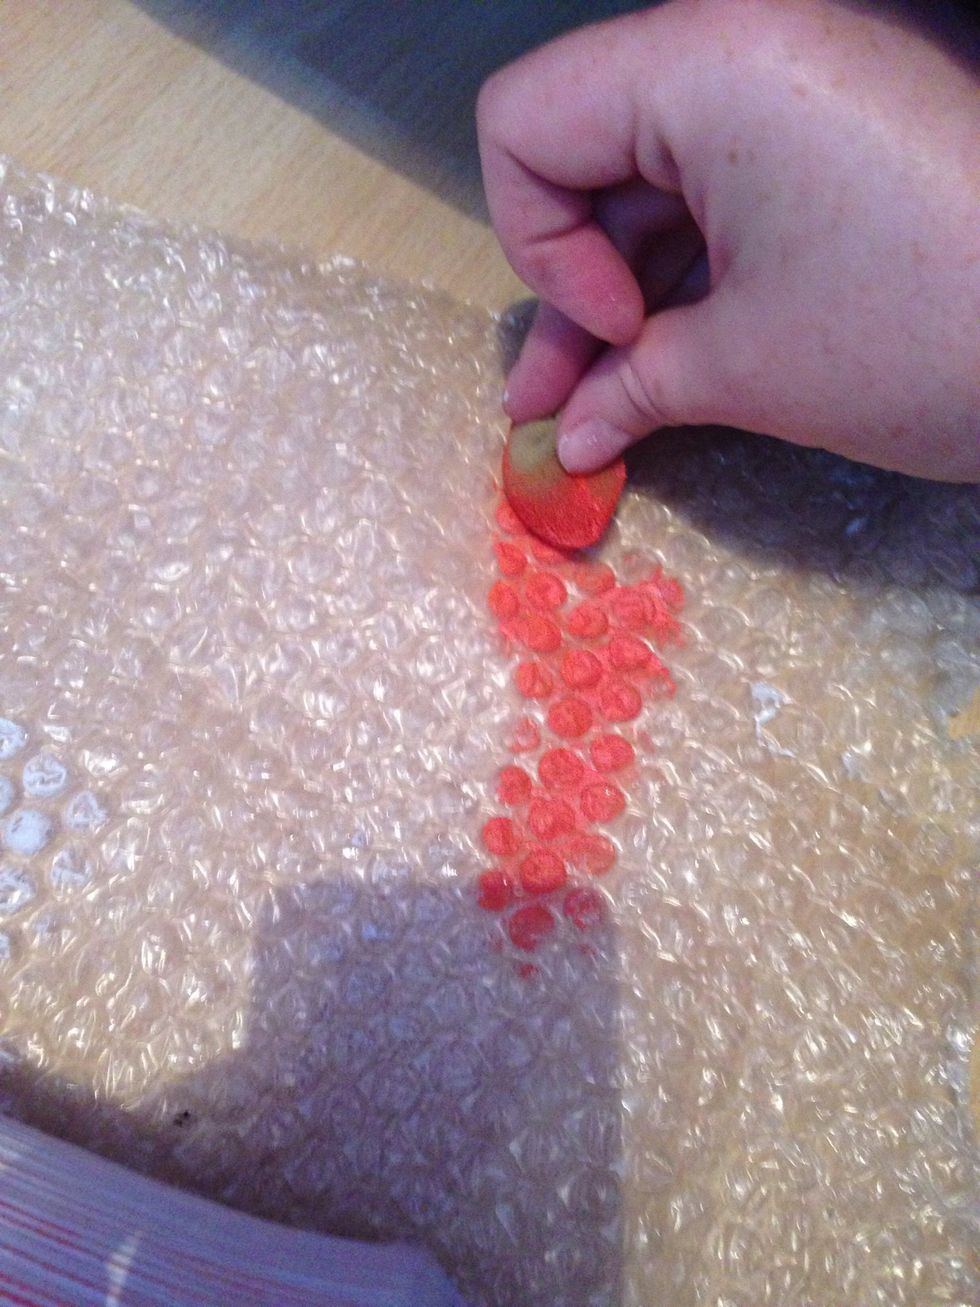
Squeeze your sponge to a corner point and add more loose paint
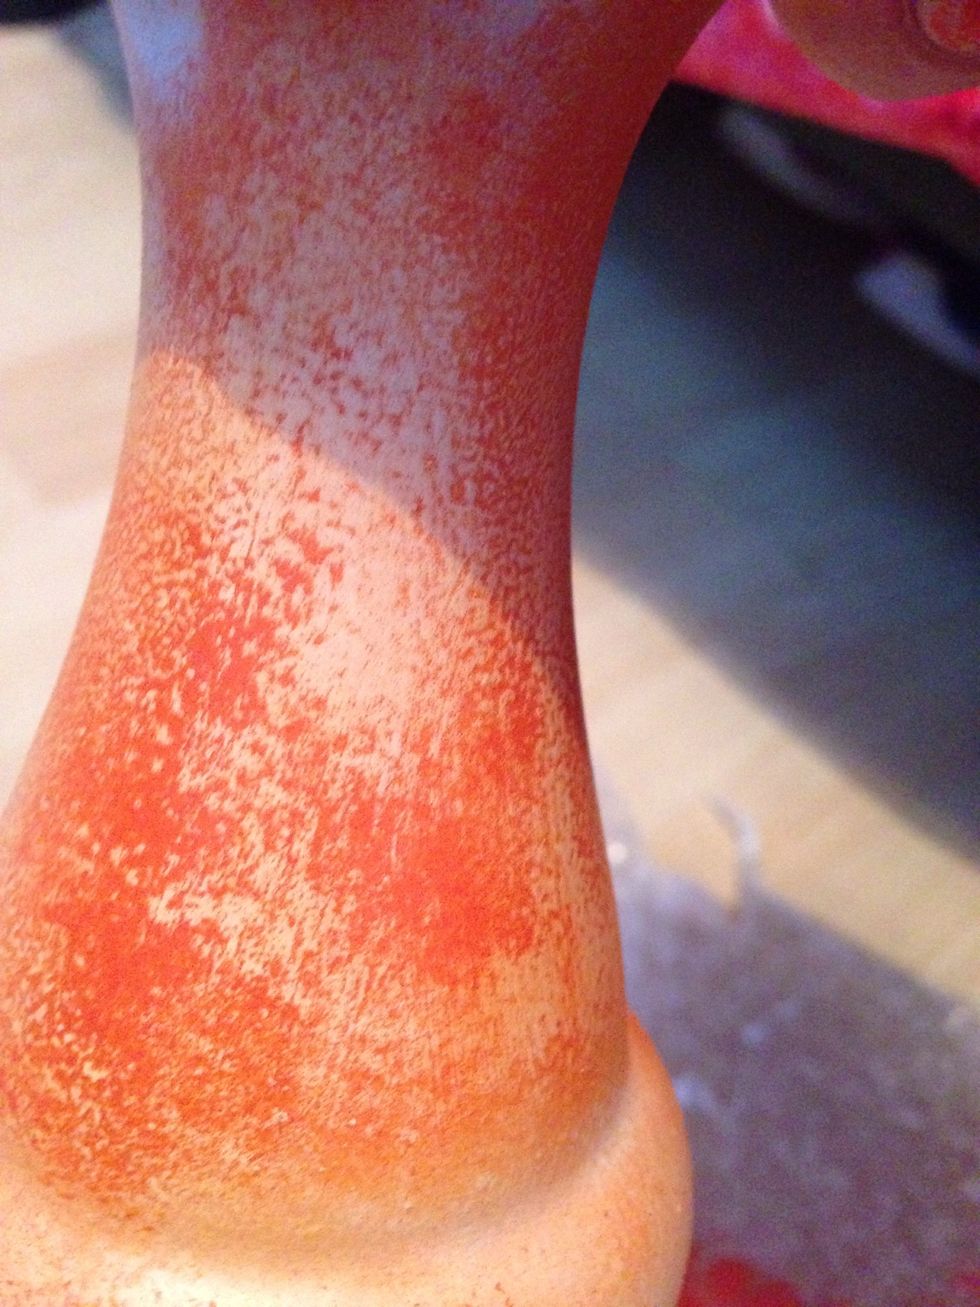
It will create this effect! 👌 Pretty good!!
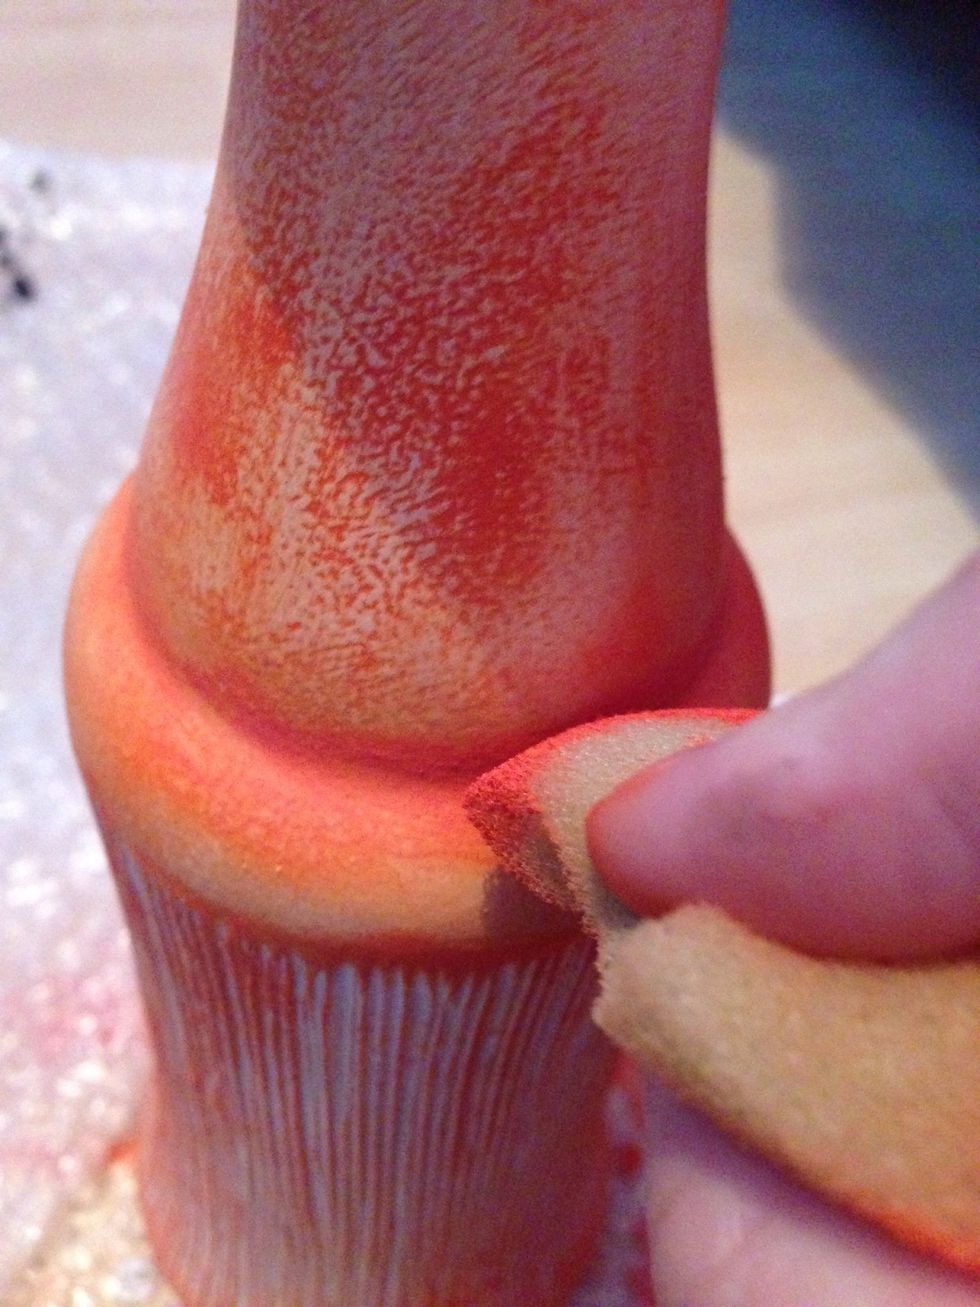
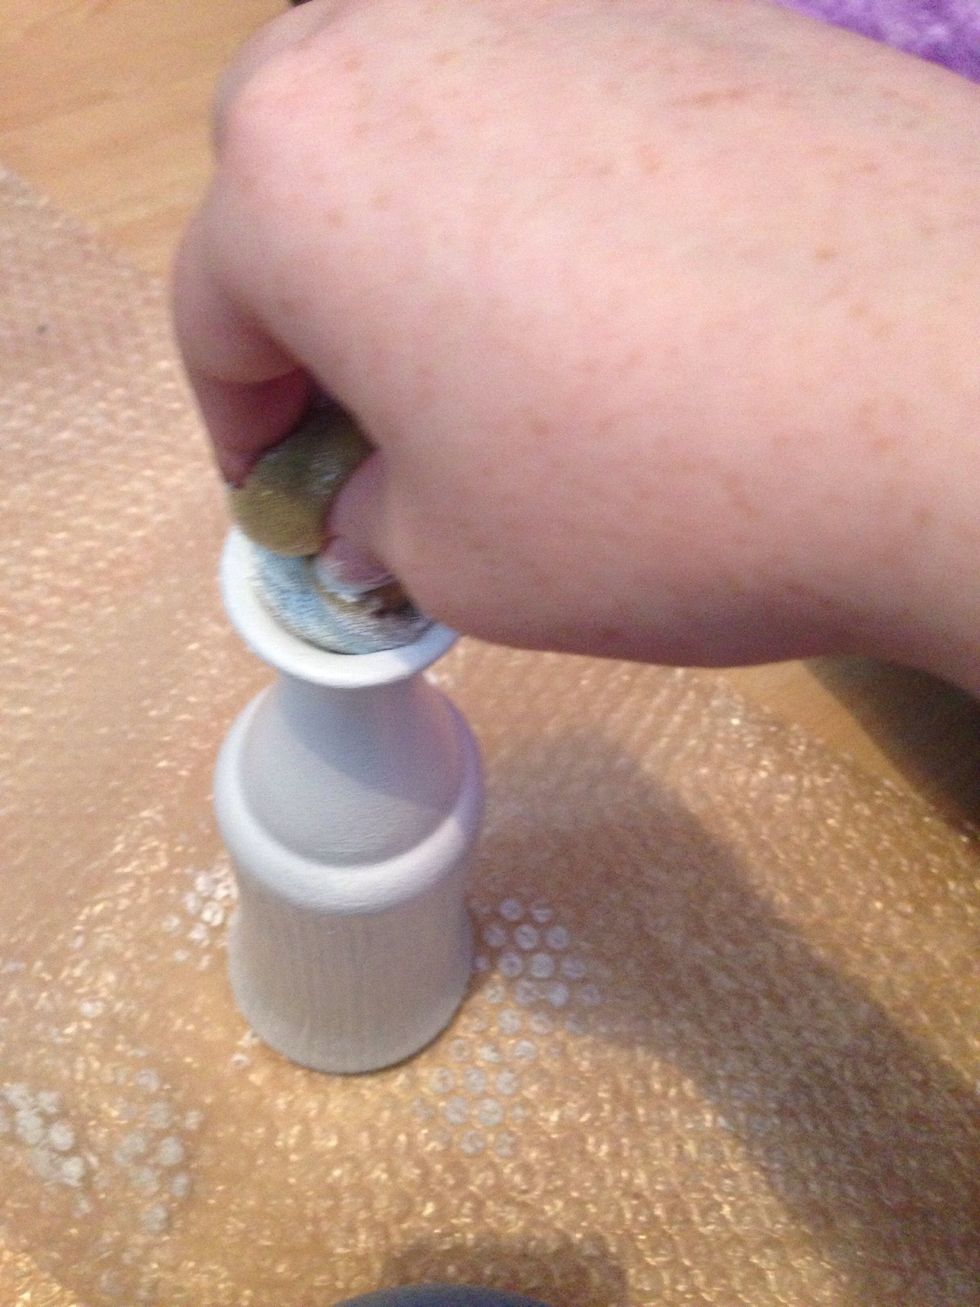
Now this section is complete you wanna make that detail stand out. Using the edge of the triangle sponge add some paint not to much not as less as usual. Now highlight the rims of detail **effect
See how it begins to stand out
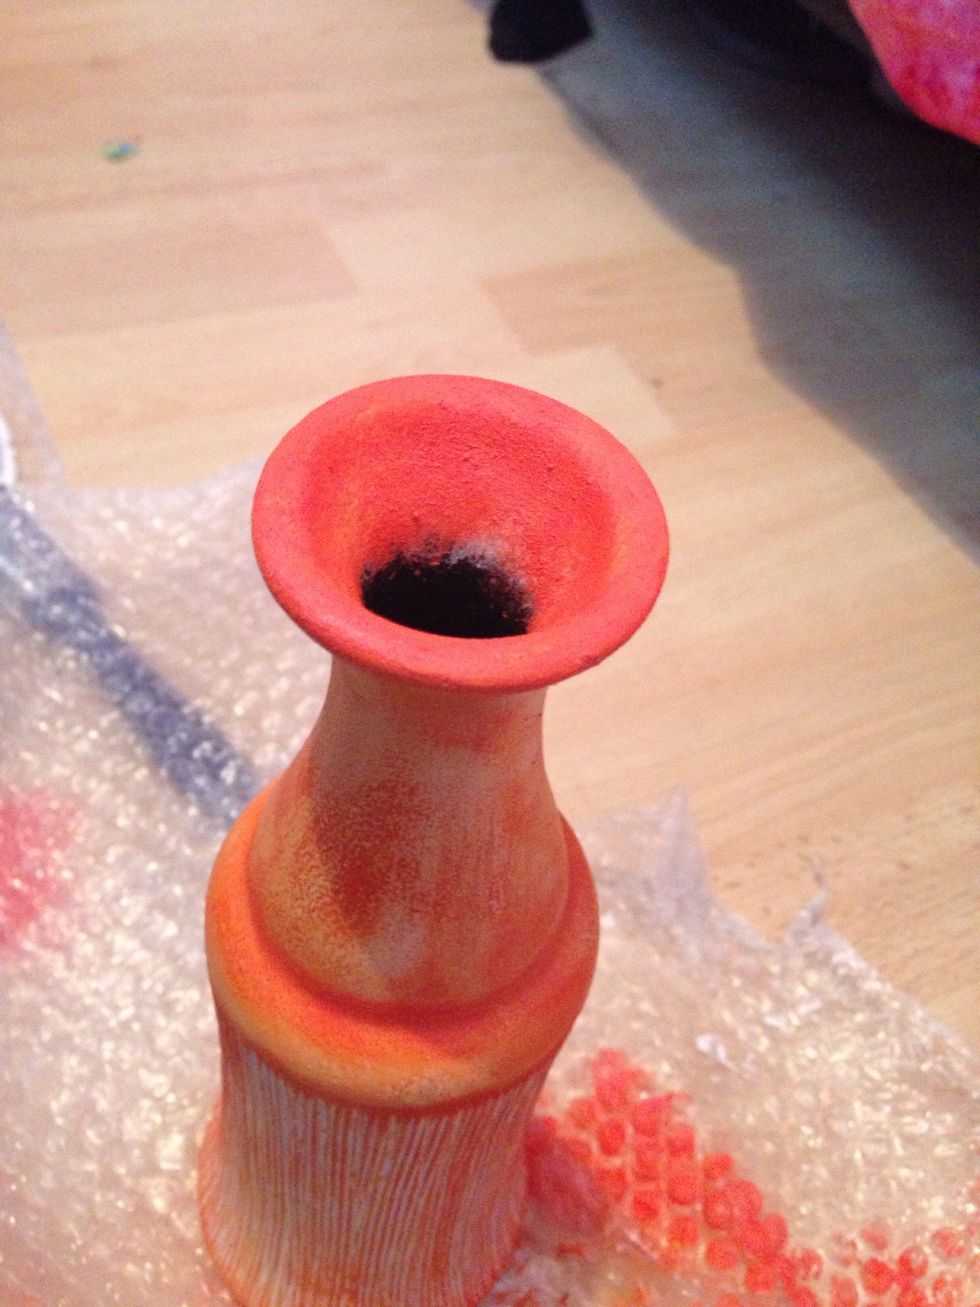
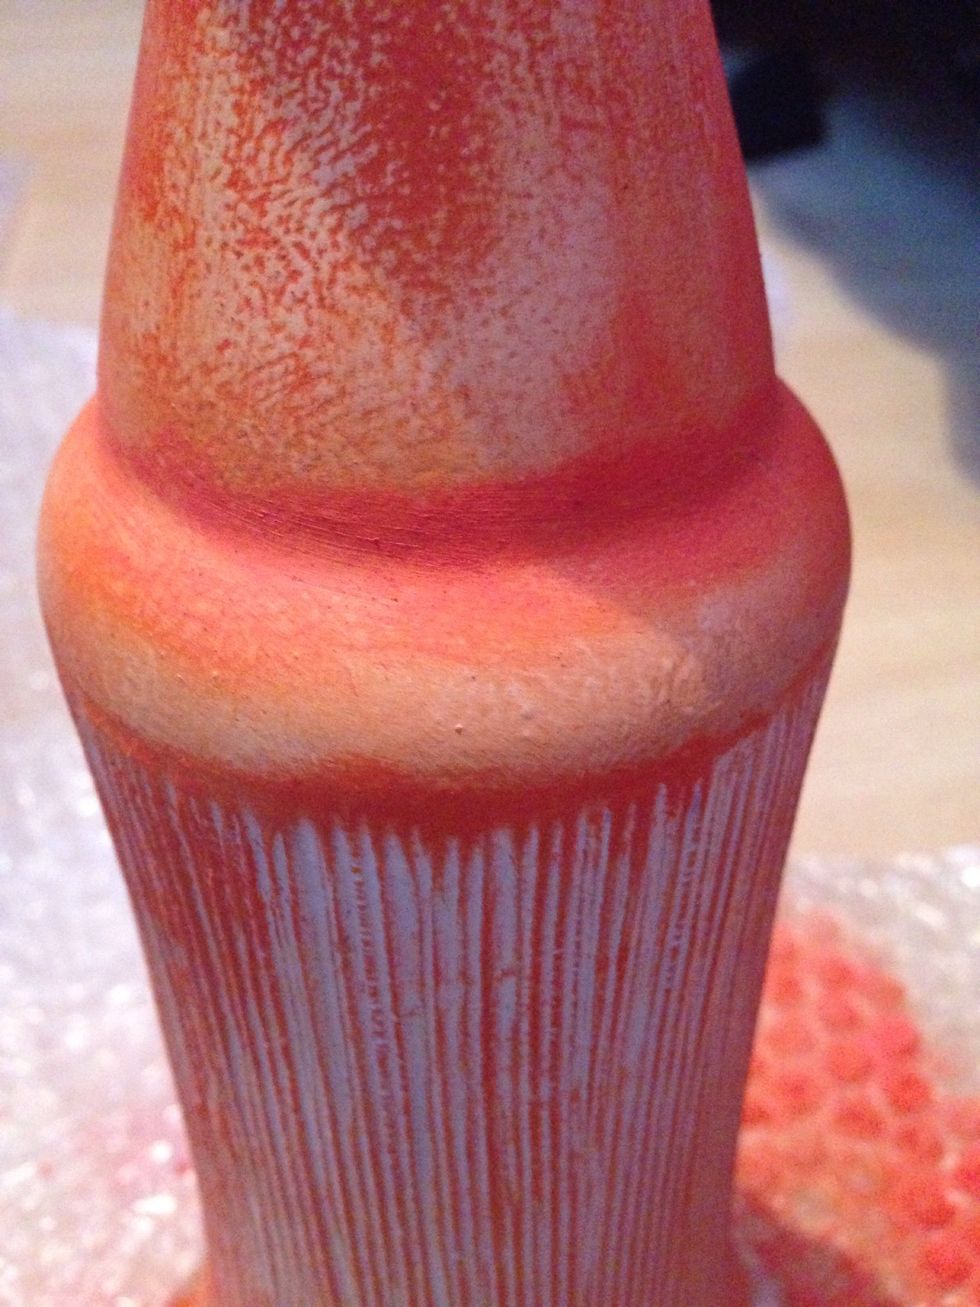
Just completely darken the rim of the vase like this!
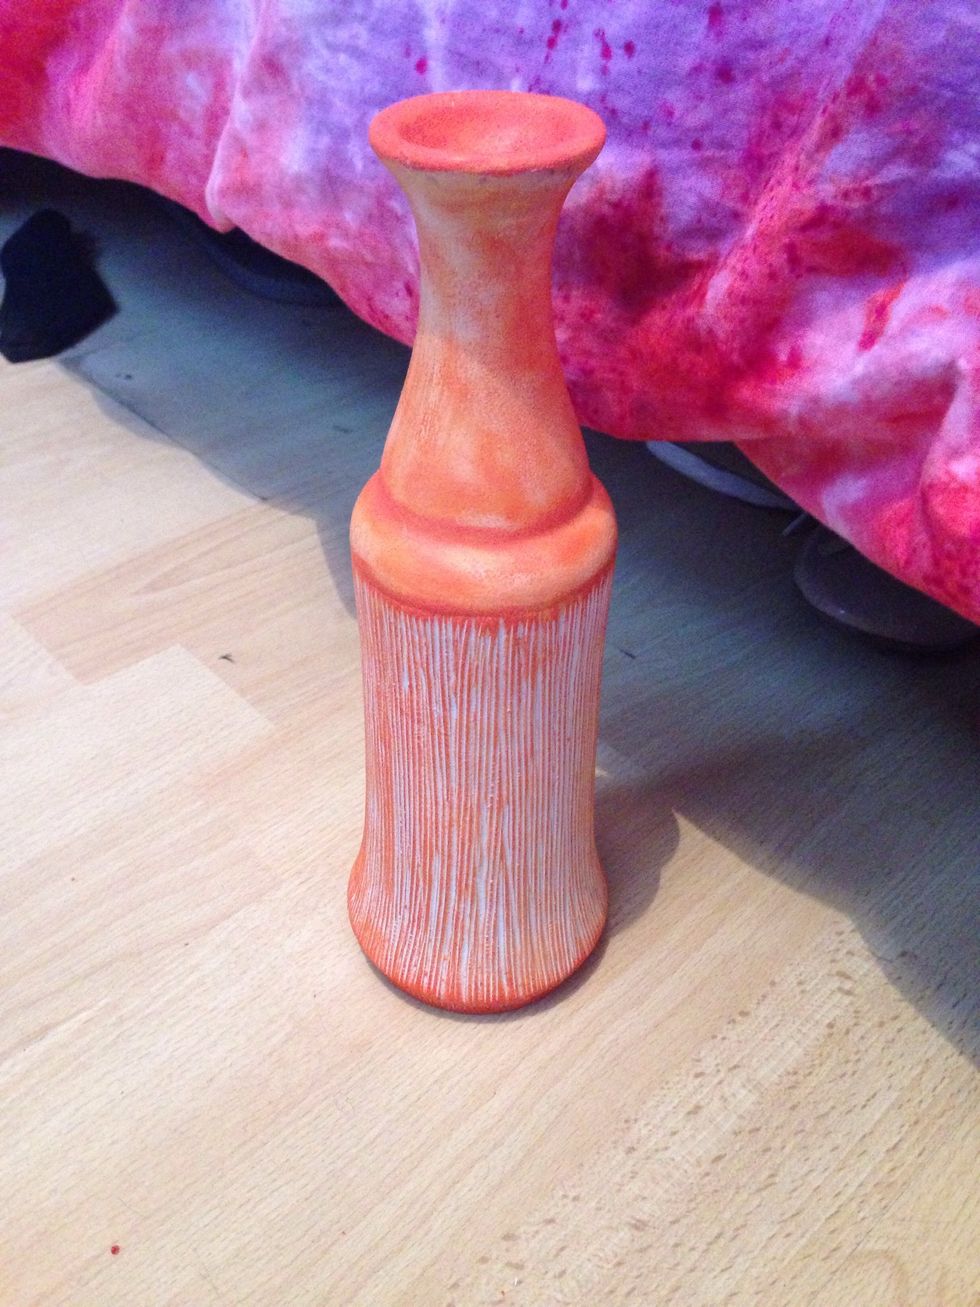
Finished product! Big change :) remember you can do this with many of your favourite accessories you don't want to pack away or get rid off! Keep them on show and in match 😊

Hope you guys liked it😊 Cheap and cheerful! Just how we like it!