The Conversation (0)
Sign Up
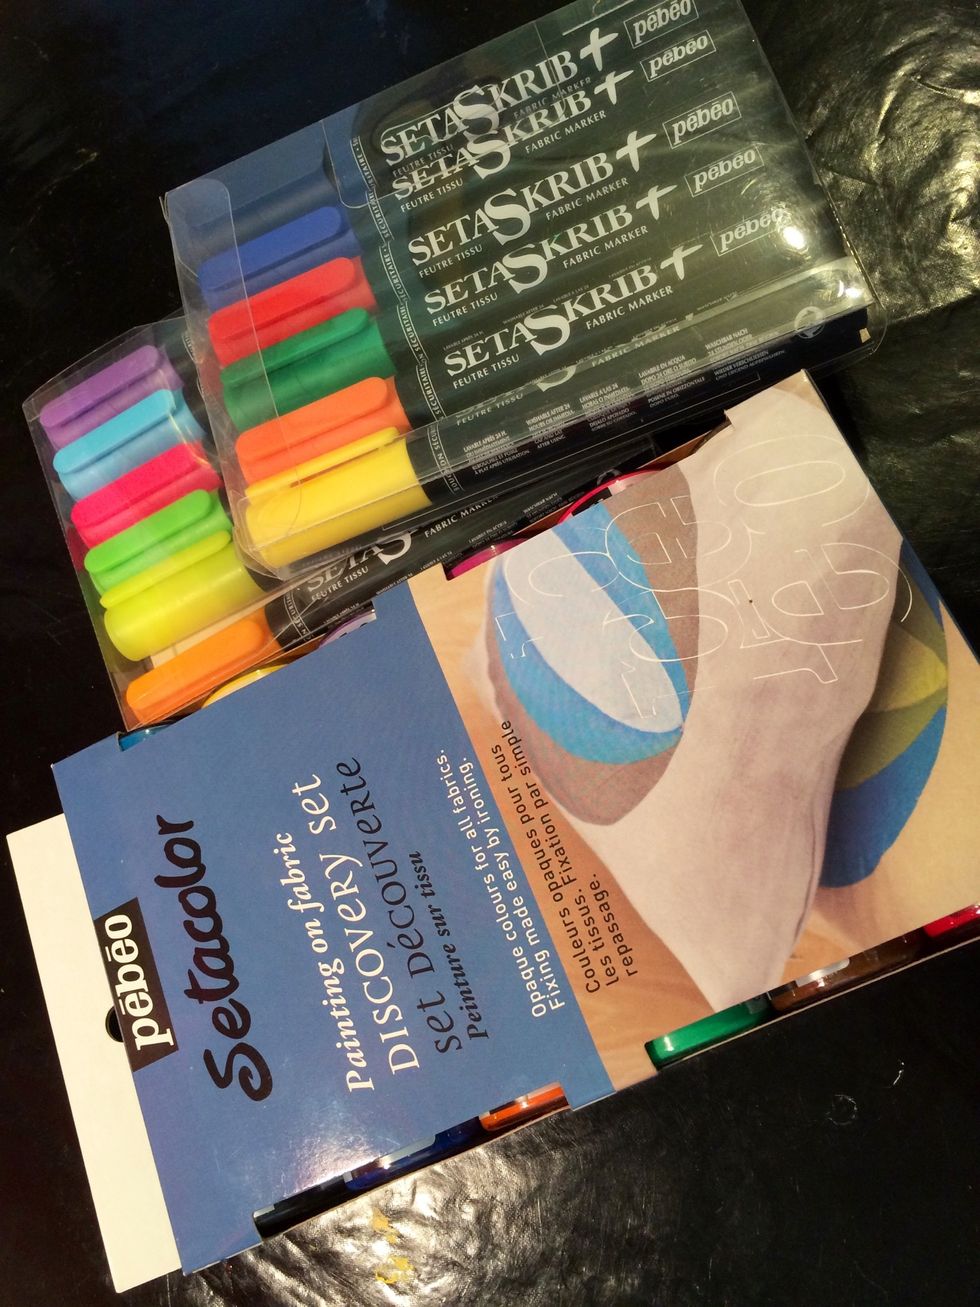
These are the three sets of PEBEO Fabric Paints that I am lucky enough to have in my possession.
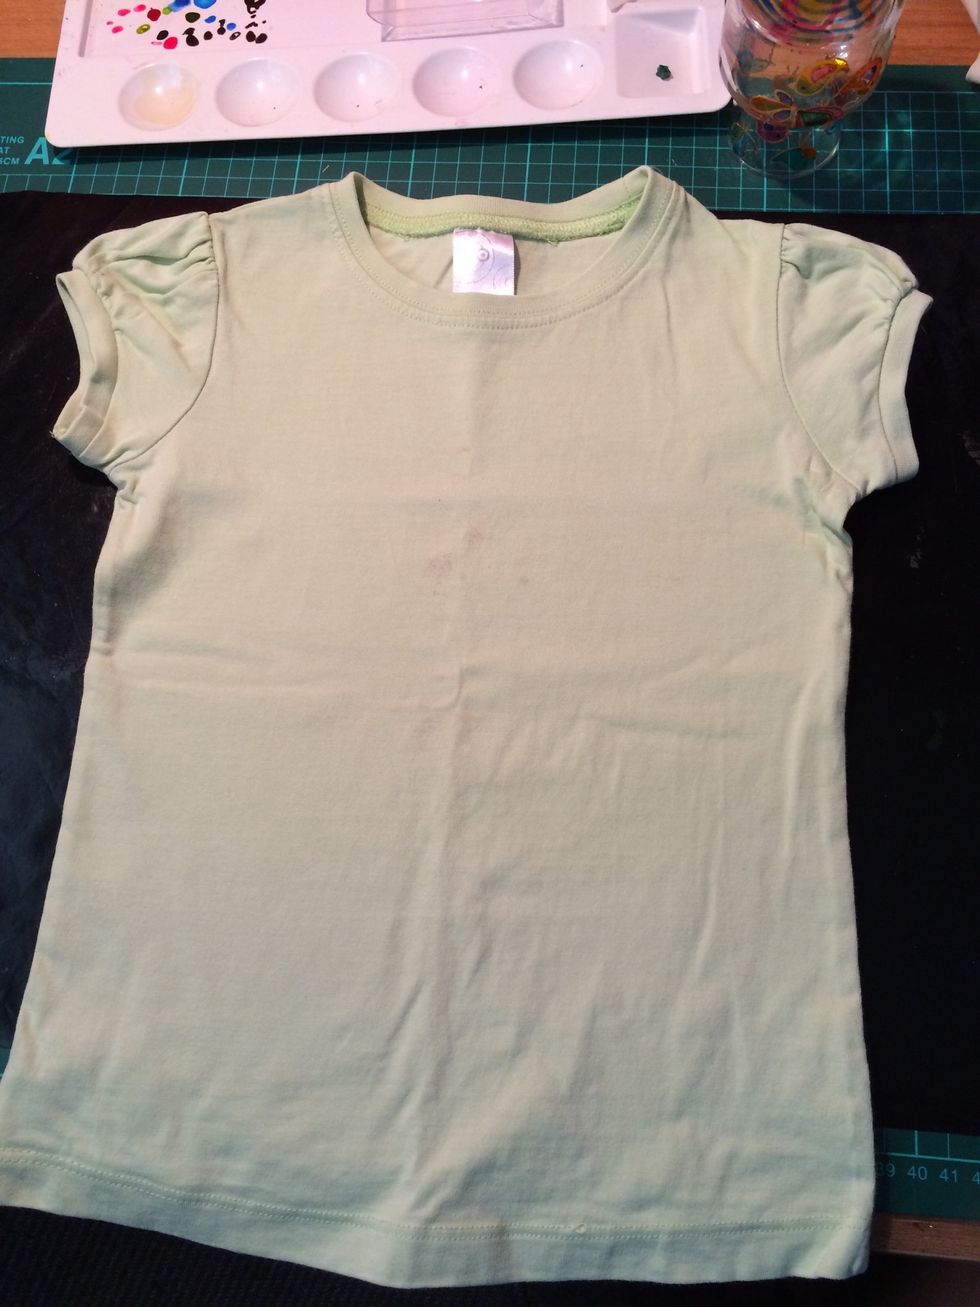
Choose your T-shirt. One of the most fabulous things about these fabric paints is that you can revamp an old T-shirt, cushion cover, jeans etc that has stains and would normally go to the rag bag.
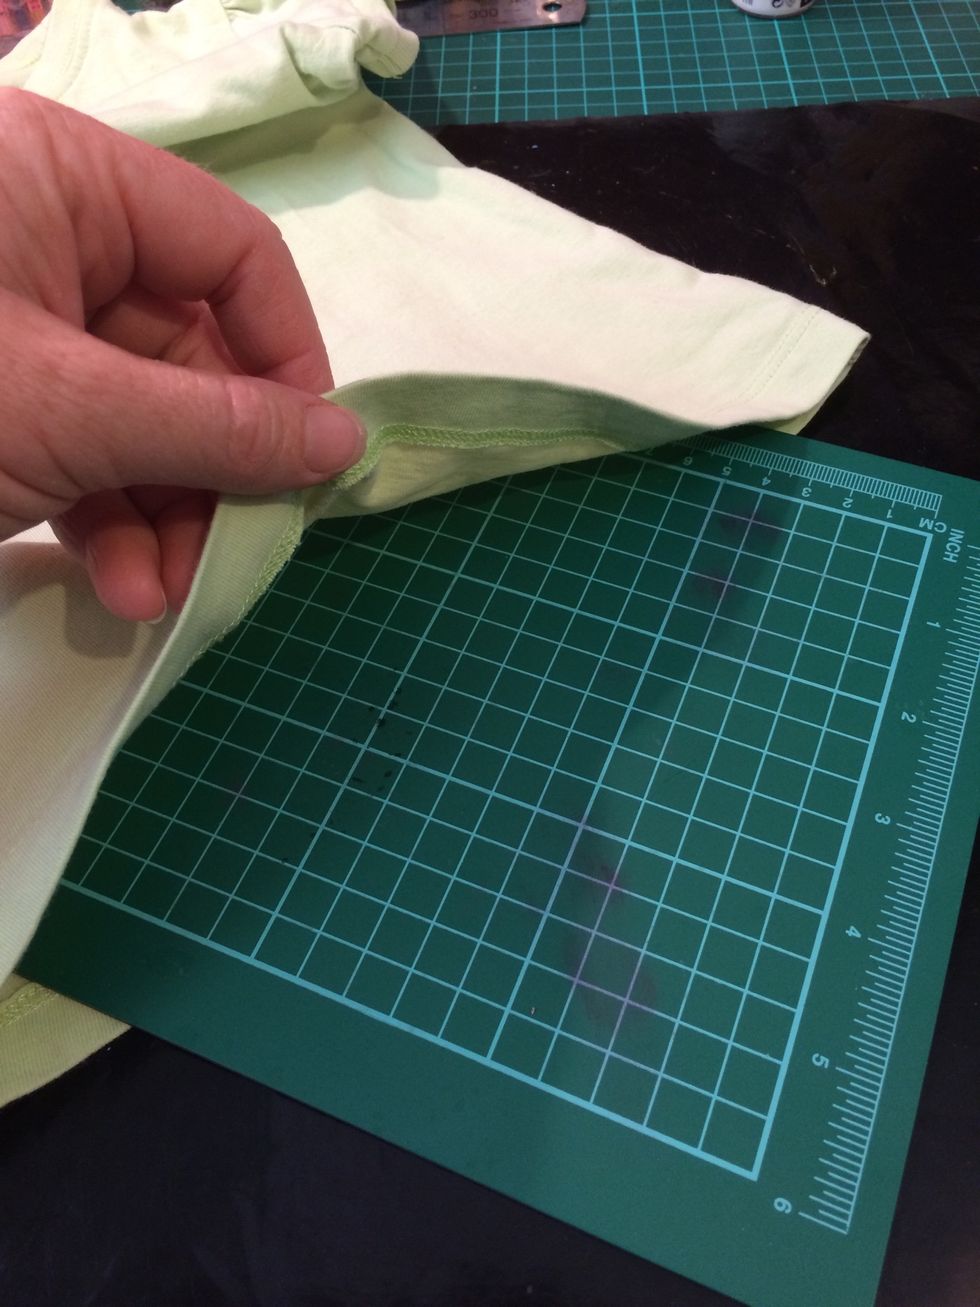
To protect the back of the T-shirt from paint seeping thru I put a small cutting mat in between. But you could use paper, baking paper etc
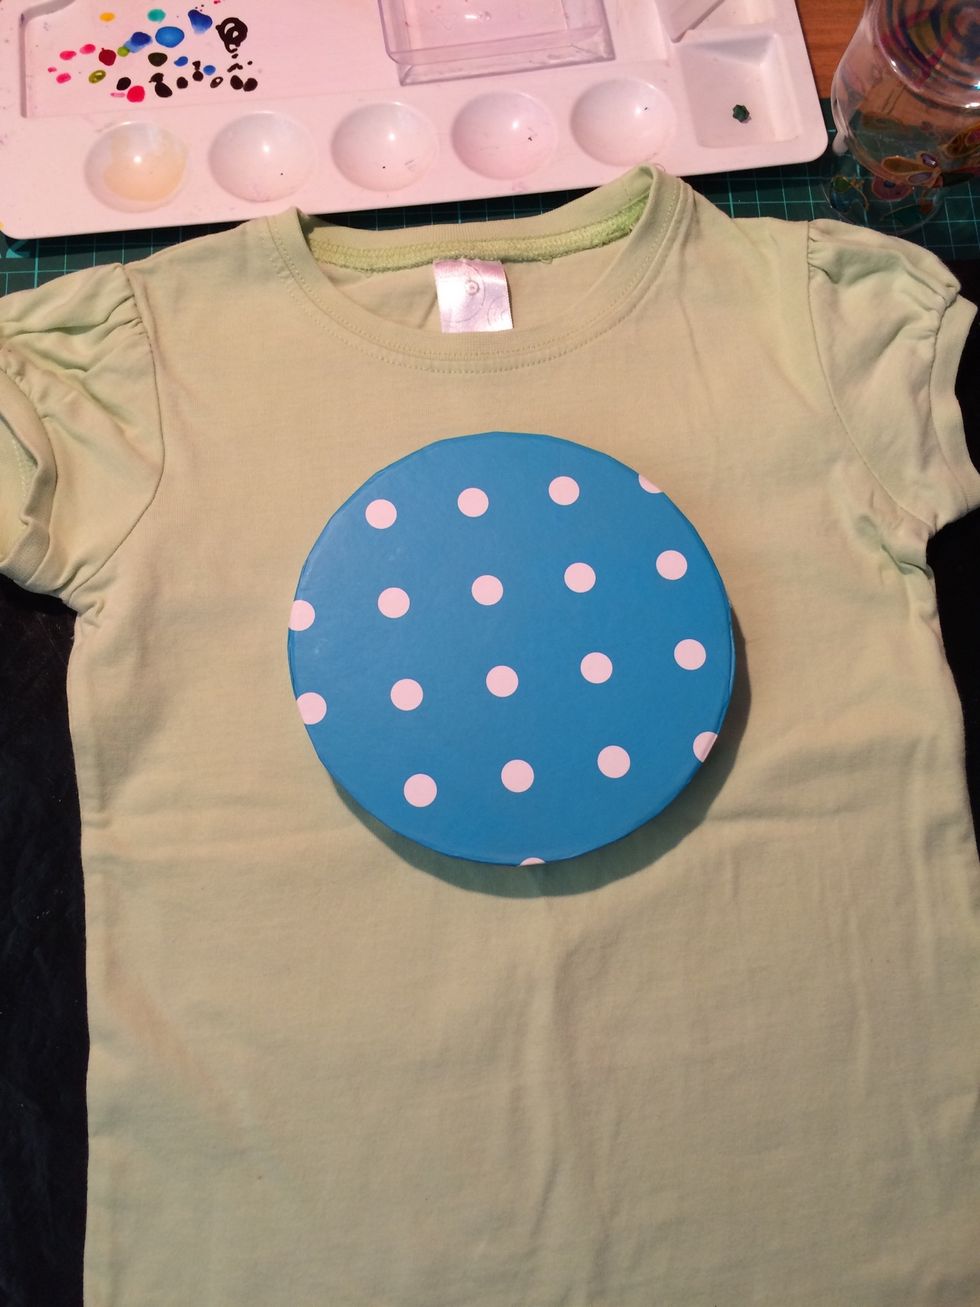
I traced a circle on my T-shirt to begin my design.
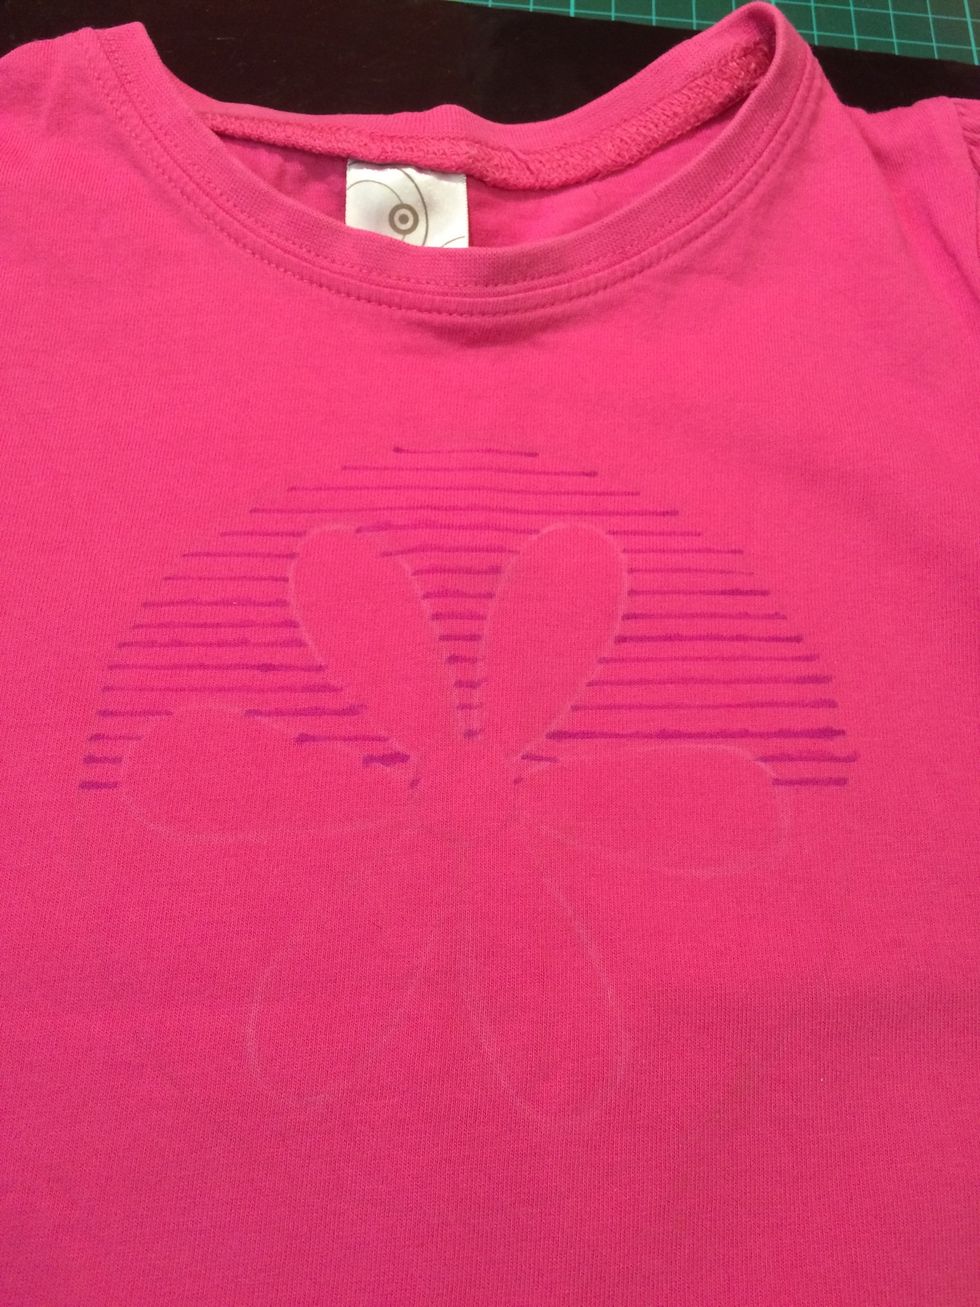
I sketched out a flower. You can use a lead pencil or a fabric pencil. I just used a light coloured pencil on the dark fabric and lead on the light.
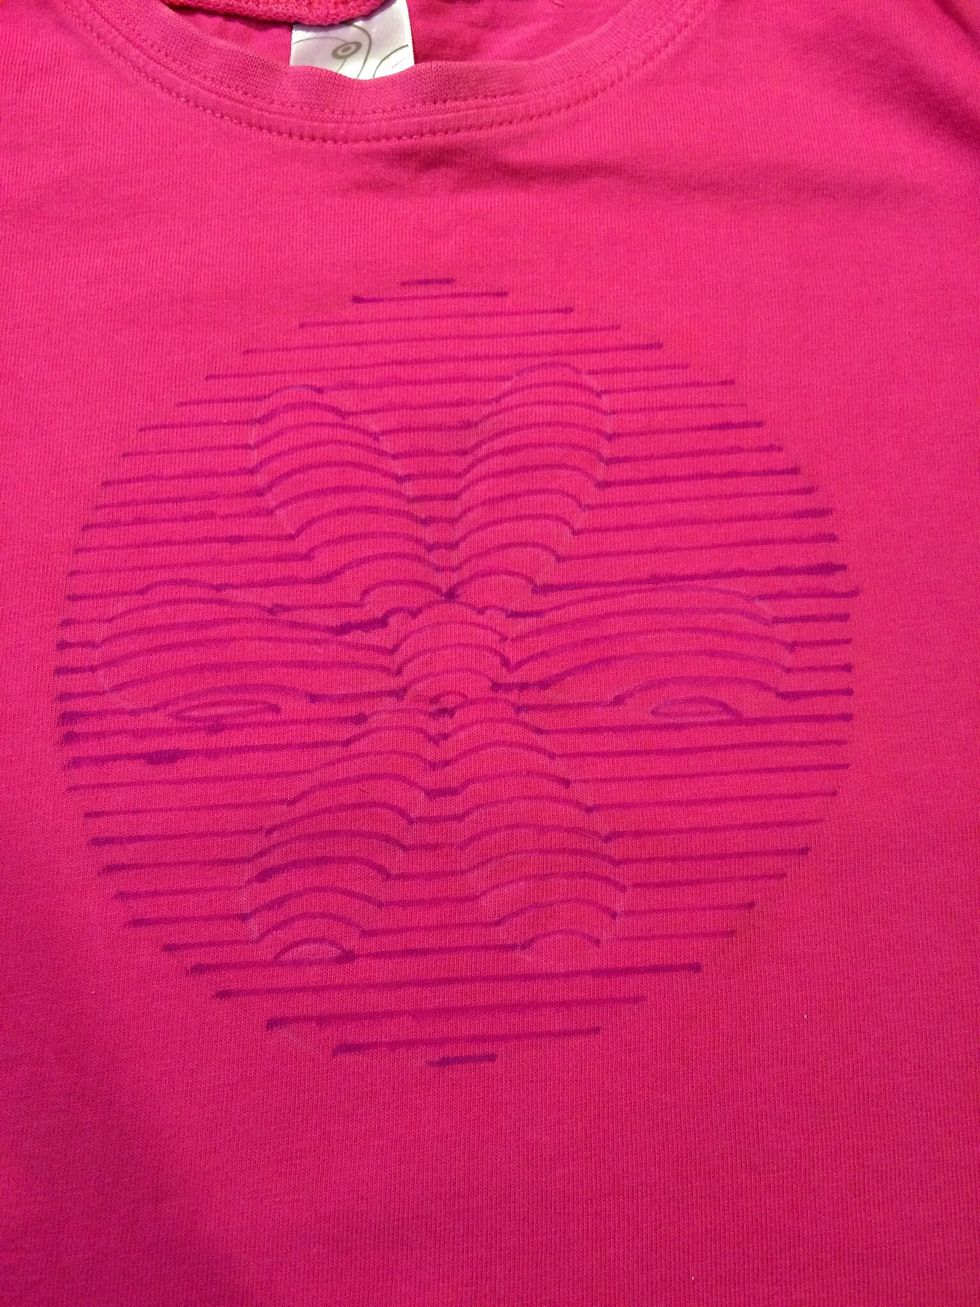
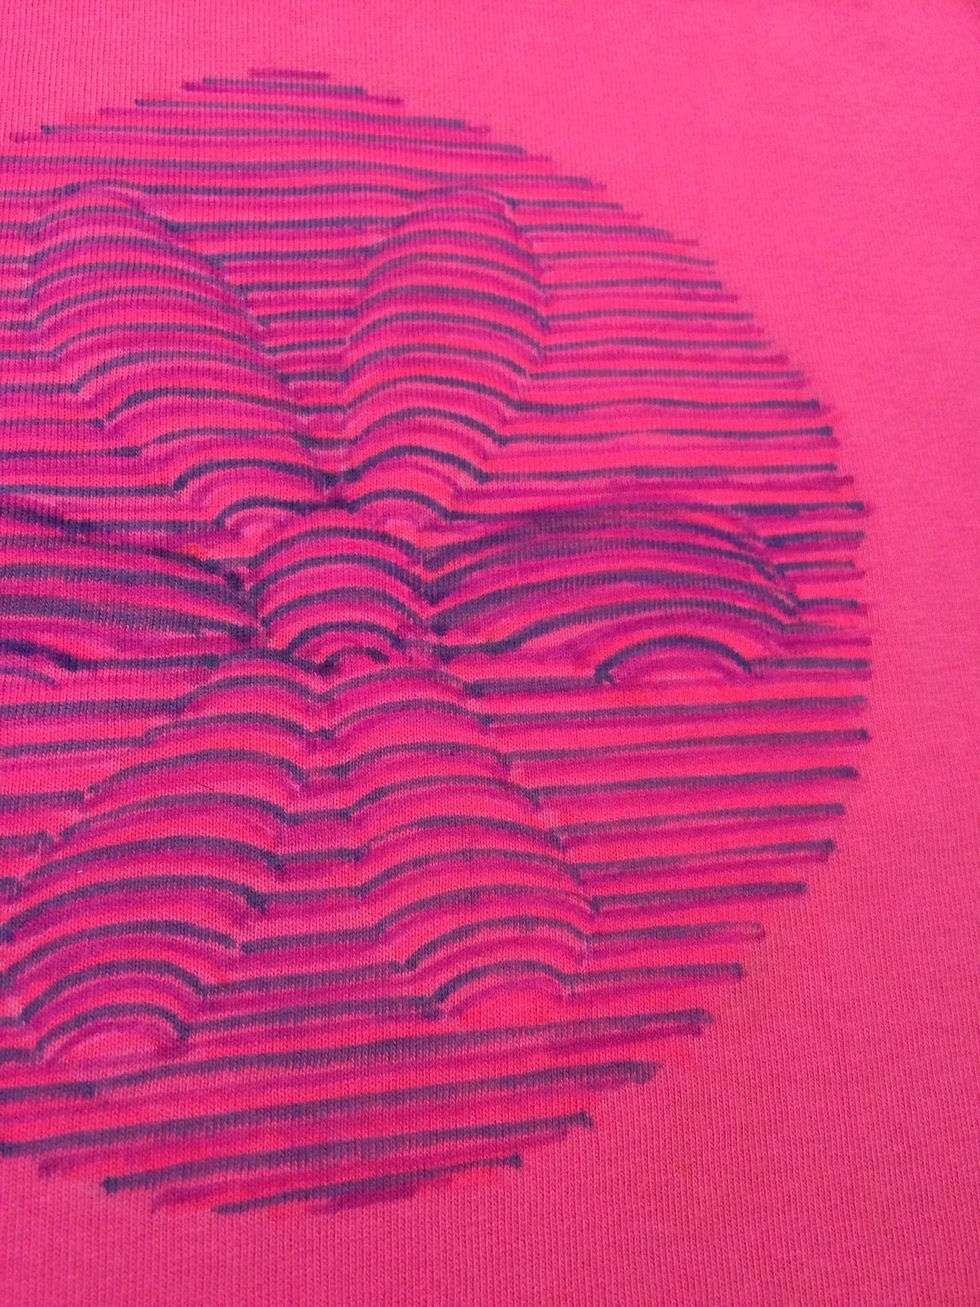
When drawing your lines keep them horizontal then draw a raised arc when you hit the edge of your image line then back to flat horizontal again. It gives the effect of a 3D image and is very effective
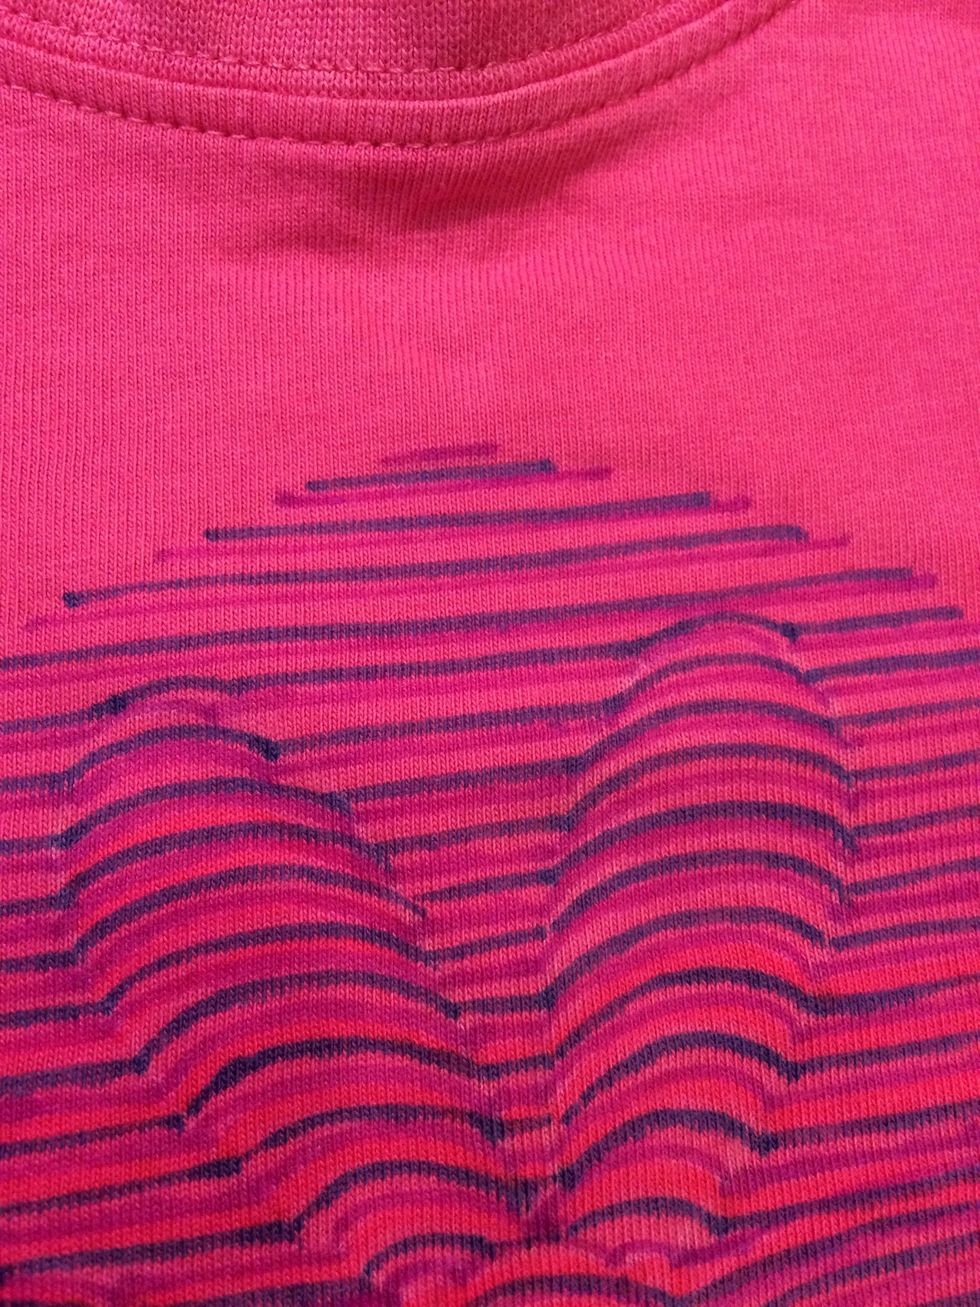
You can see the 3D effect. Cool isn't it? I went in with a darker colour as well.
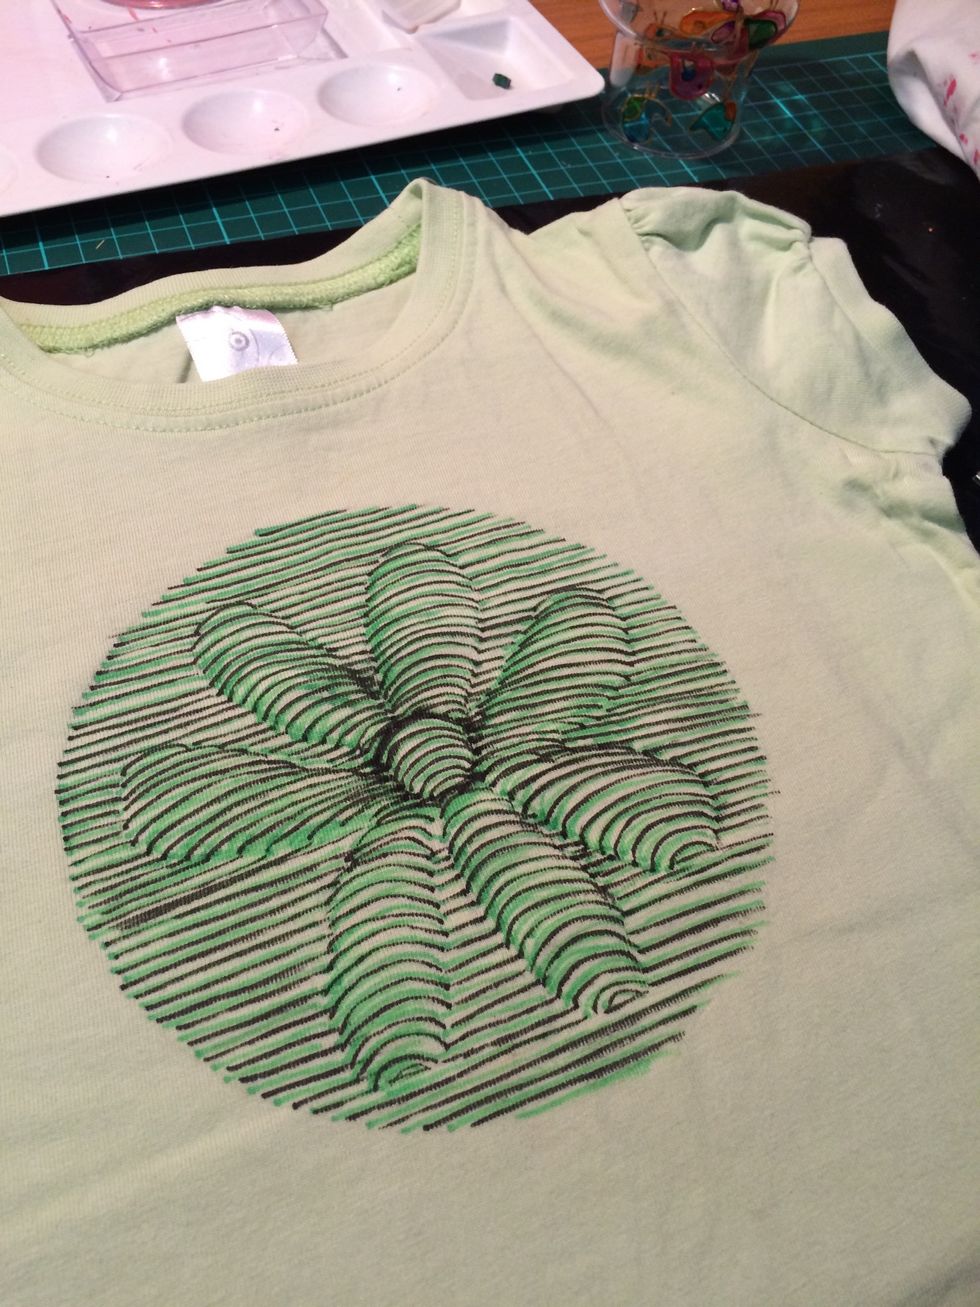
Here is the green T-shirt. I wasn't happy with some of the line work in the centre so I dressed it up even more
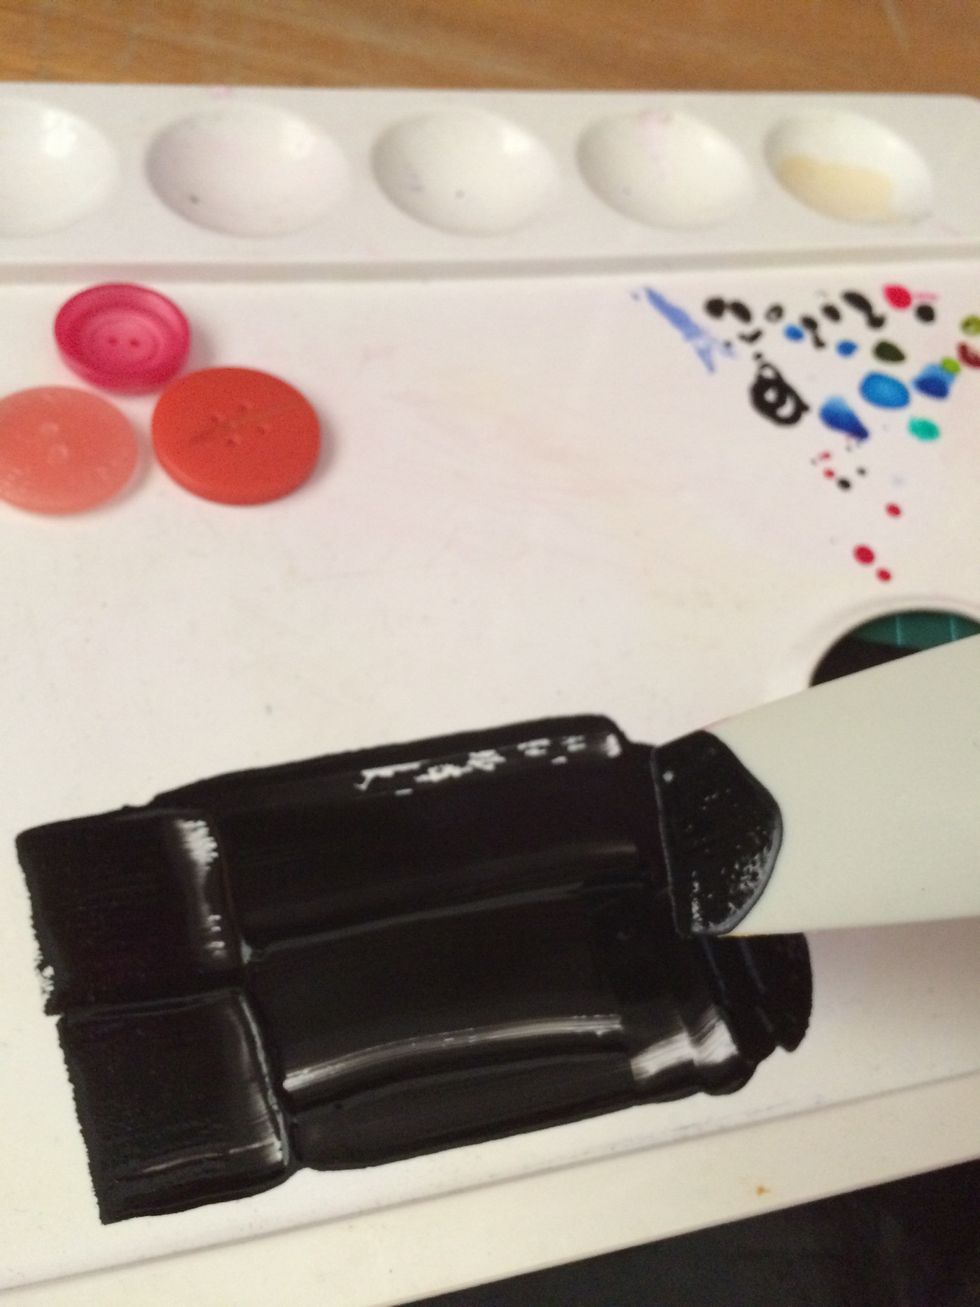
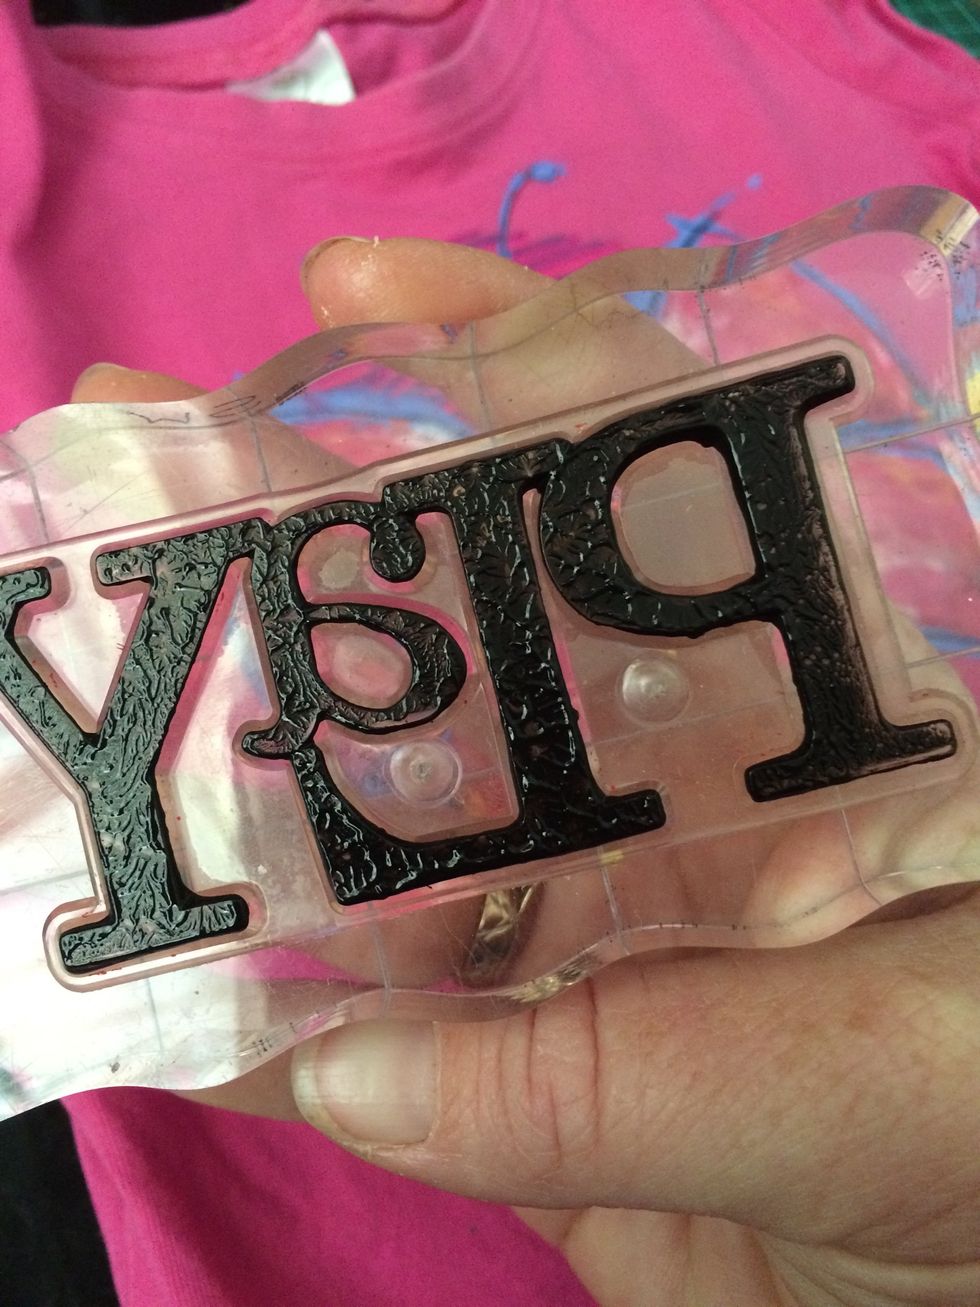
Spread some paint thinly on a flat surface. The Princeton brush was perfect for this. Press a stamp of choice into the ink.
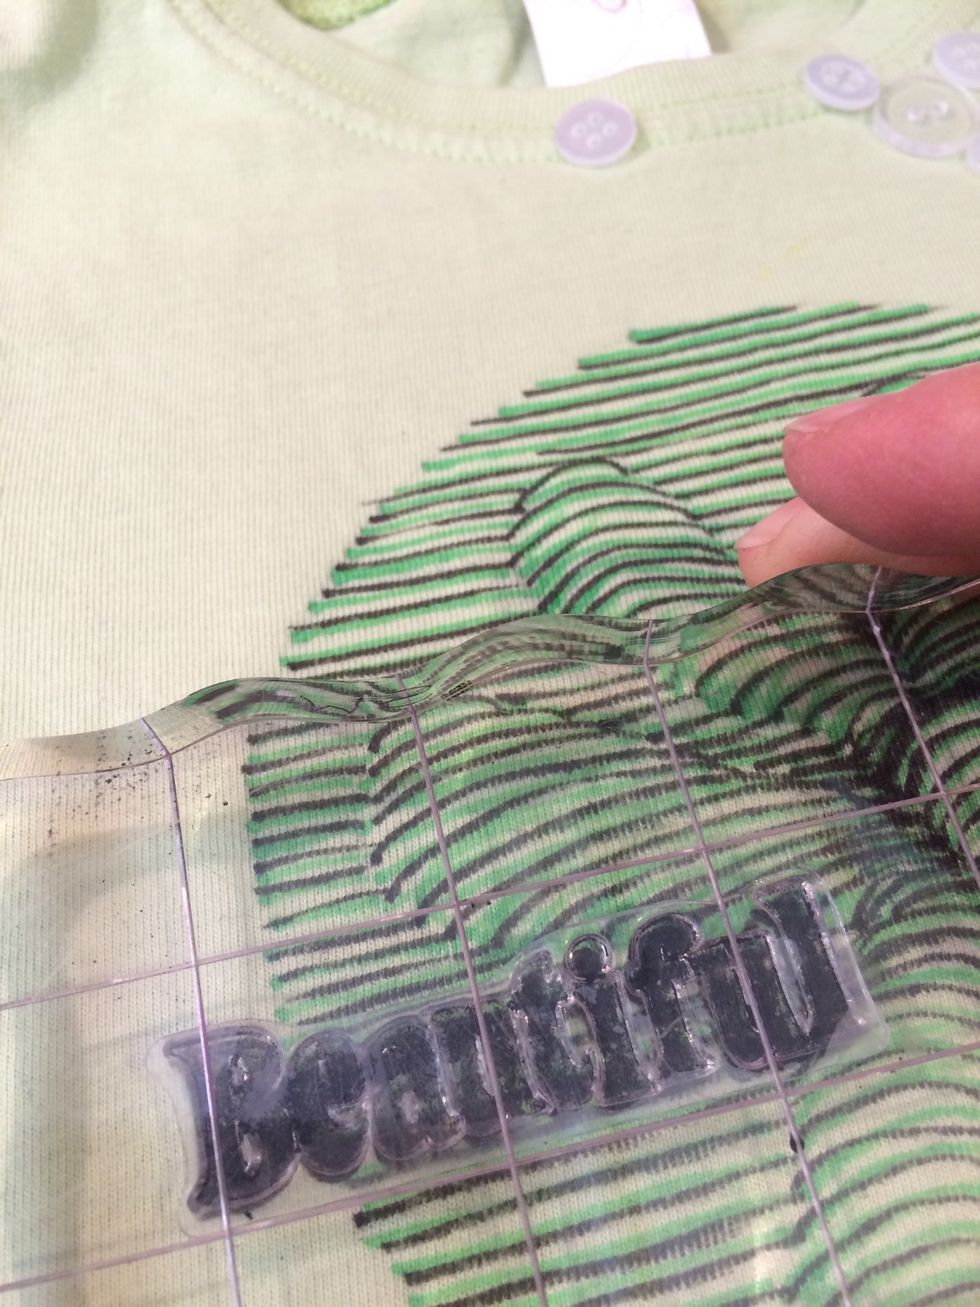
Make sure your stamp is well covered and before it dries stamp onto you fabric
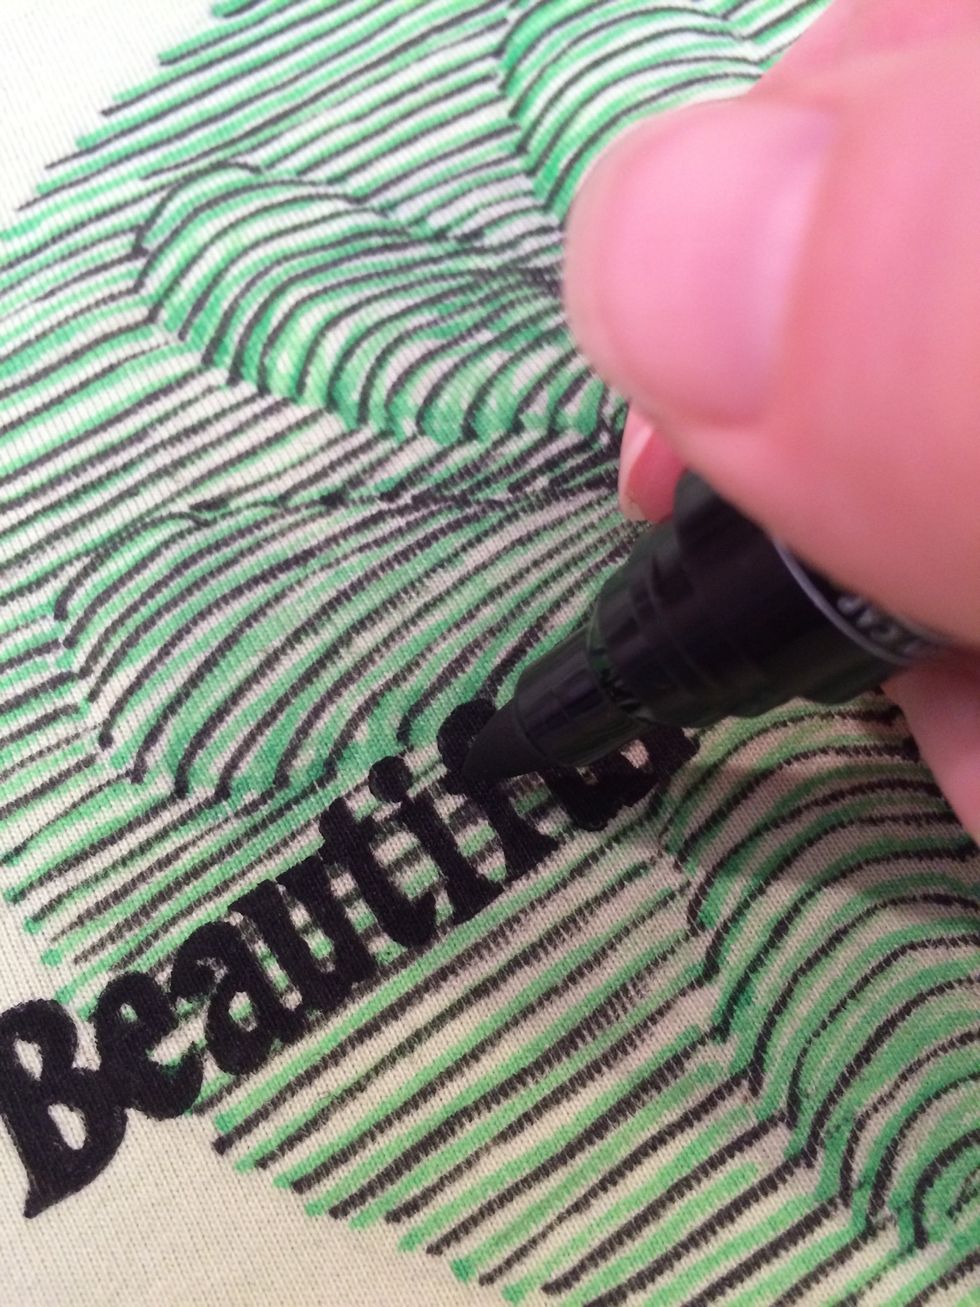
The black SetaSkrib fabric marker is perfect to go in and touch up your stamp if the paint didn't cover well

The buttons dressed it up a bit more, covered my bloop and gave the design some texture.

I hand wrote 'girl' using the black SetaSkrib frabric marker. These are brilliant for writing in particular but also for detailed work.
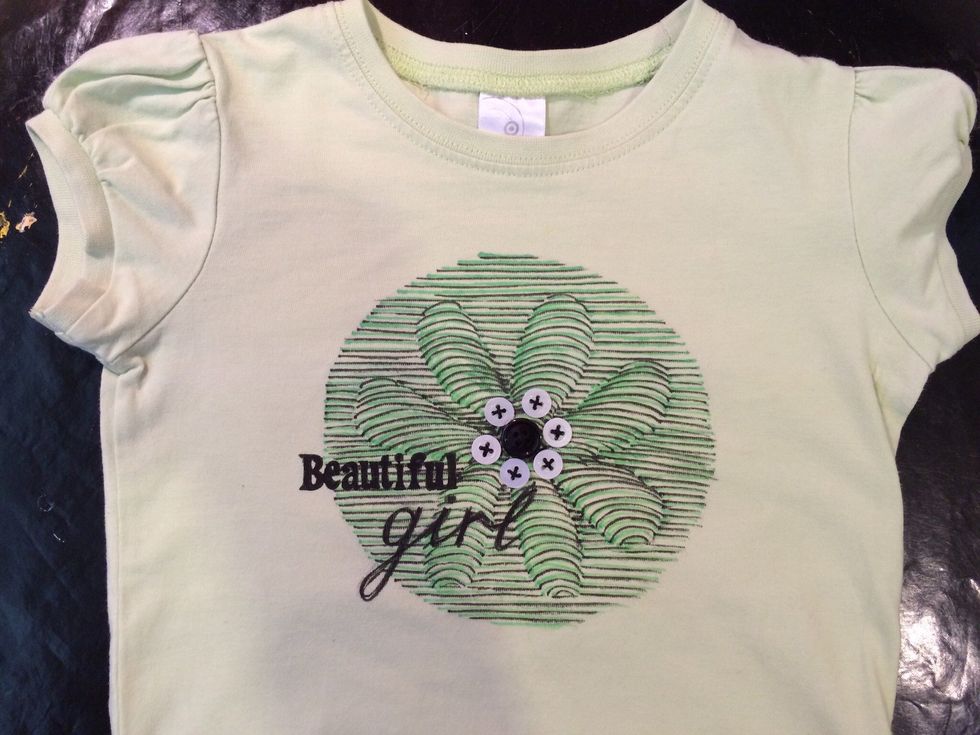
Iron your shirt from the back first on the hottest setting. I then turned it over and carefully ironed over the front. Finally, I sewed on the buttons, and it was complete.
Now for the other T-shirt that I wasn't happy with the results due to the positions of the petals. These paints are so versatile. I decided to paint a butterfly over the top and save the T-shirt.
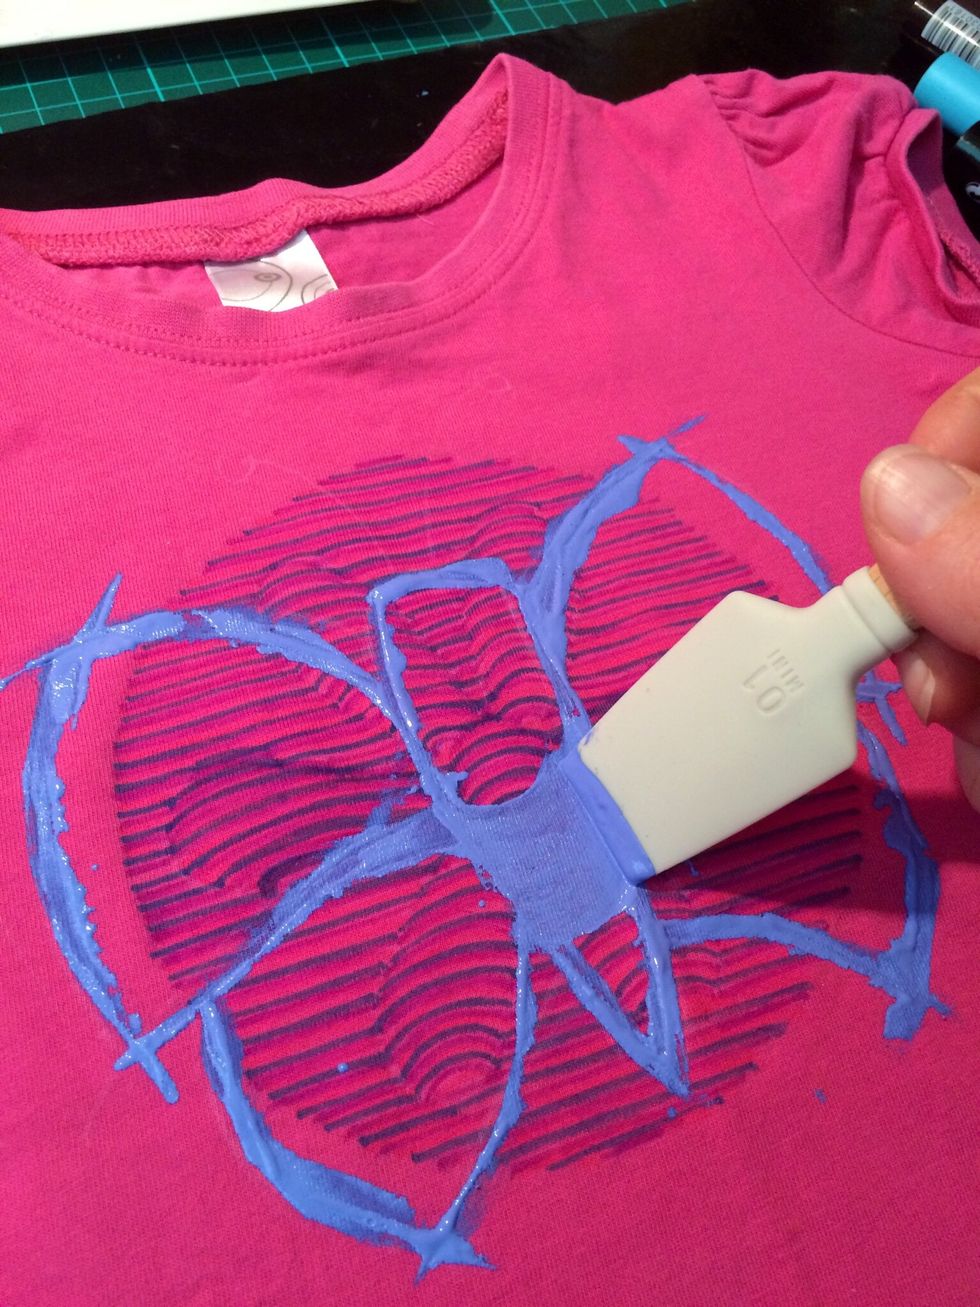
Apply the paint directly to your Princeton brush then use it to paint the outline of your image.

Add multiple colours of paint on each wing
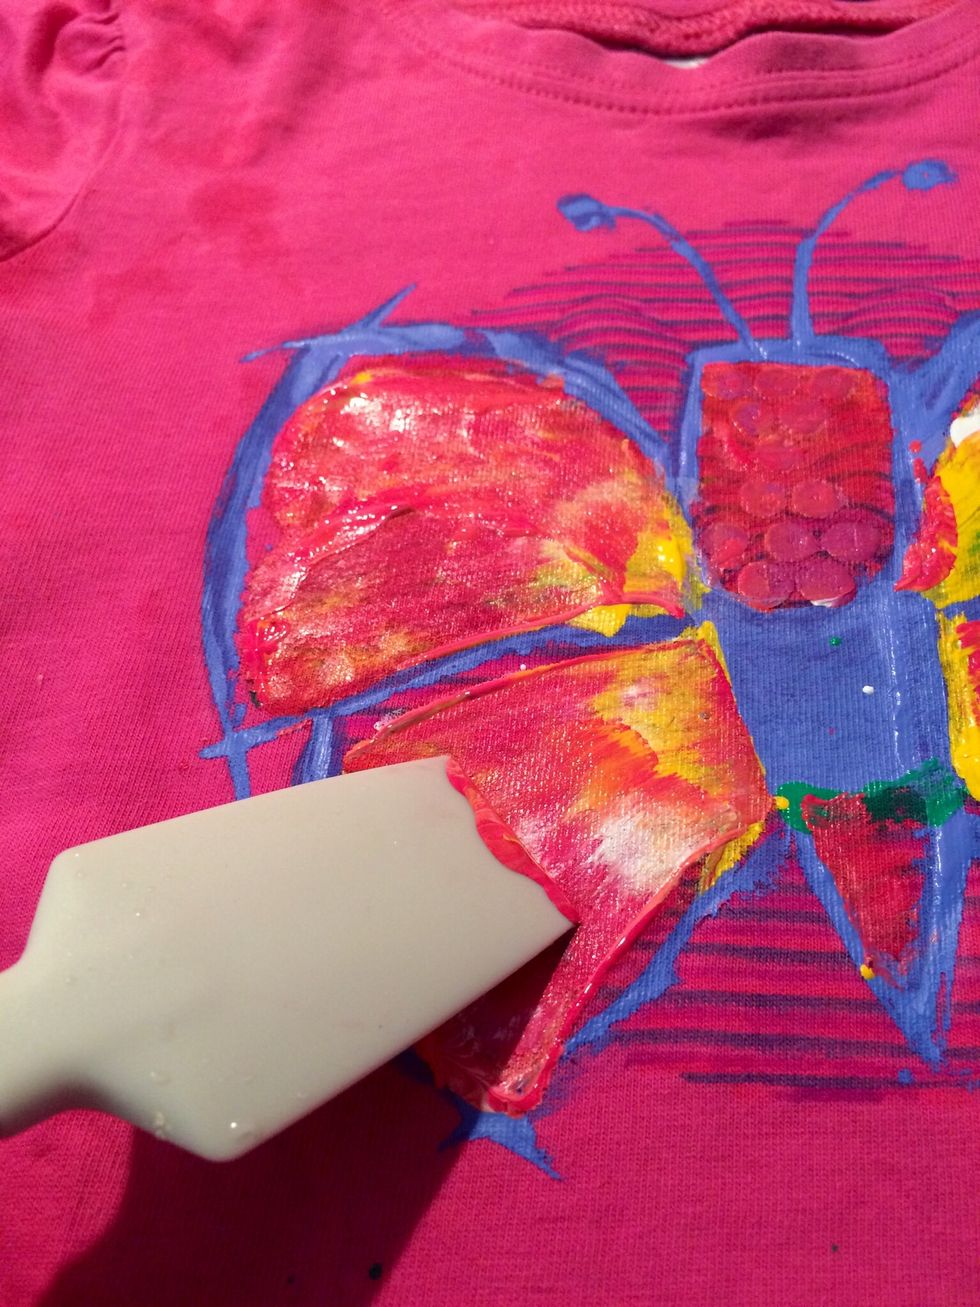
Drag paint from the centre outwards until you are happy with the pattern you have created.
Next as before, put some ink on a flat suface with your Princeton brush. Press a stamp into it and make sure you have covered it well with ink.

Press stamp firmly onto fabric. I also drew and a thin black line roughly around the outline of the butterfly using the fabric marker.

I added another little stamp on the tail.

Finished... Needless to say my 4yr old daughter is in love with both of these new-old Tshirts. They are going to be great for preschool. Thanks for watching. I hope this inspires you too to revamp