The Conversation (0)
Sign Up
Valentines day is around the corner and this makes for a great gift for your loved one. I wanted to upload this during the holiday season but sadly couldn't. 😔 Anyway, lets get started!
Check the supply list for the things you will need. Take your old photo frame. The wider the border the better space you will have to work on. The key to a good art work is patience!
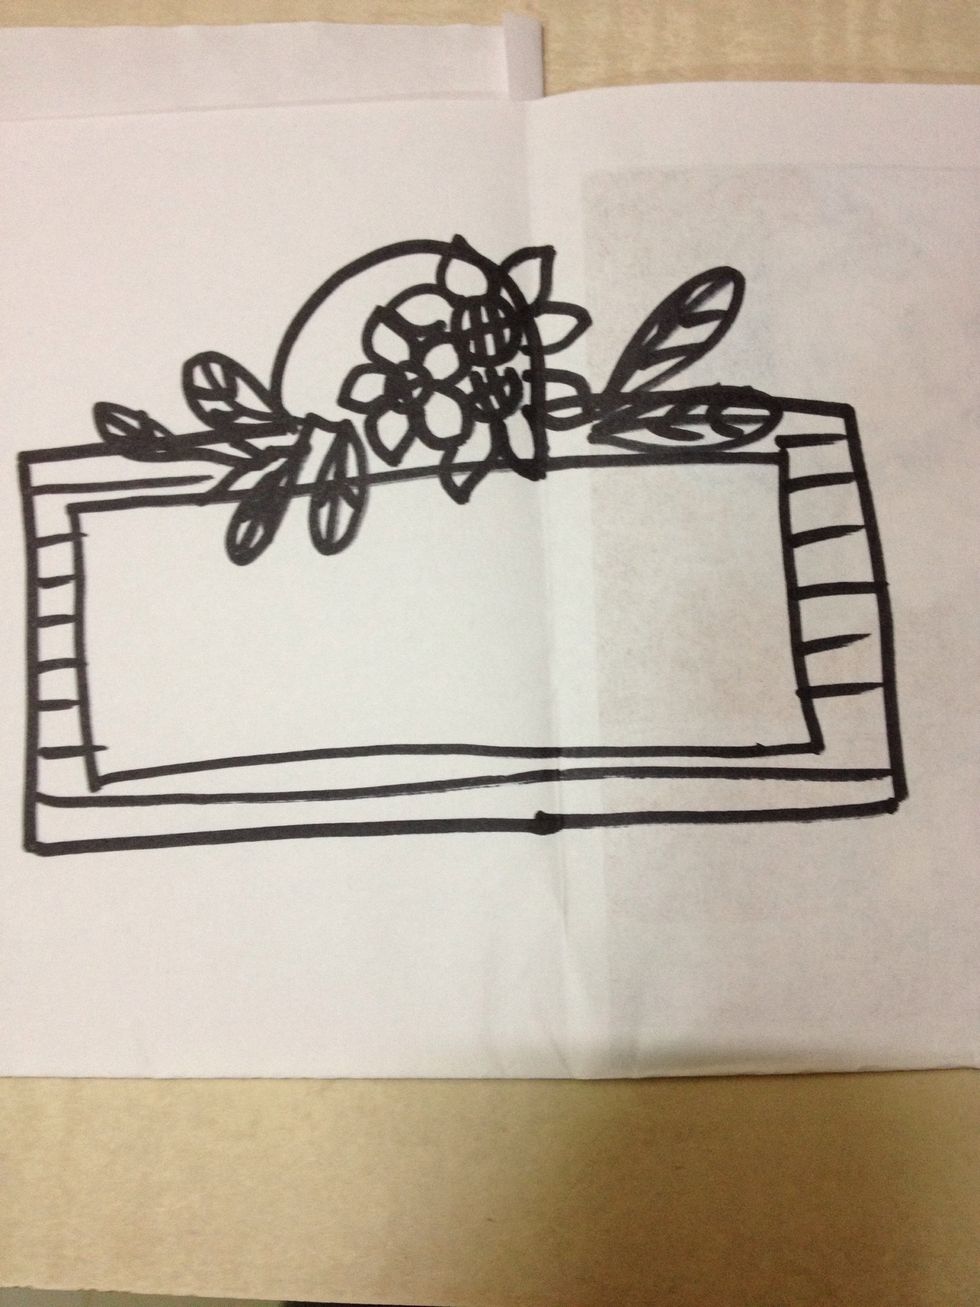
Make a rough sketch of what you wanna do on your photo frame. Having something to refer to helps a lot. You can always add more details later. For now this will do
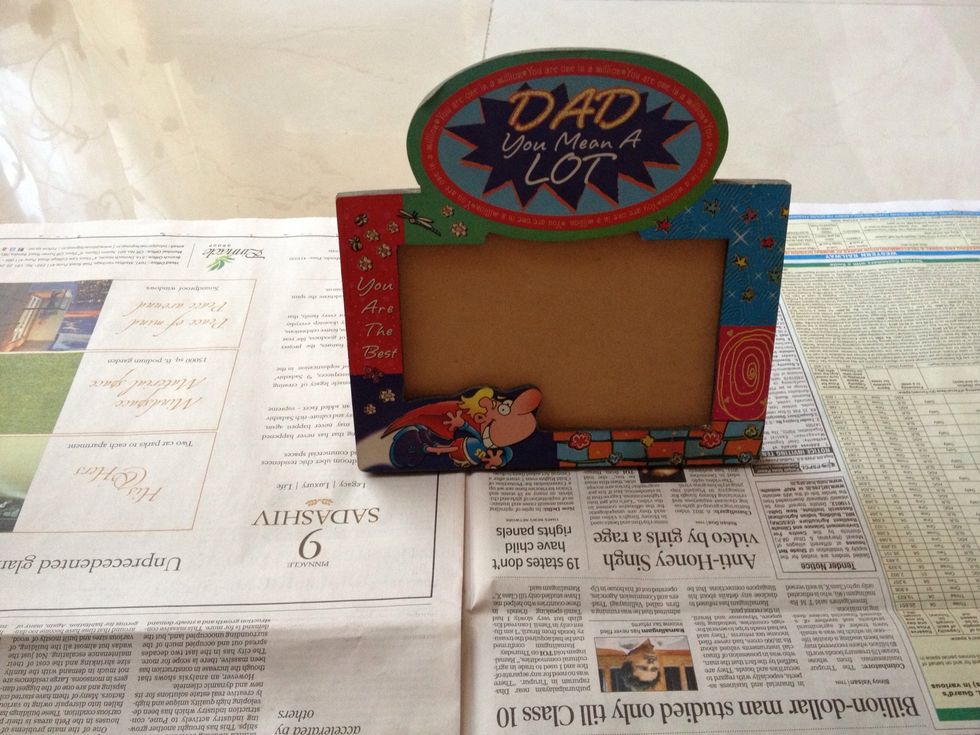
So begin using your old photo frame you wanna give a makeover to. Always use a newspaper underneath to avoid things getting messy. The last thing you want is a messy workplace.
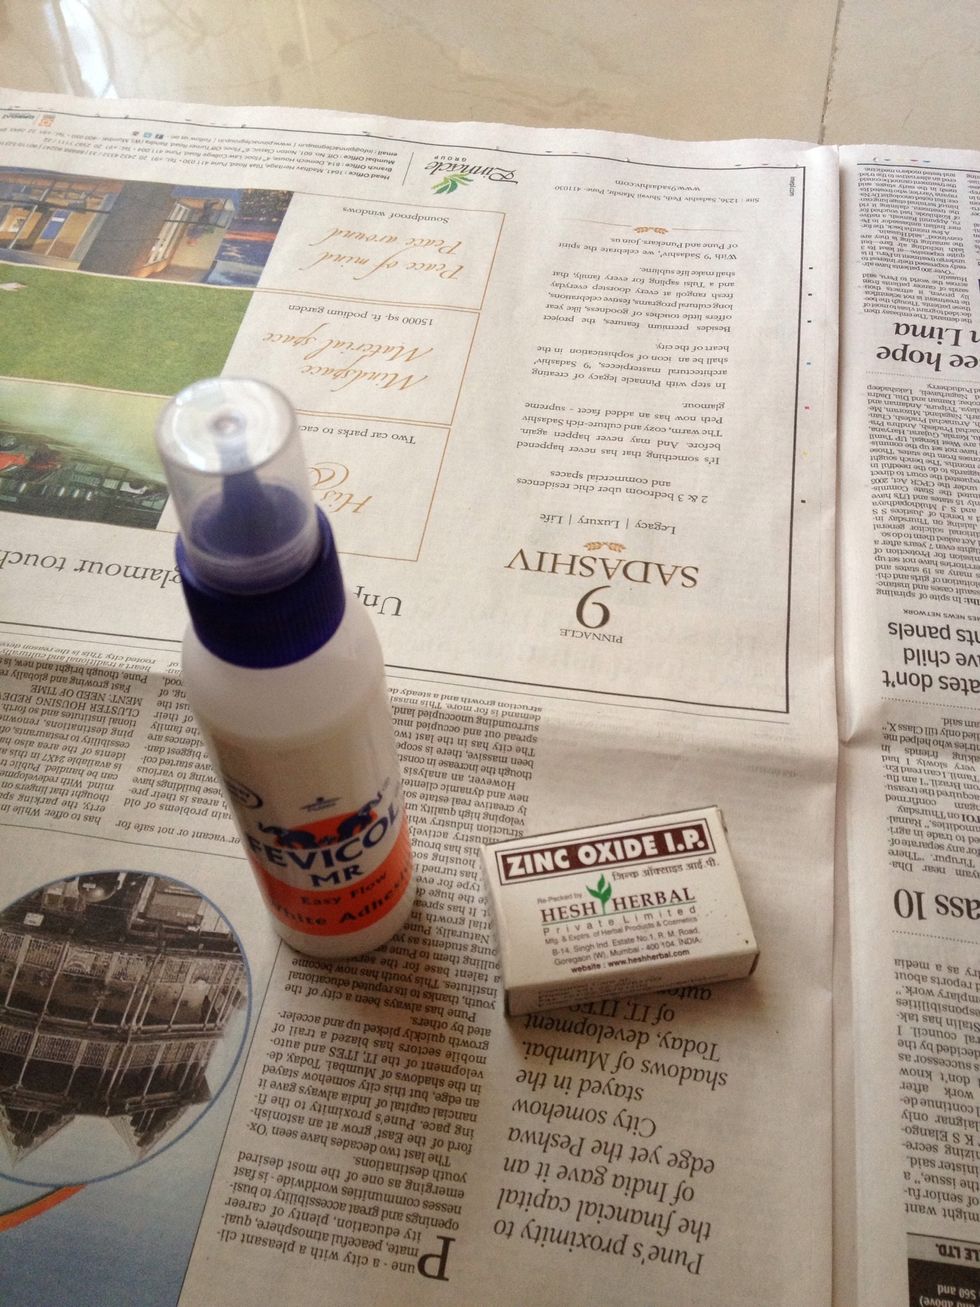
I will begin by first adding zinc oxide paste as the base. You can do this by adding White glue to zinc oxide powder. Quantity is as desired by you. Depends on the surface area of the frame.
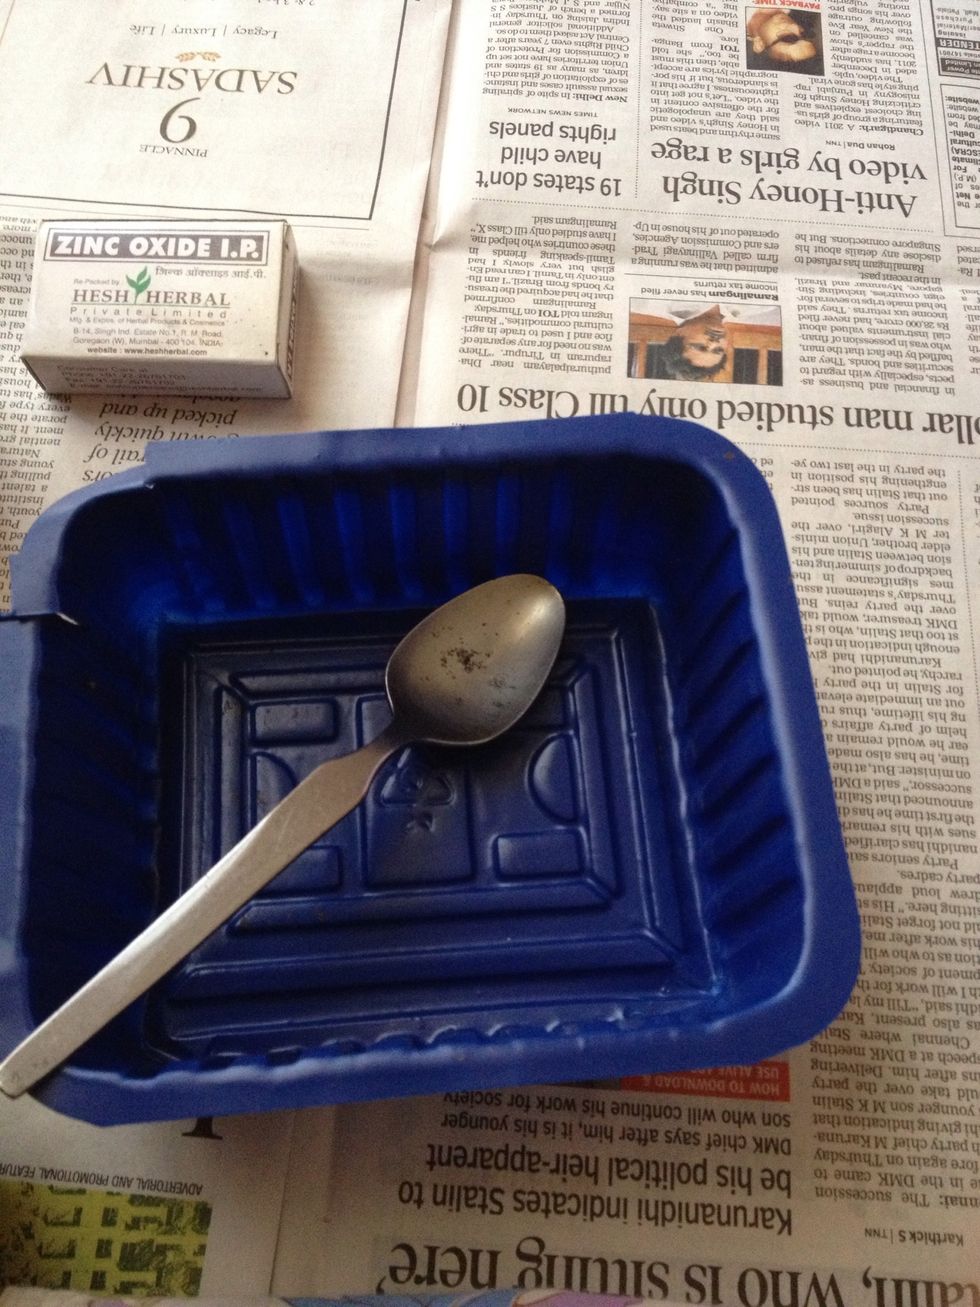
Use a mixing bowl and spoon to do so. I prefer using a plastic one.
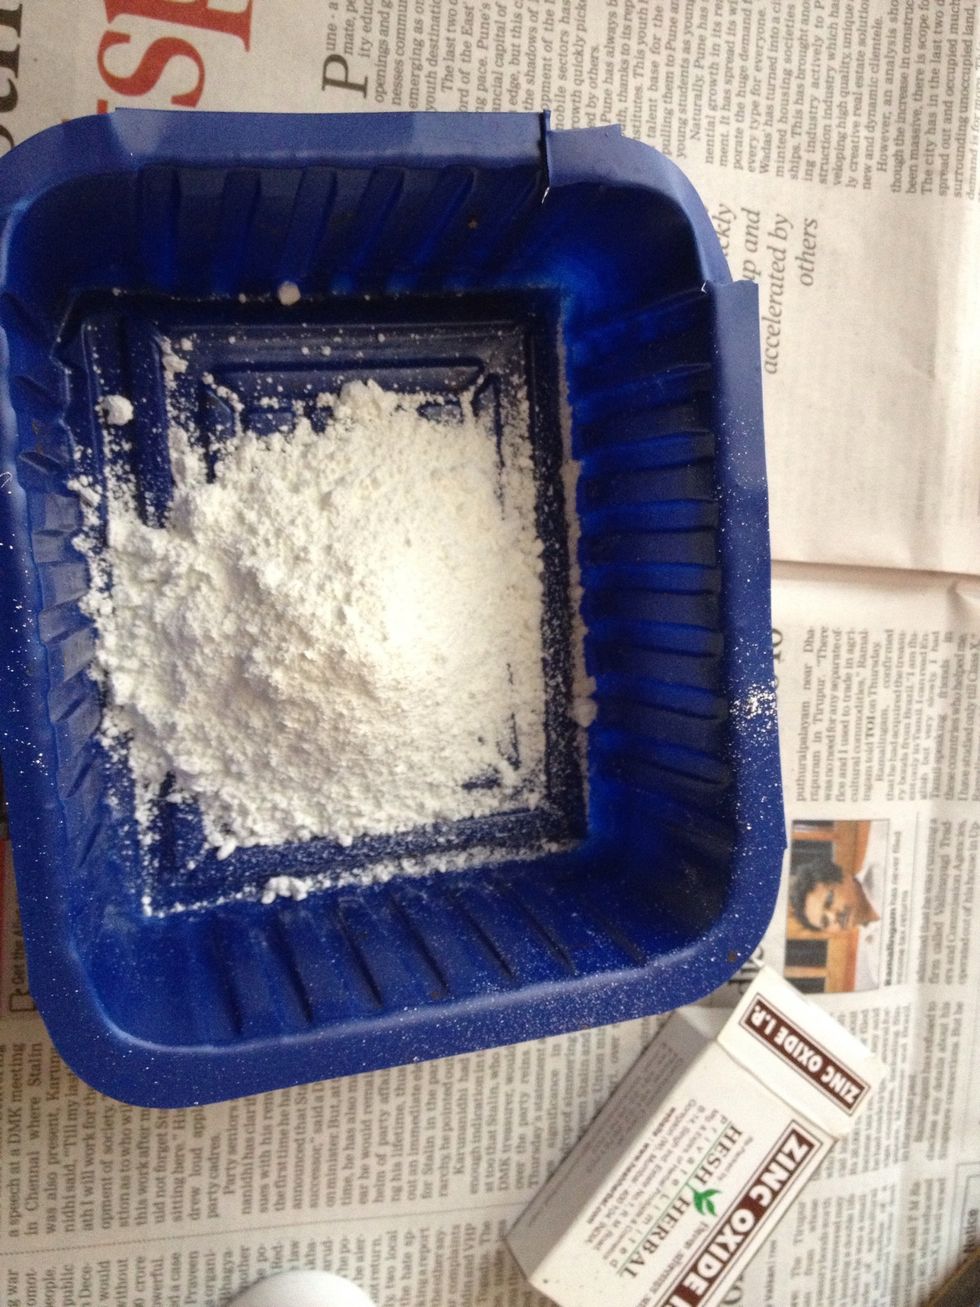
Add zinc oxide powder.
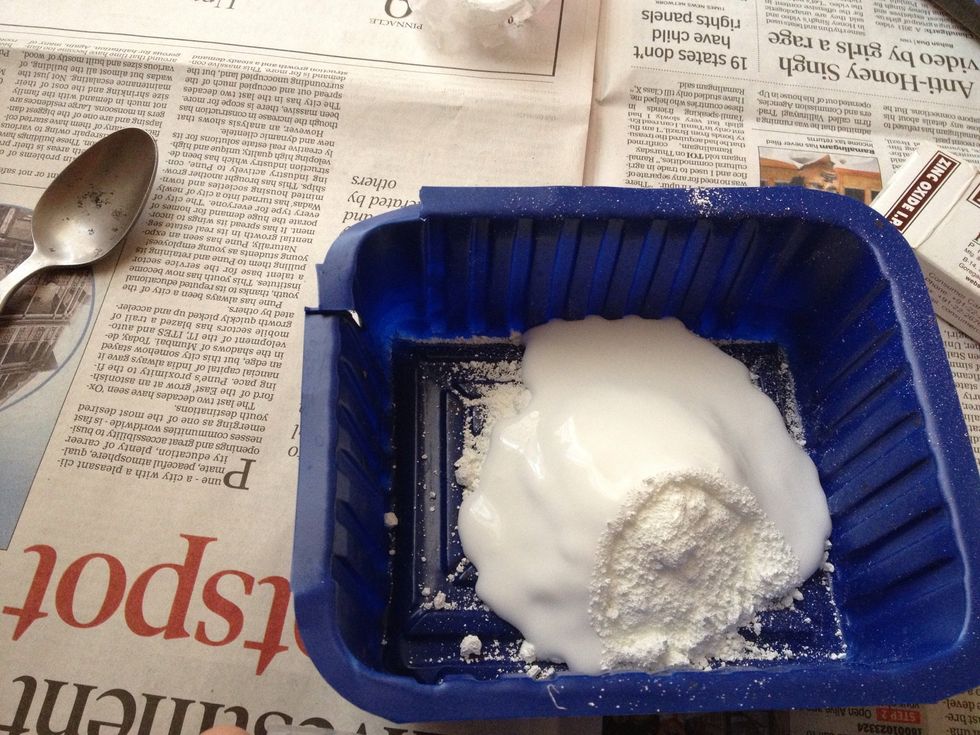
Next add the white glue. Add enough to make a thick consistency.
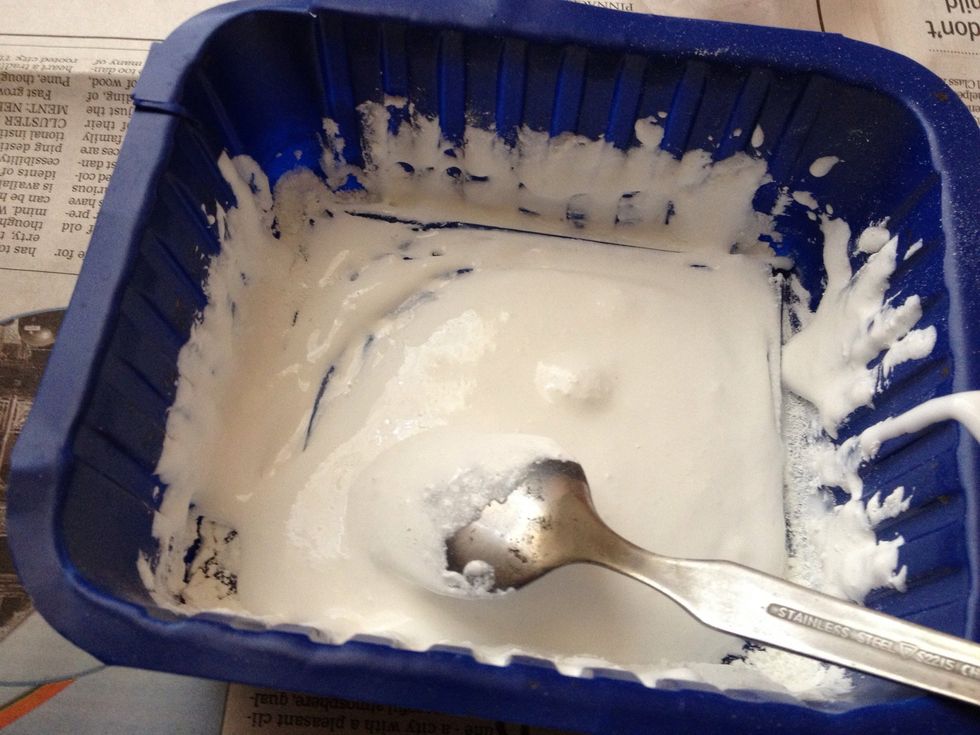
This is the consistency you want. Make sure you don't add too much glue.
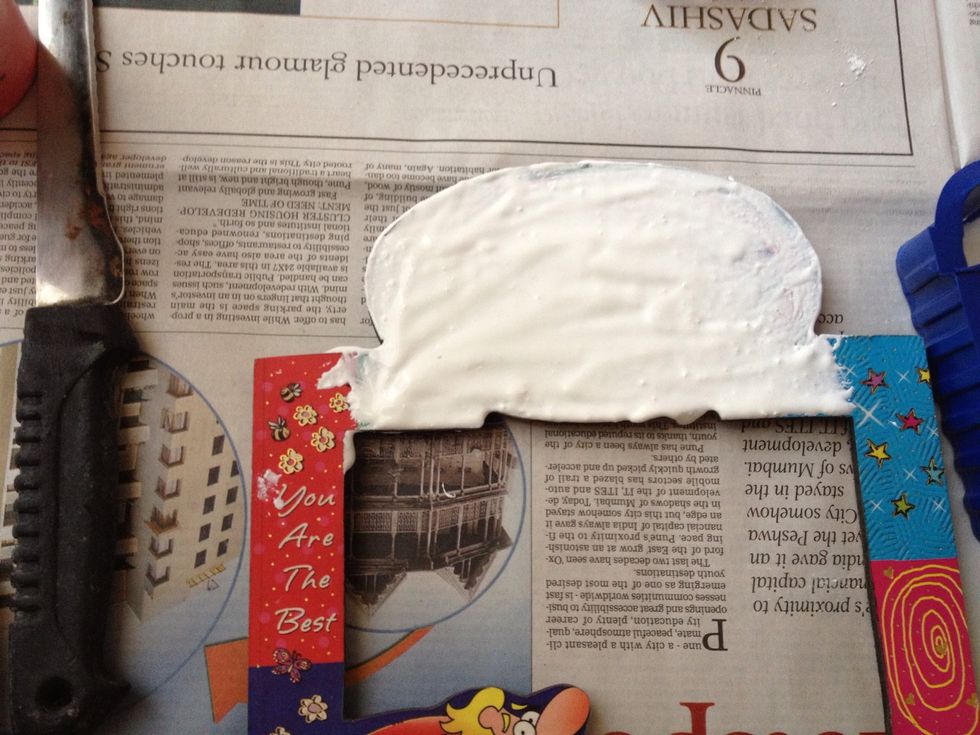
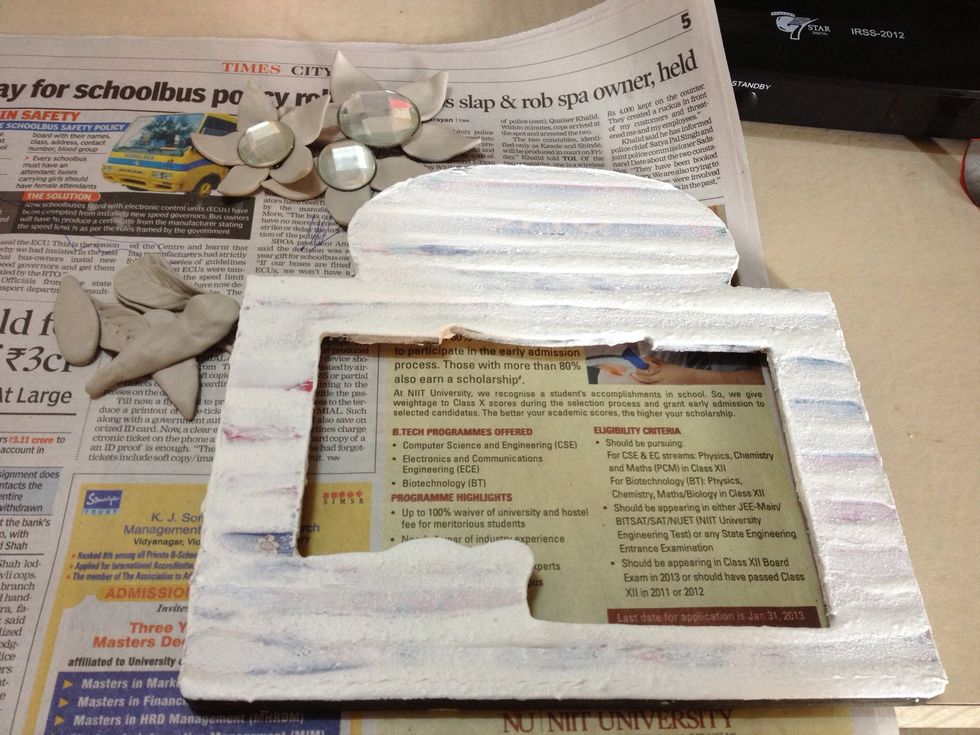
Now using your hand start applying the zinc oxide-glue paste to the surface off the frame.
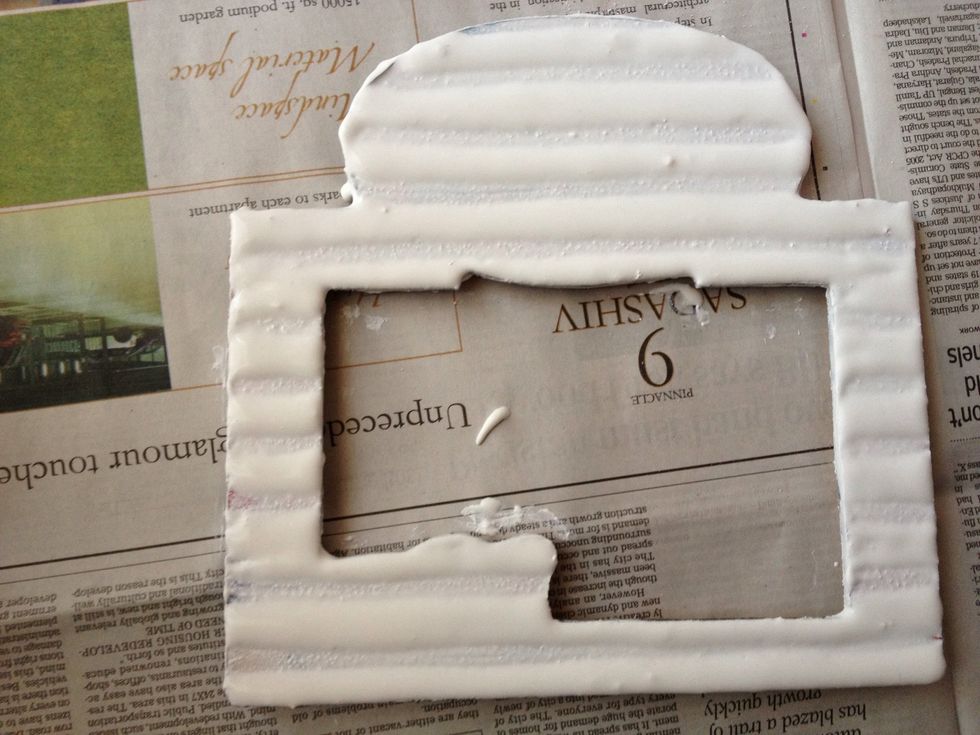
You can give any design you wish. I made horizontal lines. It's really upto you. You could make waves, vertical lines, circles or even give a rough effect. Wait for it to dry. Will take a few hours.
Zinc Oxide powder is available at drug stores. If it is not available in your area. Buy a substitute from an art & craft store which you can use as a base. Something which can be designed and dries.
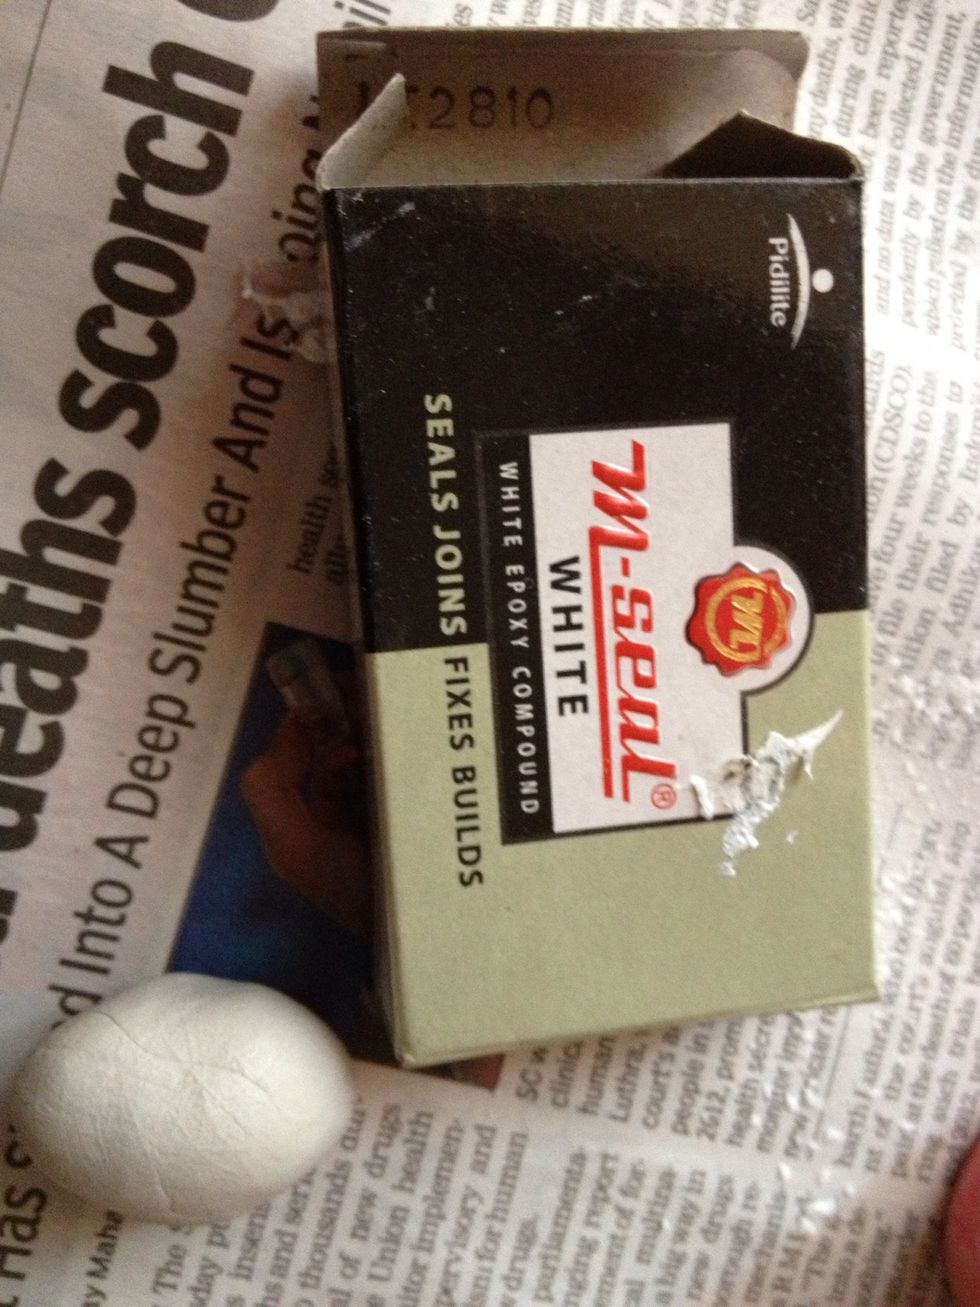
Meanwhile start making the flowers. I'm using m-seal, which is a clay like compound which dries and hardens. Make use of any thing which can be moulded and dries easily & that can be painted on
You can make use of mould putty.
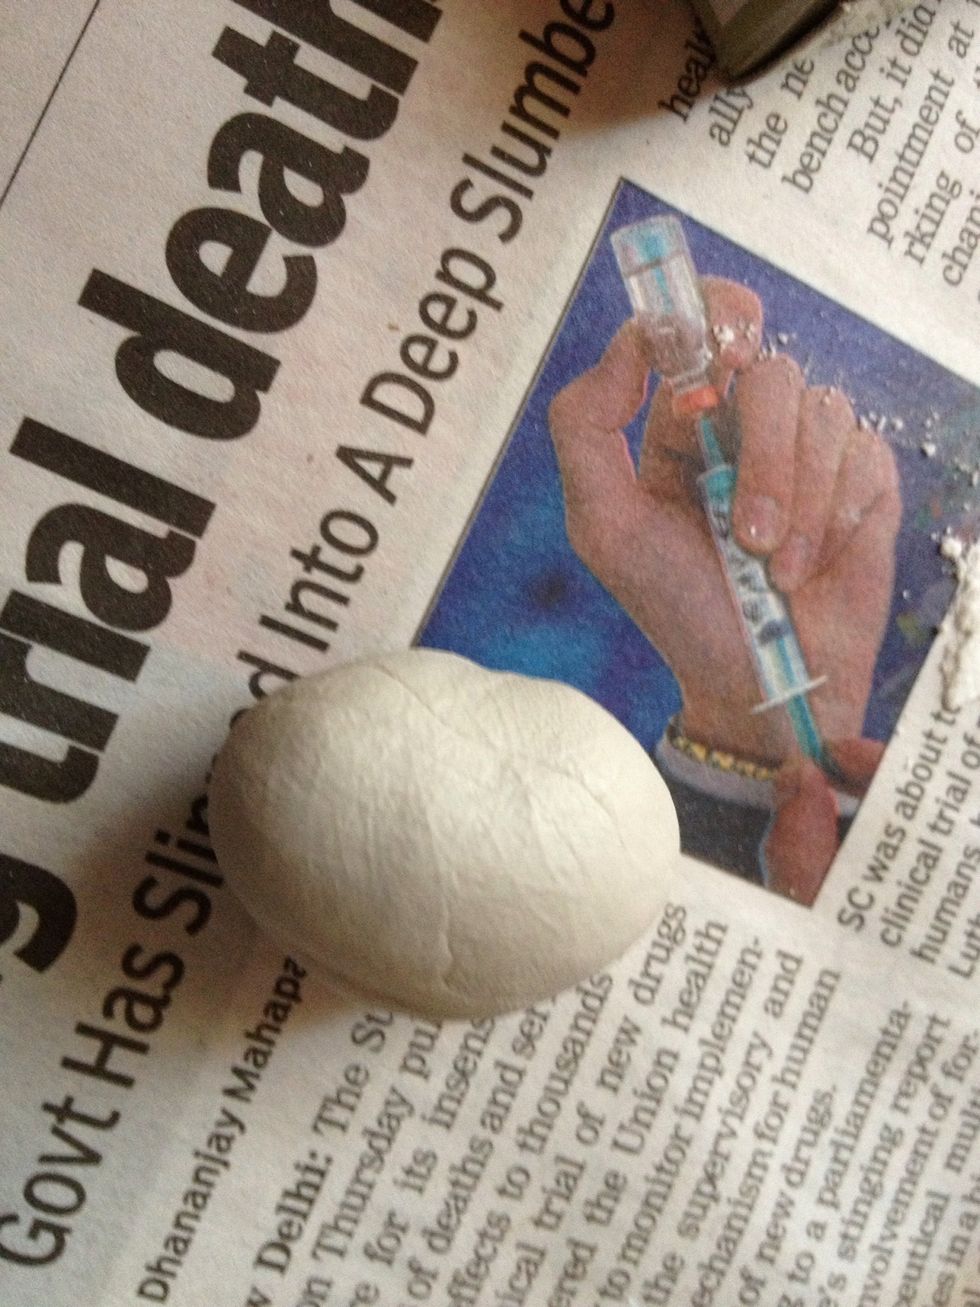
Ready to use
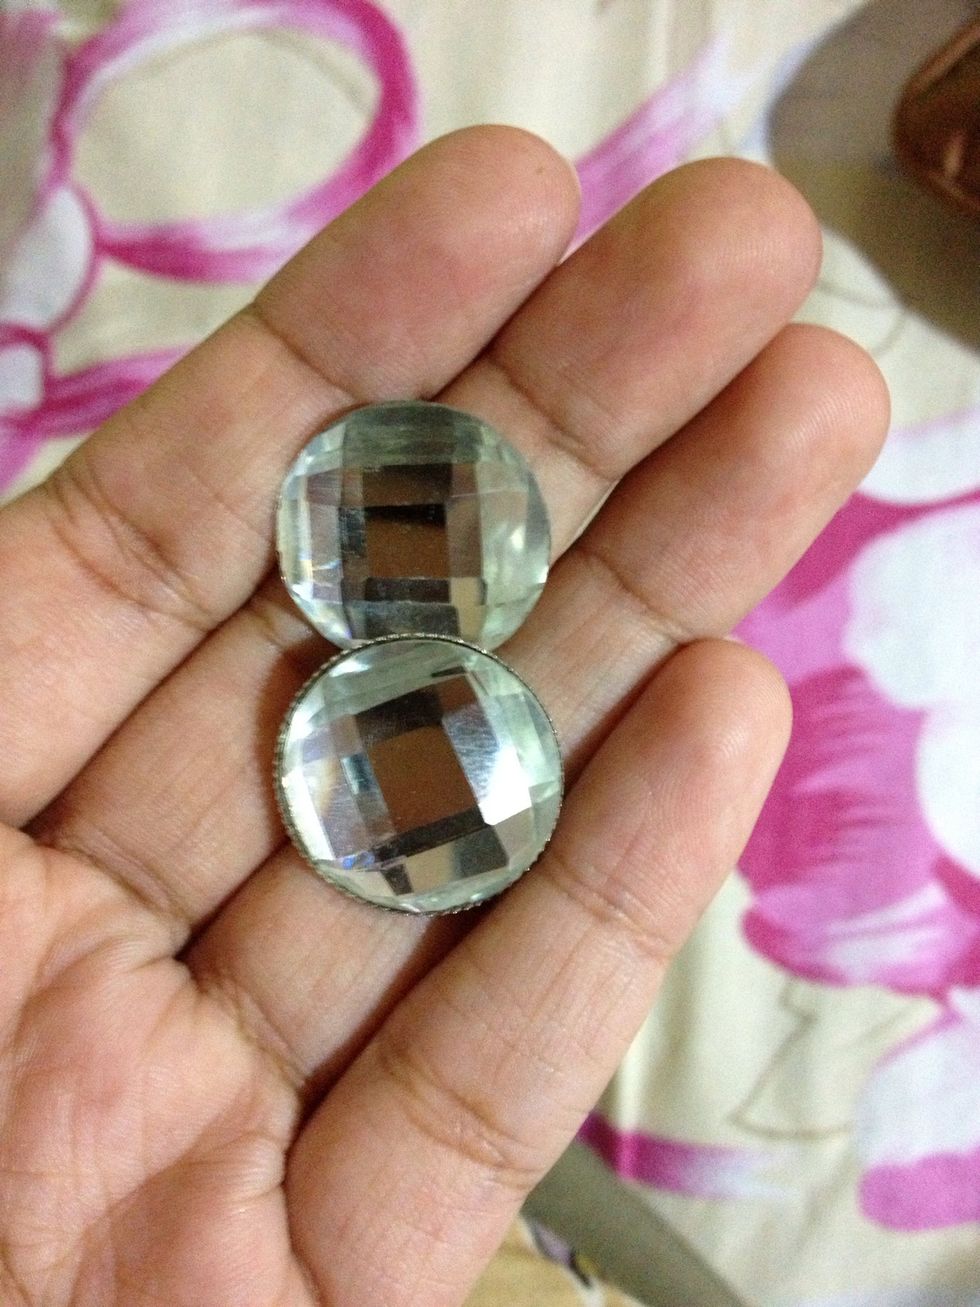
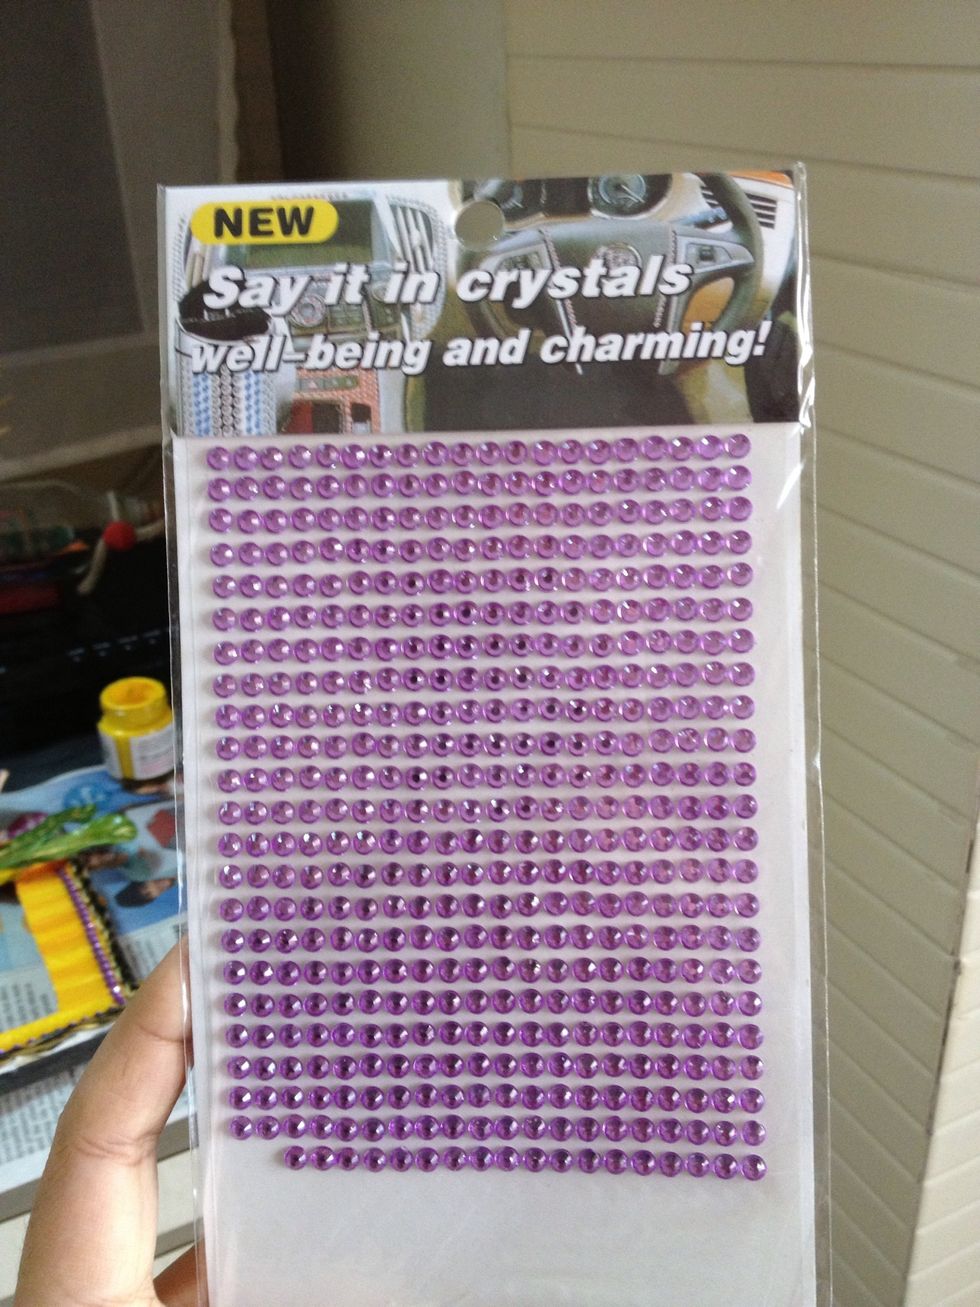
These are some beads I found lying around. I'm gonna use em in my frame! 😀
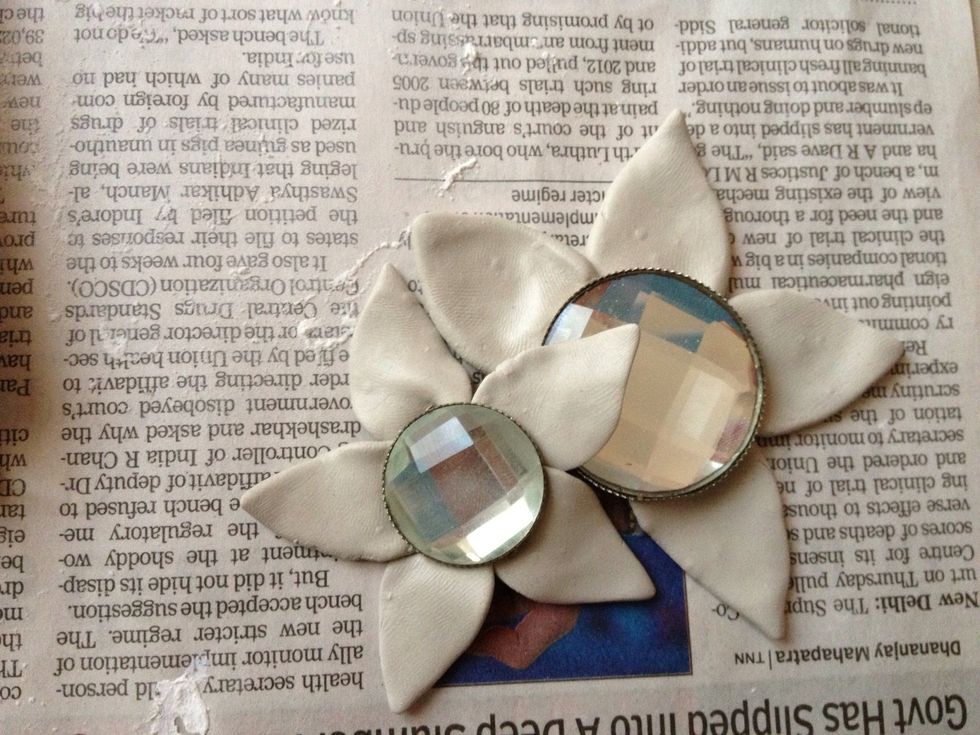
I'm using the beads as the disc or eye (centre) of the flower. You can use any thing like funky buttons, beads, just anything which will make your frame look fab! Using the clay I made the petals.
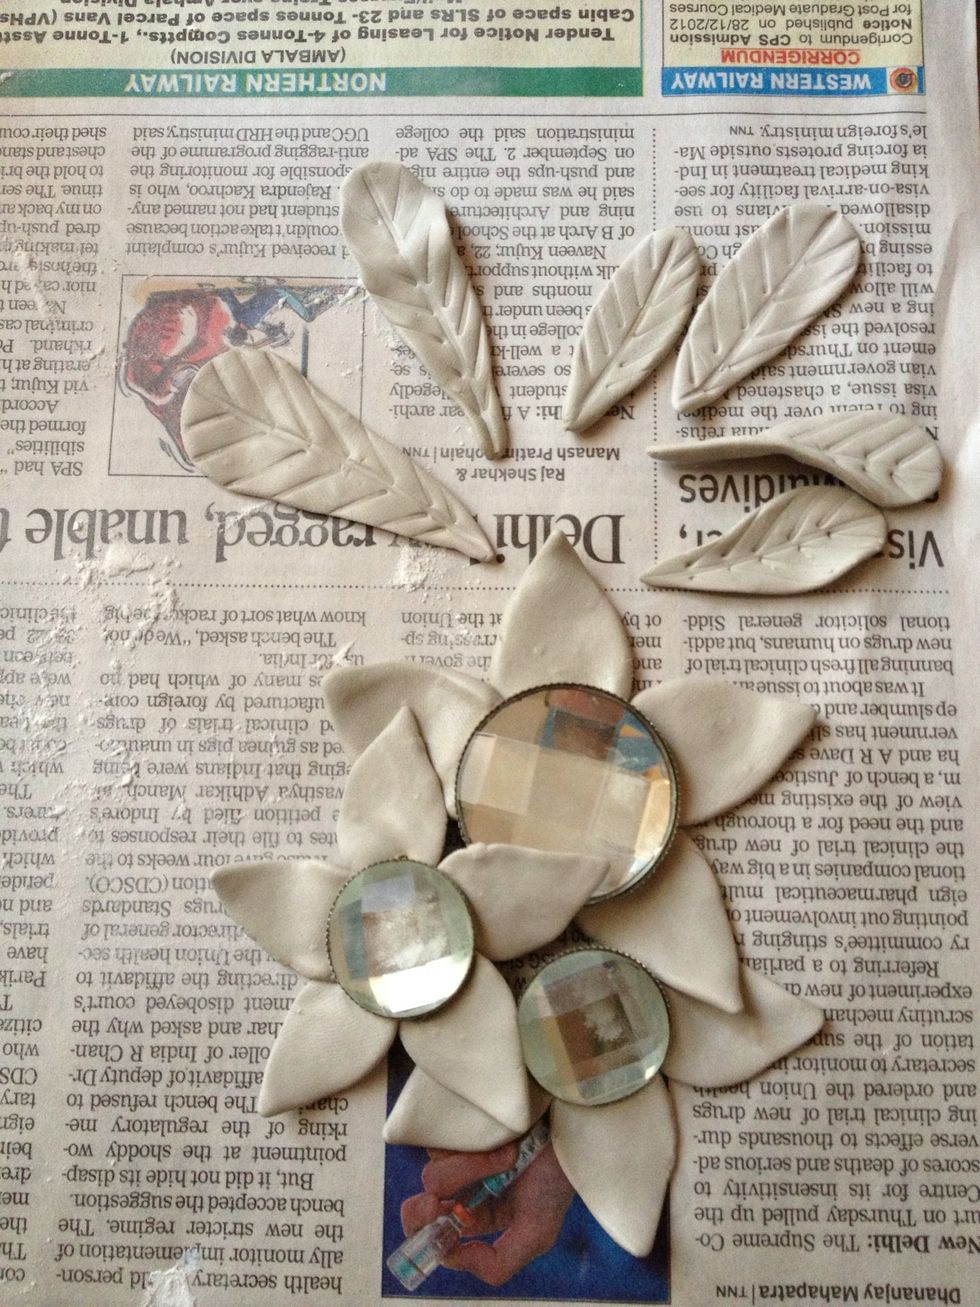
Make the flowers and leaves. Now wait for it to dry. Try curving the petals and leaves to give a more natural look. 🌸🌿🍃
I left it overnight to dry. But you can just wait a few hours till its hard and dry. Now will assemble the flowers and leaves on the frame.
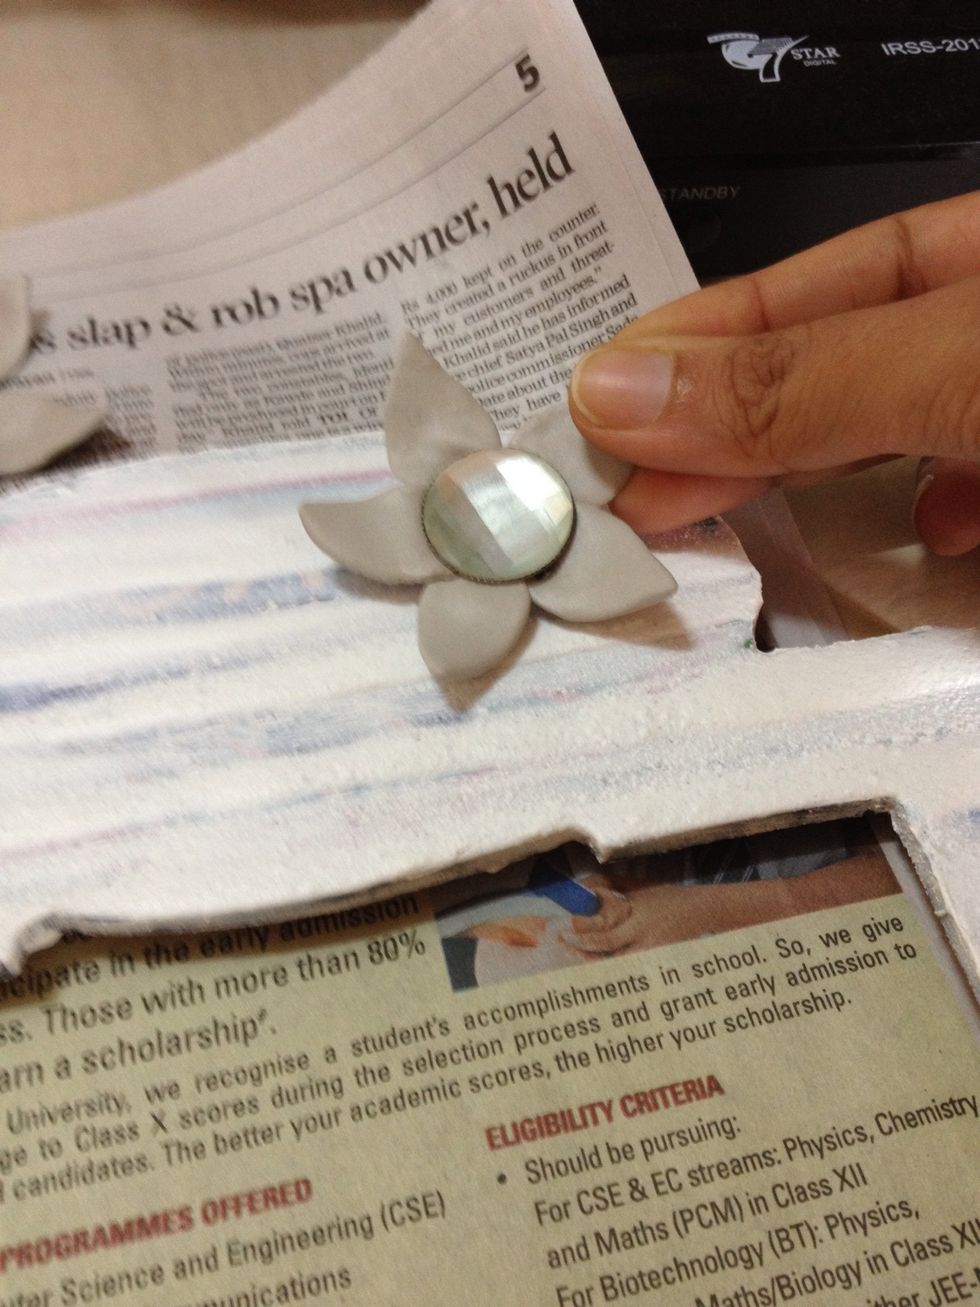
I will be using the same clay (m-seal in my case) to stick the flowers on the frame. Make sure you use a clay that binds and sticks well or else you can use a real strong glue.

Almost there. I have arranged all the flowers and leaves. I added branches and also added a braid like frame to the edges. Let the creative side in you take over! Now wait for it to dry.😊
Tick tock...⏳
Why hello pony! 🐴☺
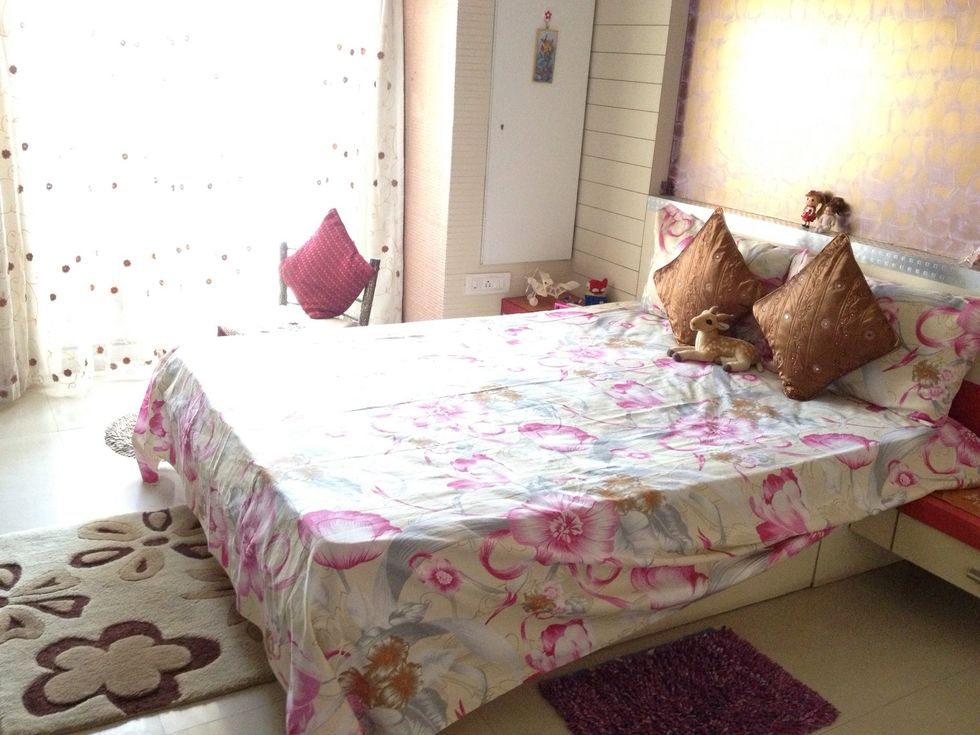
Meanwhile arrange your room...
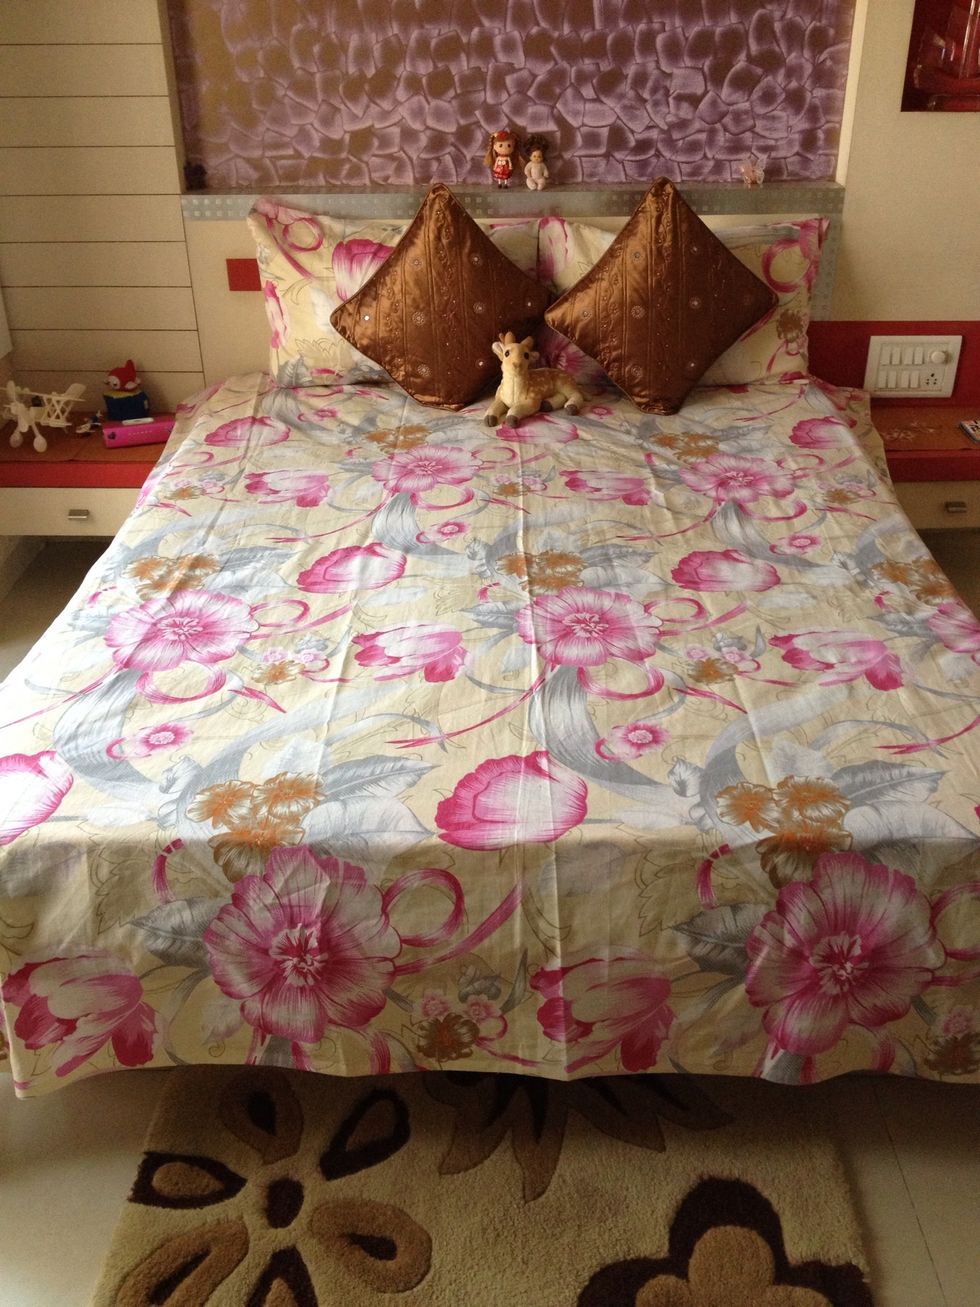
😁
After a few hours...So all the flowers and leaves are firmly stuck on the frame. Lets paint! Will be using Acrylic paints as they are waterproof, long lasting and don't fade.
When thinking of the colors to apply on the frame, remember to use contrasting colors. Colors that go well with each other. Like yellow and blue or yellow and purple/lilac as in my case.
Do not go for two light shades or two dark shades. The colors need to highlight all details of the frame. If the flowers will be a darker shade, use a contrasting light shade in the background.
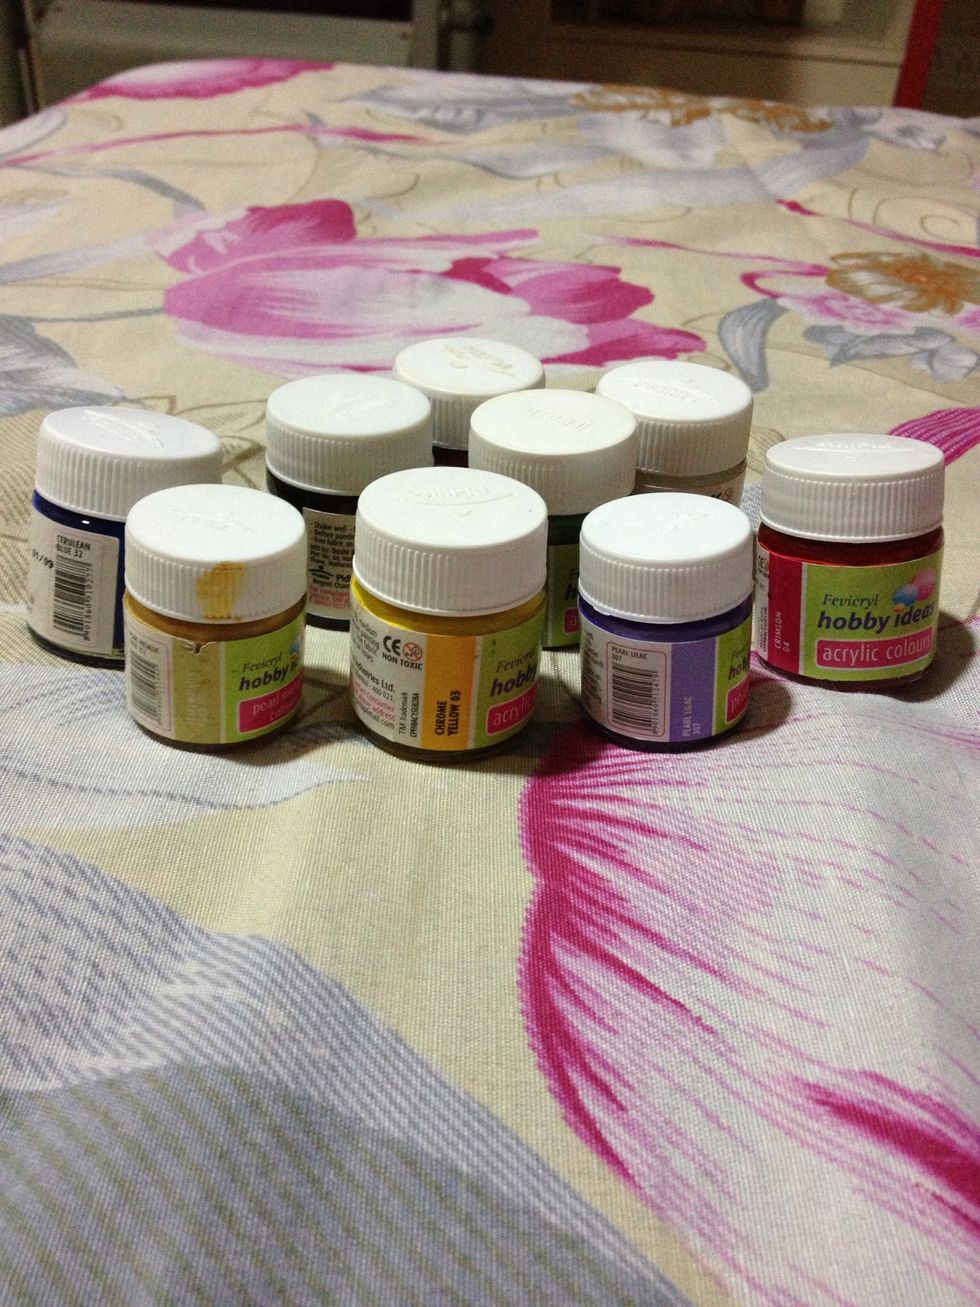
Acrylic paints. I am using purple on the flowers and yellow on the background.
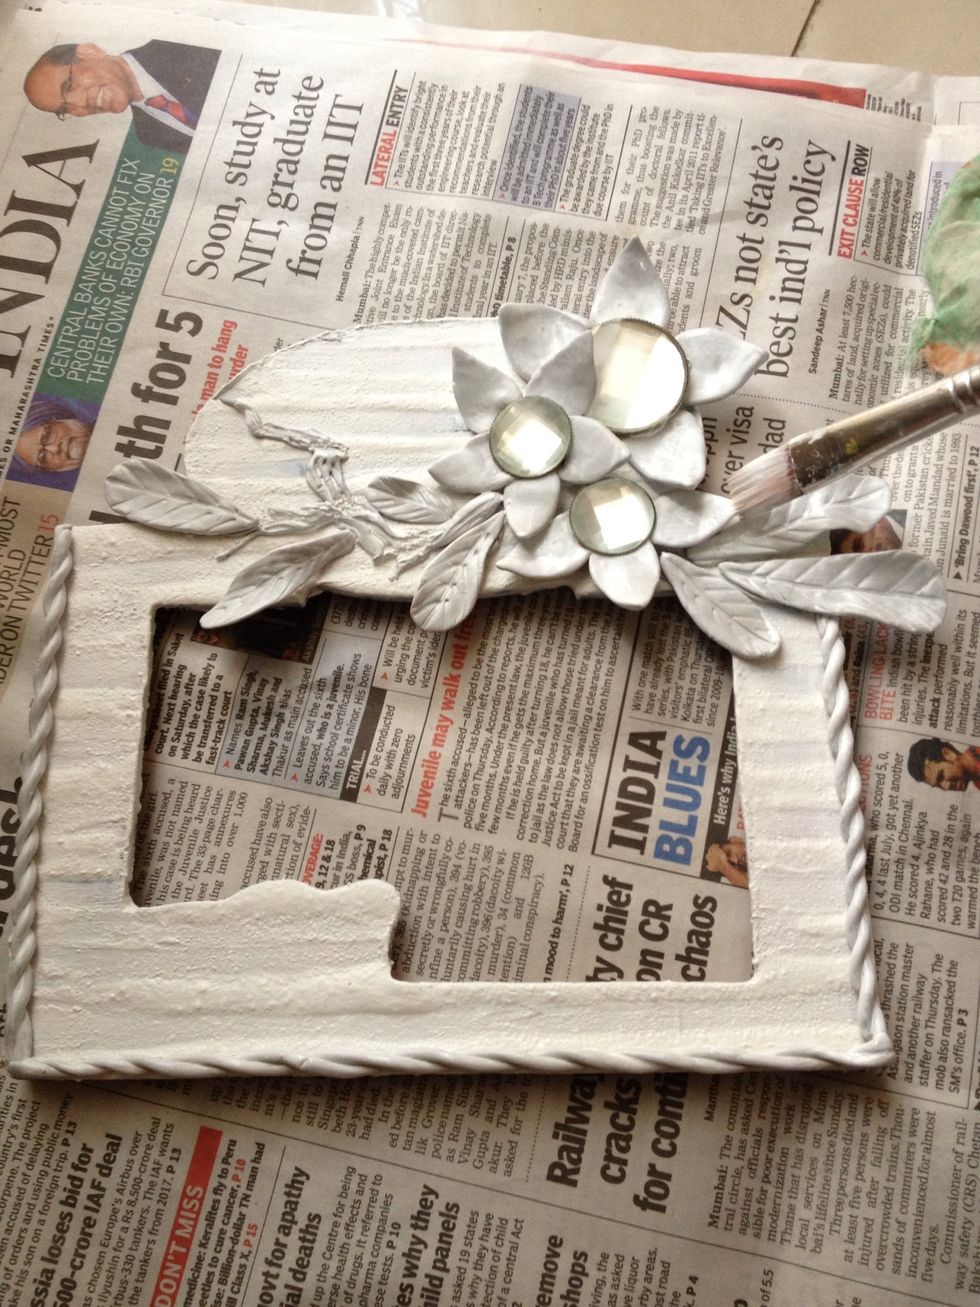
I'm gonna first apply white acrylic paint to the entire frame. This serves as a base coat and makes it easier to paint on. One coat will do.
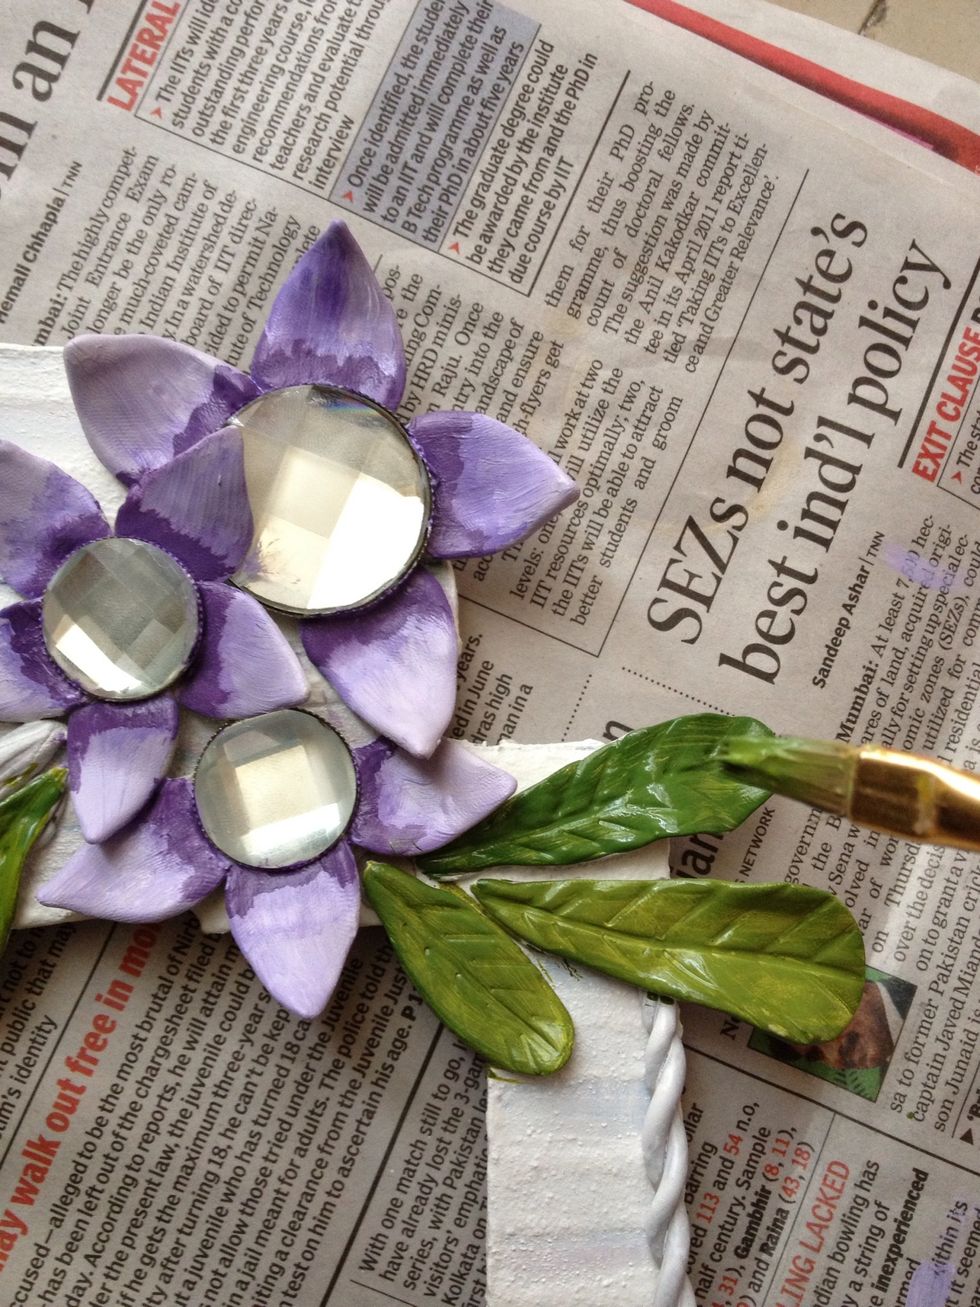
Now paint the flowers and the leaves. You can give light and dark highlights like I have done. Whatever looks good. Remember to use contrasting colors.
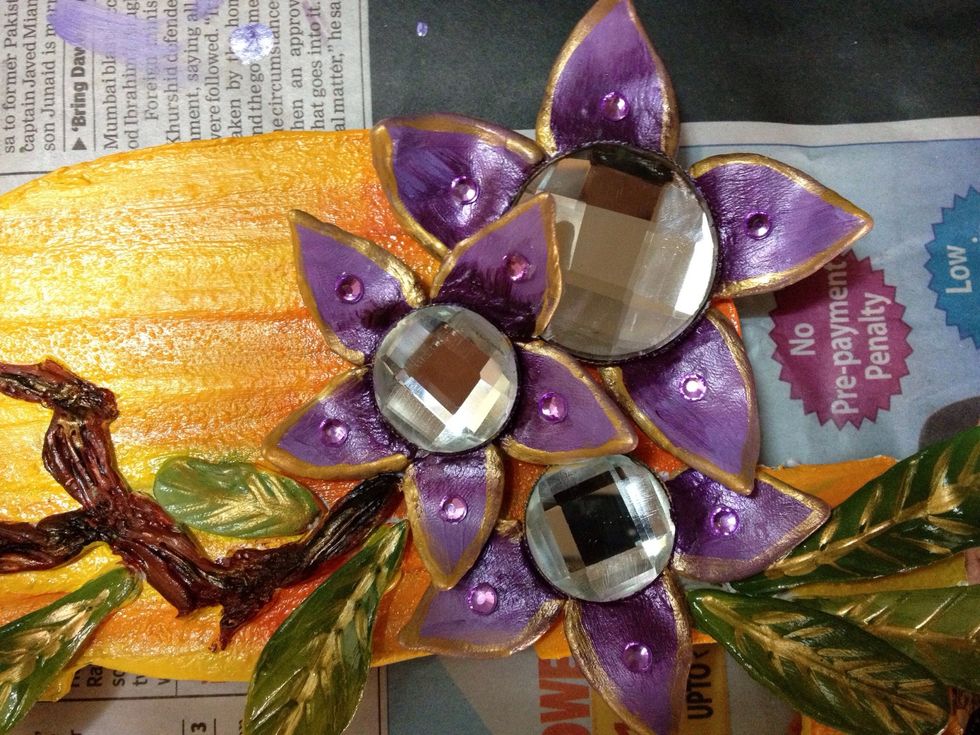
Done with the flowers leaves and branches. I added some stones on the flowers just to give it a nice bling! ⭐
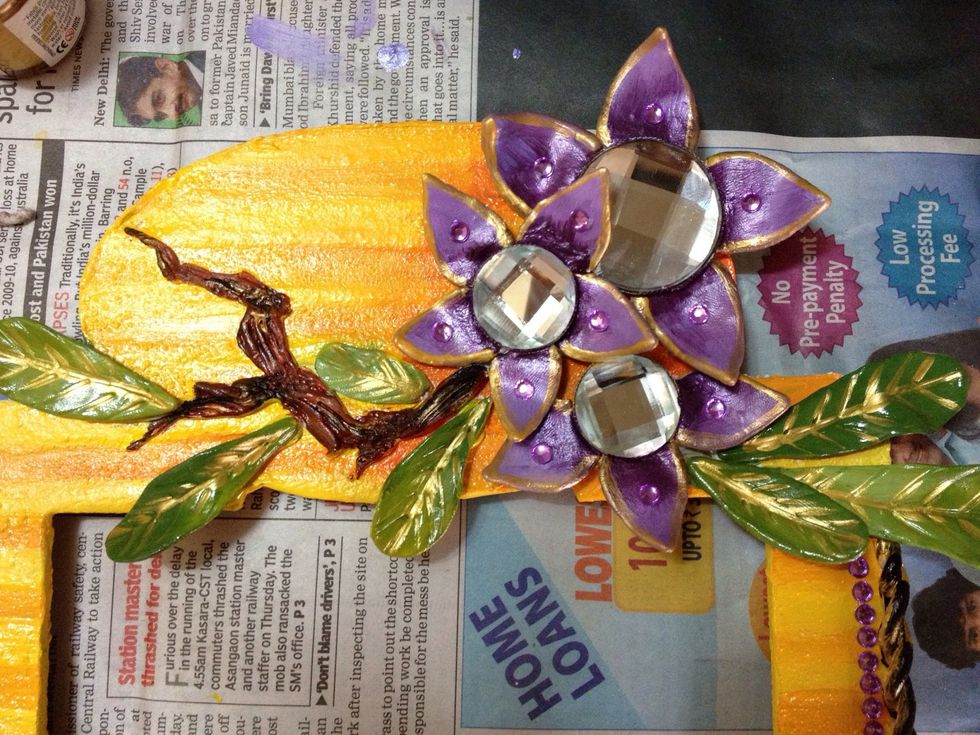
Done with the background as well. Note how I used contrasting shades. Yellow and purple always go well with each other. Always choose good color combinations.
Some bling won't harm! Adding em to the borders as well!
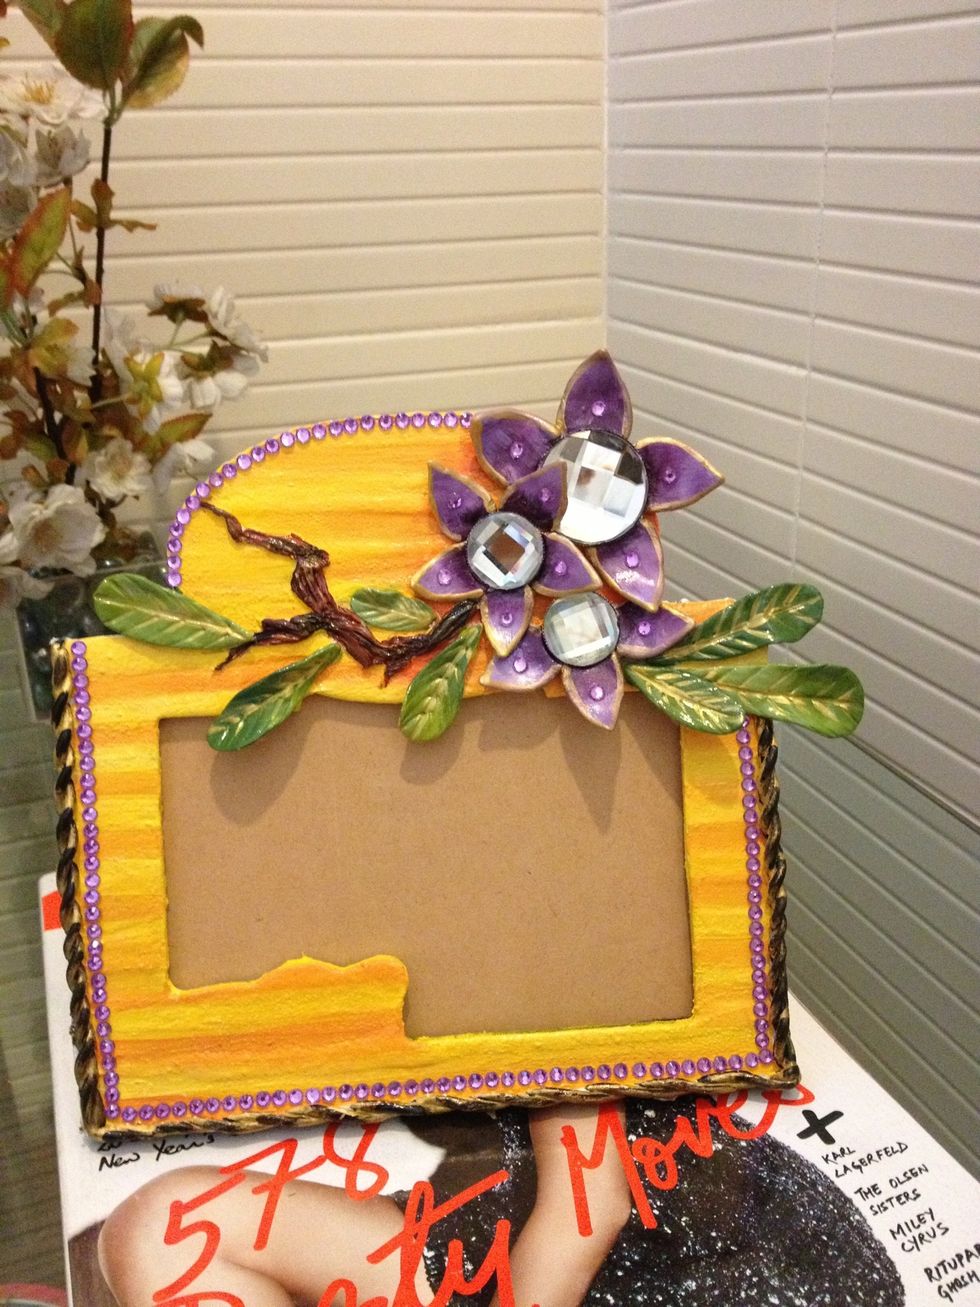
Almost done! 😊
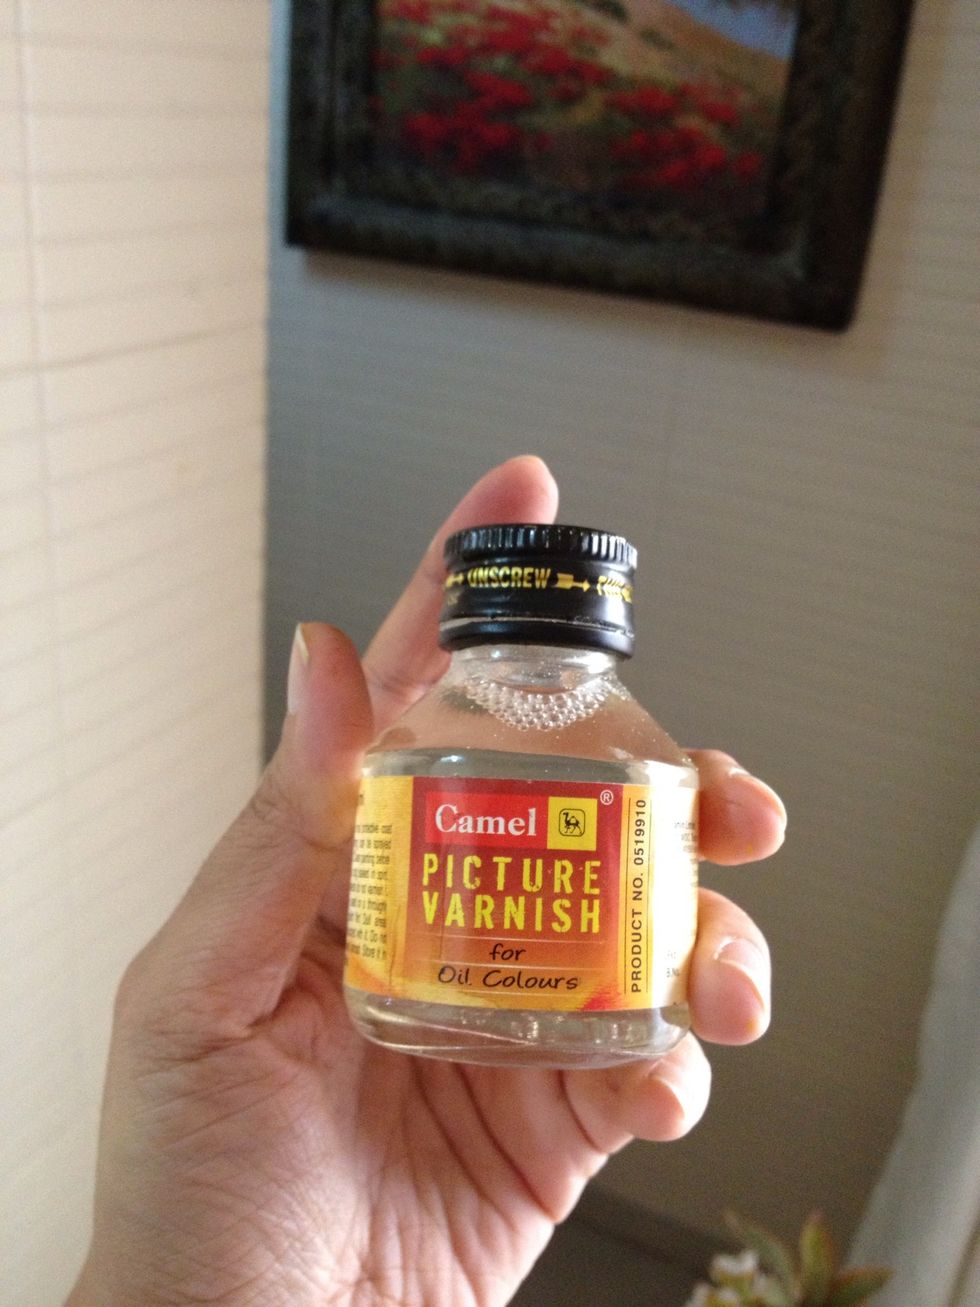
Use varnish on top as a top coat. It will give your frame a glossy effect at the same time protect the paint.
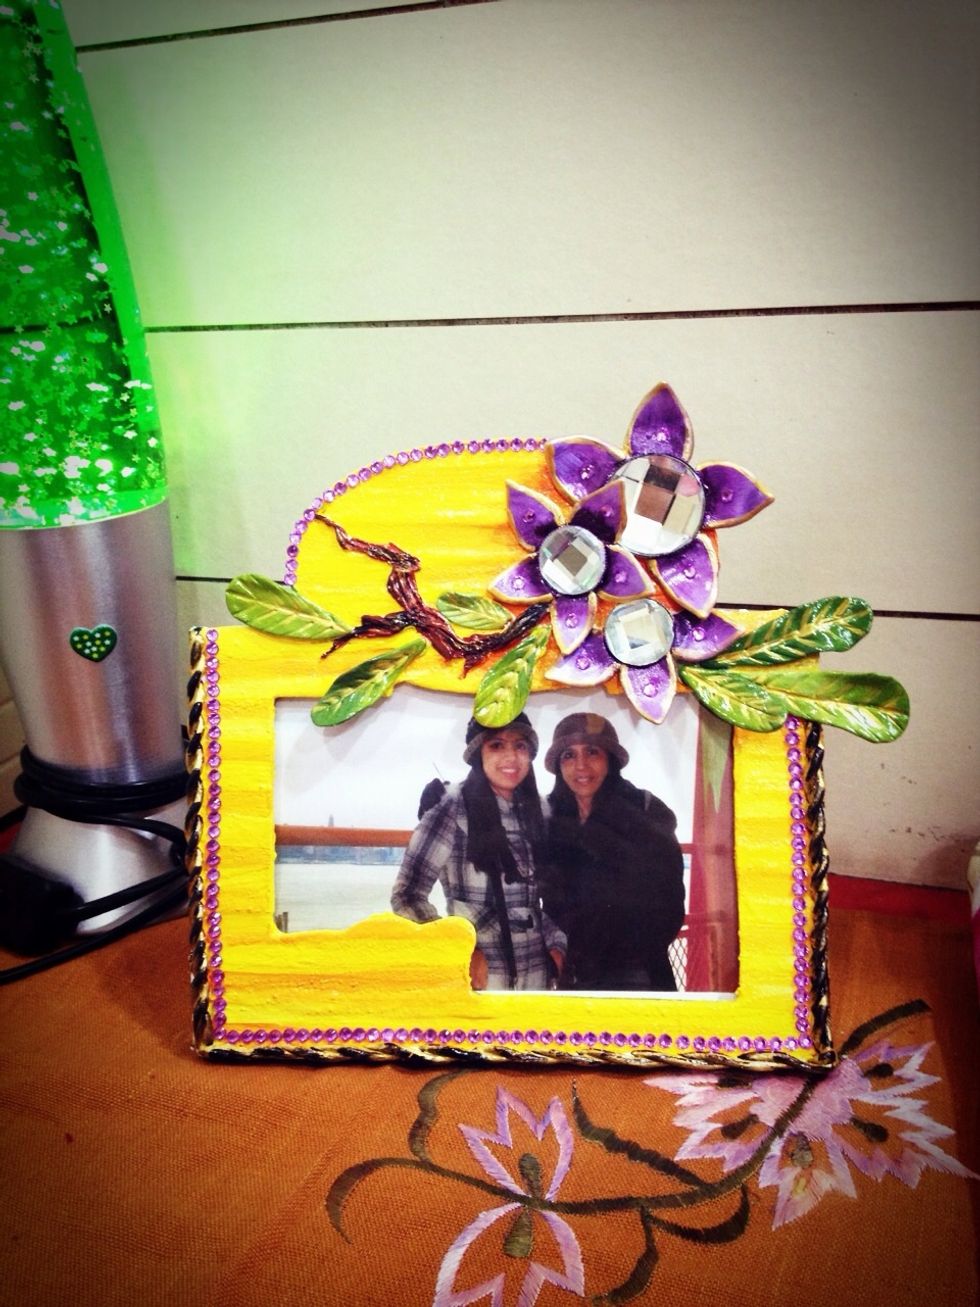
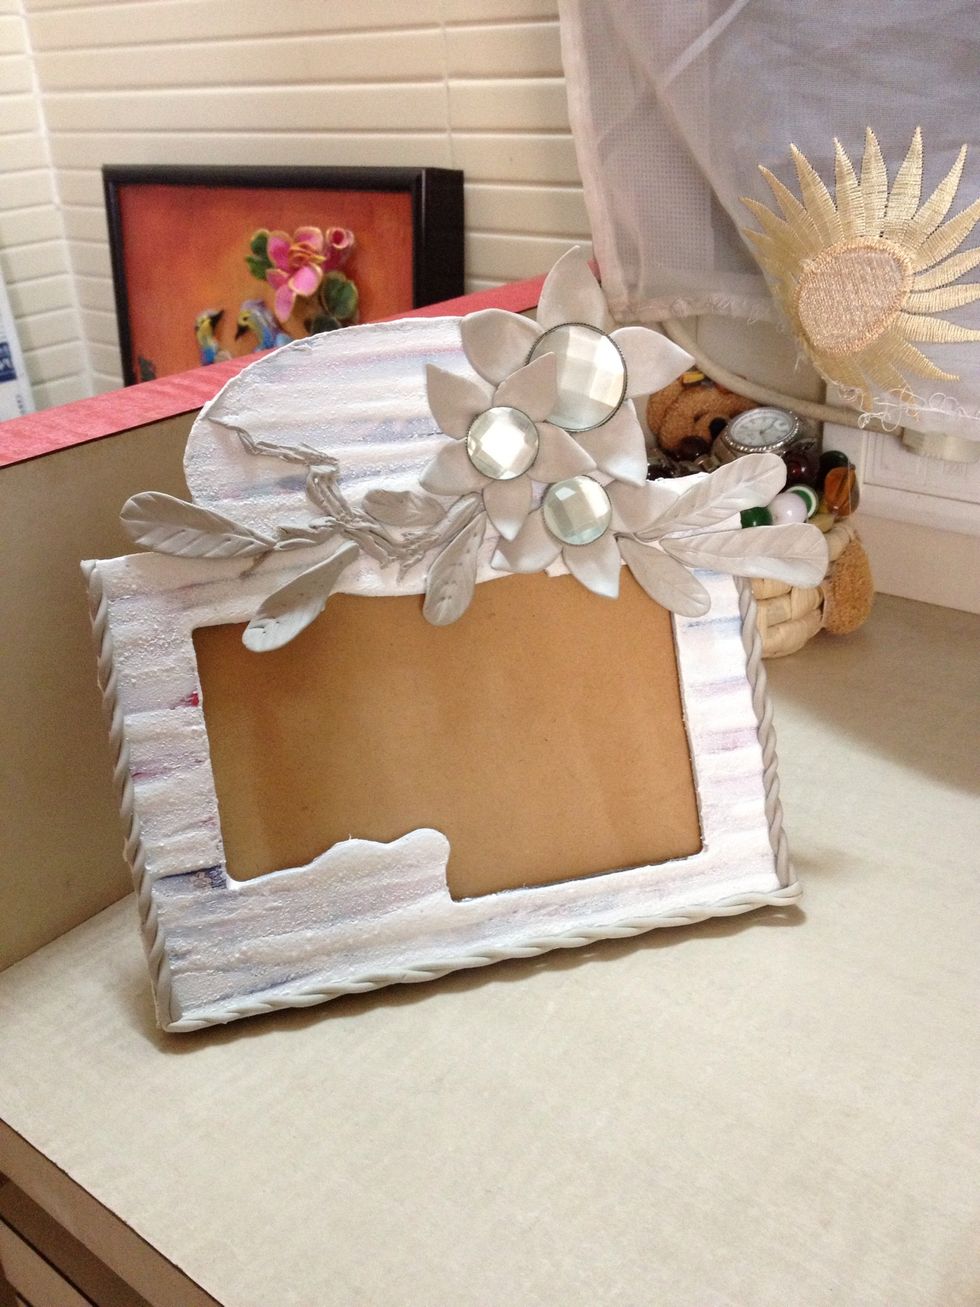
Tada!😃 Gift it to your special someone or keep it on your nightstand like I did! 💗
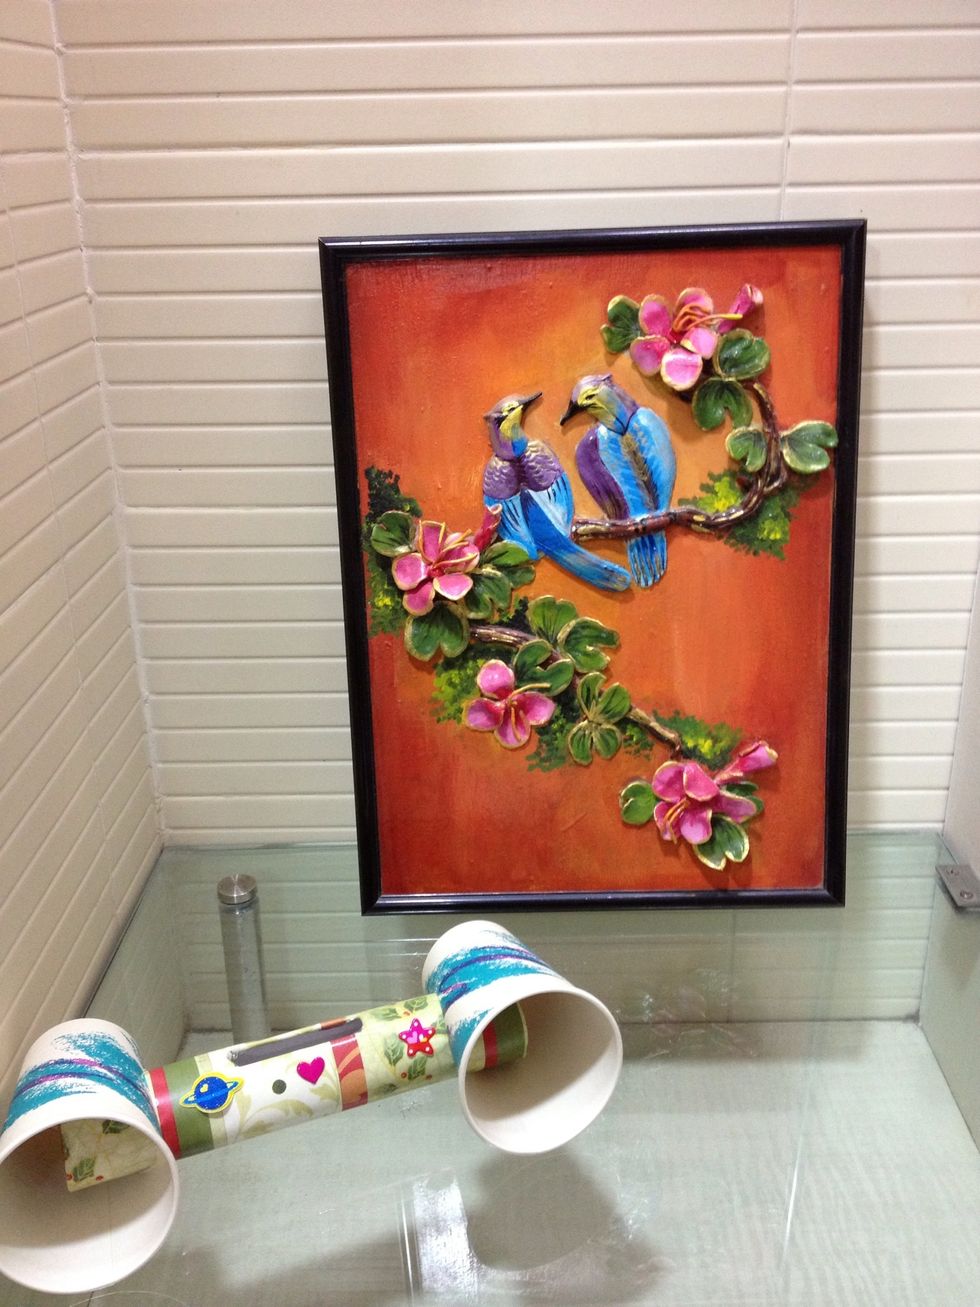
Some of my other works made from m-seal. In the foreground are my Snapguide inspired iPhone speakers!
Hope you liked this guide and will try this out! Until next time 💋💋💋