The Conversation (0)
Sign Up

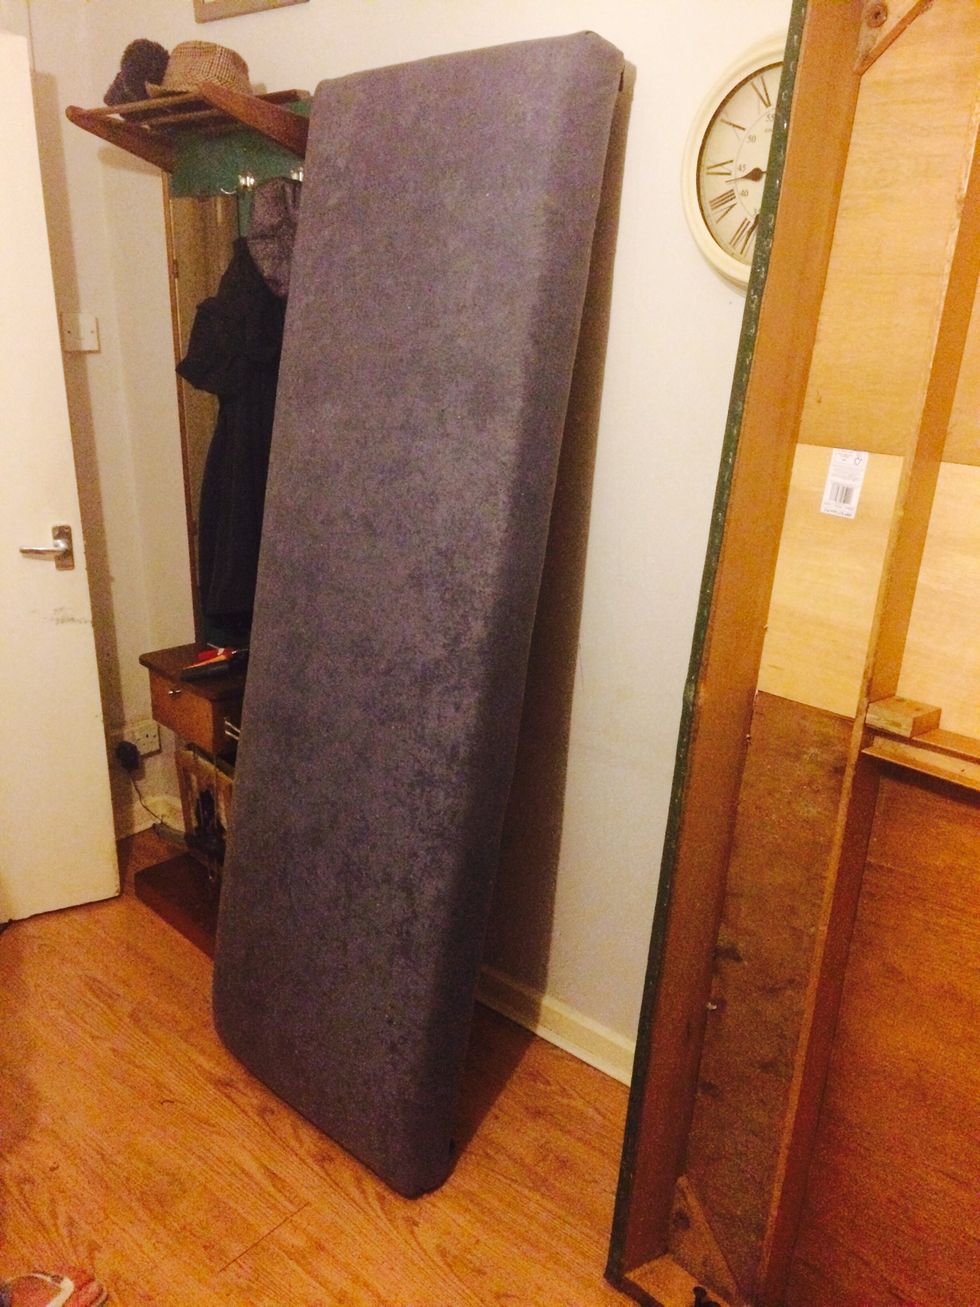
You will need one (seen better days) sofa bed. Here's our old 1970s Danish Eames Sofa.

You will need wadding - this is 2 metres long by 4ft wide.
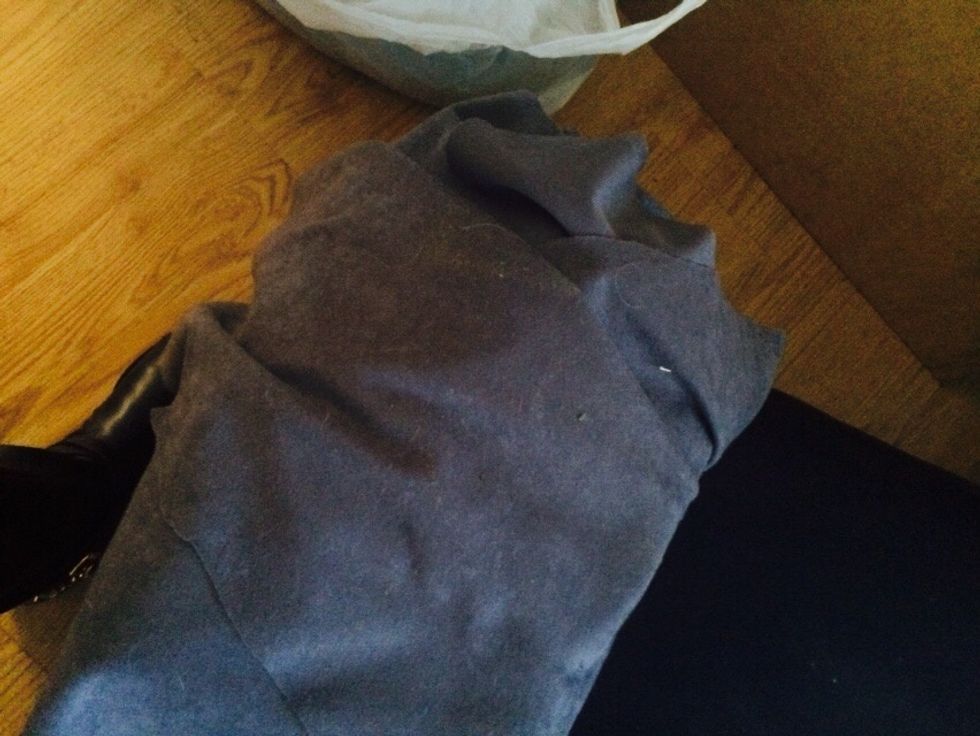
Any fabric as long as it's robust and ideally flame retardant. We choose this grey suede (ish) fabric.
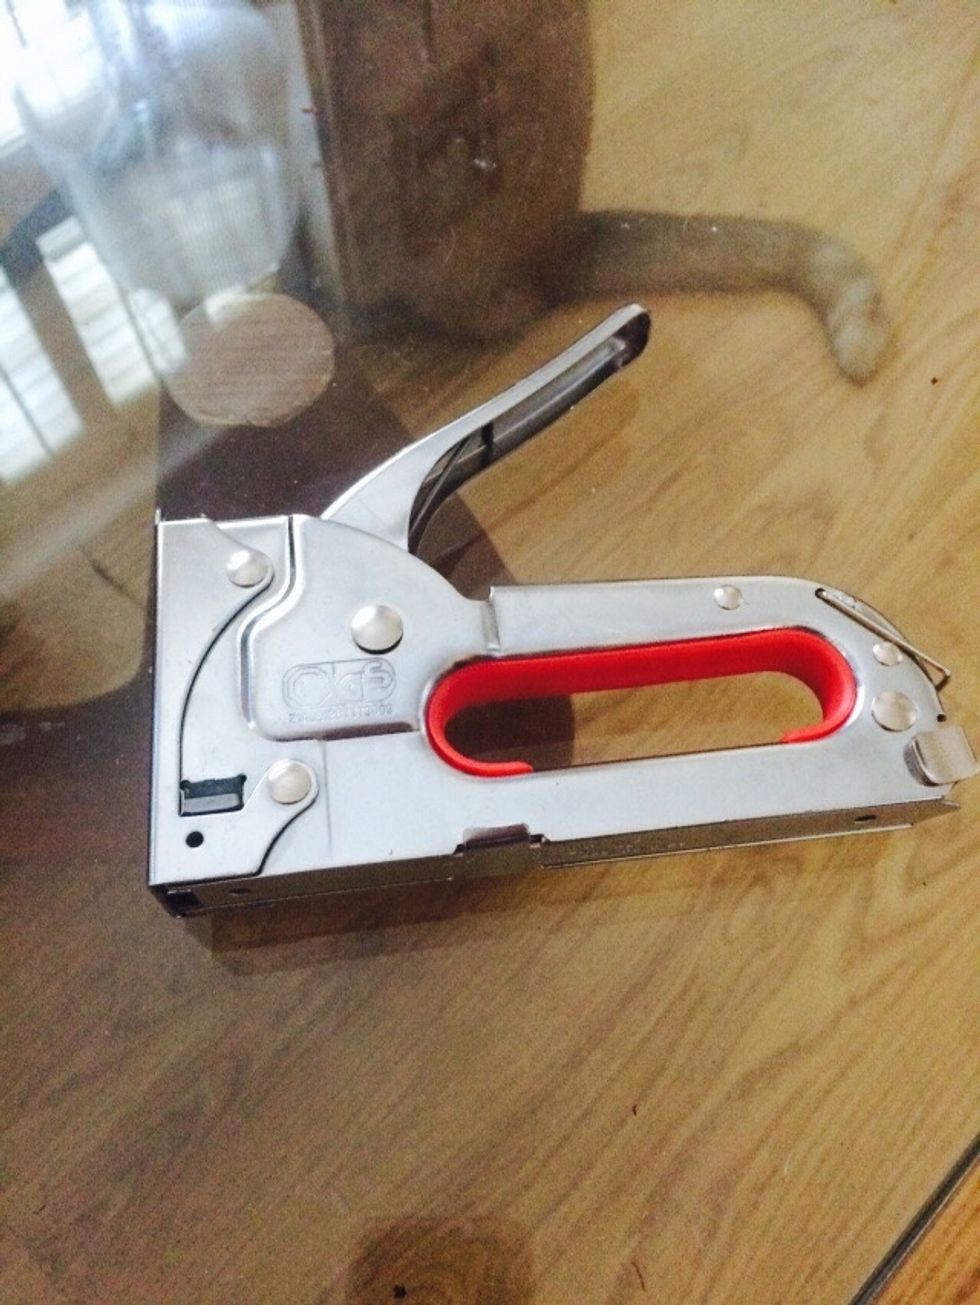
Most important tool! STAPLE GUNS. One where you can adjust the level of force.
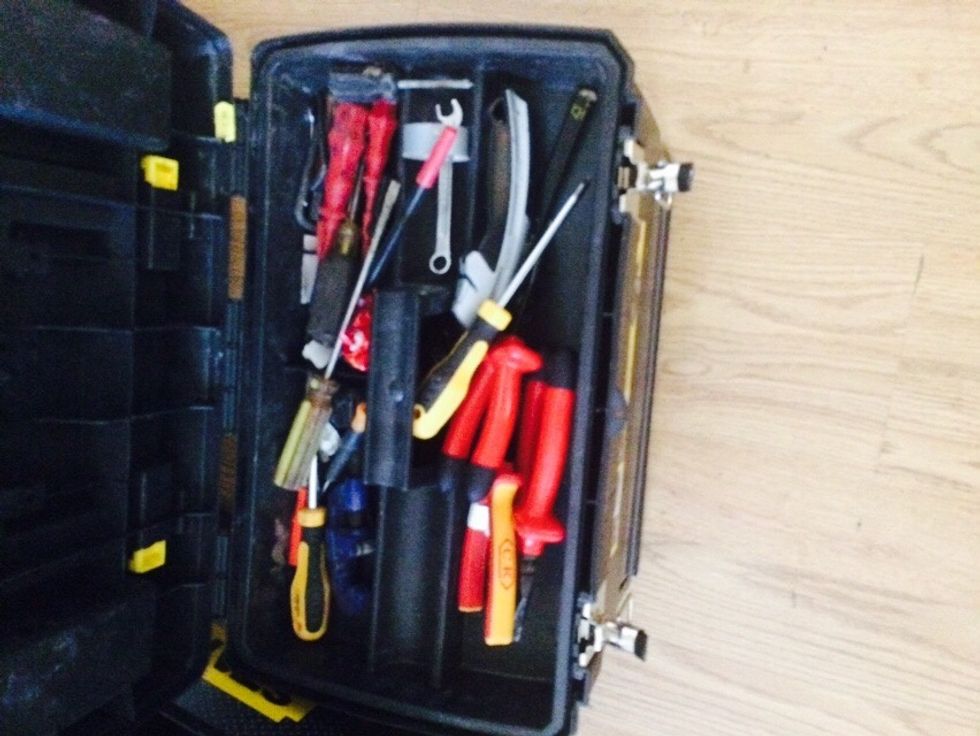
Other tools are required. We used a chisel, pliers, hammer, screw driver, spanner and circular saw to cut the wood to replace the wood.
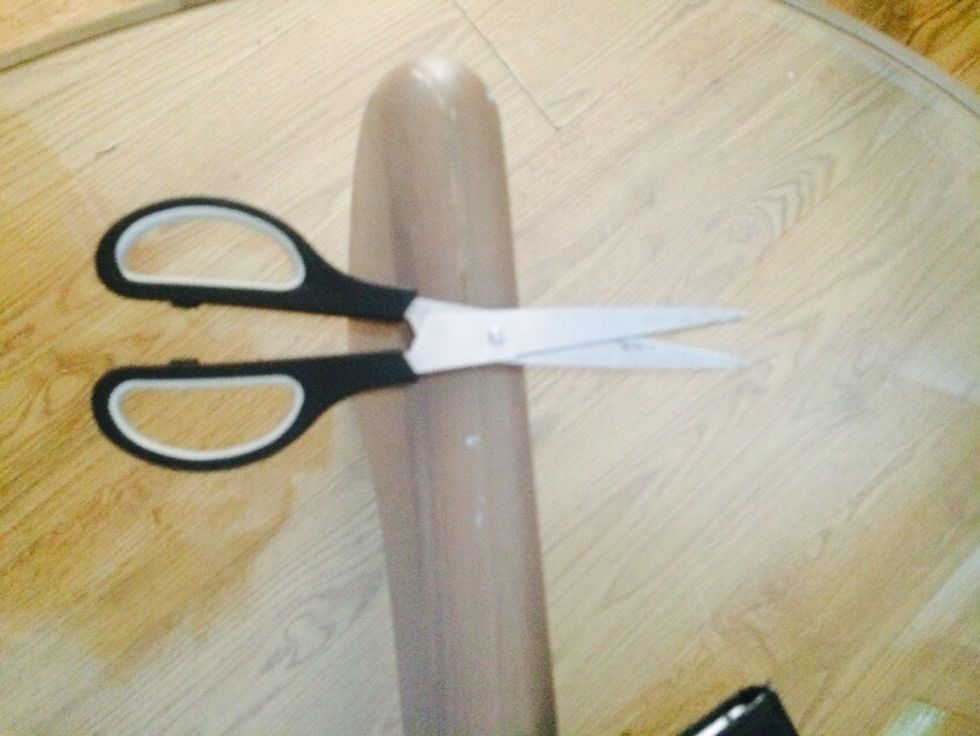
Another must have item. SCISSORS!!!!!
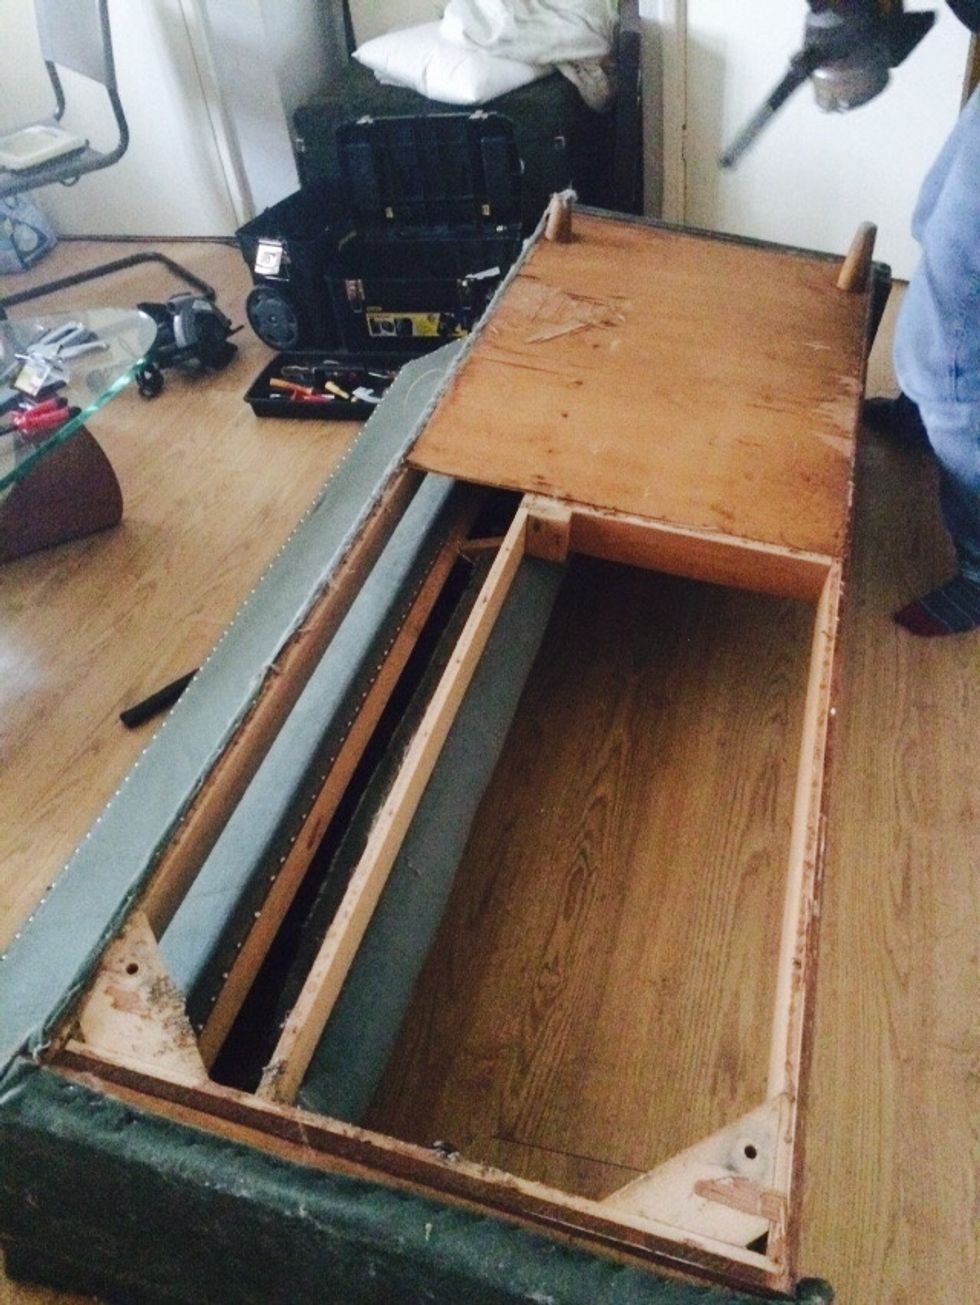
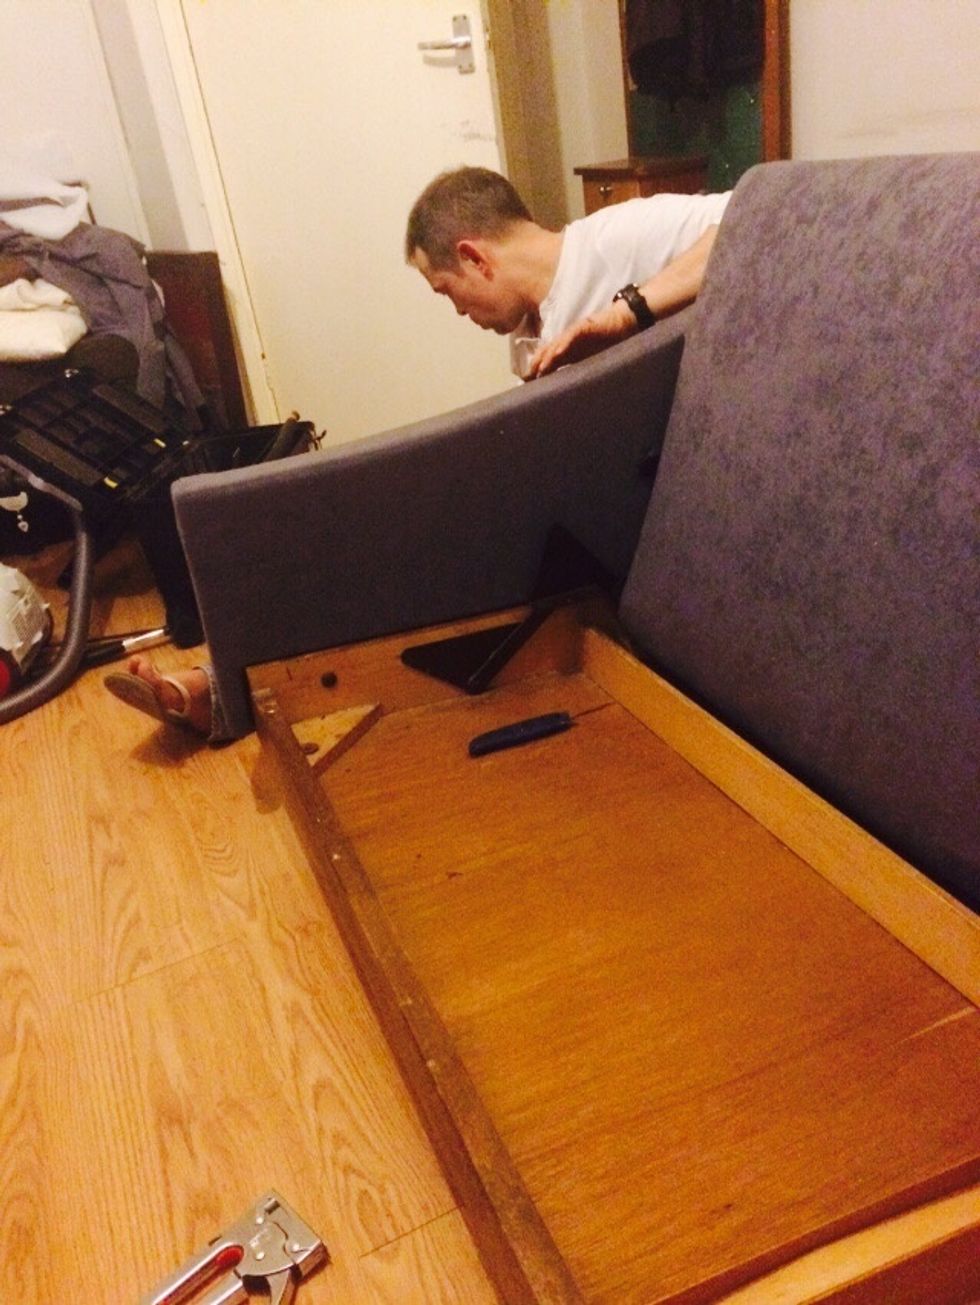
Ok... Inspect item. Ok its worst than we anticipated. First job start to disassemble and replace wood on base.

Here is some 3mm by 2 metre plywood that we will cut to size to fit to base.
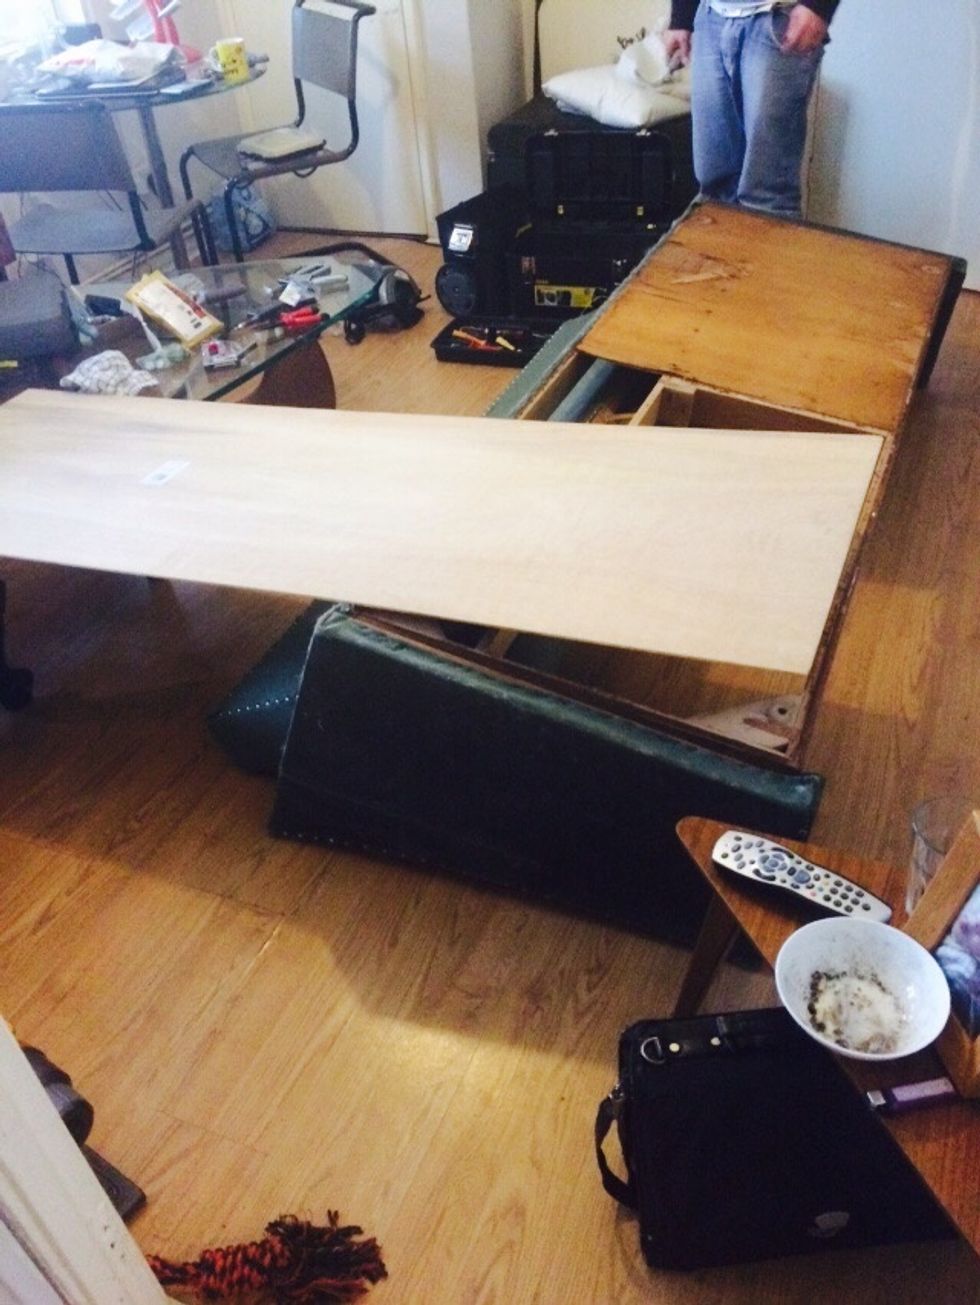
Measure and cut carefully
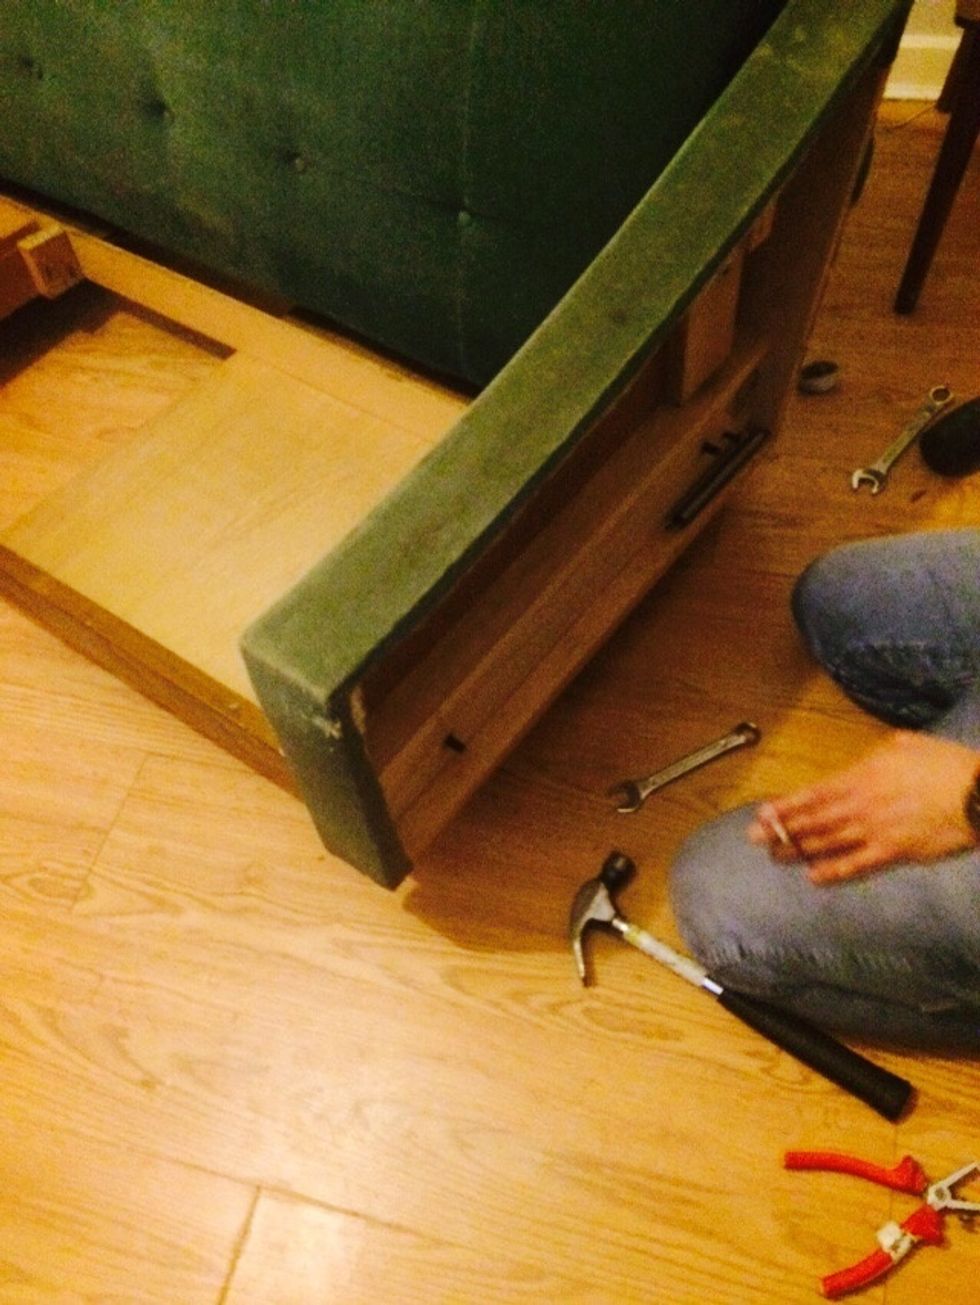
Continue to disassemble - we are removing the arms from the sofa bed mechanism. It was hard work watching my partner struggle to remove the nut. Lol
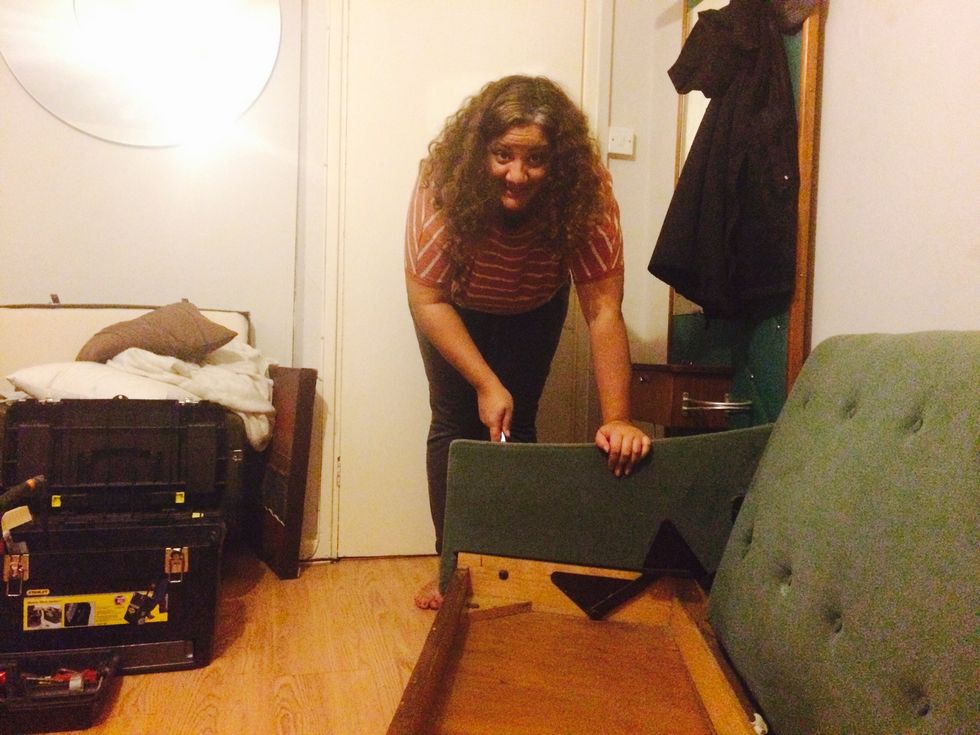
See I am helping .... Honest!

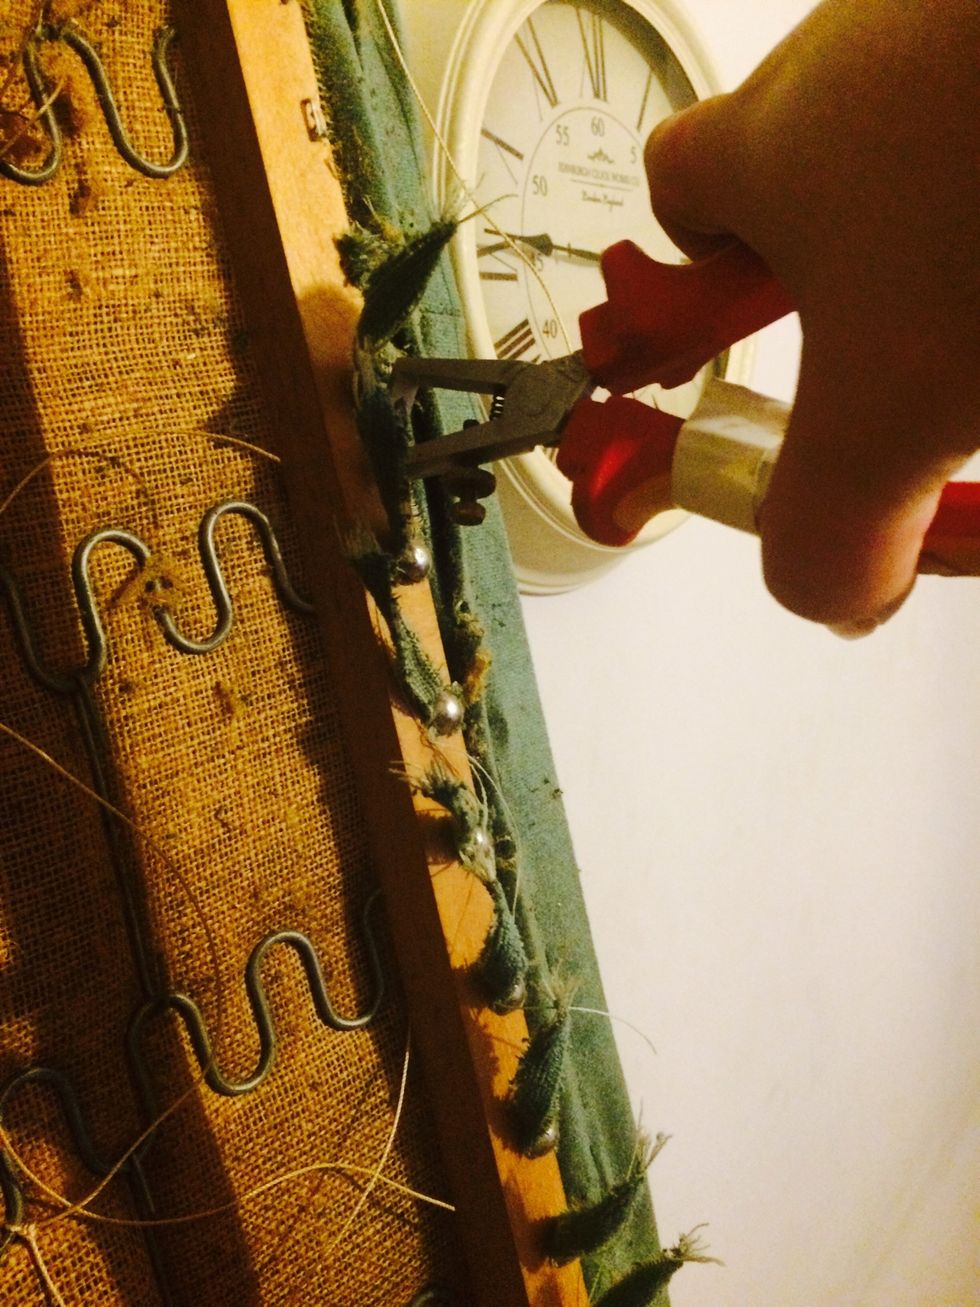
Now the pain begins.... Remove all the fabric and every existing staple, tack, pin or nail. Remove old wadding too but keep foam.
This took forever. Music helps pass the time. I think I was jamming to 80s classics at this point.

Ok.... Hard part complete. Now nail the new board to the base.
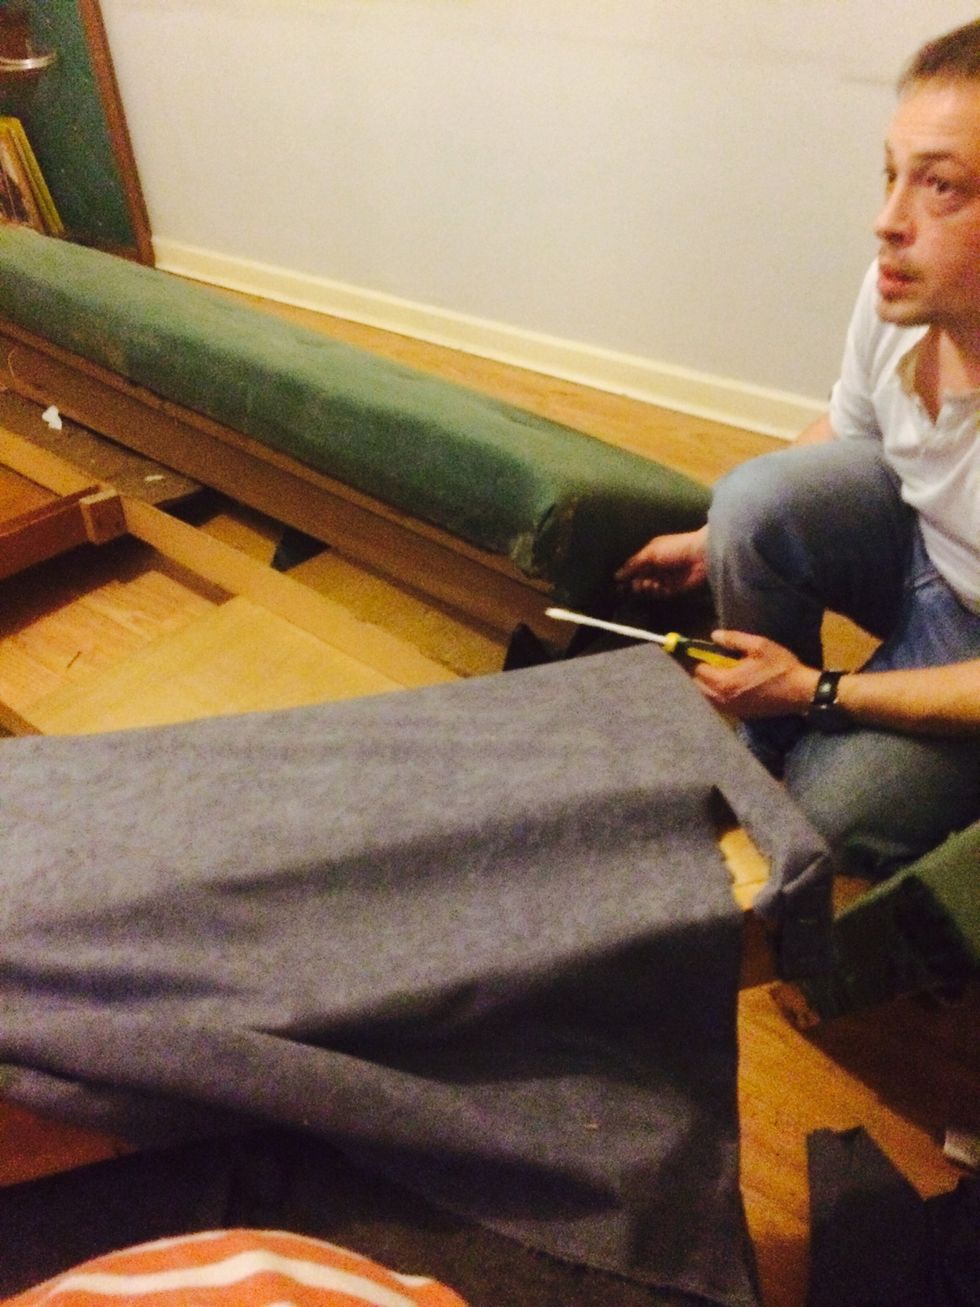
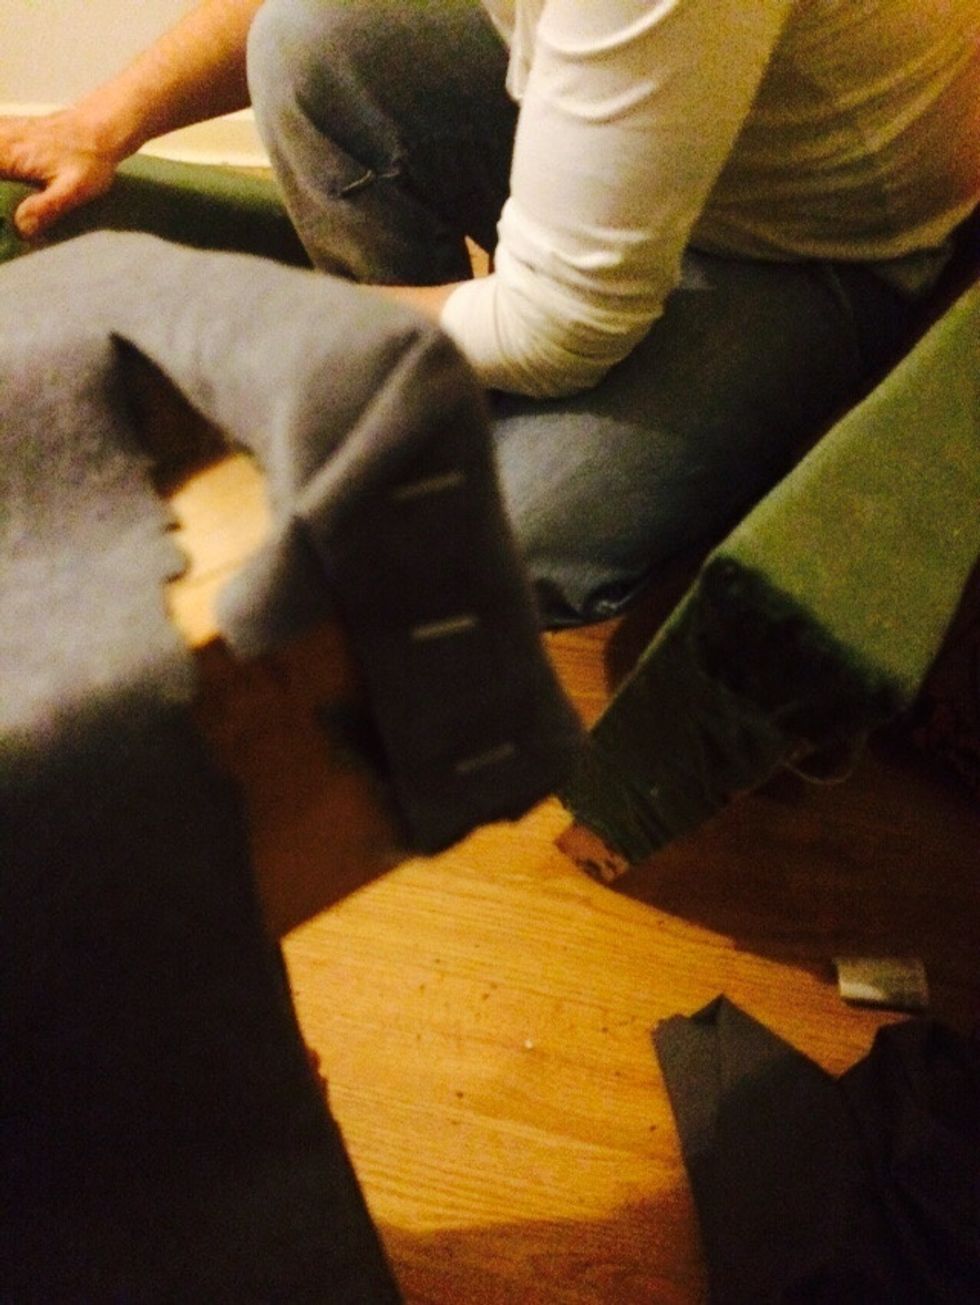
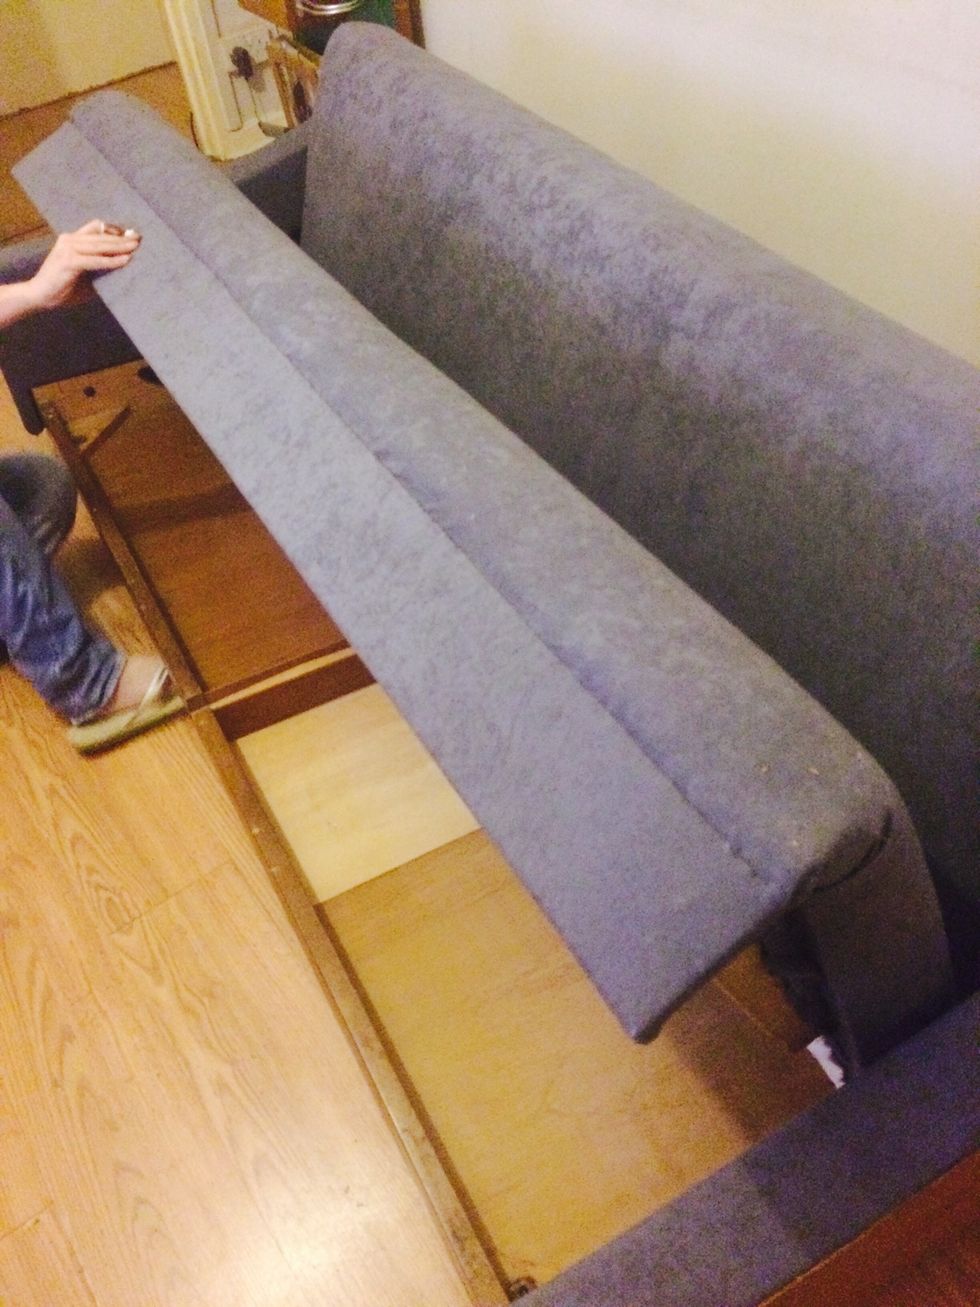
carefully cut & cover the arms of the sofa. Tips are to cut more fabric than you need and cover one side (inside part) only at this stage. Pull as tort as you can to give smooth finish when stapling.
Close up
One done... To ensure fabric is smooth. Fix one side, then do opposite side. Then do the same on the two remaining sides. Cut away unwanted fabric.
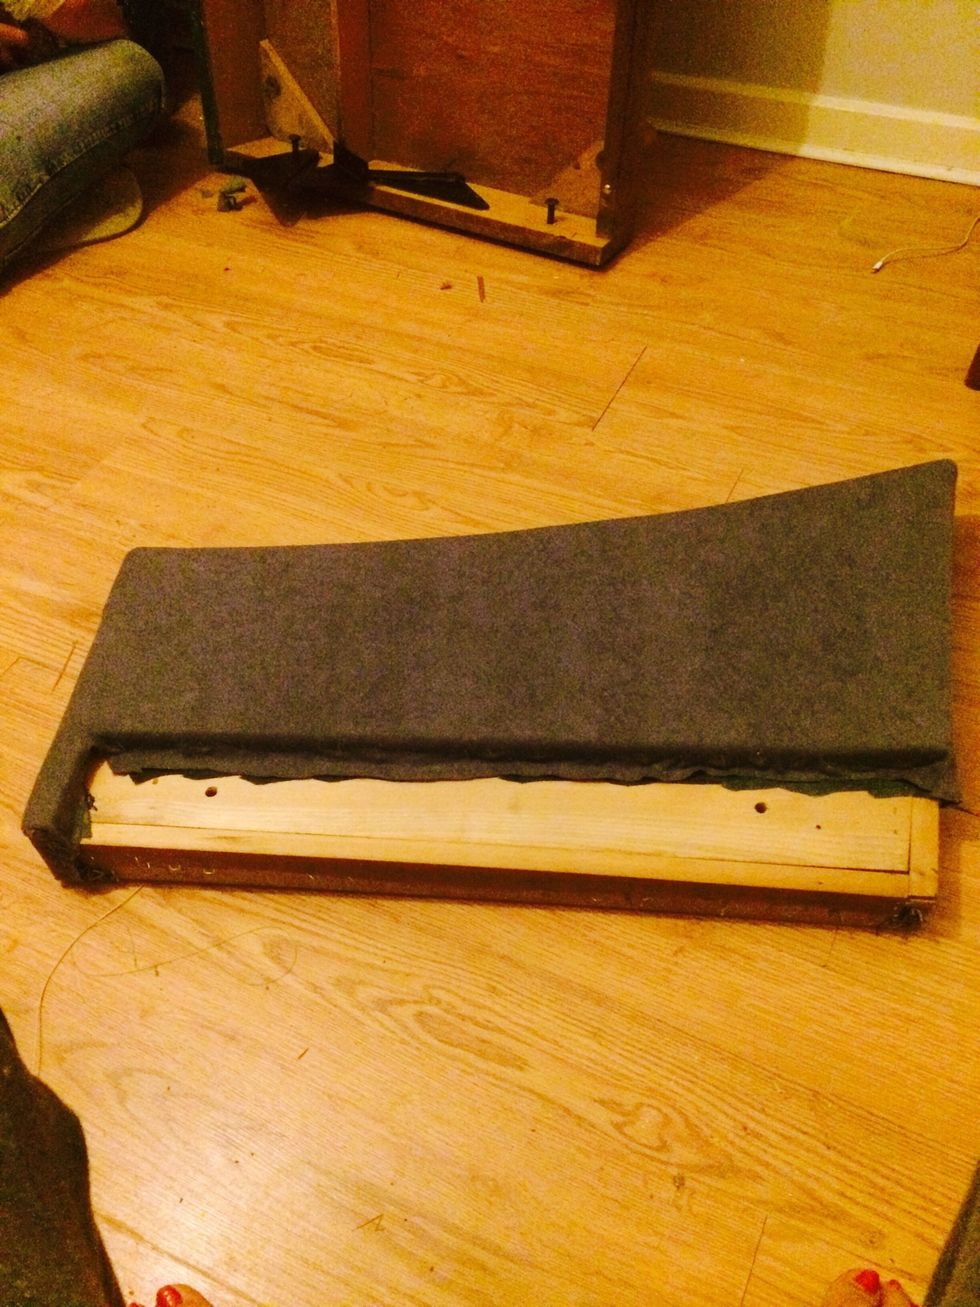
Now do the base and back using the same method . Must pull tort as much as you can. Oh and replace old wadding on the foam with new wadding before covering. The wadding gives the comfort.

Now re assemble - hot tip! Image you are wrapping a present to get neat corner whilst recovering with the new fabric.
Once the arms are back on the mechanism, u can continue 2 fabric the outside part of the arms. Tip! You have 2 Staple fabric inside out at the top of the arm & fold back on yourself to not see stables
Do the same for the lip of the sofa. See you can't see the staples.

Hey presto .... New sofa for less than £70 and some hard work.
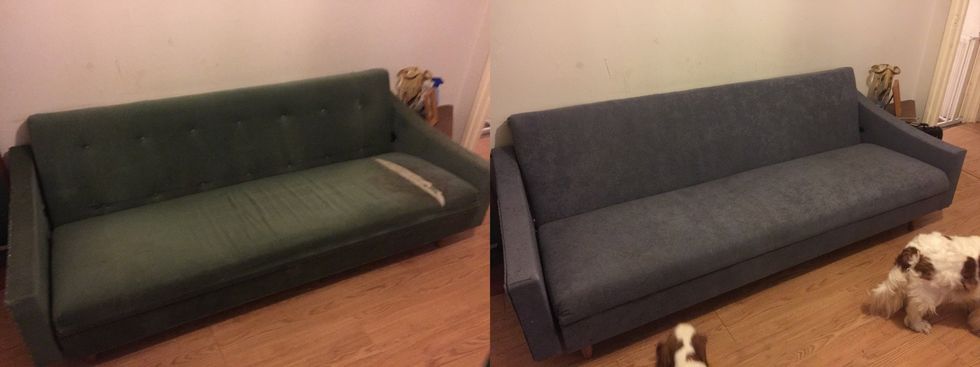
Not bad.. You can do it too! We are debating to add buttons to the top section like the original cover and chrome tacks to the arms. Or should we leave as is. What's your thoughts?