The Conversation (0)
Sign Up
My friends ask me all the time how I go from iPad to print but keep clarity in my work. This guide will go through my process.
For the sake of the exercise let's use ArtRage for iPad.
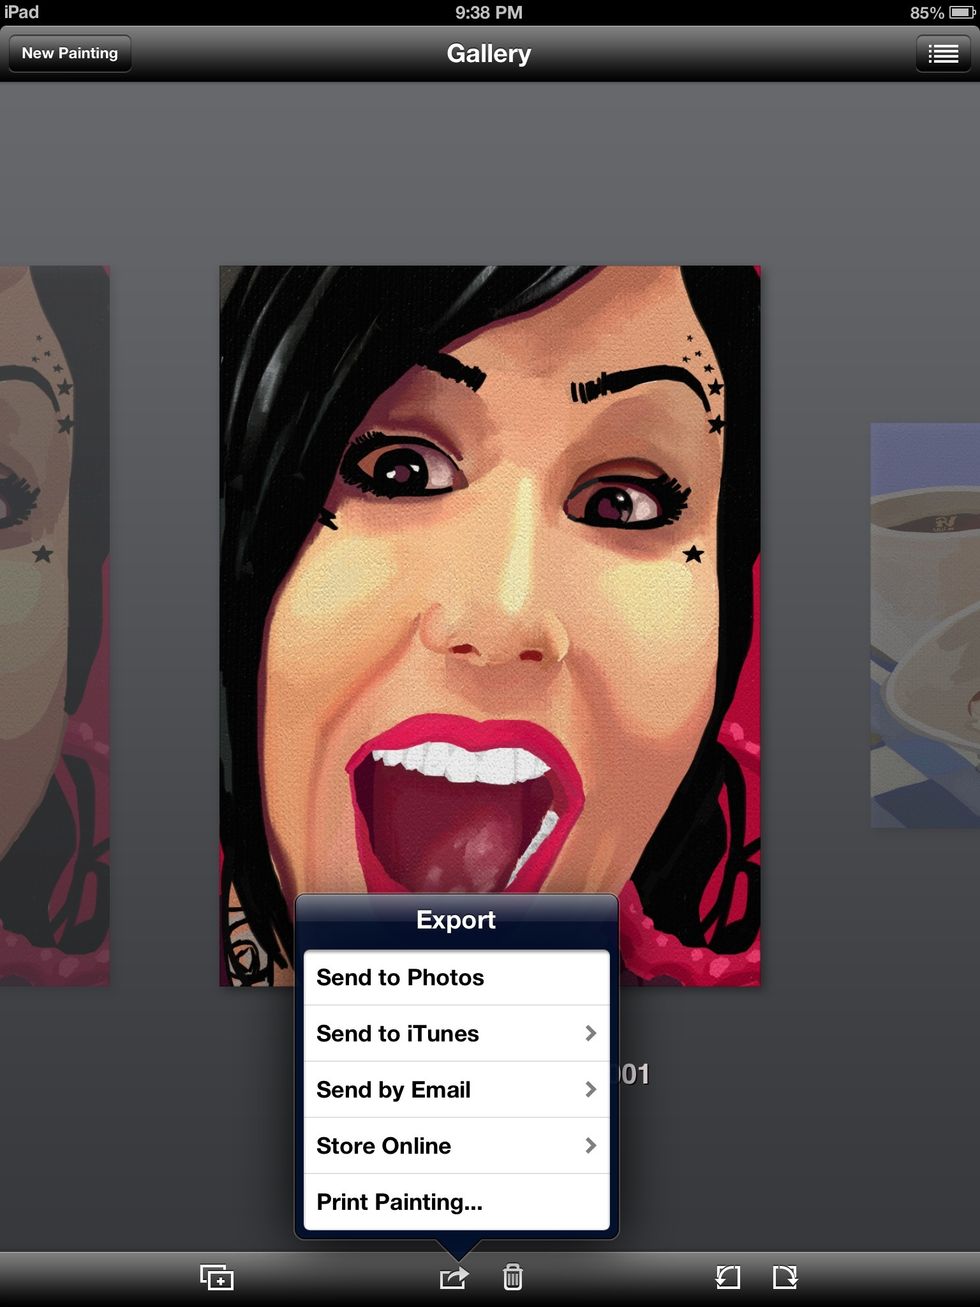
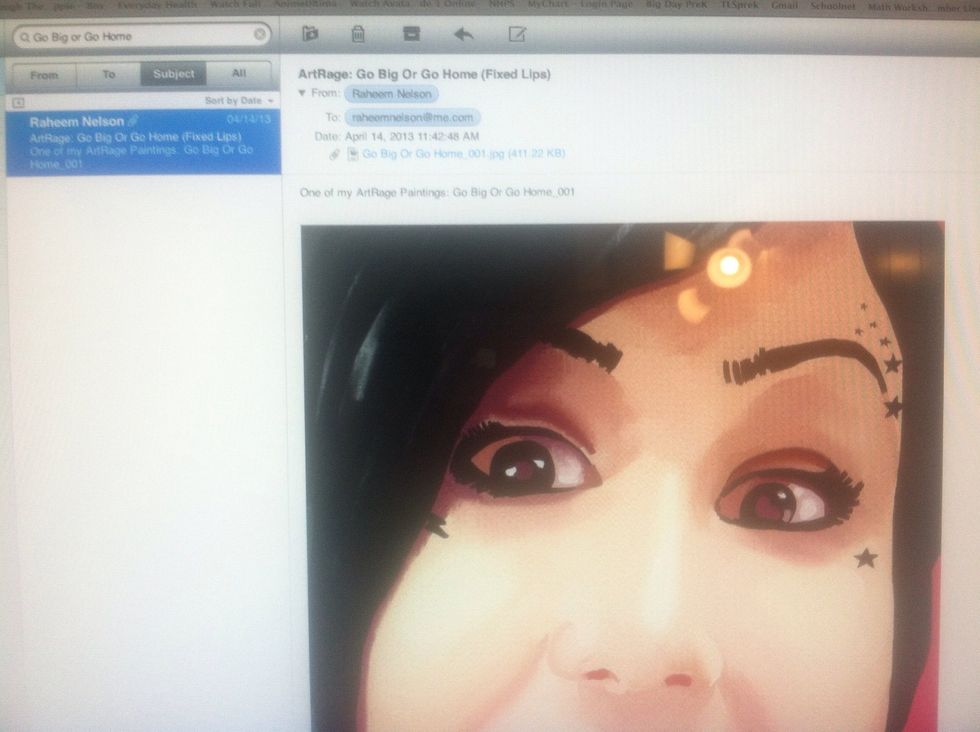
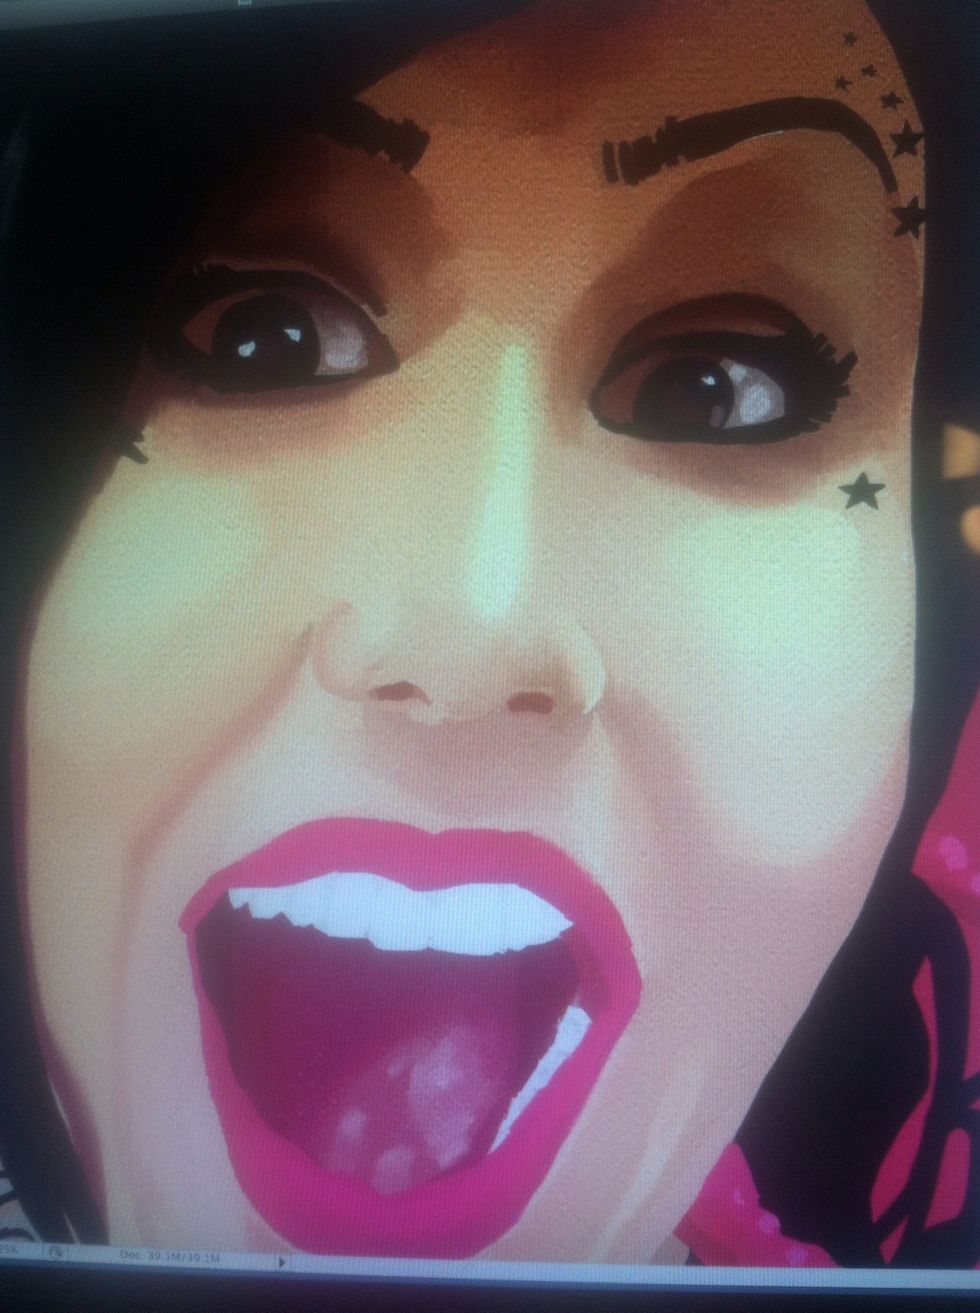
Here is one of my finished paintings. First I email it to myself from within the app.
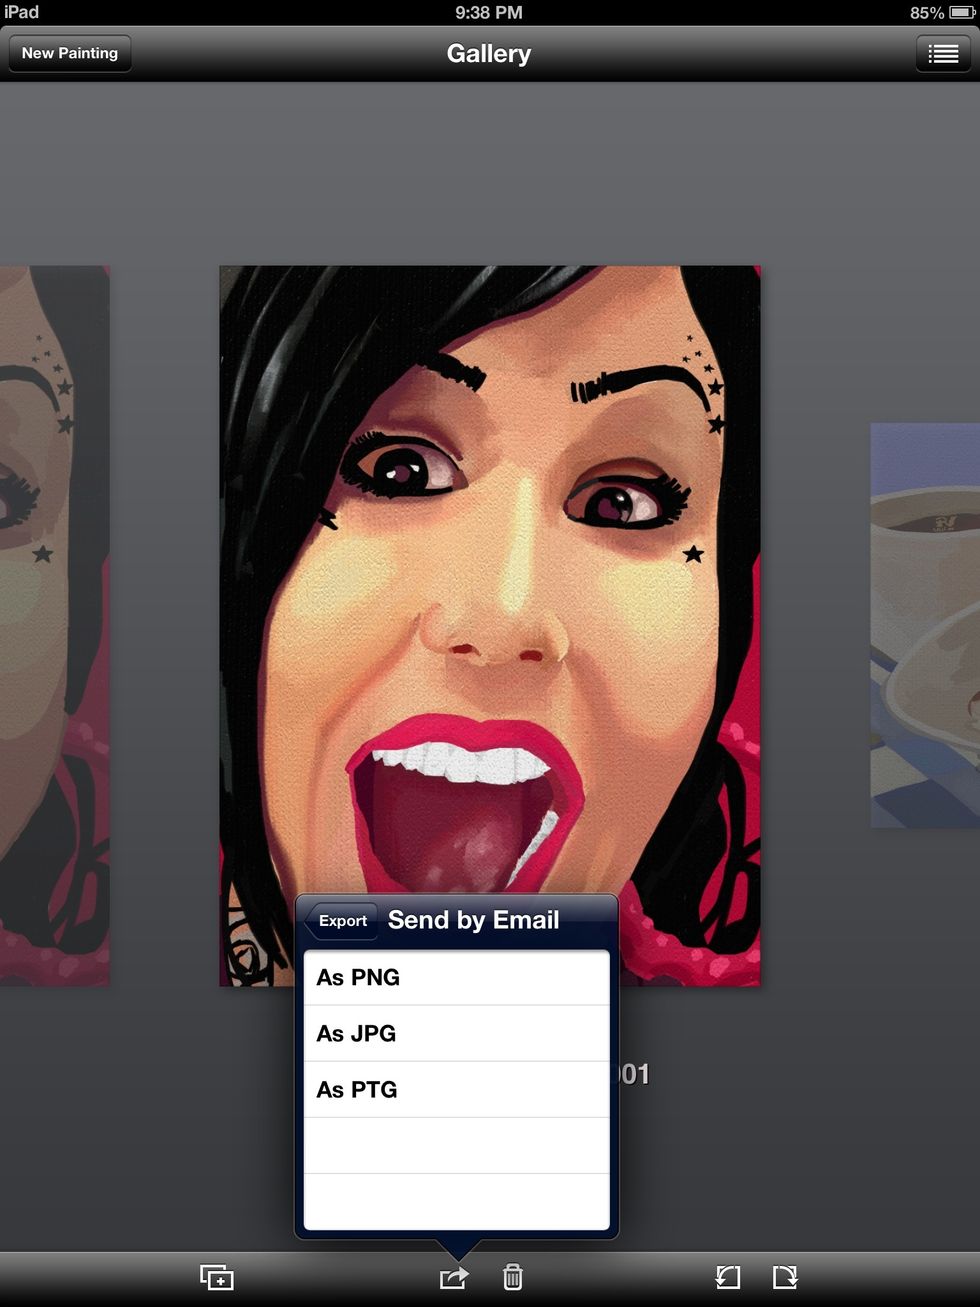
You can either choose to send it as a PNG, JPEG or ArtRage file. I usually choose JPEG because it is standard in most cases.
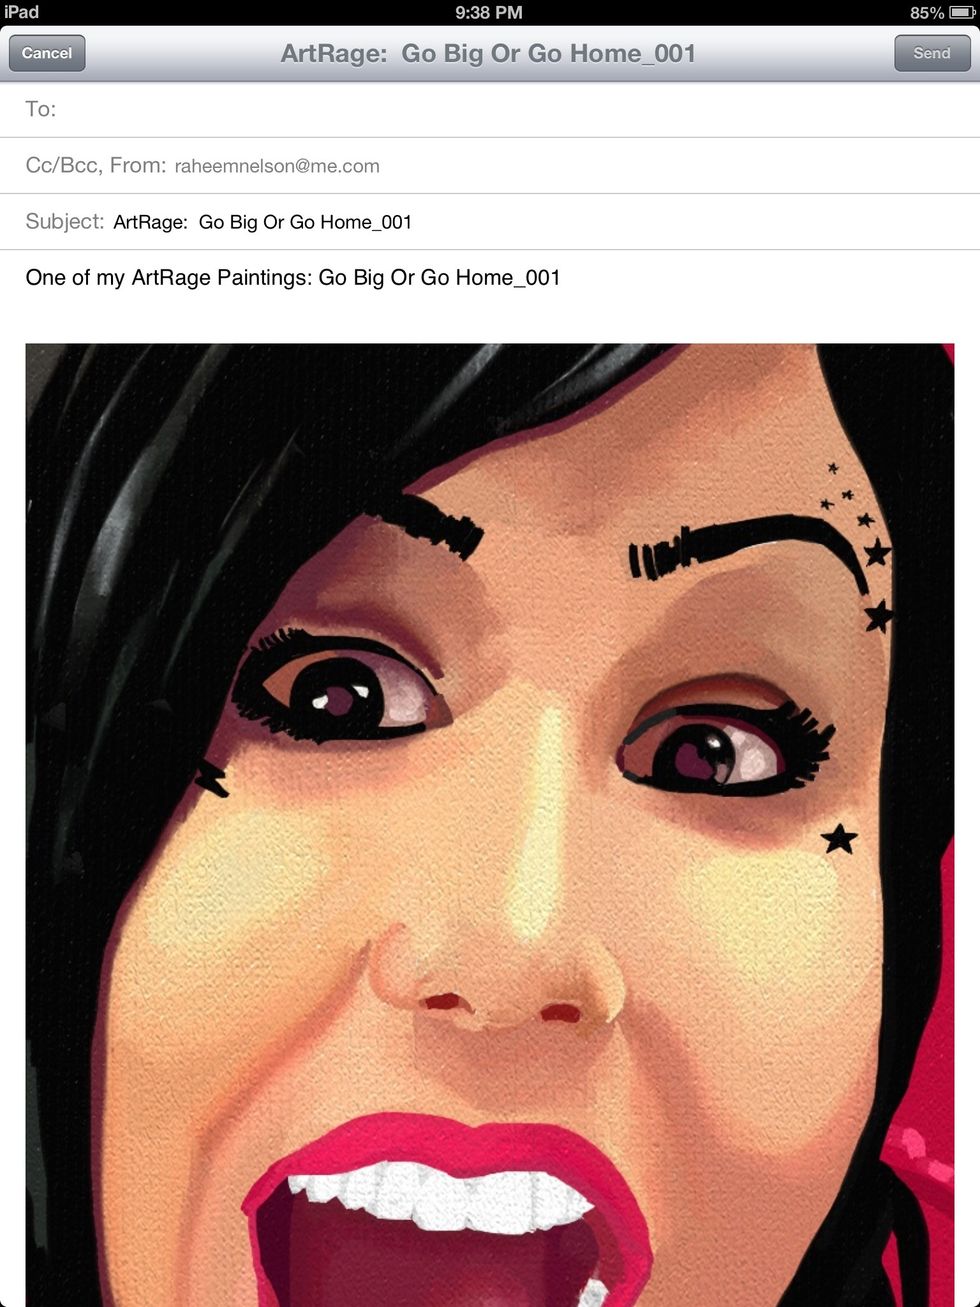
Here's how the email screen should look.
Now I retrieve it from my Desktop Mac.
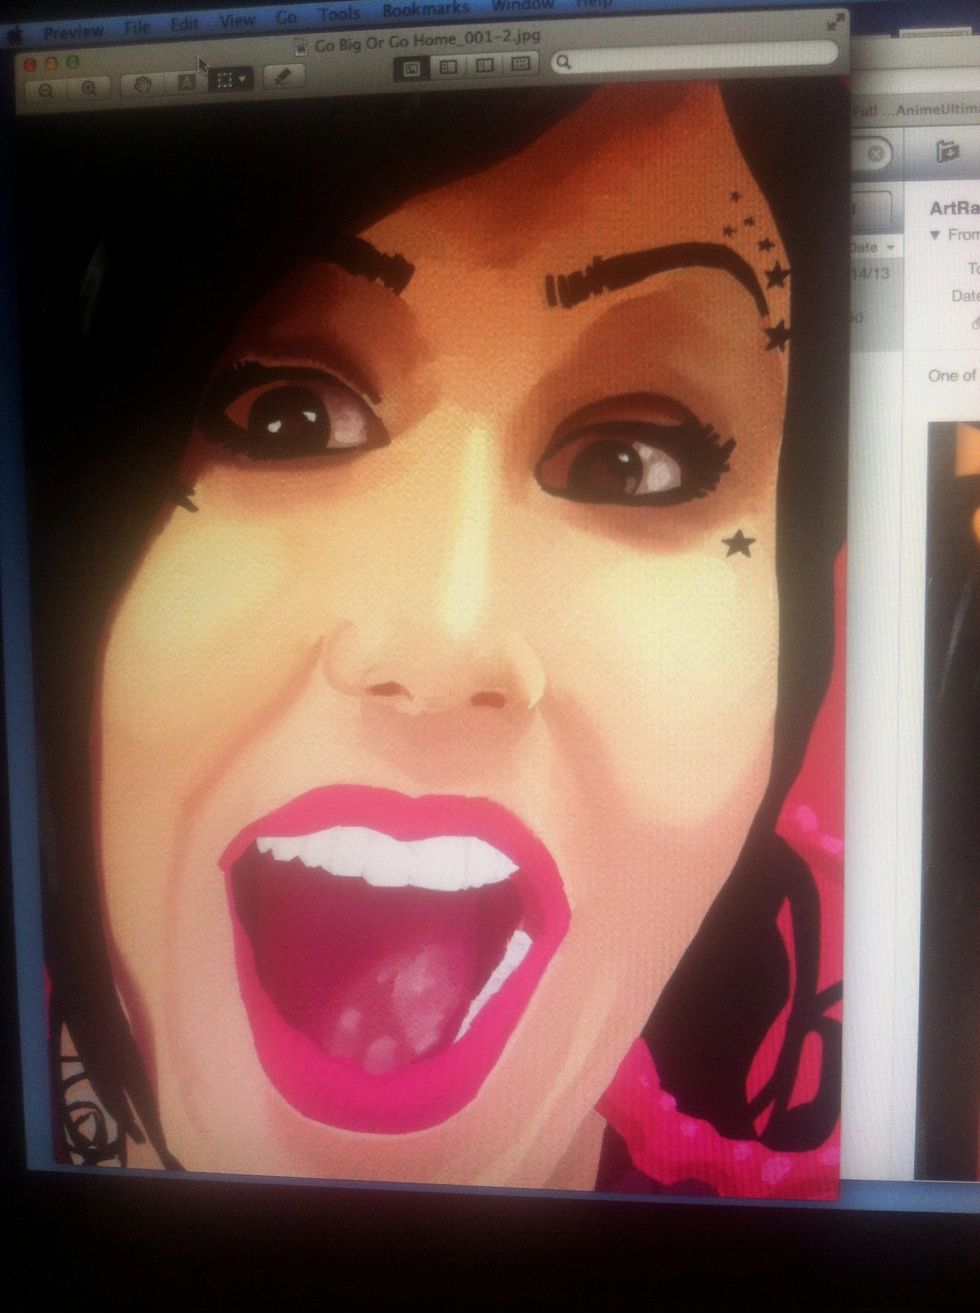
There it is in Preview.
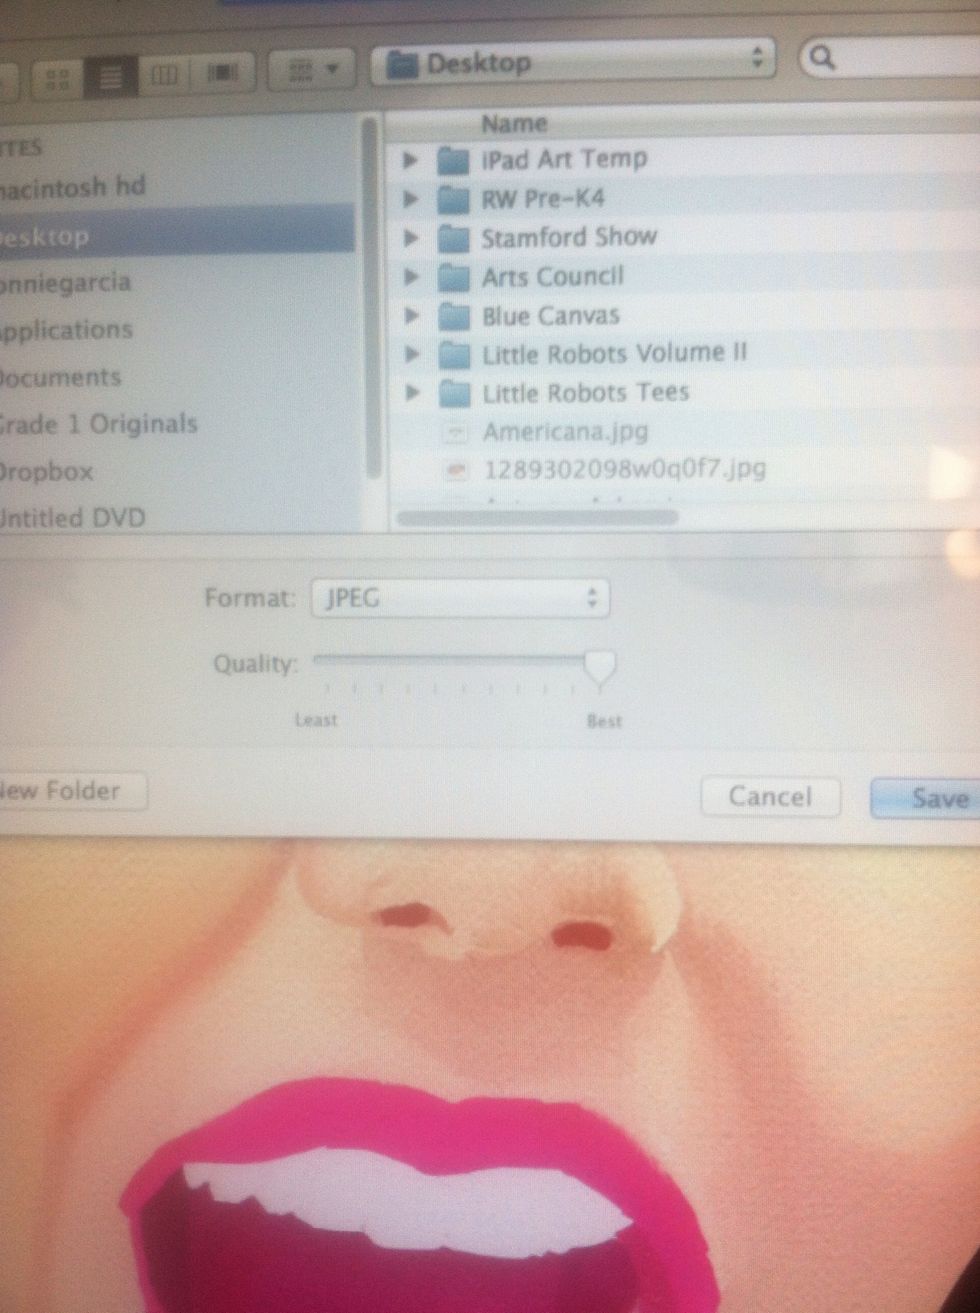
Now I save it to the desktop. Make sure to set the photo to best quality when saving.
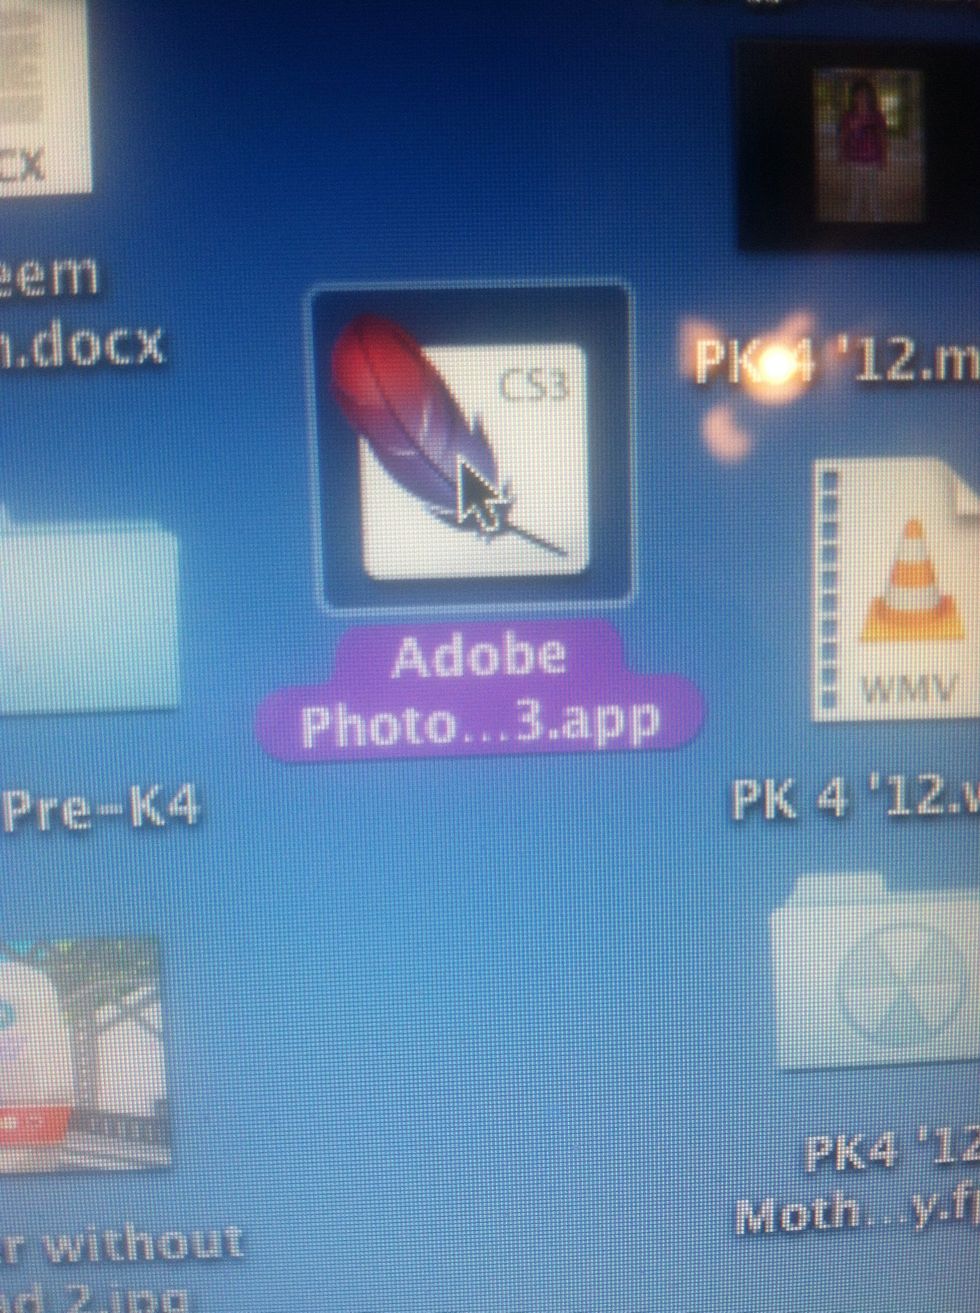
Now I open Photoshop. Note: This version is CS3 but newer and older versions let you do this too. Let keep moving.
Here's the startup screen.
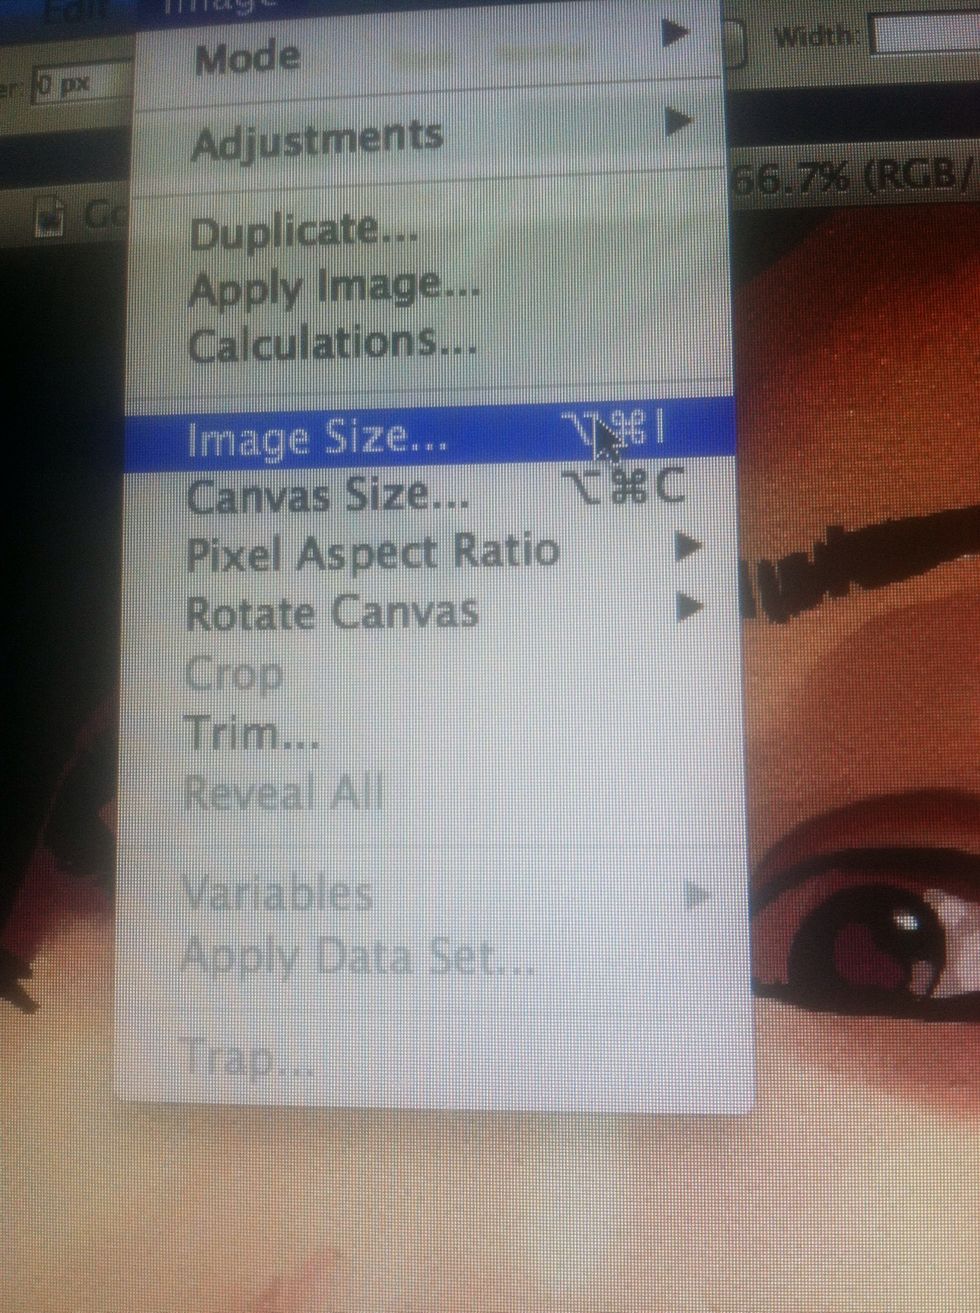
Ok now I select Image, then image size.
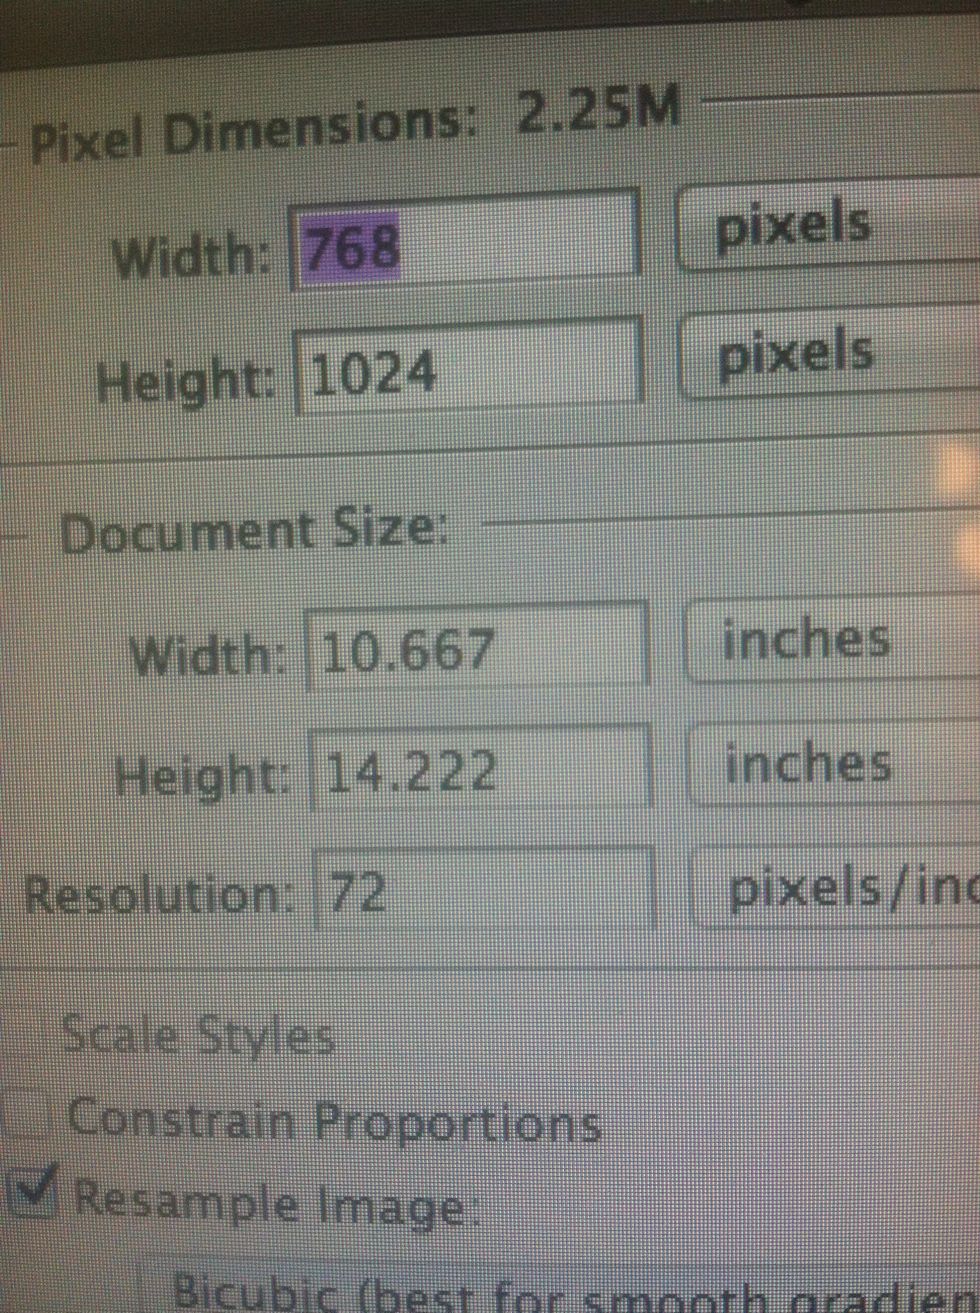
These are the default settings for the jpeg I sent from ArtRage. You must change the resolution, width and height for printing larger sizes. It'll pixelate beyond 11 x 17 if you don't.
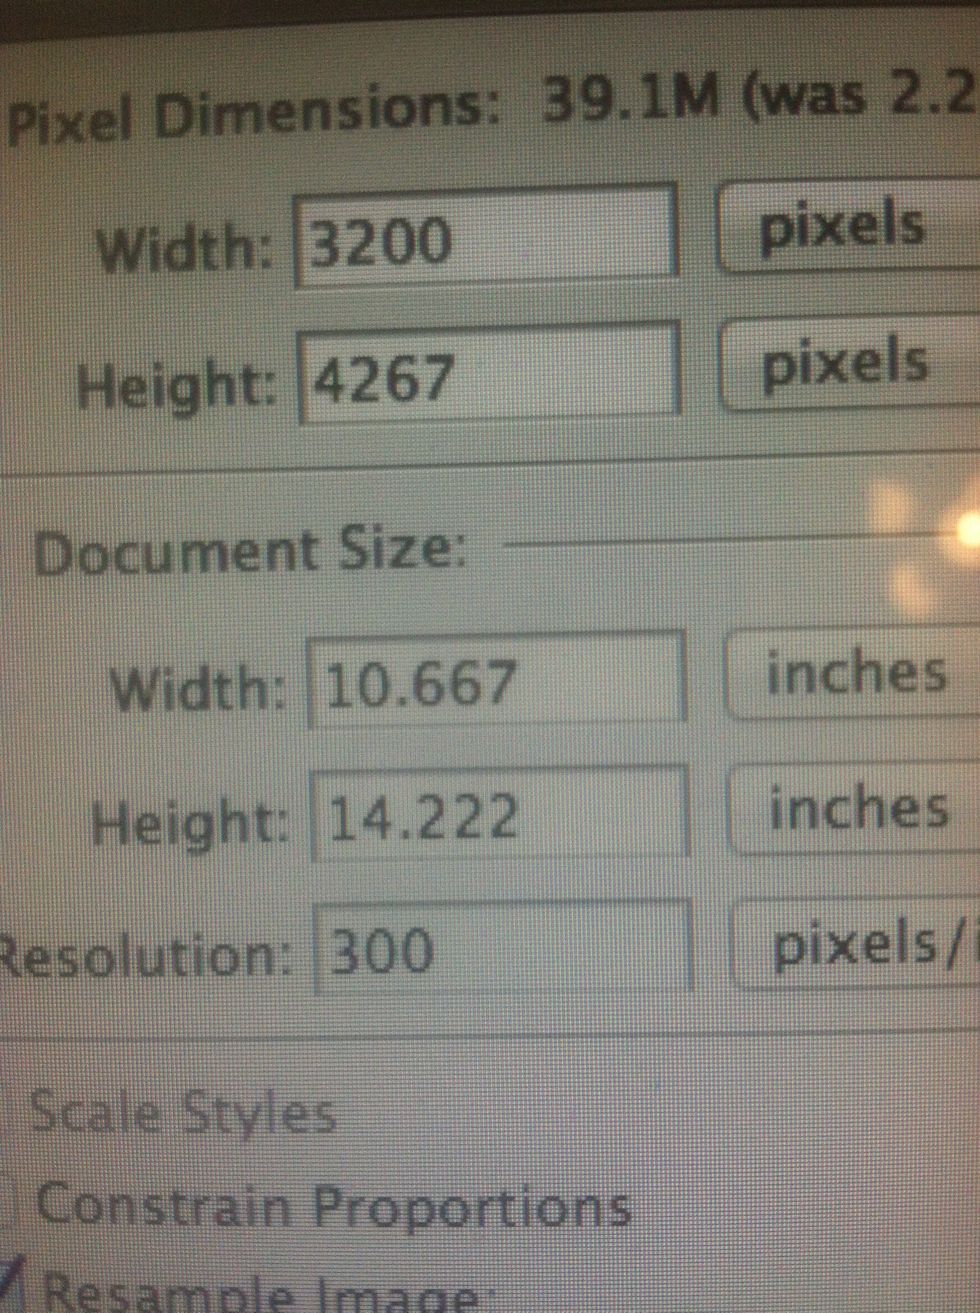
I change the resolution to 300 for a crisper image. Now I can go as big as 16 x 20 and the image will still look good. 150 to 250 is also suitable too but I prefer 300.
The image window will instantly change size to let you know it worked.
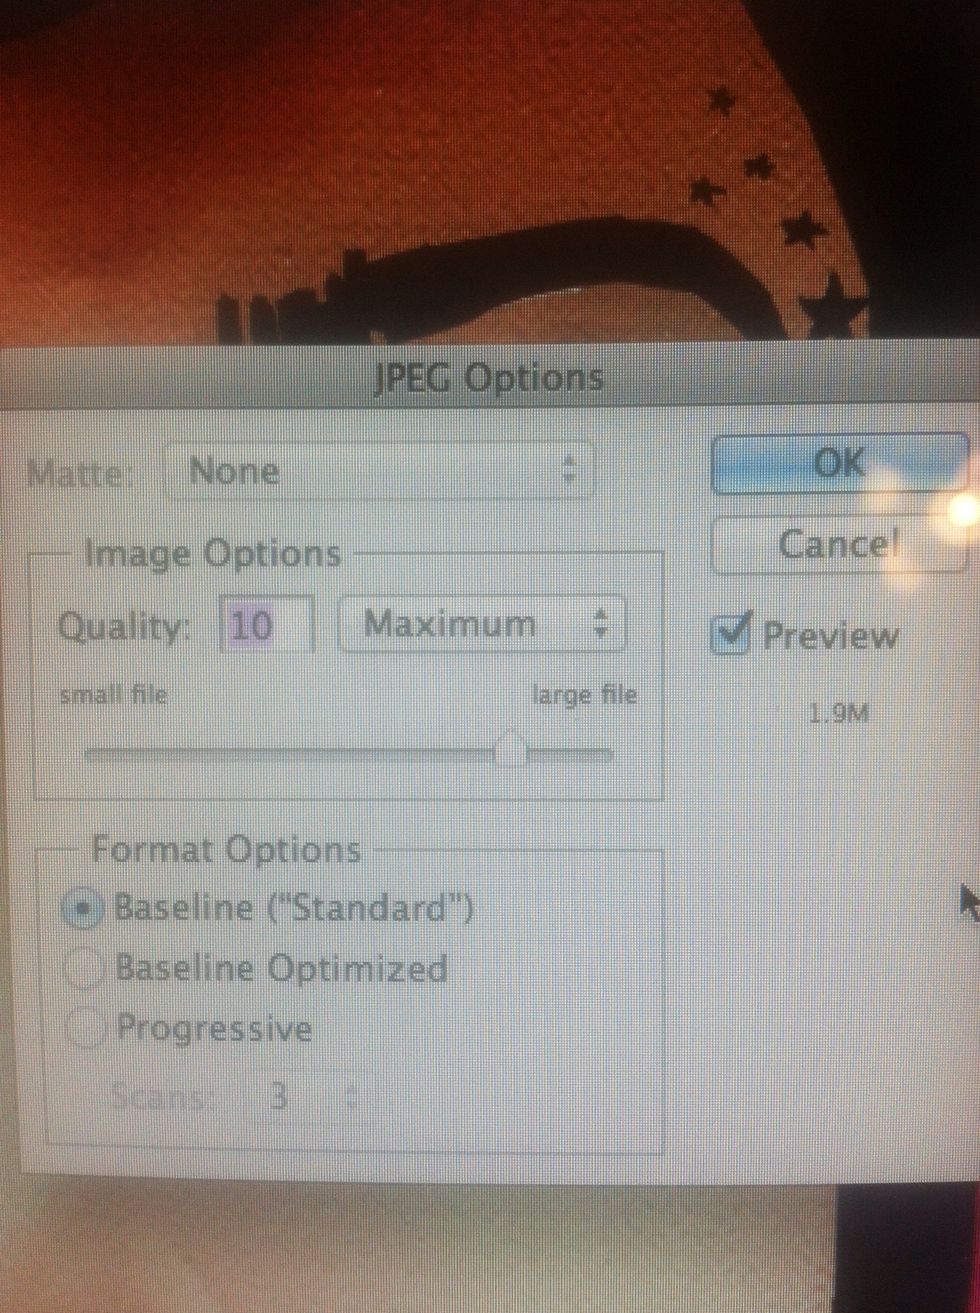
Save the newly made file at a high size like 9 or even 10 and you're golden.
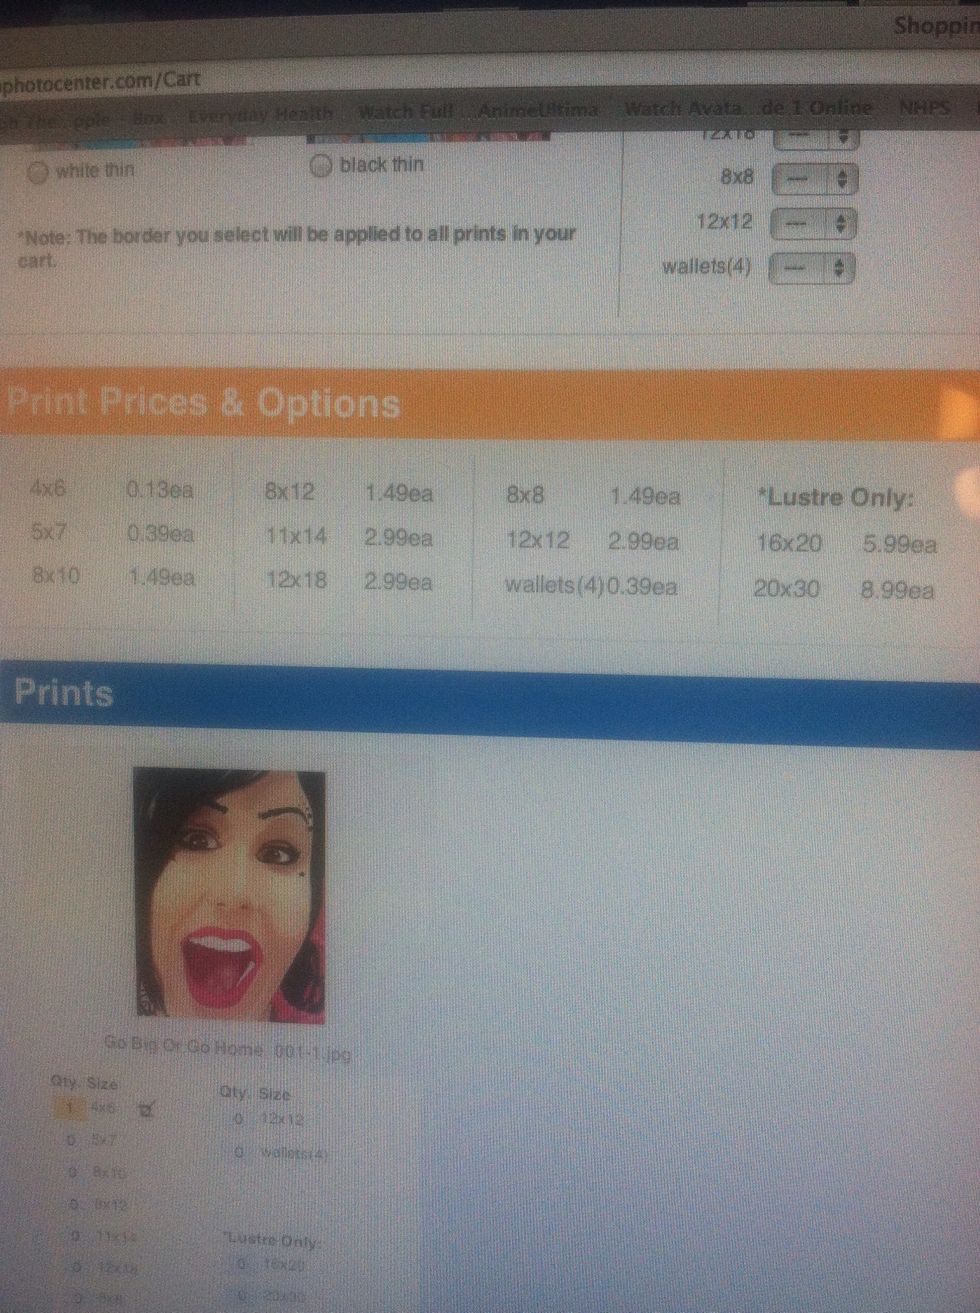
From there now I can print. Larger prints tend to get costly so I just go with Costco. Note: Apps like Sketchbook Pro and Procreate give you a larger default resolution to work with...
...so you can increase your print size even higher. With those apps I can print as big as 48 x 36. You just have to remember the limitations of each app. As they upgrade the resolution will too.
Lastly there's an app called Perfect Resize that adds pixels to an image. So you could technically bypass those limits. I have yet to try it yet though.
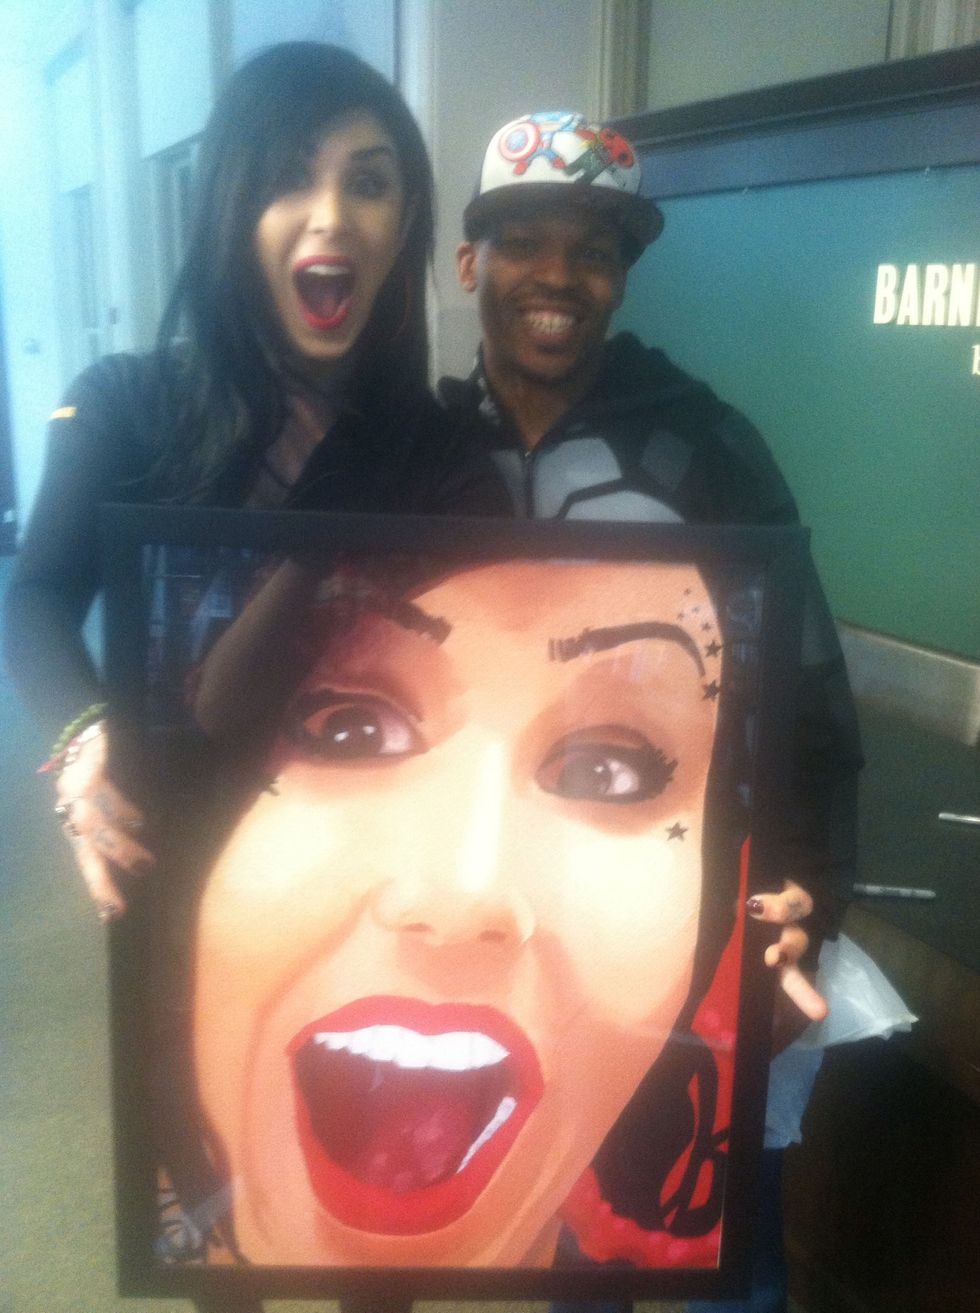
Hope you enjoyed the guide. Please feel free to leave feedback and ask questions. See more of my work at http://raheemnelson.com.