The Conversation (0)
Sign Up
First let's open Procreate.
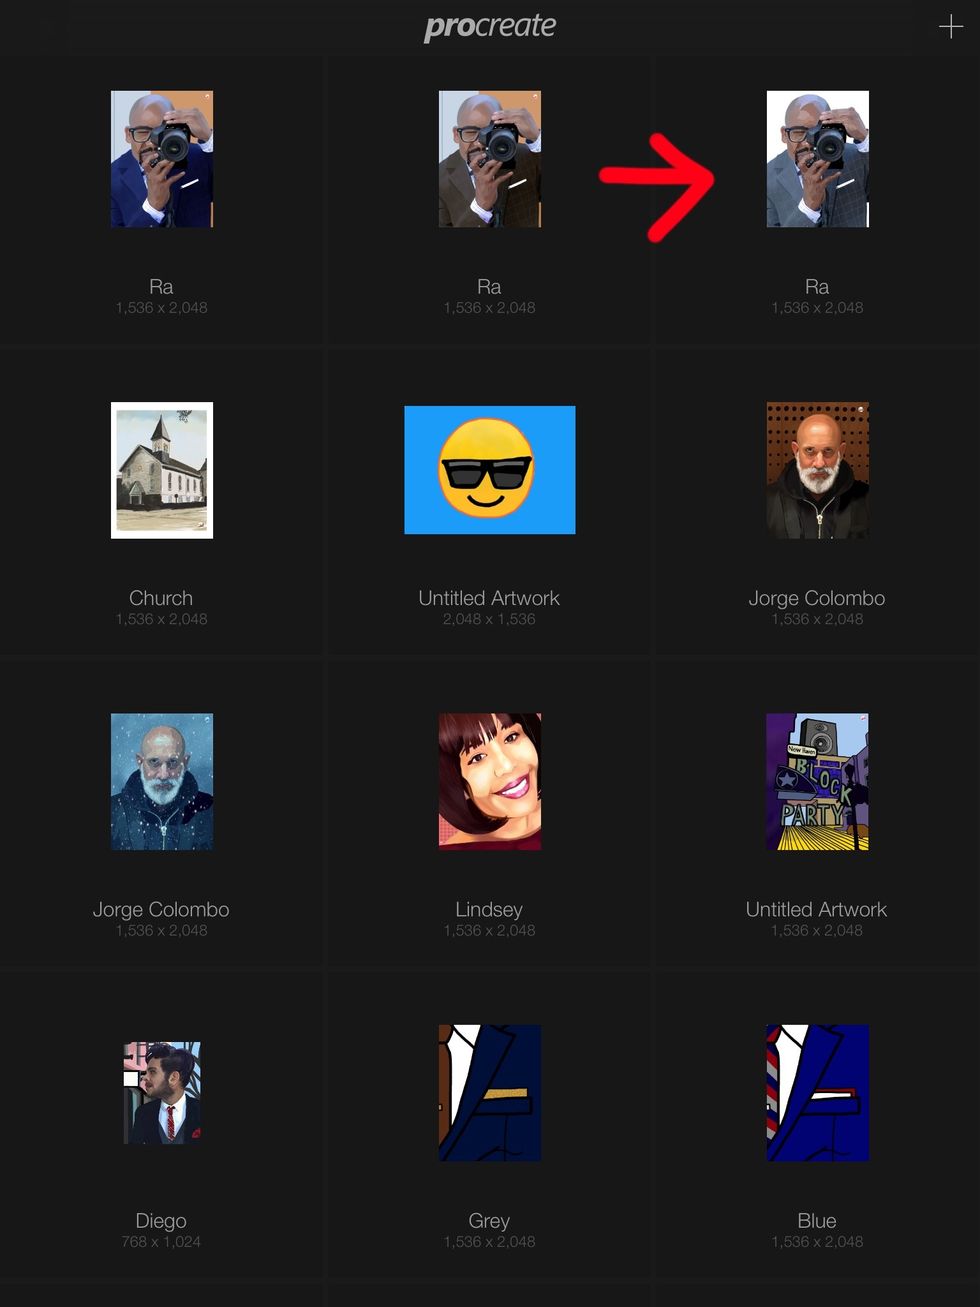
Now let's open up one of my finished portraits.
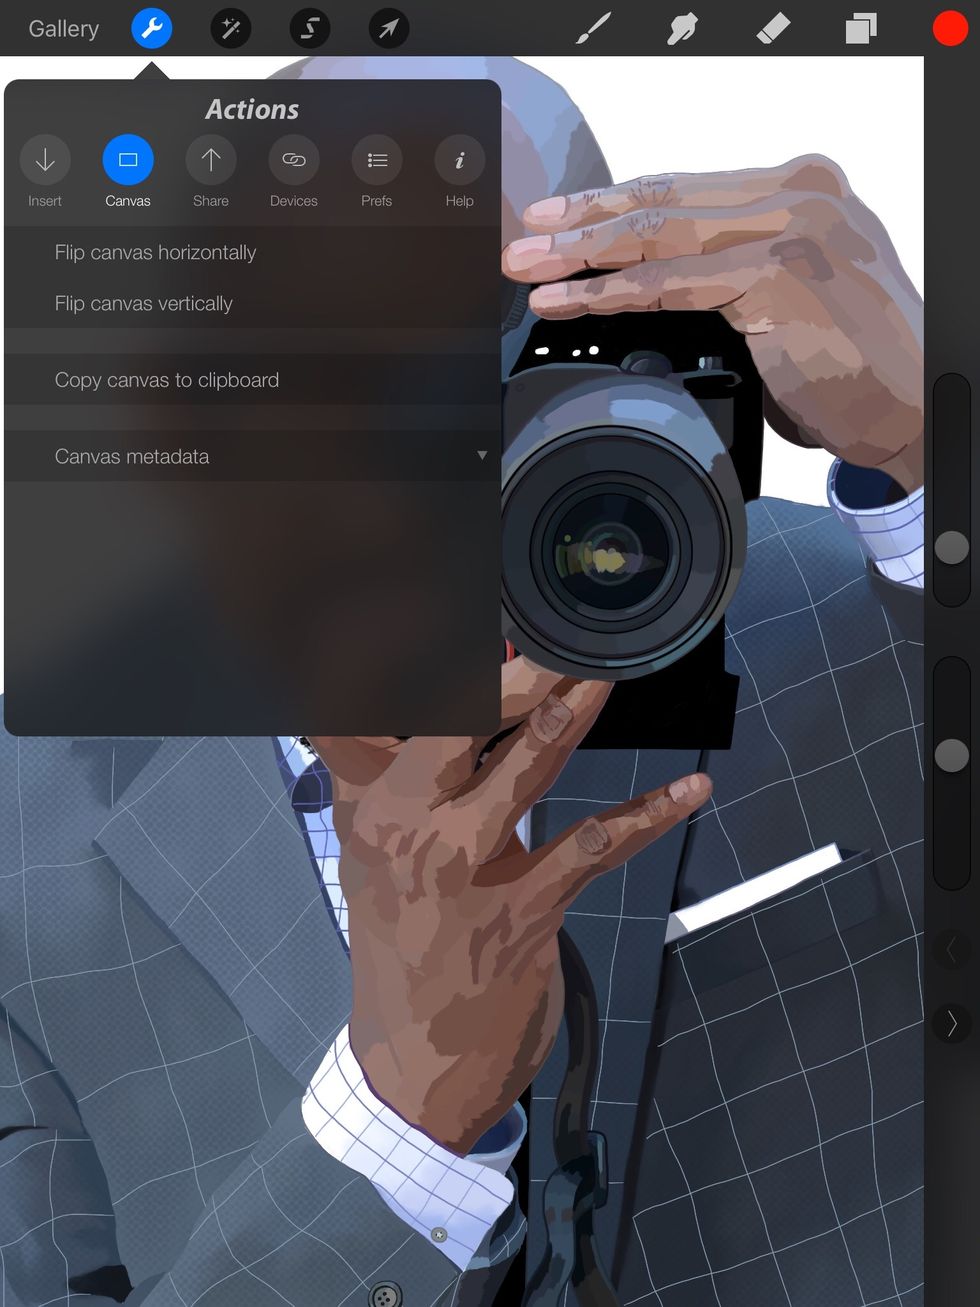
Let's take the finished portrait and flip it horizontally first. It's under Actions/canvas and then flip horizontally
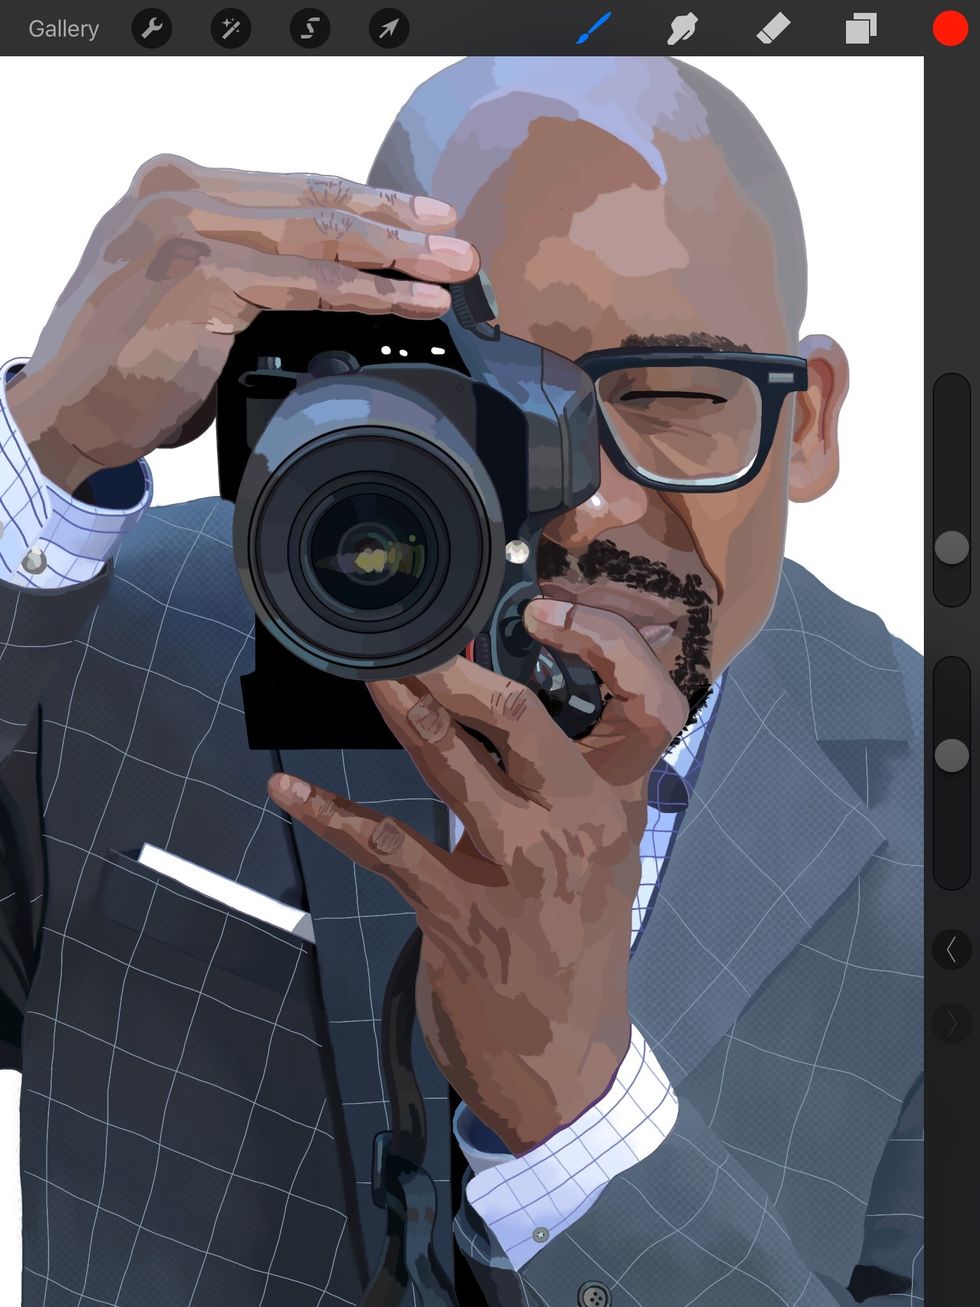
Now it's flipped.

With a new layer I sketch over my painting.
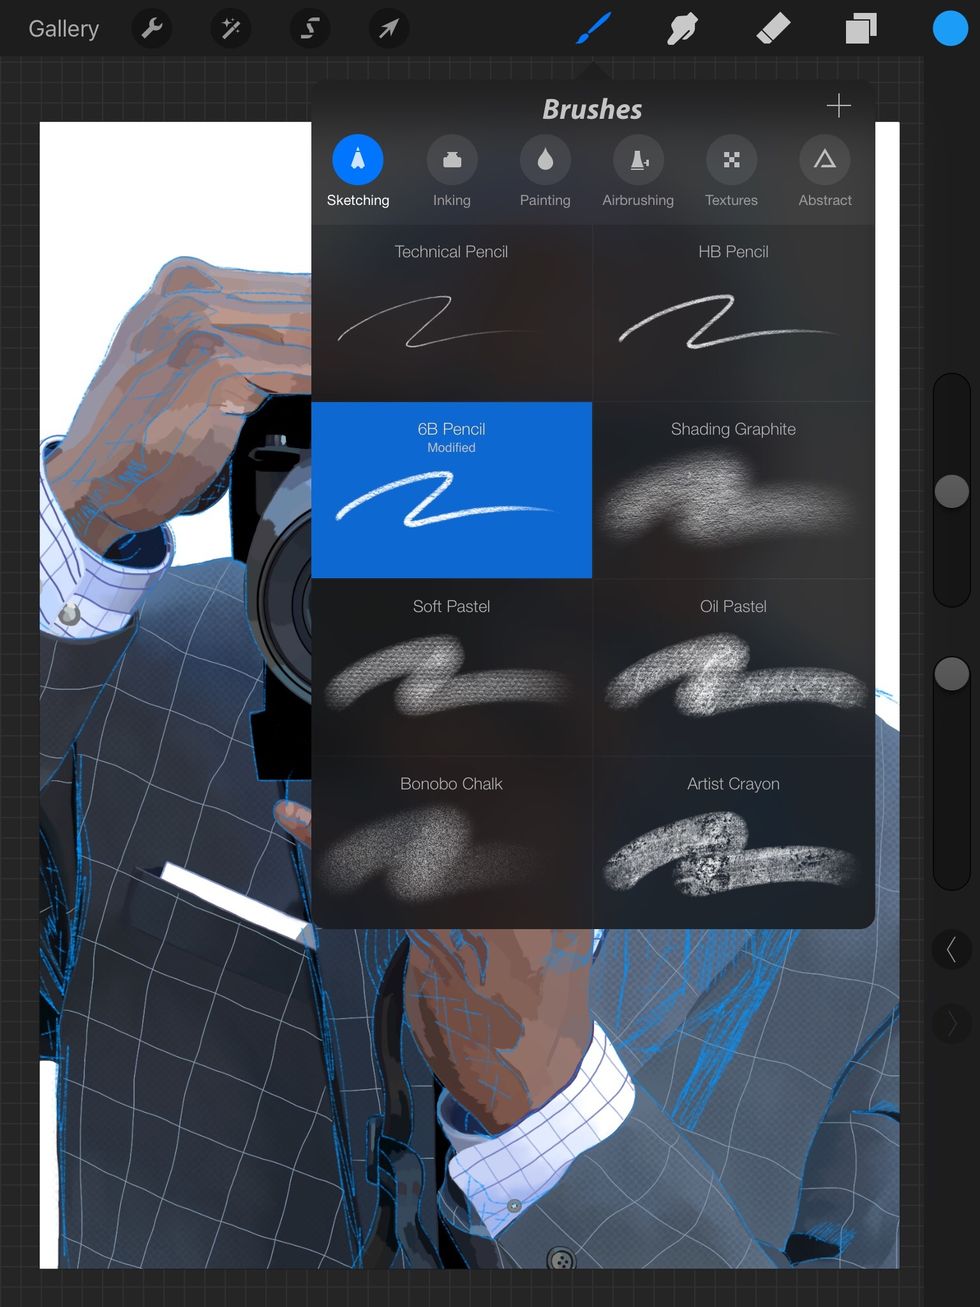
Here's how the tool looks. Under the brushes settings I choose the sketching tools and then the 6B pencil. I use a light blue because it's an old comic book trick for a rough sketch.
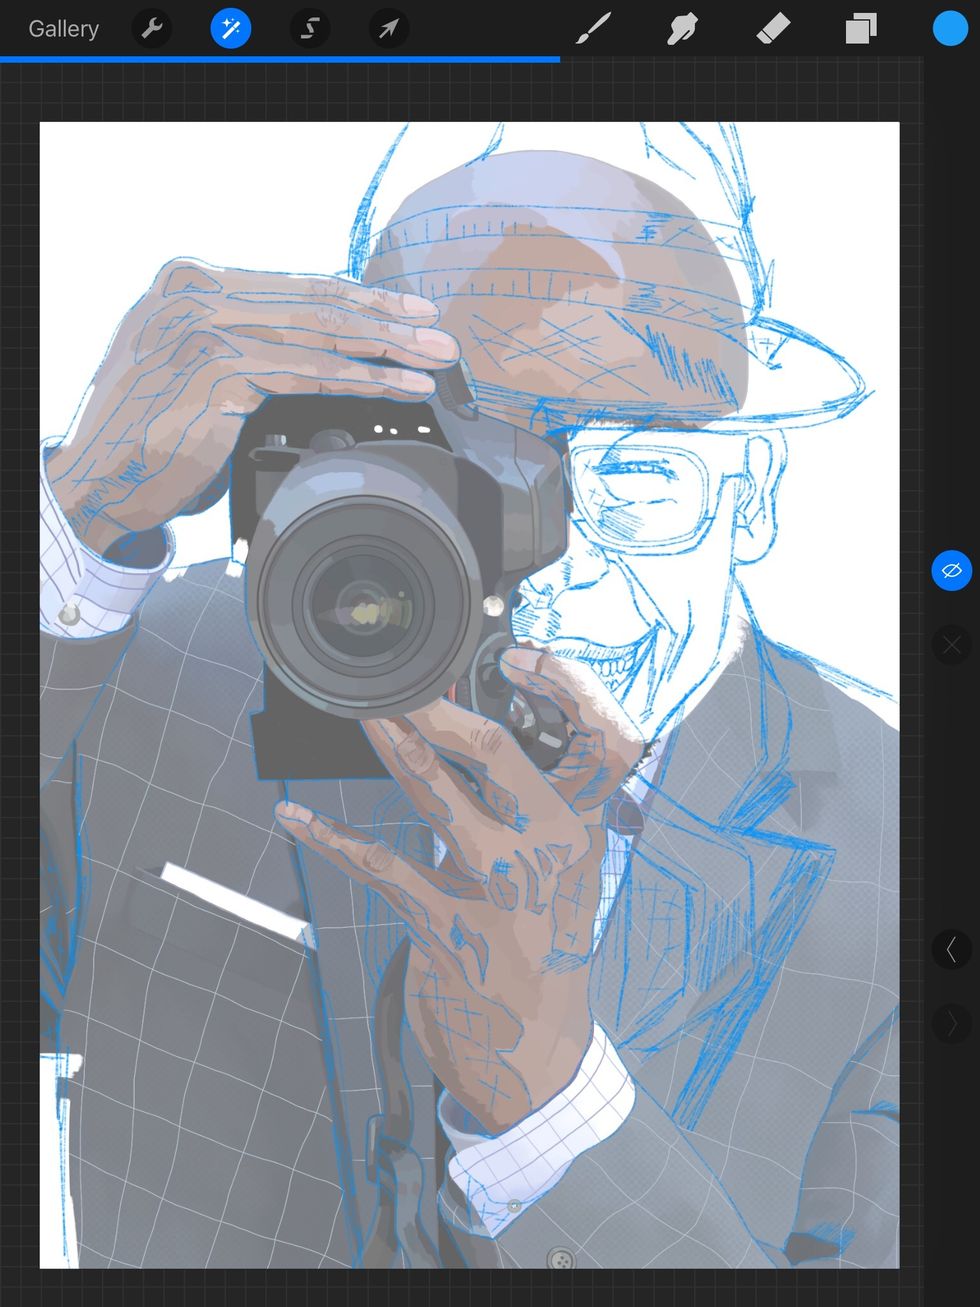
Now I go back to my "painting layer and adjust the opacity. I can see my sketch better now.
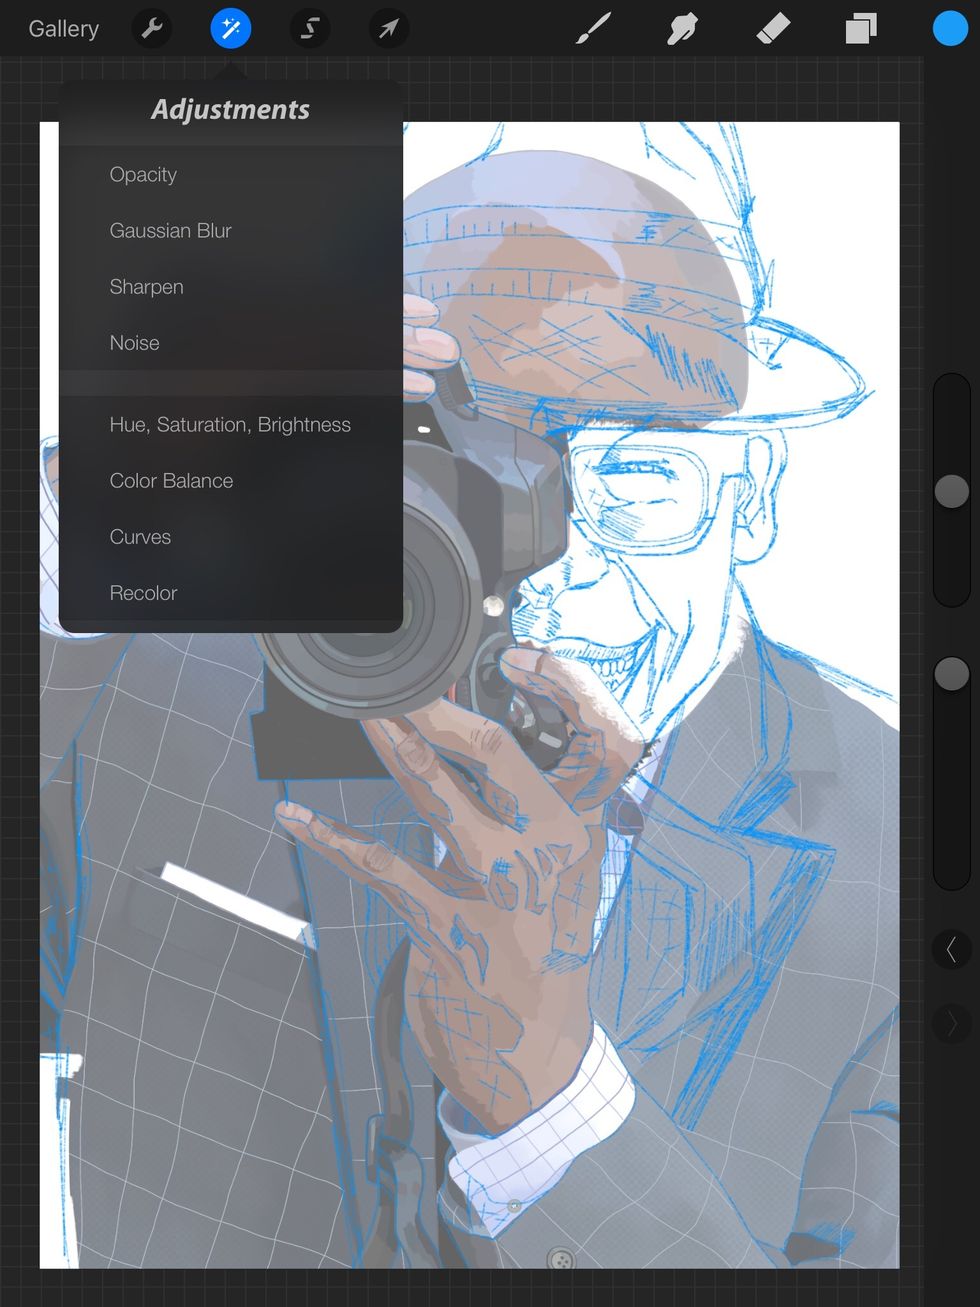
It's under adjustments btw or you can tap two fingers on the screen to bring up this menu. Dragging your finger left or right chances the opacity.
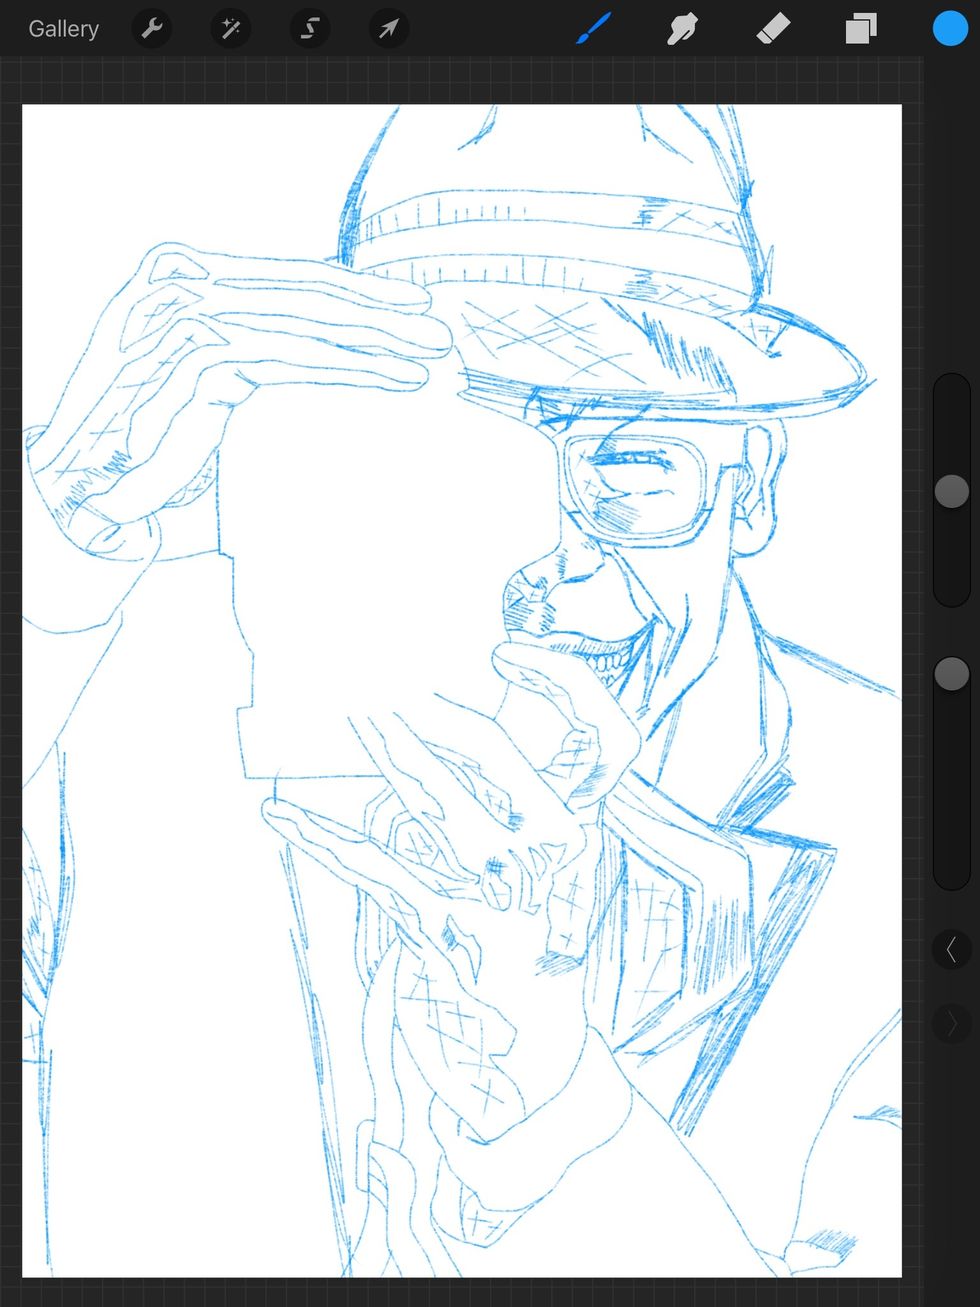
Next I delete layer one. I'm left with my blue sketch.
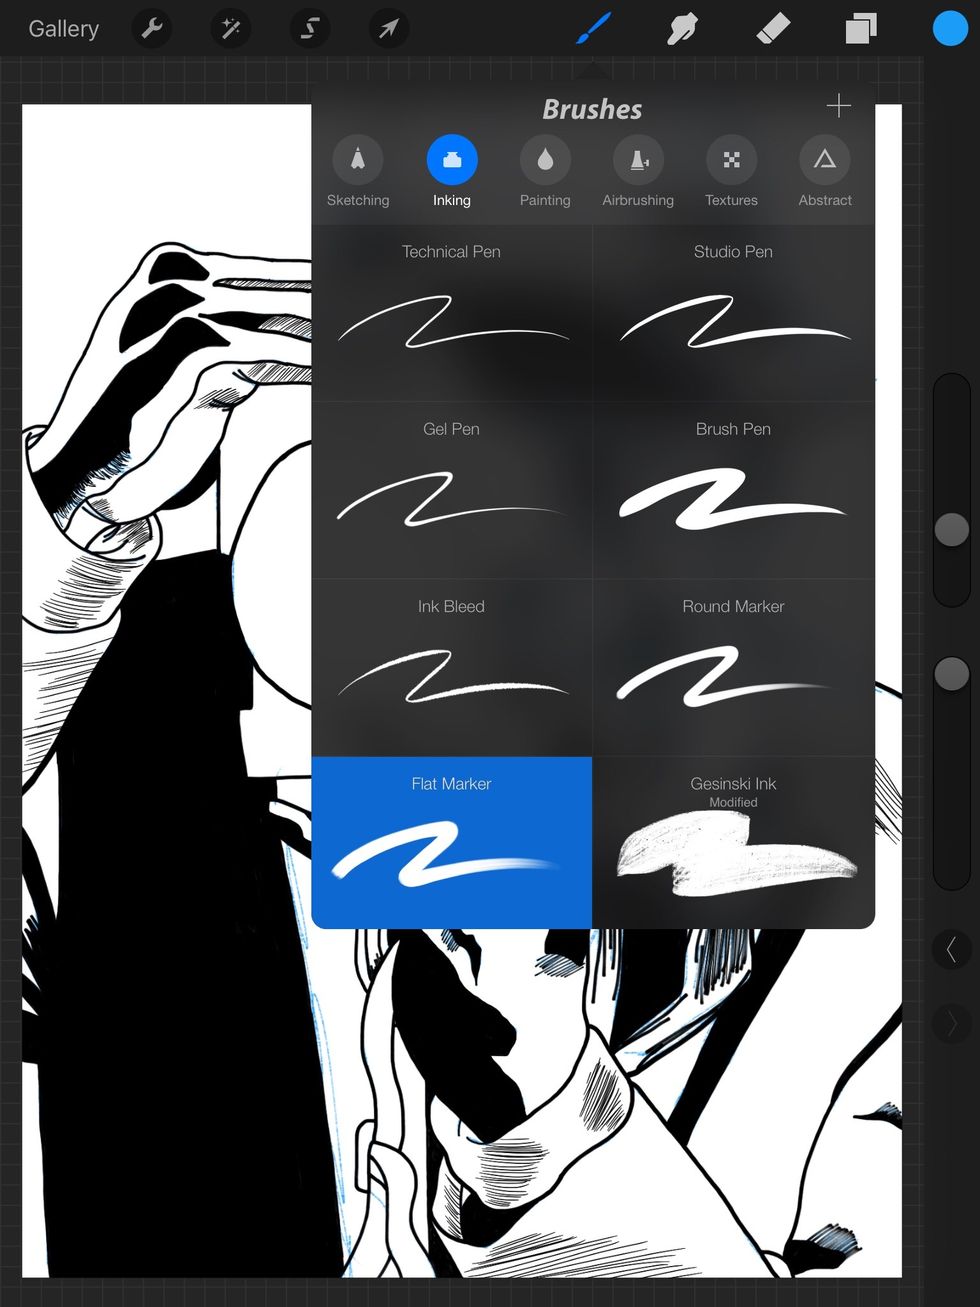
Now I create a new layer two start "inking." That is under the inking tools. For this illustration I will be using the flat market and technical pen.

Here's the completed ink layer with the blue layer underneath.
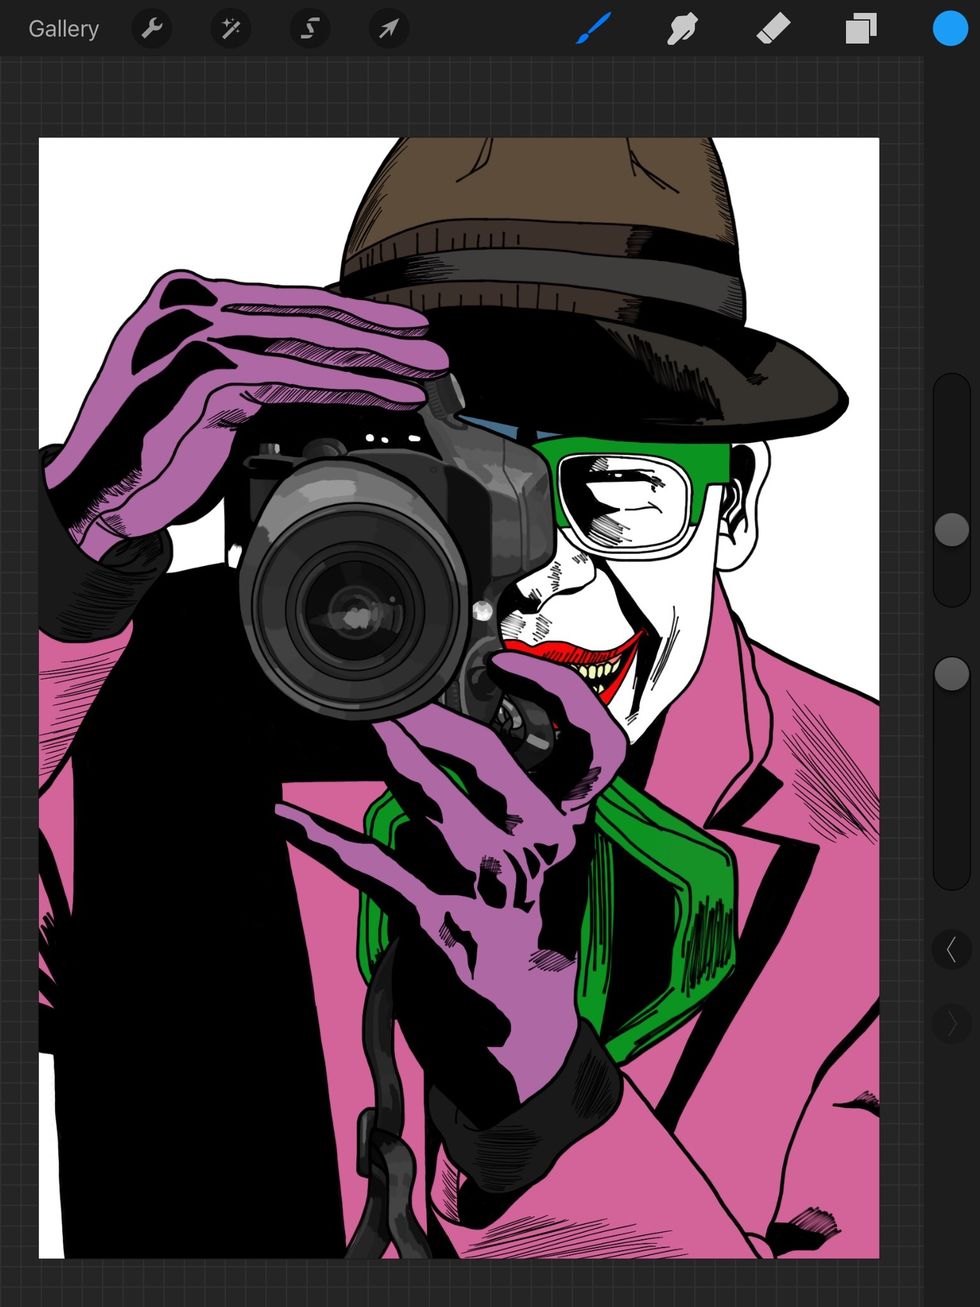
Next I create a new layer so I can color. Be mindful that this layer needs to be underneath the ink layer. I no longer need the blue pencil layer so I delete it. These are my flat colors.

Next I create another layer for the background. Again this is all the way on the bottom.
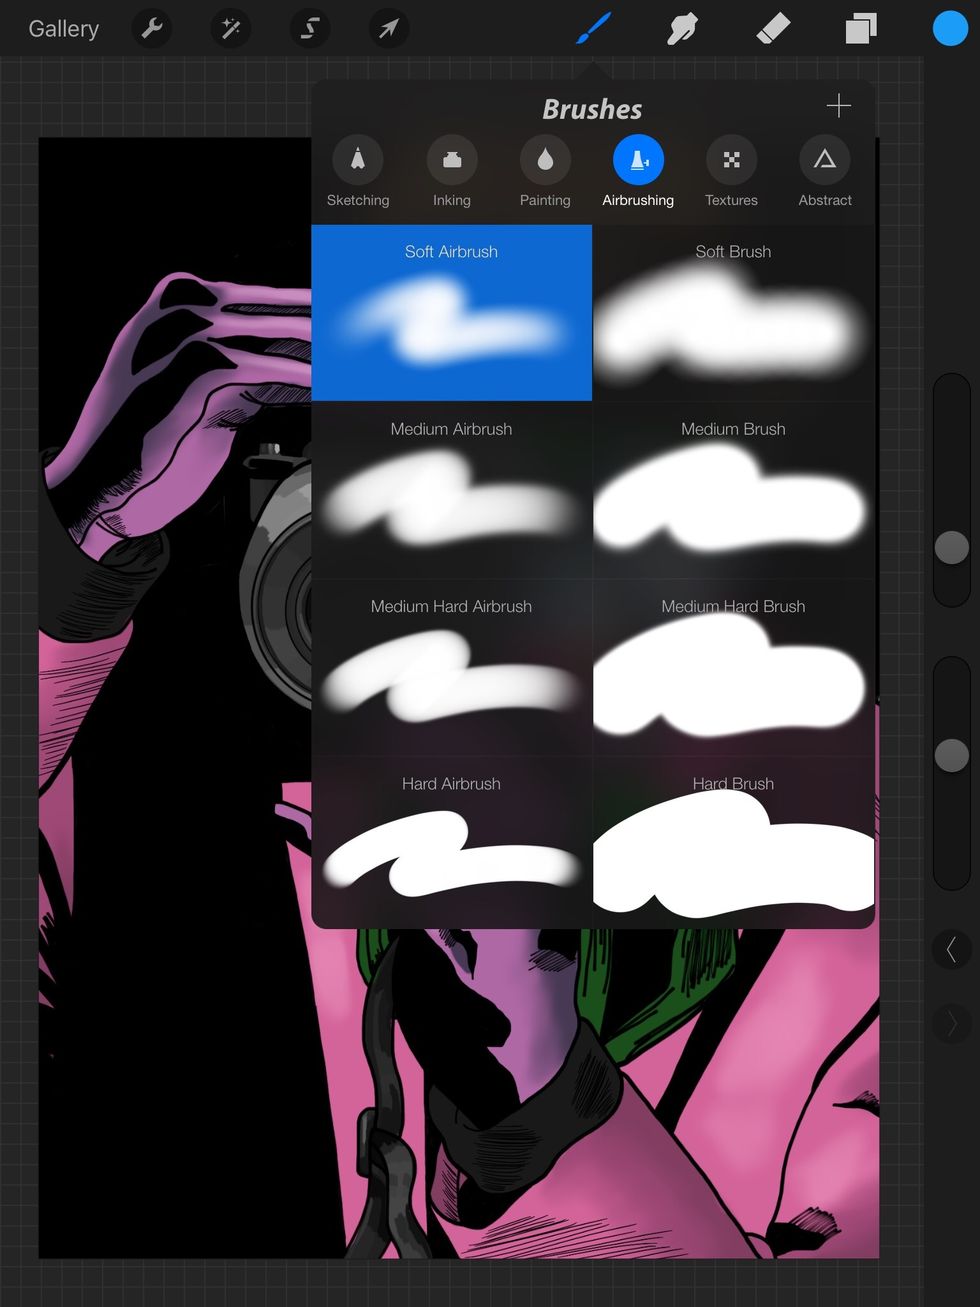
Now I start the highlights and shadows. Make a new layer and put it on top of your "flat color" layer. I'm going for a comic book feel so I choose the soft and medium airbrushes.
Keep in mind the second slider (right side of the screen) is about halfway. That is for my opacity. I do not want the colors to be full strength.
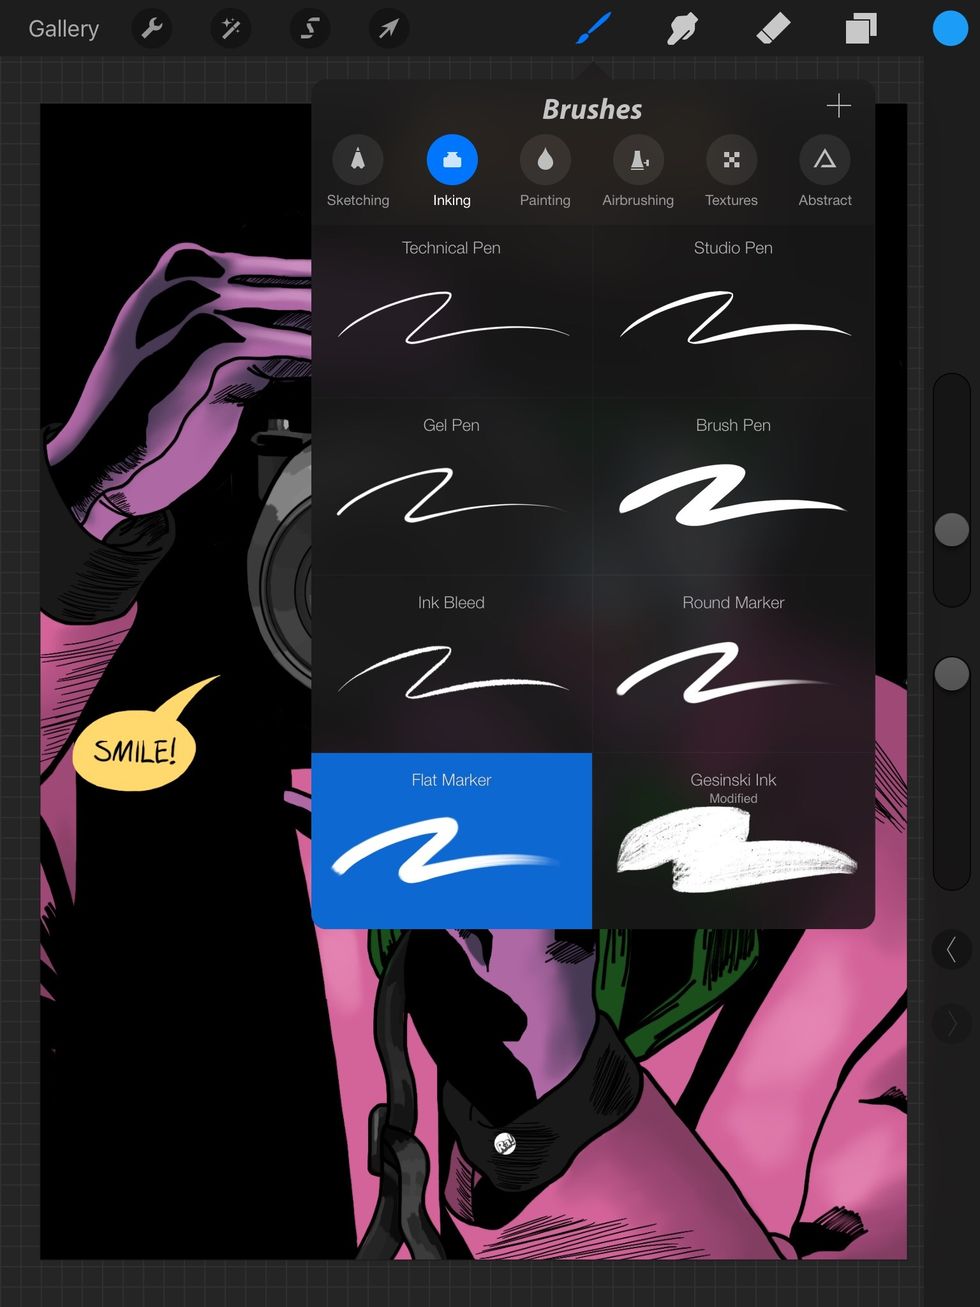
After that I freehand the word balloon with the "flat marker." Now, there are other apps like "Comic Book" that let you do fonts. Procreate does not yet have a text tool.
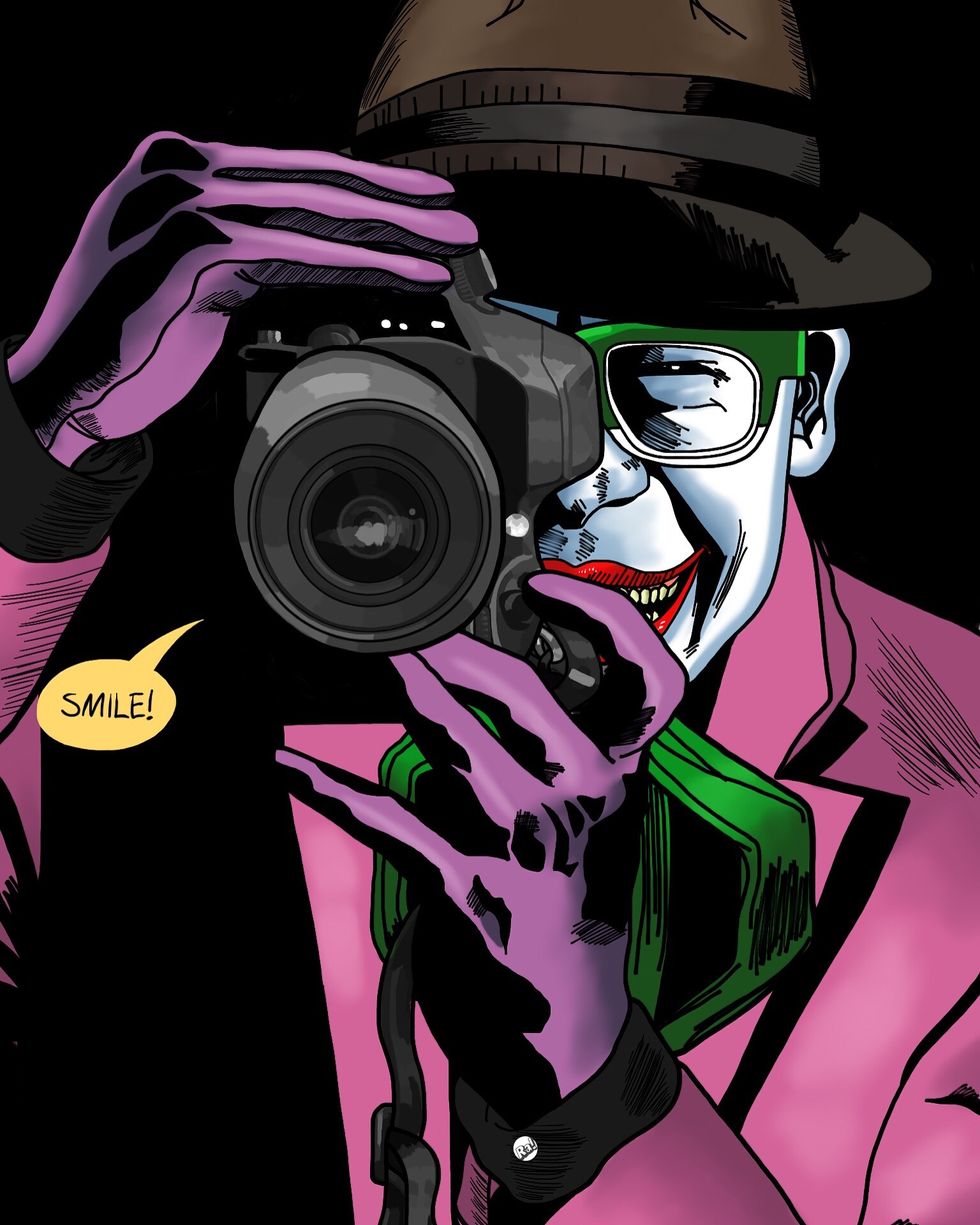
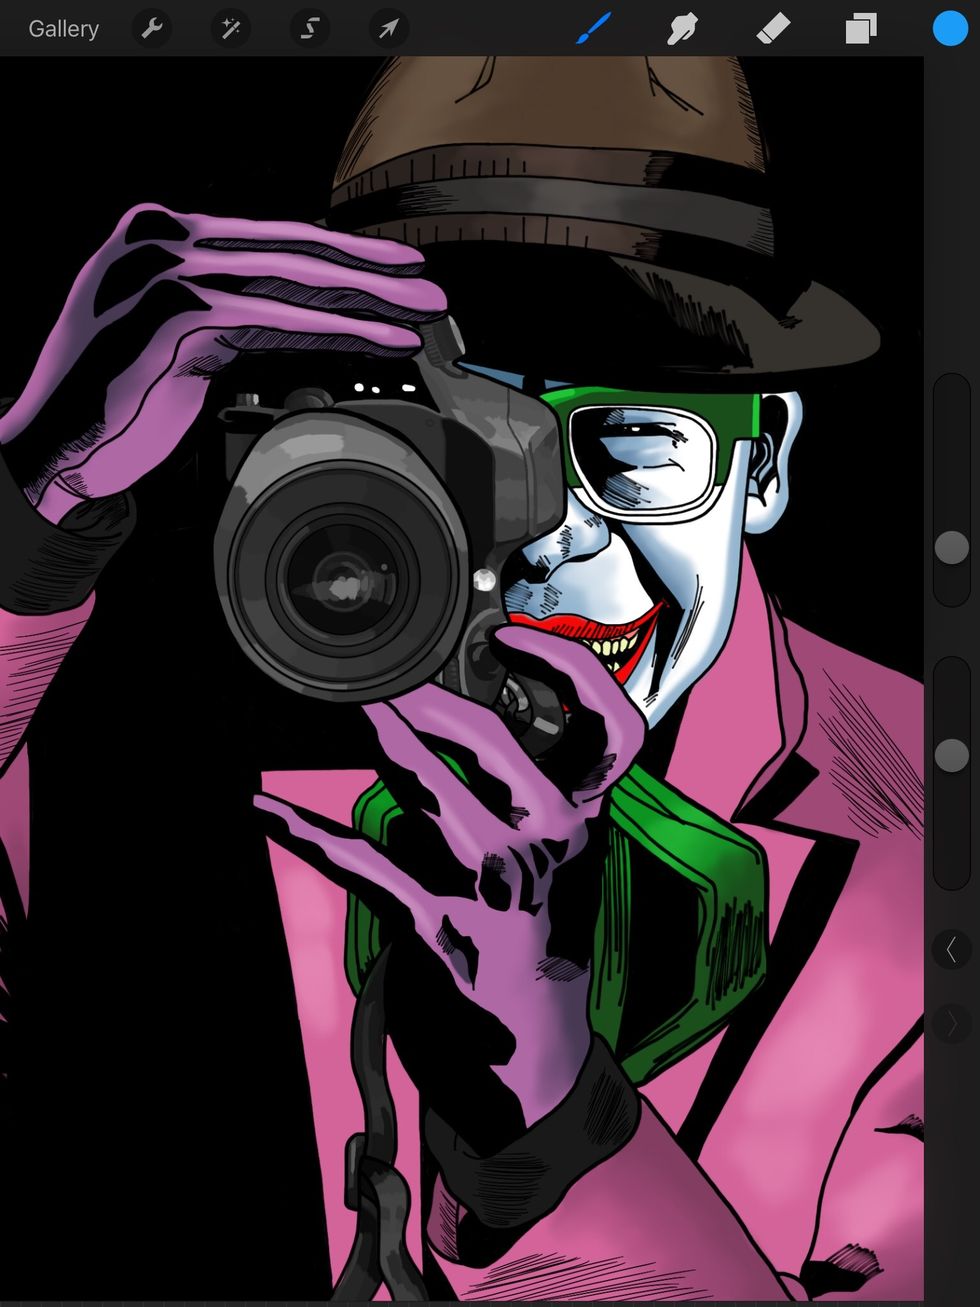
And here's the finished product! Procreate takes practice but is a lot of fun. Make sure to save your work in case you want to make changes. Check out my work at http://raheemnelson.com