How to replace lenovo ideapad yoga 11s keyboard
Replace Lenovo Ideapad Yoga 11S Keyboard
147
STEPS
TOOLS
Please be sure to check that you have the correct keyboard before attempting to fit. If in doubt, use this guide to remove the old keyboard and identify by the Part Number (PN:) then order.
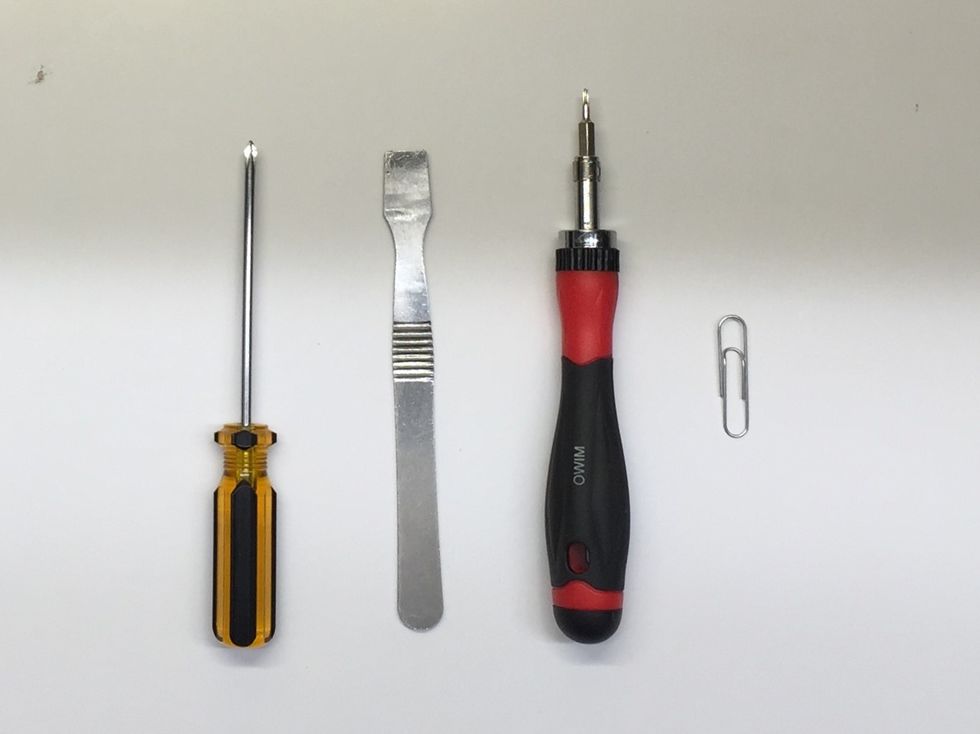
SUPPLIES: 1x Small Crosshead Screwdriver, 1x metal Spudger, 1x T5 Torx Screwdriver and 1x Metal Paperclip
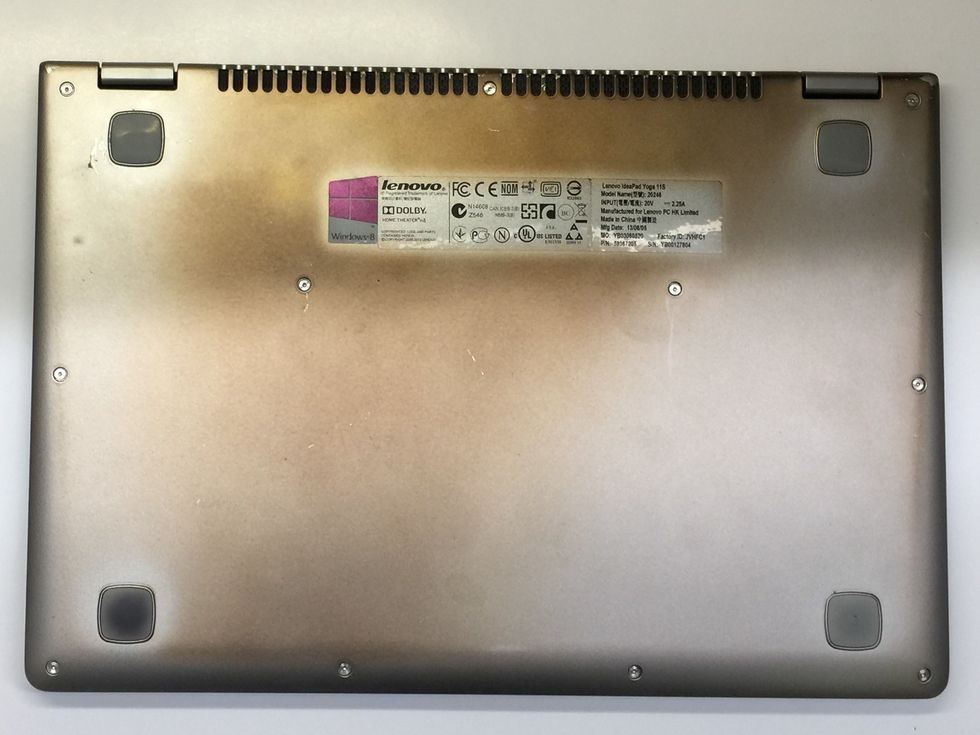
Lay the laptop, lid down on a stable, flat surface with the bottom facing up.
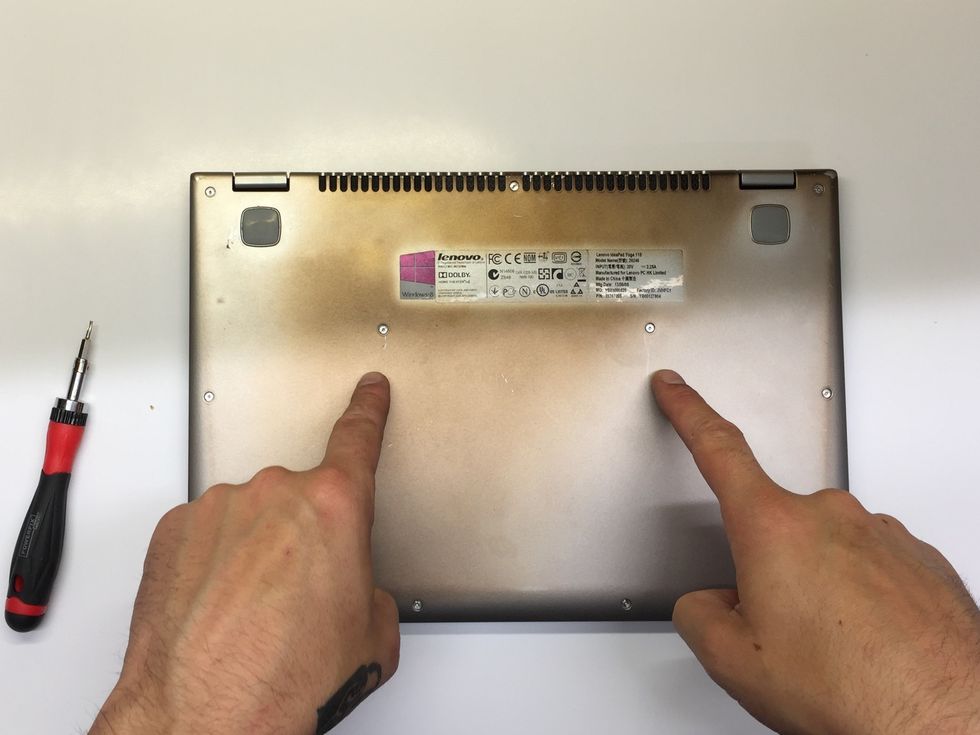
Identify the two T5 Torx Screws holding the keyboard in place
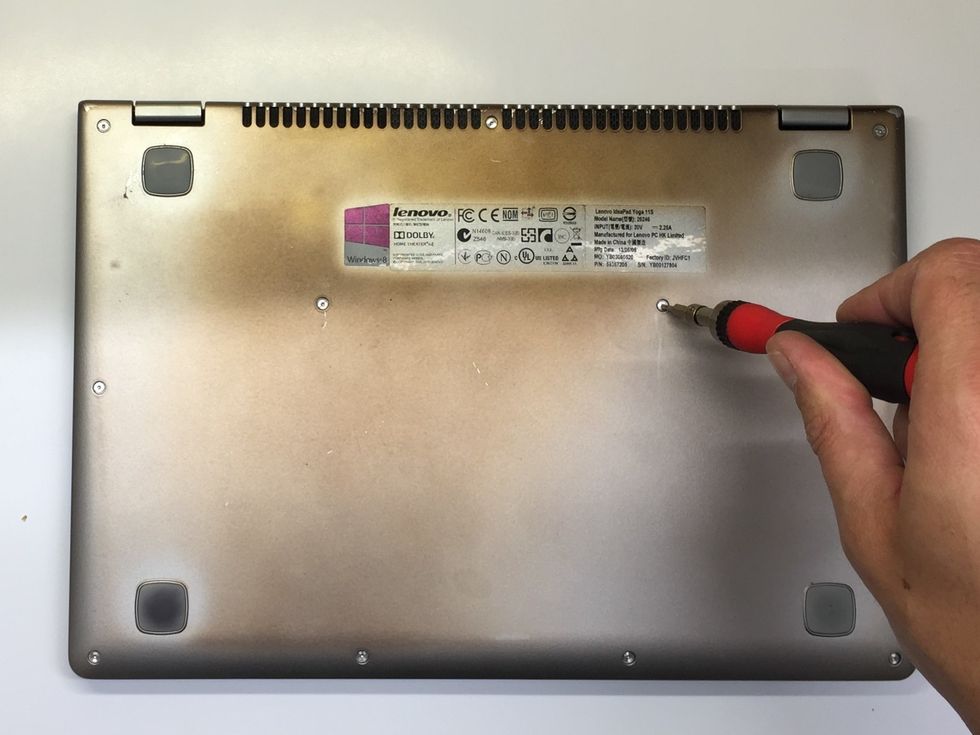
Remove each of these two screws with the T5 Torx Screwdriver. Set them safely aside.
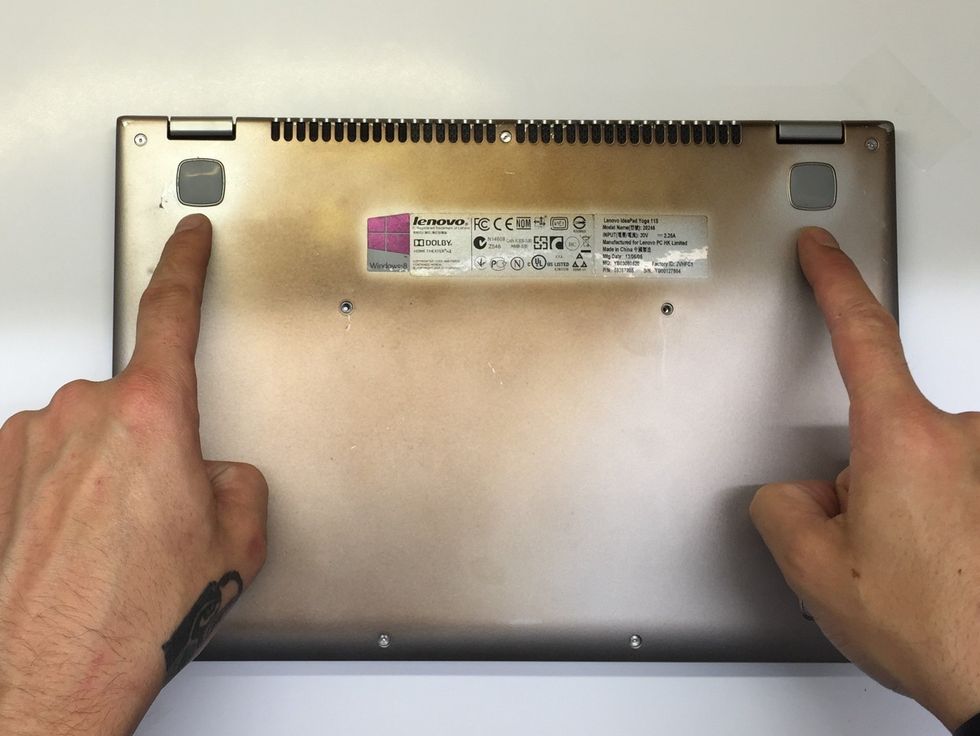
There is a screw under each of the two 'feet' in the top corners, we will remove these next.
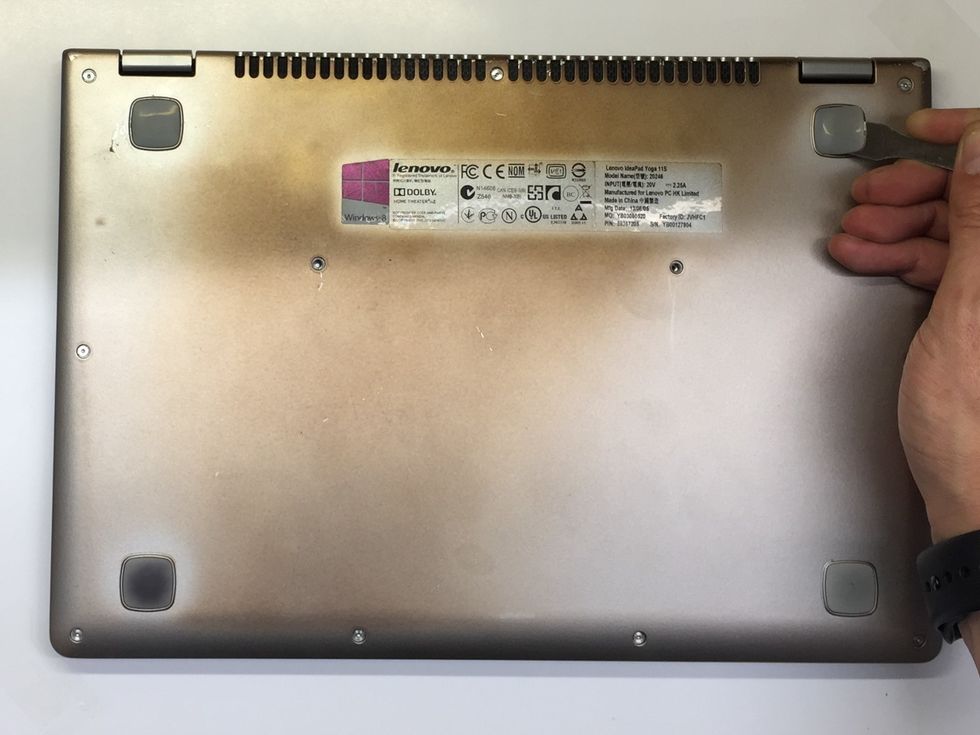
Use the Spudger (or similar) to remove the feet by inserting it into the gap at the edge of the rubber foot, then slide it under and lift. On my Yoga, this was easy, but yours maybe a little stickier
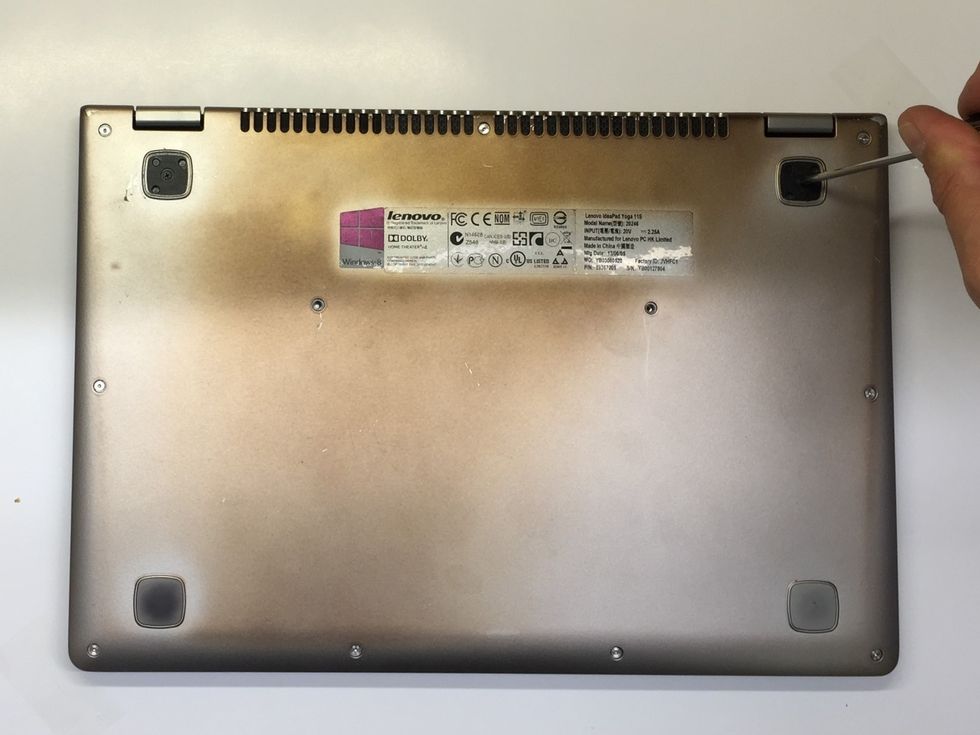
With the rubber feet removed we can now see the two black crosshead screws. Remove these with the crosshead screwdriver and carefully set them aside.

Straighten out the paper clip a little. I like to form this shape as it gives me something to push my thumb against.
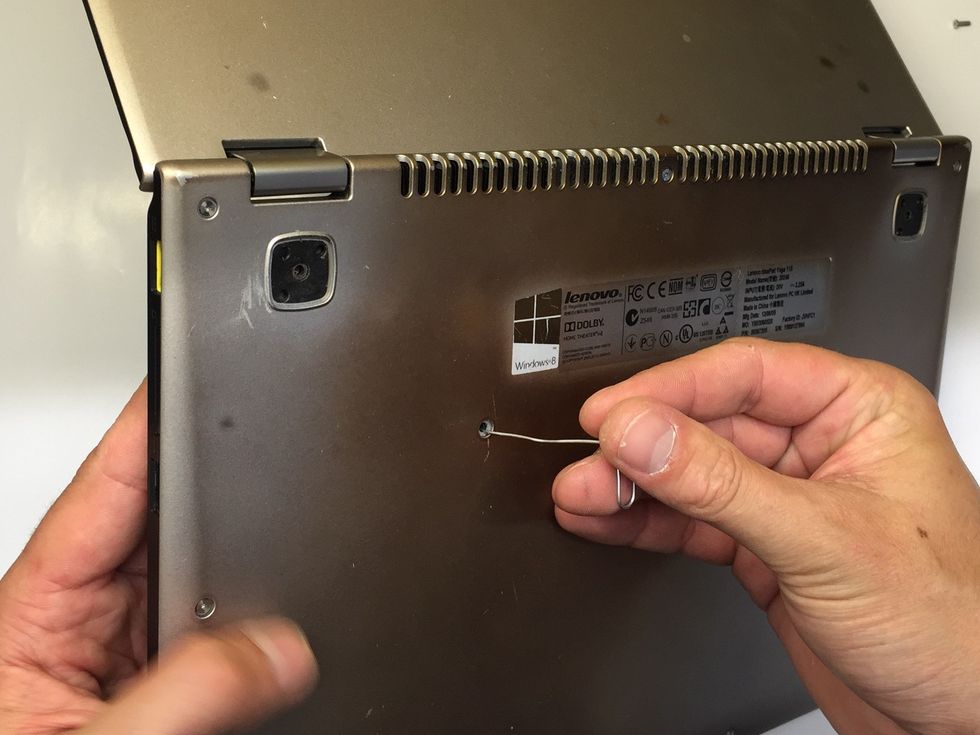
With the lid open & the laptop raised of the surface carefully push the paperclip through on of the two middle holes, this will push the keyboard out from the other side
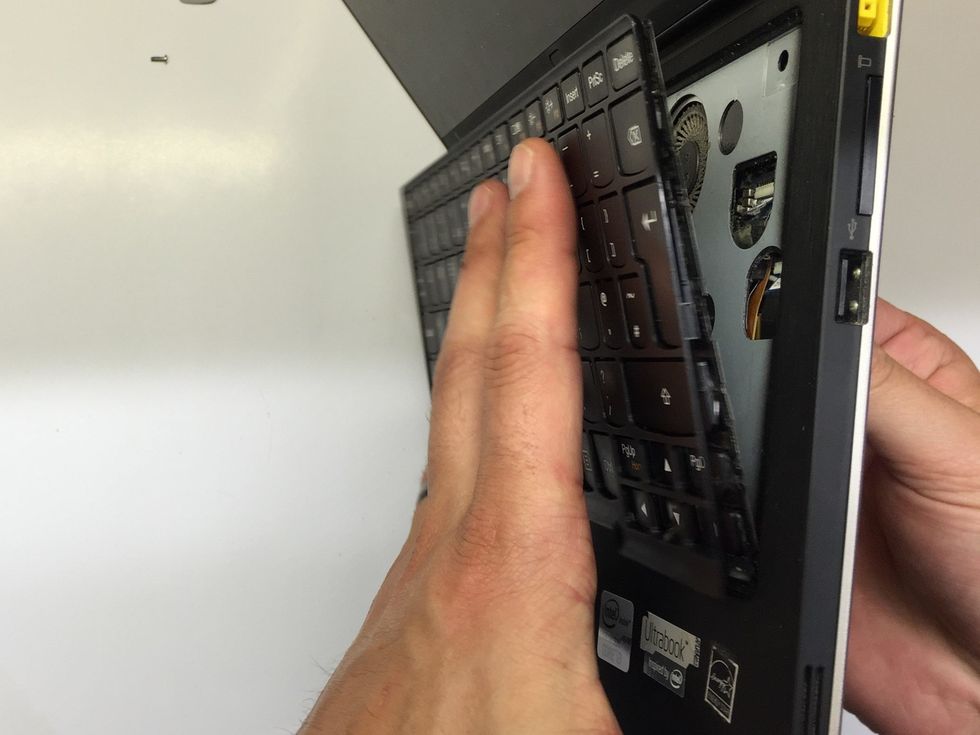
Support the keyboard as you push the paperclip through so it does not drop away from the chassis as it is still connected by a ribbon cable.
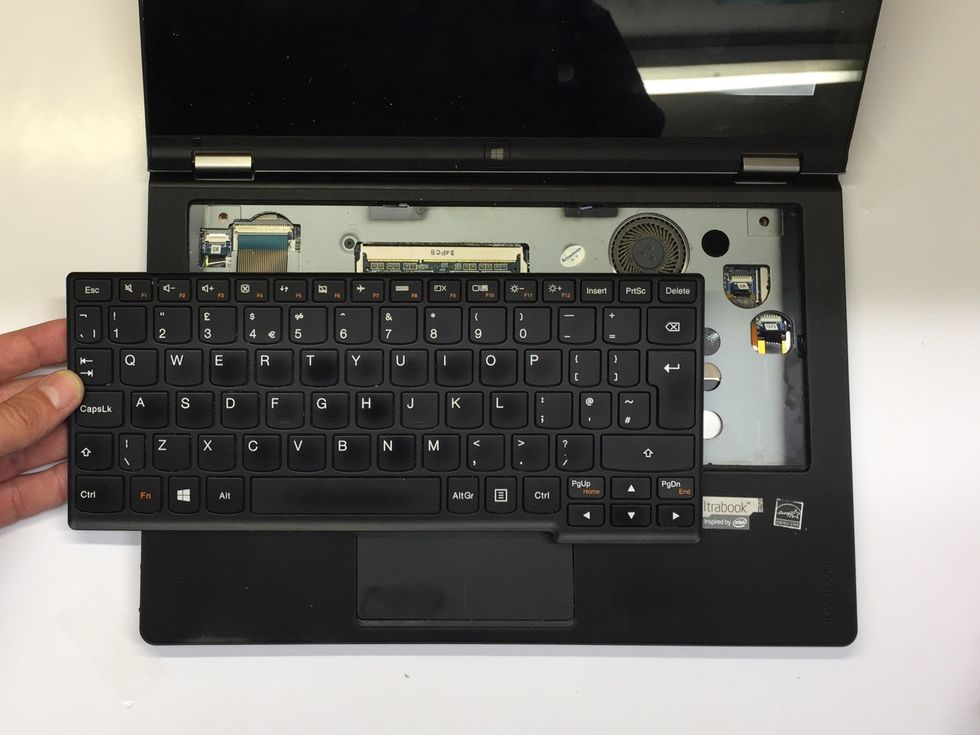
With the keyboard lifted from the chassis, sit the computer down in the normal operating position as shown. Lift the keyboard and move it down and to the left.
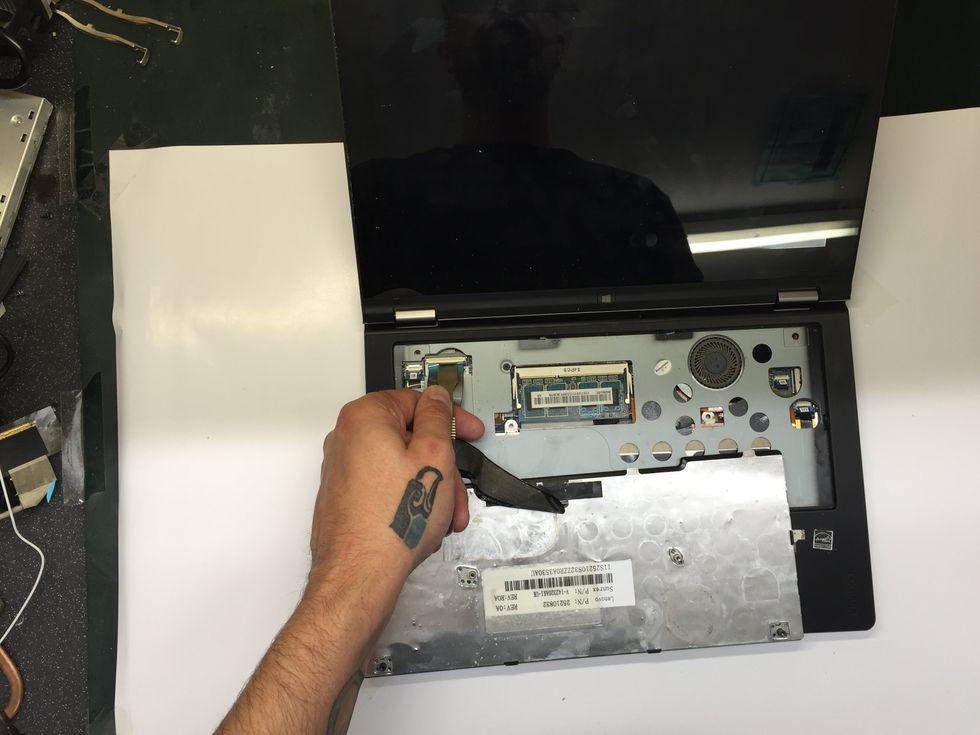
Turn the keyboard over and lay it keys down onto the palm rest. Follow the ribbon cable back to the upper left. Use the Spudger to lift the latch on the socket. BE VERY CAREFUL TO NOT DAMAGE IT!
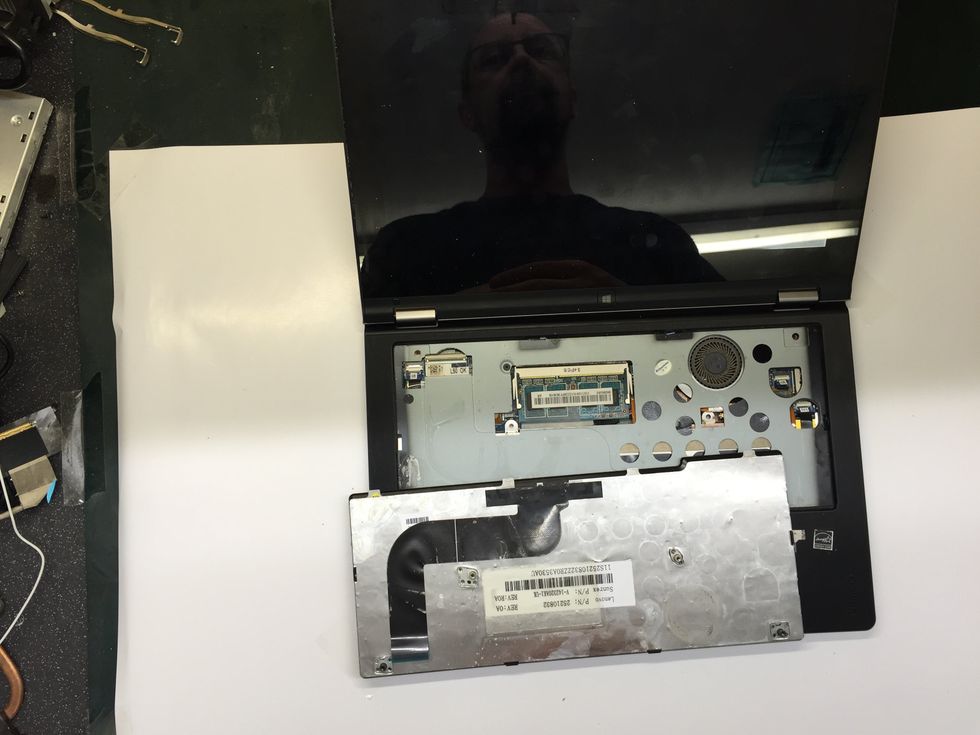
With the ribbon cable disconnected the keyboard is now fully removed from the chassis. Reverse these steps to fit your new keyboard.
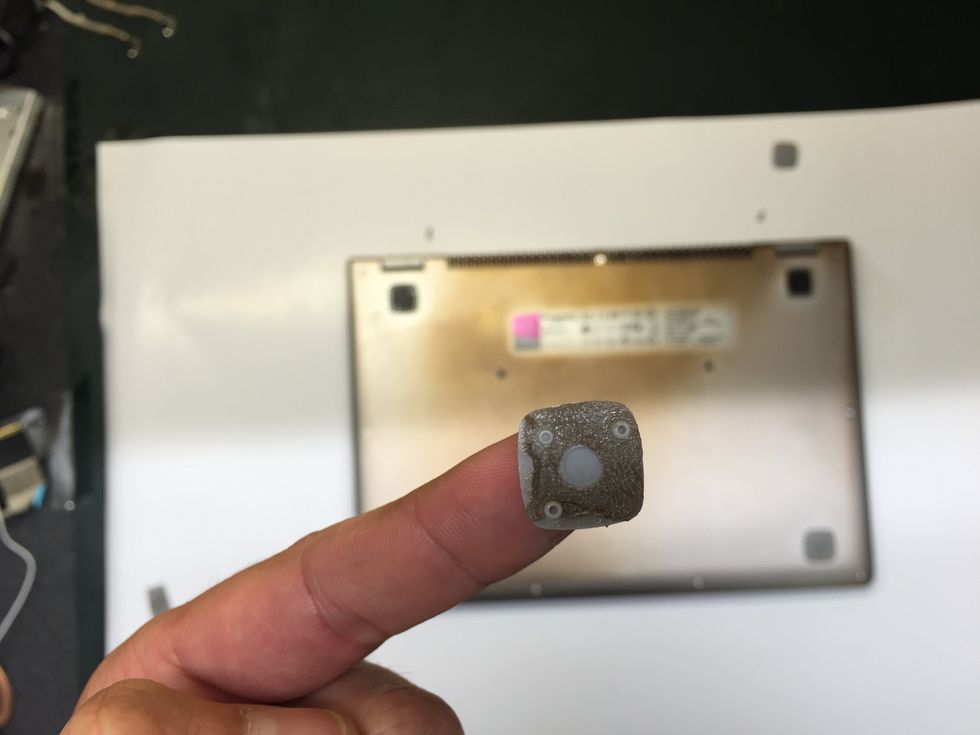
NOTE! When replacing the rubber feet, take note of the orietation of the dots and make sure to line them up on the chassis. If you do not, the feet may come away and get lost.
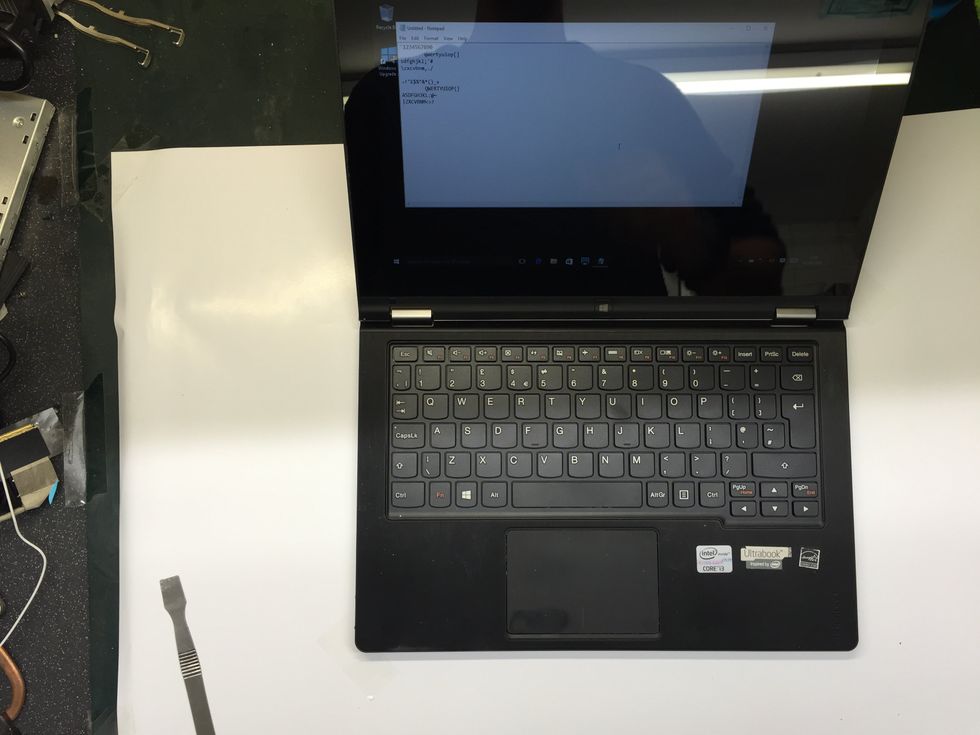
There you go, all done! Easy peasy!
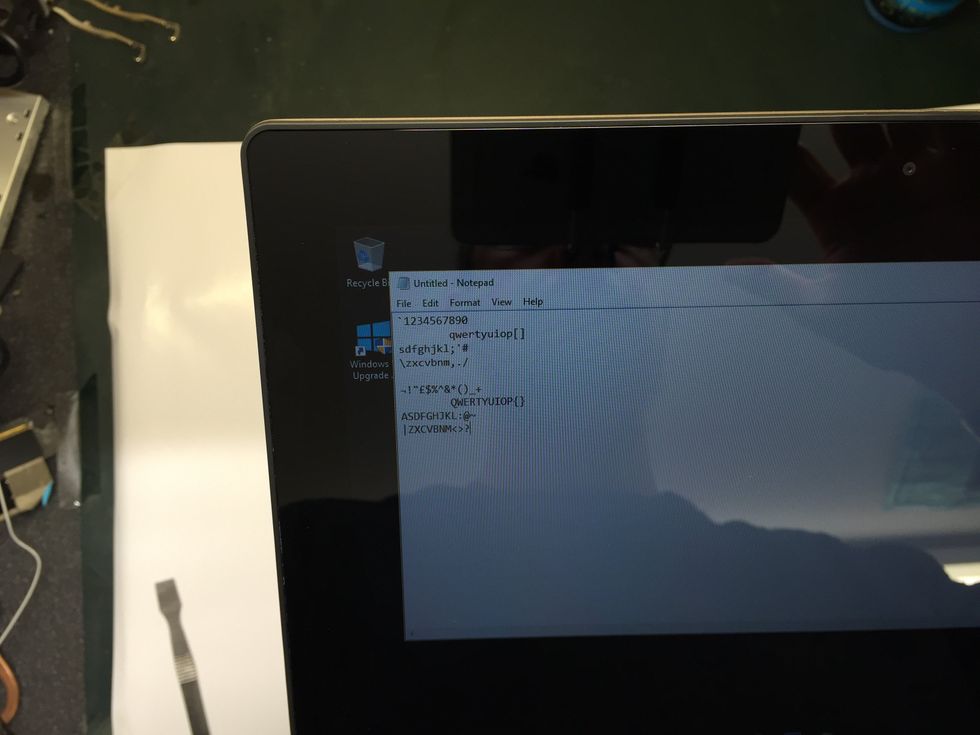
Make sure to test all the keys. If the keyboard does not seem to be working properly, disassemble and reconnected the ribbon cable again.
Thanks for reading through this guide. Hopefully you have very it clear, helpful or at the least, interesting. If you have comments, they are welcome.
Also, please click the Heart or Share! You can also contact me on Twitter @danielrmitchell
- 1.0 T5 Torx Screwdriver
- 1.0 Small Crosshead Screwdriver
- 1.0 Spudger (or similar)
- 1.0 Metal Paperclip
- 1.0 Matching replacement Keyboard (PN:25210832)
Daniel R Mitchell
I'm a computer fixing guy, it's my job!
I also love painting Warhammer miniatures, especially Nurgle!
Bodmin, Cornwall
The Conversation (0)
Sign Up