The Conversation (0)
Sign Up
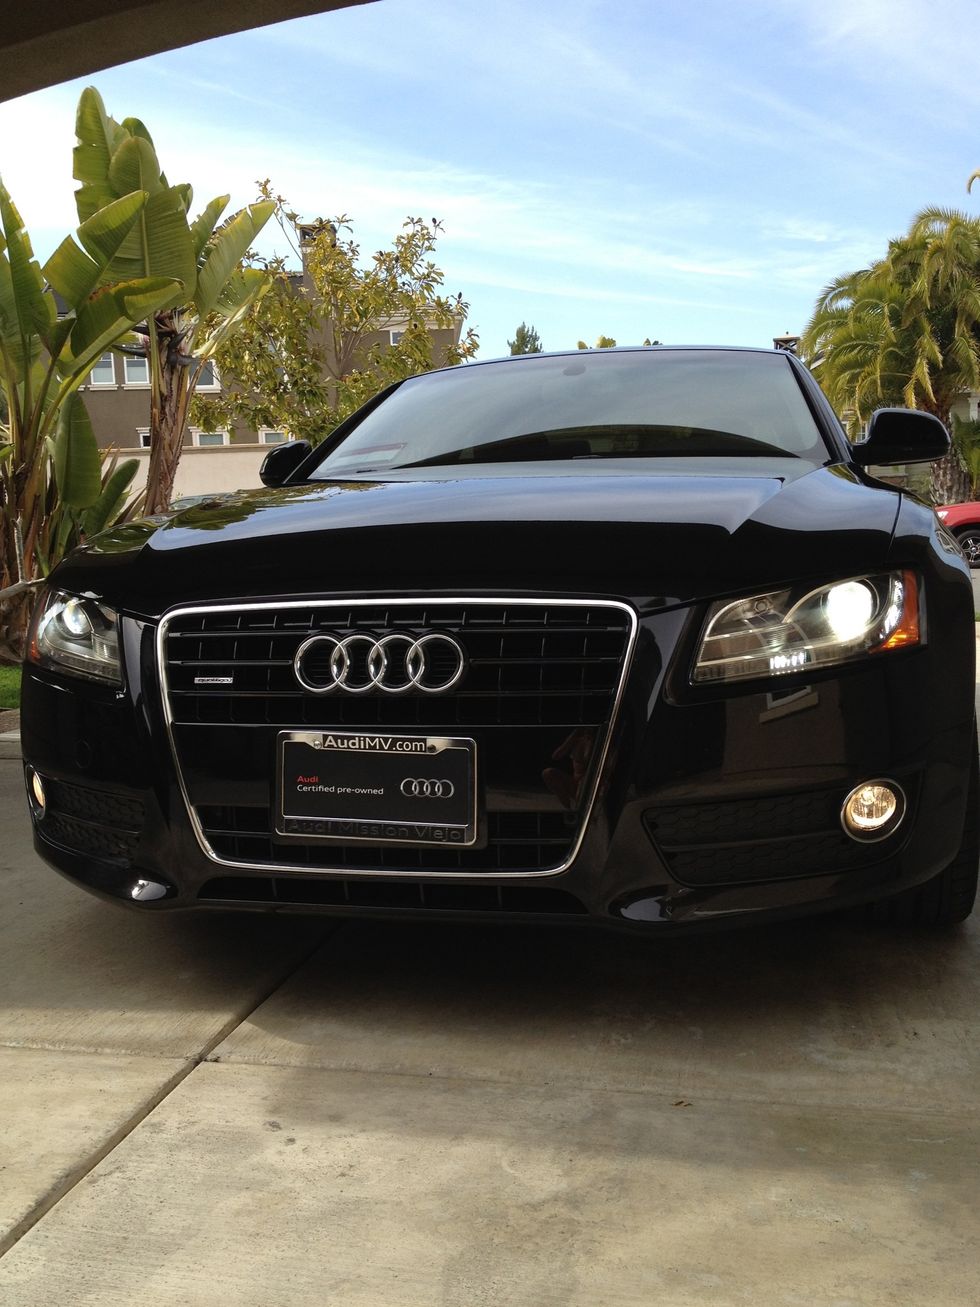
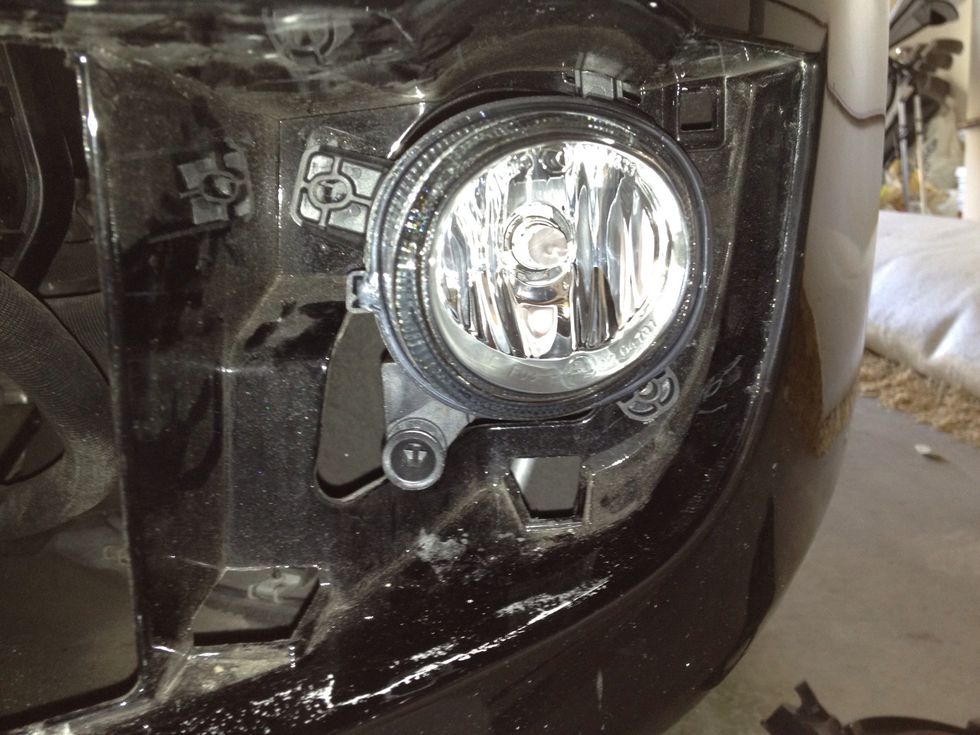
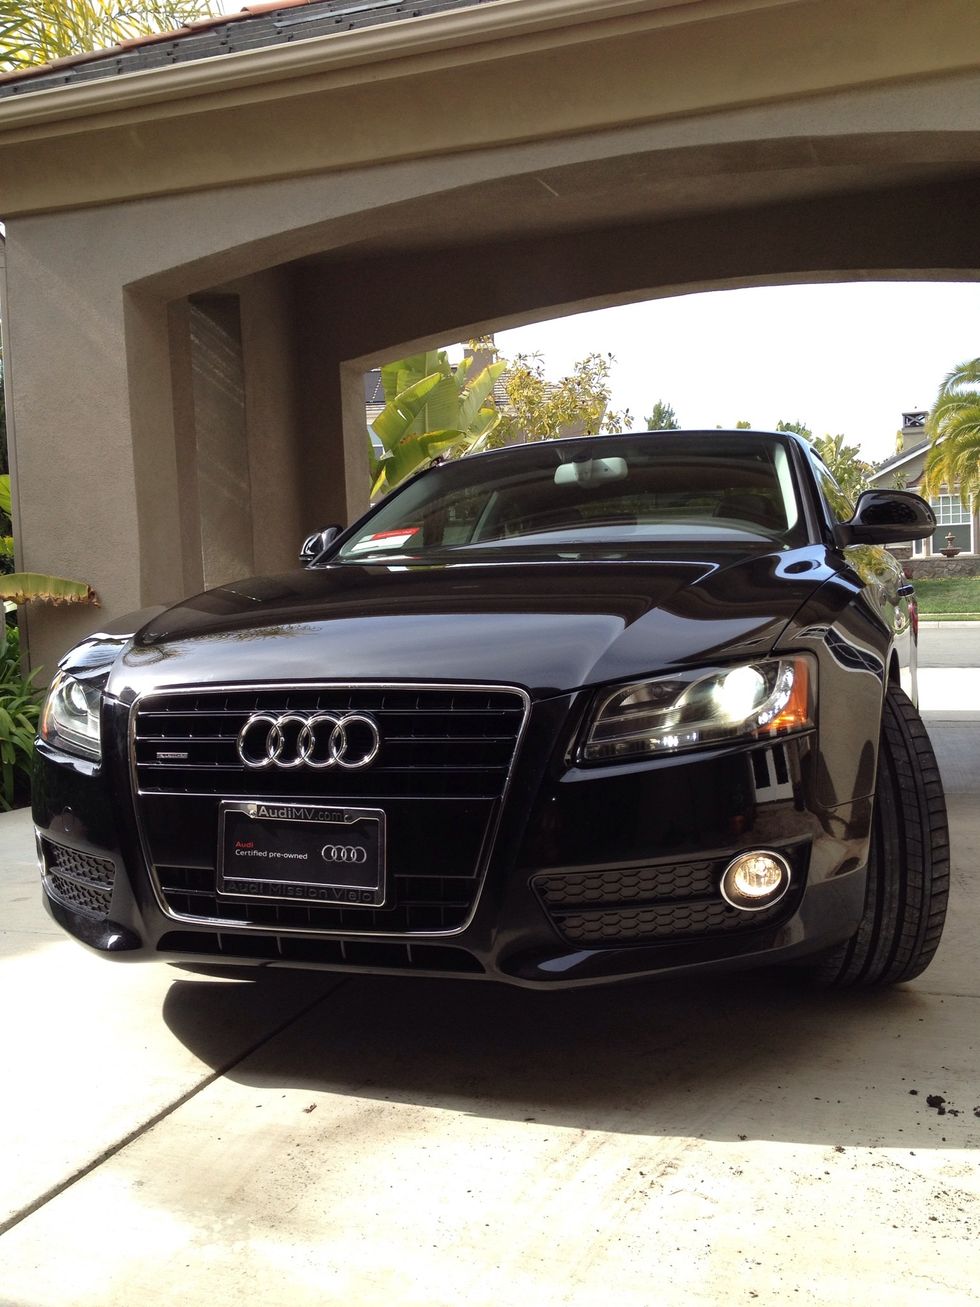
First you start out with your beautiful Audi A5.
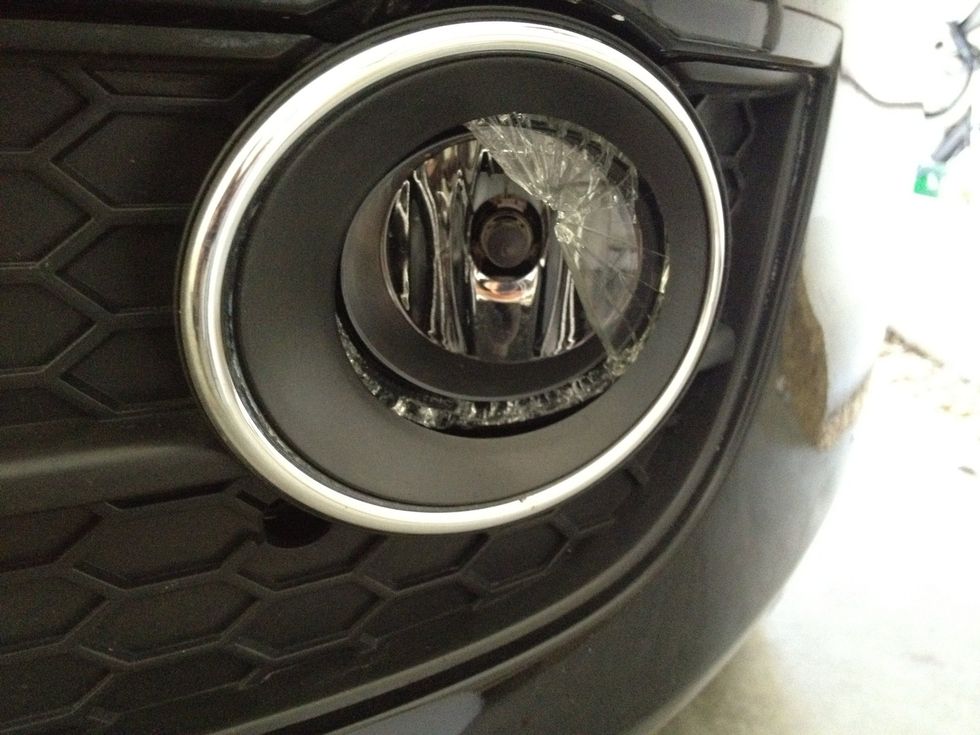
And a broken fog light... The bulb in mine remained intact however the glass part of the unit shattered. I will show you how to change/remove bulbs in addition to replacing the unit in this Snapguide.
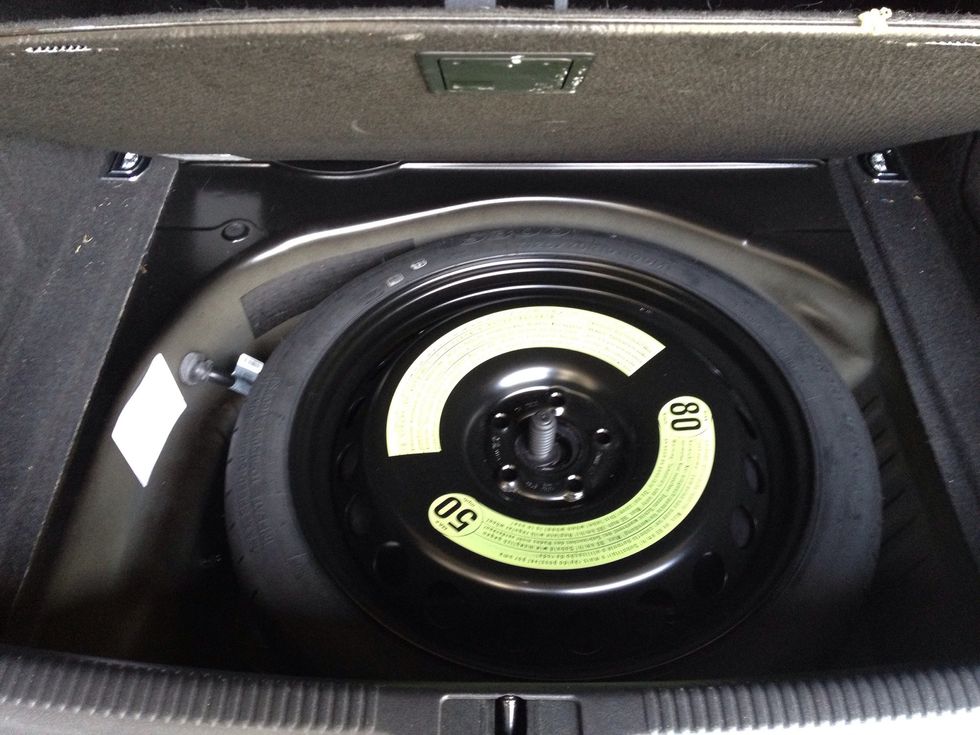
First we need to get into our trunk toolkit to get the tools we need (thank you Audi for supplying these!). Remove the spare tire to get to the kit.
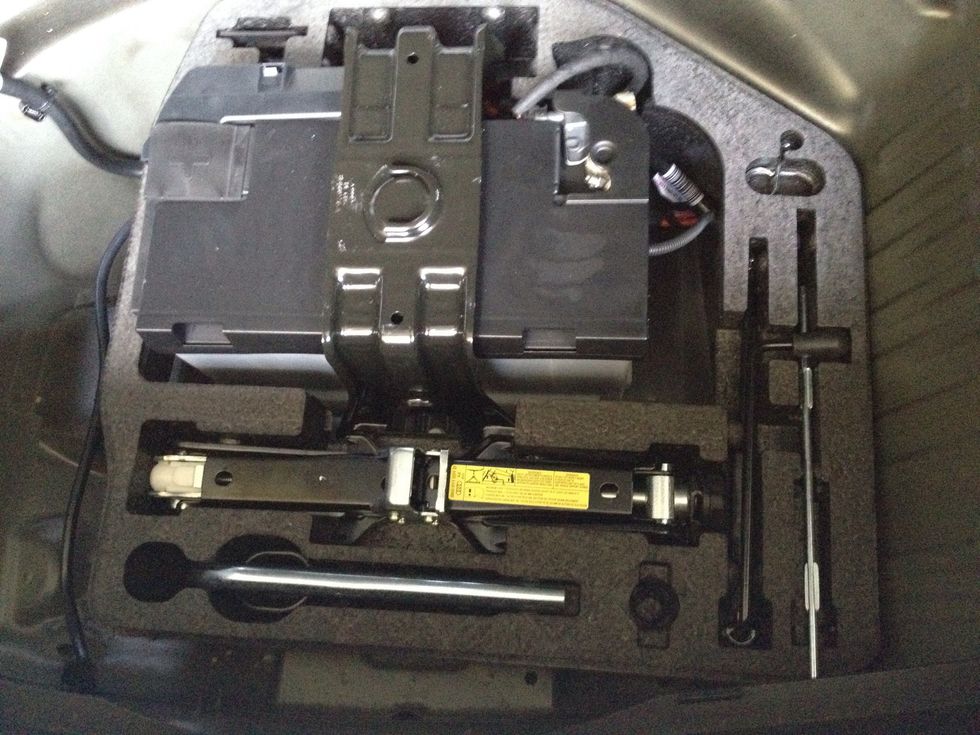
The tools we need are on the farthest right. We need to grab the Phillips/flathead piece and the Torx piece.
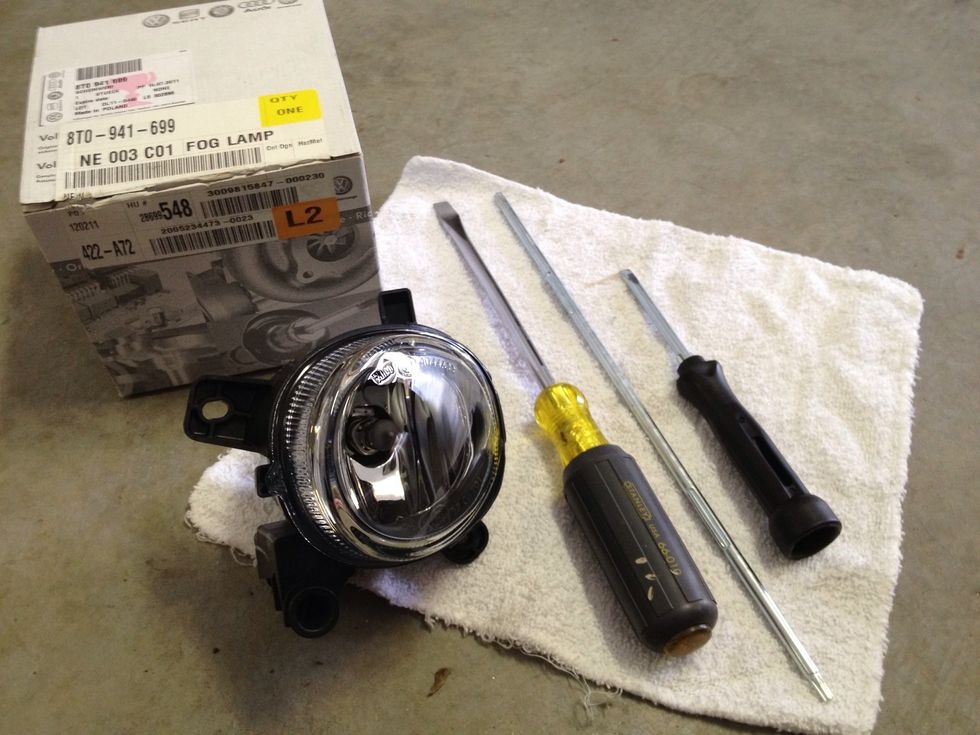
Here are all the supplies: a new fog light unit, the Torx screwdriver piece, and the Phillips/Flathead screwdriver with universal grip. I thought I may need a larger Flathead for prying (didn't use).
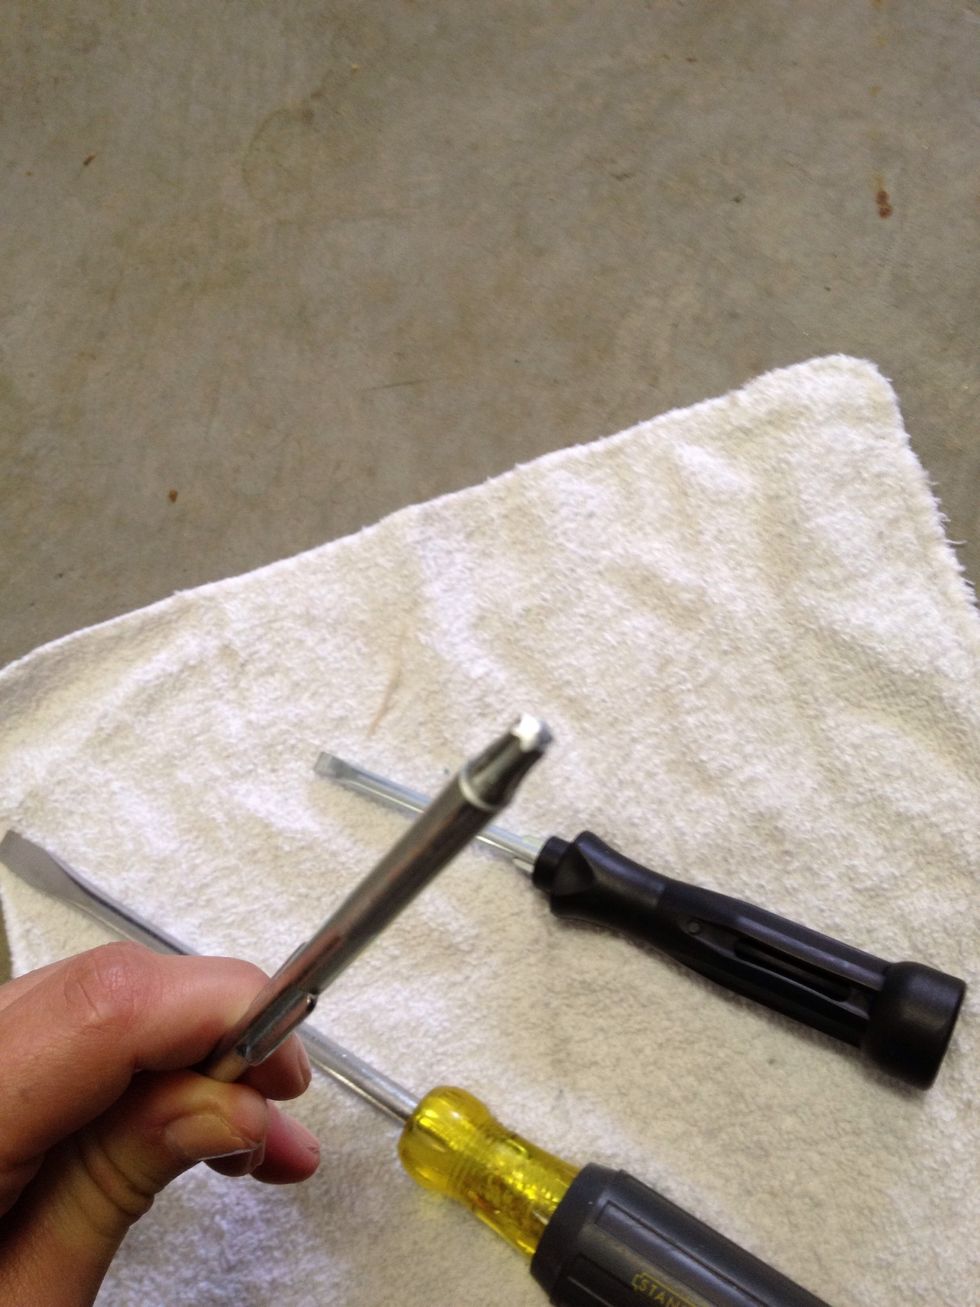
Close up of the Torx end we use.
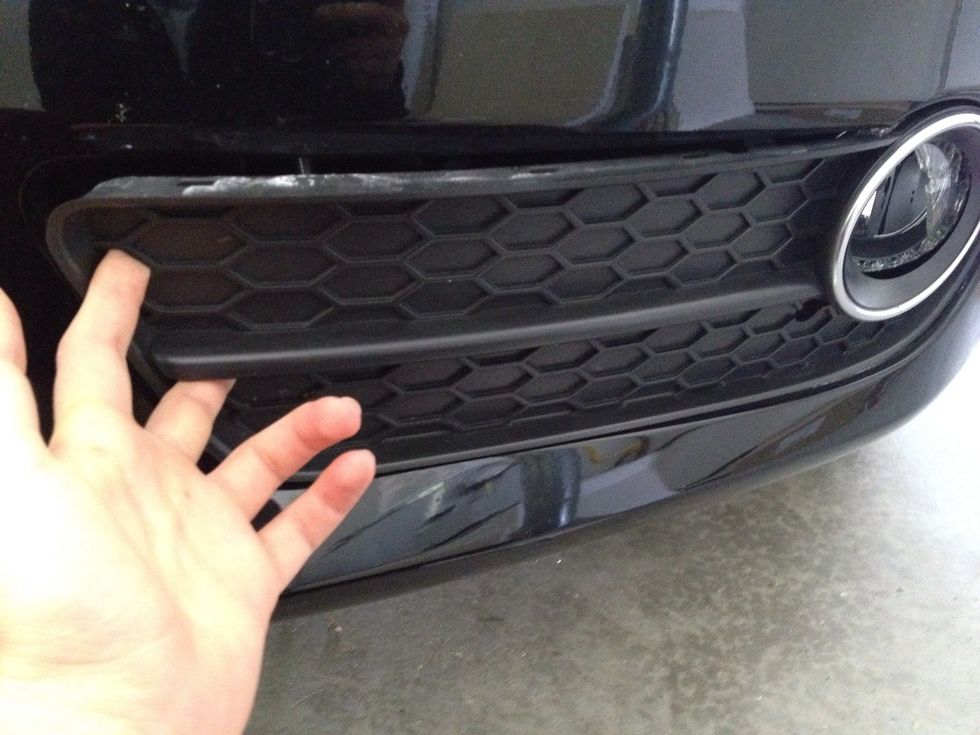
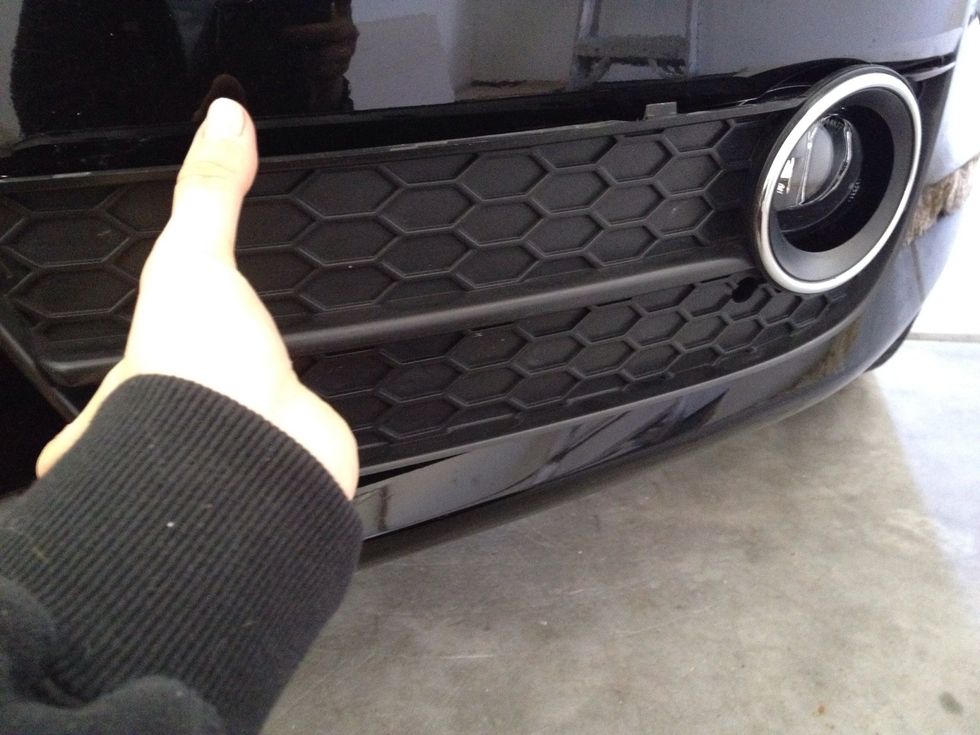
And we begin: stick your fingers into the two holes of the fog light panel. Lightly pull until inner (left) side becomes loose. CAUTION: DO NOT FORCE PANEL OFF, YOU CAN BREAK CLIPS IF TOO ROUGH!
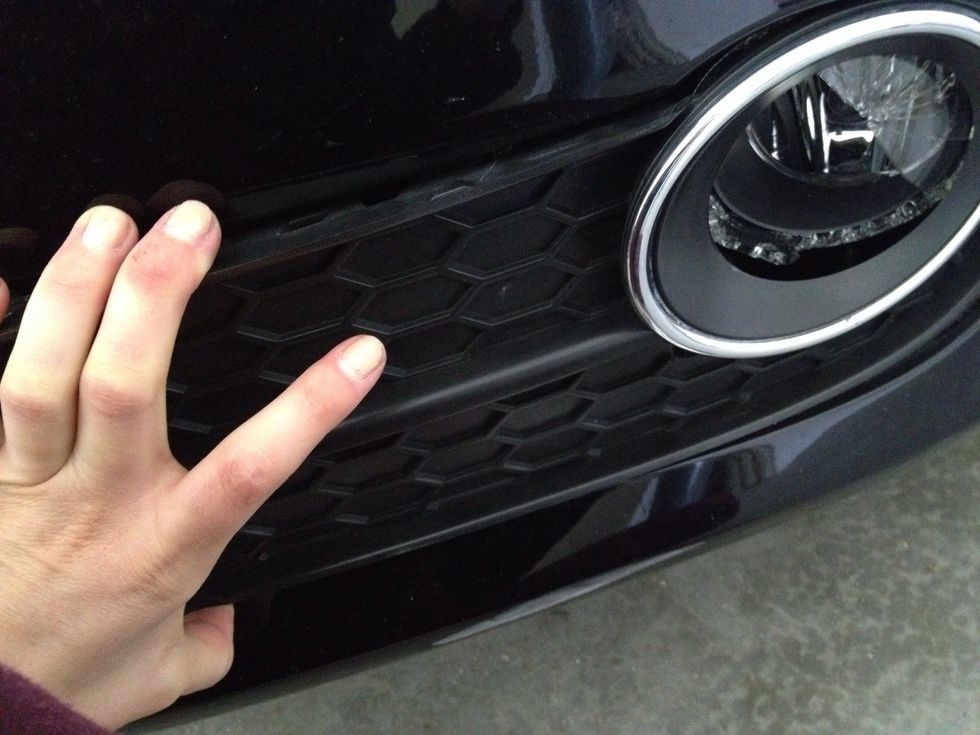
For me, the inner and middle clips came off easily. The outer clips were a pain. Slightly jiggle panel until it comes loose. Be careful not to pull too hard or twist so you don't break any clips.
You can see where the tough clip holes are. They are the square-ish holes on right top, and bottom. You can kind of see how the clips fit in and how to pull the right way without breaking anything.
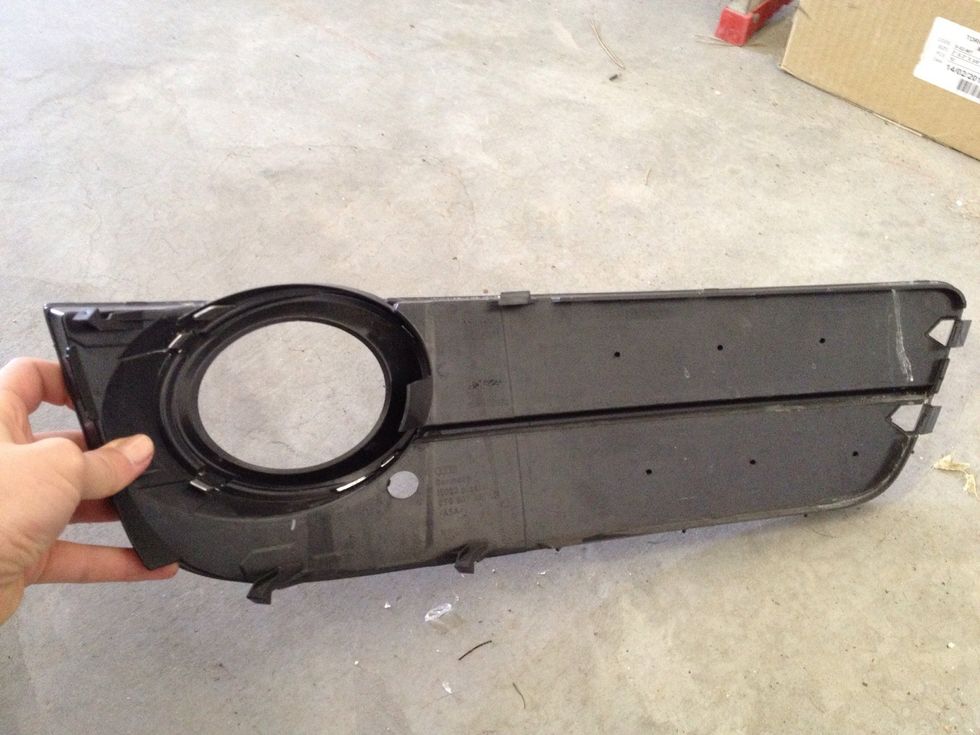
Voila! Panel off with all clips still intact.
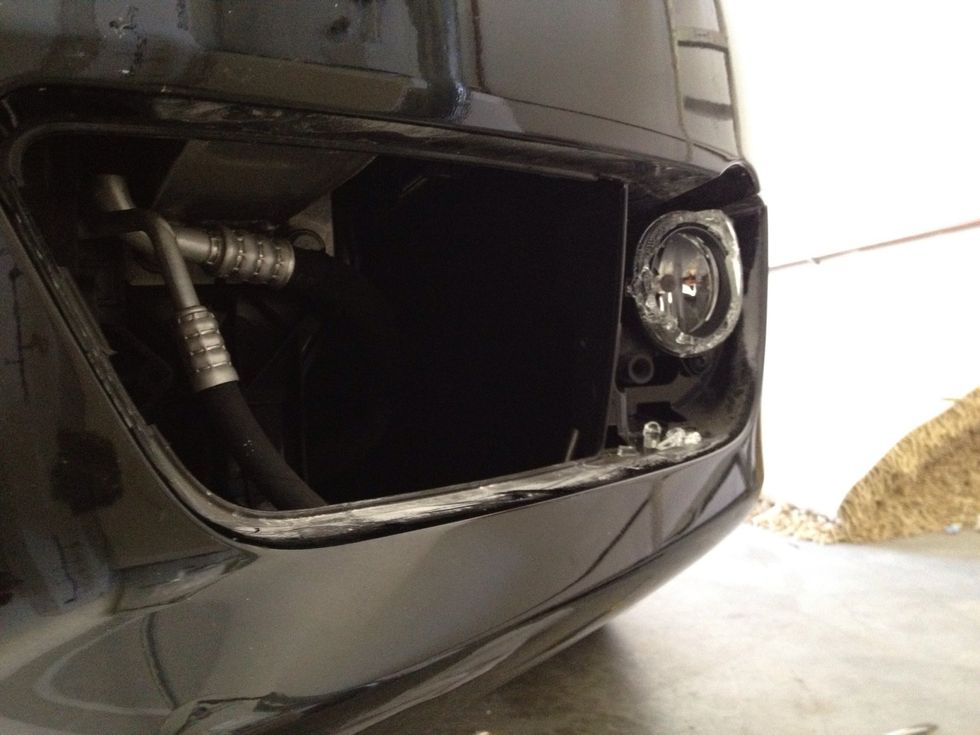
Now we are able to see where the fog light is housed and can remove it from here.
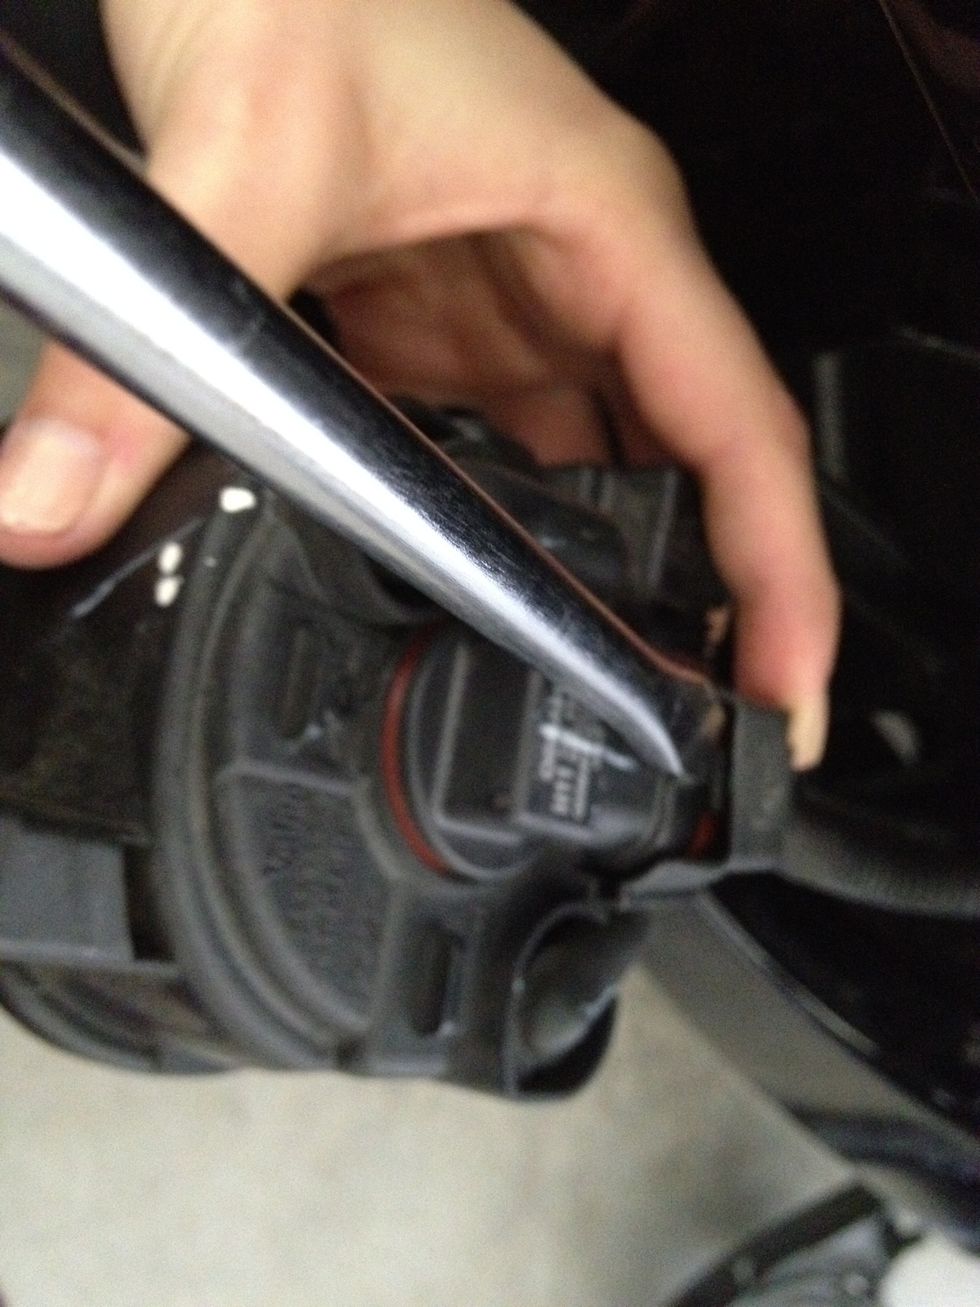
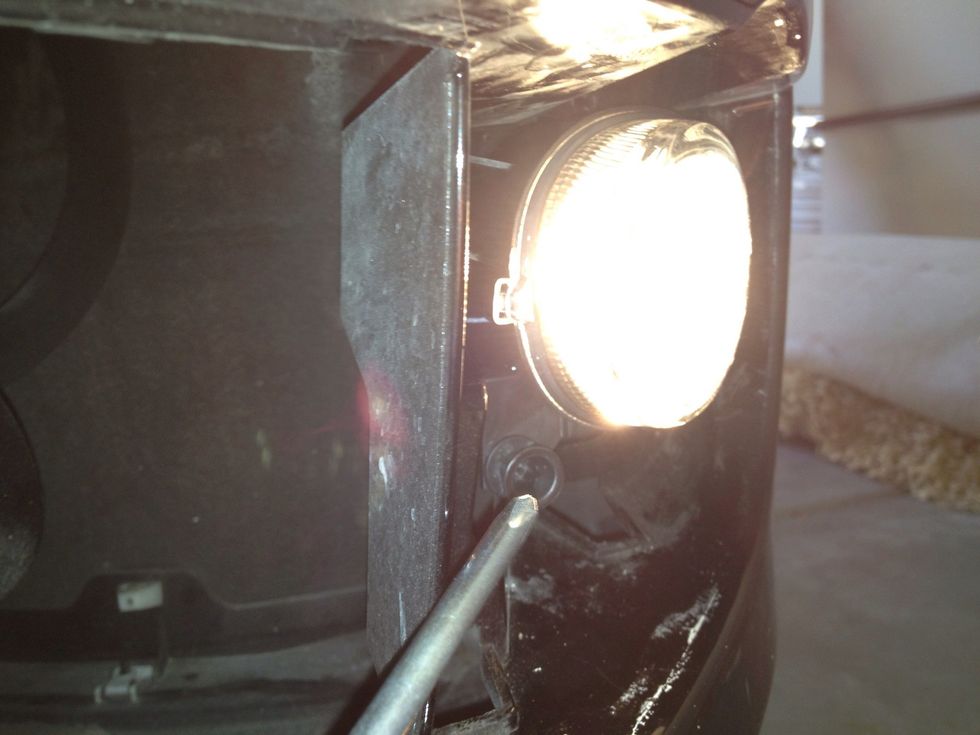
There are two Torx screws we need to remove. One is on the upper-left part (where my screwdriver is at in the picture) and the other is on the bottom right.
We can now pull out the unit.
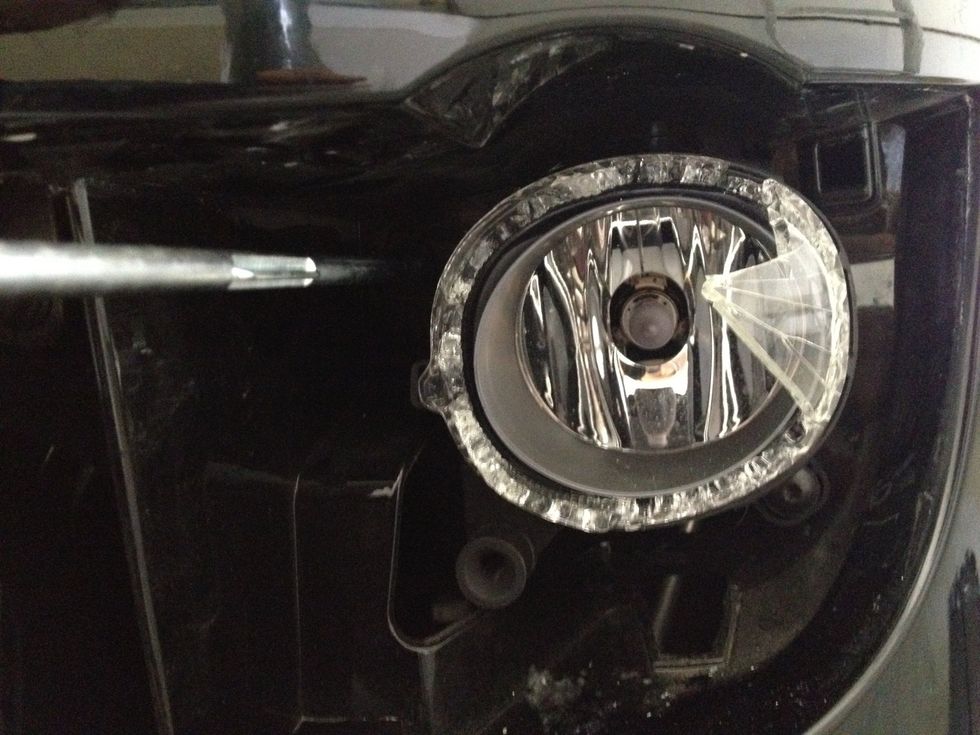
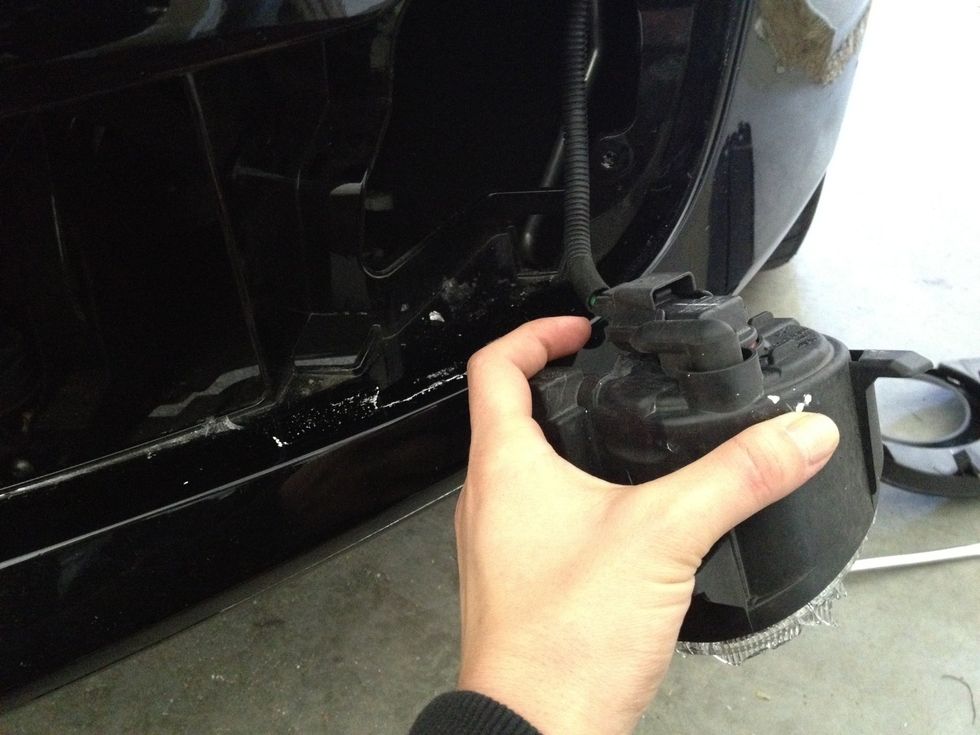
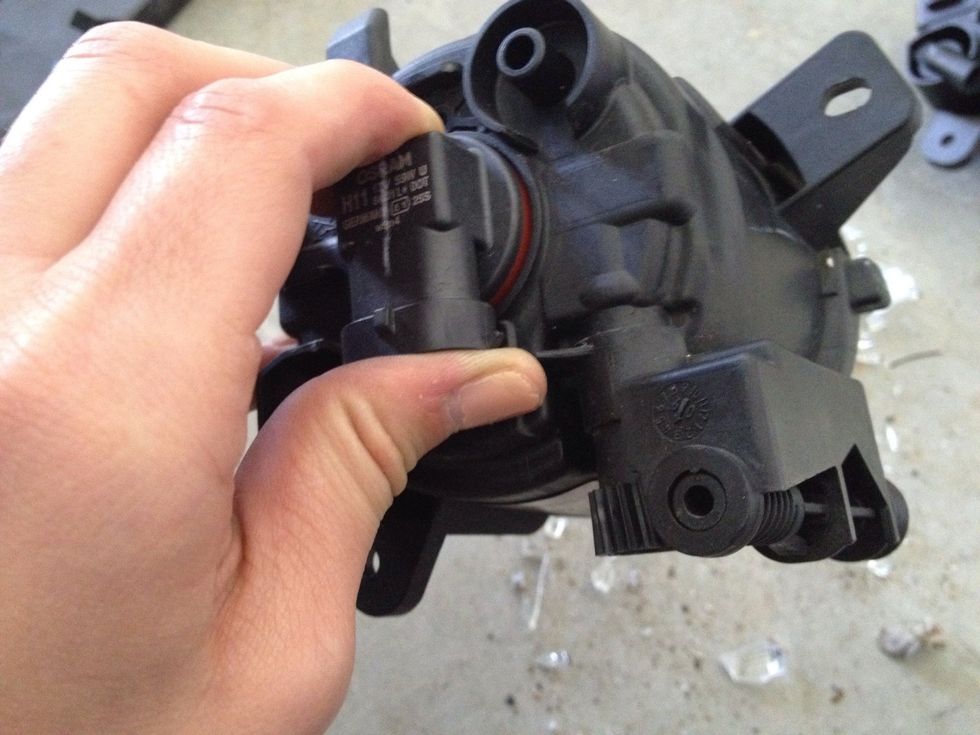
The unit detaches from wiring right in the center there.
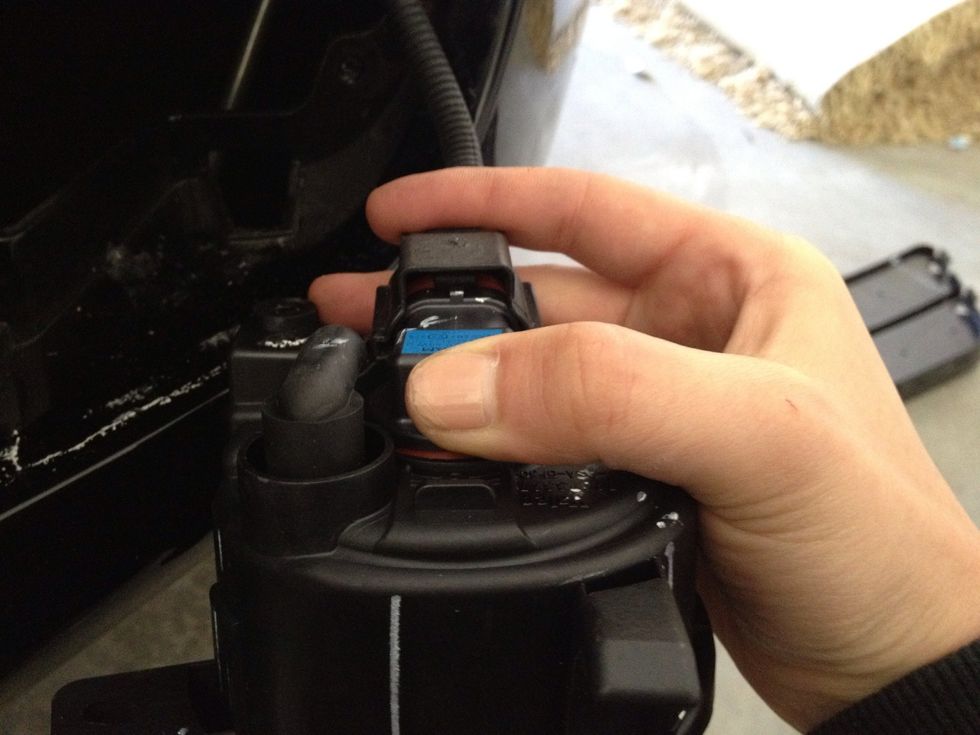
There is a small clip holding the light and wiring together so we need to release the clip with our Flathead screwdriver. Then once it is released, the socket should slide right off.
This is how the two connected.
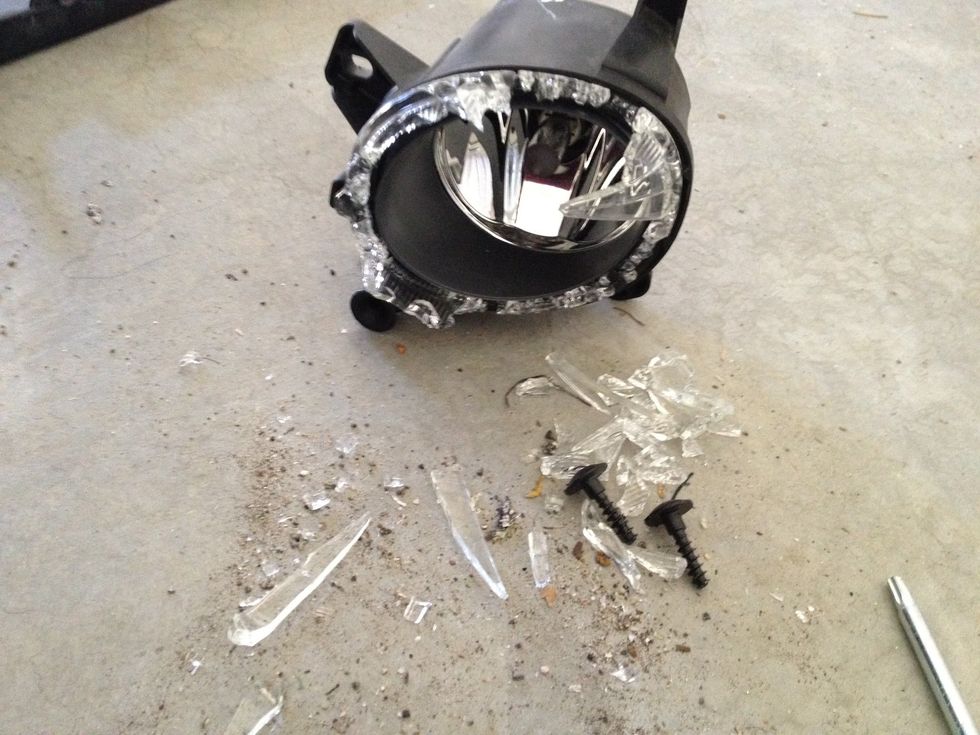
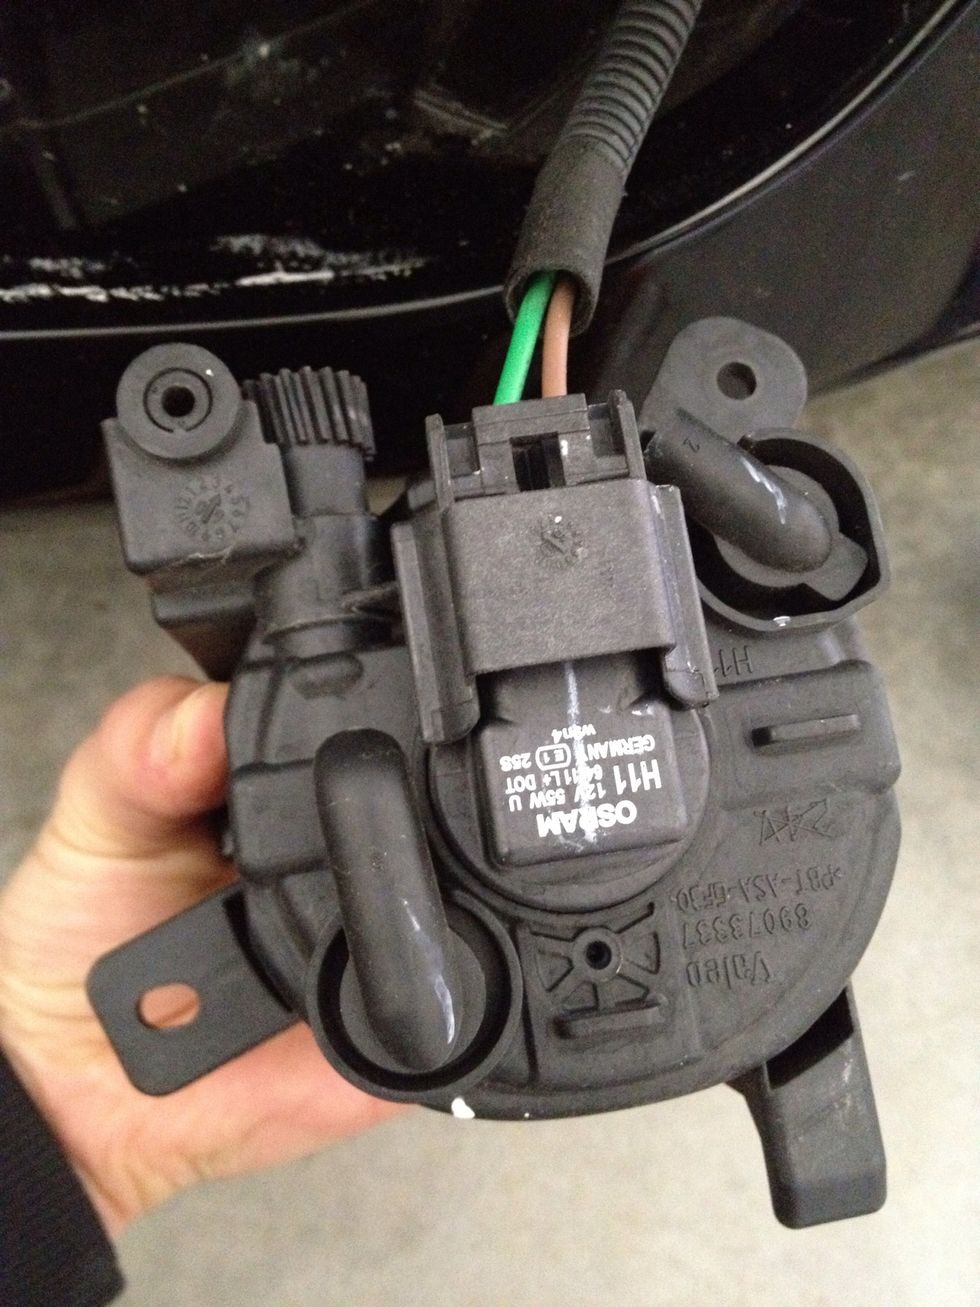
Still not sure how this broke and there's no scratched paint around it. It's a mystery...
My bulb still functioned so I wanted to keep it for later use. Grab the back of the bulb and twist counter-clockwise.
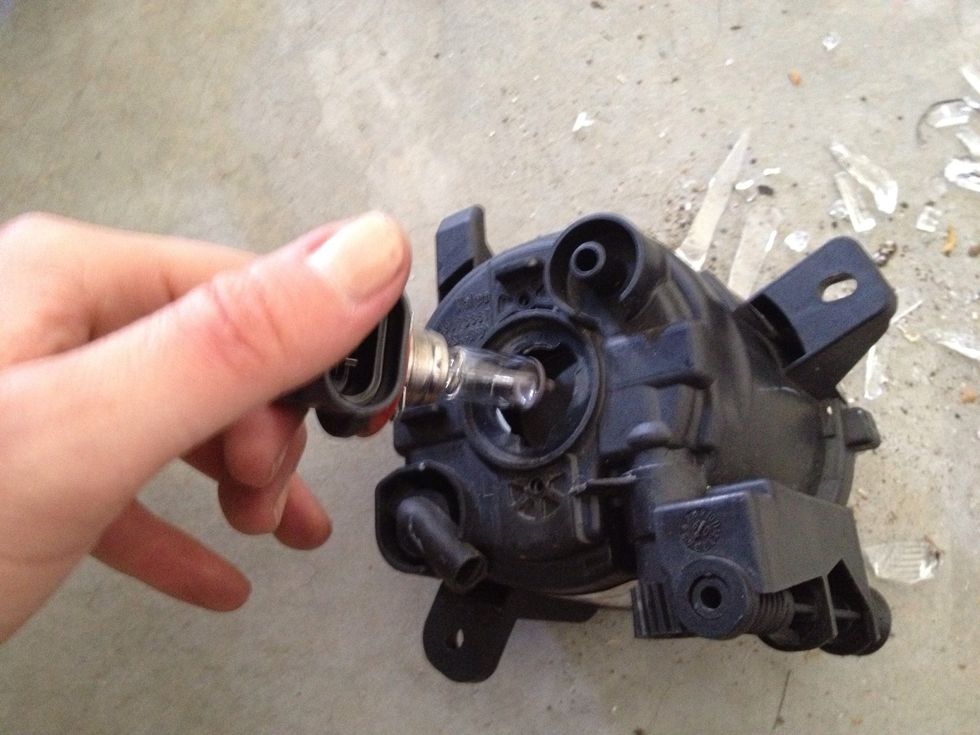
It comes right out.
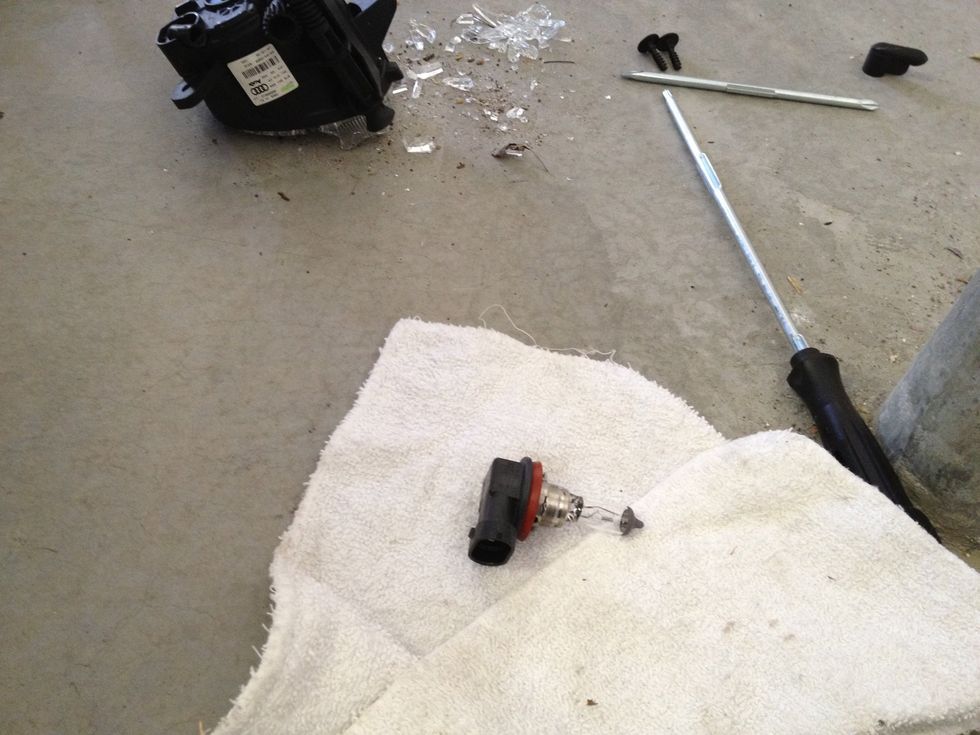
I set it on a towel while I was finishing up the rest of my work.
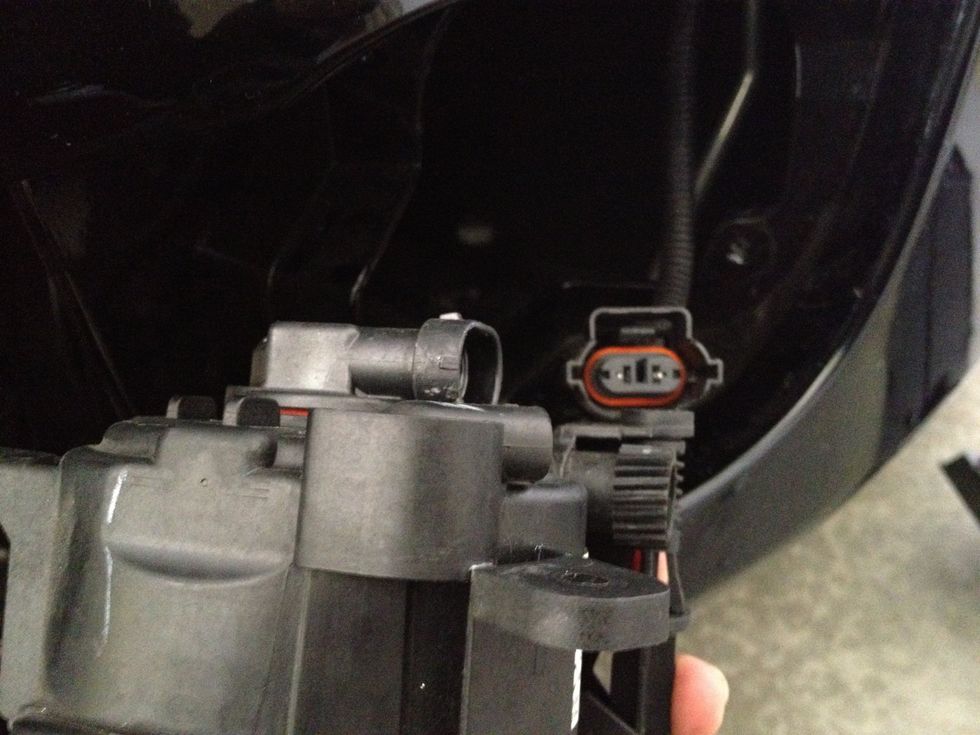
Plug the new fog light unit in.
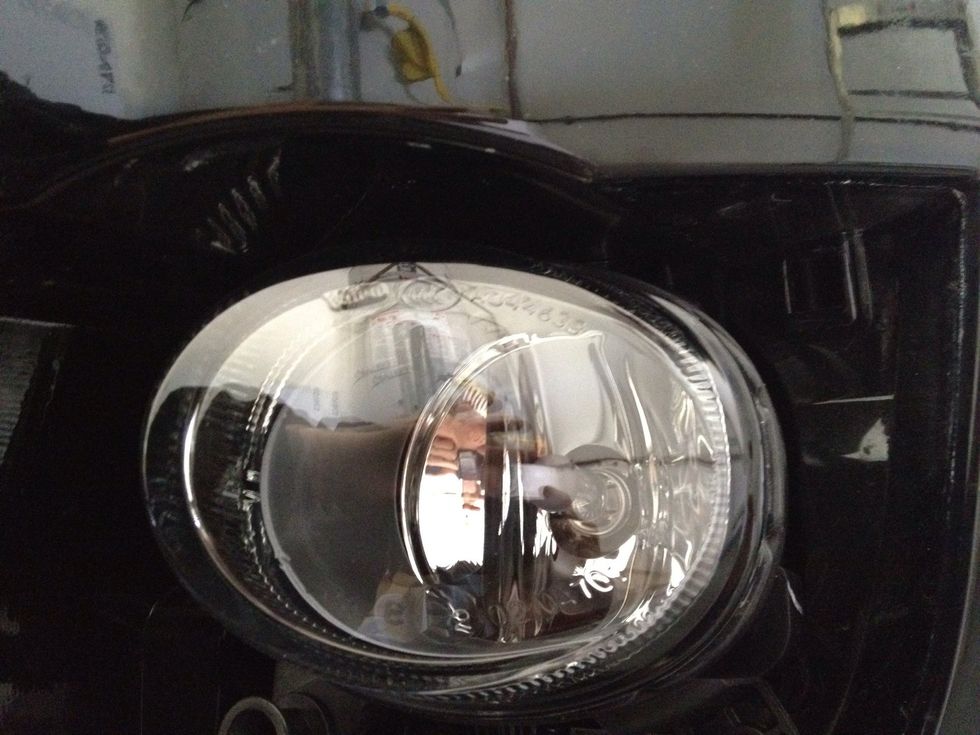
Wow so unbroken!
Use your Torx screws to screw the new unit in on the upper left and bottom right. (gahh blurry photo hurts my eyes!)

Woohoo, now the light is in! BUT NOT SO FAST! We still need to adjust the fog light so (A) it points in the correct direction and (B) so we don't blind anyone with our new light.
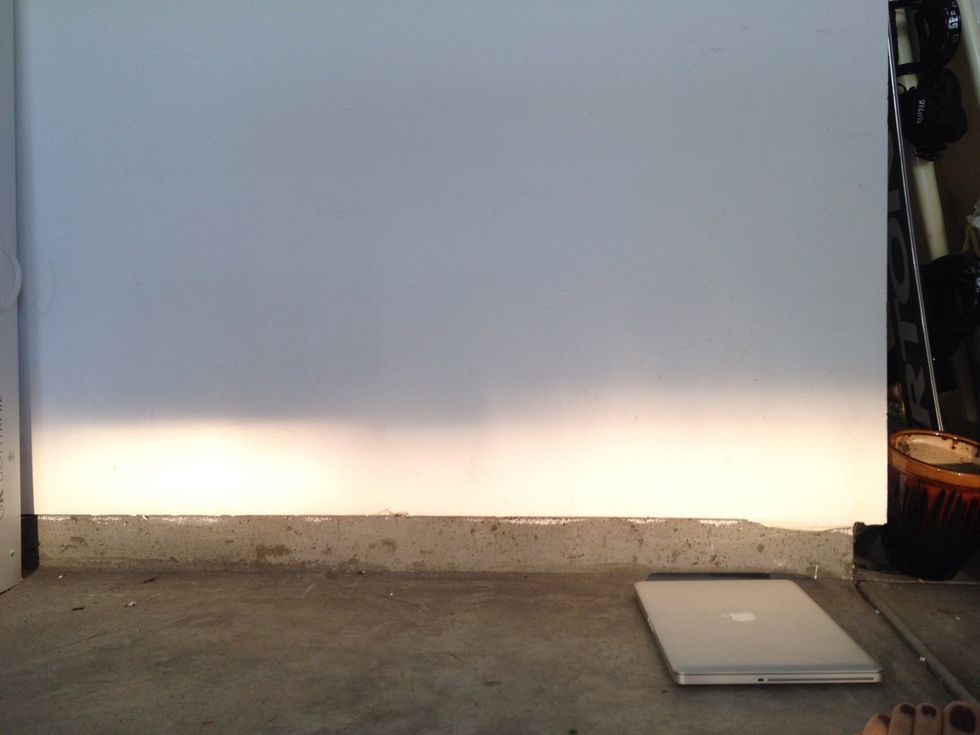
Since my passenger side fog light was still adjusted at factory settings, I used that as my reference. See how on the left, my new light is slightly pointing lower so I needed to adjust it.
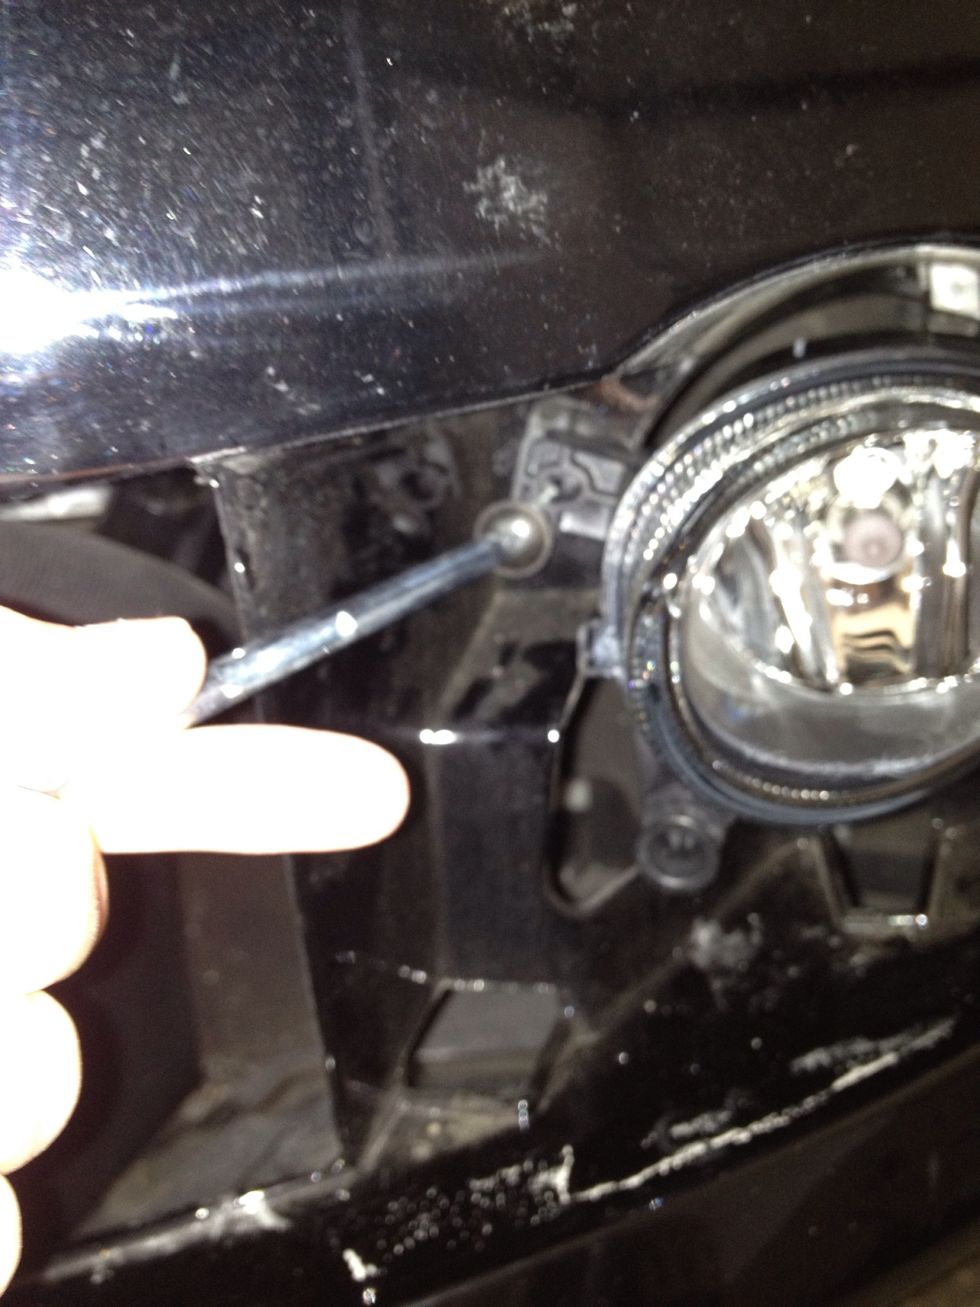
Take your Phillips screwdriver and stick into bottom left Phillips screw. Turn clockwise or counterclockwise depending on if your fog light needs to be adjusted up or down.

After adjusting, the fog lights now point in the same direction and we are almost done. (I forgot to mention I turned off my headlights while checking fog light adjustment).
We are now done adjusting so we can place the fog light panel back on. Easiest way is to get the outer-right clips in first, then the middle, and finally the inner-left clips.
Look at that sexy fog light! Good as new again.