How to replace a rear brake switch on a harley sportster
Replace a Rear Brake Switch on a Harley Sportster
1319
STEPS
TOOLS

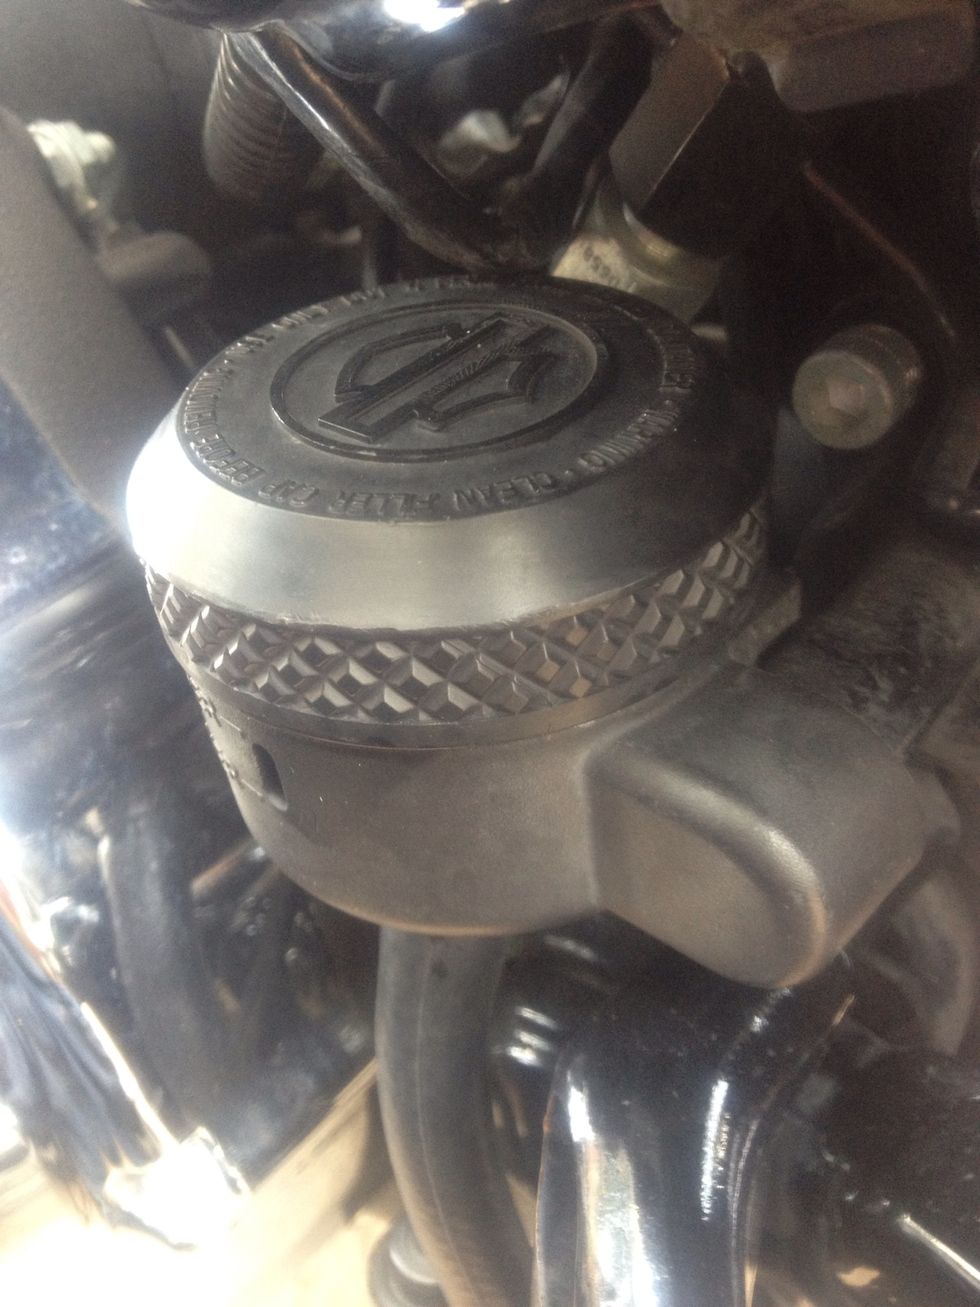
Remove the black bottom cover on the Master Cylinder.

With the cover once removed use your Allen wrench to remove the screw holding the cylinder into place.
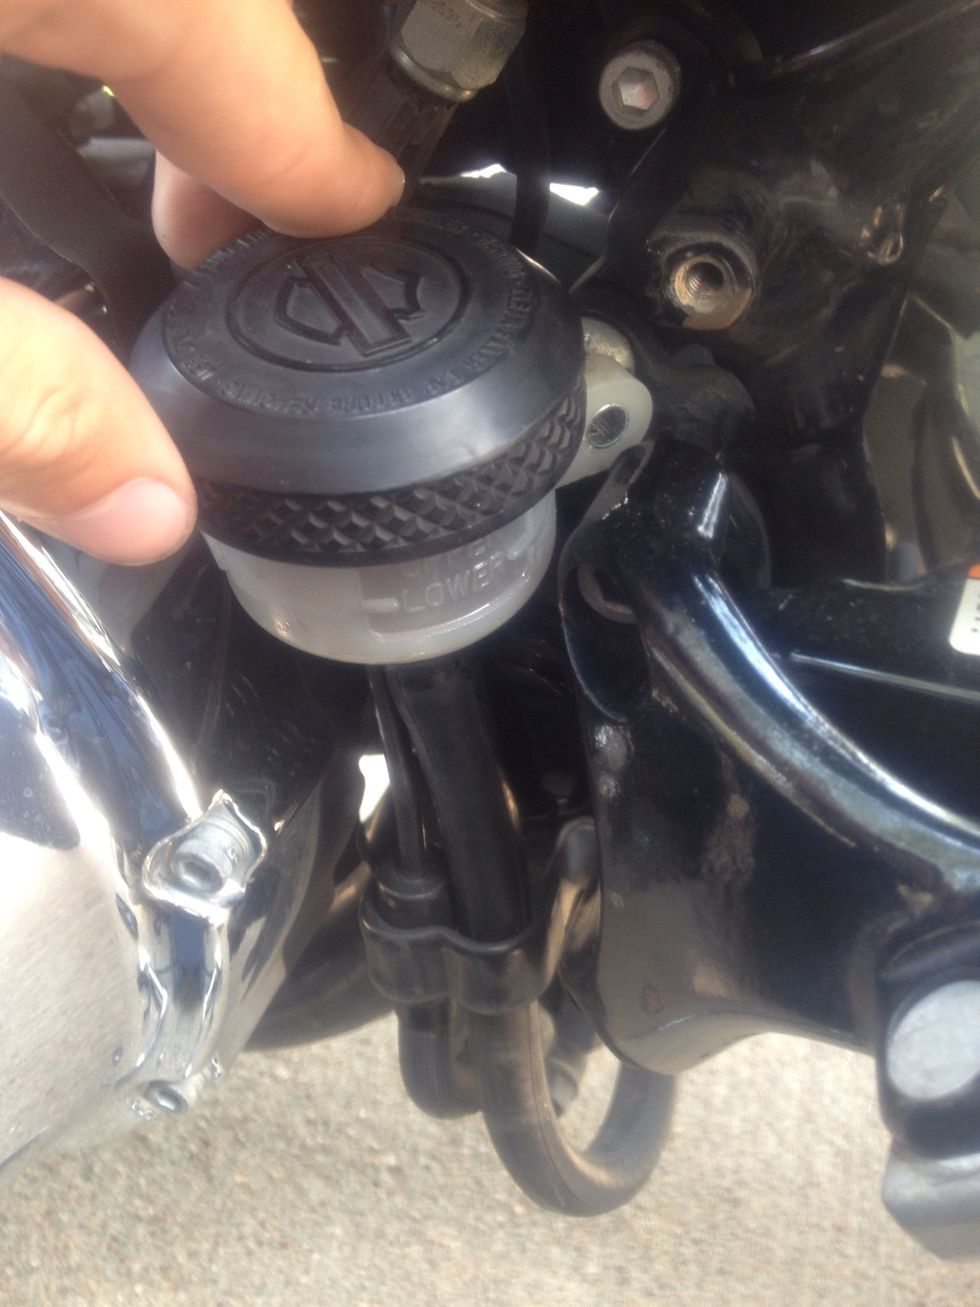
Push the Master Cylinder down and out of the way.
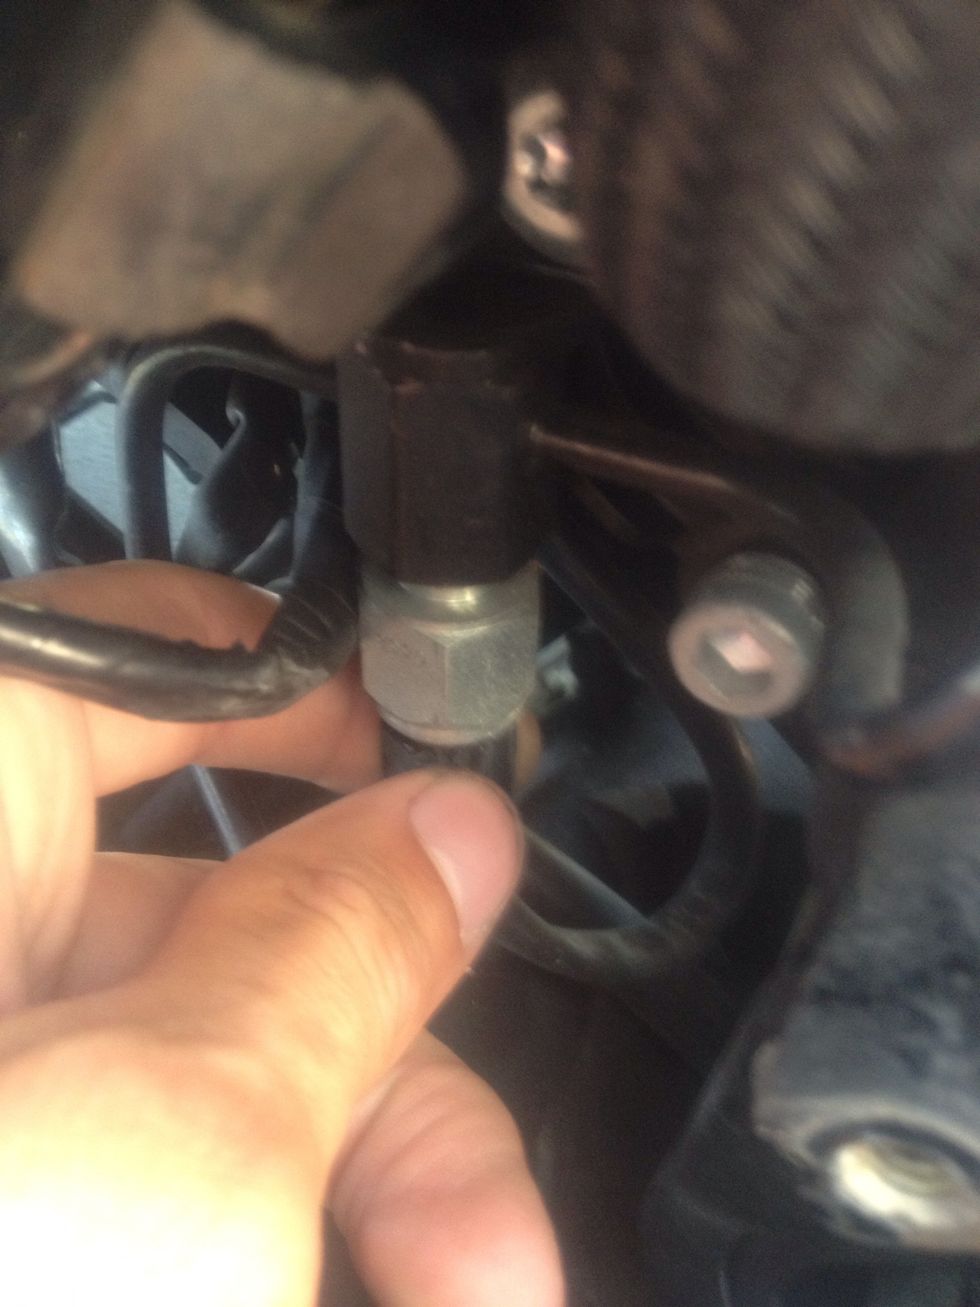
Pull the 2 female plugs from the brake switch. If needed use your flathead to assist in the removal of the plugs.
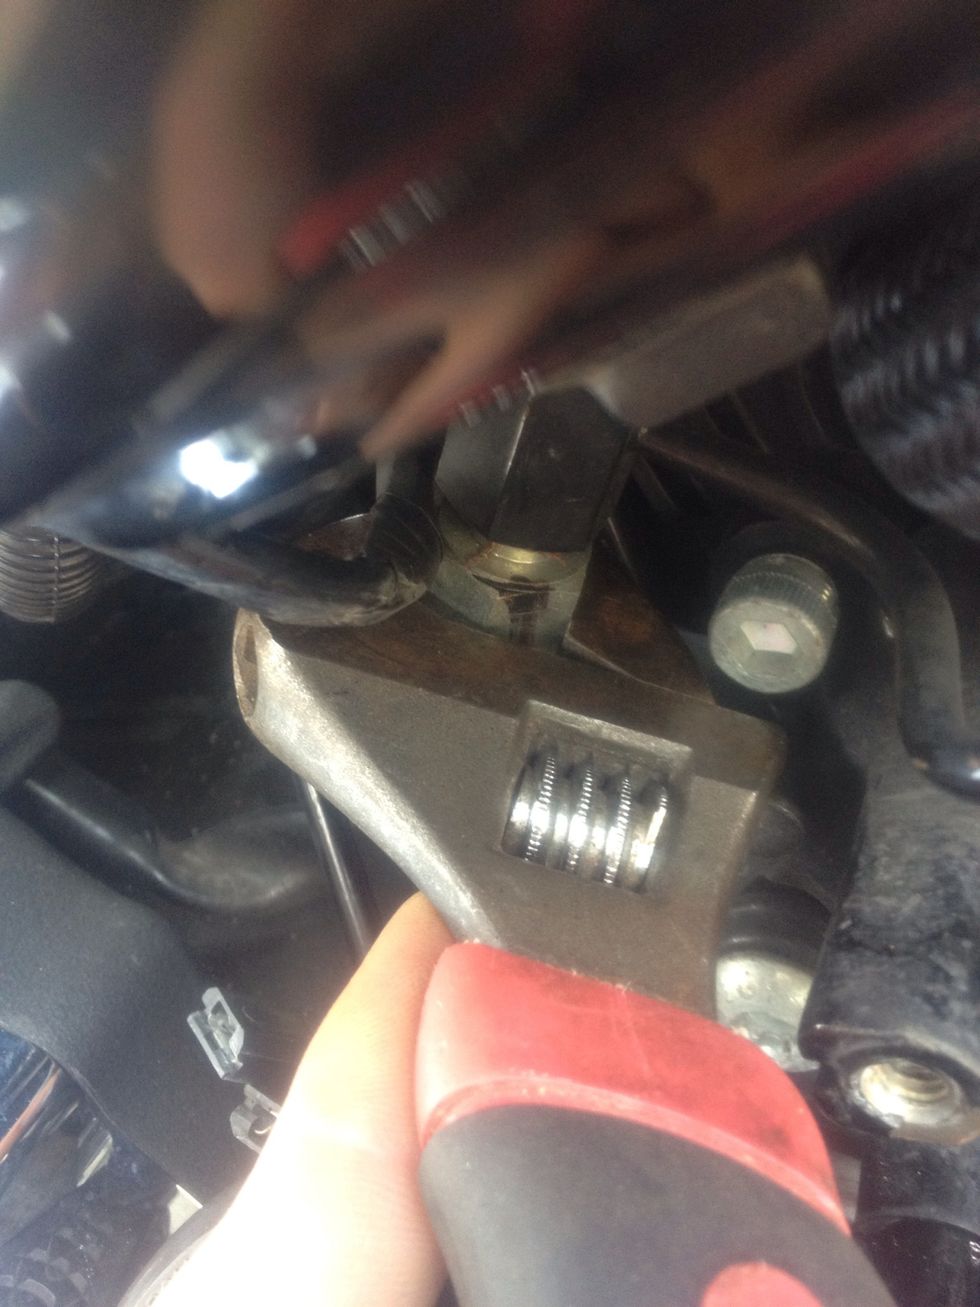
Turn the wrench counterclockwise to remove the switch.
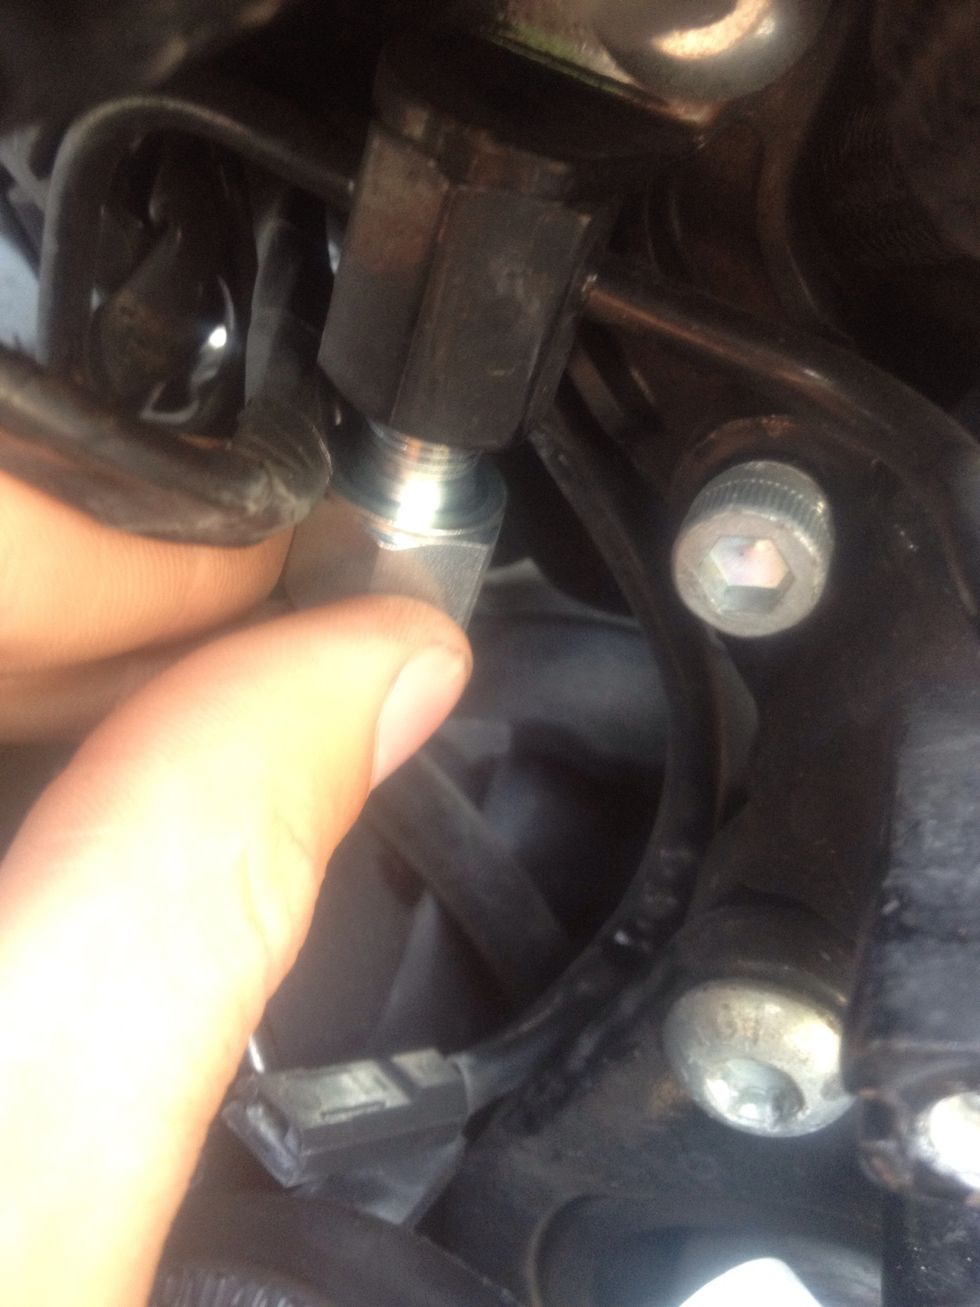
Once the old switch has been removed replace it with the new one, turn clock wise with your hand at first.
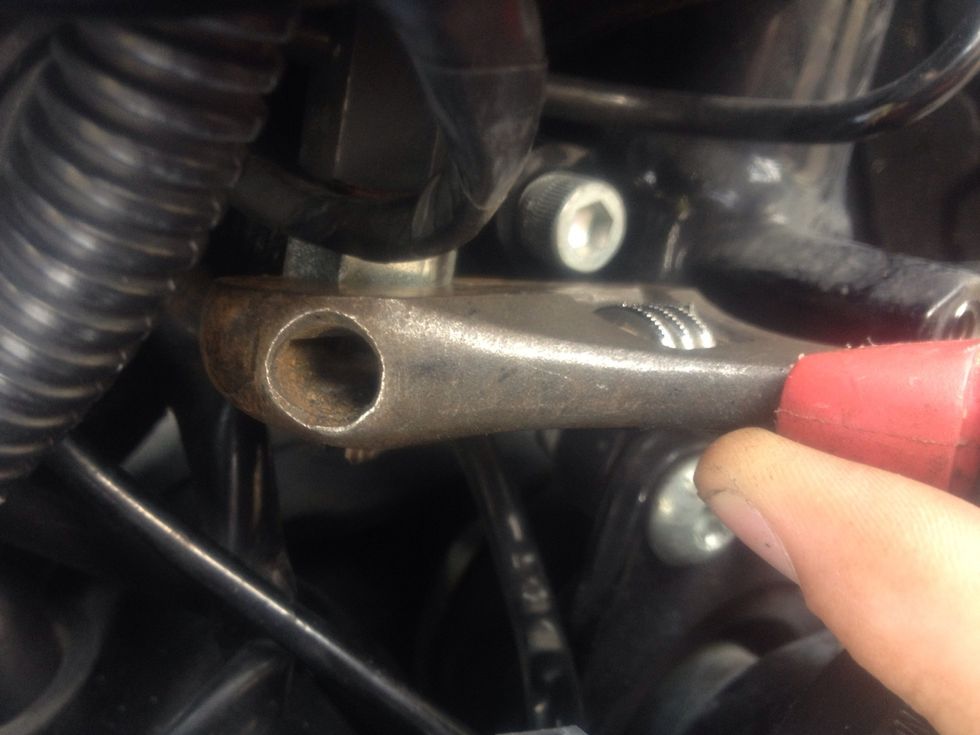
Apply some Loc-tite on the threads and use your wrench to tighten the switch back into place.
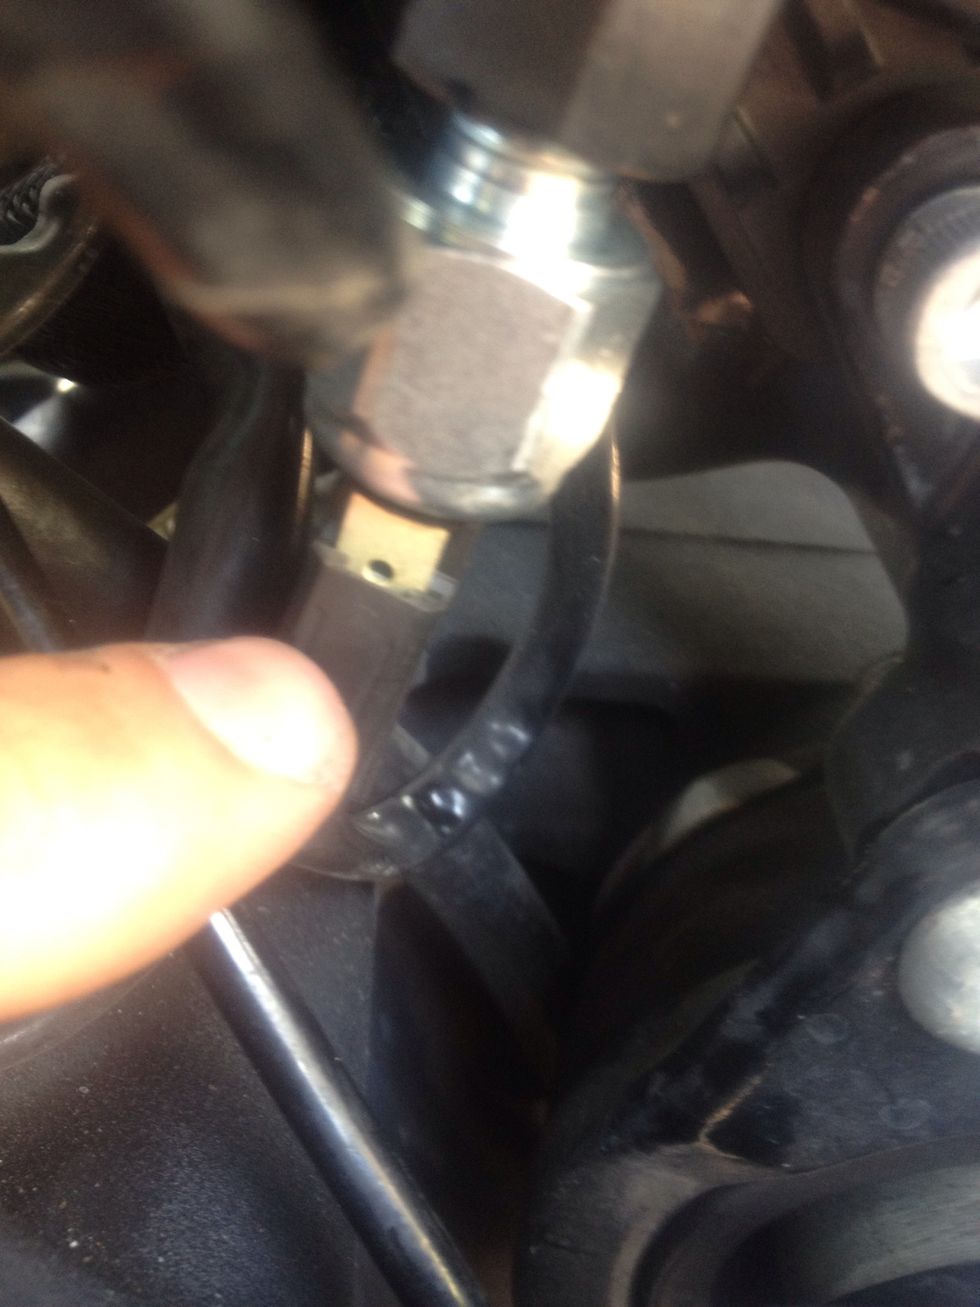
Re-install the two female plugs into the switch.

Pull your Master Cylinder back into place and put the original bolt that holds the cylinder back into place.
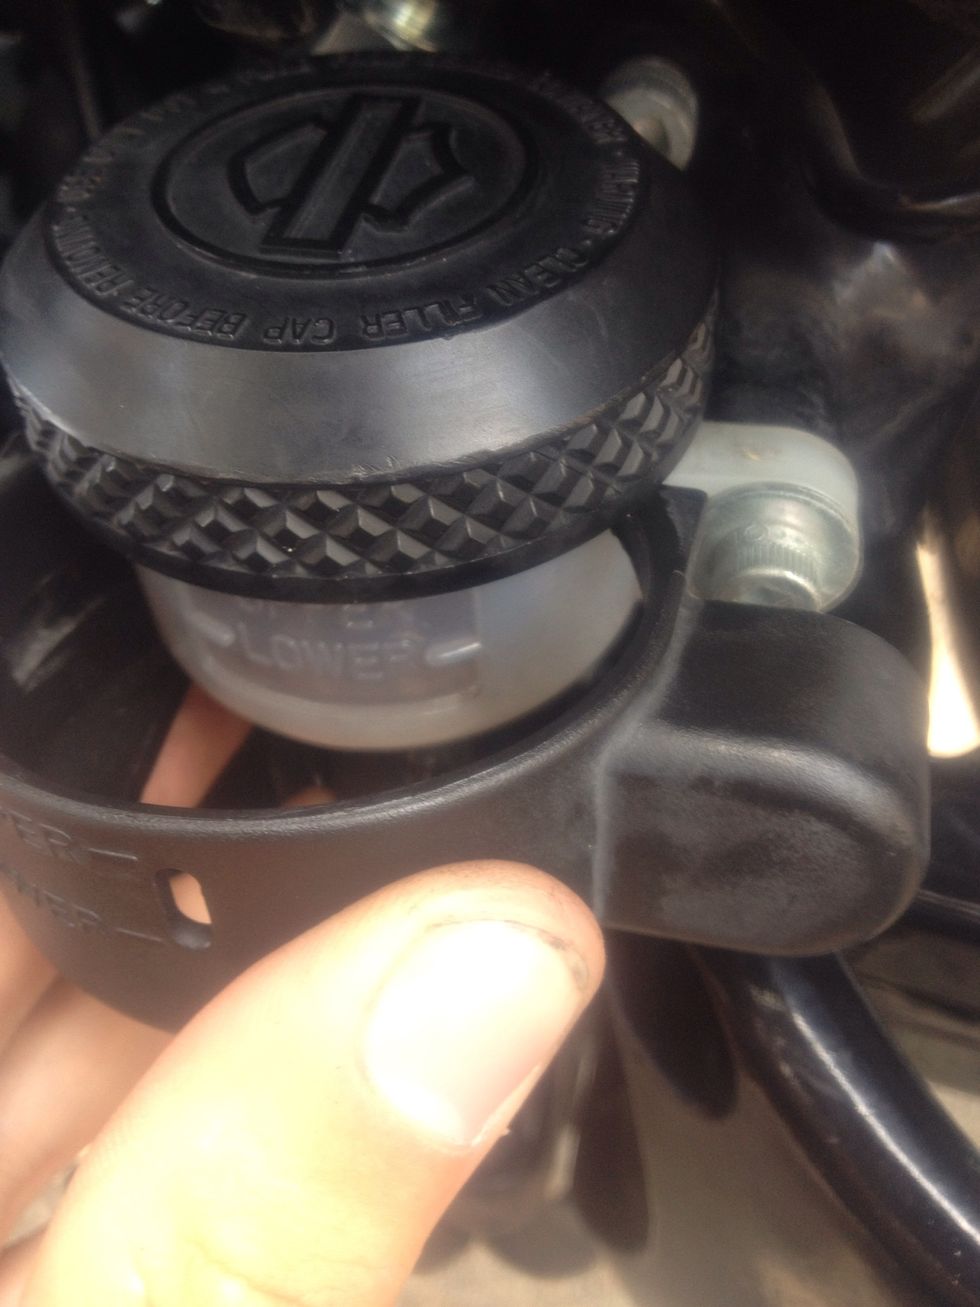
Re-install the bottom cover of the Cylinder.
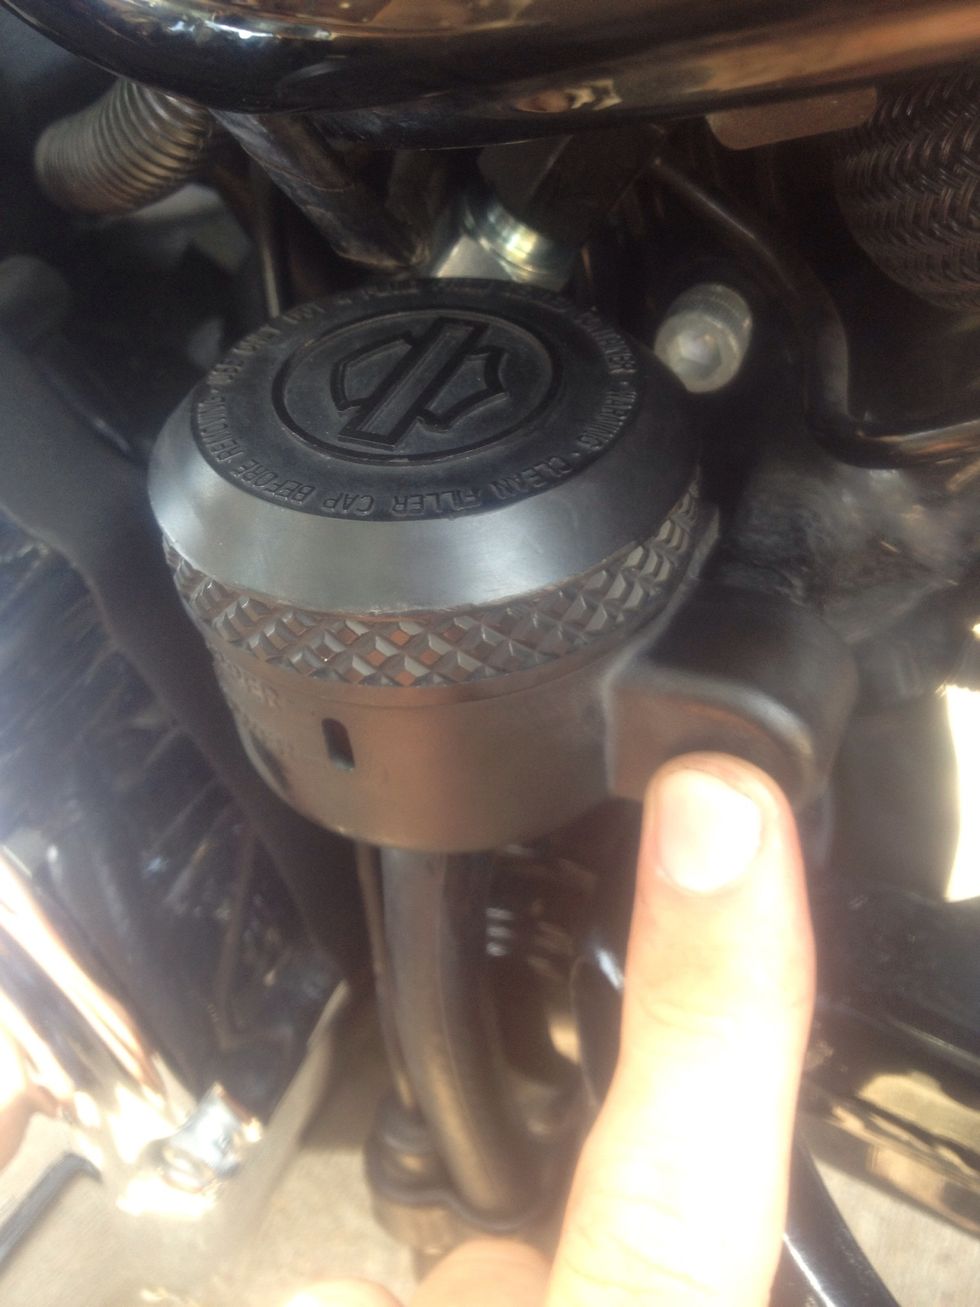
Snap into place.
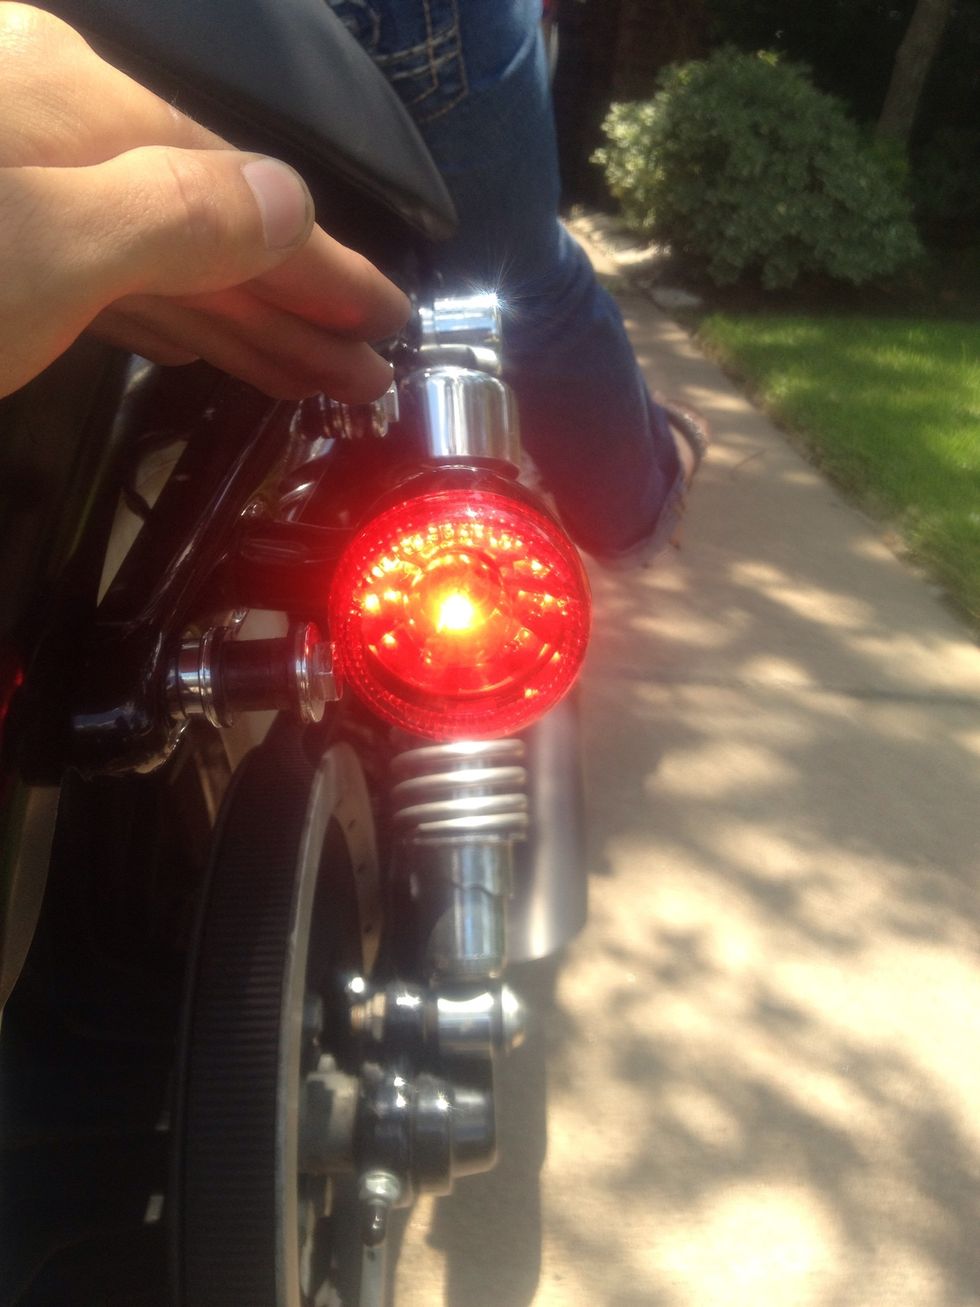
Pump rear brake to bleed brakes, replace any brake fluid if needed. Turn key in ignition and check your rear brake light by pressing on the brake pedal.
- CR-V 4.5
- 11/16 wrench or a Crescent wrench
- Flat head screwdriver (Optional)
- Loc-tite
Jmans Bobber
Im a simple guy, with a love for ol' school while keeping it classy. Modifying a stock Harley to make my dream Bobber. You can call me J-man!
Houston, TX
The Conversation (0)
Sign Up