How to replace a propeller and install a skeg guard
I broke my prop, this is how to replace it
81
STEPS
TOOLS
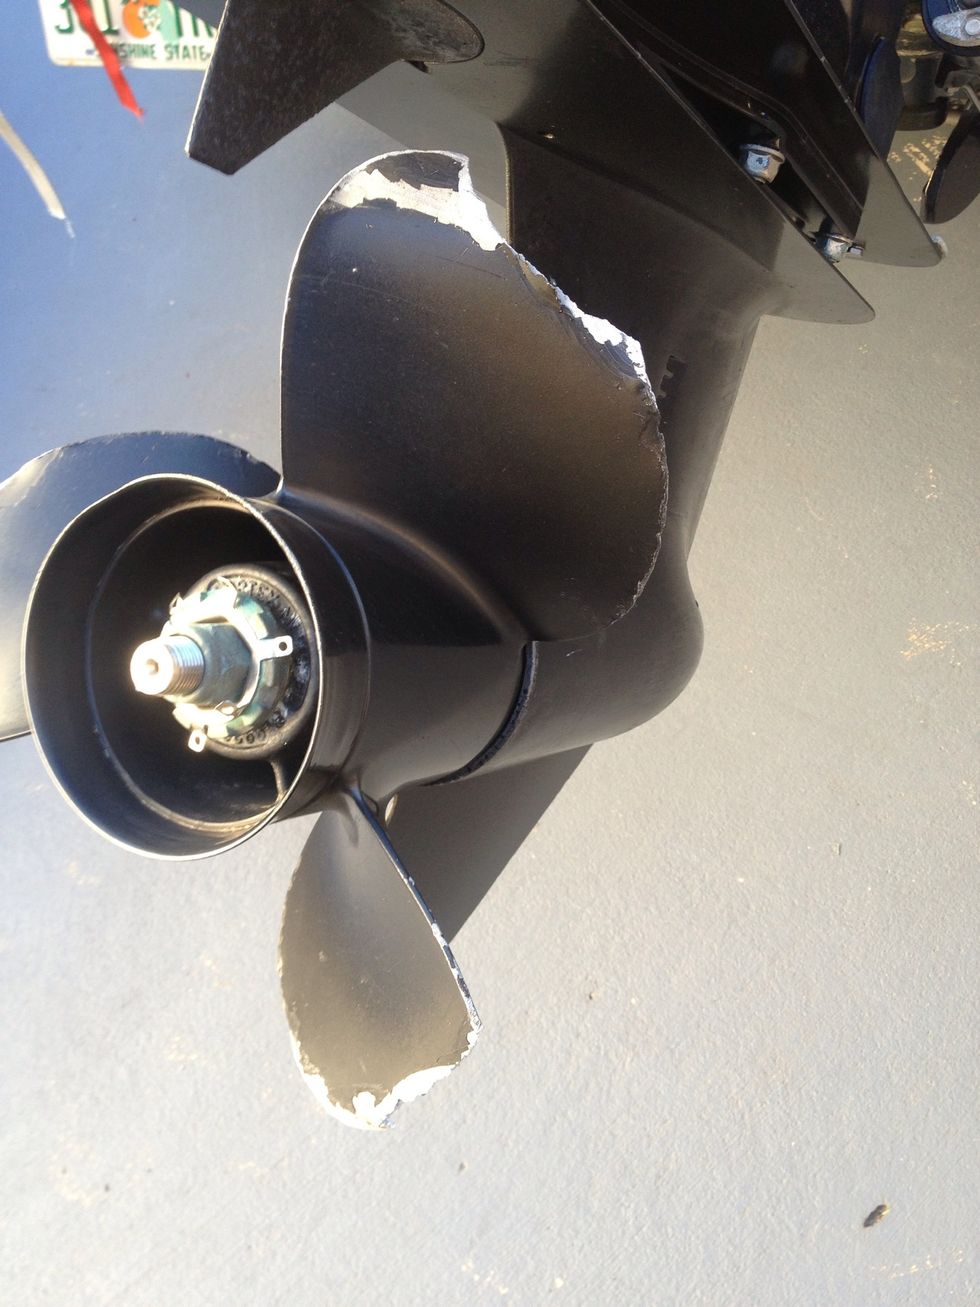
Broke 2 of my prop blades and the skeg
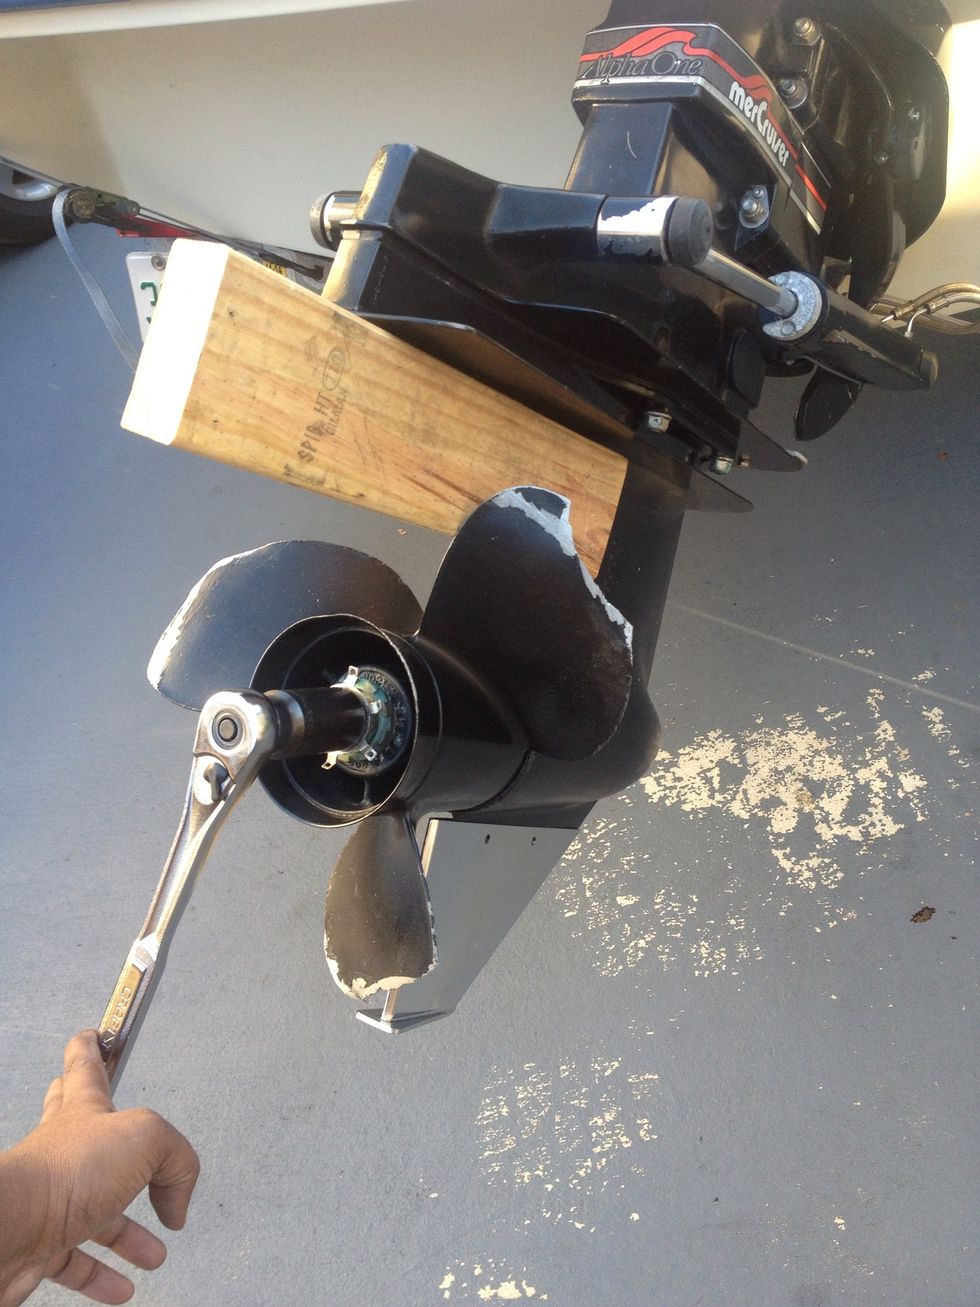
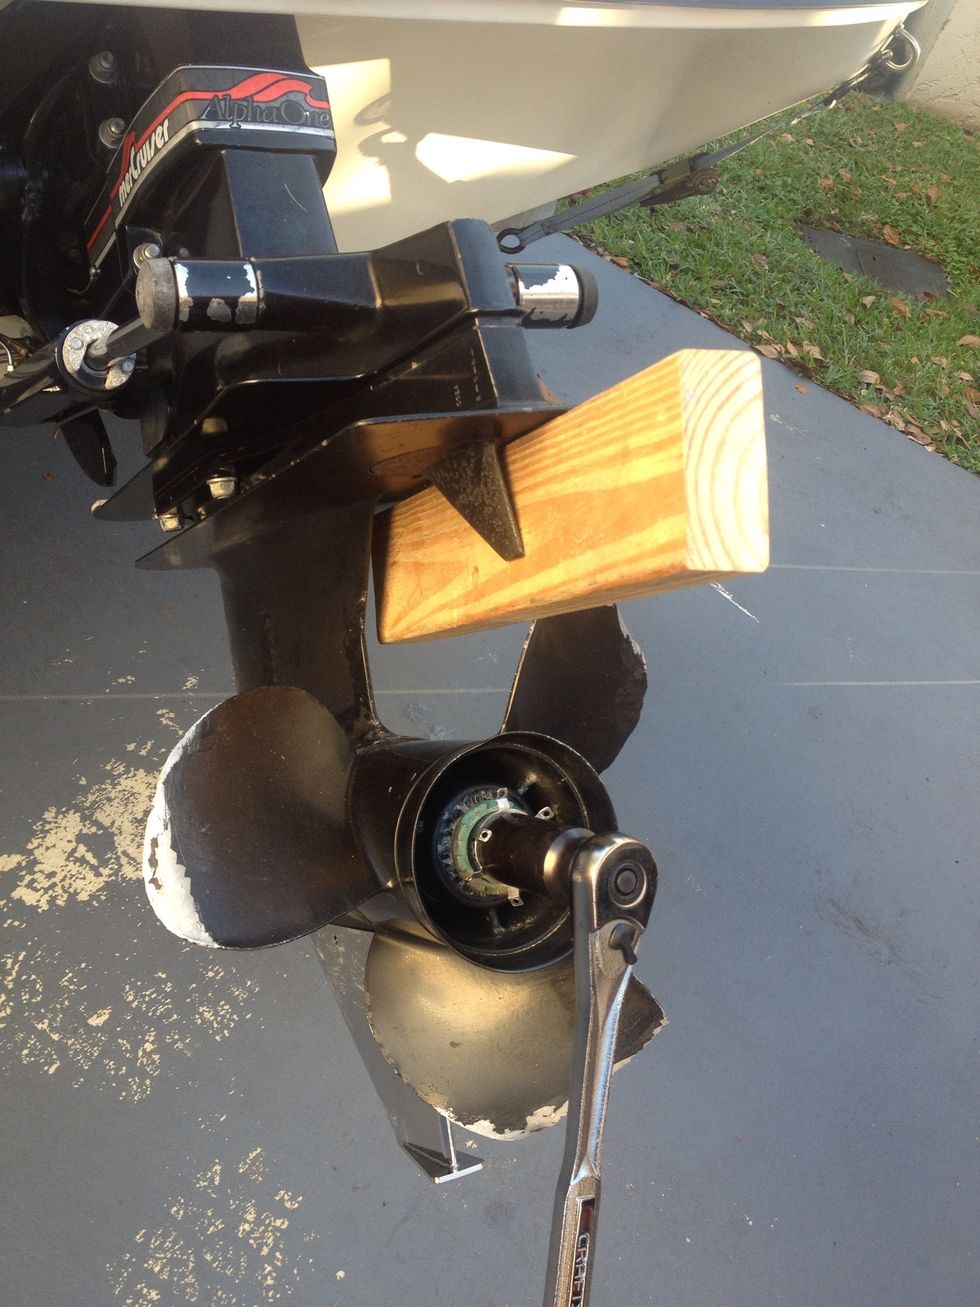
Use a block, to stop the prop from turning, then loosen the bolt
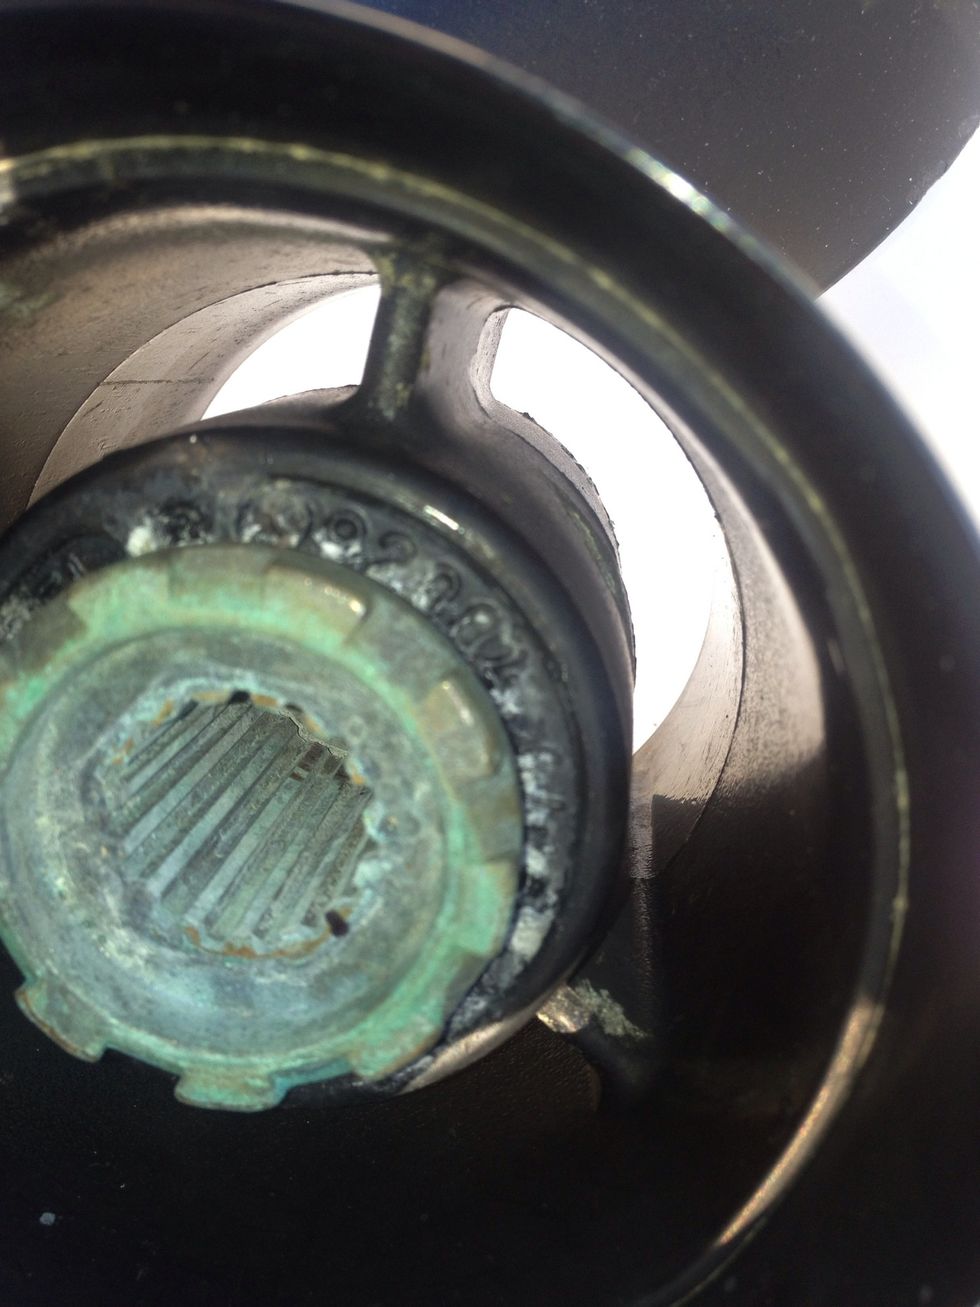
The dimensions for your prop will be stamped here. I have a 14.5 19 which means the diameter is 14.5 inches with a 19 degree pitch
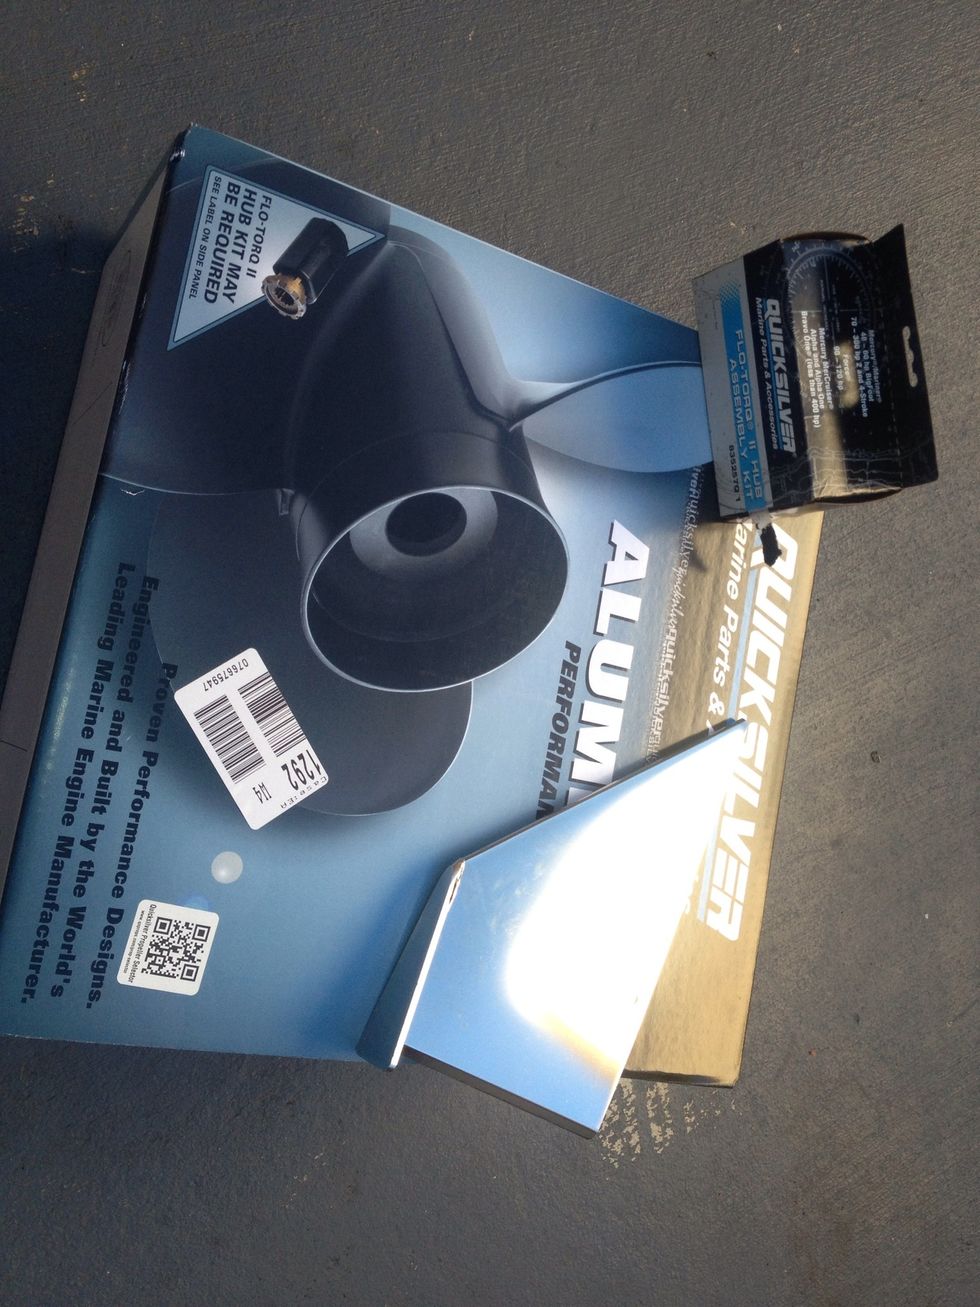
This is the new prop and hub kit I'll be replacing it with
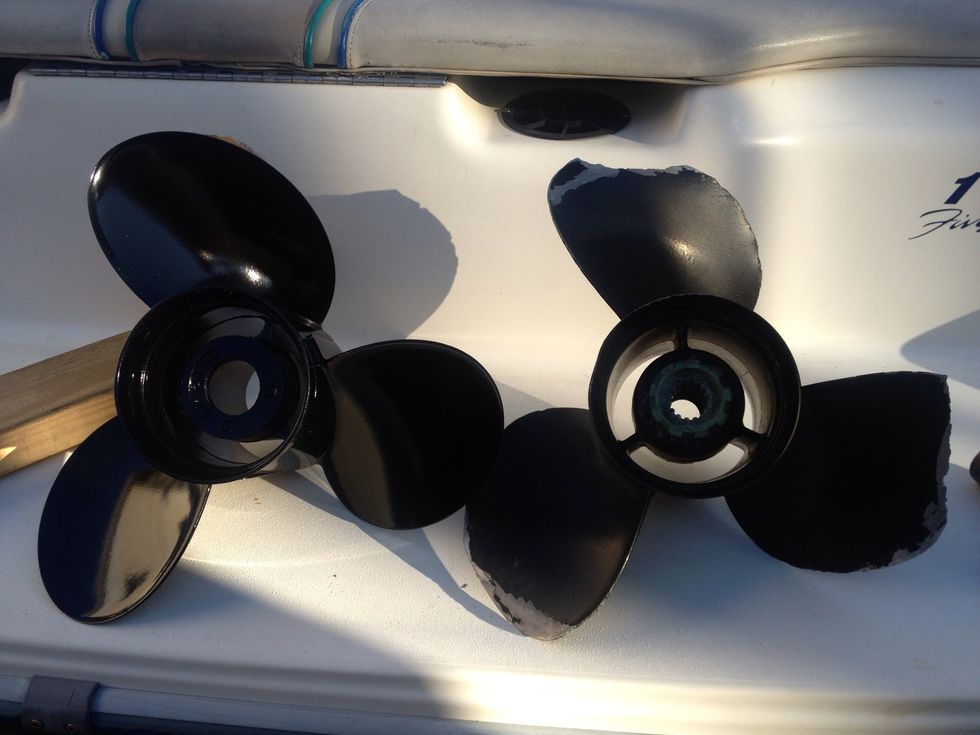
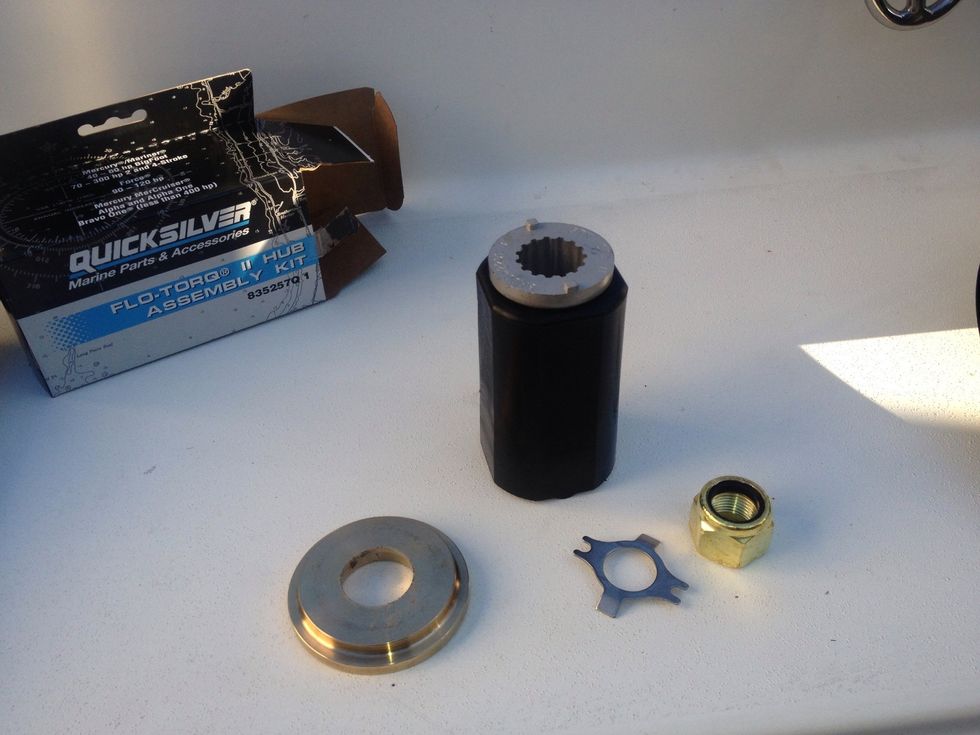
When choosing a prop kit, make sure you match the teeth count. Mine is 15
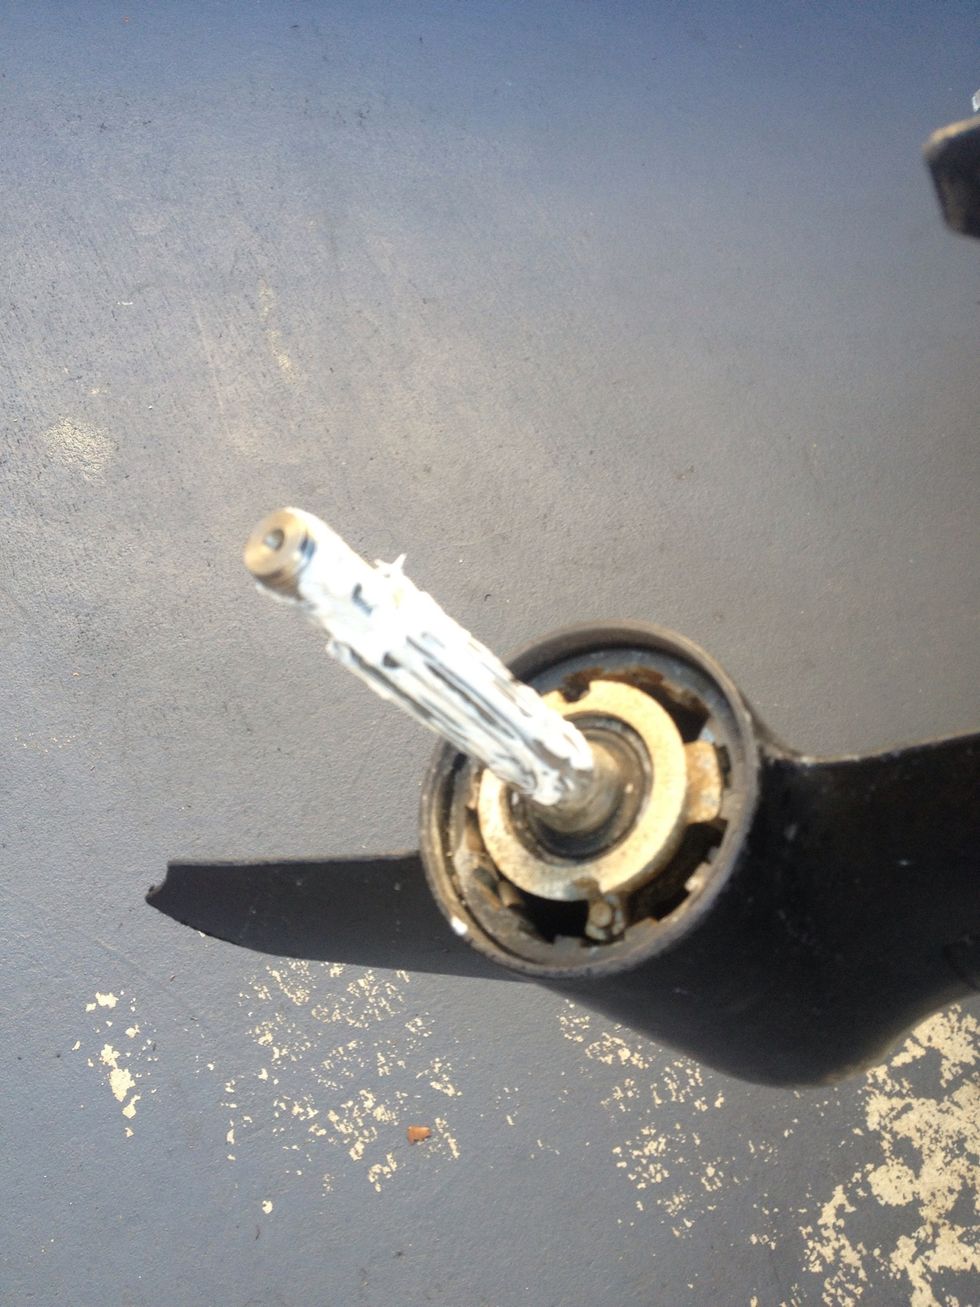
Clean and grease
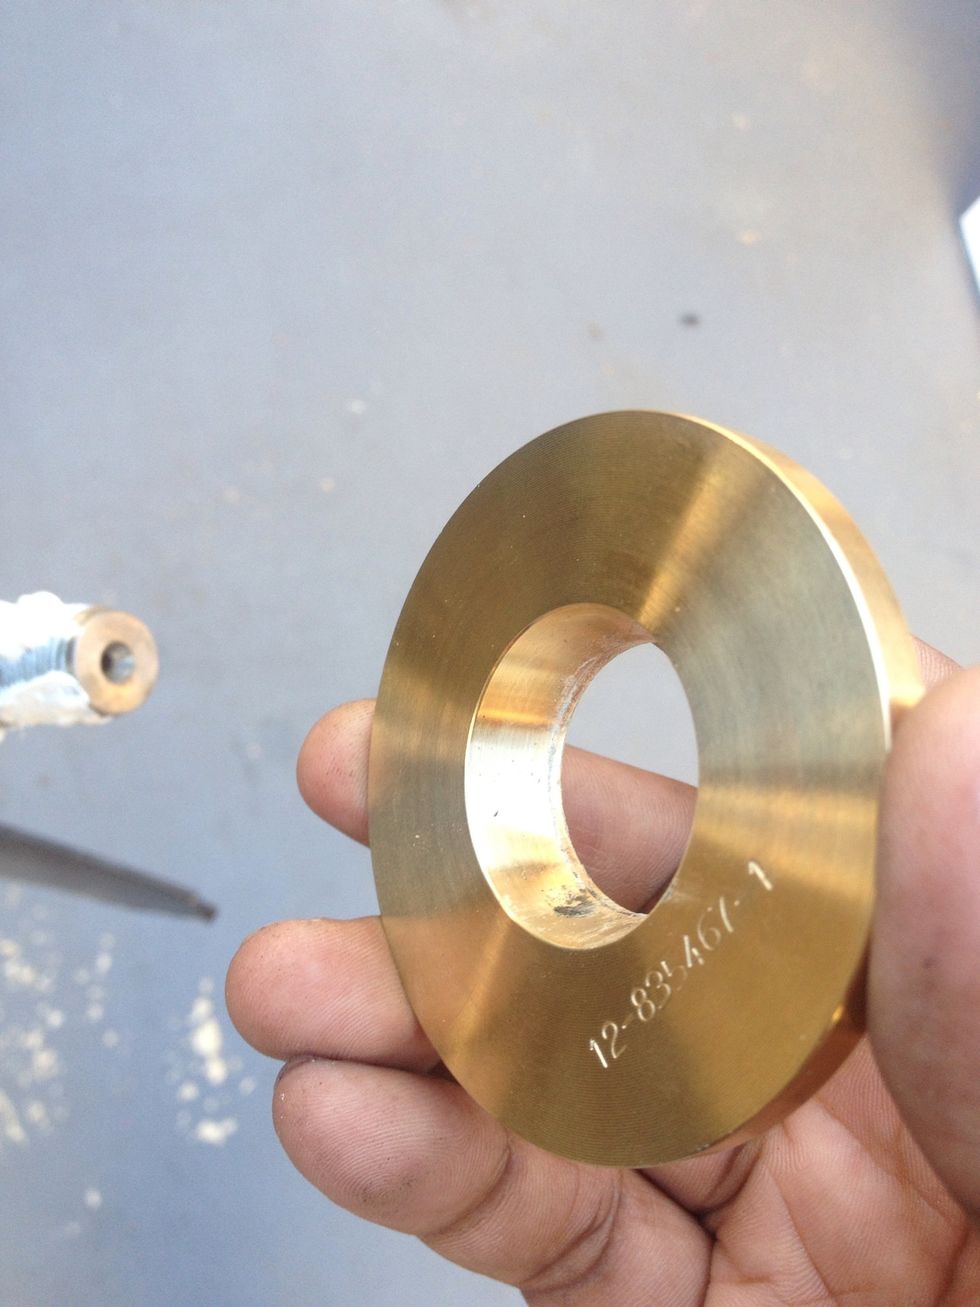
Install with the tapered end down
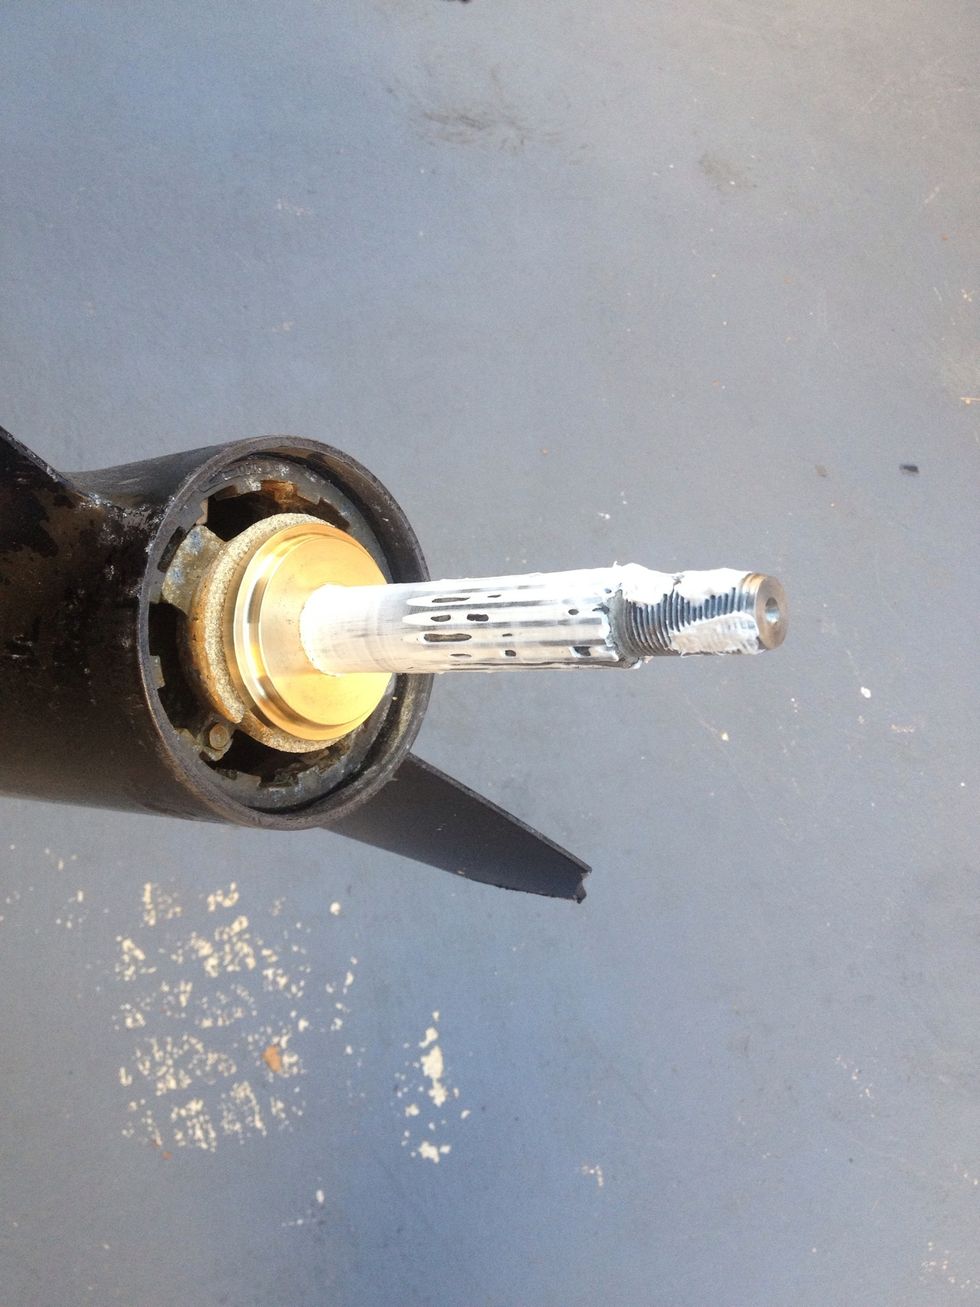
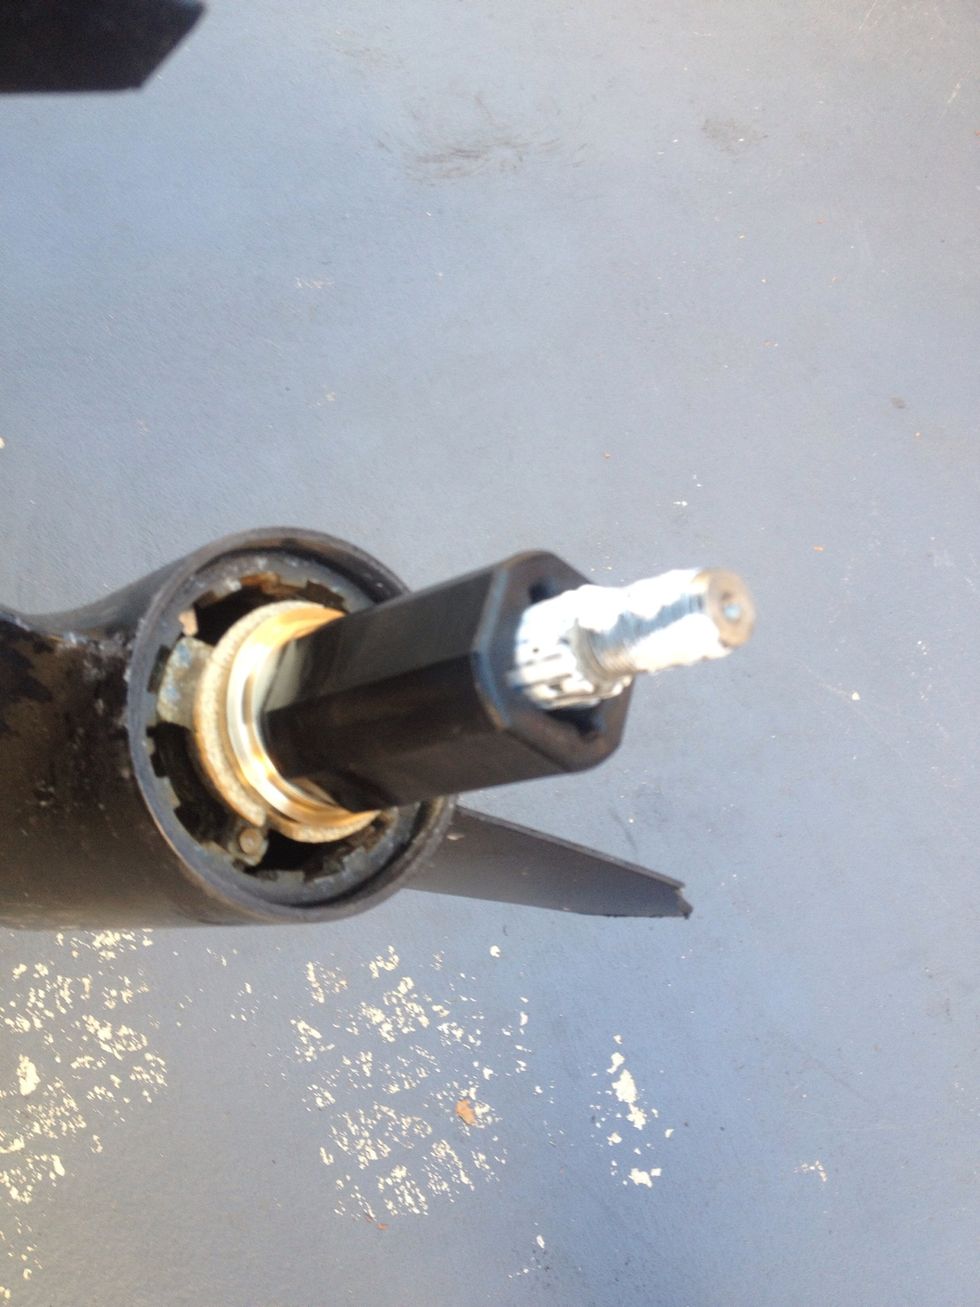
Then the adapter
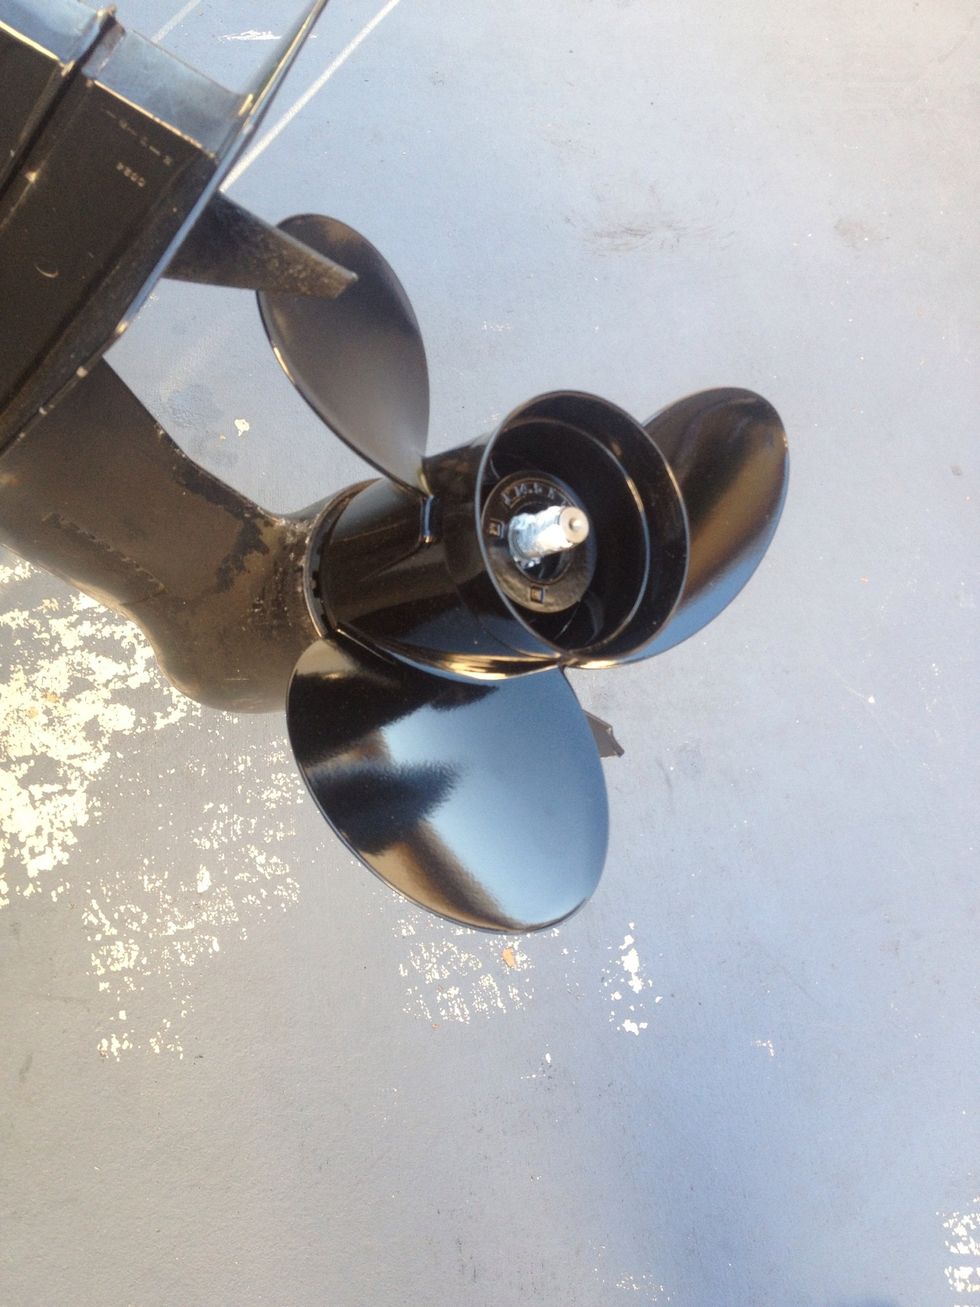
Prop
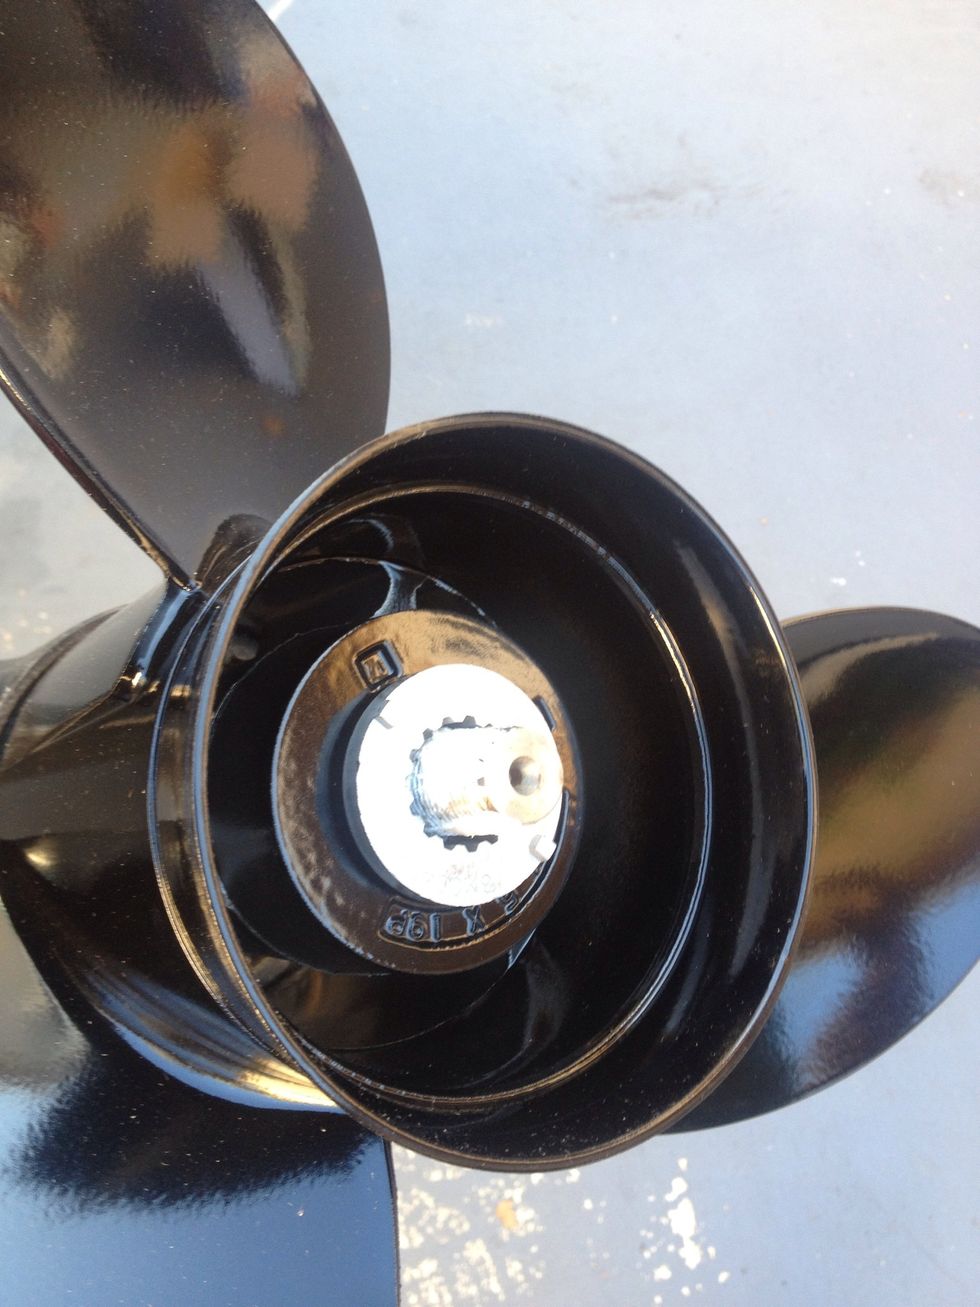
Adapter
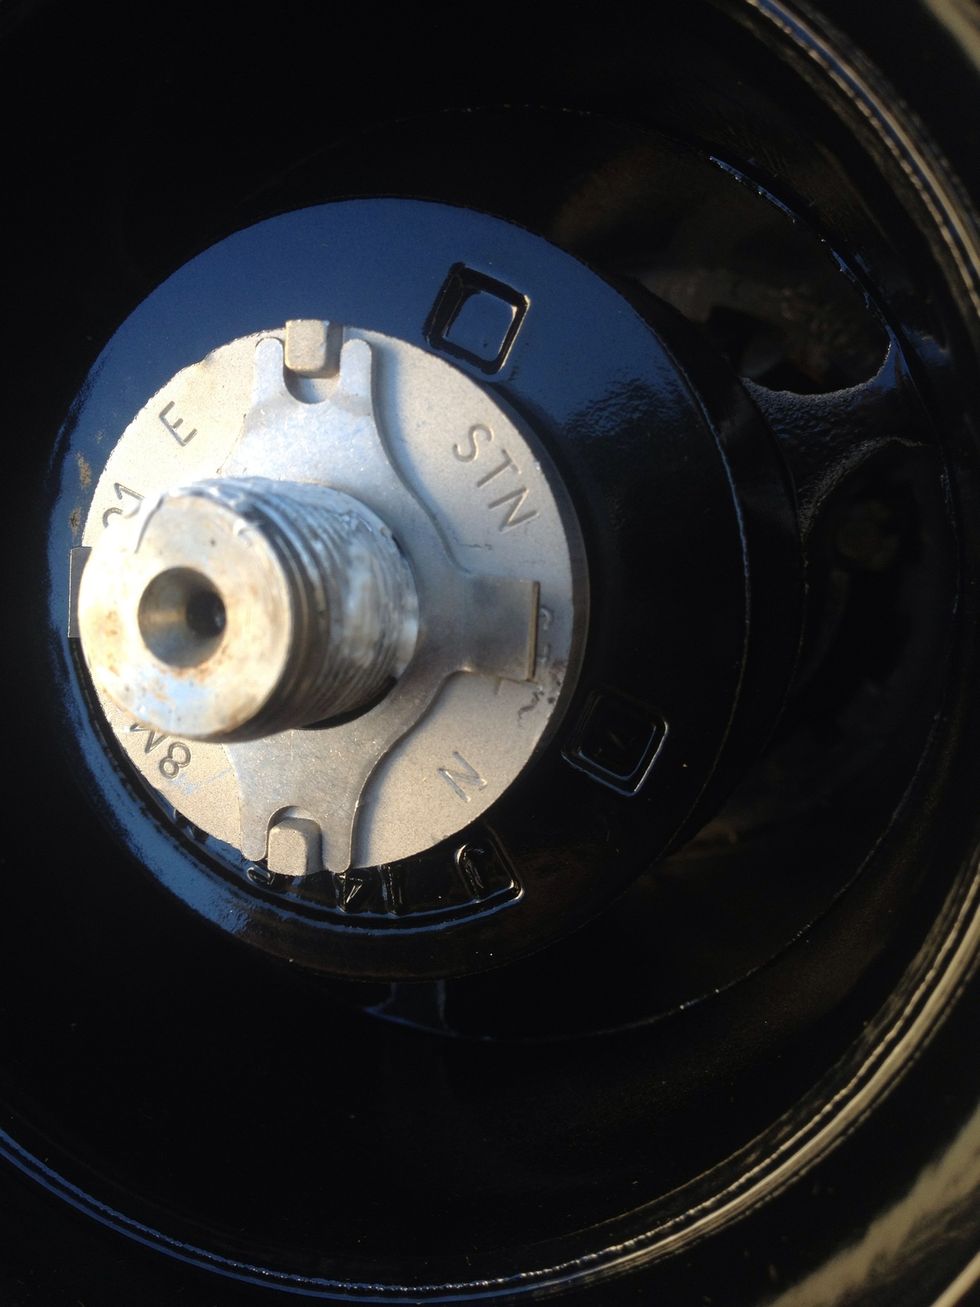
Locking washer, aligned with the groove
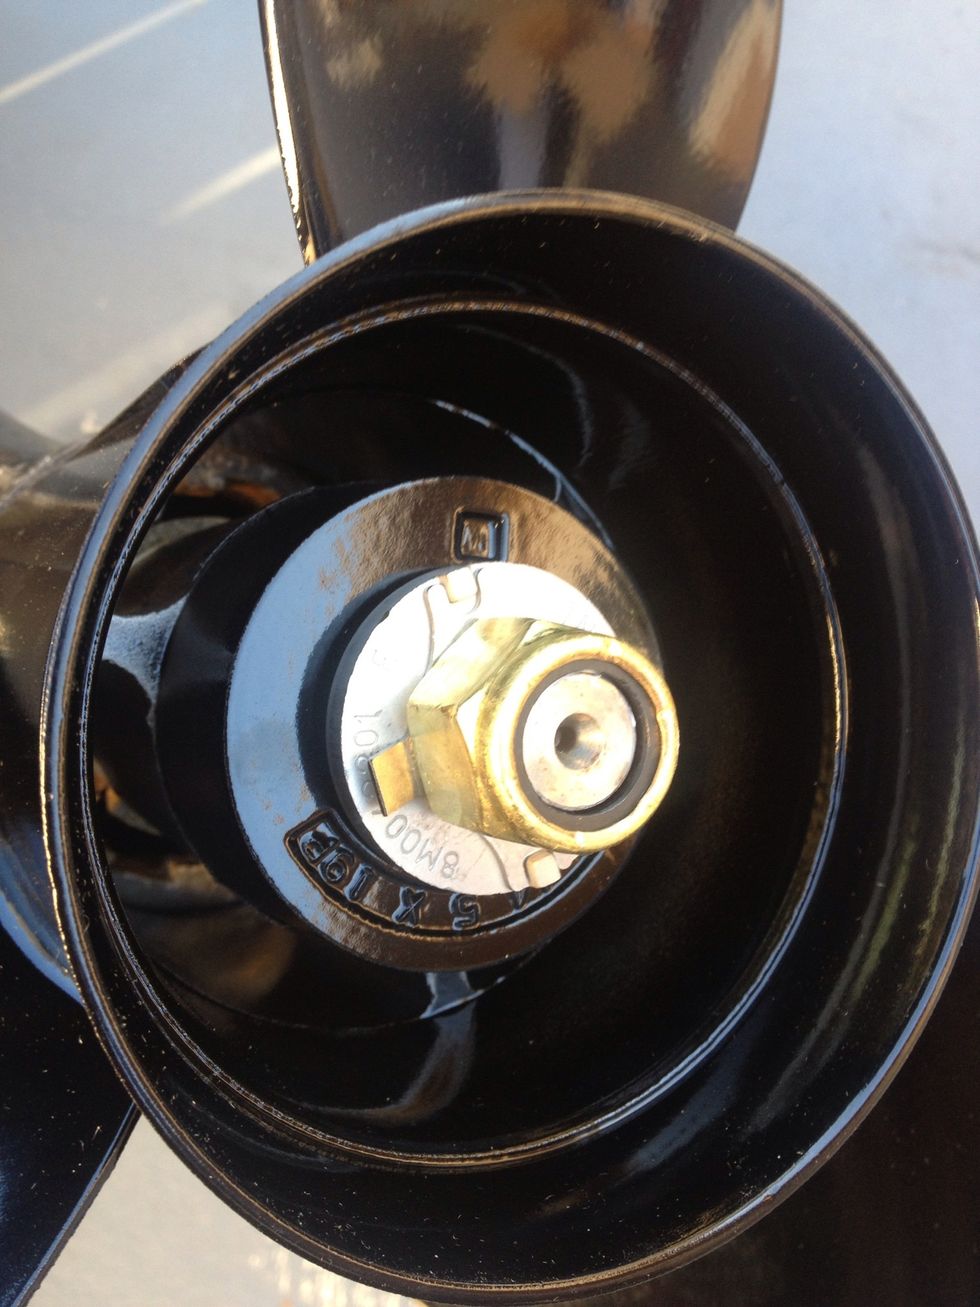
Then the nut
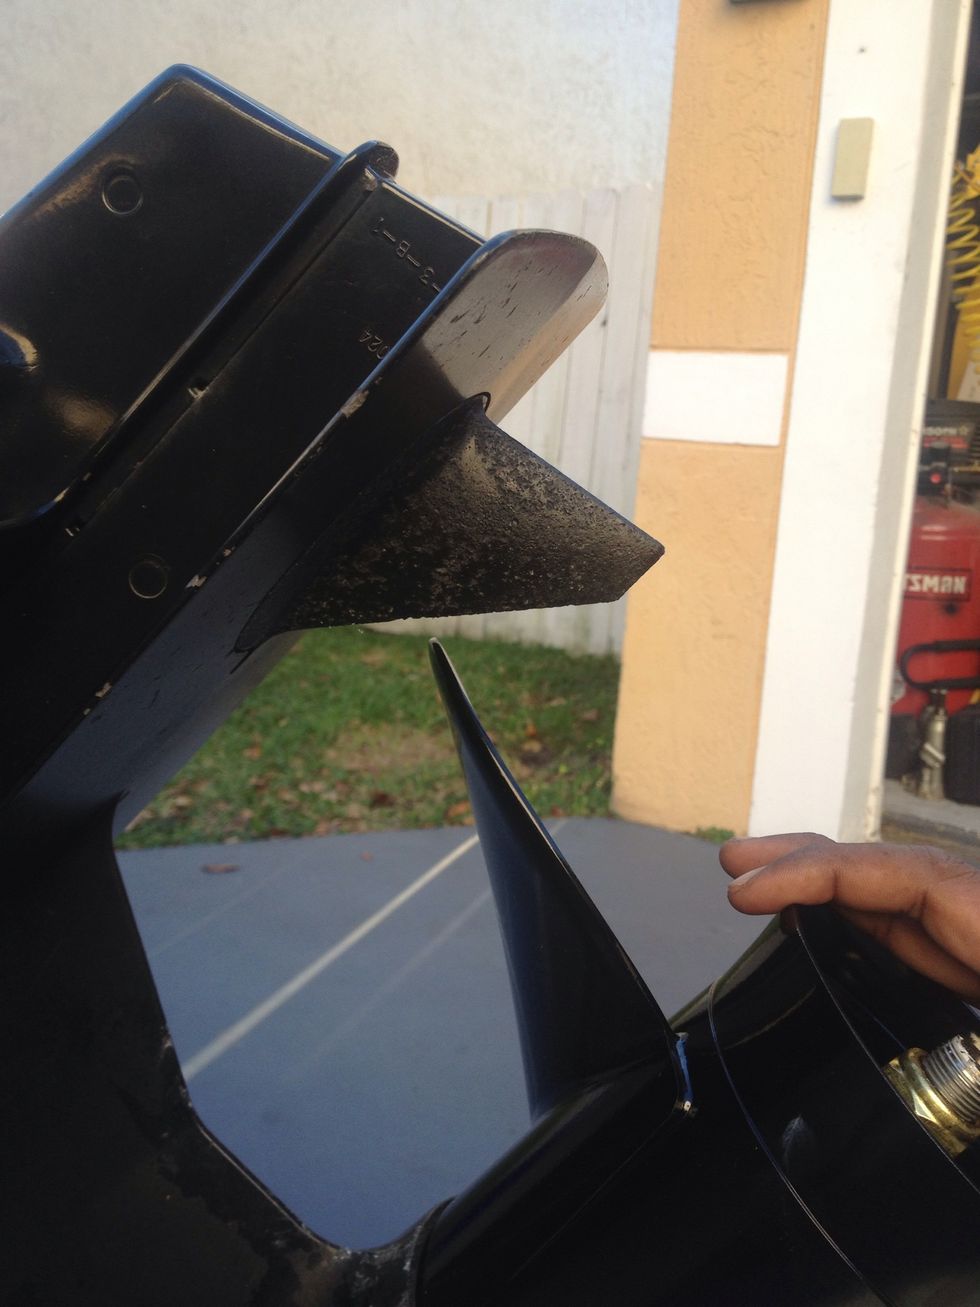
Make sure you check for clearance once you've tightened it down
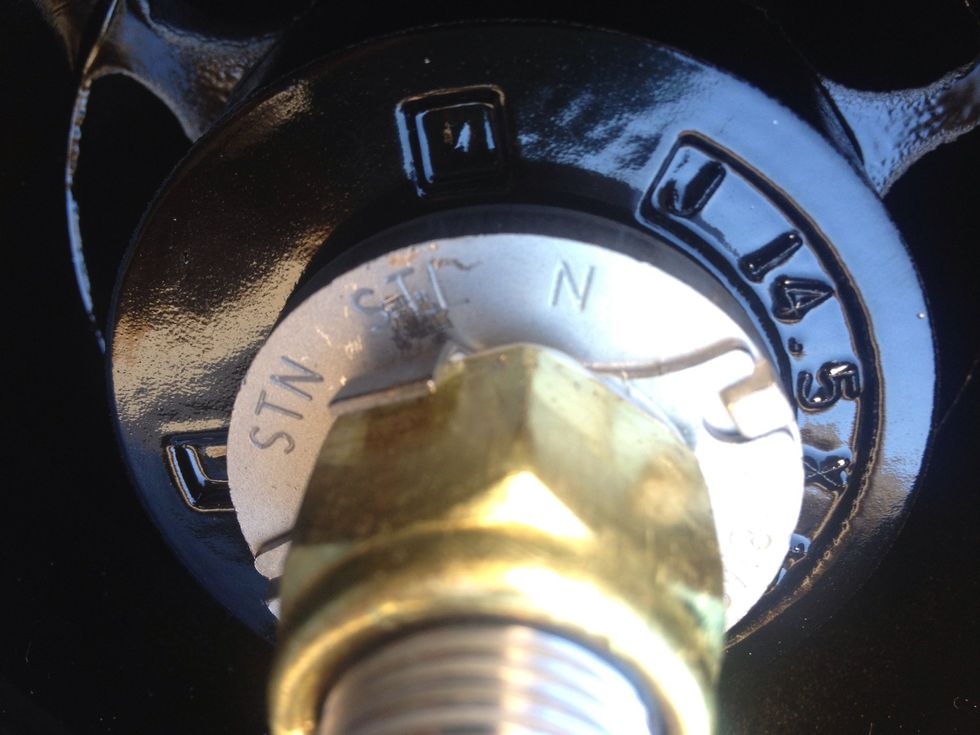
Once you know the clearance is ok, bend the ends of the lock washer up to the sides of the nut
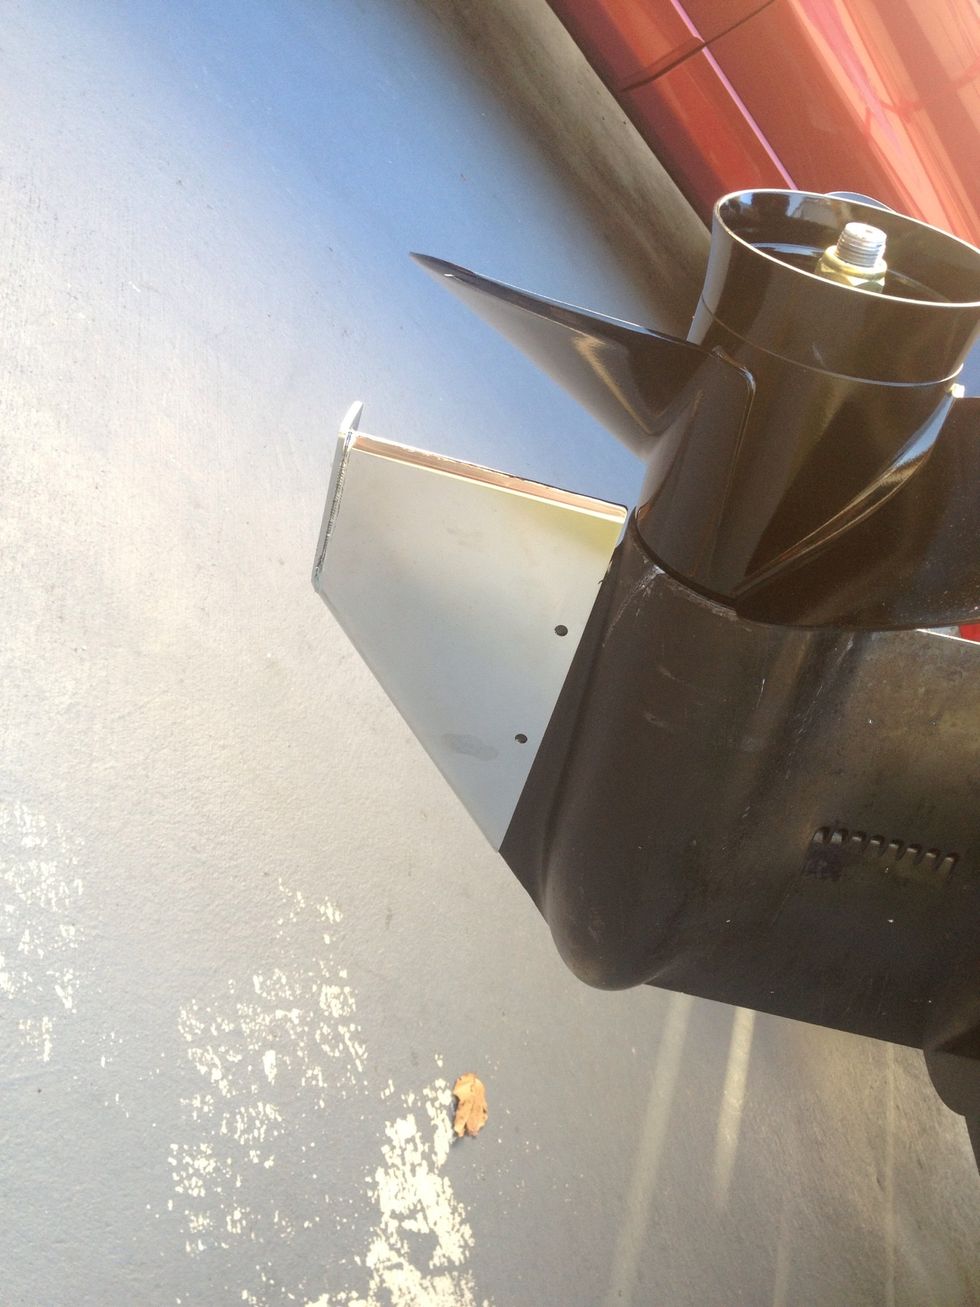
I'm also installing a Skeg guard. Just tap this on with a rubber mallet
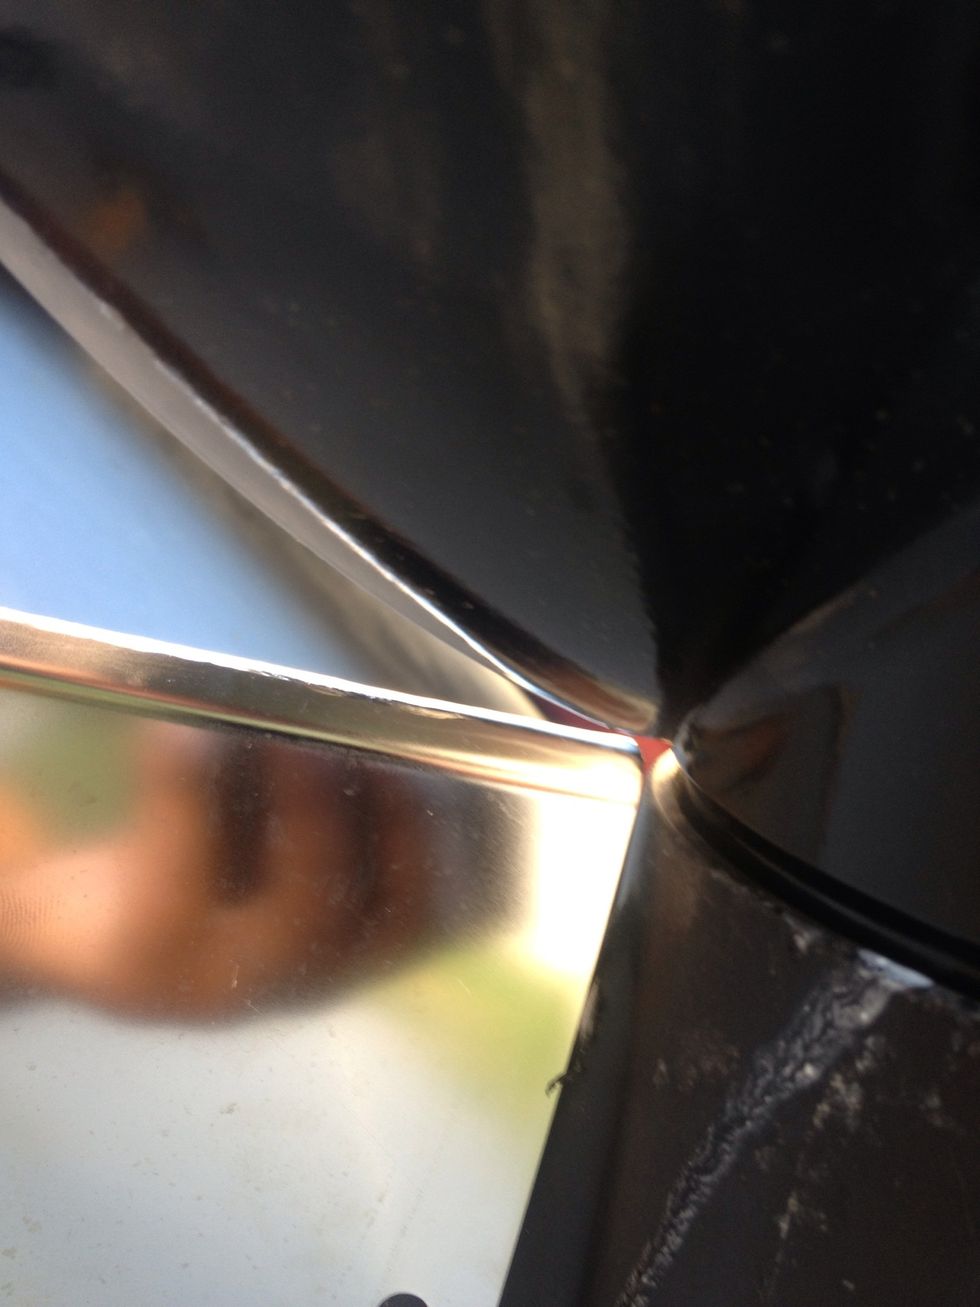
Check for clearance
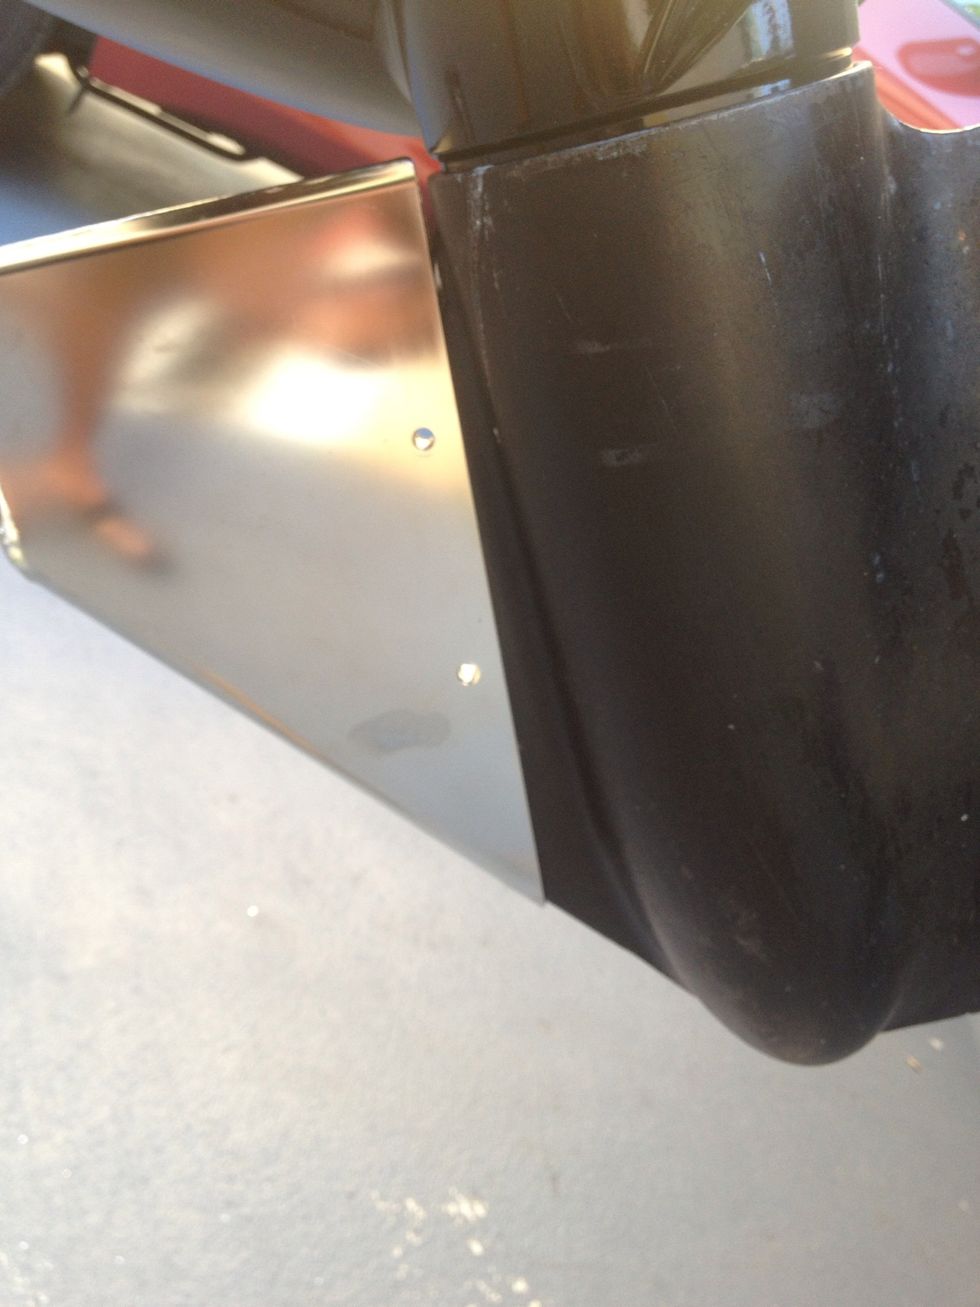
Then drill the 2 holes with a 1/4" bit. I used a cobalt bit and it went through the aluminum like butter
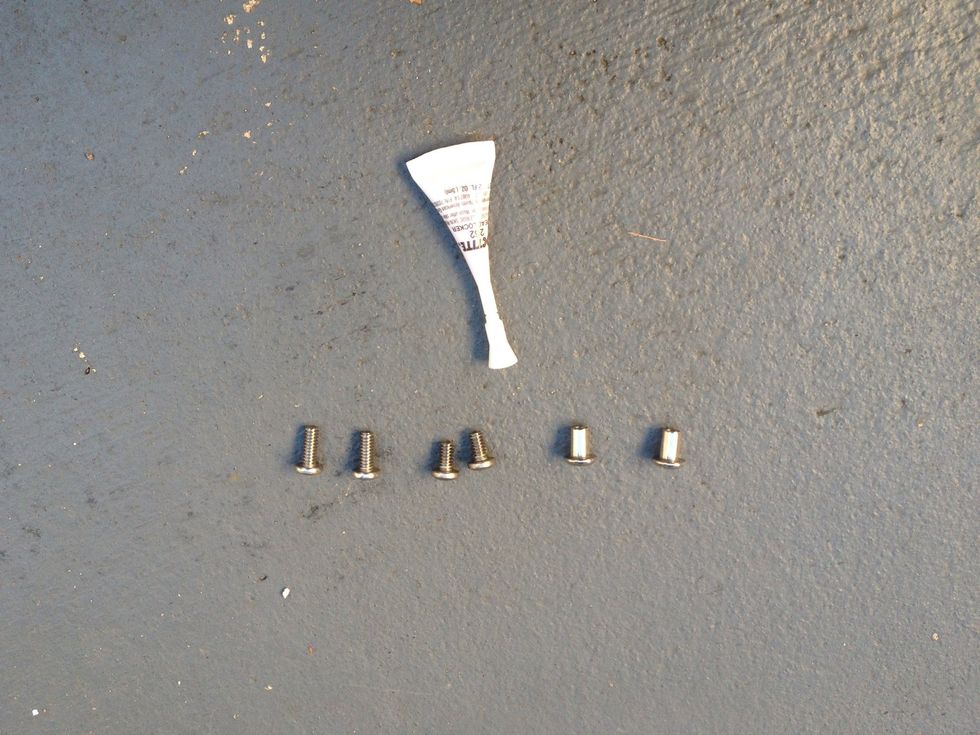
Use the loc tite and hardware provided with the kit
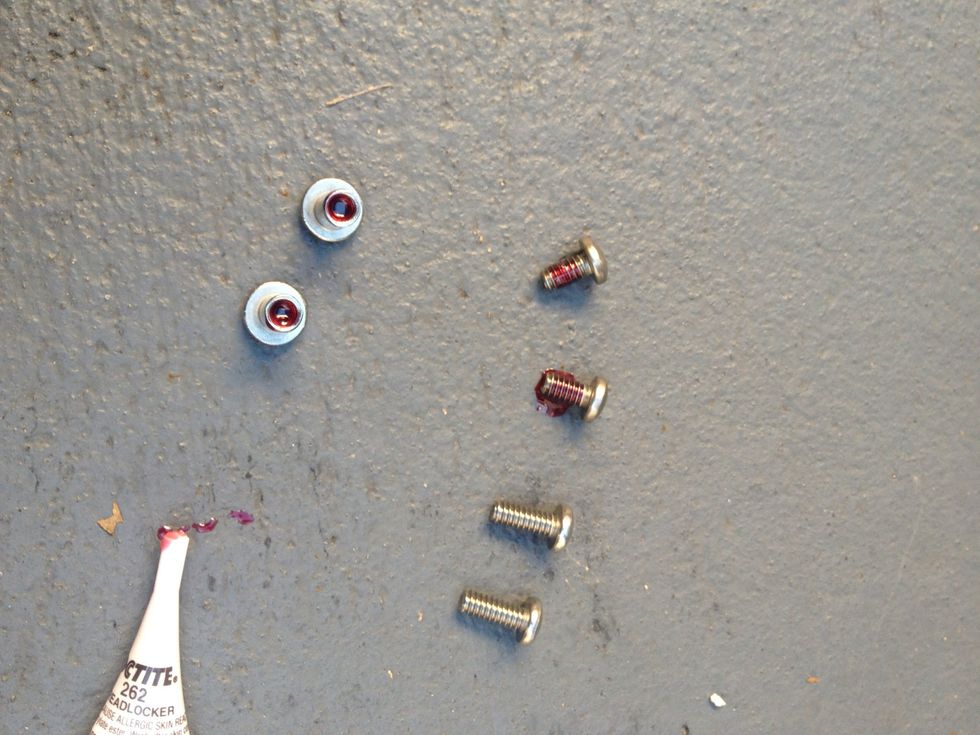
Apply to both sides
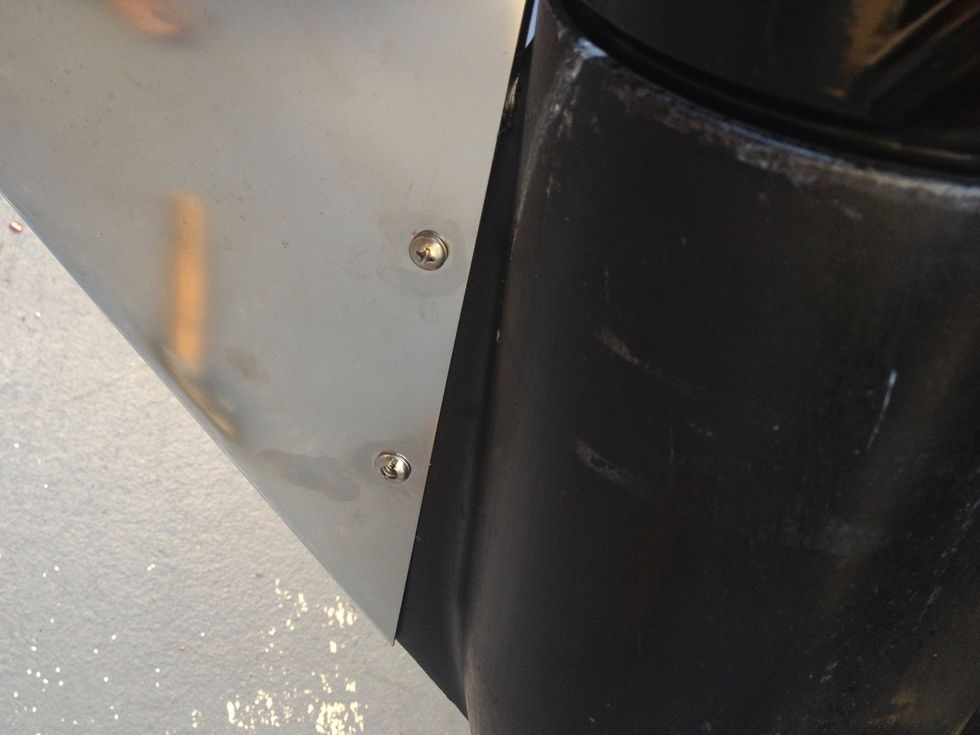
Then screw them in
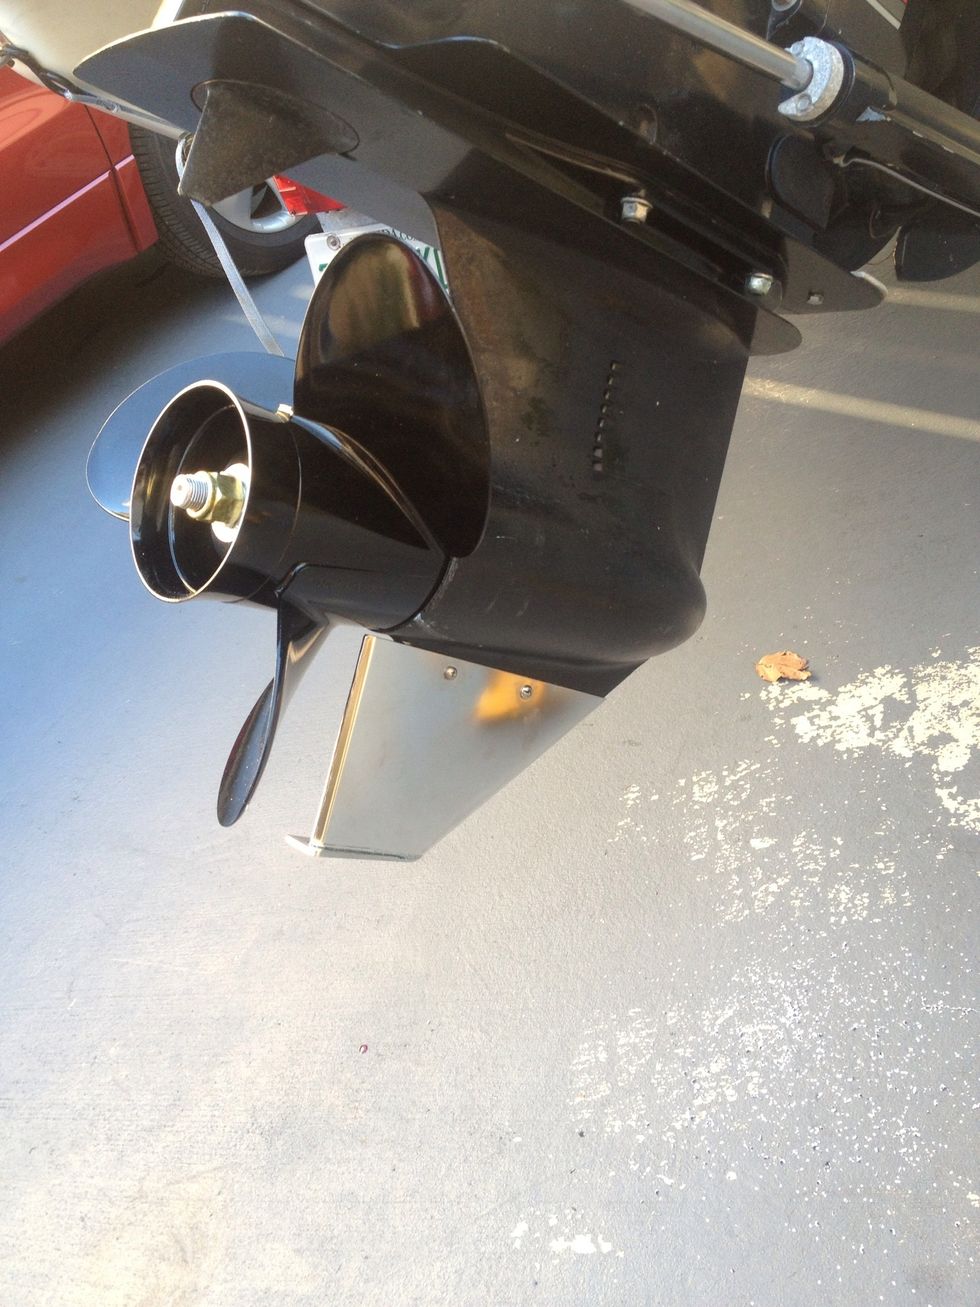
Check the clearance again and you're all good
The creator of this guide has not included tools
South Florida
The Conversation (0)
Sign Up