The Conversation (0)
Sign Up
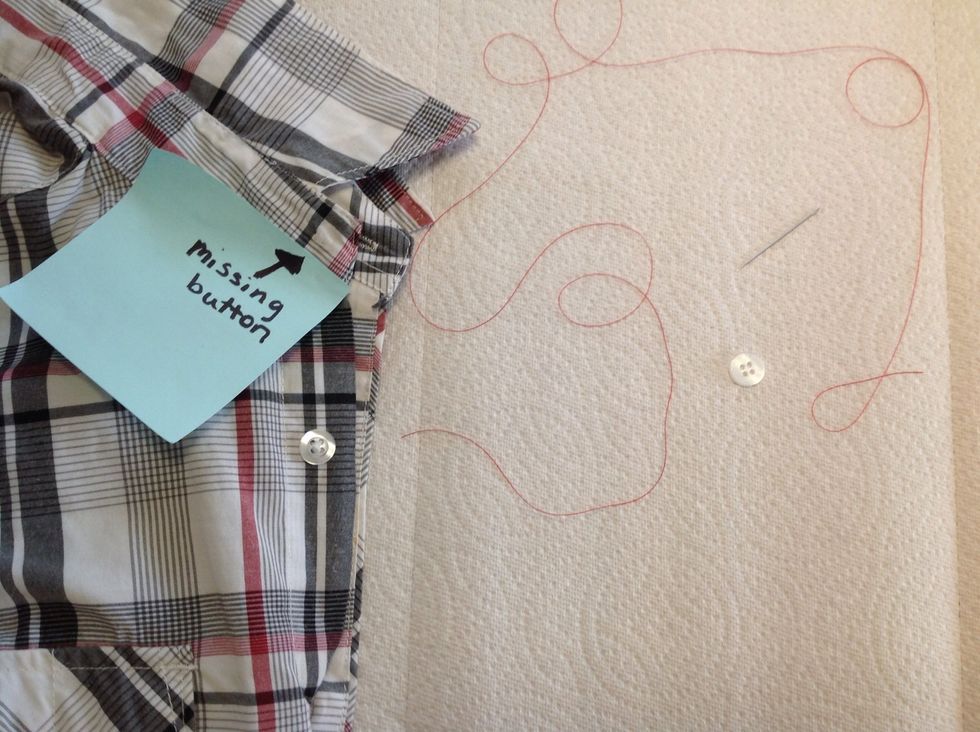
To replace a button, you will need these items: shirt, thread, needle, scissors, and a button.
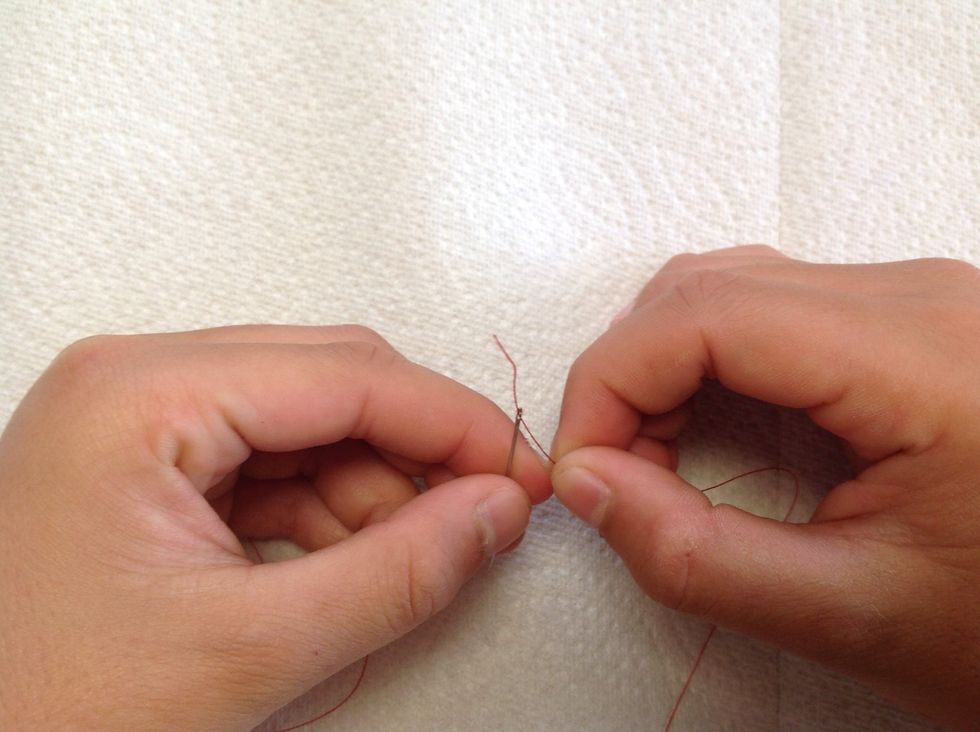
First, hold the needle pointy side down, and poke the thread through the eye.
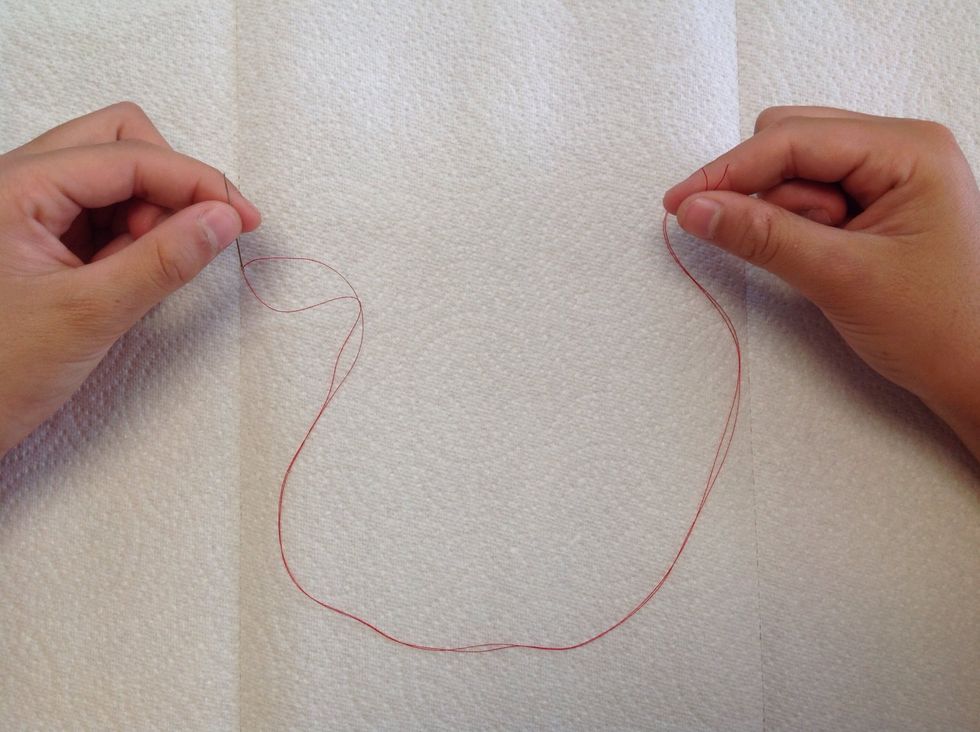
Second, pull the thread end to meet the long end so that they are the same length.
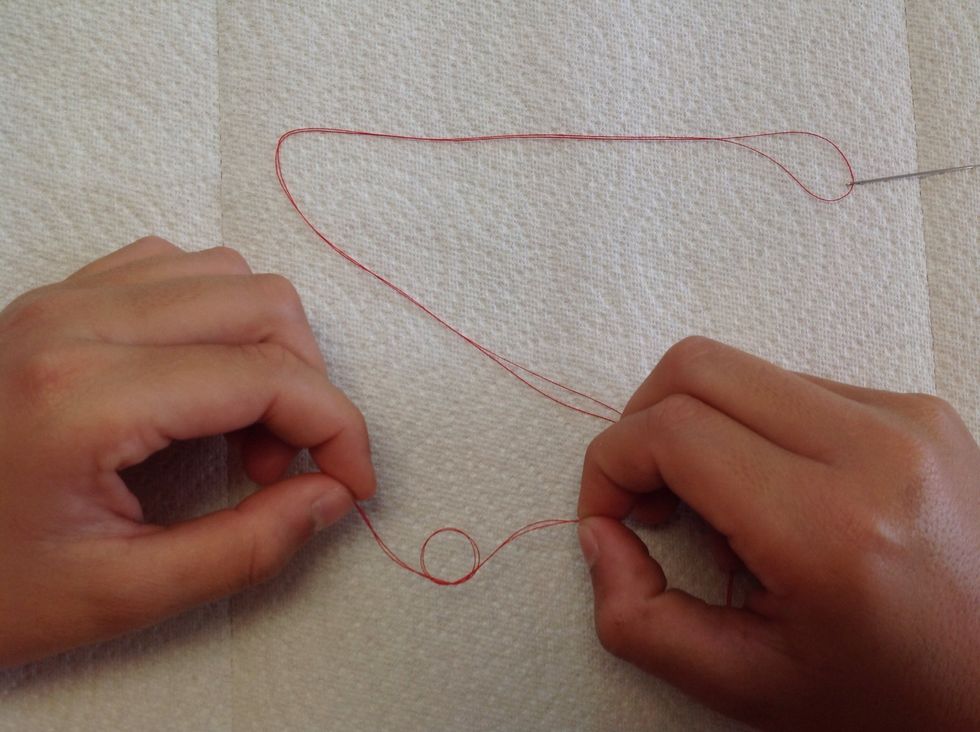
Next, with both ends together, tie a knot to close the open threads.
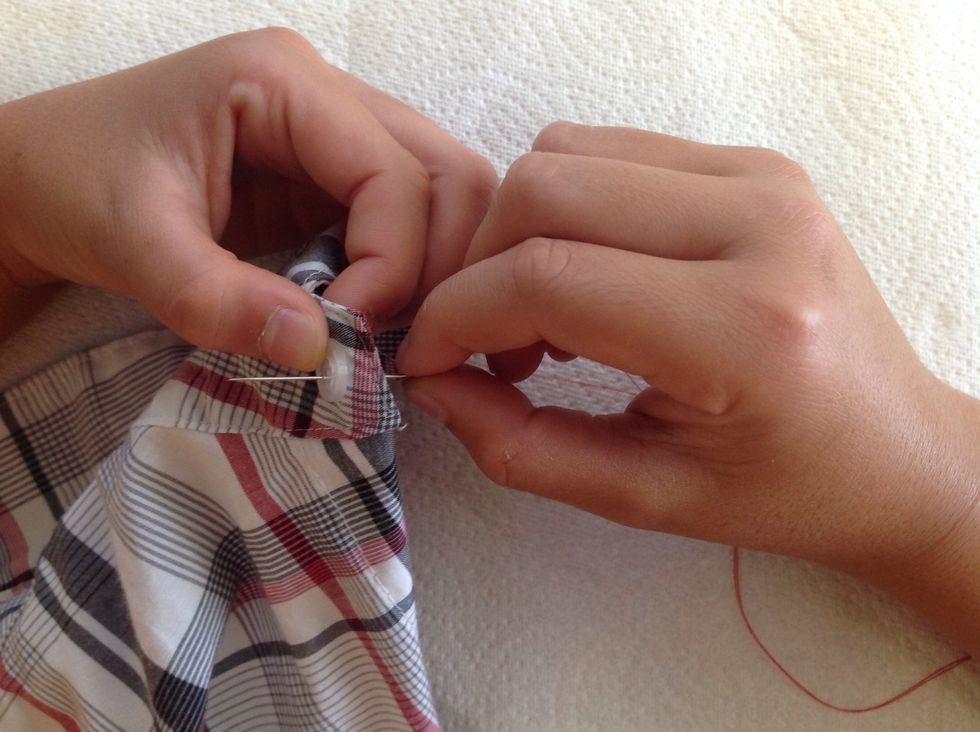
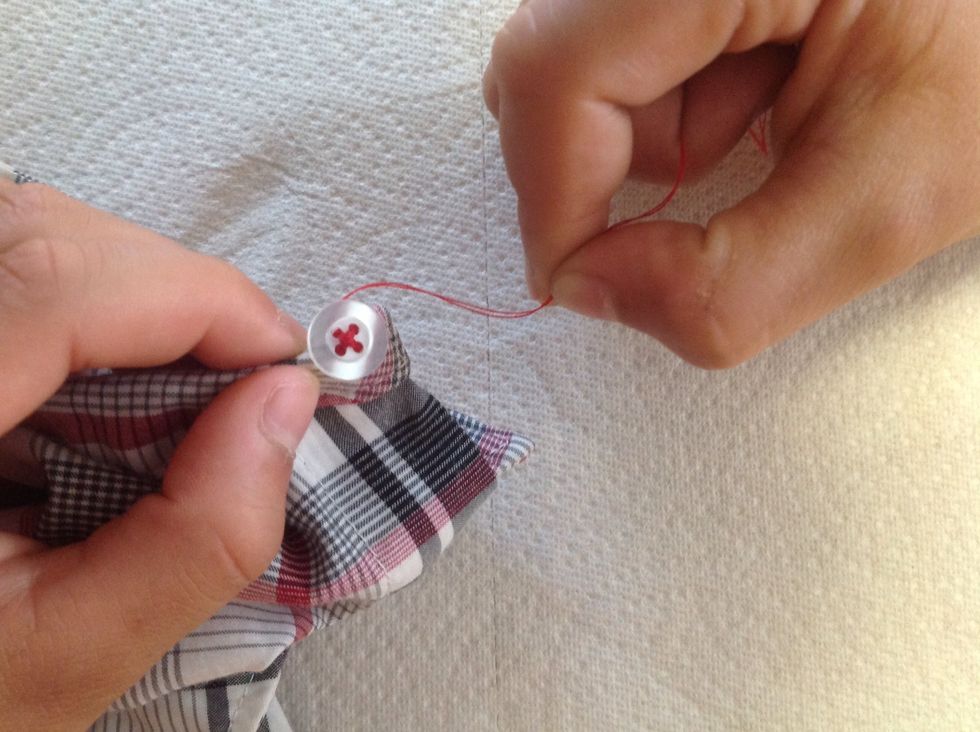
Hold the button making sure that the button holes are in a square formation while you bring the needle up through the fabric and bottom right hole, pulling thread completely through until taut.
After pulling thread completely through, poke needle back down the empty hole directly across, making sure that thread is tight.

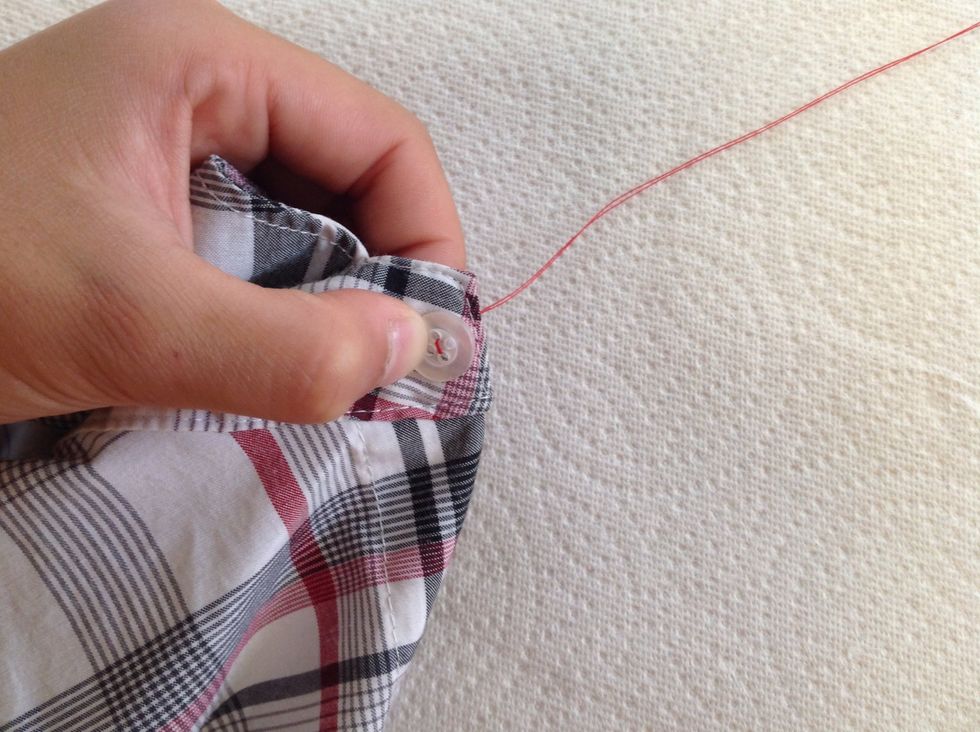
Now, bring the needle and thread up through the material and upper right button hole, making sure the thread is tight.

Then, poke the needle and thread through the hole directly across, again making sure the thread is tight. You now can have formed an "X" with your thread securely.
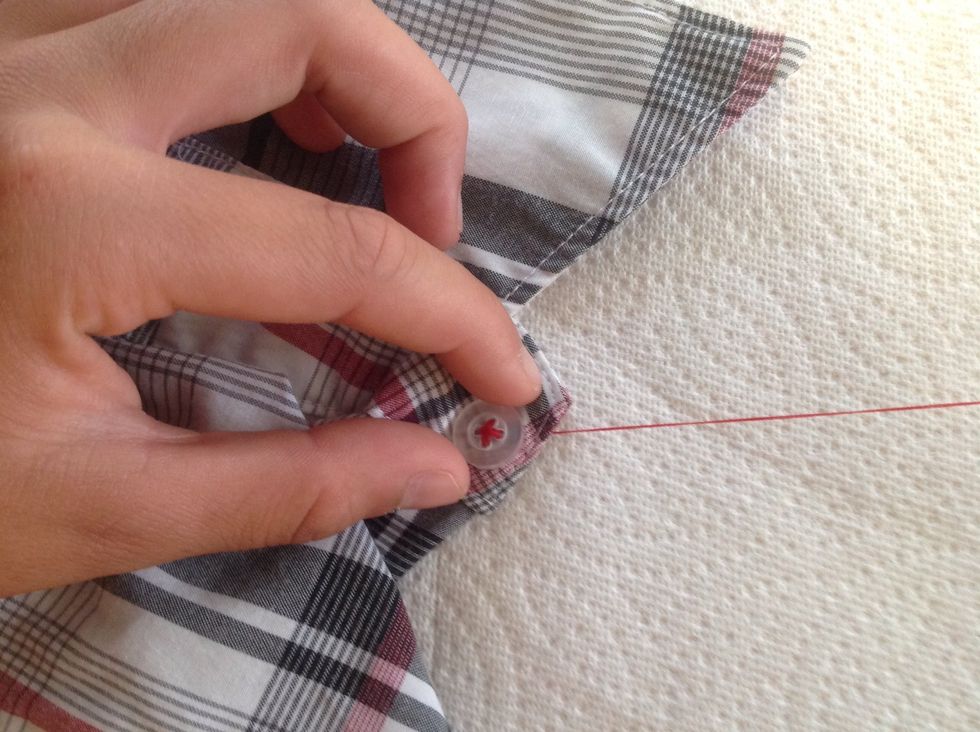
Repeat the in-and-out needle and thread "X" steps two more rotations, until the button is secure.
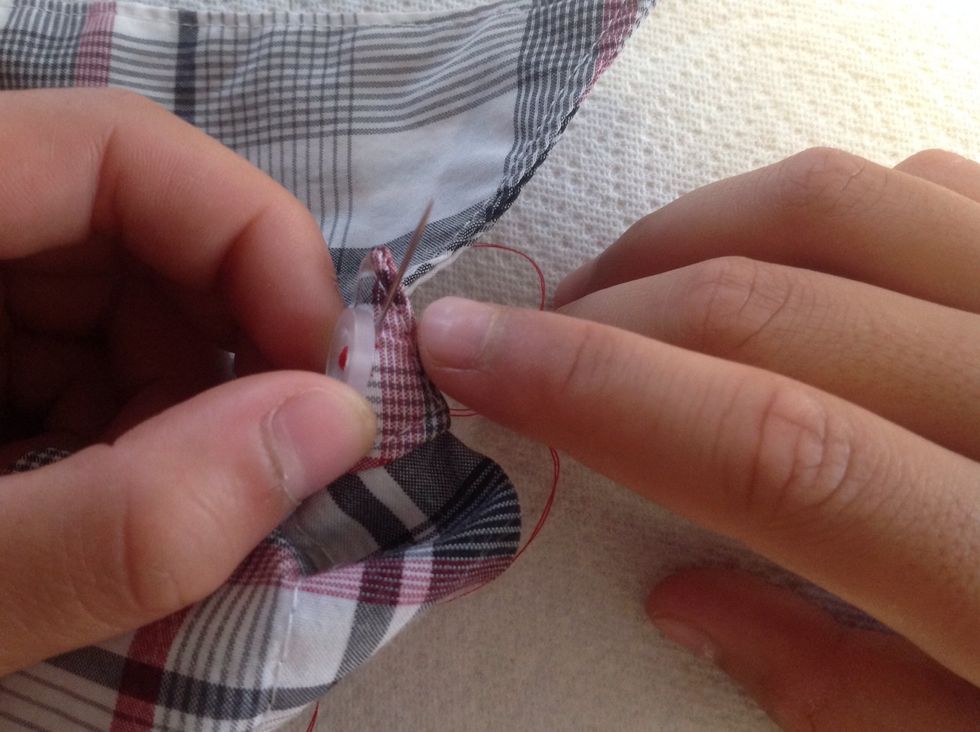
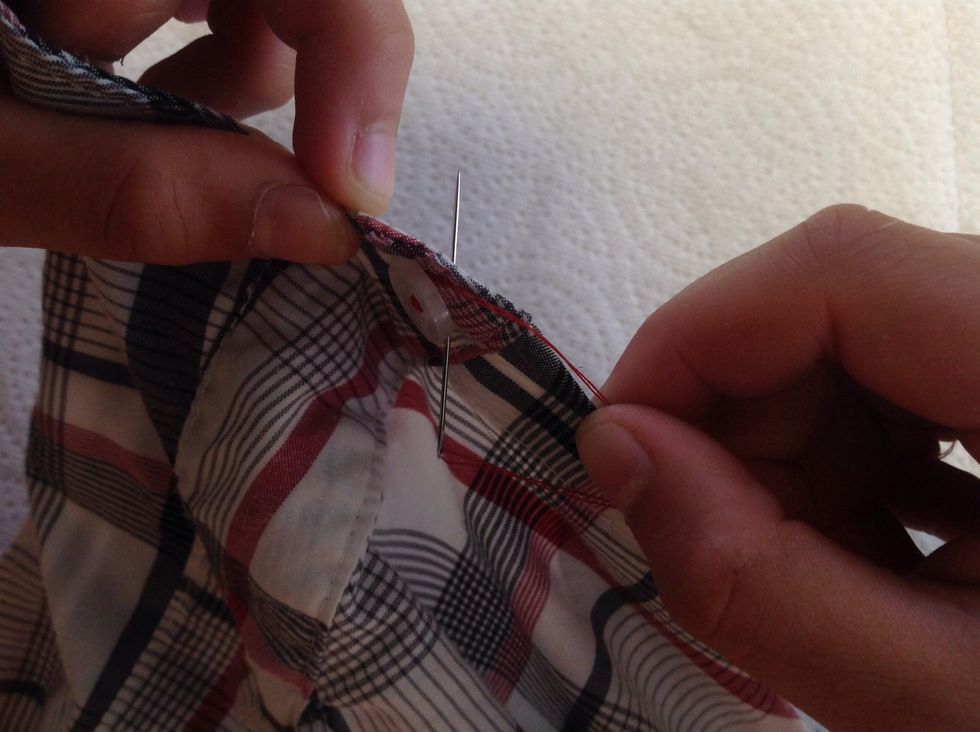
To anchor the button stitching, bring the needle up through the bottom of the material ONLY. Make sure not to go through the button hole.
With the needle and thread in between the material and button, tightly wrap the thread around the stitching under the button three times.
Now poke the needle and the tightly wrapped thread back down through the material, pulling the thread taut.
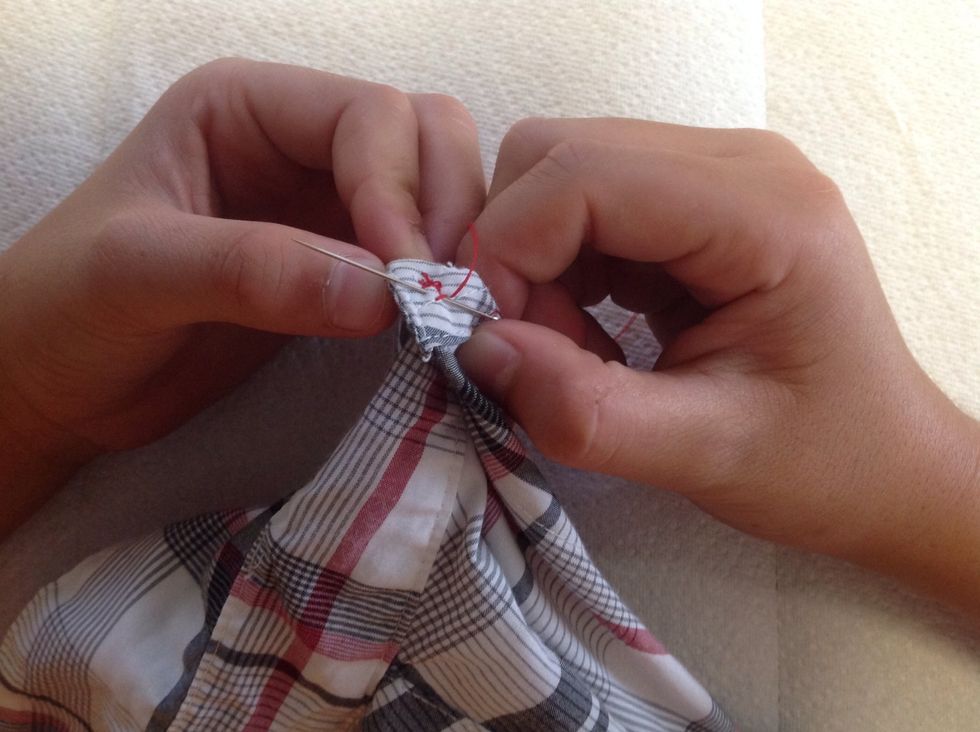
Then put the needle through a little of the stitching and through the material.
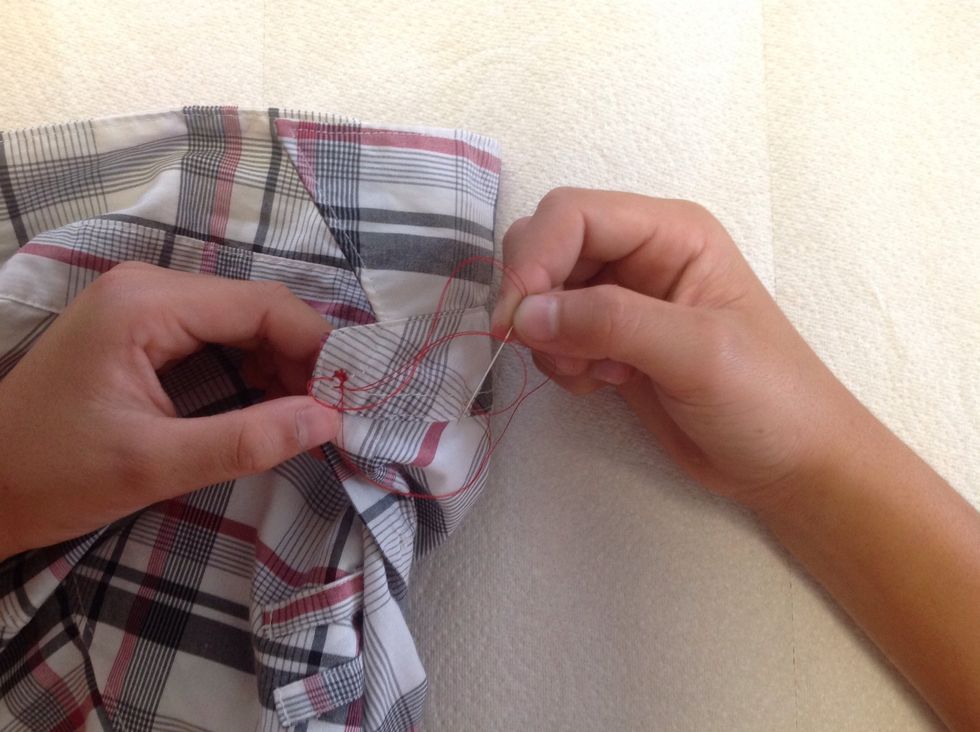
Pull the needle and thread a tiny bit out of the material and underneath the thread to make a knot. Pull it tight to make the knot secure.
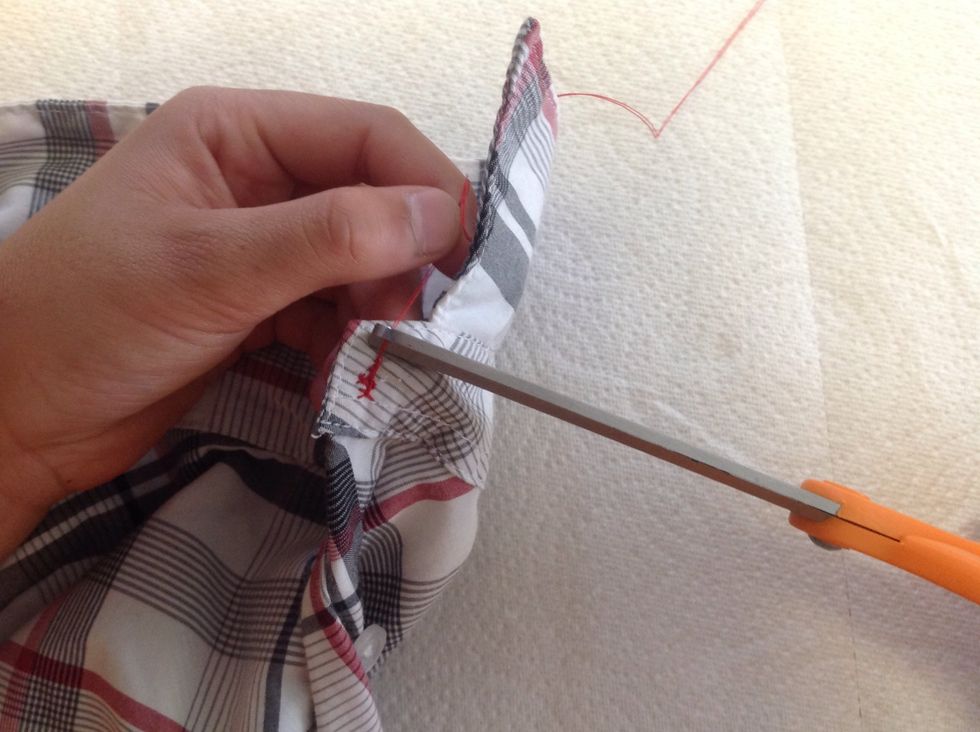
With the scissors, cut the thread close to the knot.

And now you've got a brand new button.